Framing Subject

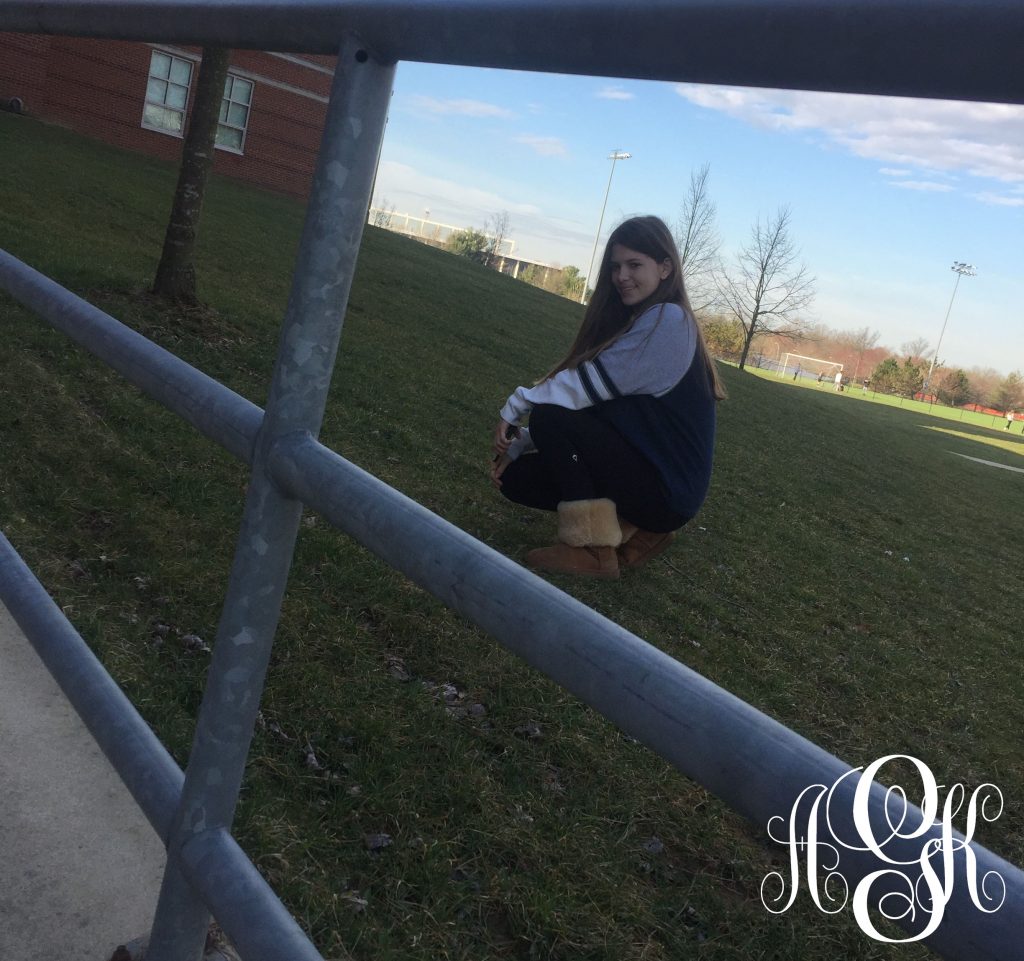
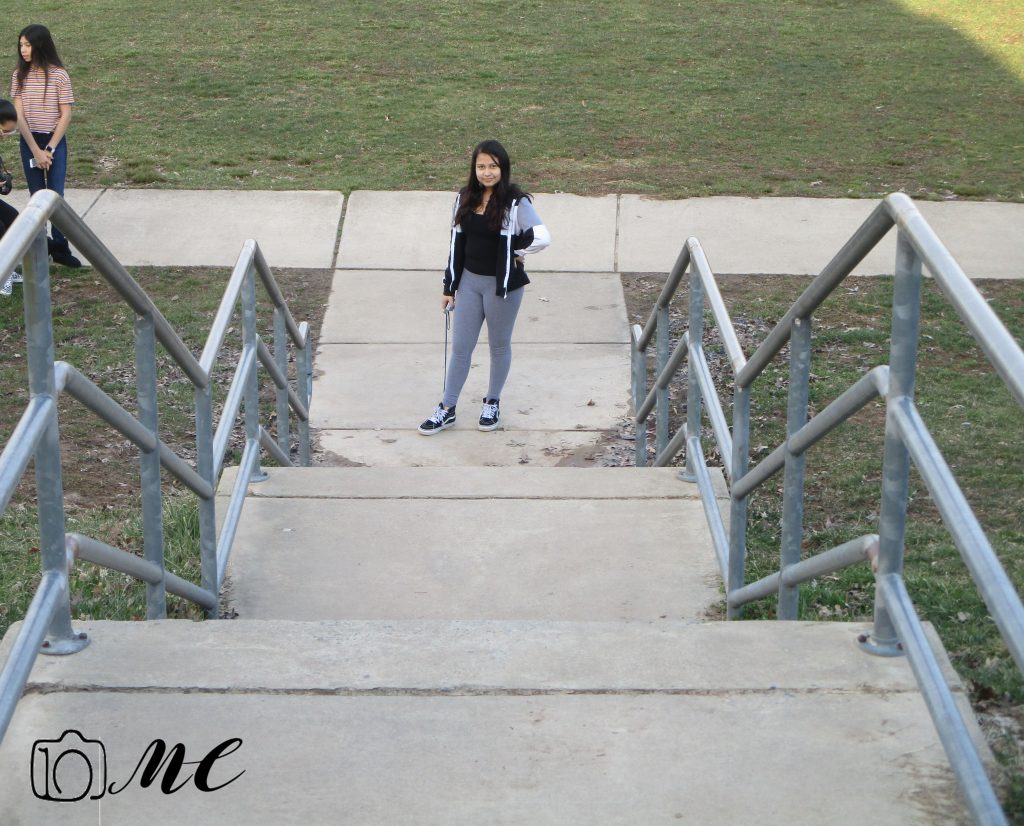
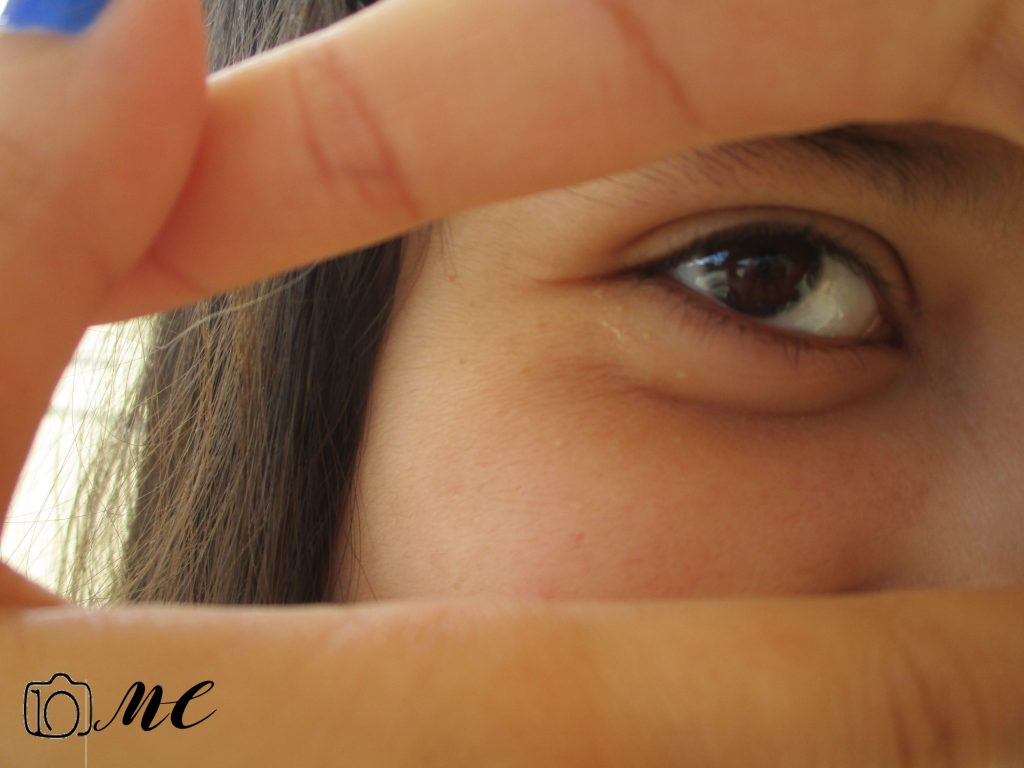
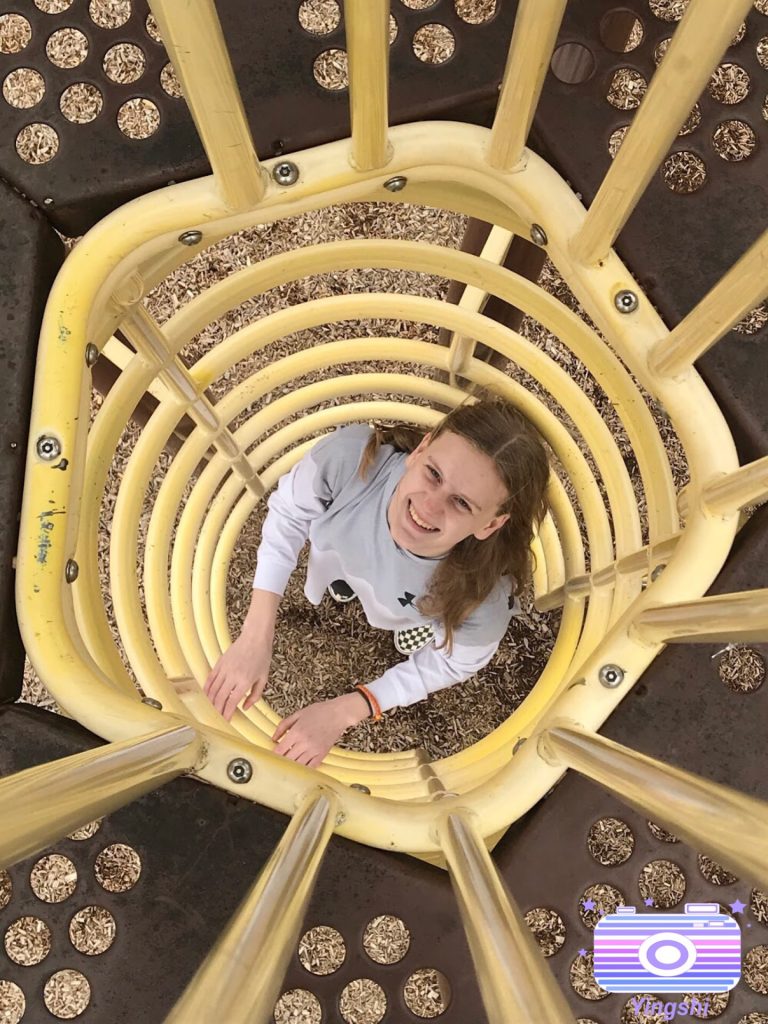
I used Rule of Thirds in this protect, which played an important role in this project.  I chose a satisfactory photo and the girl worked well with the "border". But I think the most important thing is that her smile is very appealing. In this project, I think the hardest part is composition, because I am not skilled in using the three-point method.
My Photos

White background

This project was rather difficult. I had to make sure the angles and lighting was just right to get the desired shot. It was easy to get my logo into the edited picture. Getting the pictures black and white was also very easy. The pictures were just really hard to get.

Click here to go to pictures.

Framing Your Subject

For this project we had to find an object and frame it around a subject. For this picture we used the railing and put Caroline “in” it, to highlight her. This project is different that the rule of thirds project because in the rule of thirds we had to make the composition more interesting by taking it from a unique angles and putting the subject in another place other than the middle and in this project we could put our subject in the middle but we had to find something to frame the subject with. This picture is my favorite because I think it looks really unique and I think we did a good job framing her. One of the challenges was trying to find an interesting object to frame with. To see my other pictures click here.

Framing Subject

For this project we had to place an object or a person between two things that “frame” the object. For example this picture of the camera was taken at an angle that makes the camera look like its being framed with the bleachers. This project was different from the Rule Of Thirds project because with that one we had to place the subject along the main focal points. With this project we had to surround the subject with two objects. One of the challenges while doing this project was making sure the frames were the right size for the subject. If you would like to see the rest of the pictures click here.

Rule of Thirds

During this project, I found that it was easier to take pictures inside than outside because outside there were more shadows getting in the way of the picture, but I made it work well enough. Since I’m making this post late, I can say that in the next project, the framing project, I mixed framing with the rule of thirds to get a good quality photos. I did this project kind of minimally as I thought the project was straight forward and easy but it was very technical and I could have incorporated different techniques like lightning and shadows into the picture.

Click Here For The Rest Of My Photos

Framing your Subject

This project was about using other objects to create some sort of frame to have your subject inside of. For example, fences, benches,etc. In this photo the fence is framing the 3 guys. Some challenges I faced while taking these photos with this composition were finding the perfect position to take the photos and clearly show the boarder. It was a lot of fun testing out new boarders and seeing which one worked and which one didn’t.

Click here to see the rest of my photos

Framing Your Subject

For this project I went outside and inside to find frames could be a door way staircase, or some tree branches. I had to try to find places that have some sort of a frame in it and put my subject or object in the middle of it. This project was much harder compared to the Rule of Thirds project because it was harder to find areas around the school that I could take pictures of and I had to be more creative in this project to find the right frames for my subject. A reason why this photo was my favorite because I used the windows shadow to create the frame for Joann and turned out to look really cool. All of my photos are here

Framing Your Subject

In this project, we framed our subject using objects in and around the school. In this project, we placed our subject in the center of the picture, unlike in rule of thirds, where we put our subject in a place other than the center. A challenge that I had was figuring out what to frame my subject with and it was hard to center the photo.

This photo is my favorite because we never get to use the elevator at school, so it was fun to take this.

Click here to see the rest of my photos.

Rule of Thirds

In this project, I had to put the main part of an image at a third mark so whoever looks at the image will notice that part first. Then, their eyes will scan across the rest of the image after. It was hard to pick what the main part of the image was. It didn’t work to take pictures without a grid because they didn’t show up good. It worked much better when I added a grid. When I started this project, I thought that taking photos in the rule of thirds would not look very good but it did when I saw the actual pictures.

Click Here To See The Rest Of My Photos!!!