Infinite Black Background

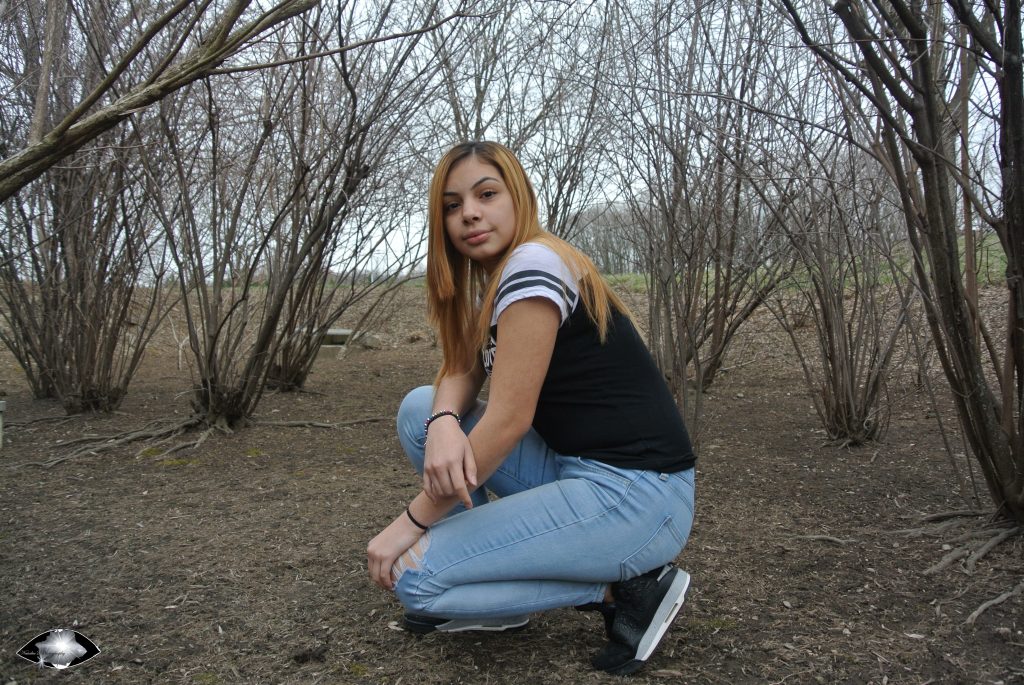
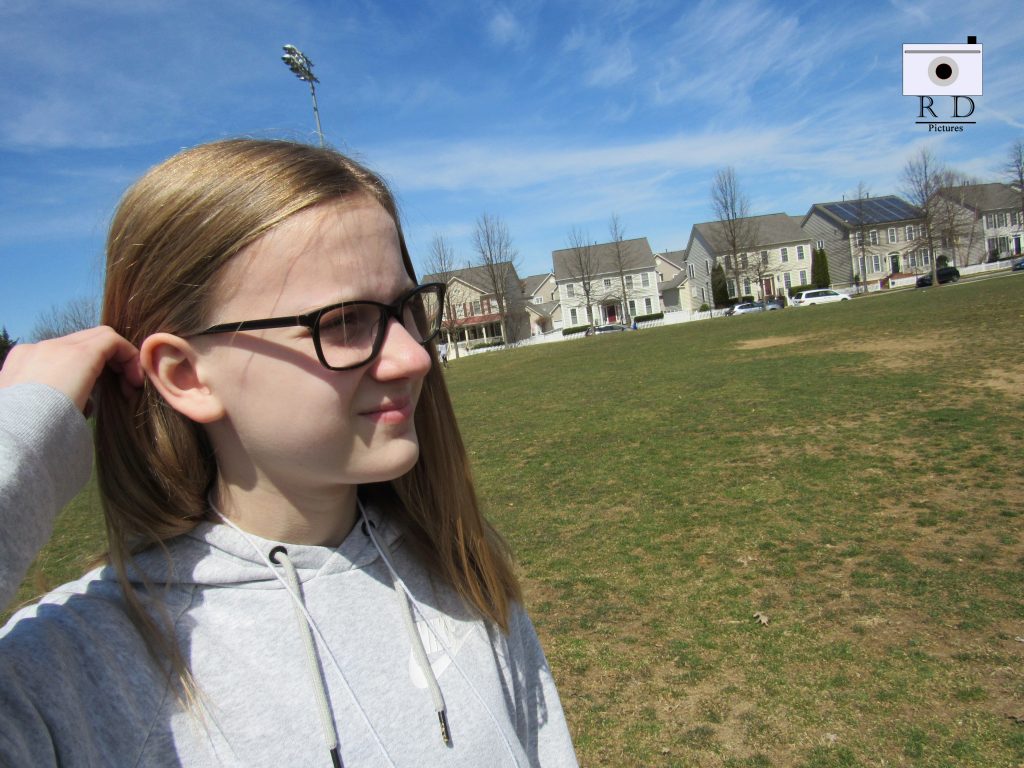
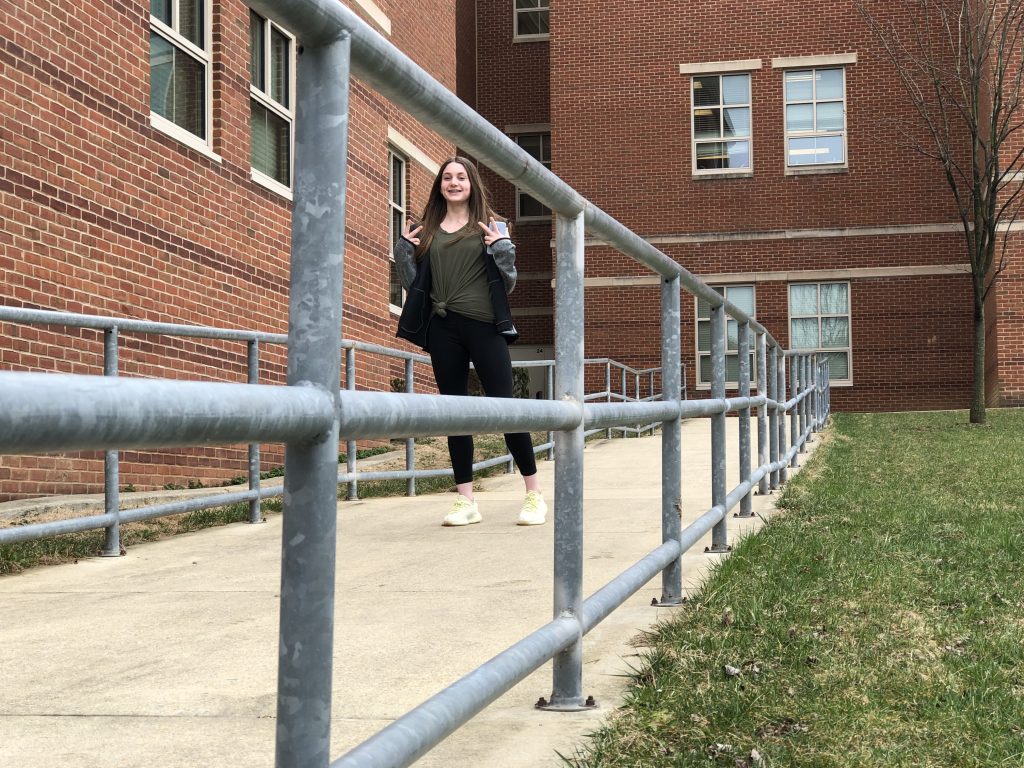
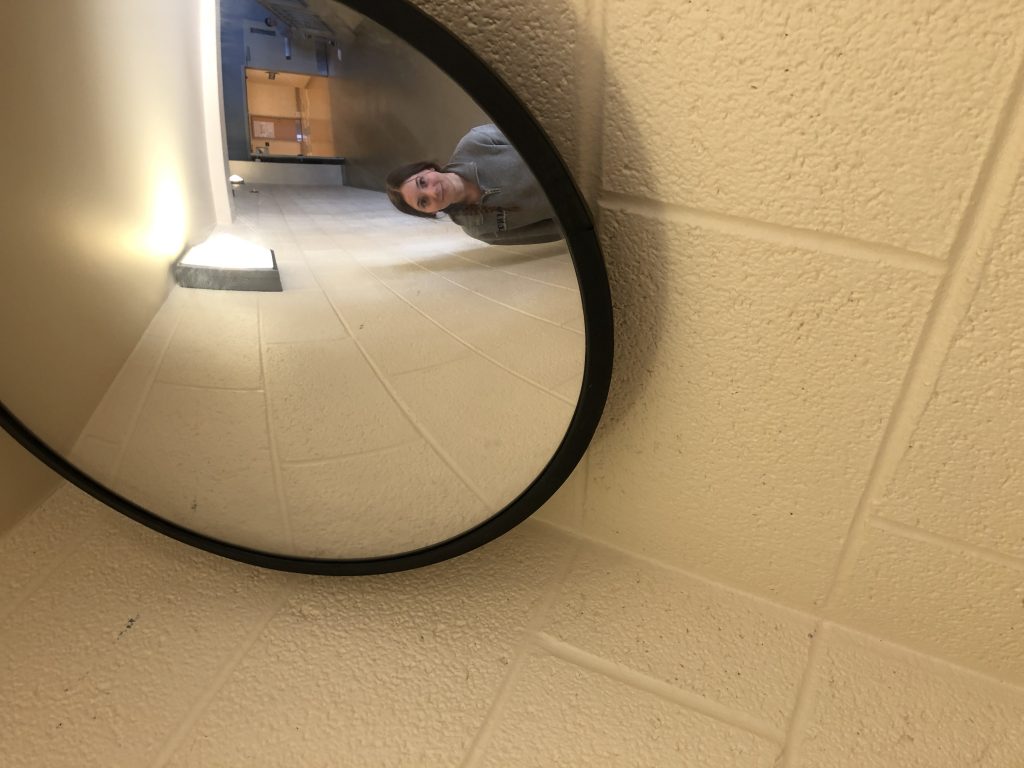
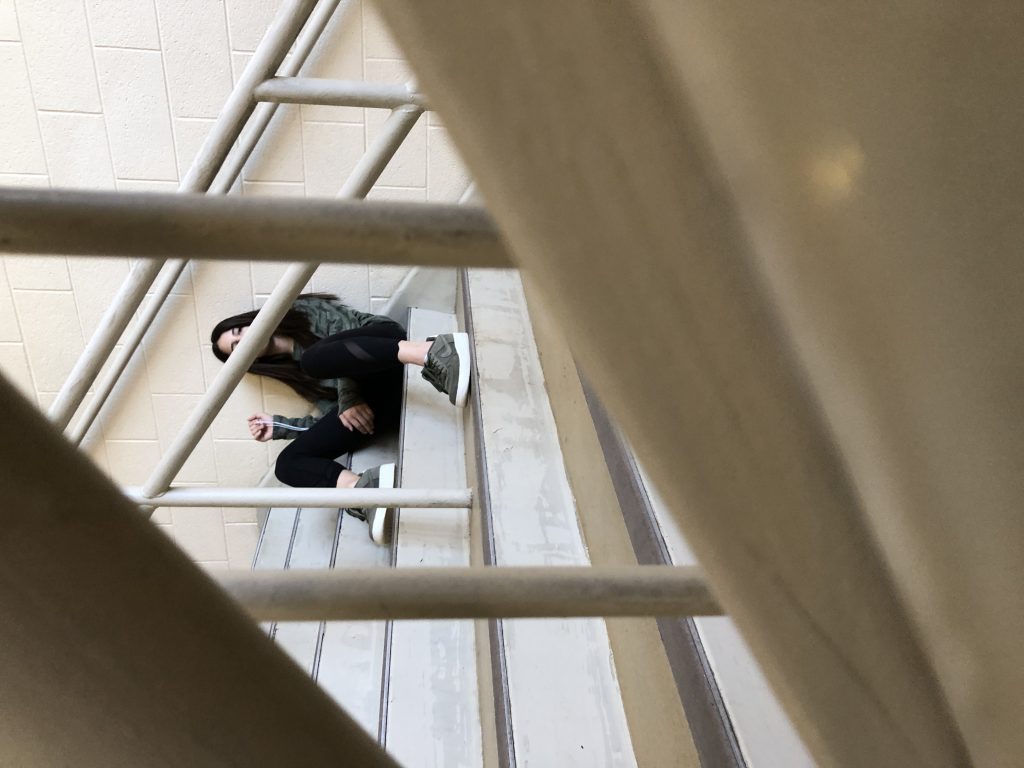
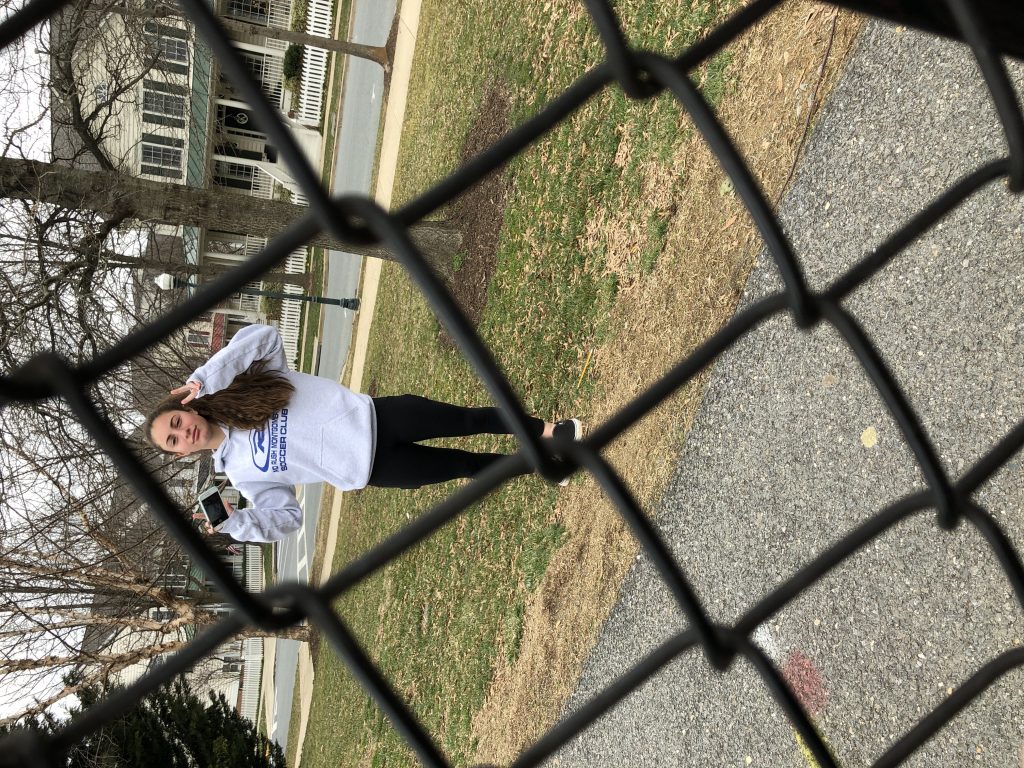
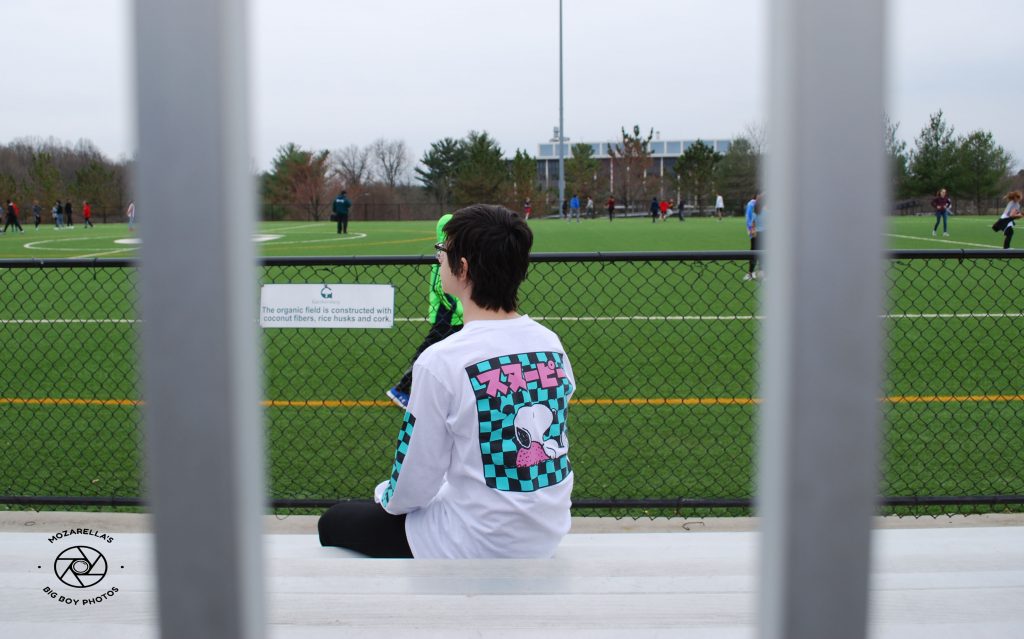
In the background project it first work with our group consistently changing the camera settings. Also different angels worked for this project. What worked in this project was perfectly getting the subject in the photo including them in the background as is they are dissolving.

click here

Framing

For this assignment, we had to pick a subject (person or object) to frame to make the photo interesting. The project of framing the subject and the rule of thirds both have a relationship with each other. The rule of thirds has imaginary lines to make the photo have more than one focus, while framing has a physical structure surrounding the focus in the photo. I picked this photo below because the frame is the branches, which surround Marelin as the focus. When I was working on this project it was kind of difficult for me to find the right frame for the photo. Click here to see my photos

Photo with White Background


For this projects, we had to create portraits of each other with an a white background. We had to use the manual settings of the camera to make all of our photos look right. It was difficult to get the lighting perfect. You had to position the lights correctly so there were no shadows on the background. It was easy to adjust the camera settings such as shutter speed. Here is a link to all my pictures. Below is my favorite photo.

White Background

In this project I had to put my group mates against a white colored background and take a photo trying to make the white background unnoticeable. What worked was placing there person in the photo a few steps away from the background. What didn’t work was standing too close or too far to the white background.

Framing

For this project the had to frame a person or object by using other objects to create a focal point in the picture. The reason I liked this project is because of how it is able to create such a magnificent picture. one of the things that I had found challenging about this project is finding a space where you are able to have good lighting and finding a good frame.

Click here to see my photos

Rule of Thirds

When taking my photos for the rule of thirds, I used the grid on the camera. Using the grid, I lined up my person and/ my objects on one third of the grid on my camera. Your eye automatically focuses on the rule of thirds. In this project, it was hard to edit the photos so that the object or person is exactly on the rule of thirds. Before this project, I had no clue what the rule of thirds was, but now, I can use it with any pictures I take.

Click here for my photos

Framing my subject

We had to take photos using ” frames” with people in them. This project is different then the rule of thirds because this is more about framing then focusing on where the person is. My favorite is Anna claire with the poles because it shows a good demo of framing. I had challenges on finding out what to frame.

Click here to see my photos

Framing Your Subject

In this project we had to frame our subject in between 2 objects. We had less freedom than with the Rule of Thirds because we had to have it in between things and we couldn’t just take pictures of whatever we wanted. It was hard to find good objects to put our subjects in between but in the end we used a lot of fences and trees. This is my favorite picture because I like the contrast of the colors of the shirt with the ground and the rest of the picture.

Here is the link to the folder with all the images.