Framing Your Subject

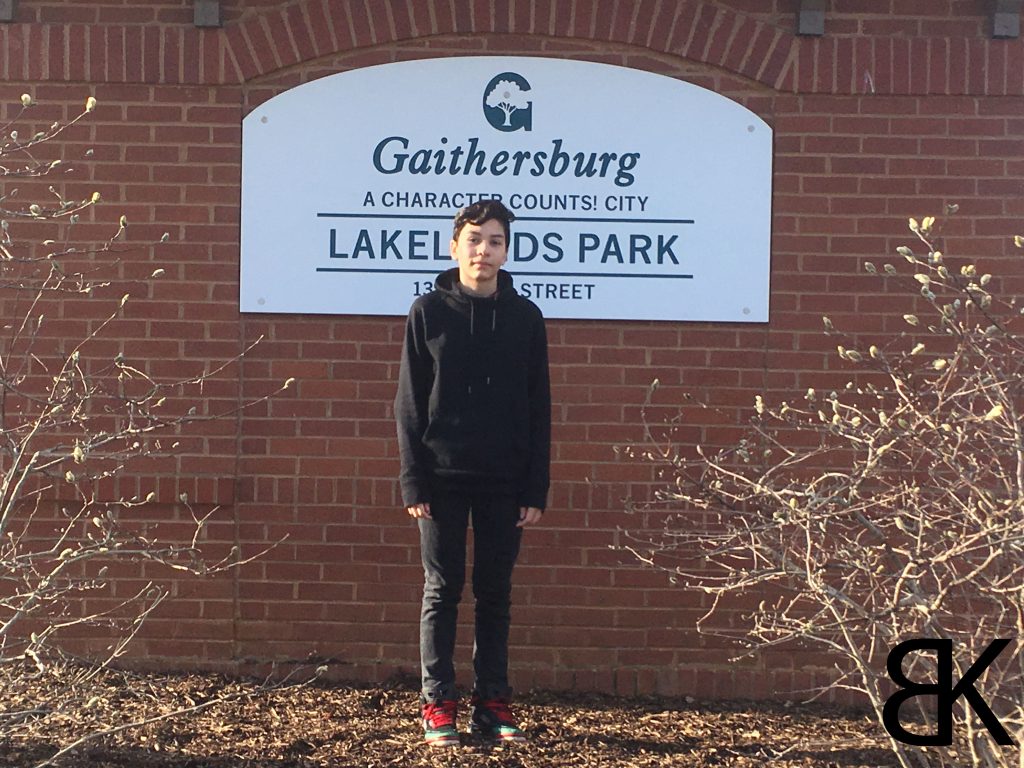
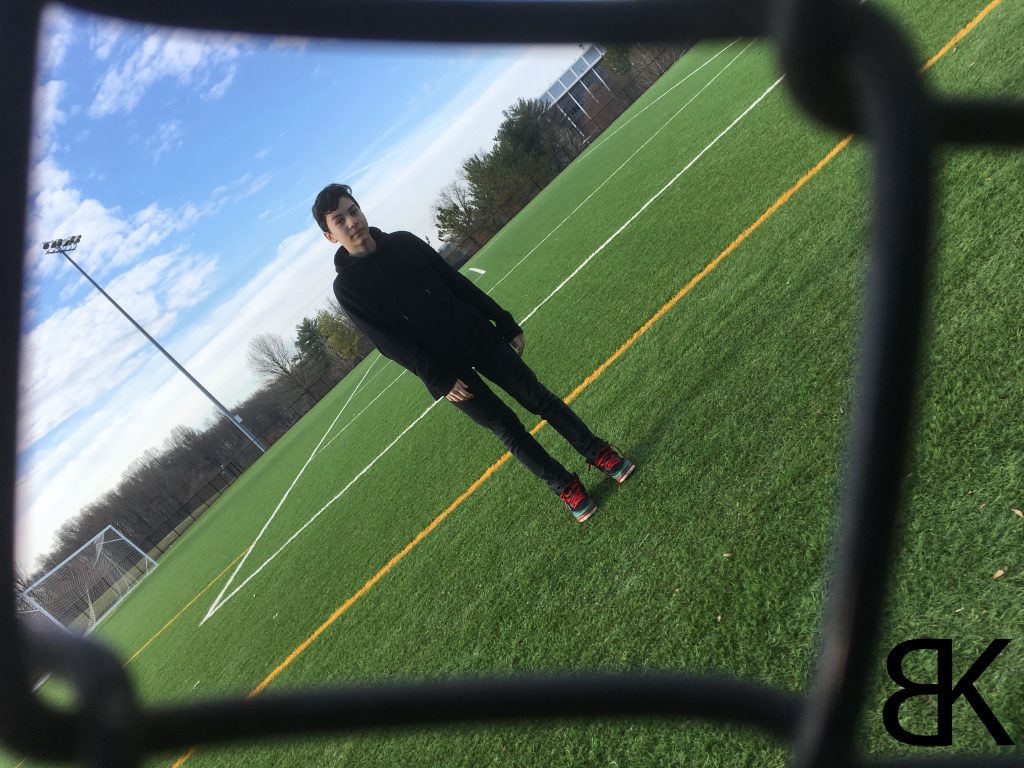
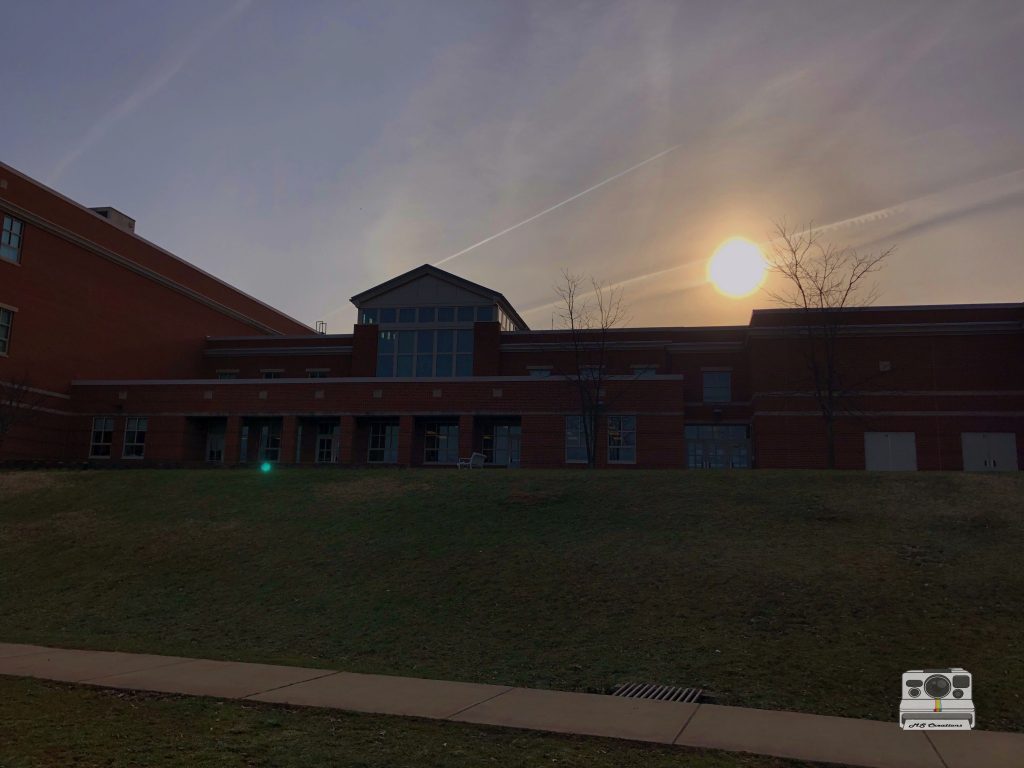
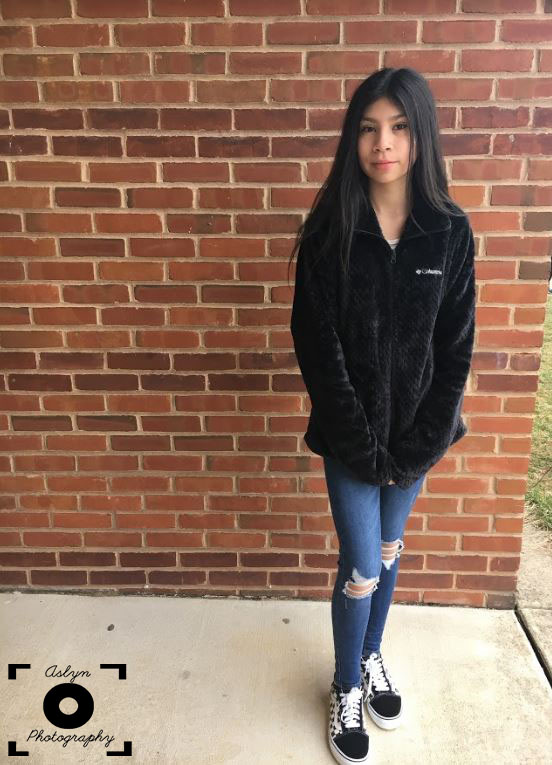
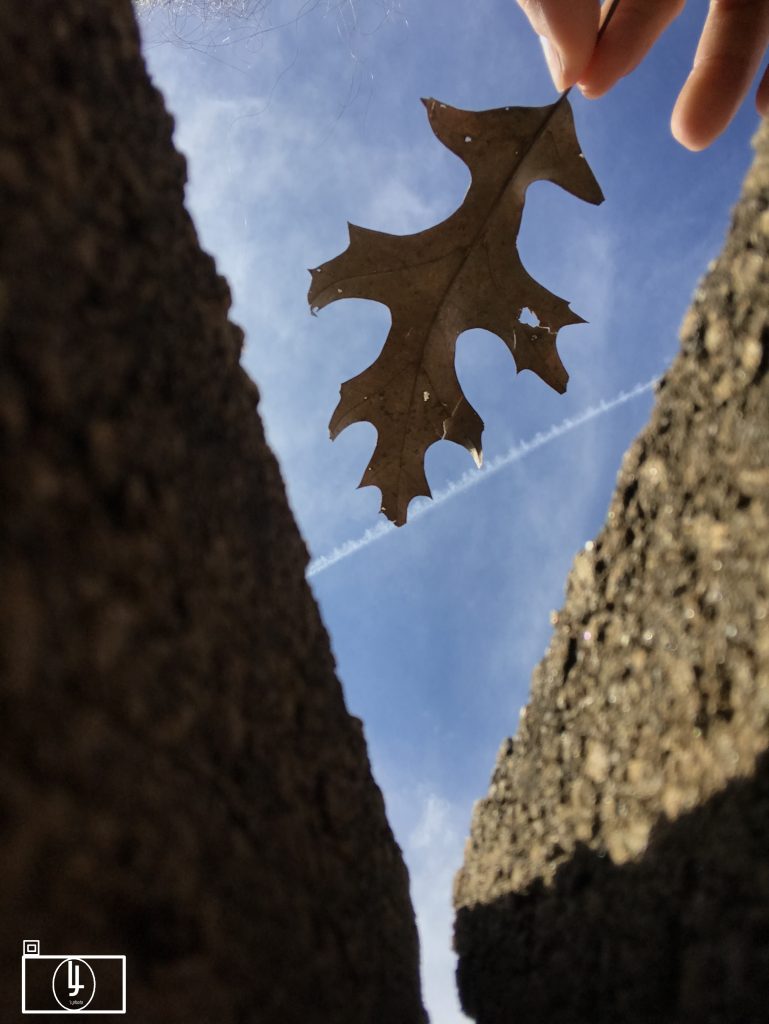
In this project I used buildings and objects around the school grounds to frame my subject. This project was like the Rule of Thirds because I had to move my subject to make him the main focus of the picture. My favorite picture was the one shown right below. I think that the bushes created the perfect frame and created a good frame that surrounded my subject. The red bricks also created a very good background covering the whole picture. There was really nothing in this project I found too hard because all I had to basically do was find a frame, and put someone in the middle of it.

Click here for my other photos

Rule of Thirds

Instead of the main focal point being in the center. In Rule of Thirds, the focal point is off to the side. What worked for me is what the main focal point of the picture should be, but what was kind of difficult is where I should place it in the photo. When I first started this project I didn’t really understand the point of Rule of Thirds, but now I understand how it gives you different types of pictures without the object being your whole picture. In the pictures that I took, I made sure that everything wasn’t on the same line and the picture captured the background as well.

Click here to see more of my photos

Rule of Thirds

For this assignment, we had to take photos inside and outside using the rule of thirds technique. To take a successful photo using this technique, you have to align an object or a person using an imaginary grid. The grid is split into thirds, and you place objects you want to stand out on the intersections. At first I thought this photo project would be super easy, but it was a little more challenging then I thought.

Click here to see the rest of my photos

Rule of thirds!

The rule of thirds is basically taking a photo like looking at something and then looking the background of it. Something that worked well in this project would be taking the photo. Something that was hard to do was looking the right spot to take the photos. Honestly this project was kinda fun but kinda difficult at the same time. I think it was more fun at the beginning but then it got kinda boring. While I was taking the photos I used the lines to help it make rule of thirds. And then I just placed something or someone in the line. Click here to see the rest of my photos!

Rule of thirds

Rule of Thirds is when you place everything in a photo on “lines” that help the viewer go from one part of the picture to the other. The “lines” are a group of lines on a camera that divides the image into nine even pieces. What worked was placing the subject wear the lines on the sides meet. What didn’t work was placing the subject directly in the center of the photo. At the beginning of the project, I thought this project would be really easy but then I realized I always center the subject of my photos. Below I put my favorite photo with a person and my favorite without a person. Click here to view the rest.

Framing Your Subject

In this project, we used creative frames to make our subjects stand out in the photos we took. we could use frames such as trees, windows, doors, bookshelves, etc. This relates to the rule of thirds because in the rule of thirds we put people in certain places to make the viewer look at the subject first. In this project, we put our subject in creatively placed frames so that the viewer looks at the subject through the frame.

this is my favorite photo because it includes both rule of thirds and framing your subject. I am using the bookshelves to frame my subject (Sophia) which makes it framing your subject. The bookshelves seem to all be pointing at Sophia which adds a cool effect. She is also on one of the rule of thirds lines which makes it rule of thirds as well. I faced challenges when i was trying to be creative with my frame because it seemed like everything looked the same.

to see more photos click here

Rule Of Thirds

https://drive.google.com/open?id=1-2KCH7s7vTpy34kWTWKXy5xqwlztbQZb

In this assignment you have to take photos using the Rule of Thirds Grid. It was hard to find objects and a good background to take a photo. It was easy to go outside and find things but if your inside it made is very difficult for me to find a good object. I thought that the Rule of Thirds were going to be useless in this assignment but they helped a lot to take the photo. I think now that I know how to use the Rule of Thirds it’s useful, and helps the photo very well. I use the left and right lines because they made the photos look nice with the background.

Framing

For this project, I learn how to take photos with framing. Framing makes photos interesting. Framing is different from rule of thirds because in my view the “framing” makes certain objects standout. Either the object that’s inside of the framing or the framing itself. On the other side, rule of thirds is the object that stands out on one the lines, shows background or foreground. One challenge that I faced was trying to find a good frame to take the photo.

click here to see my photos