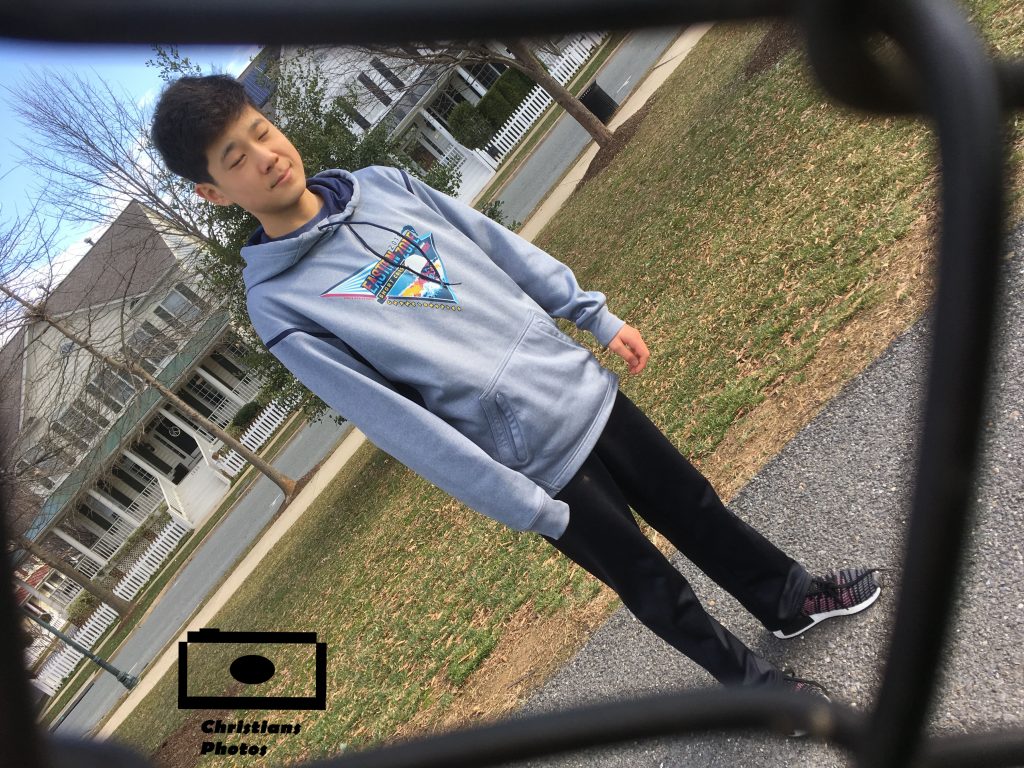
In this project we had to put the subject in between a frame. The hardest part was finding a good object to frame.
Black Backgrounds
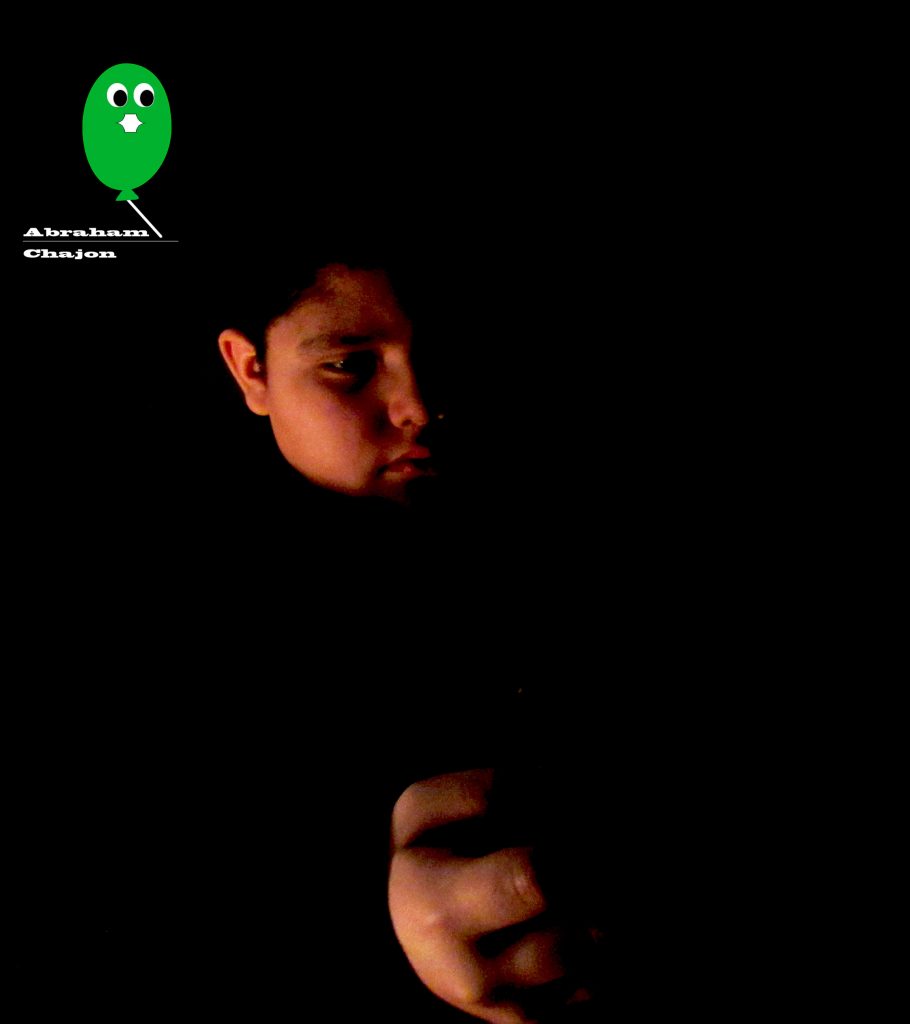
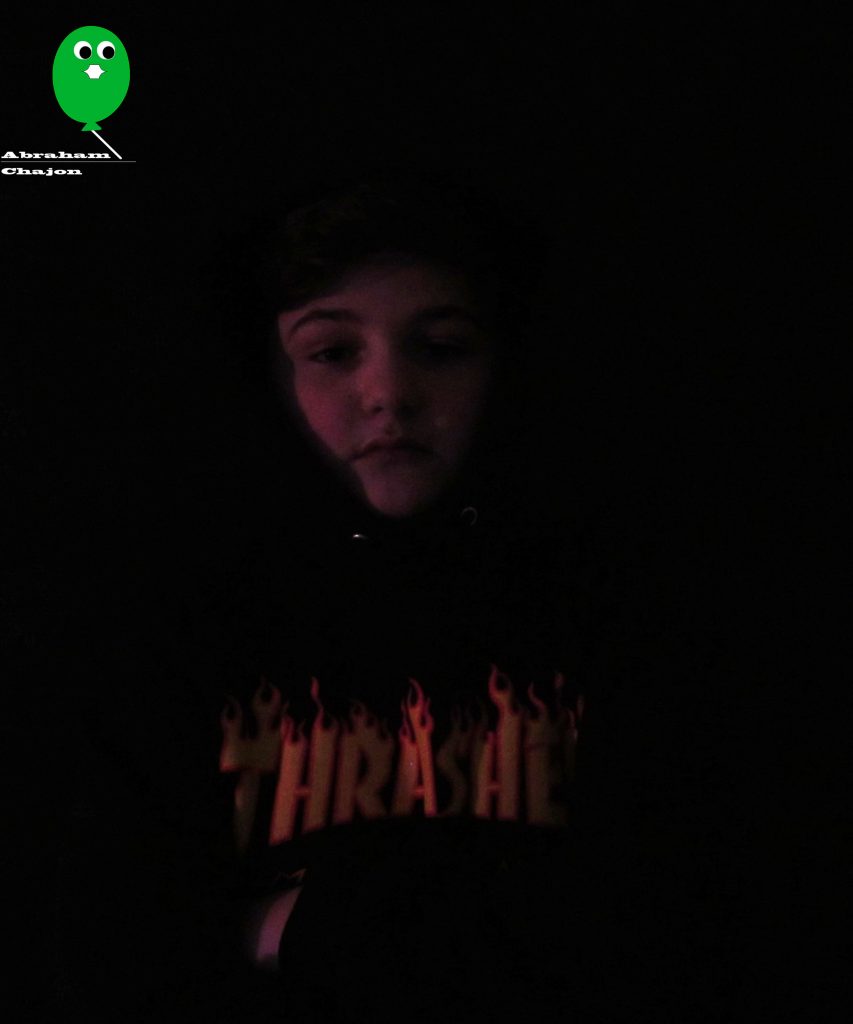
The way we made these pictures was pretty complex with getting the black background not even visual and nothing being there. Things that worked a lot better like darker clothes instead of like blue and such. Anyways here are some pictures to see the rest click here
Rule of Thirds
Having a person or an object in front of no background worked really well. If a person was in front of the wall that didn’t work well. The rule of thirds project helped me realize that there are many different forms of taking pictures. The lines helped position the main focus of the image in a place where the viewers eyes could still wonder behind the main focus.

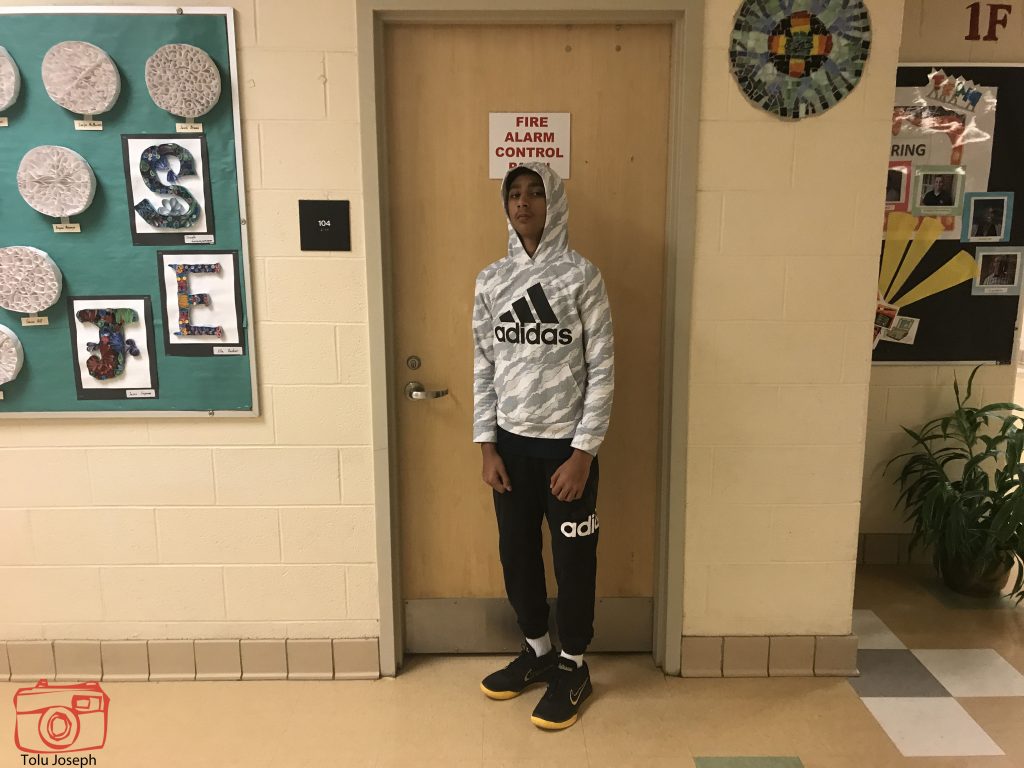
Framing
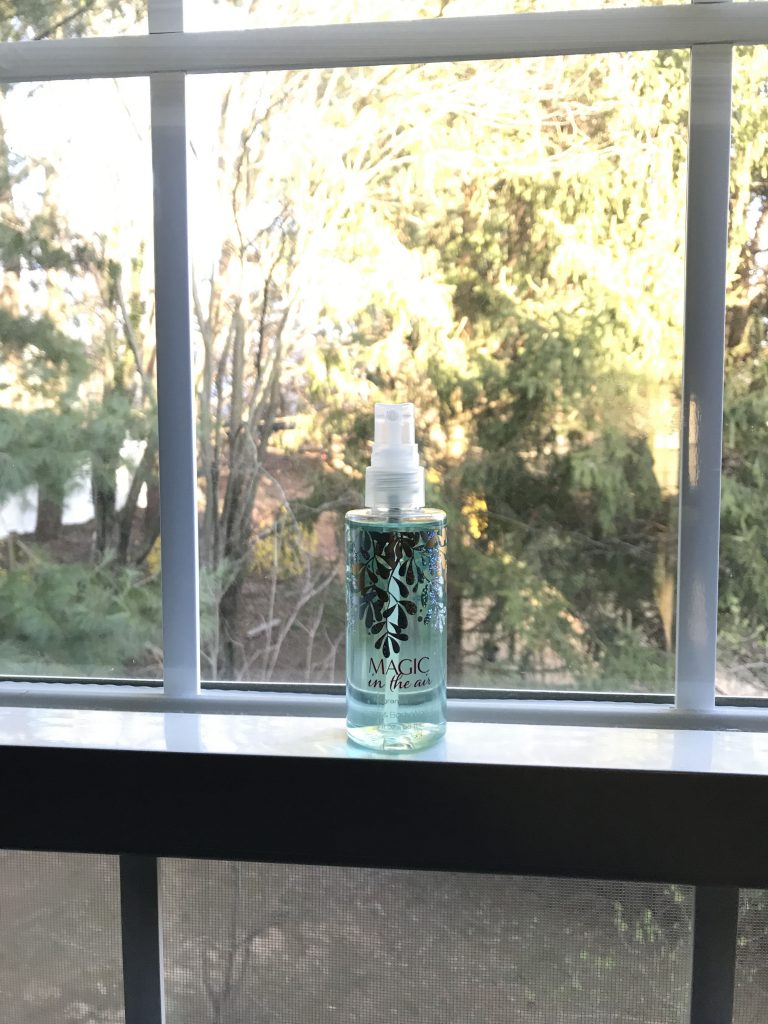
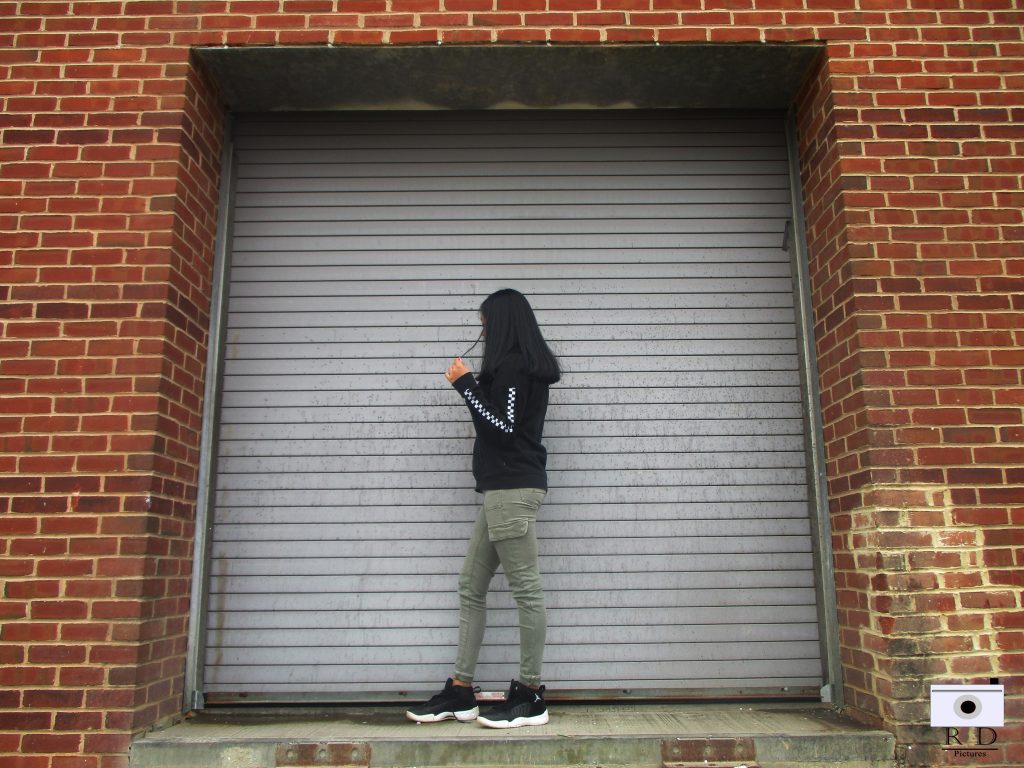
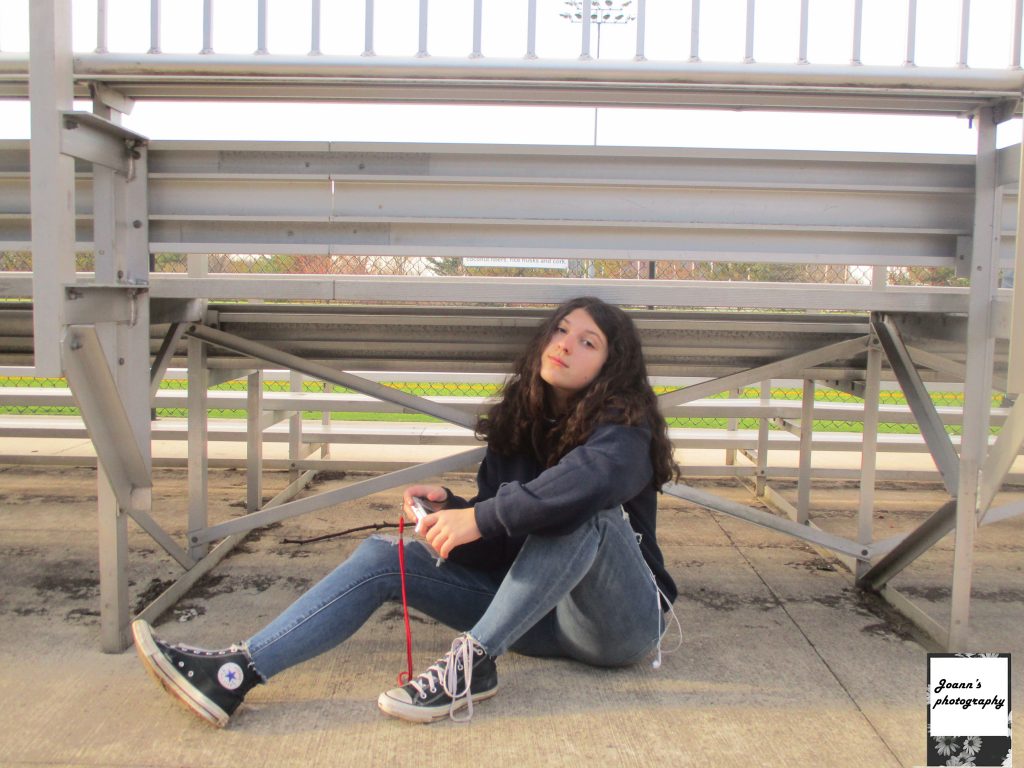
For this project we had to take pictures of people or objects in a “frame”. The frame could have been objects such as windows, doorways, or in between tree branches, etc. This project compares to the rule of thirds because they both use lines to force you to focus on the subject. These projects are also different because the rule of thirds use imaginary lines while this project uses visible lines to focus on your subject. The biggest challenge of this project was the lighting, sometimes we had really good spots to take pictures but sometimes not.
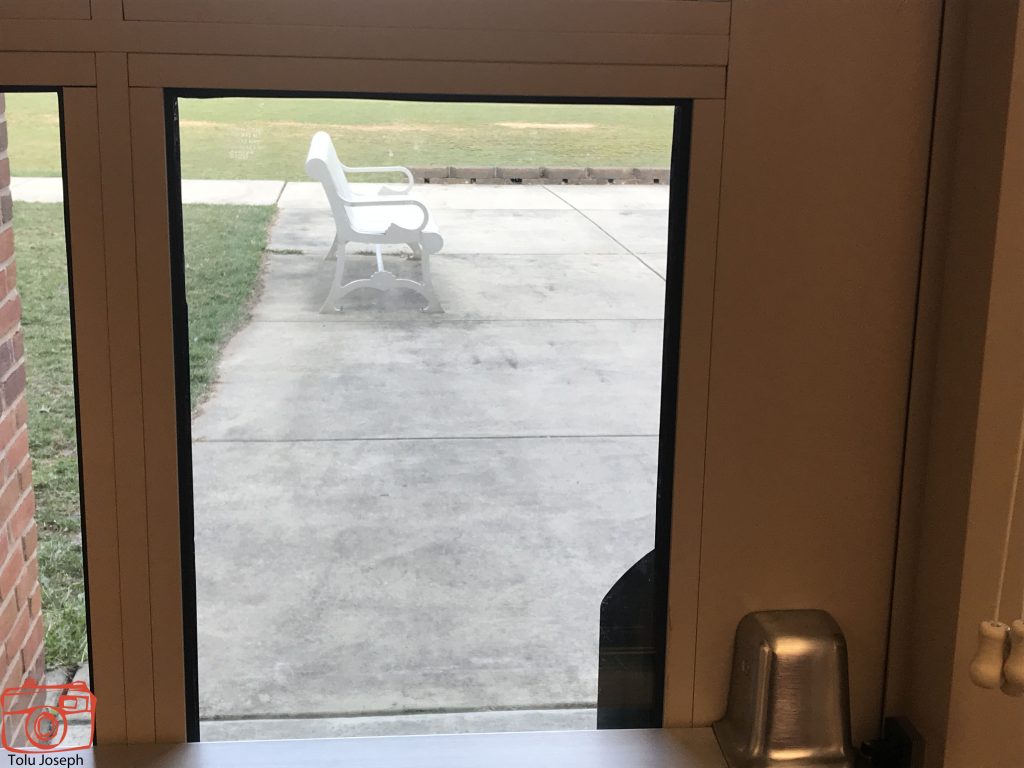
Framing
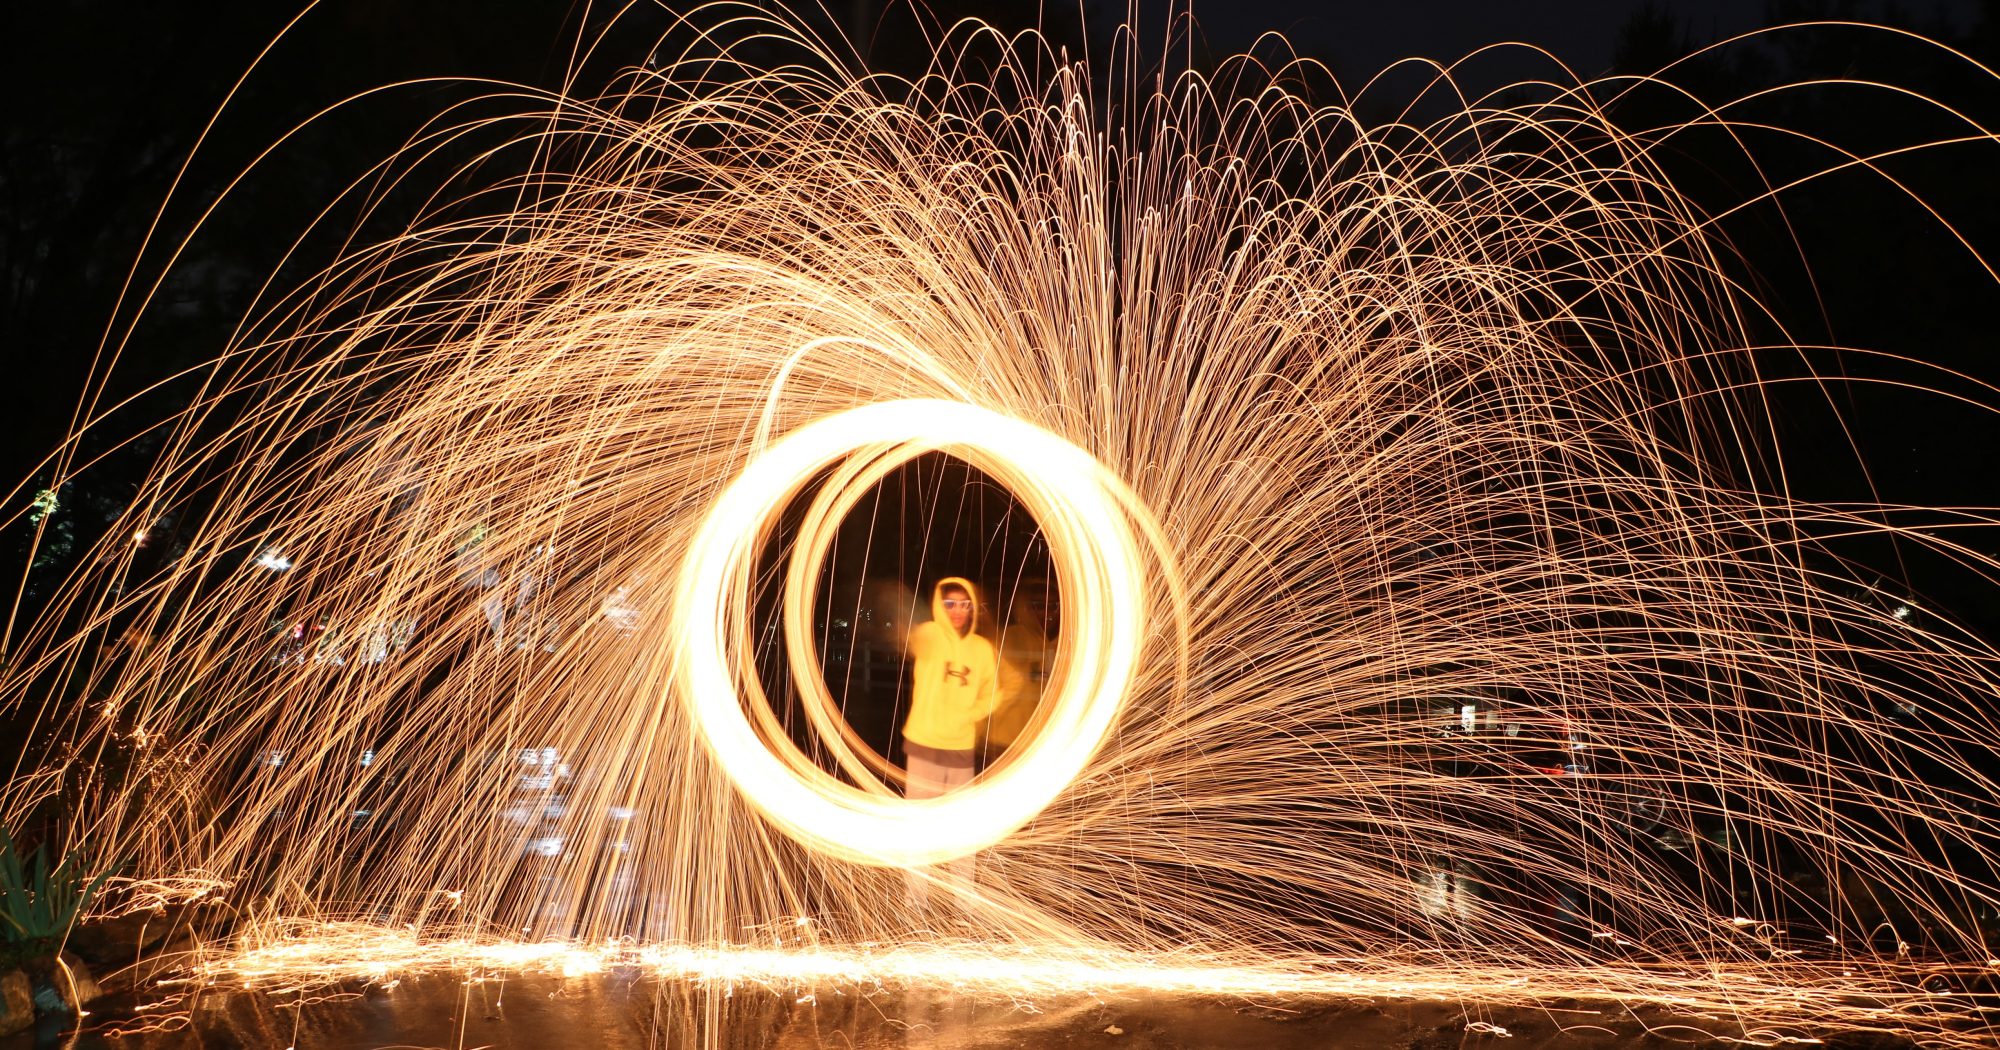
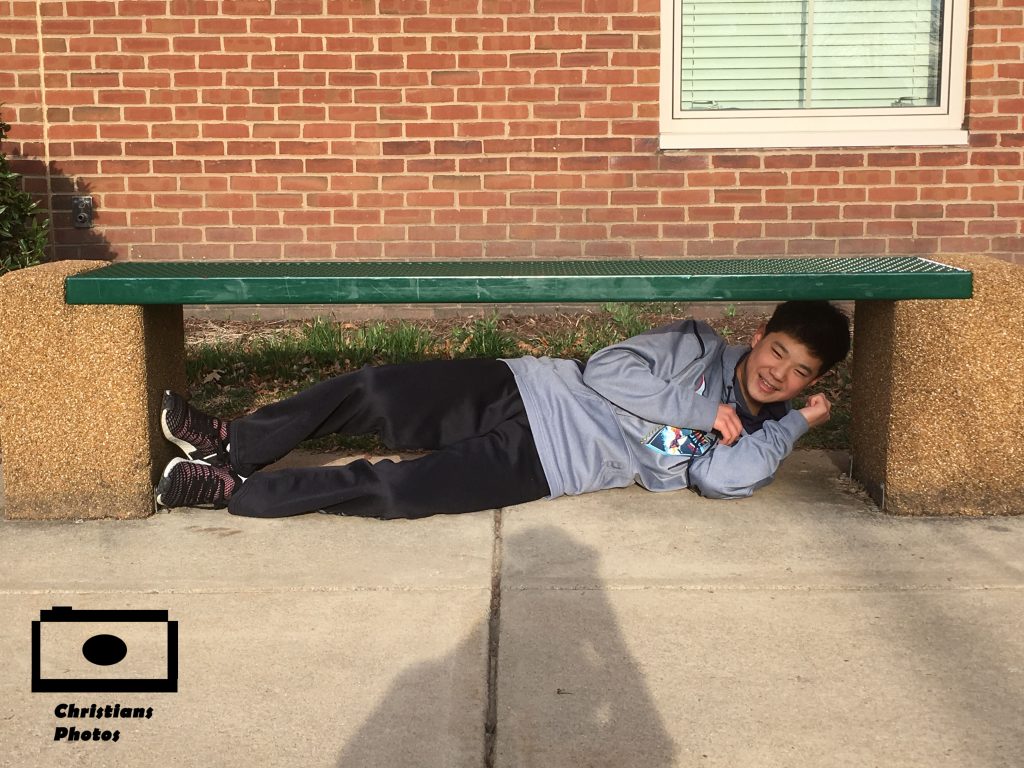
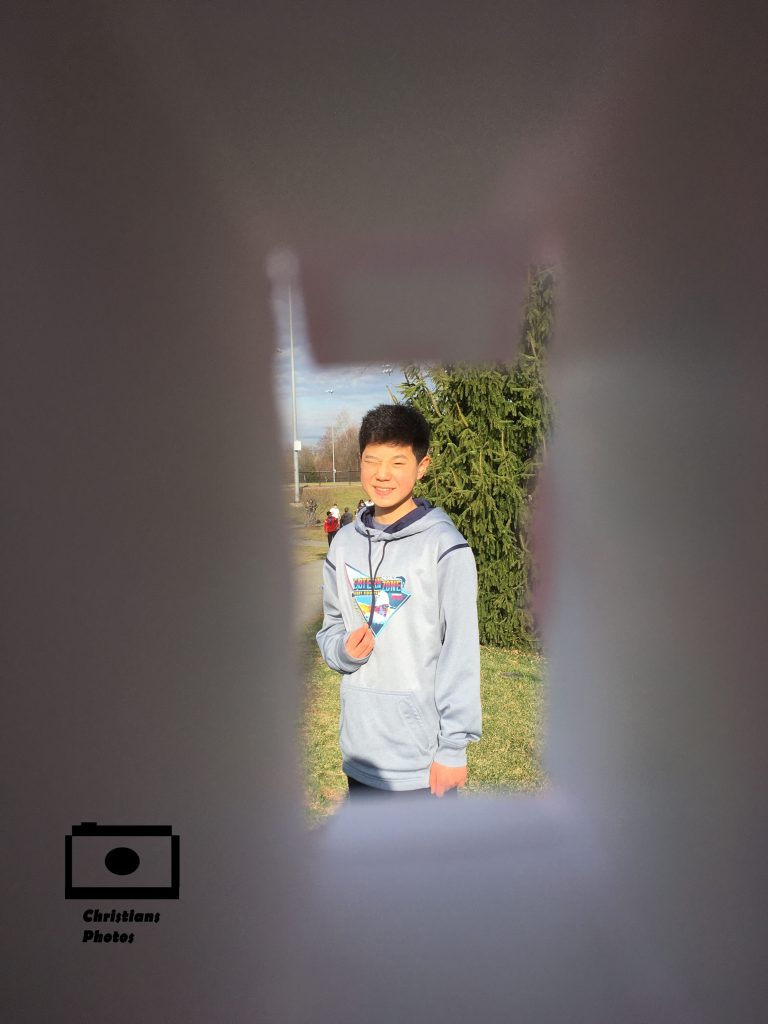
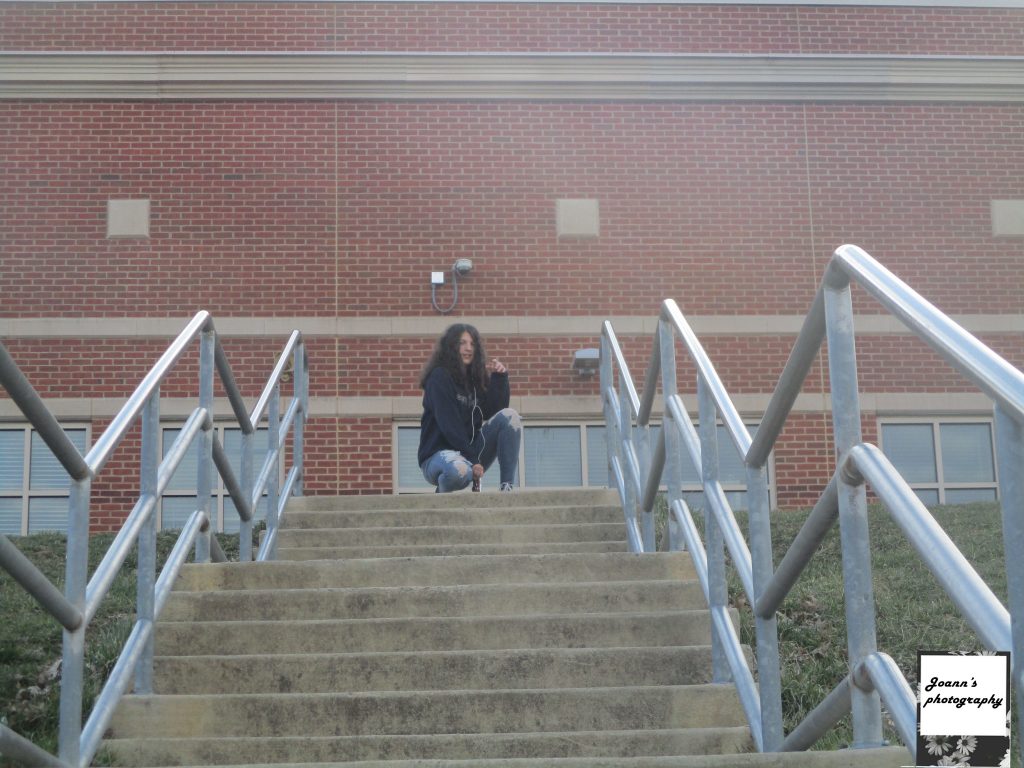
In this project, we had to find objects that could make a natural frame of something. This assignment was similar to the rule of thirds, because when you look at a photo that uses the framing technique, your eye goes straight to whats inside the frame. This photo was my favorite because it makes the person stand out. It was a challenge to find natural frames but overall it was fun.
Click here to see my photos.
Framing

For this project we had to find places where if you take a picture there will be a box or shape surrounding the object or person.The rule of thirds were easier than this project and i liked rule of thirds better.The challenges we faced were trying to find good framing.My favorite picture is the 4th one because the frame is a box of nerds.Click here to see more.
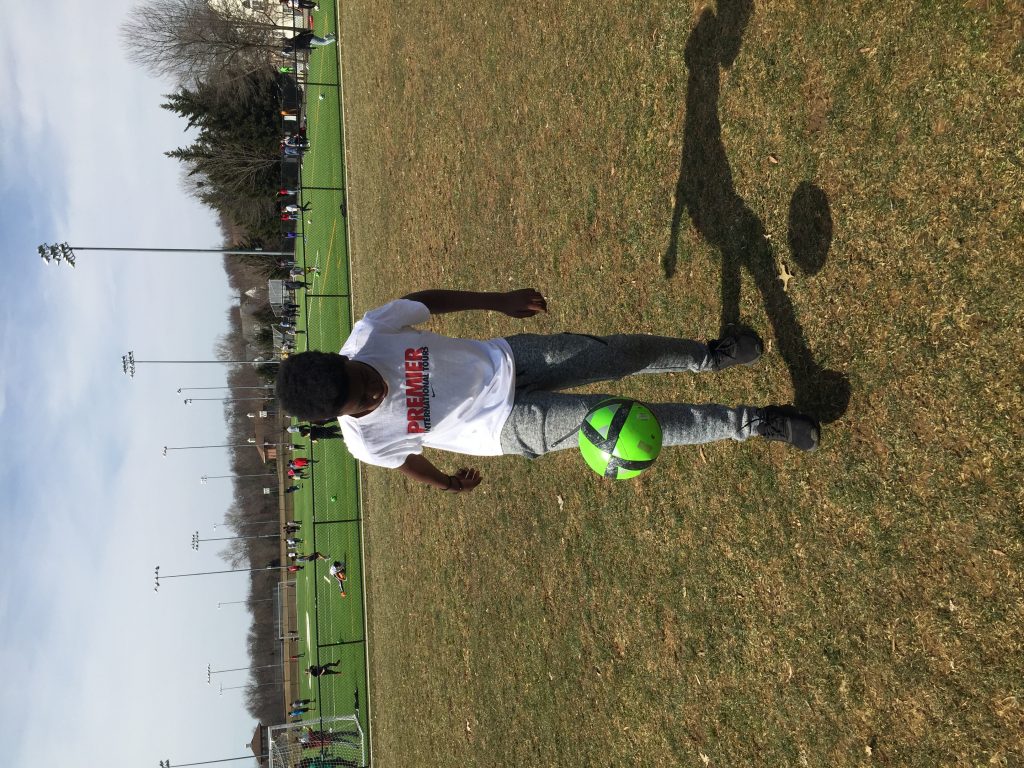
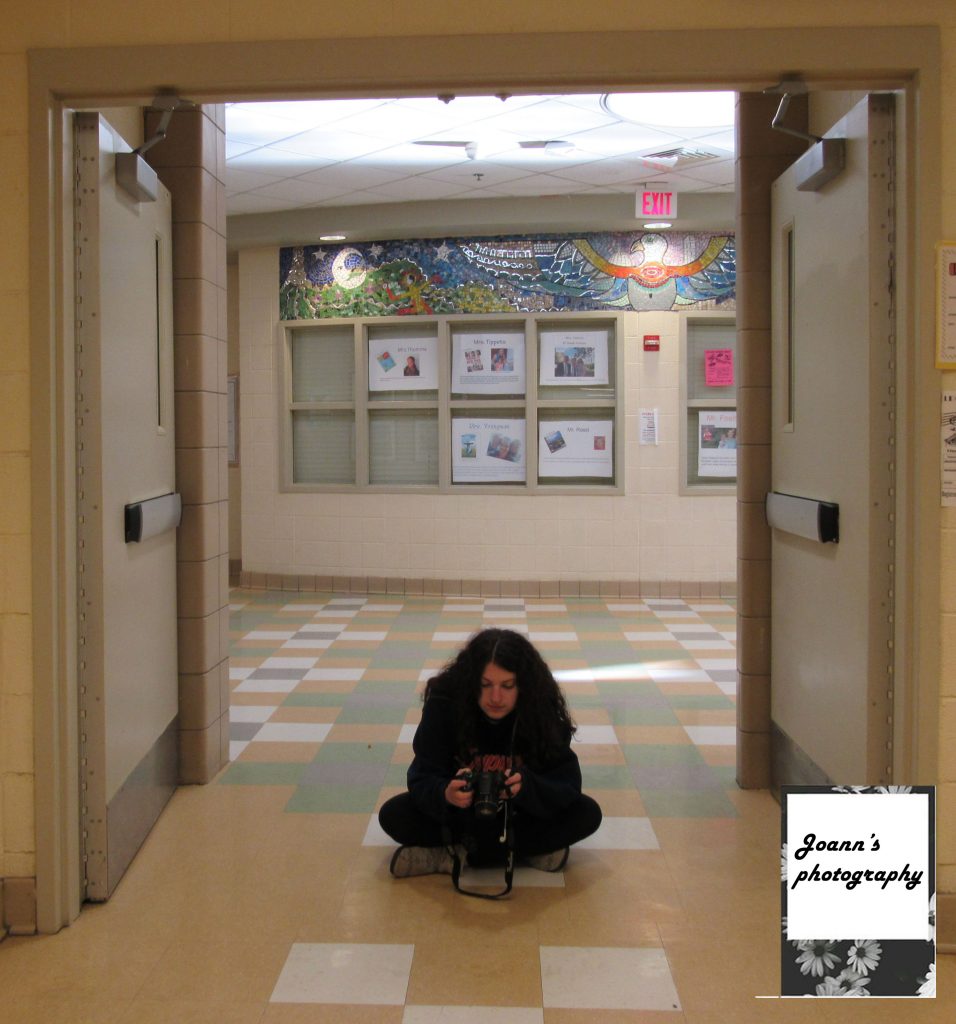
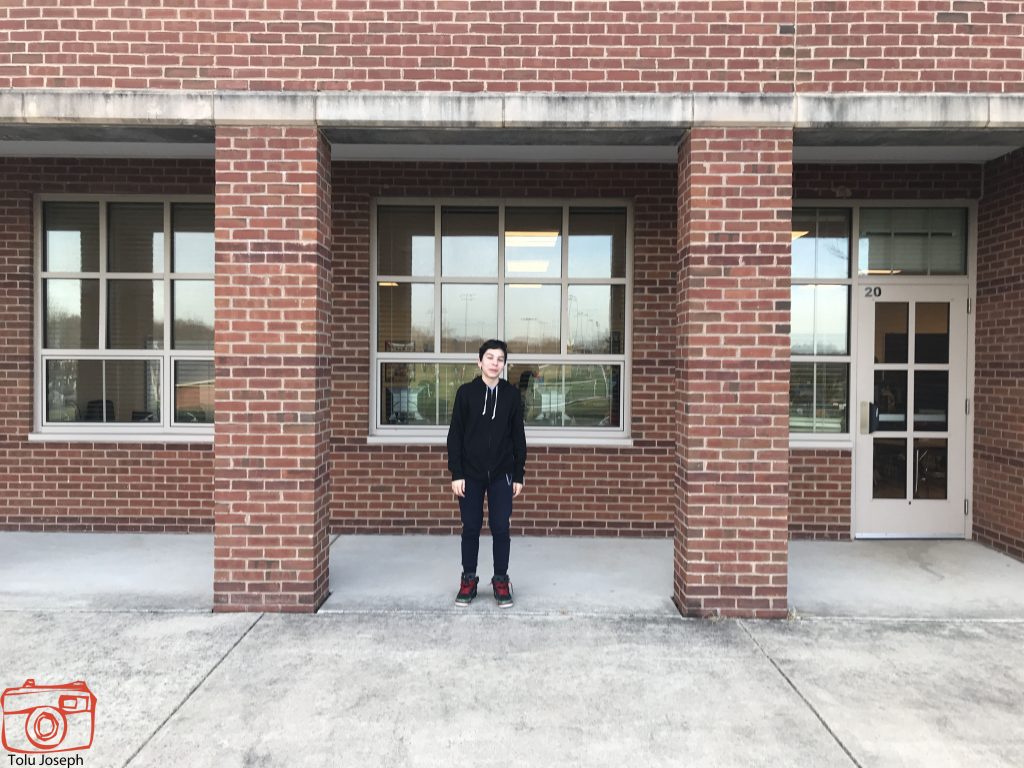
Framing your subject!
Framing the subject is a project that we did recent. Its where you are taking a photo which something is framing the subject. Framing the subject and The rule of thirds are completely opposite, Rule of thirds is talking a photo of someone or something like looking it first then the background. Framing the subject is something framing something or someone. Something that was challenging in this project was looking for a place to frame something. Overall it was a fun project And I liked that we went outside for it. Click here to see the rest of my photos.
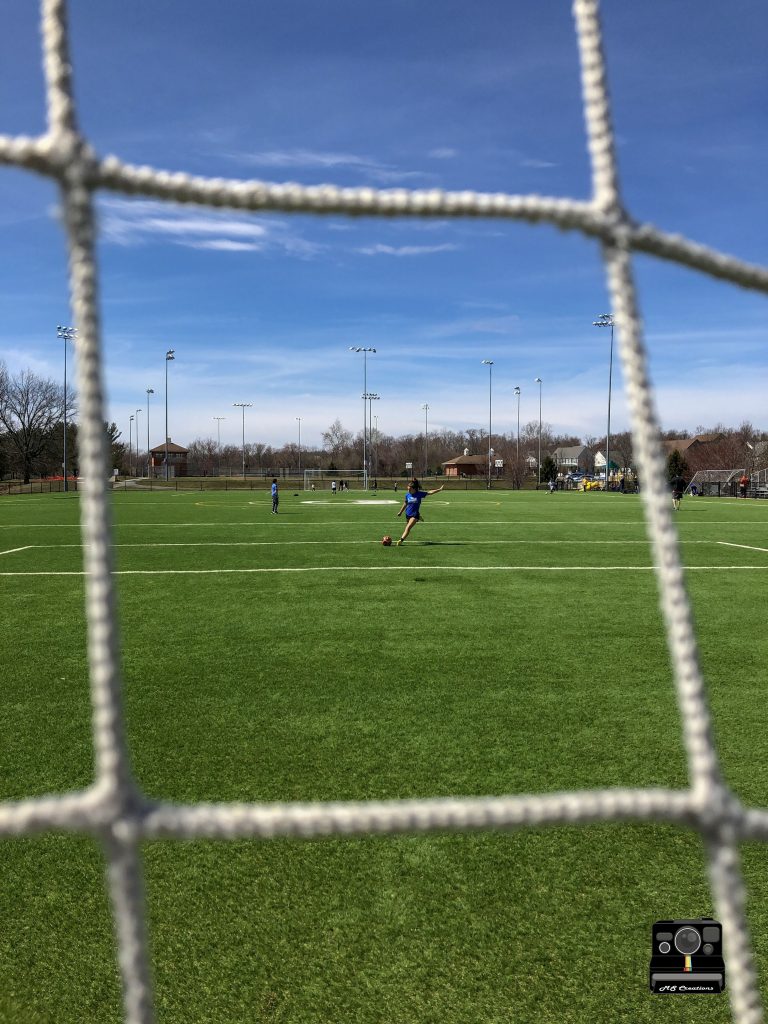
Framing your subject
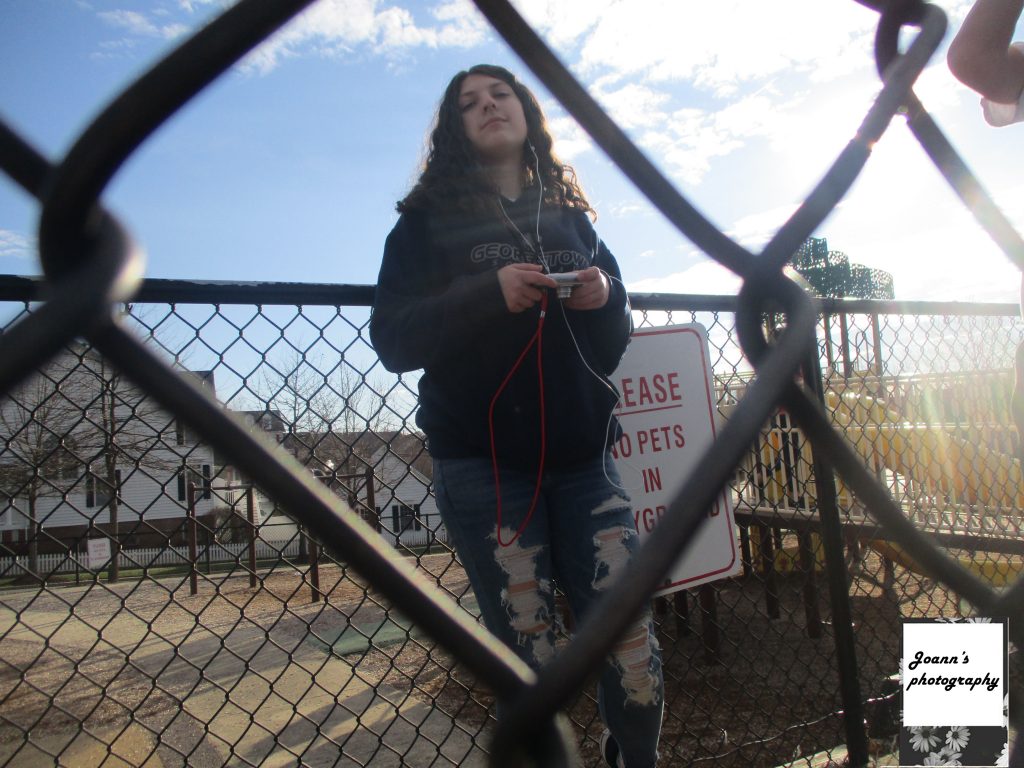
In this project we had to frame our subject with objects or places we could find to take a picture of. Instead of positioning your subject in a rule of thirds area you have to put them on a frame. The challenges I found in this project was finding an interesting thing to frame my subject in. My favorite photo is the picture that has my subject Mary Conner being framed by the fence, it is my favorite because it looks interesting and I think it has a good angle. All my photos are here.

Framing Your Subject
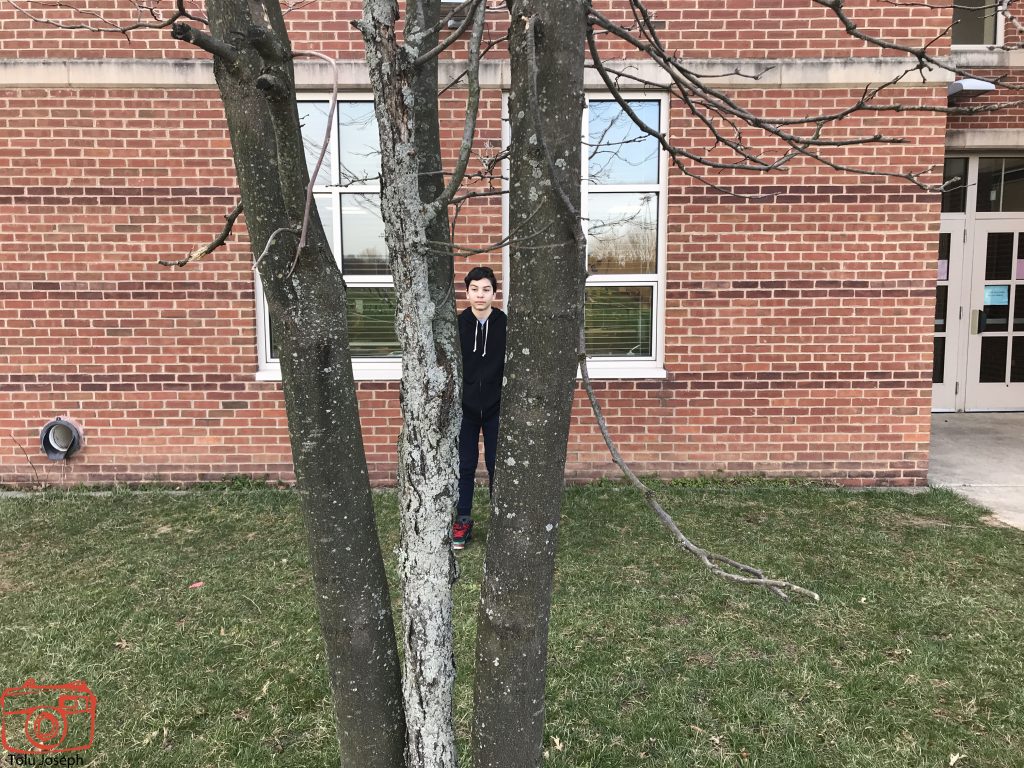
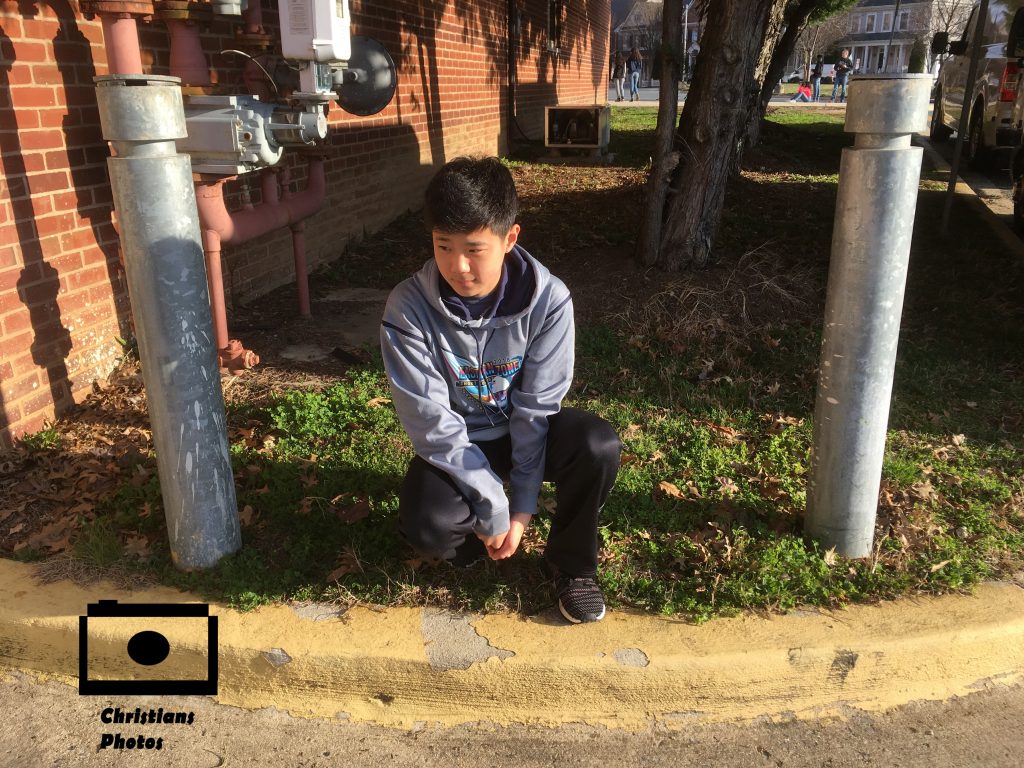
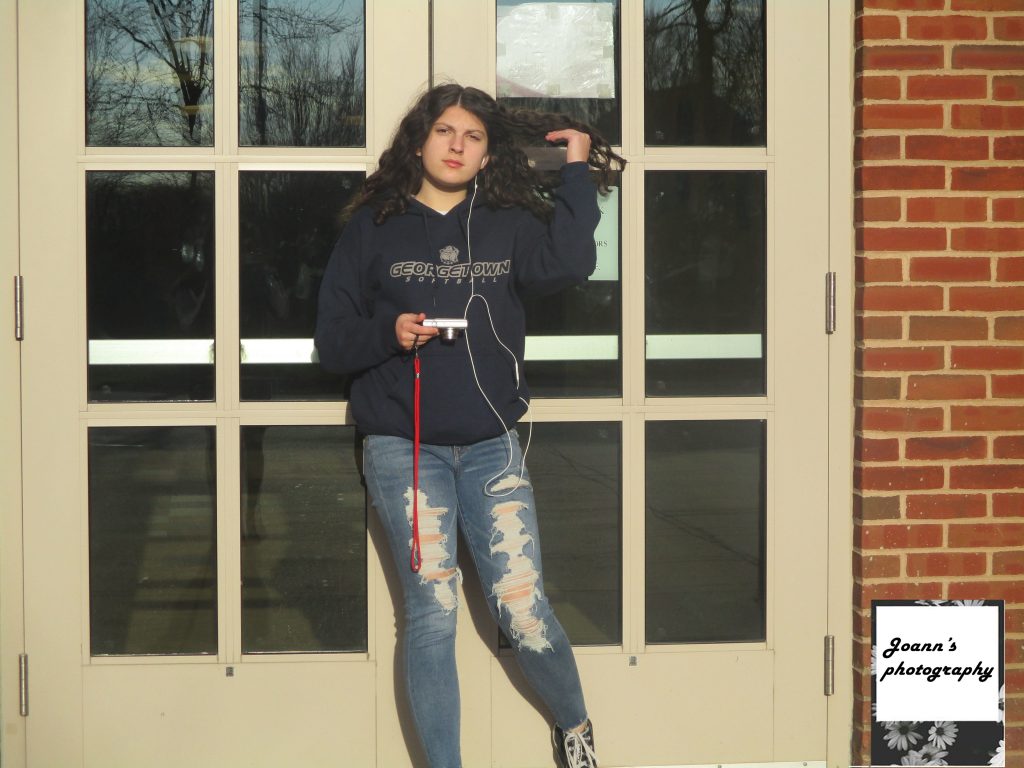
In this project we had to use natural and man made frames to take pictures. In this project we didn’t have to use rule of thirds so the pictures could be more centered. My favorite is Christian in between the tree because it took a while to find the perfect angle and stuff. A challenge was finding interesting frames to use.
Framing
In this project, we had to have an object around something that would frame it. Mirrors, cups, doorways etc. This was similar to the rule of thirds because the frame makes the photo interesting. Its different from the rule of the thirds because since in framing your object is your main focal point. Some challenges I had were finding what frames to put my subject in.
Click here more to see more of my photos