Click here to see the rest of my photos!
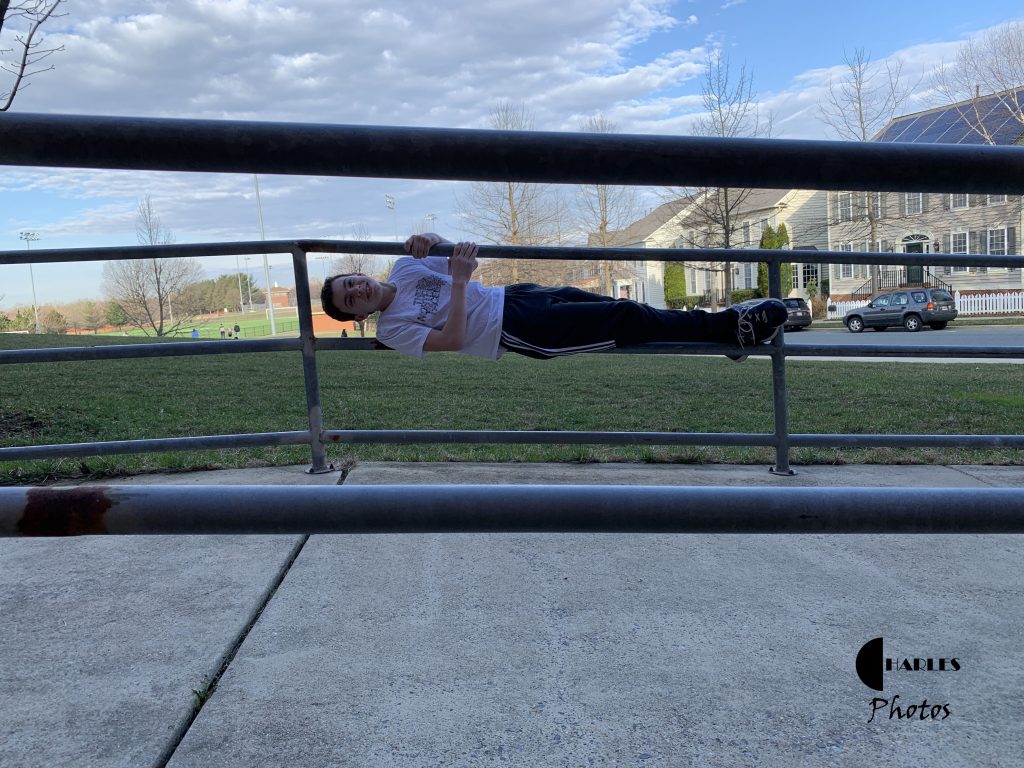
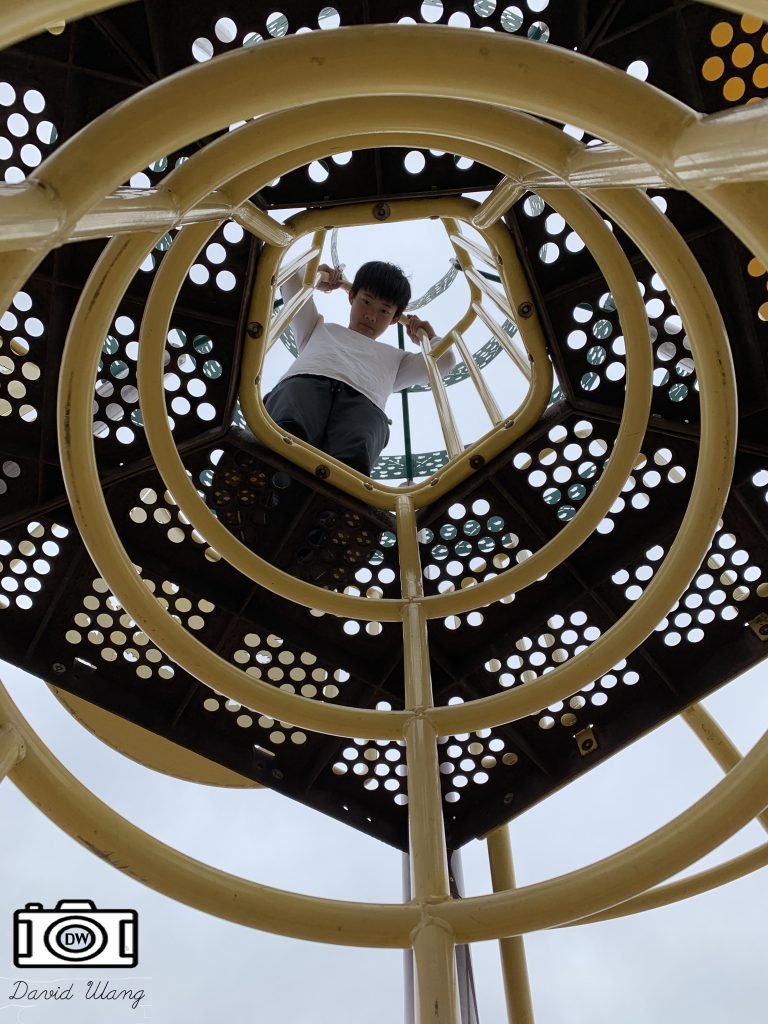
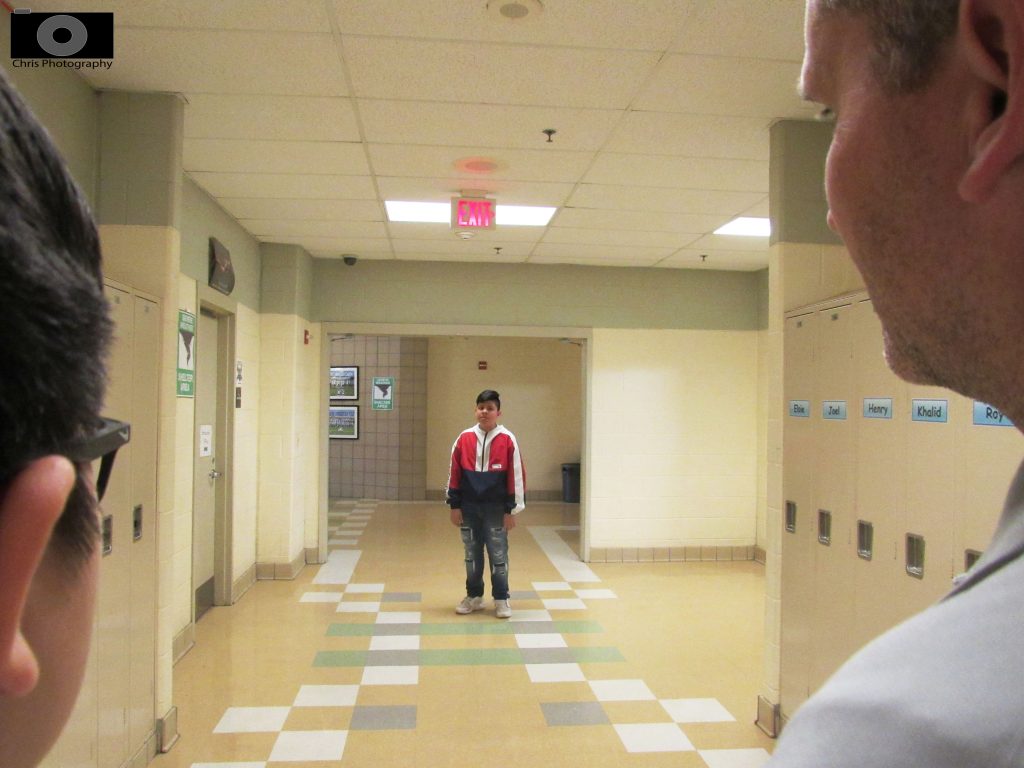
The top photo is my favorite one. That is because I had to be so creative to think of that position. It was fun when I got to do that pose after. In this project I had to frame a subject in a natural frame. It was hard to go around and find frames to use.