White Background

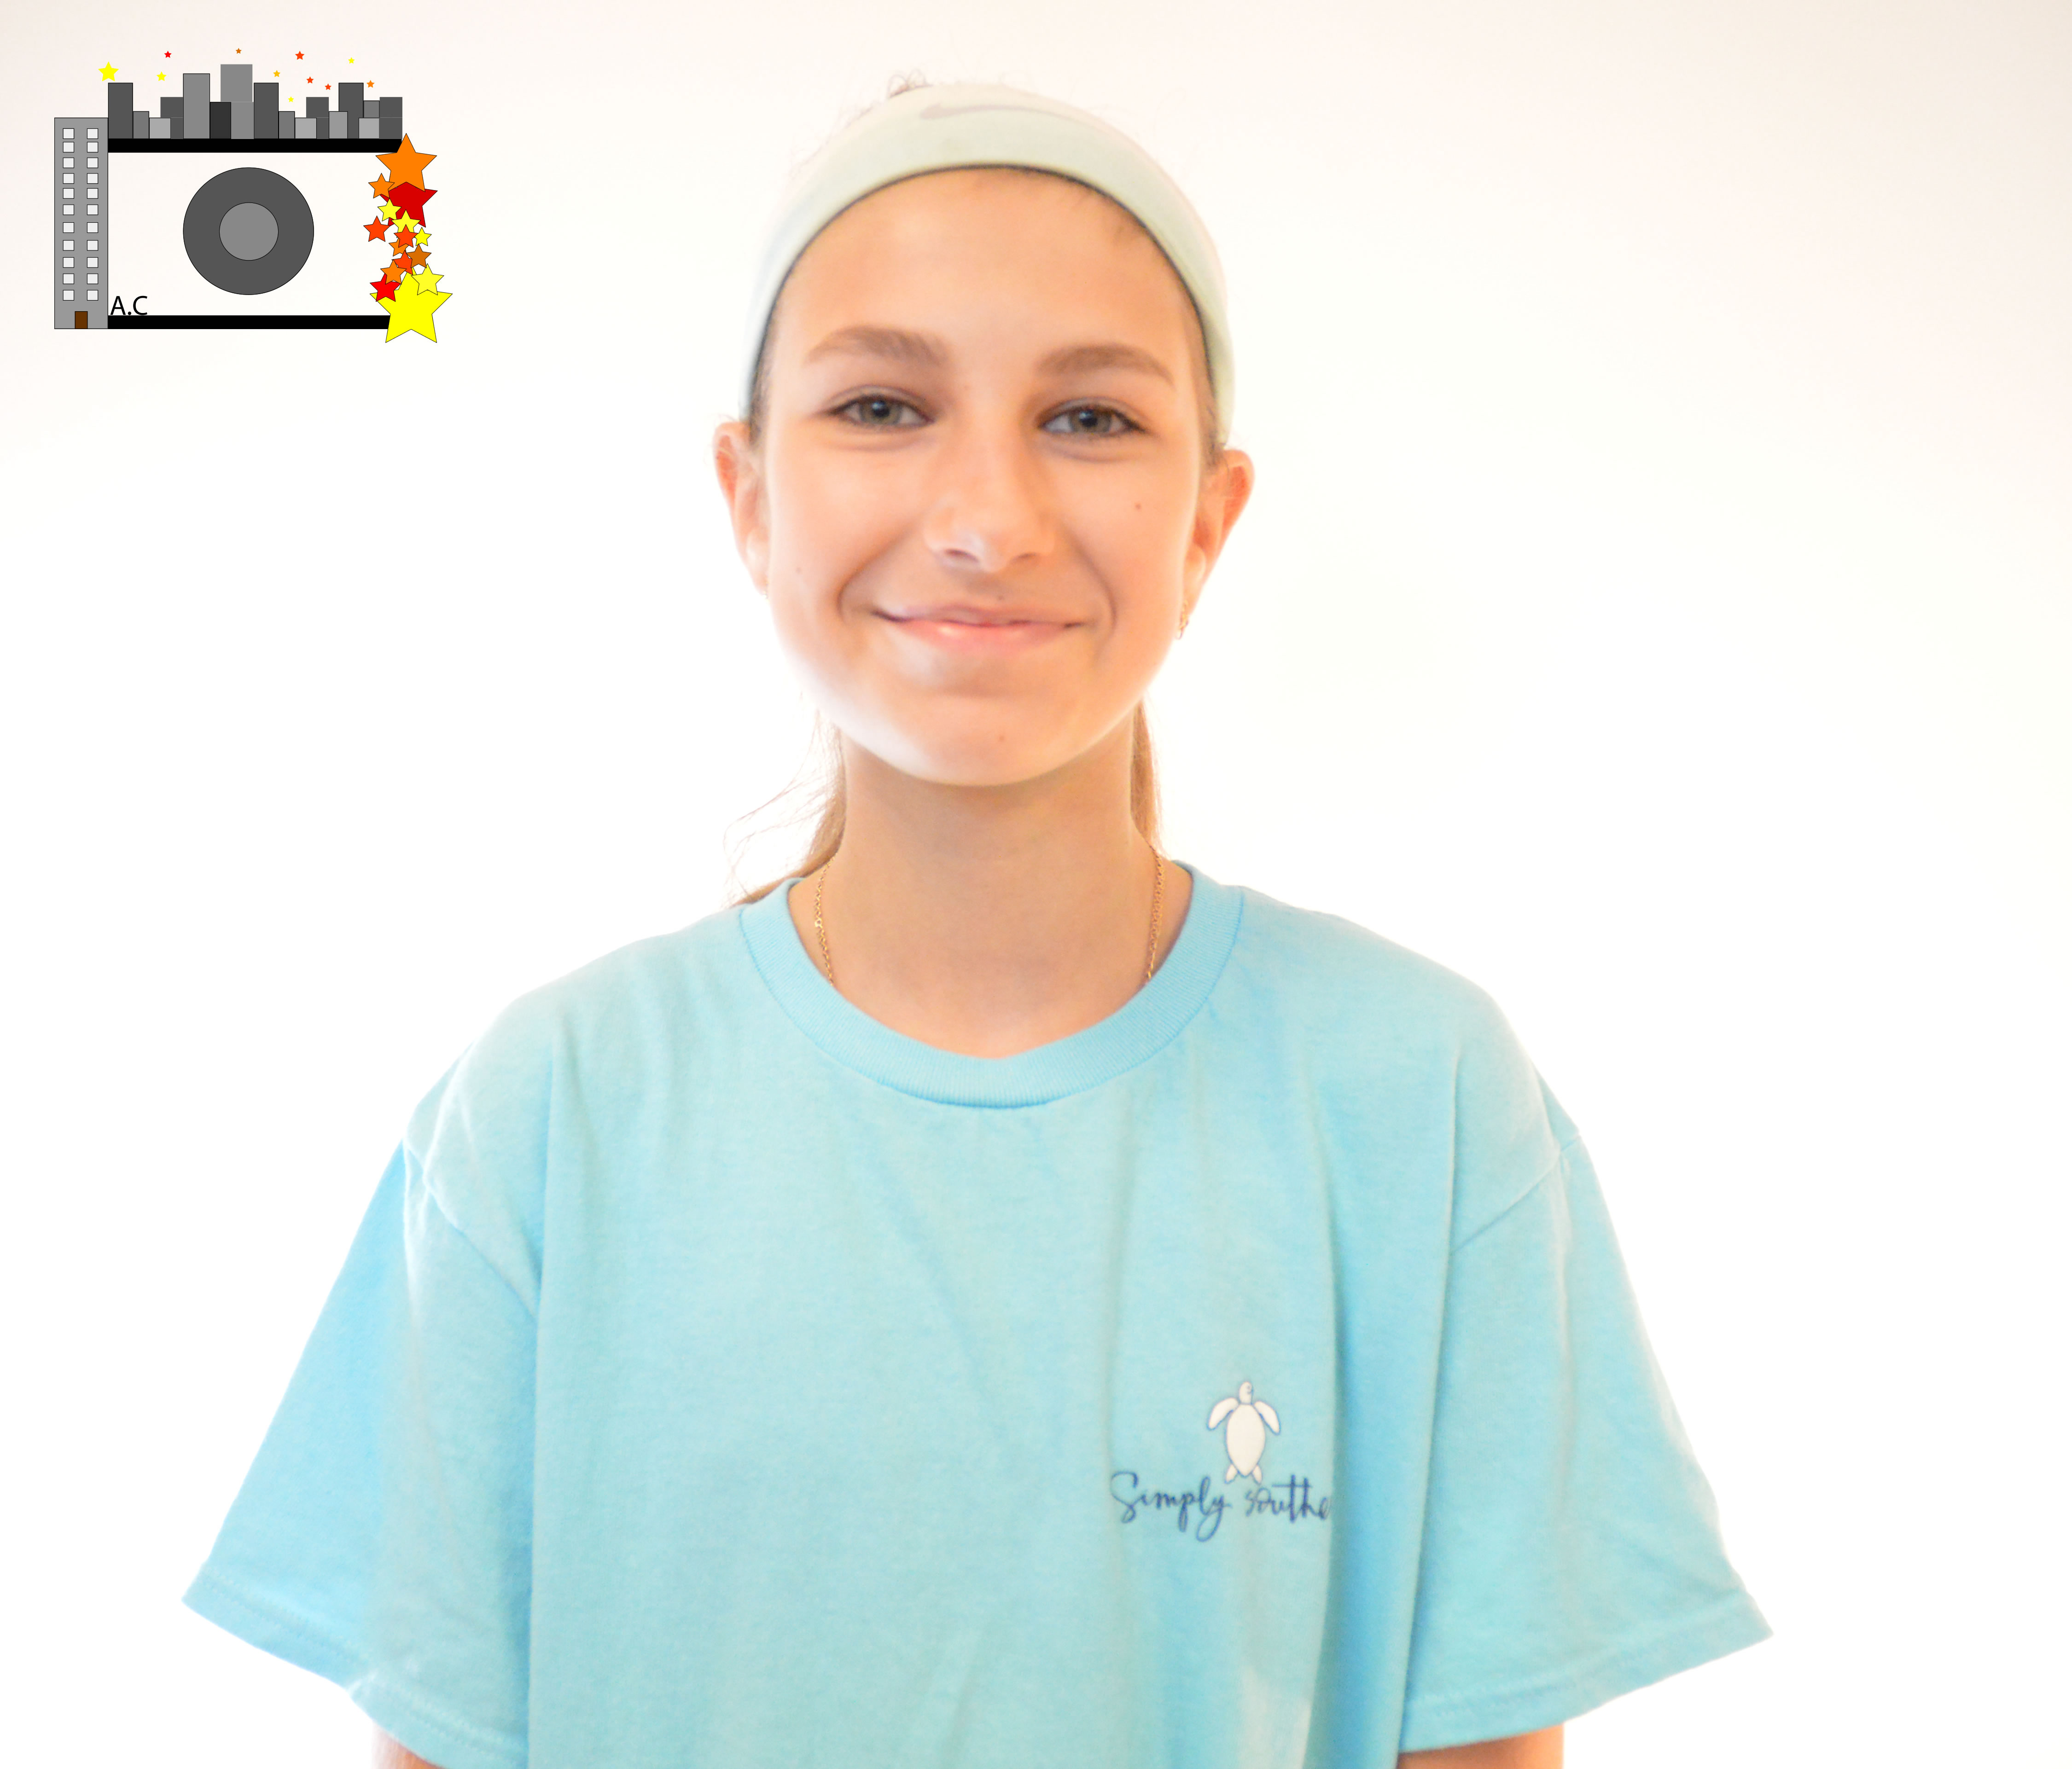
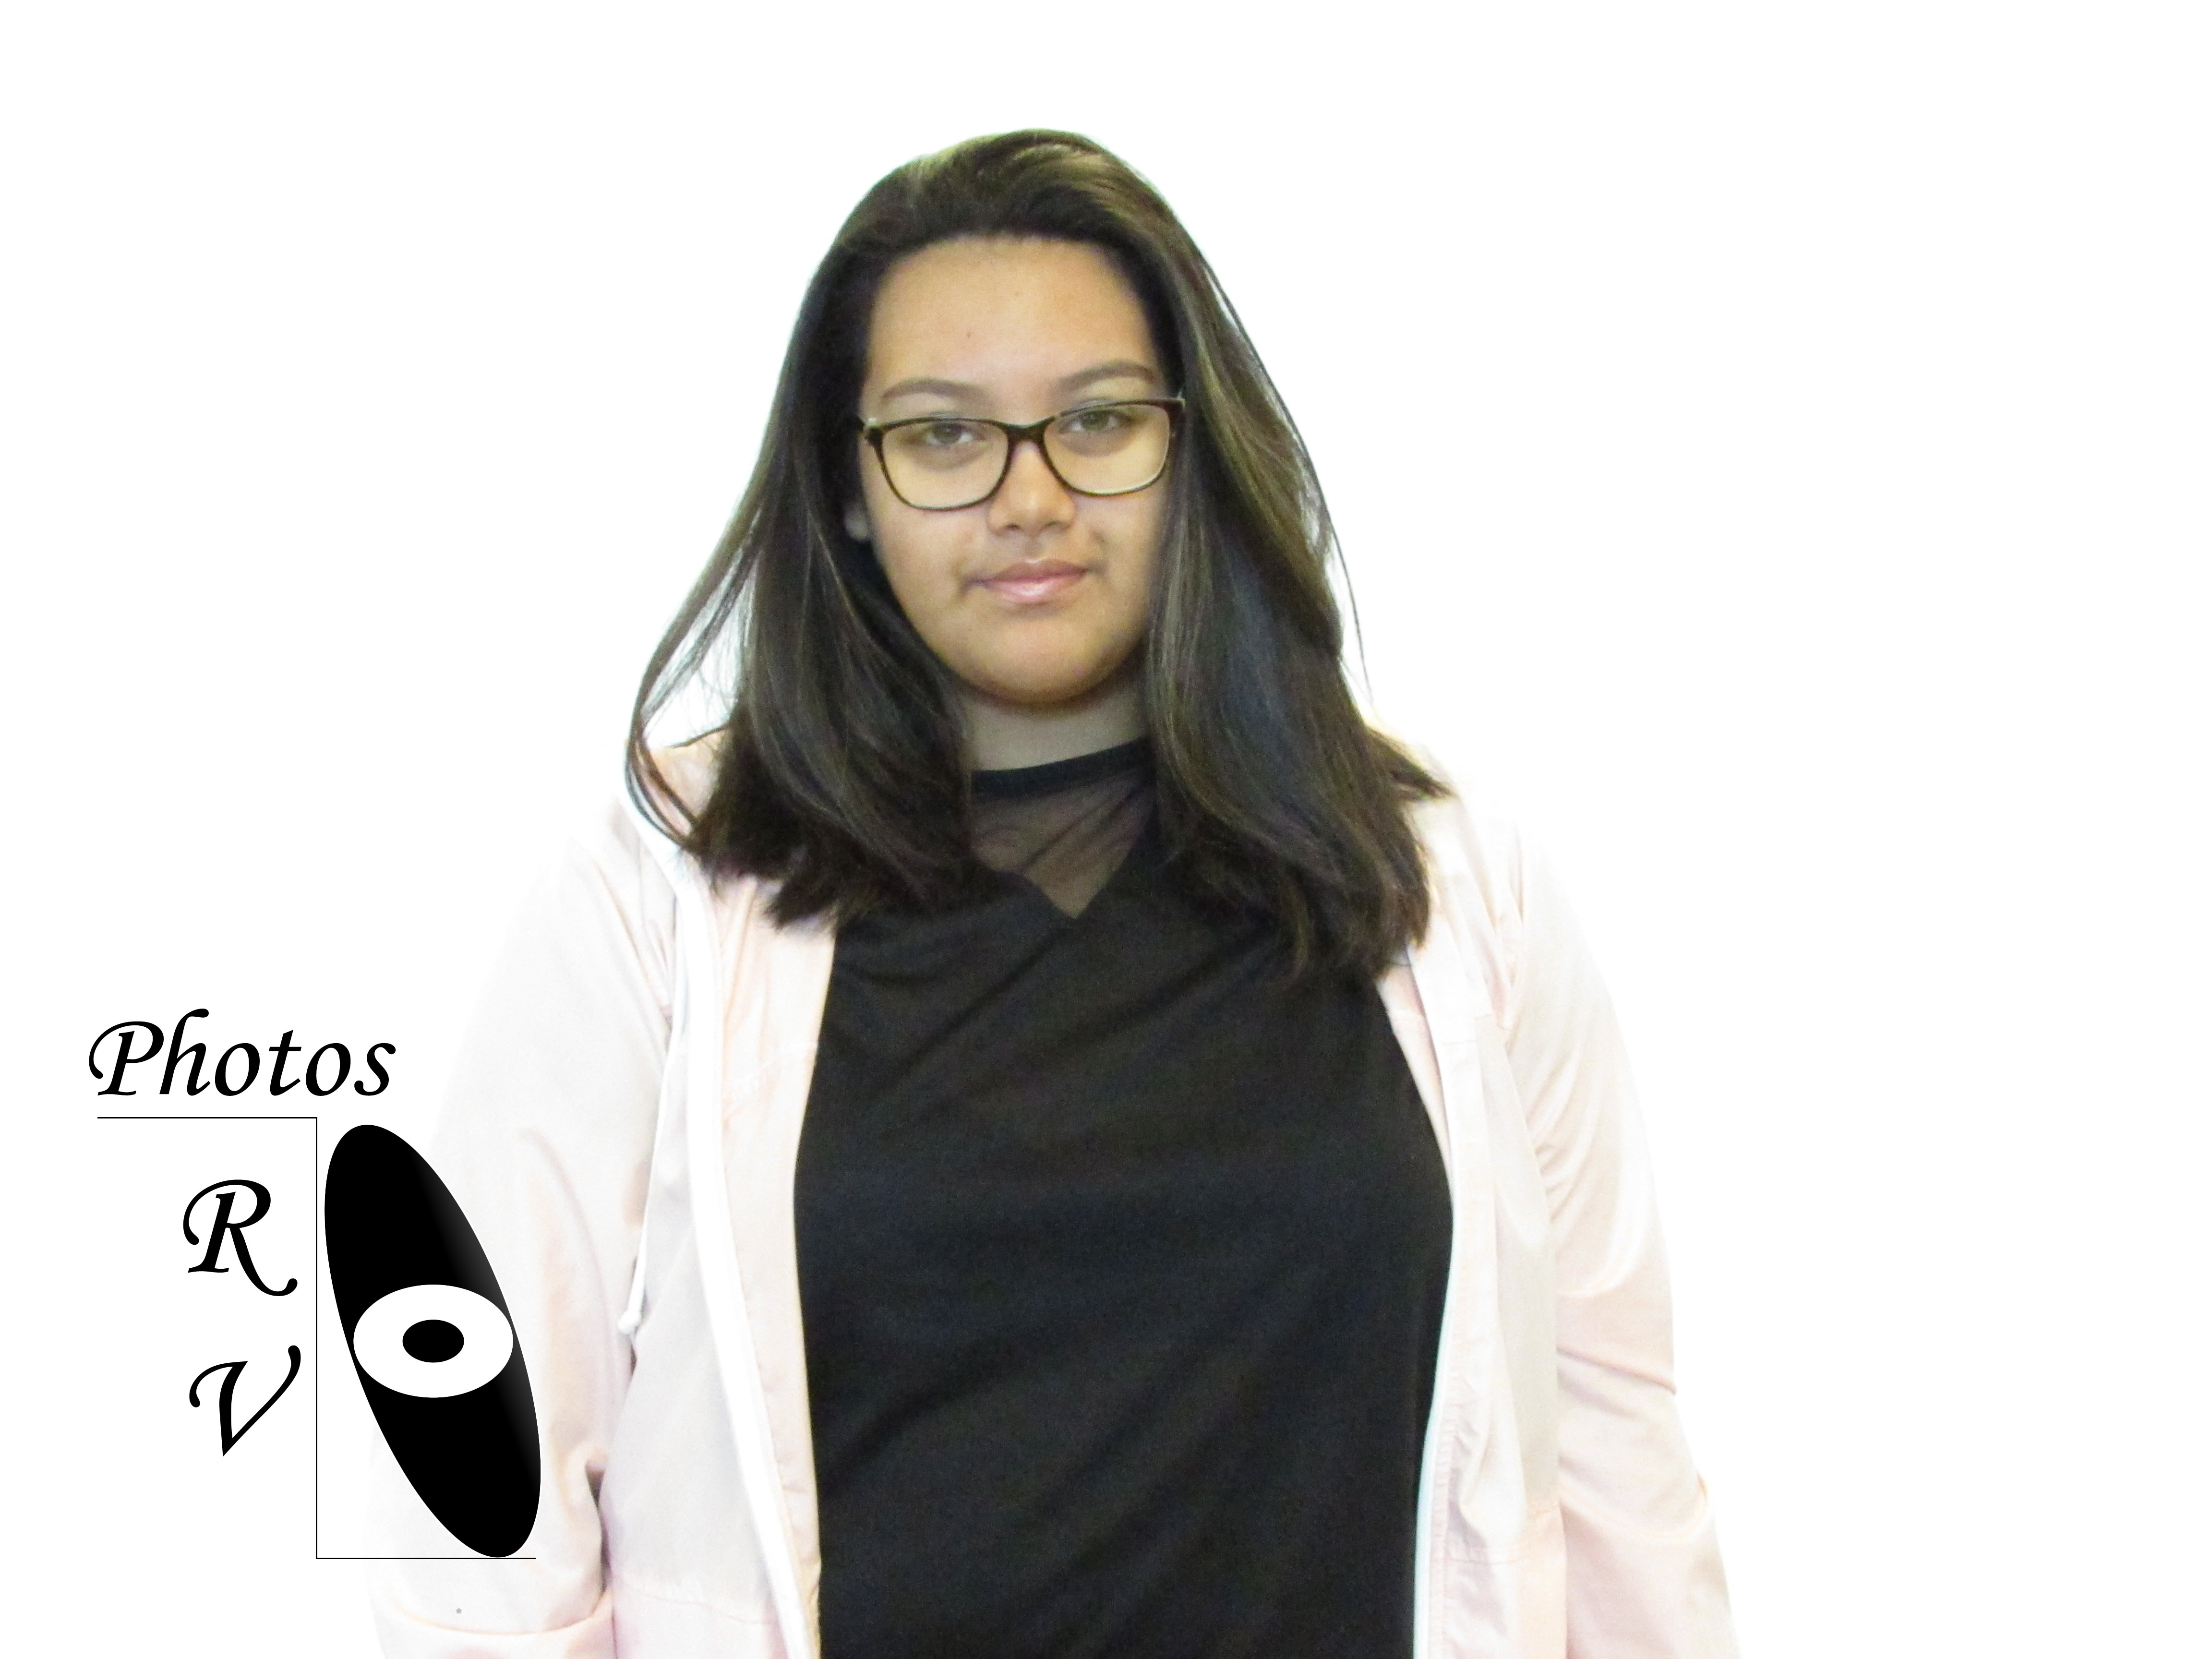
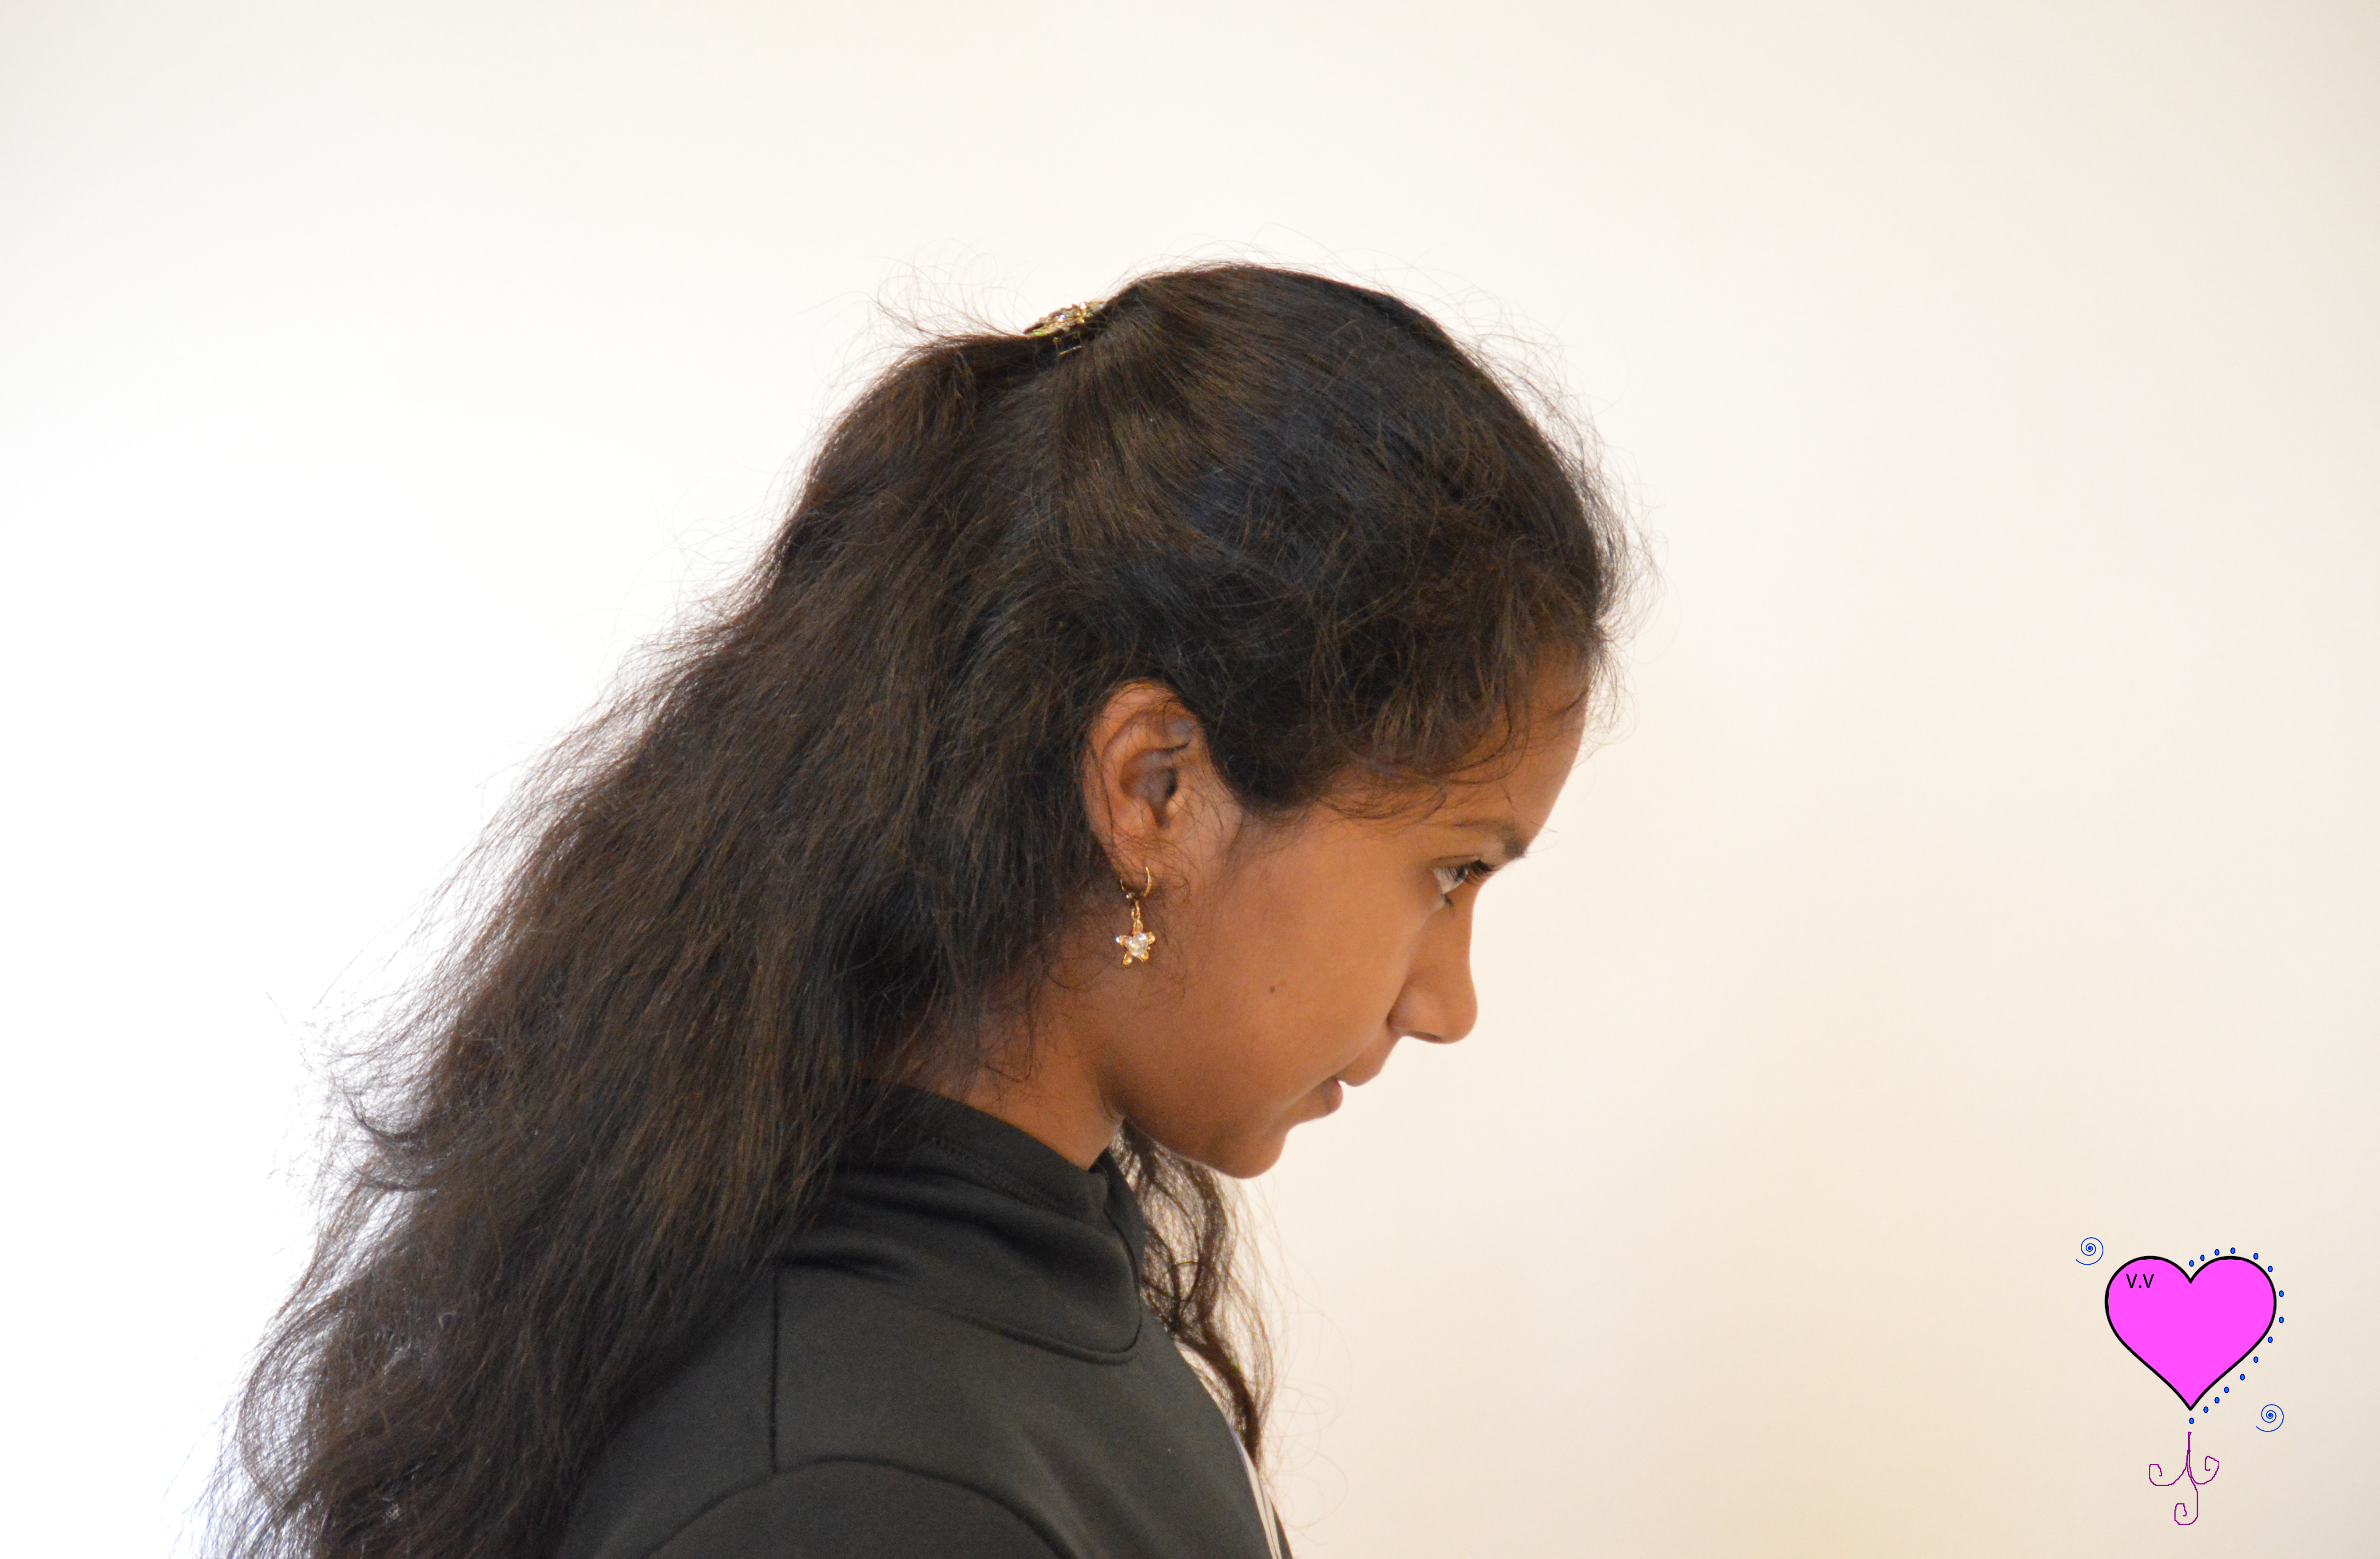
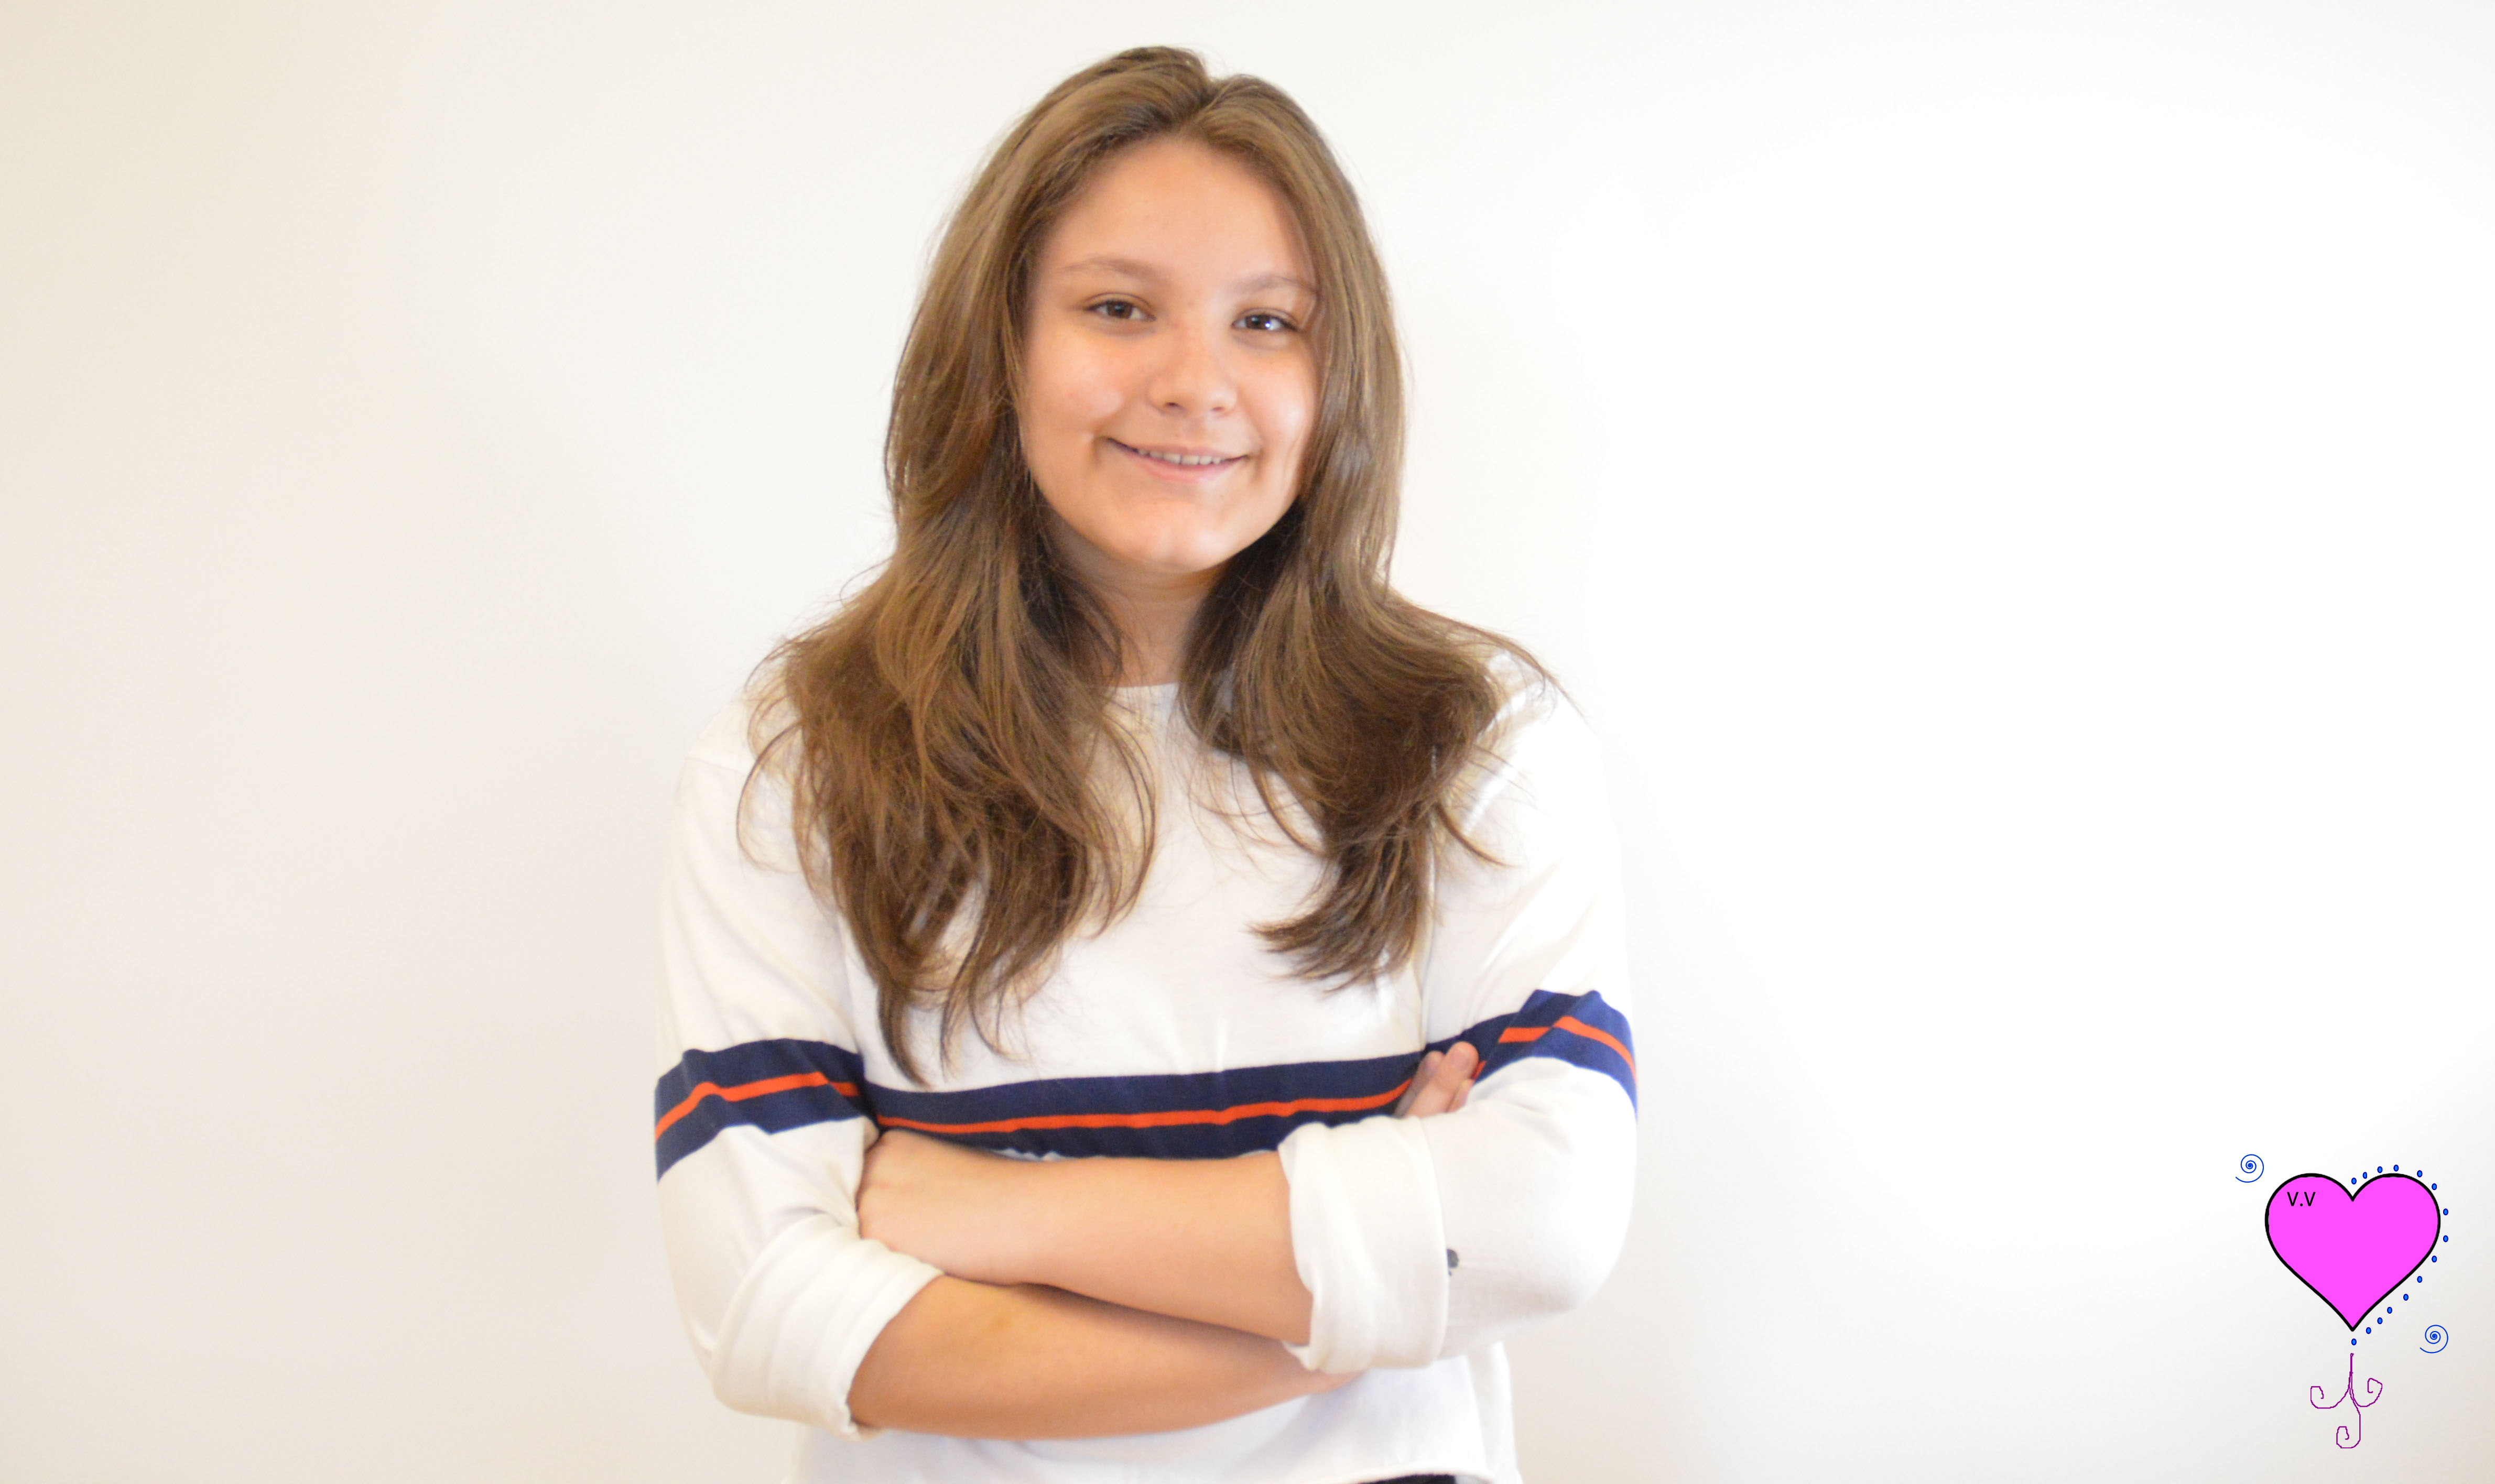
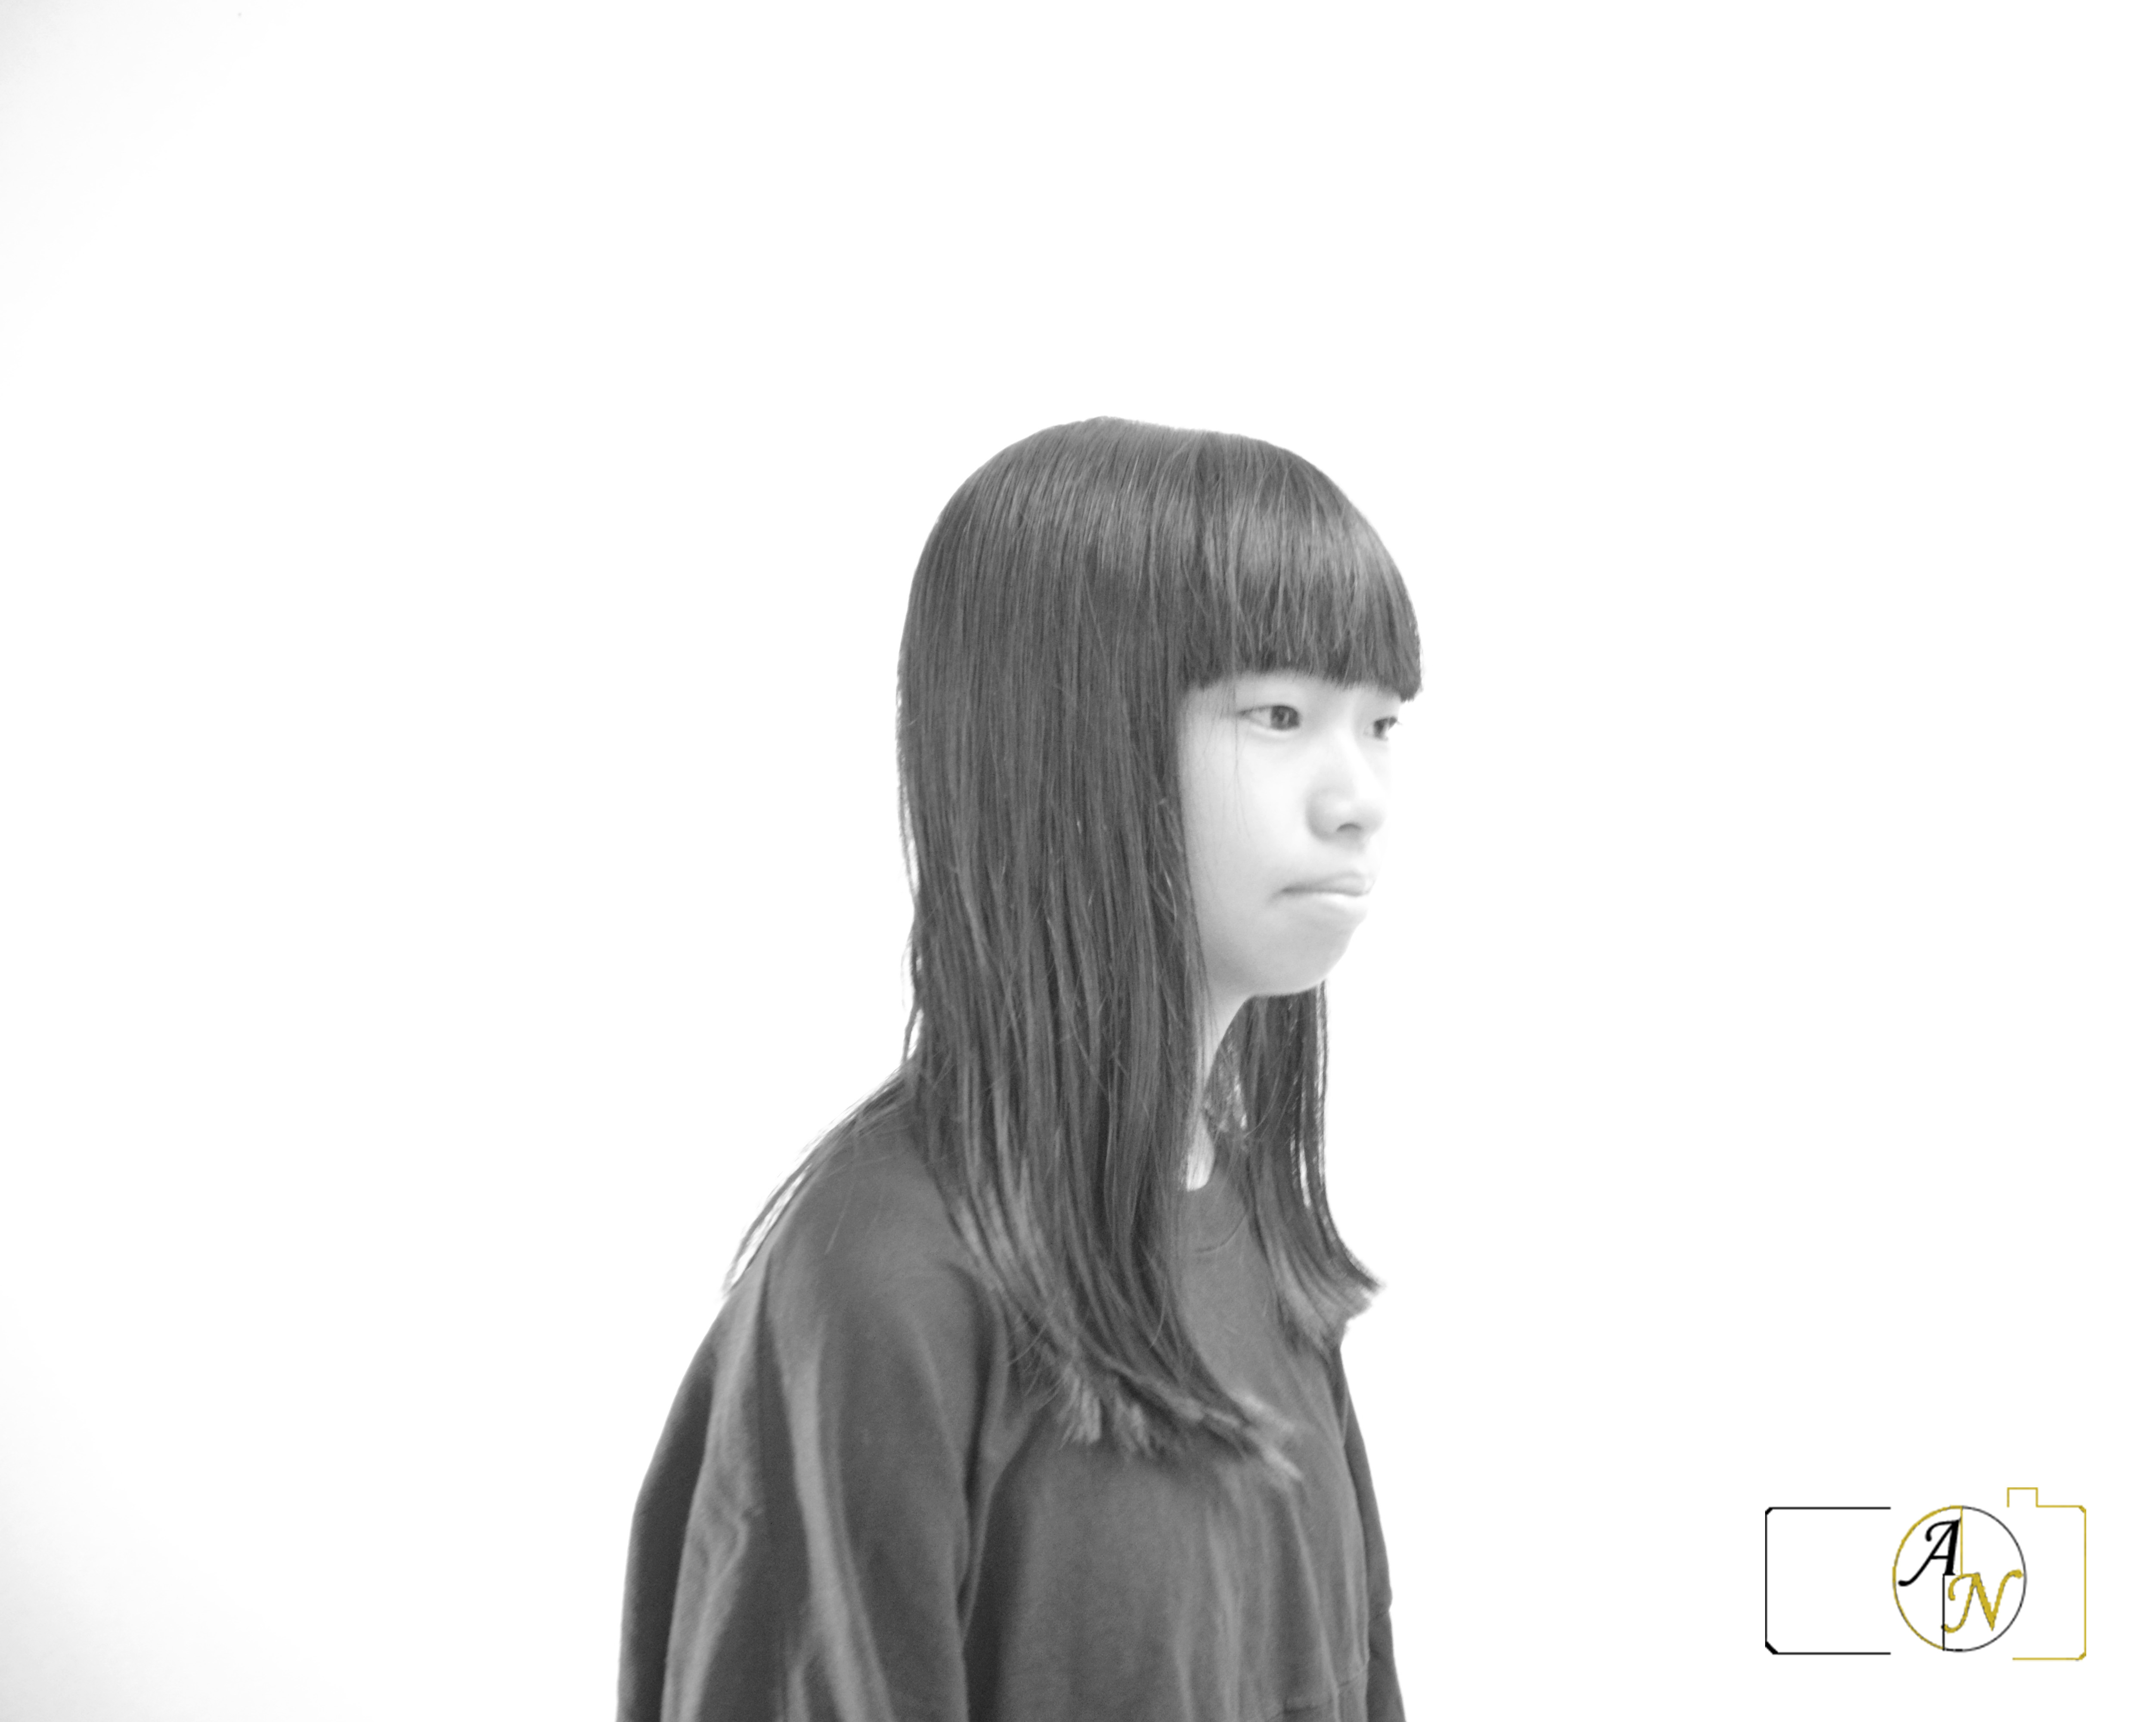
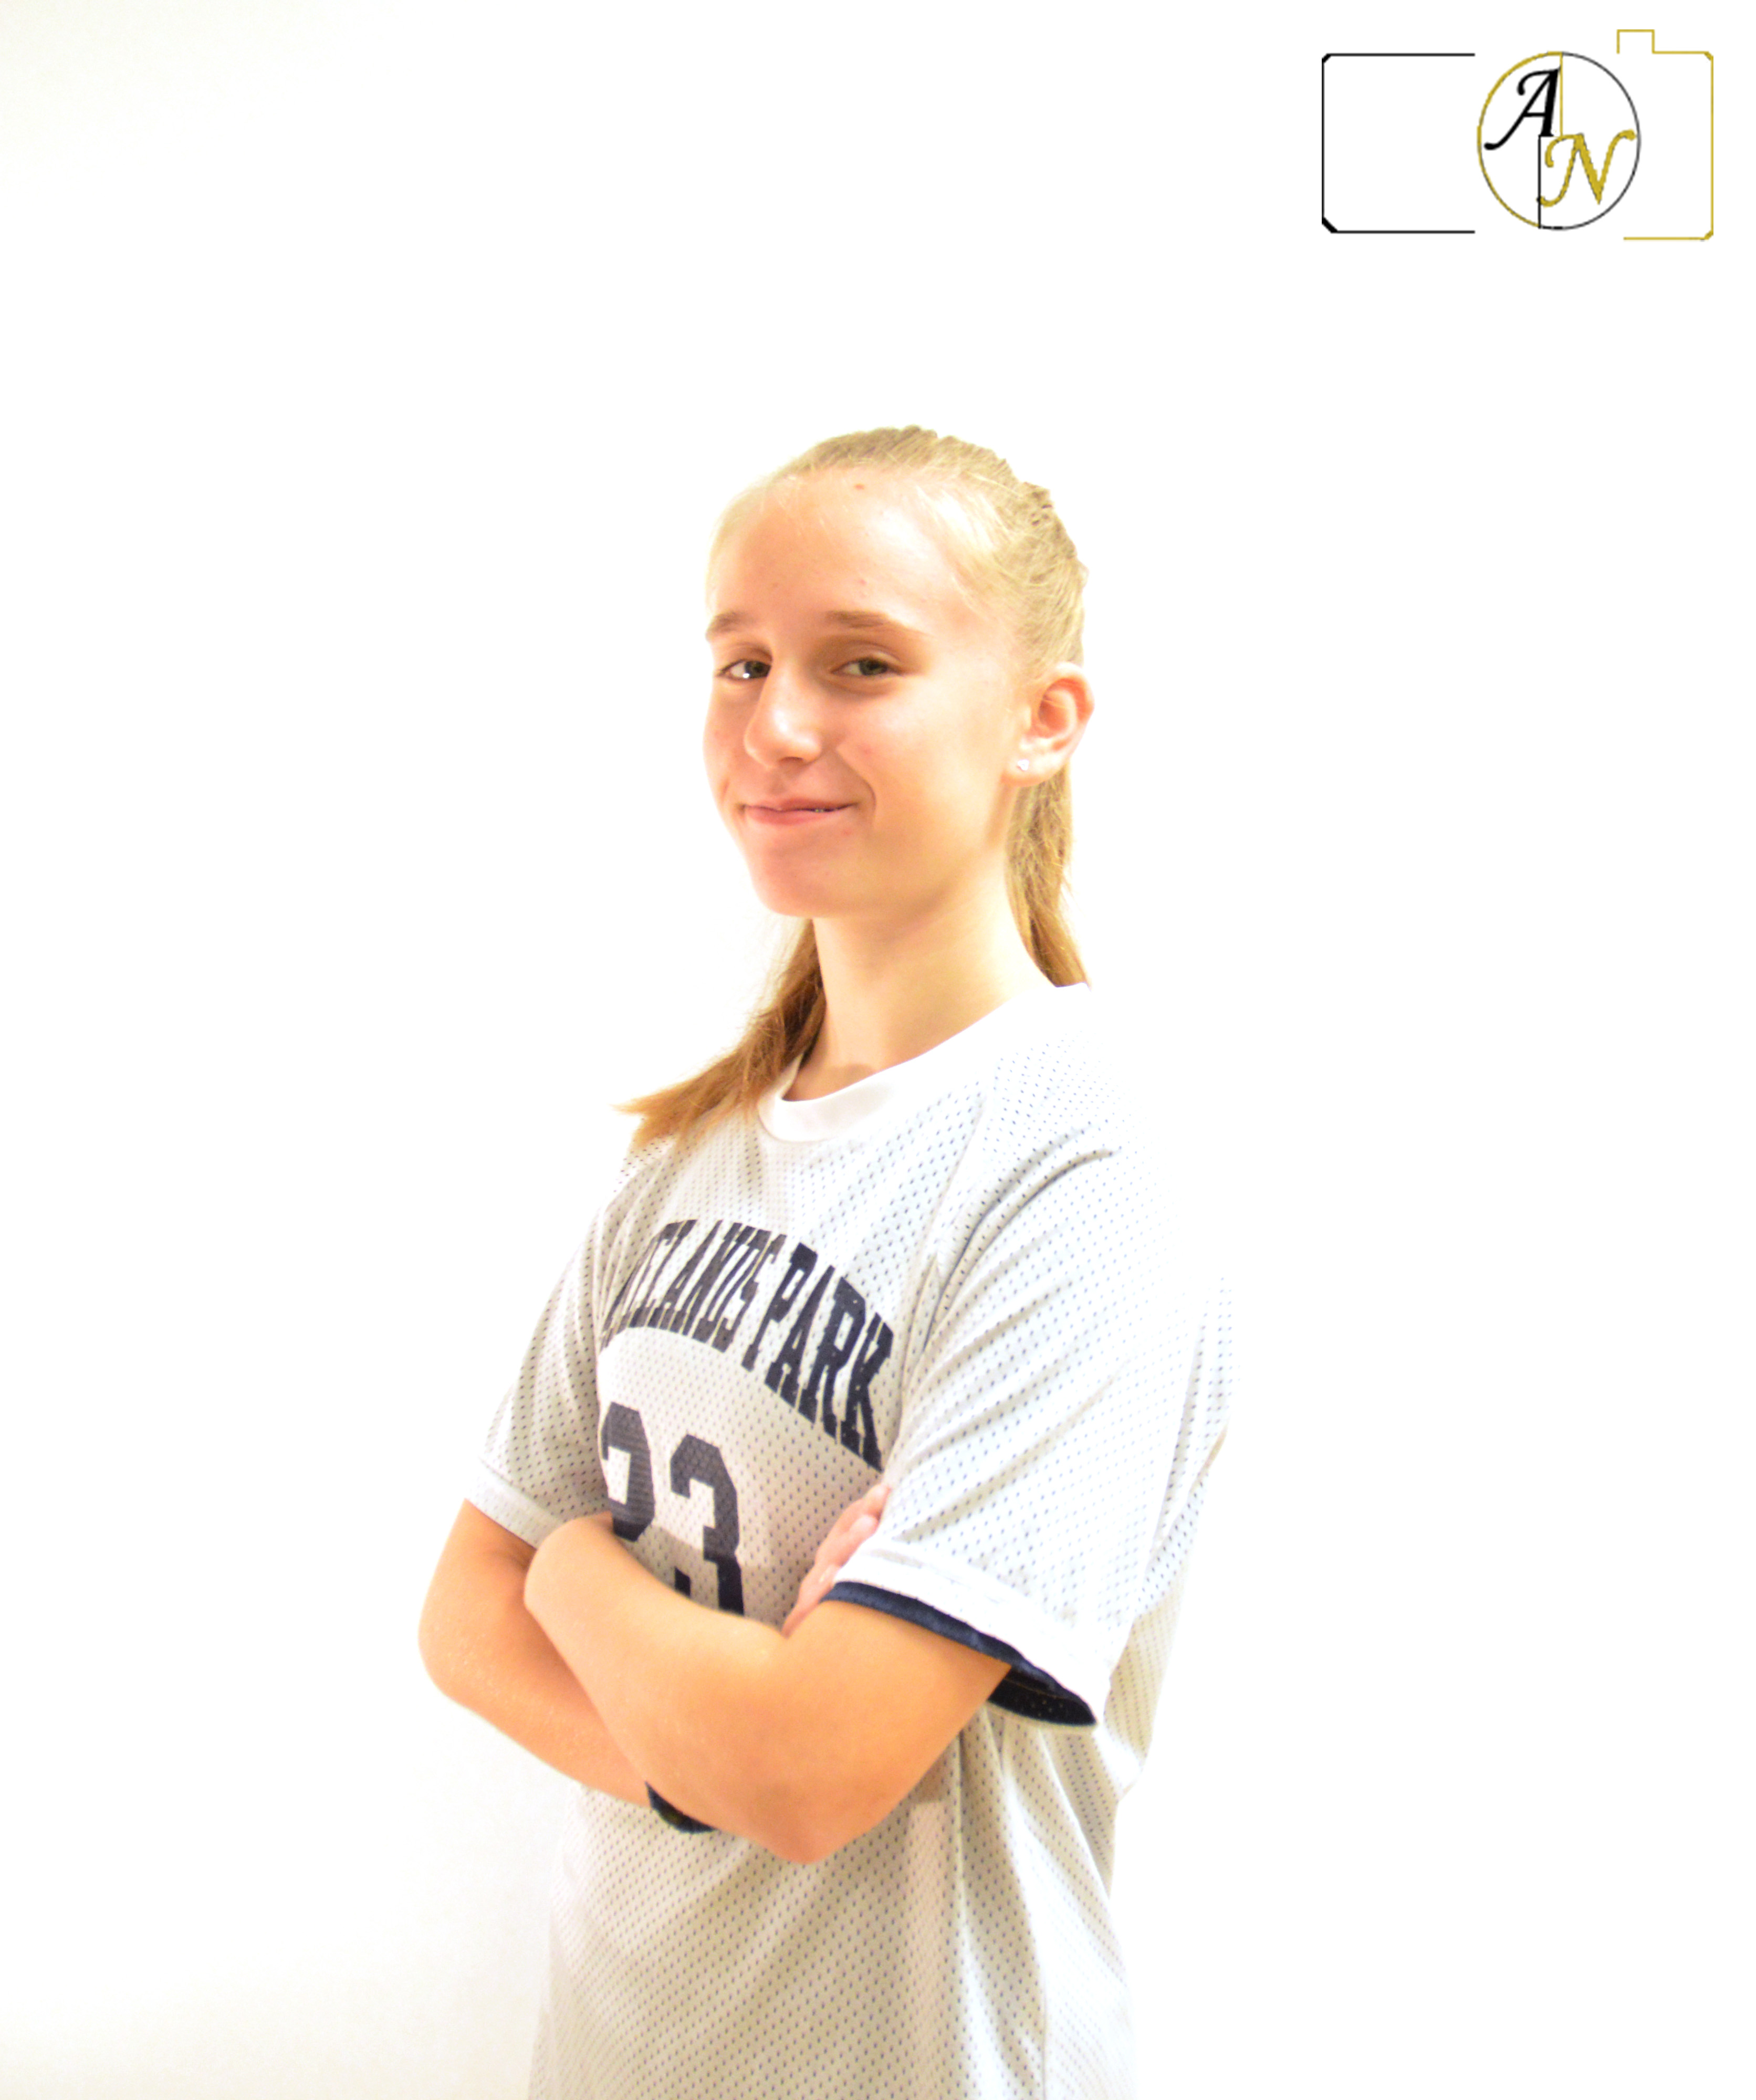
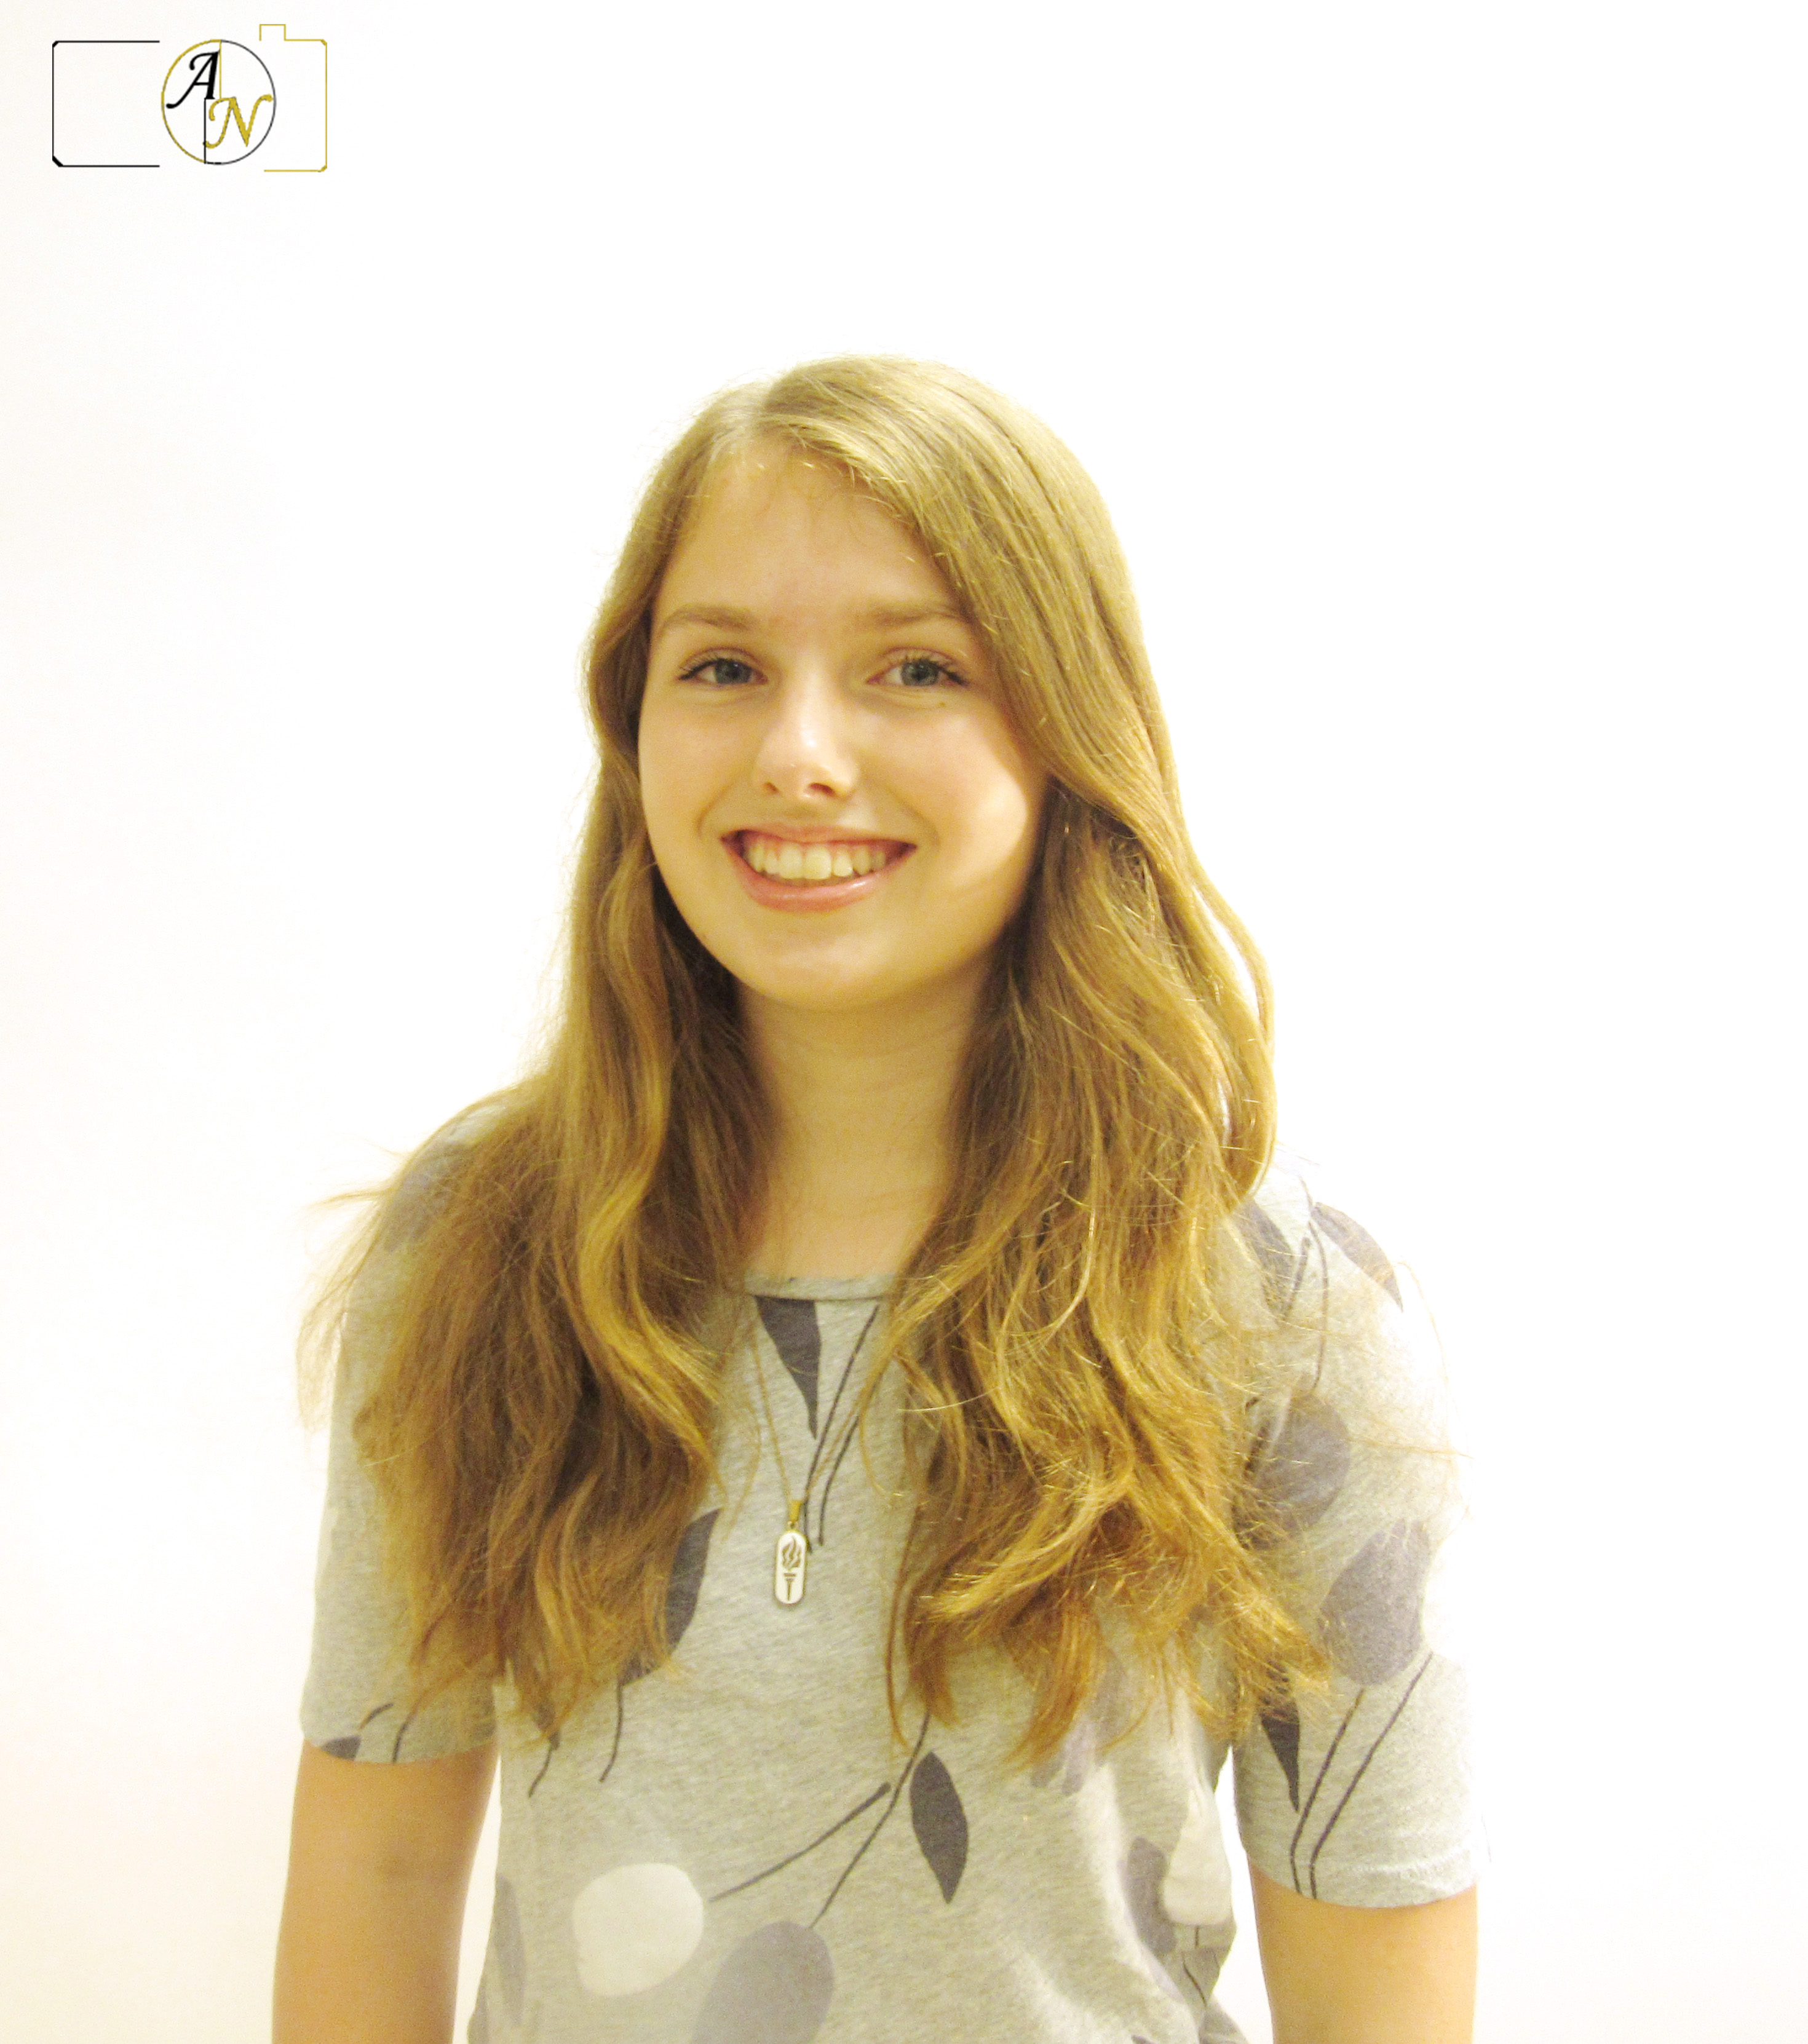
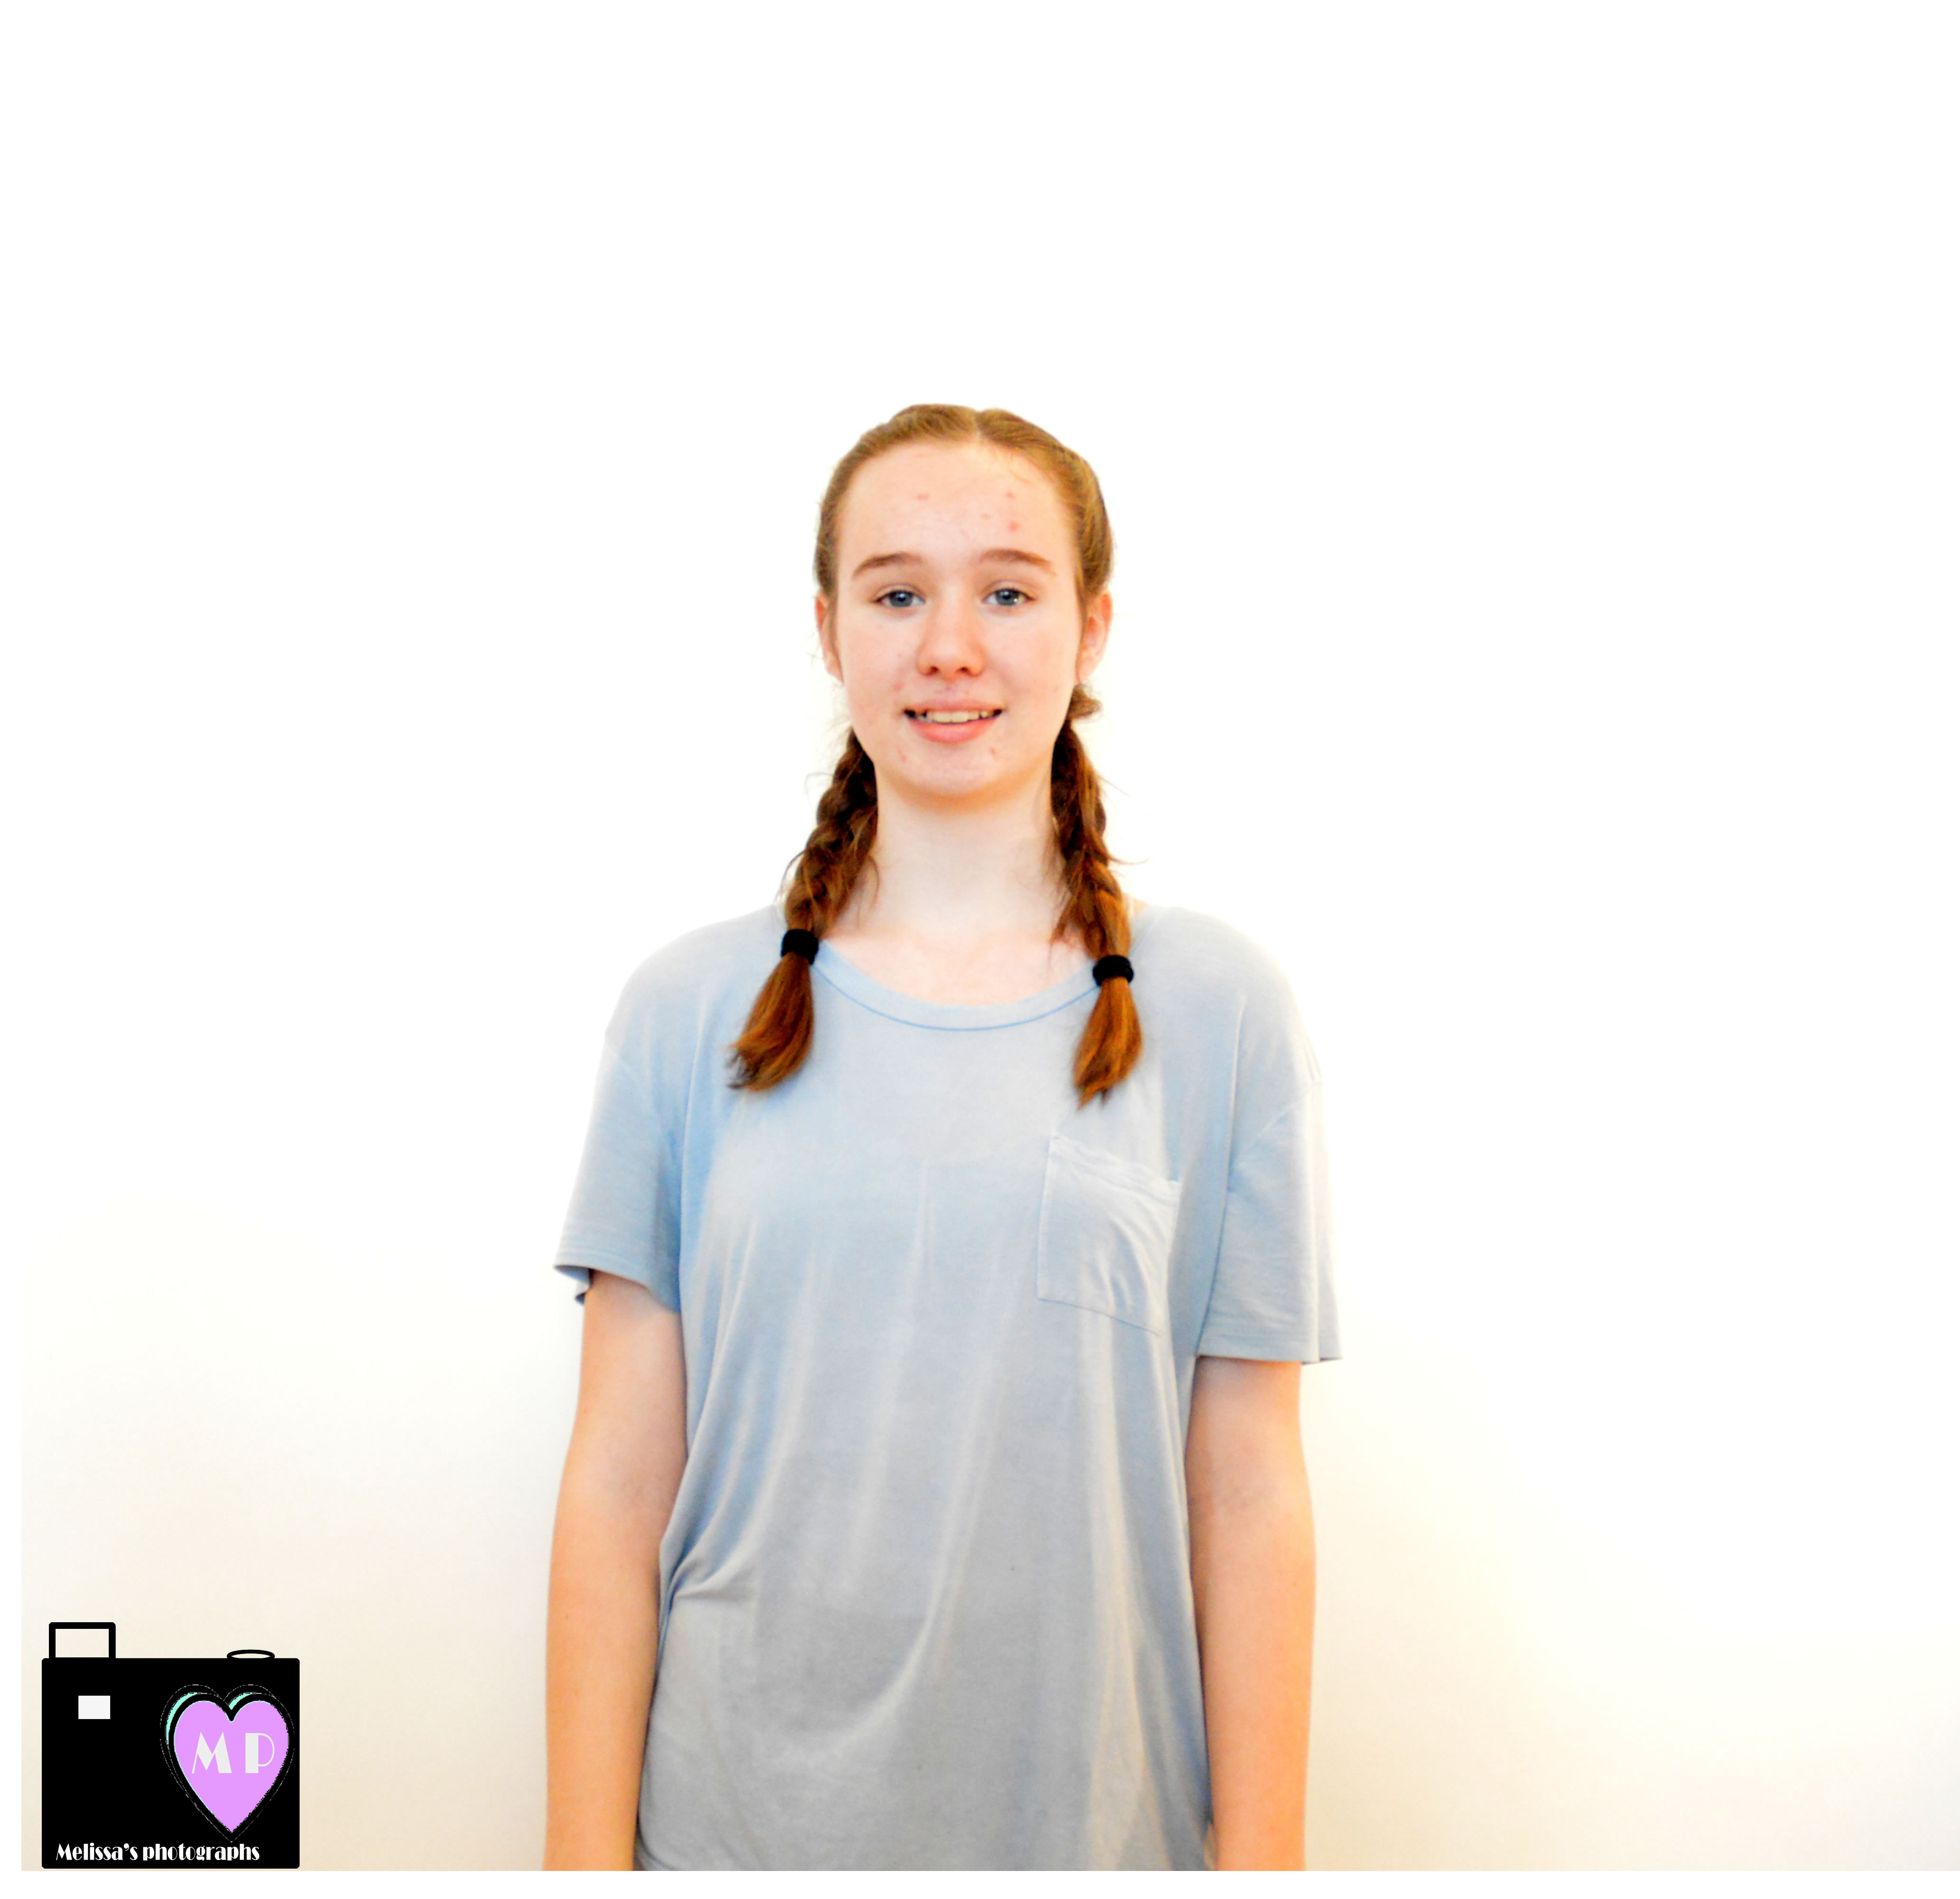
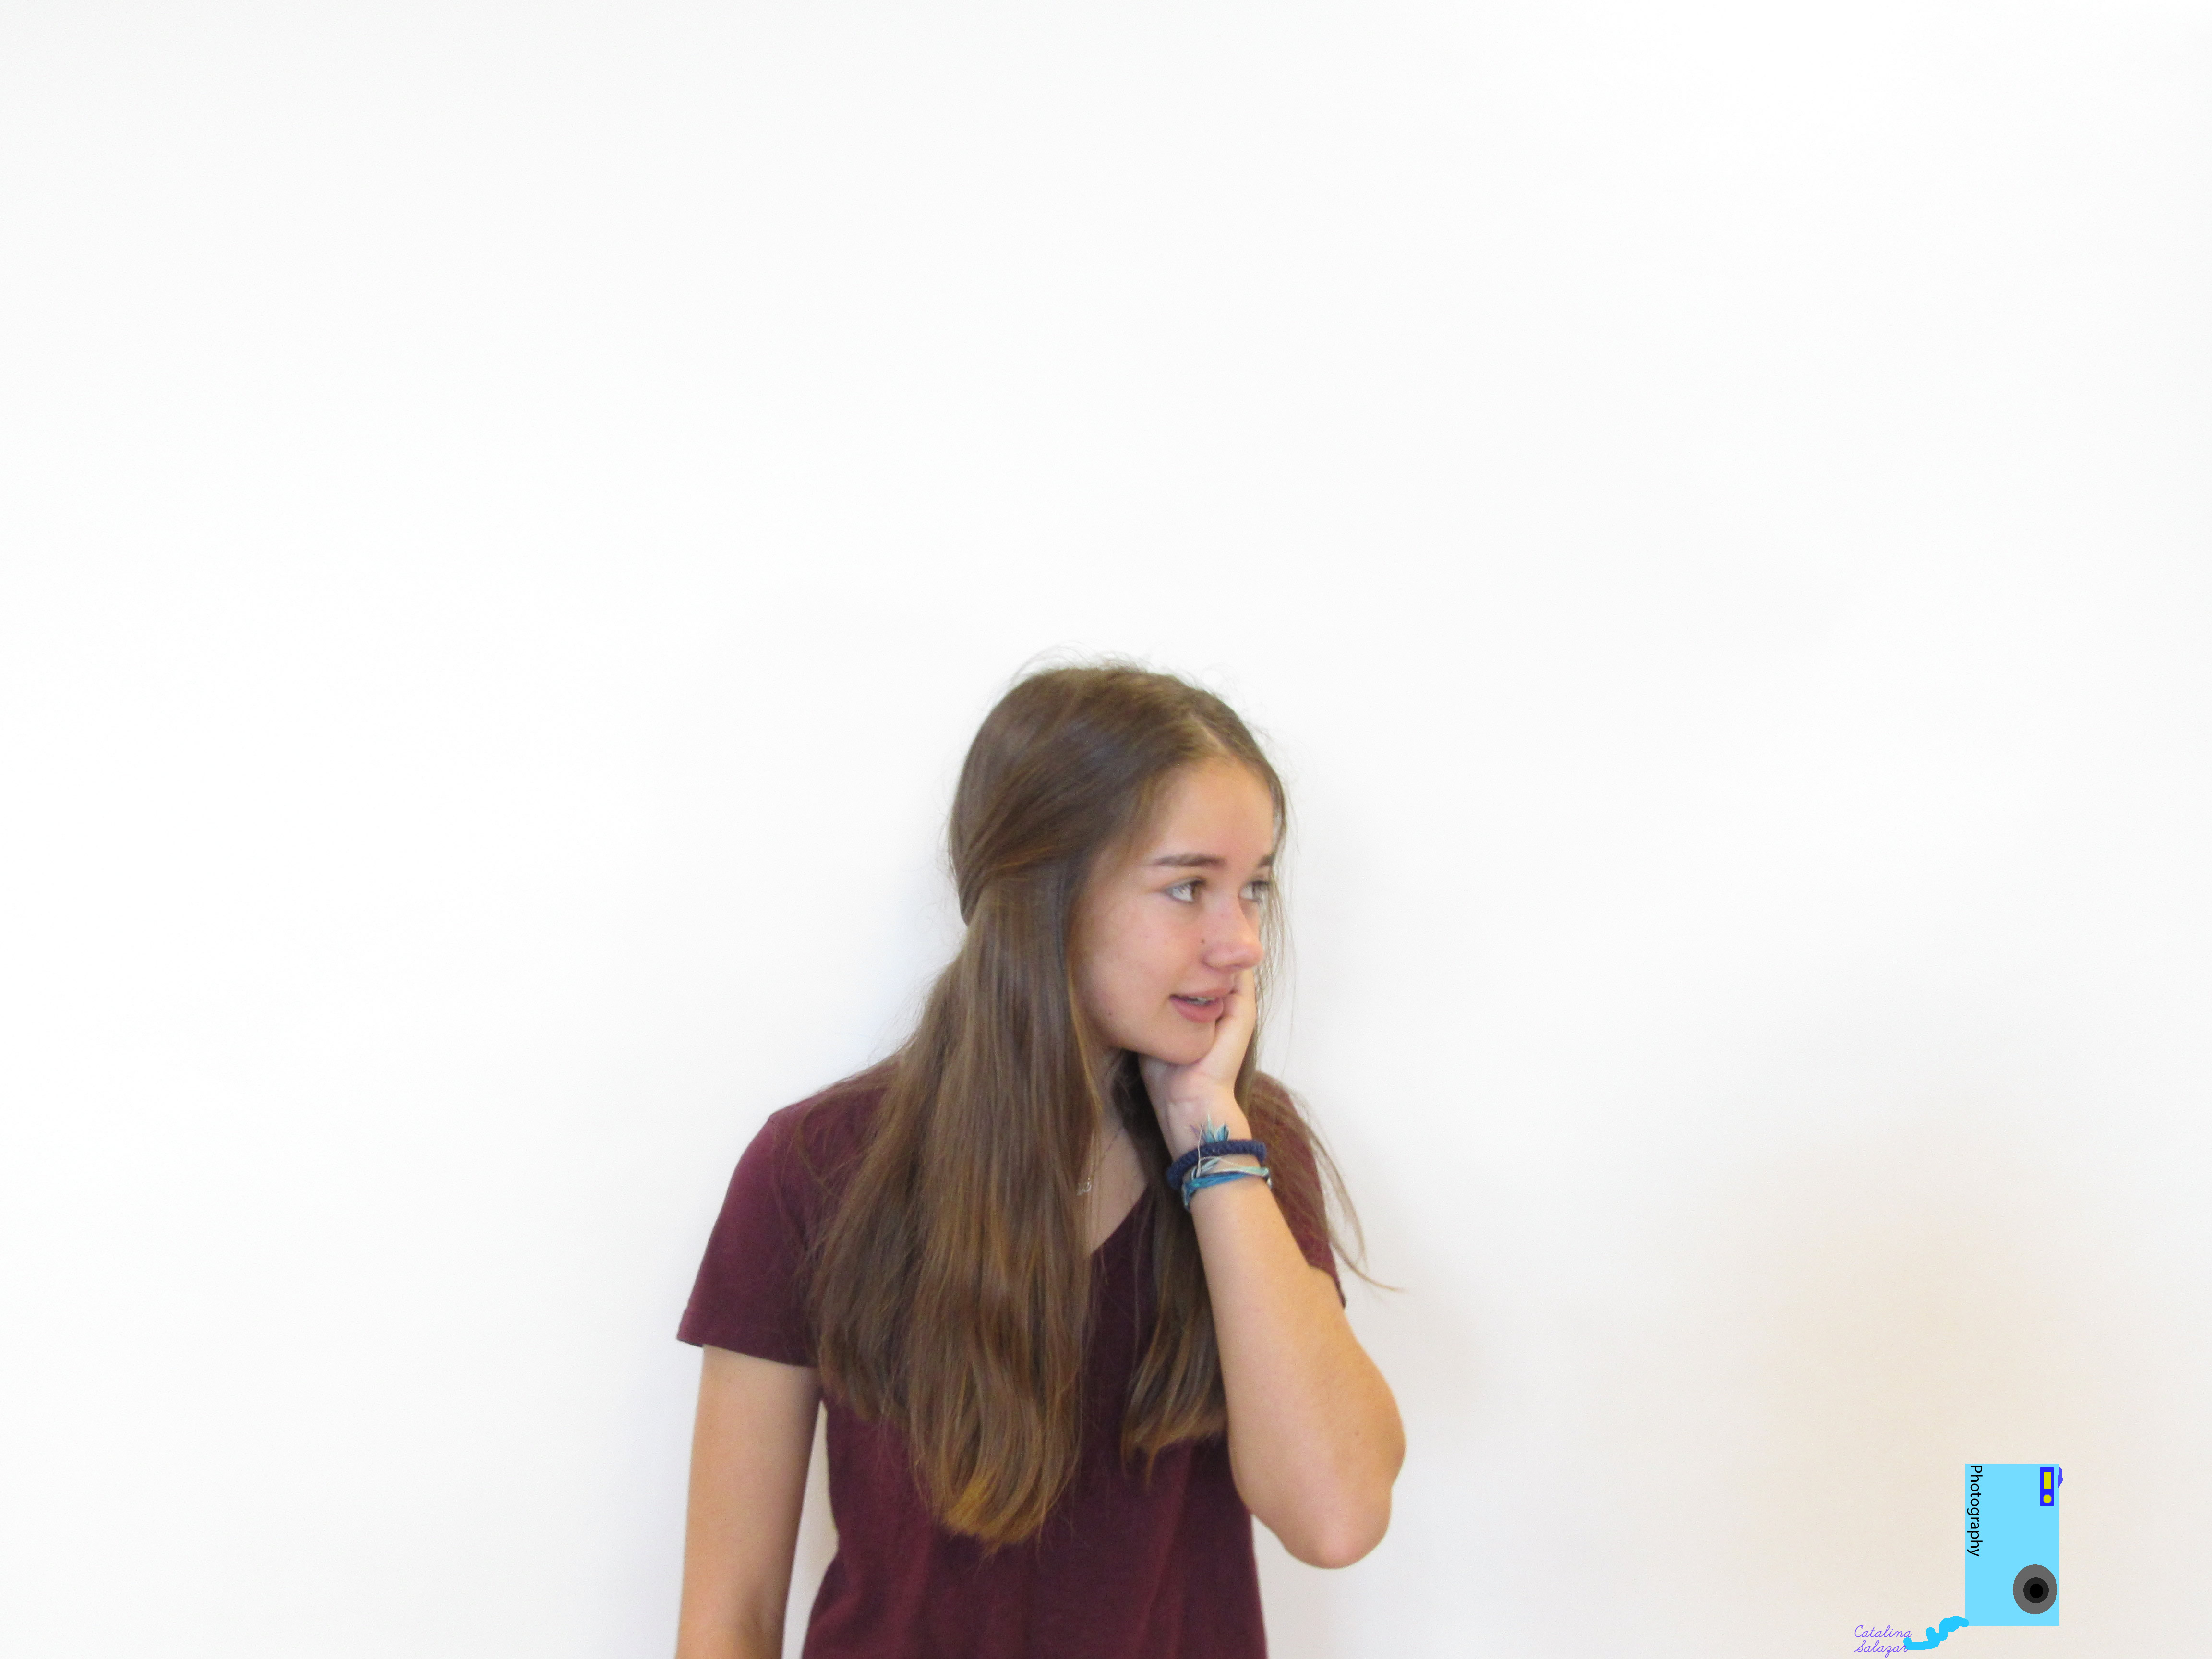
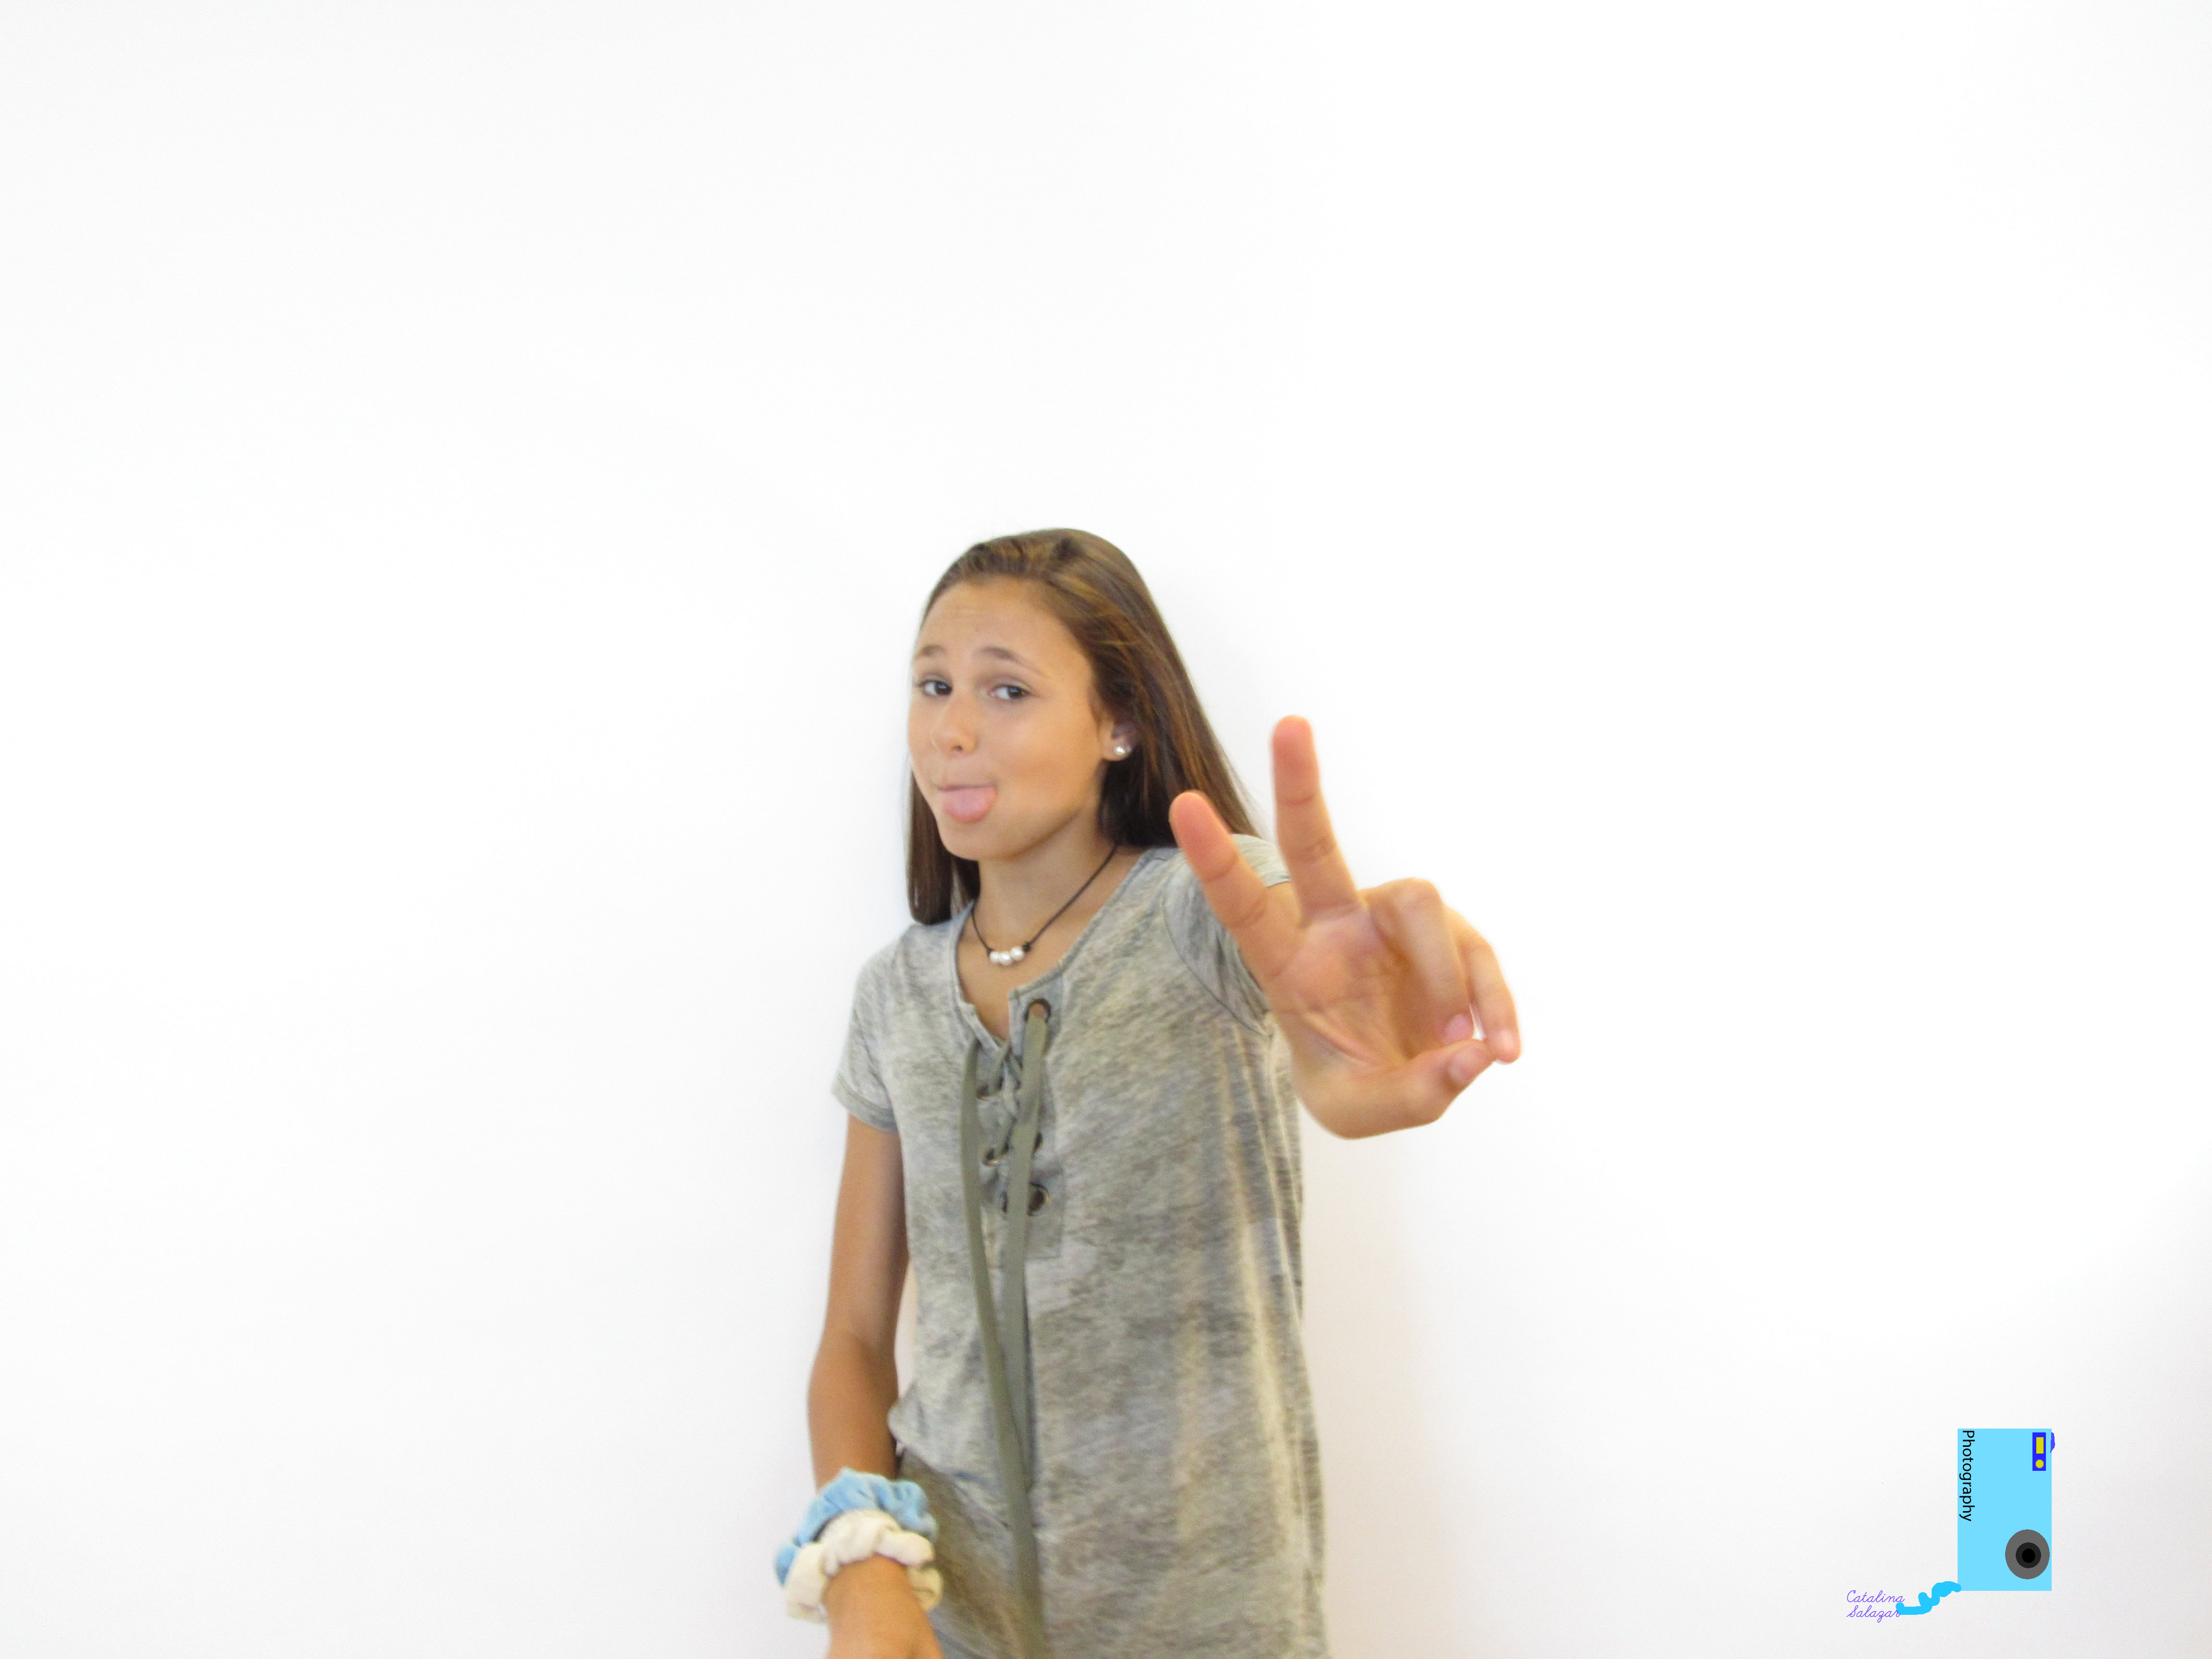
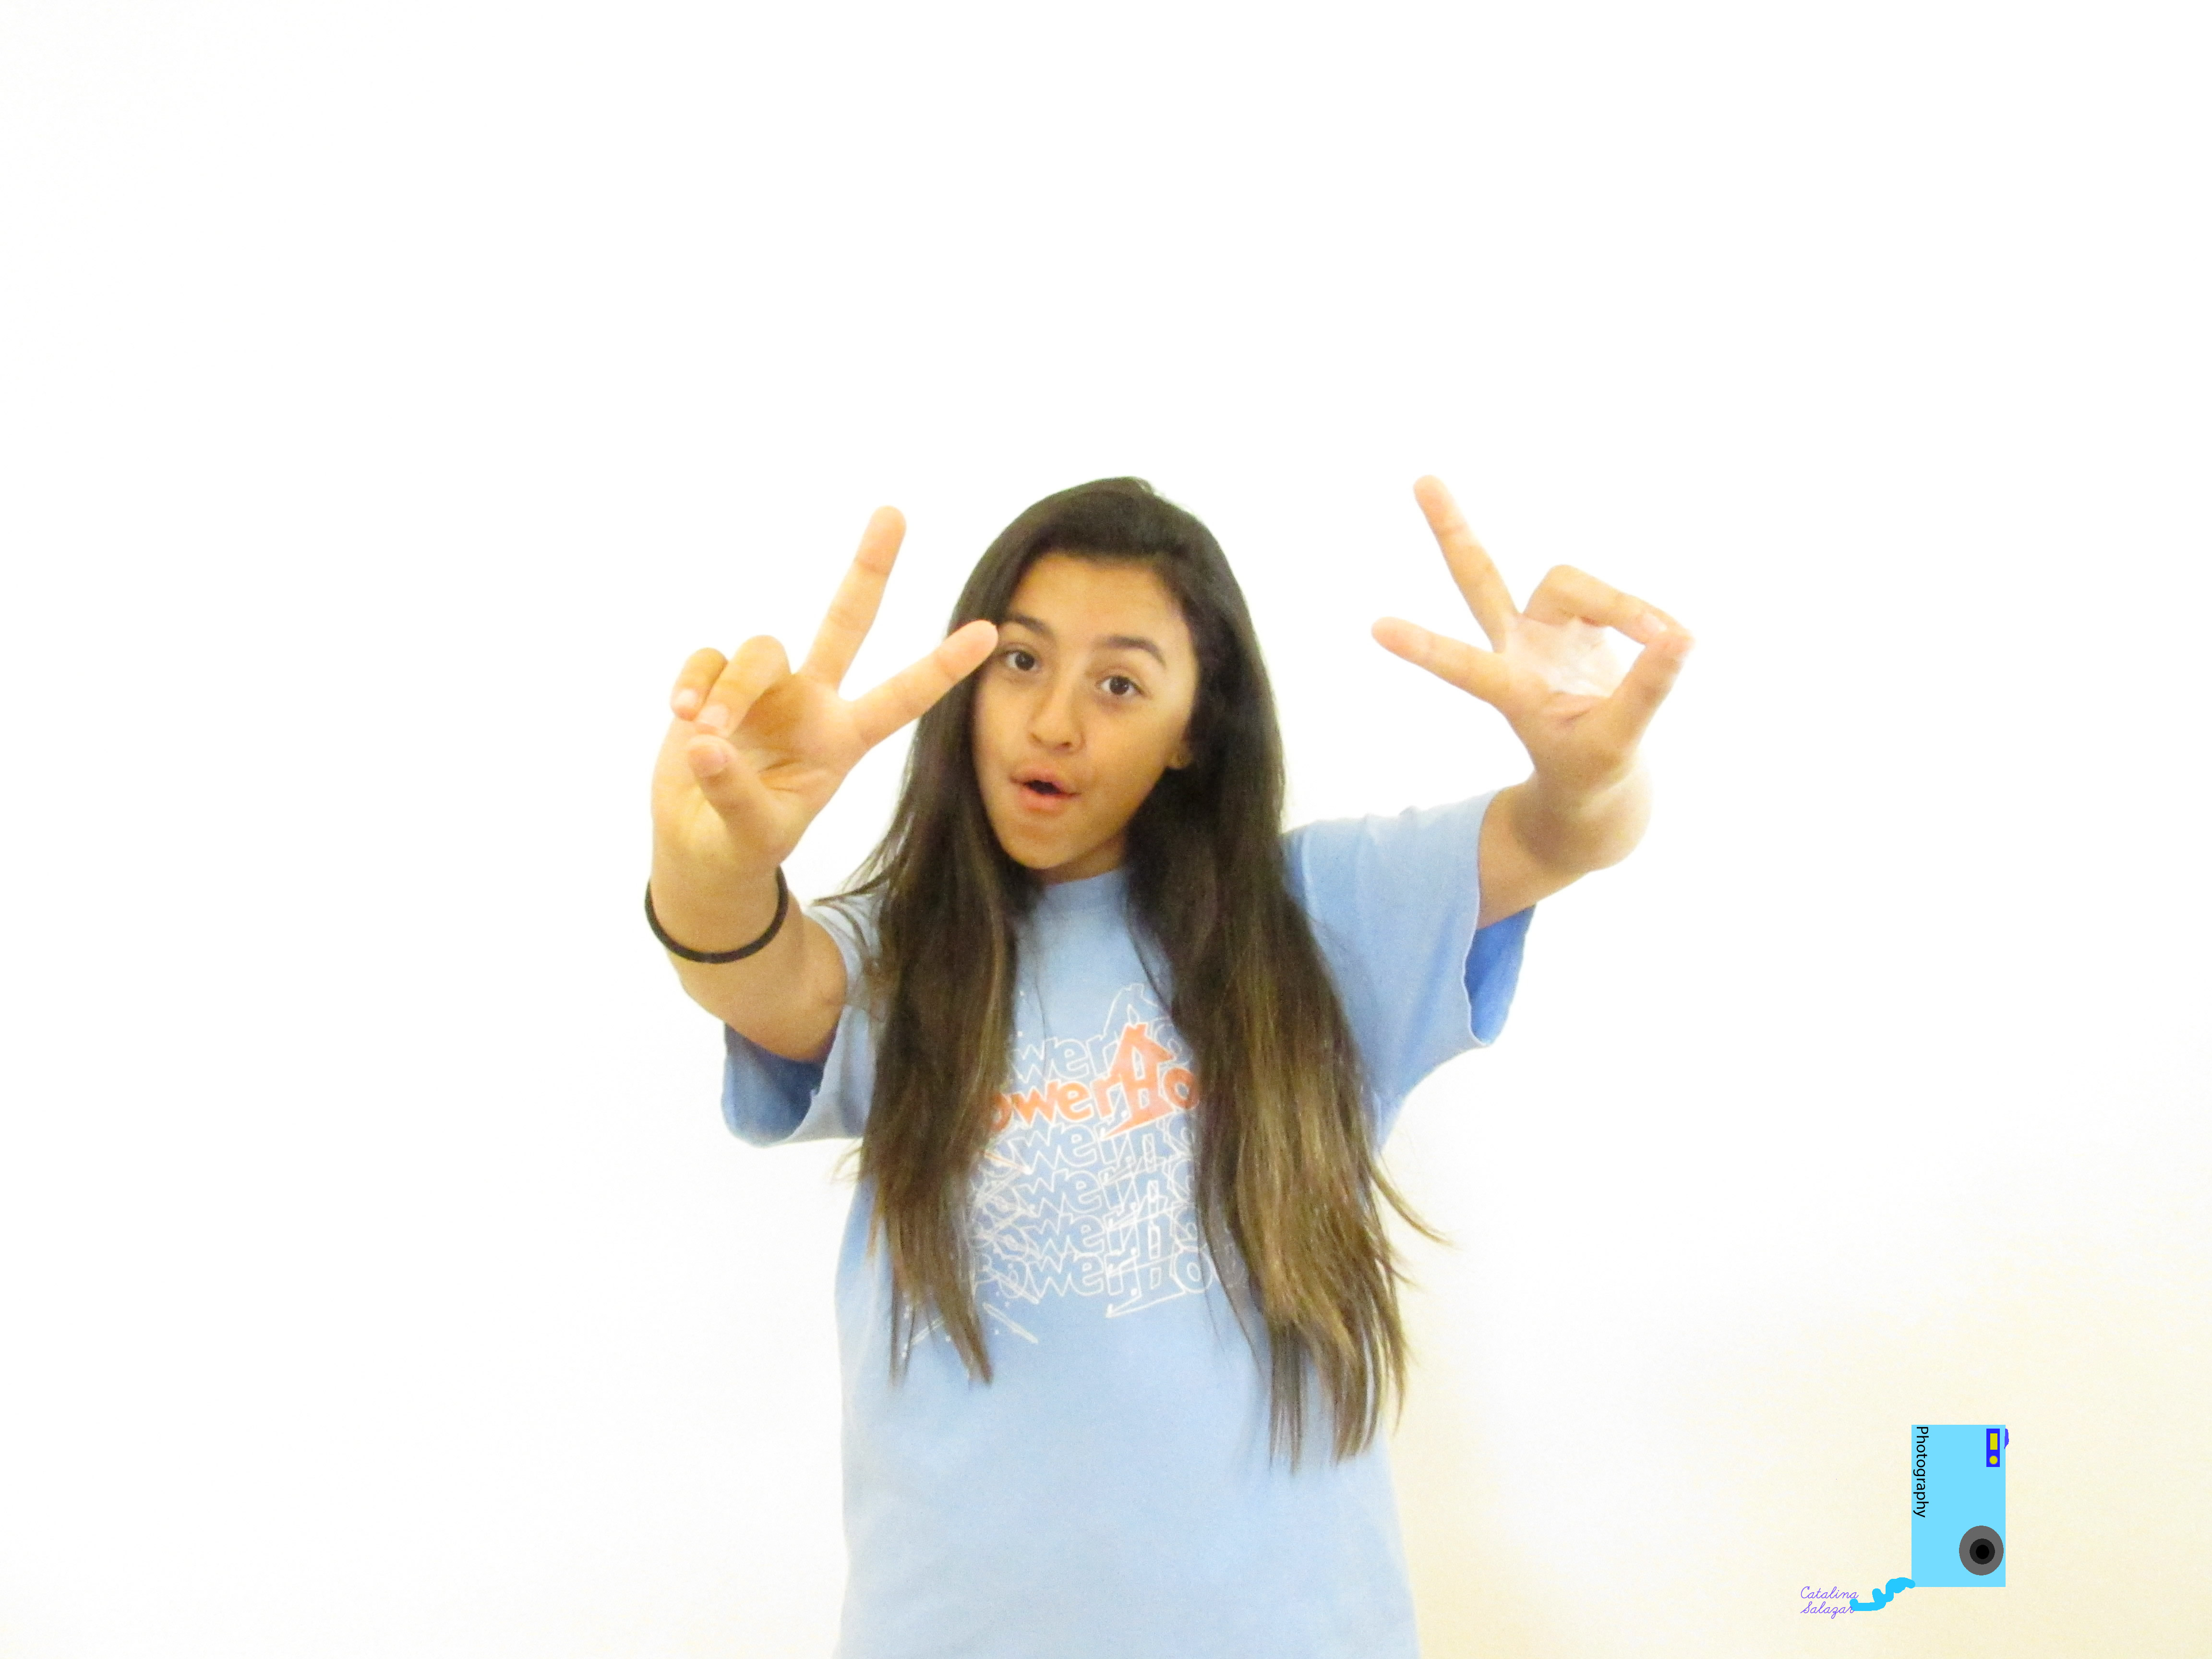
For this project we did a infinite background. To do that we got behind the white background then we angled the light so there is no shadow showing. After we took the camera and took the picture.It worked well to use the white light, the yellow light created shadows and yellow edges. It was hard to position ourselves in a way where there was no shadow behind us. 

Portraits

In this project we had to put our cameras on manual mode and use certain settings such as the ISO and F-stop to get more light in our pictures. For the editing of the pictures we just cropped some corners. The hard part about this project was getting the background to be light. The easy part was messing around with the settings. You can see the rest of my photos Here.

~Portraits with an Infinite Background~

An Infinite background, meaning no shadows. Therefore I used a white background for all my photos; minor lighting was also used but later we found out it just made our faces look shiny. We also did have natural lighting in front of us which made a difference by making our background brighter. Taking pictures from a far distance did not work because our camera would lose focus; however more of a photo zoomed in focused in our facial features. Using this method of zooming in also helped block out possible shadows and lighting behind us. Overall this project was a breeze because once we found out what worked and what didn’t’; we were finishing photos in no time. Click Here to see all my other photos! 

Portraits

In this project we had to take pictures of people with a white background. It should like it is a png. The picture shouldn’t have any dark edges. To make this happen we had to change the shutter speed and the iso settings. Overall, the pictures we took were good but there were some dark edges. To fix that, i just cropped the image. You can see the rest of my pictures here.

White Background Portraits

First in order to take the photos we had to organize all the lighting to make completely white background. Then we would change the shutter speed of the camera to let either less or more light into the picture, in till we got all the pictures with a good amount of lighting. Once we were done we edited our photos a little with Photoshop. We messed with the curves settings to make it so we could edit out the yellowish spots on our photos. Being able to determine the shutter speed probably worked the best for my group, but it was a little difficult to get the best lighting possible.


To view all my portrait photos click here

Portraits with an Infinite Background

When taking the photos I put the shutter speed a little higher to let all the light come. We tried to shine the light on the backdrop and not the person in order to not take off parts of the face. The shutter speed worked but the lighting didn’t work because it was uneven.

5 Shots

This project was to find one object and make 5 different angles of that object. A challenge to me was finding the object and looking for good angles of that object. Sometimes when you take a photograph from the top angle, you can’t really tell what it is and it looks flat so the top angle isn’t nice. This project helped me learn different angles and I learned a lot of angles that looks really cool. My favorite angled photo is below. Click here for more photos.

Portraits

In this project I had to take a photo using ISO to make an infinite white background behind and person. The thing that worked the most for me was the pose of the person and the color of there shirt. The thing that didn’t work was having the light be to bright or to close or to far, etc… You can find the rest of my photos here.

Portrait

My group and I had to change the shutter speed to let  it be open for a certain amount of time. we also had to change the sensitivity of the light which is called ISO. when we took the picture we held a light and faced it on that white back ground. I used Adobe Photo shoot to edit the back ground. there wasn’t much shadow and the back screen was bright. Sometime the shadow would show  near the person. If you want to see the rest of the picture click here