Portraits with a Black Background

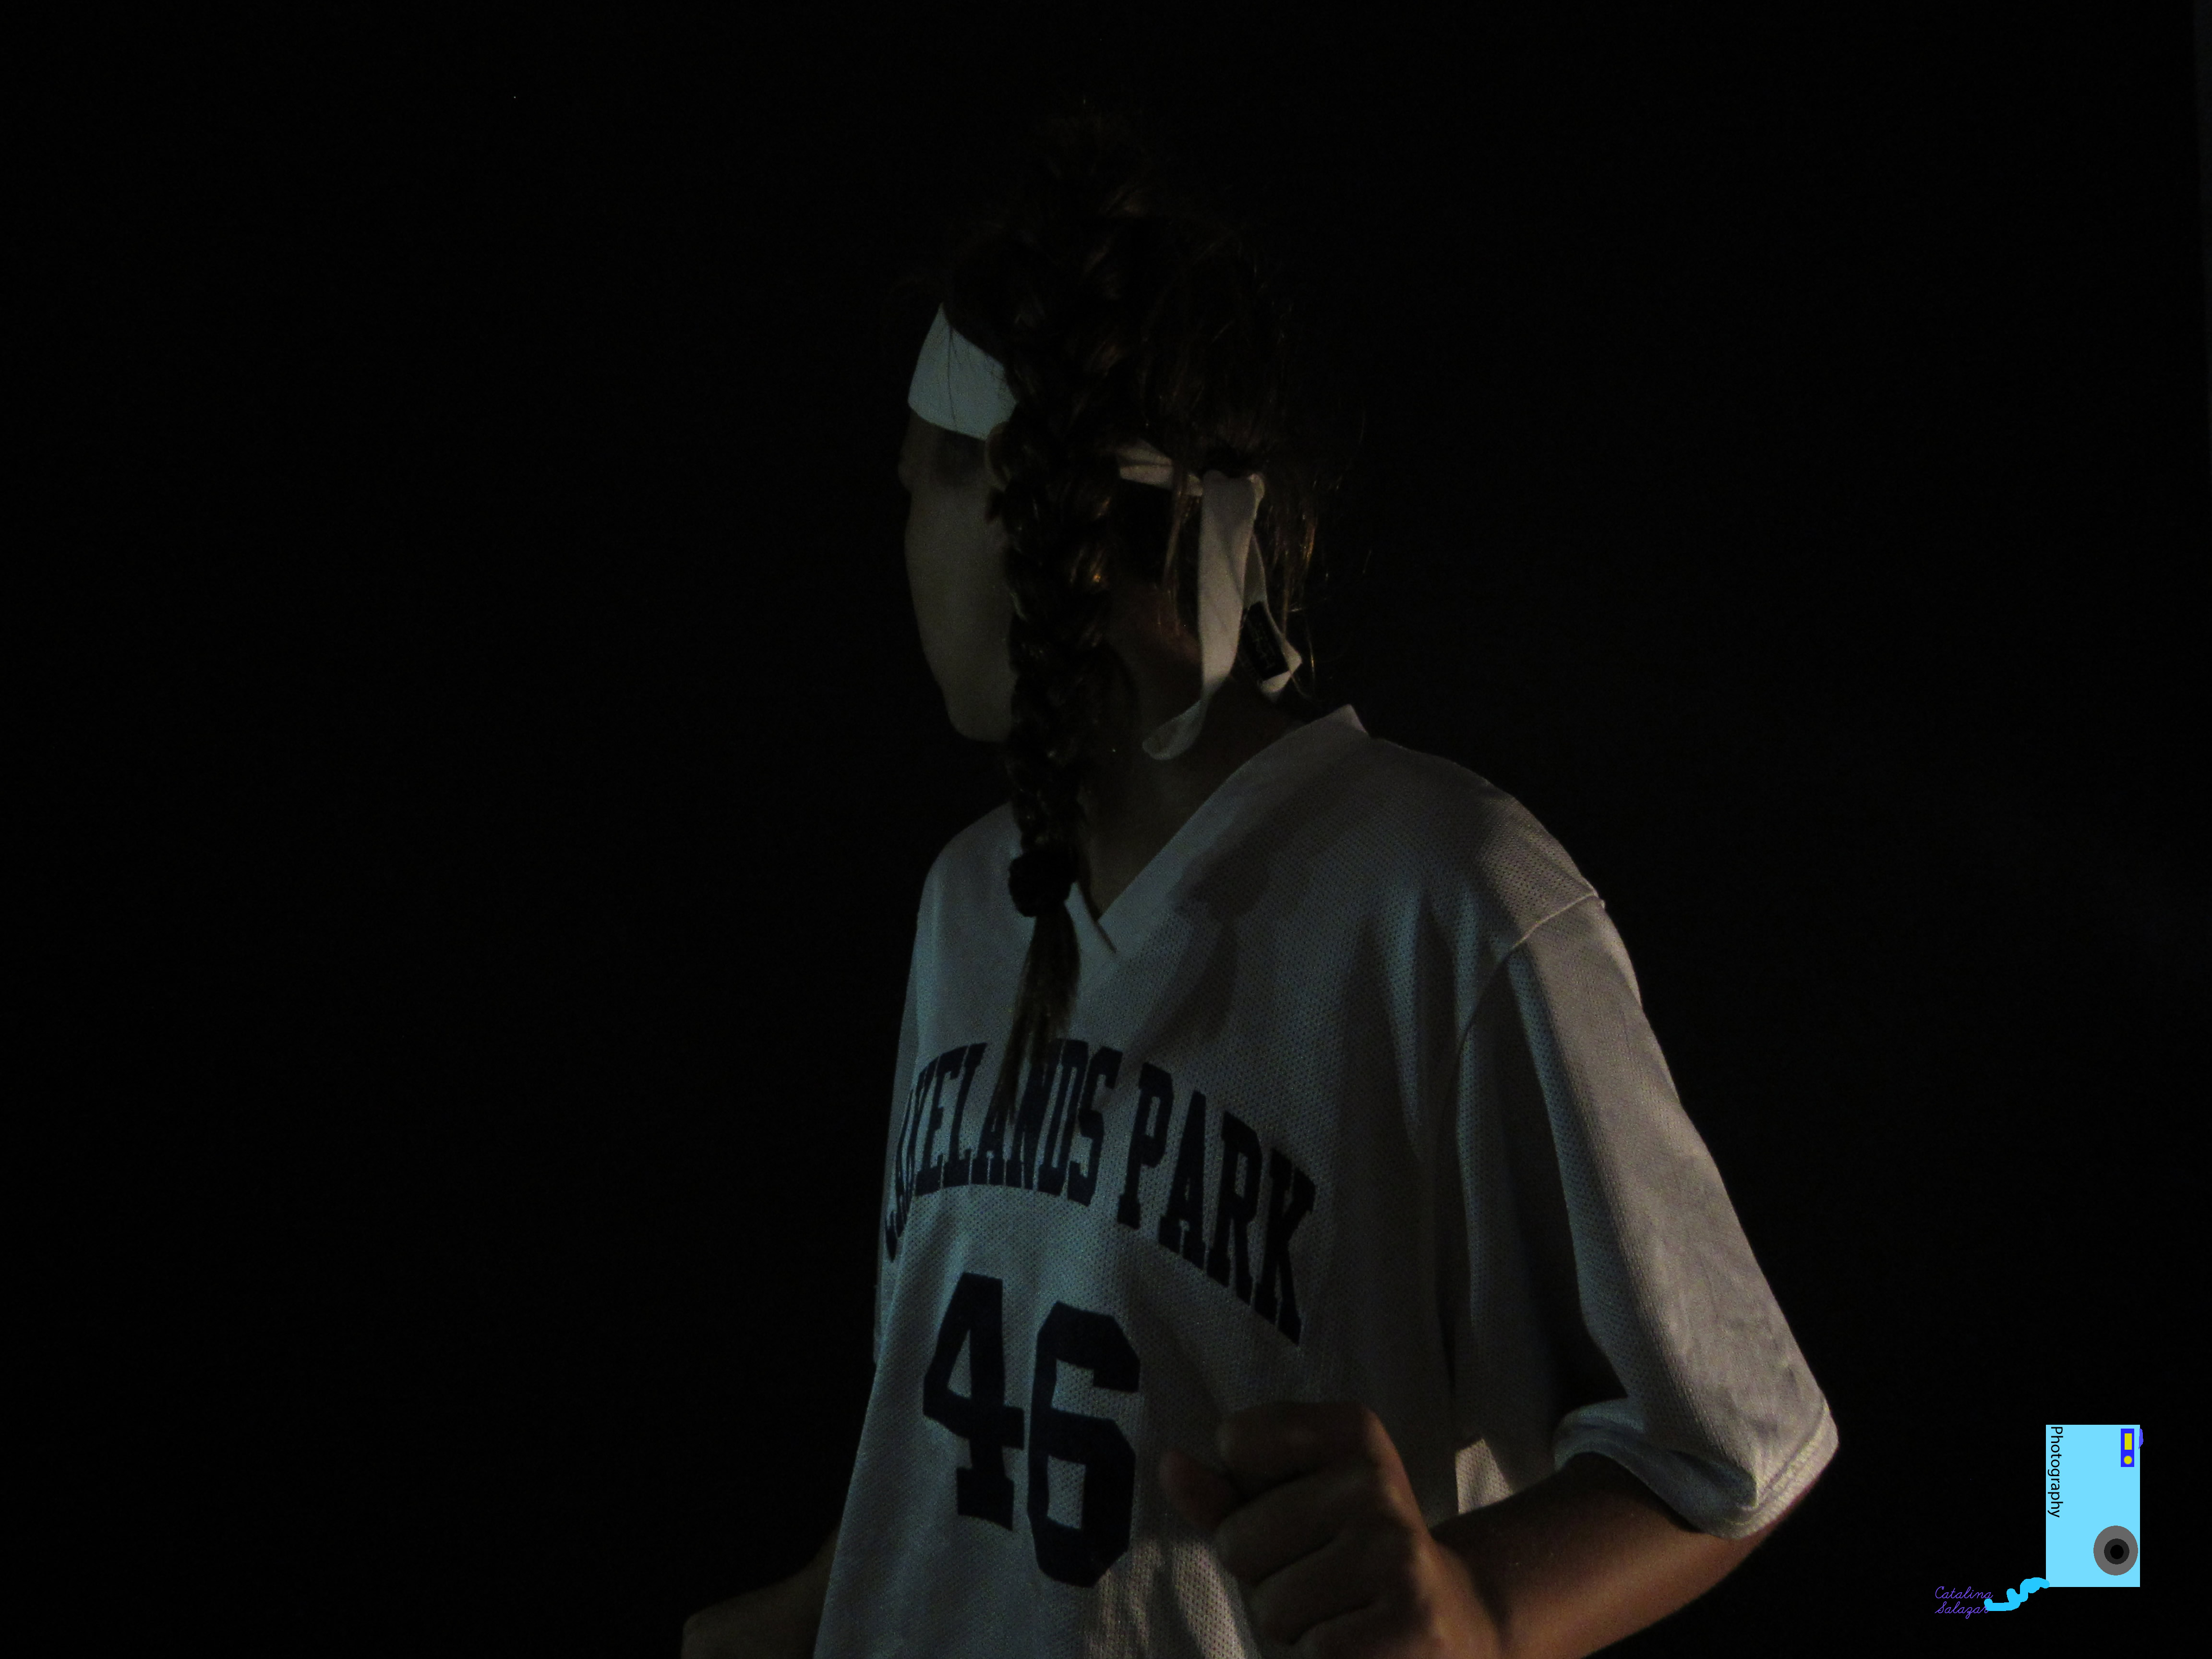
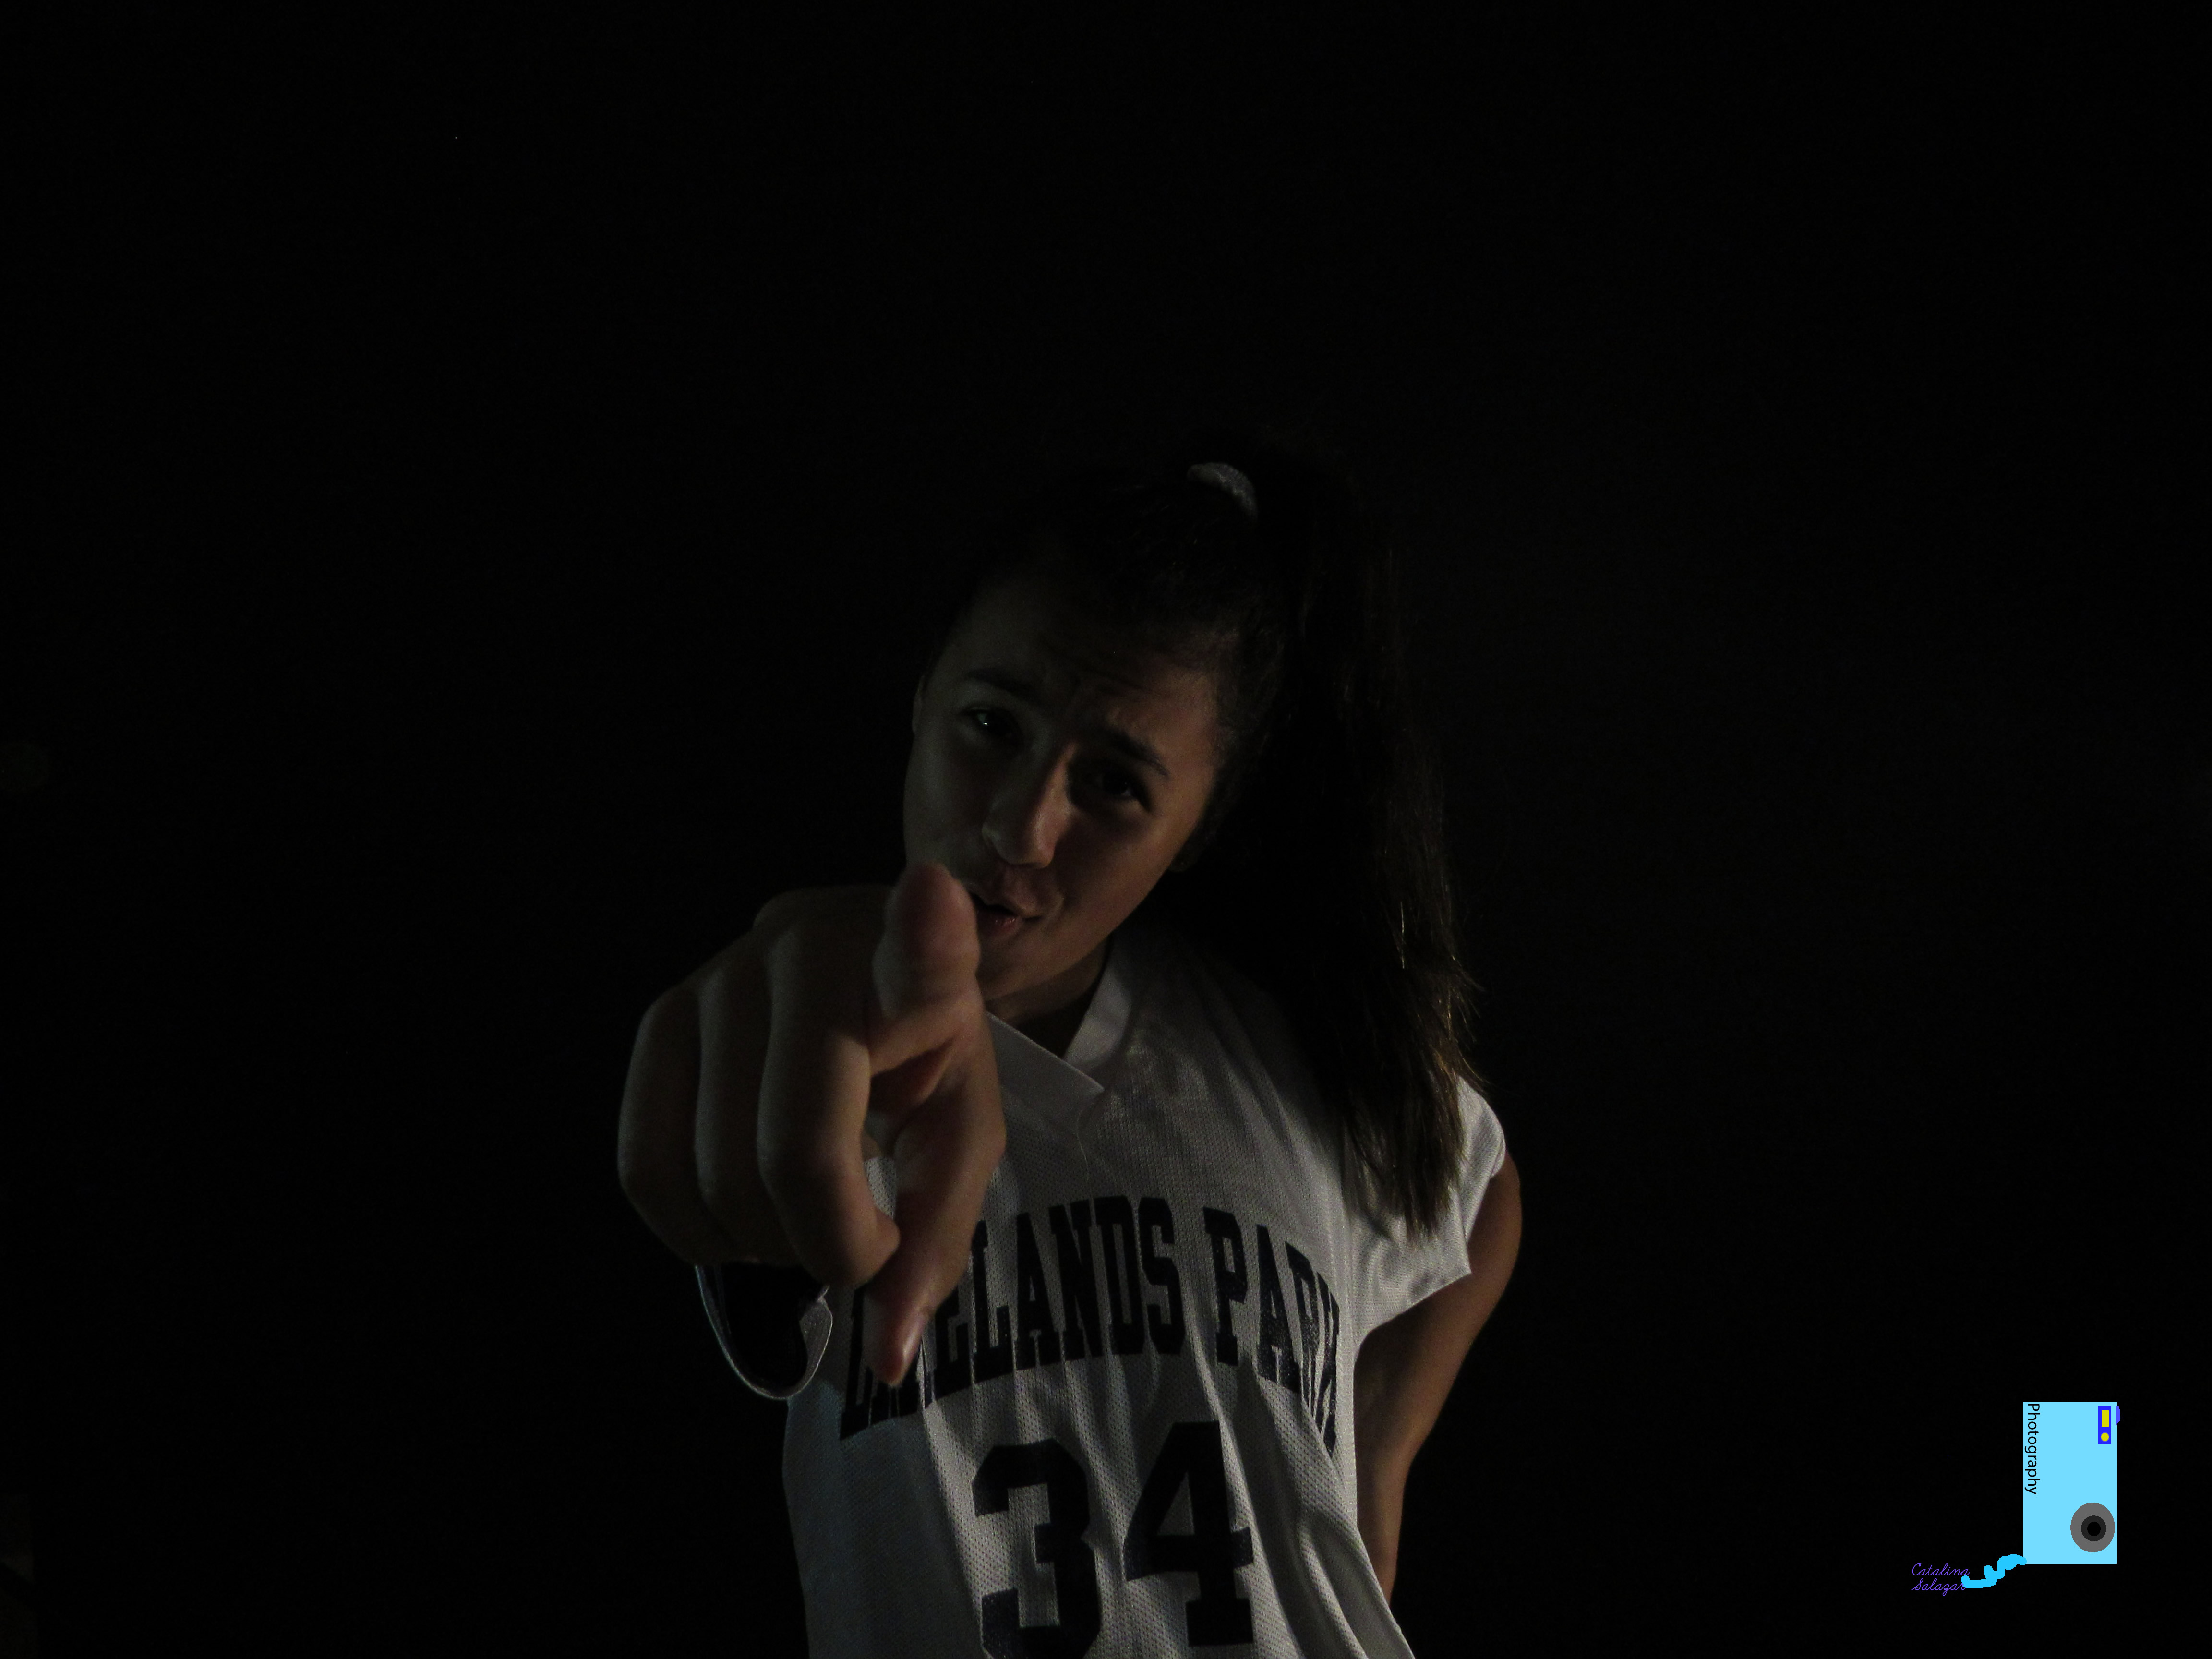
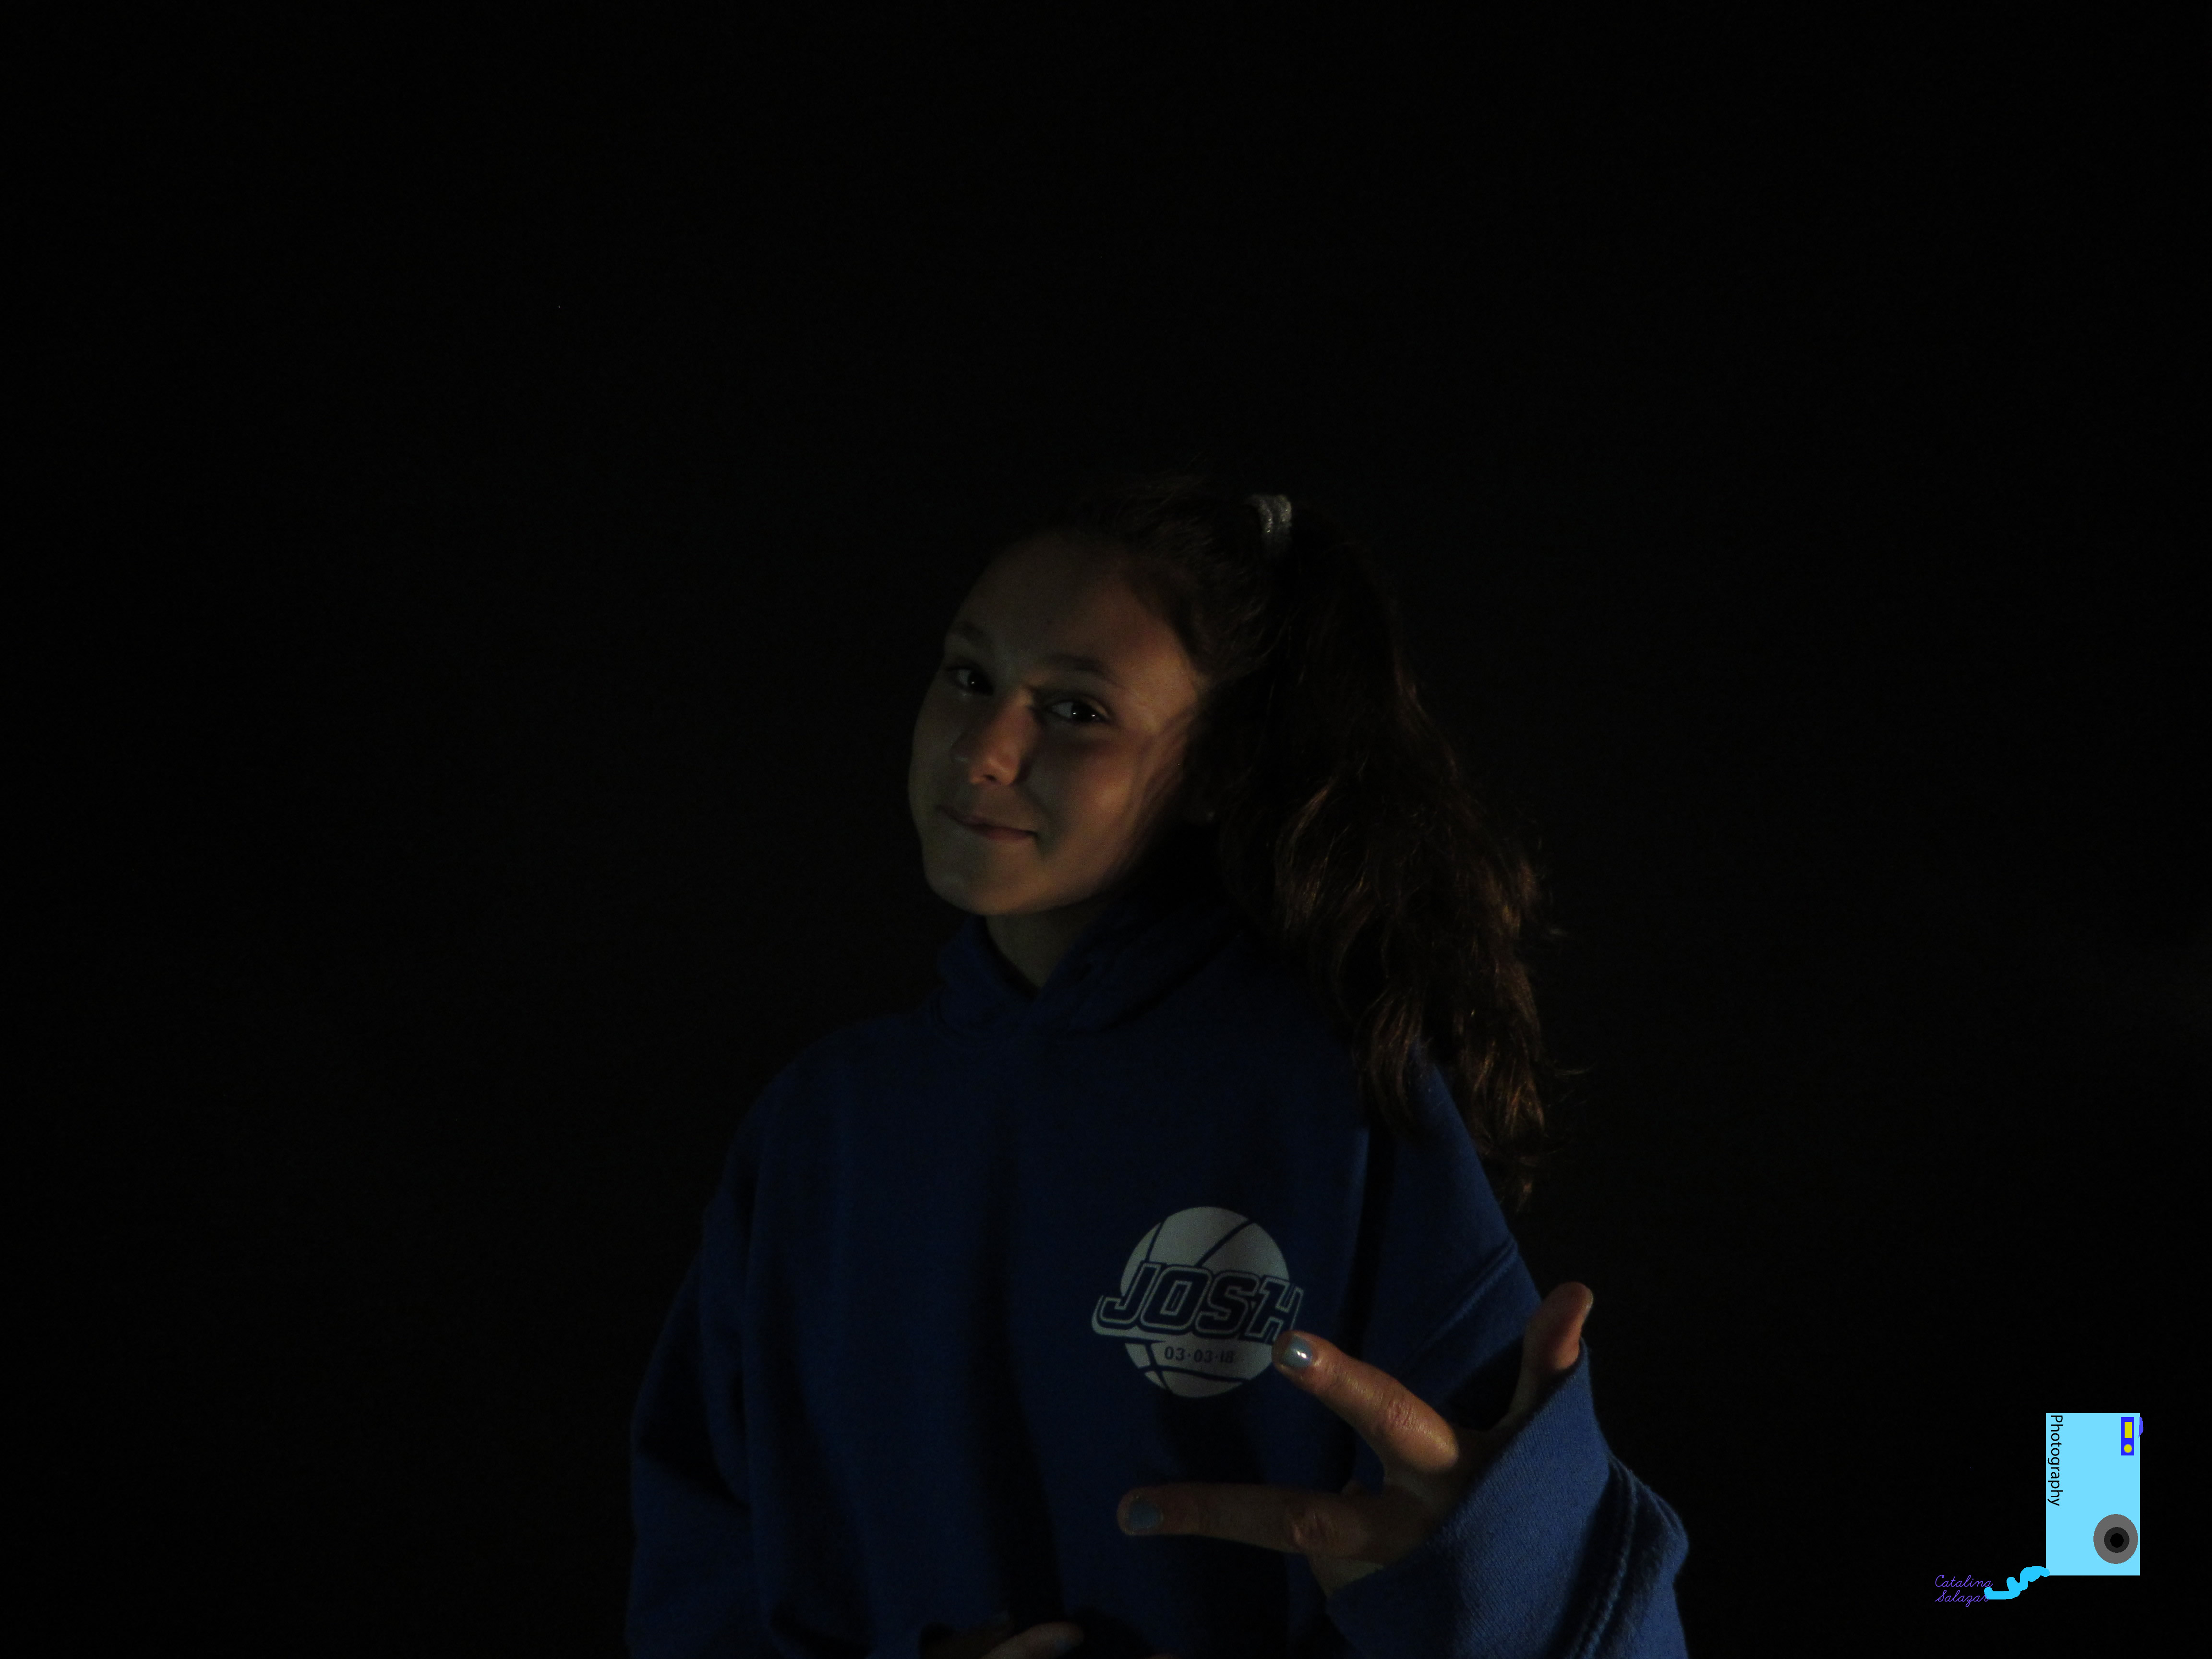
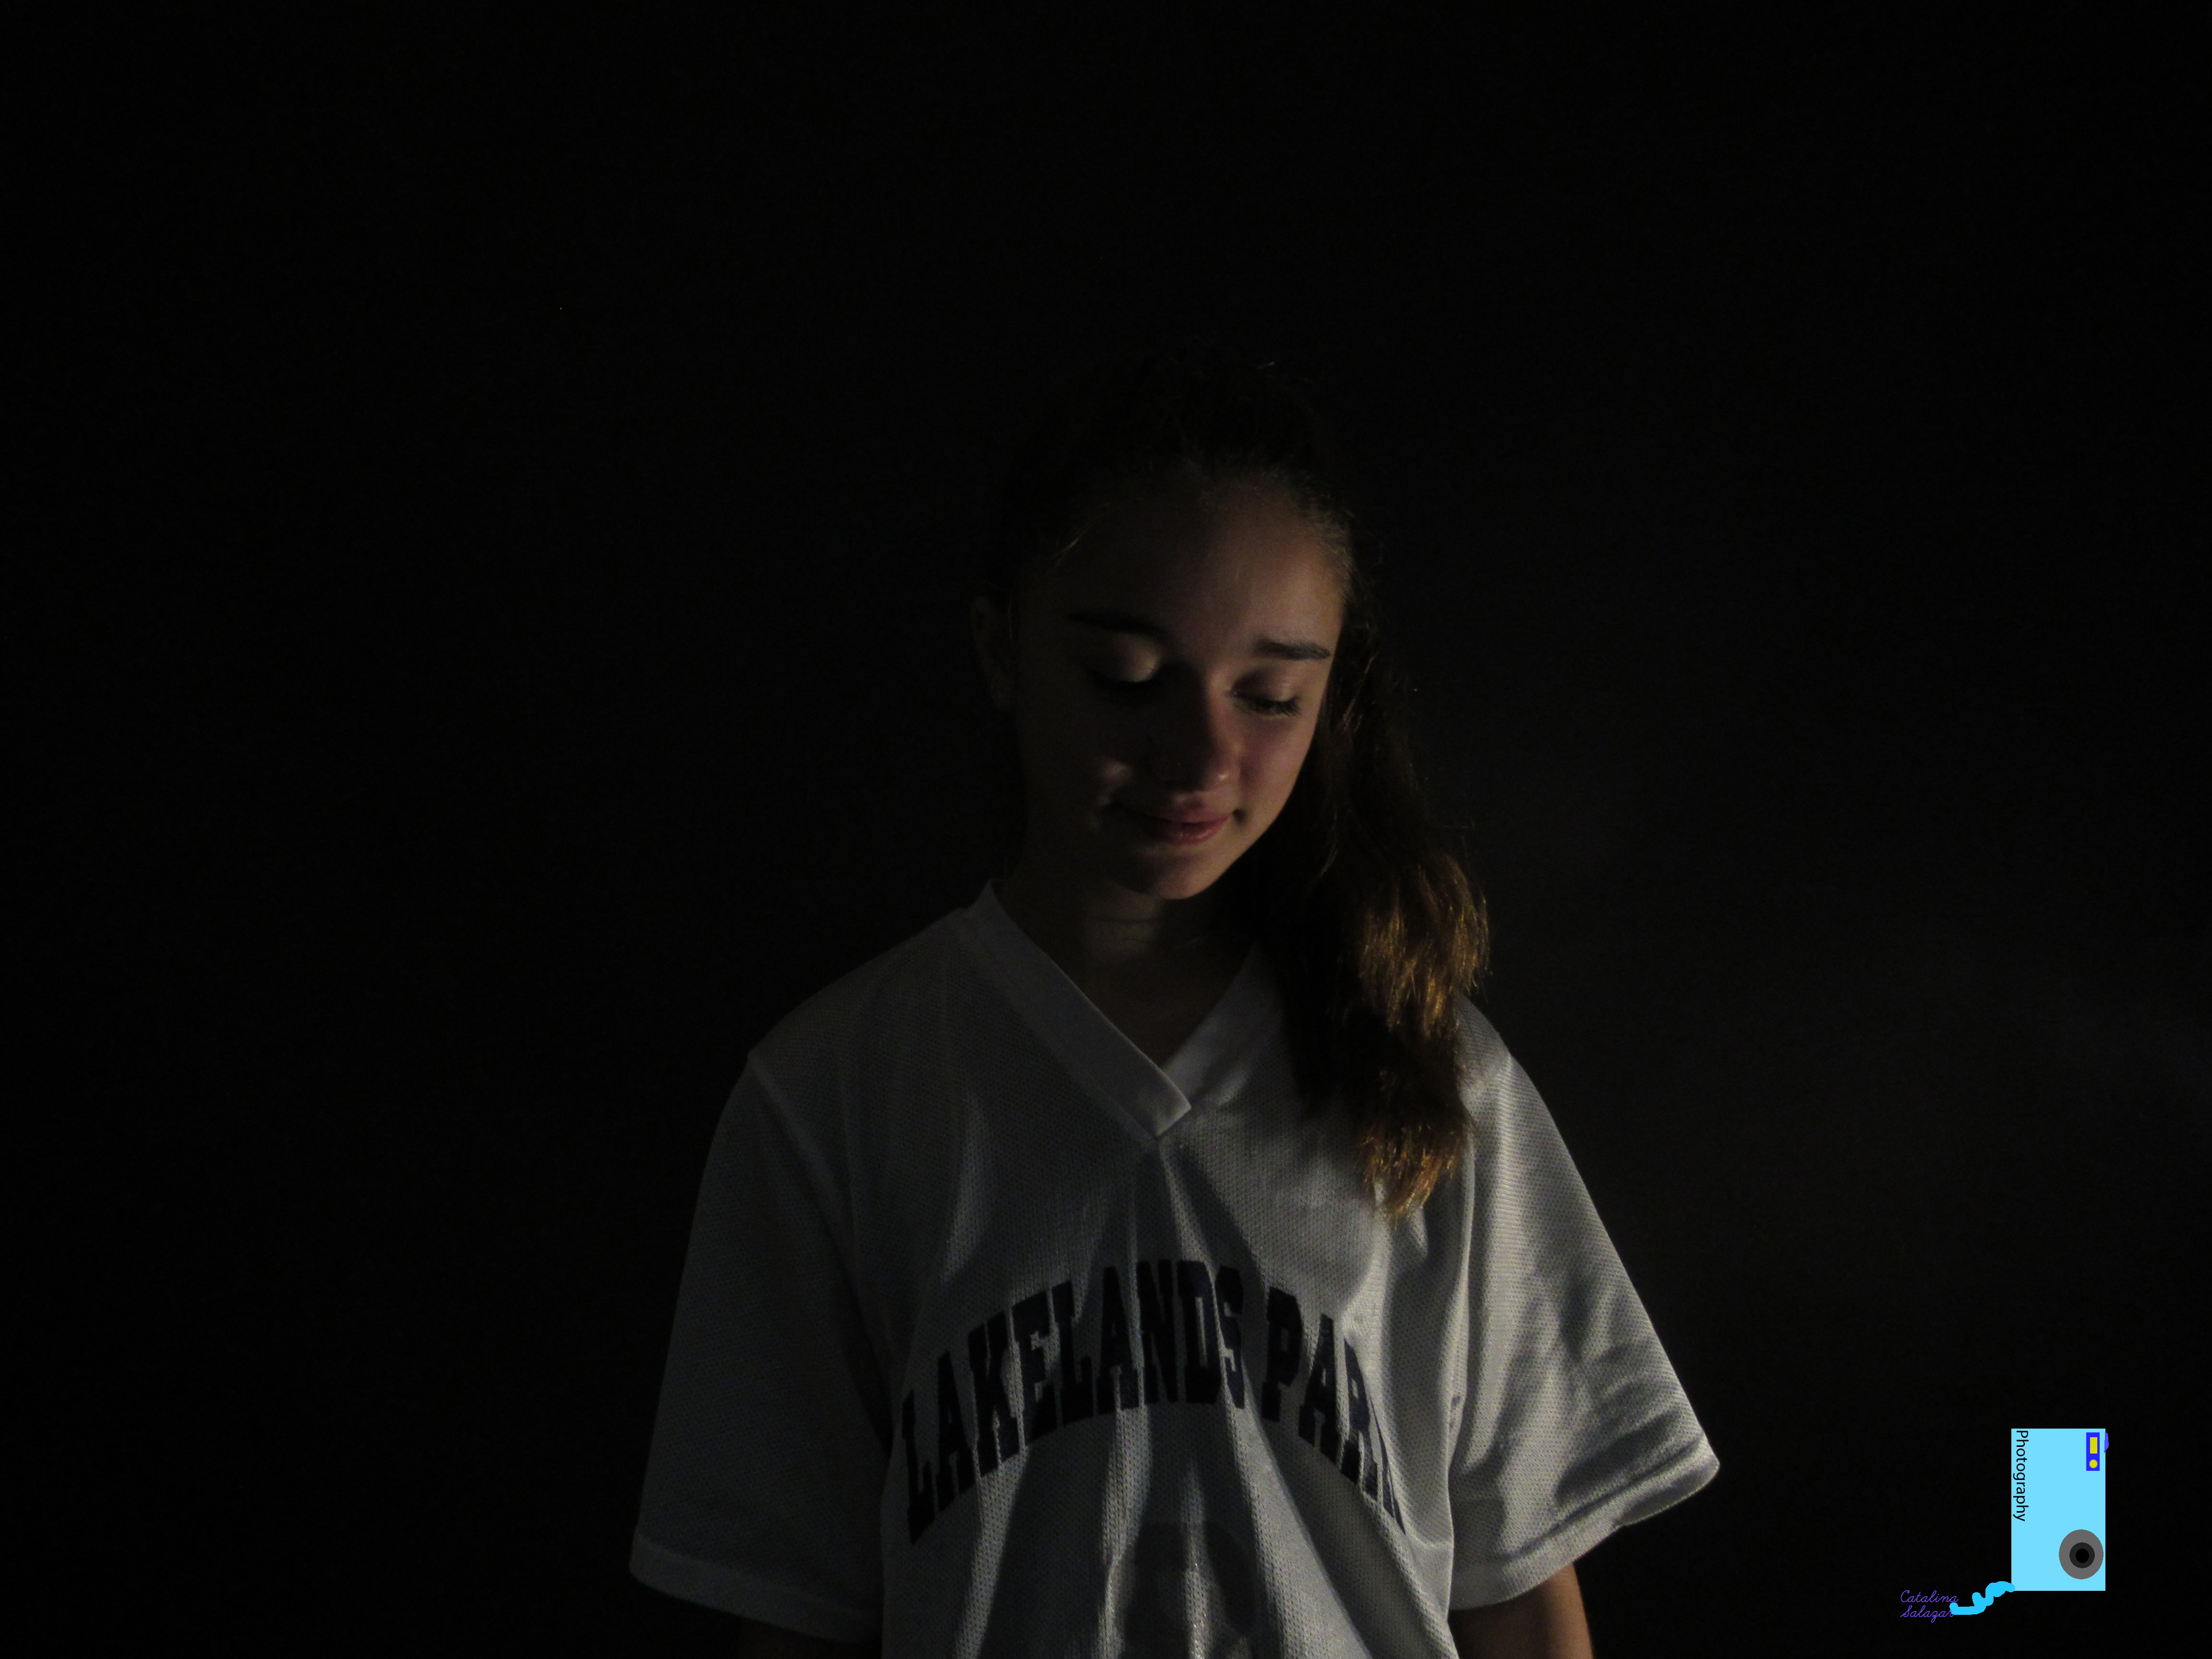
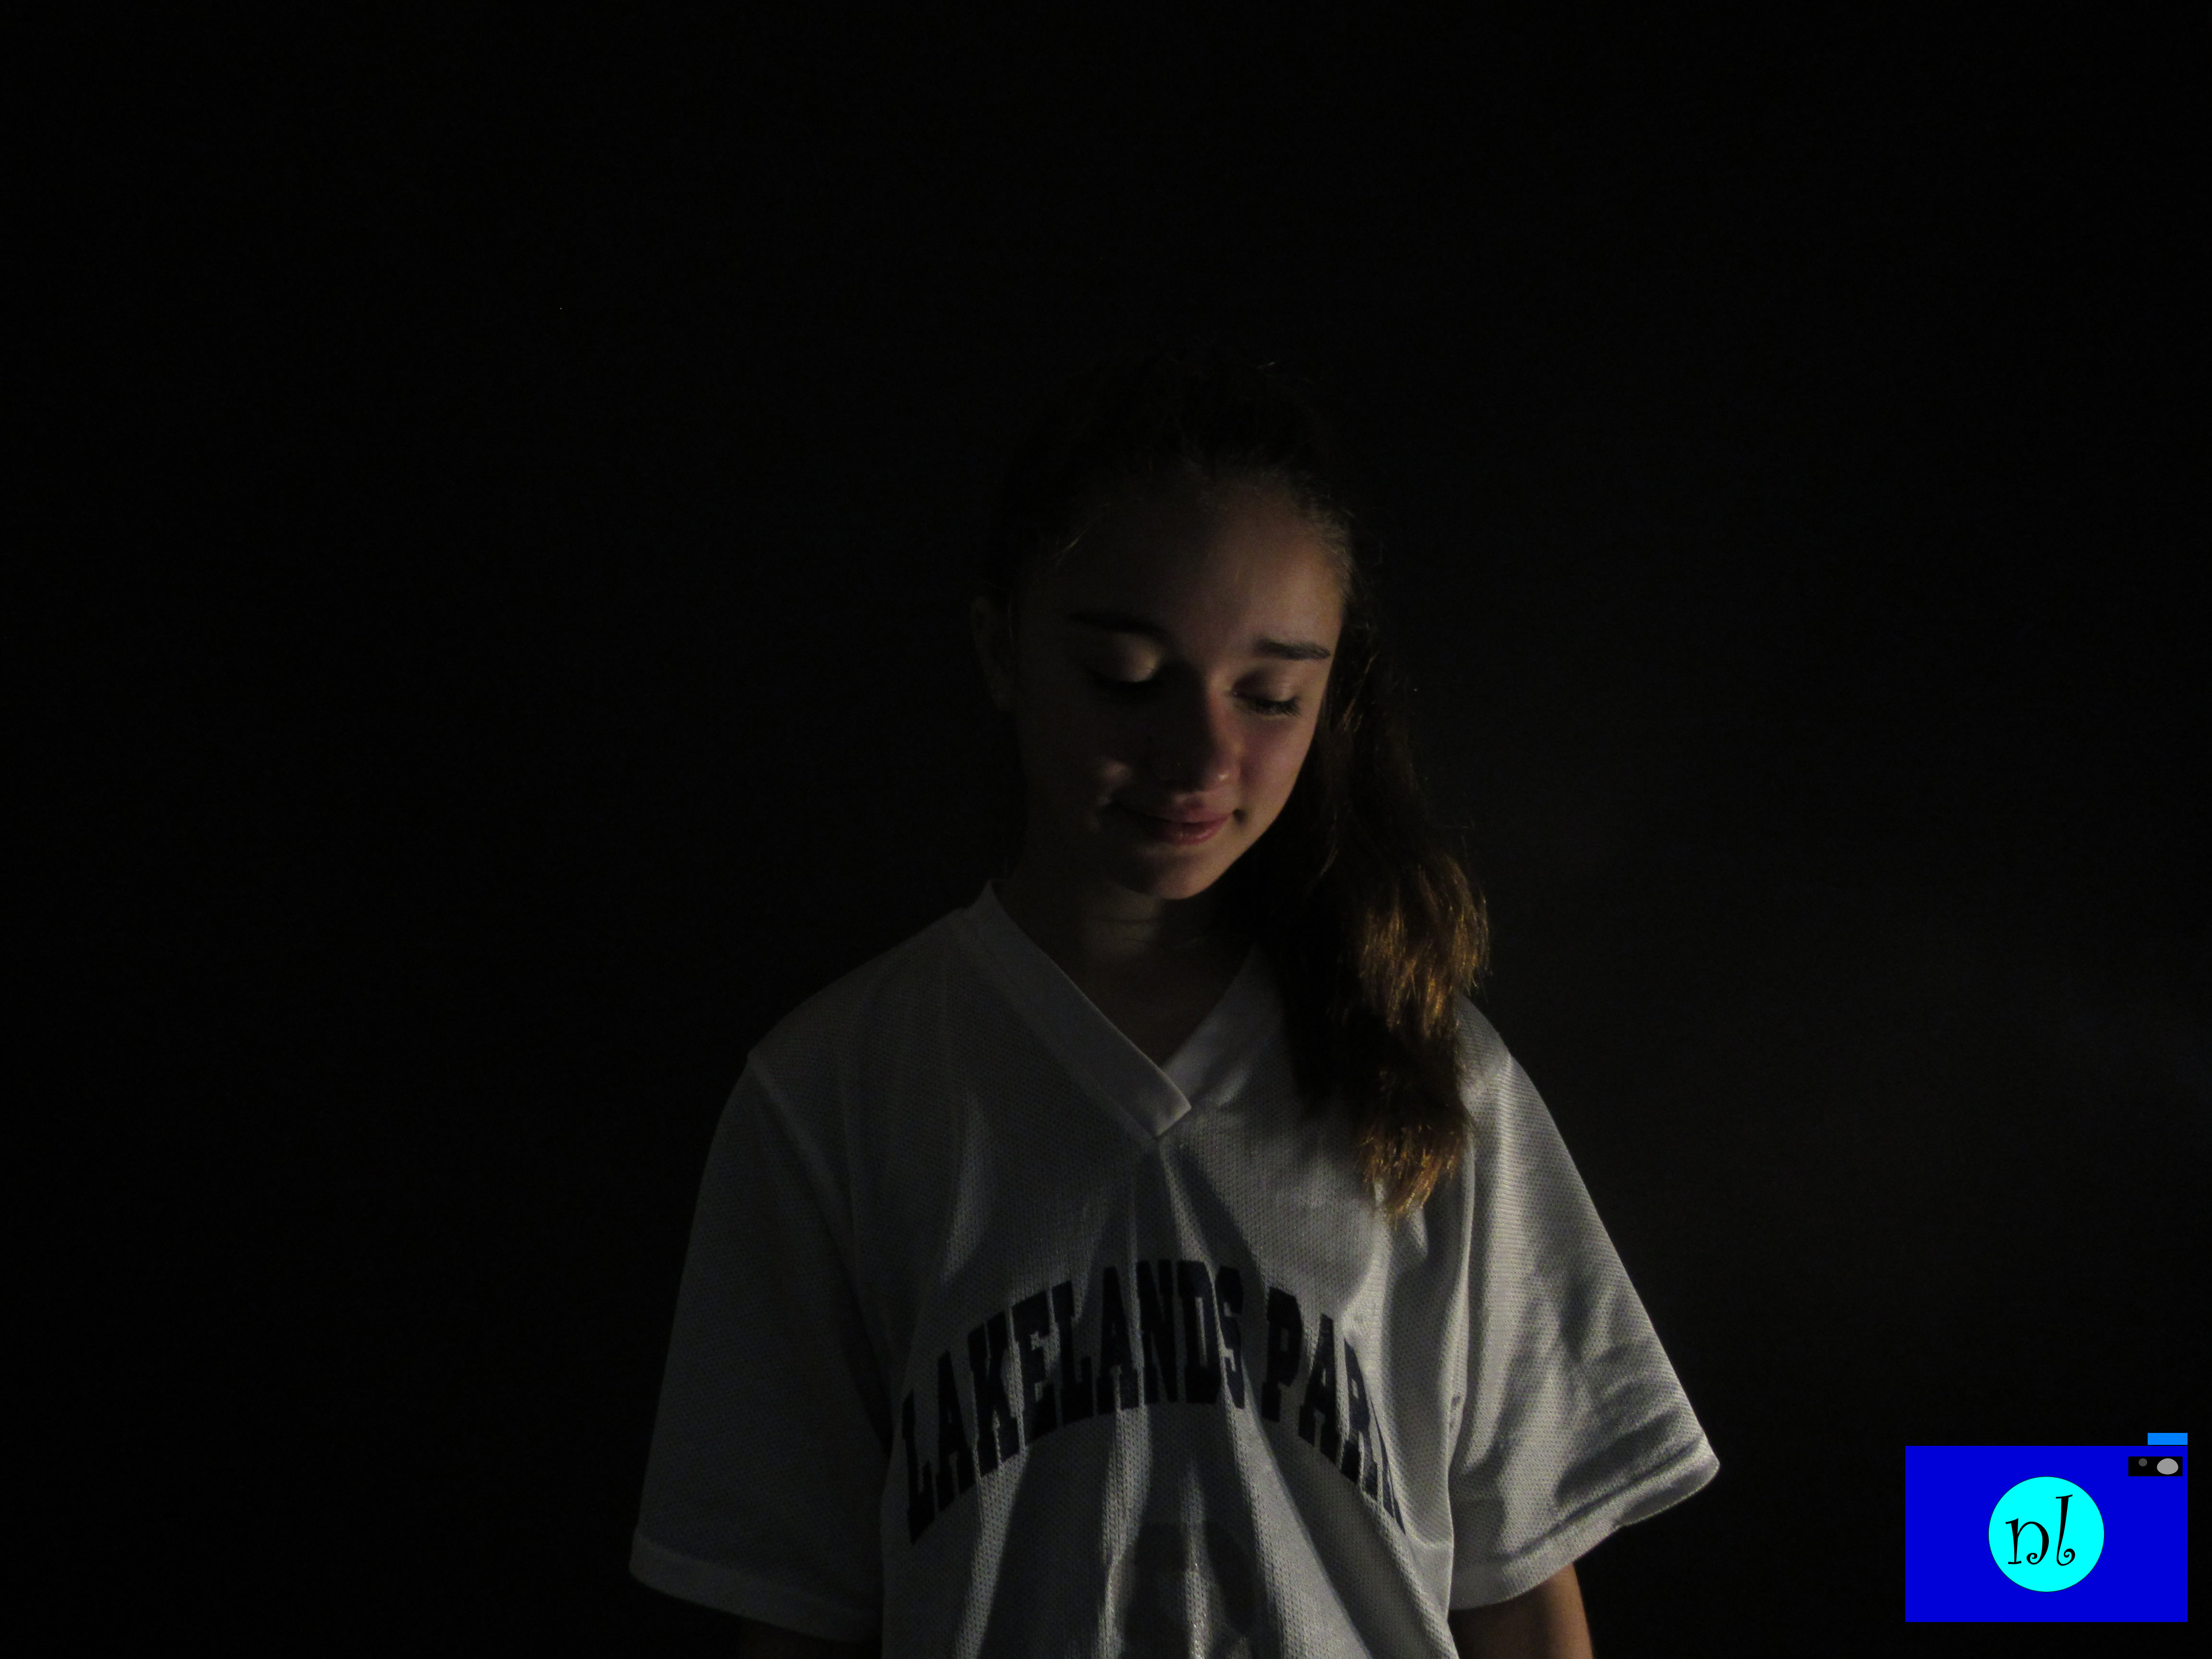
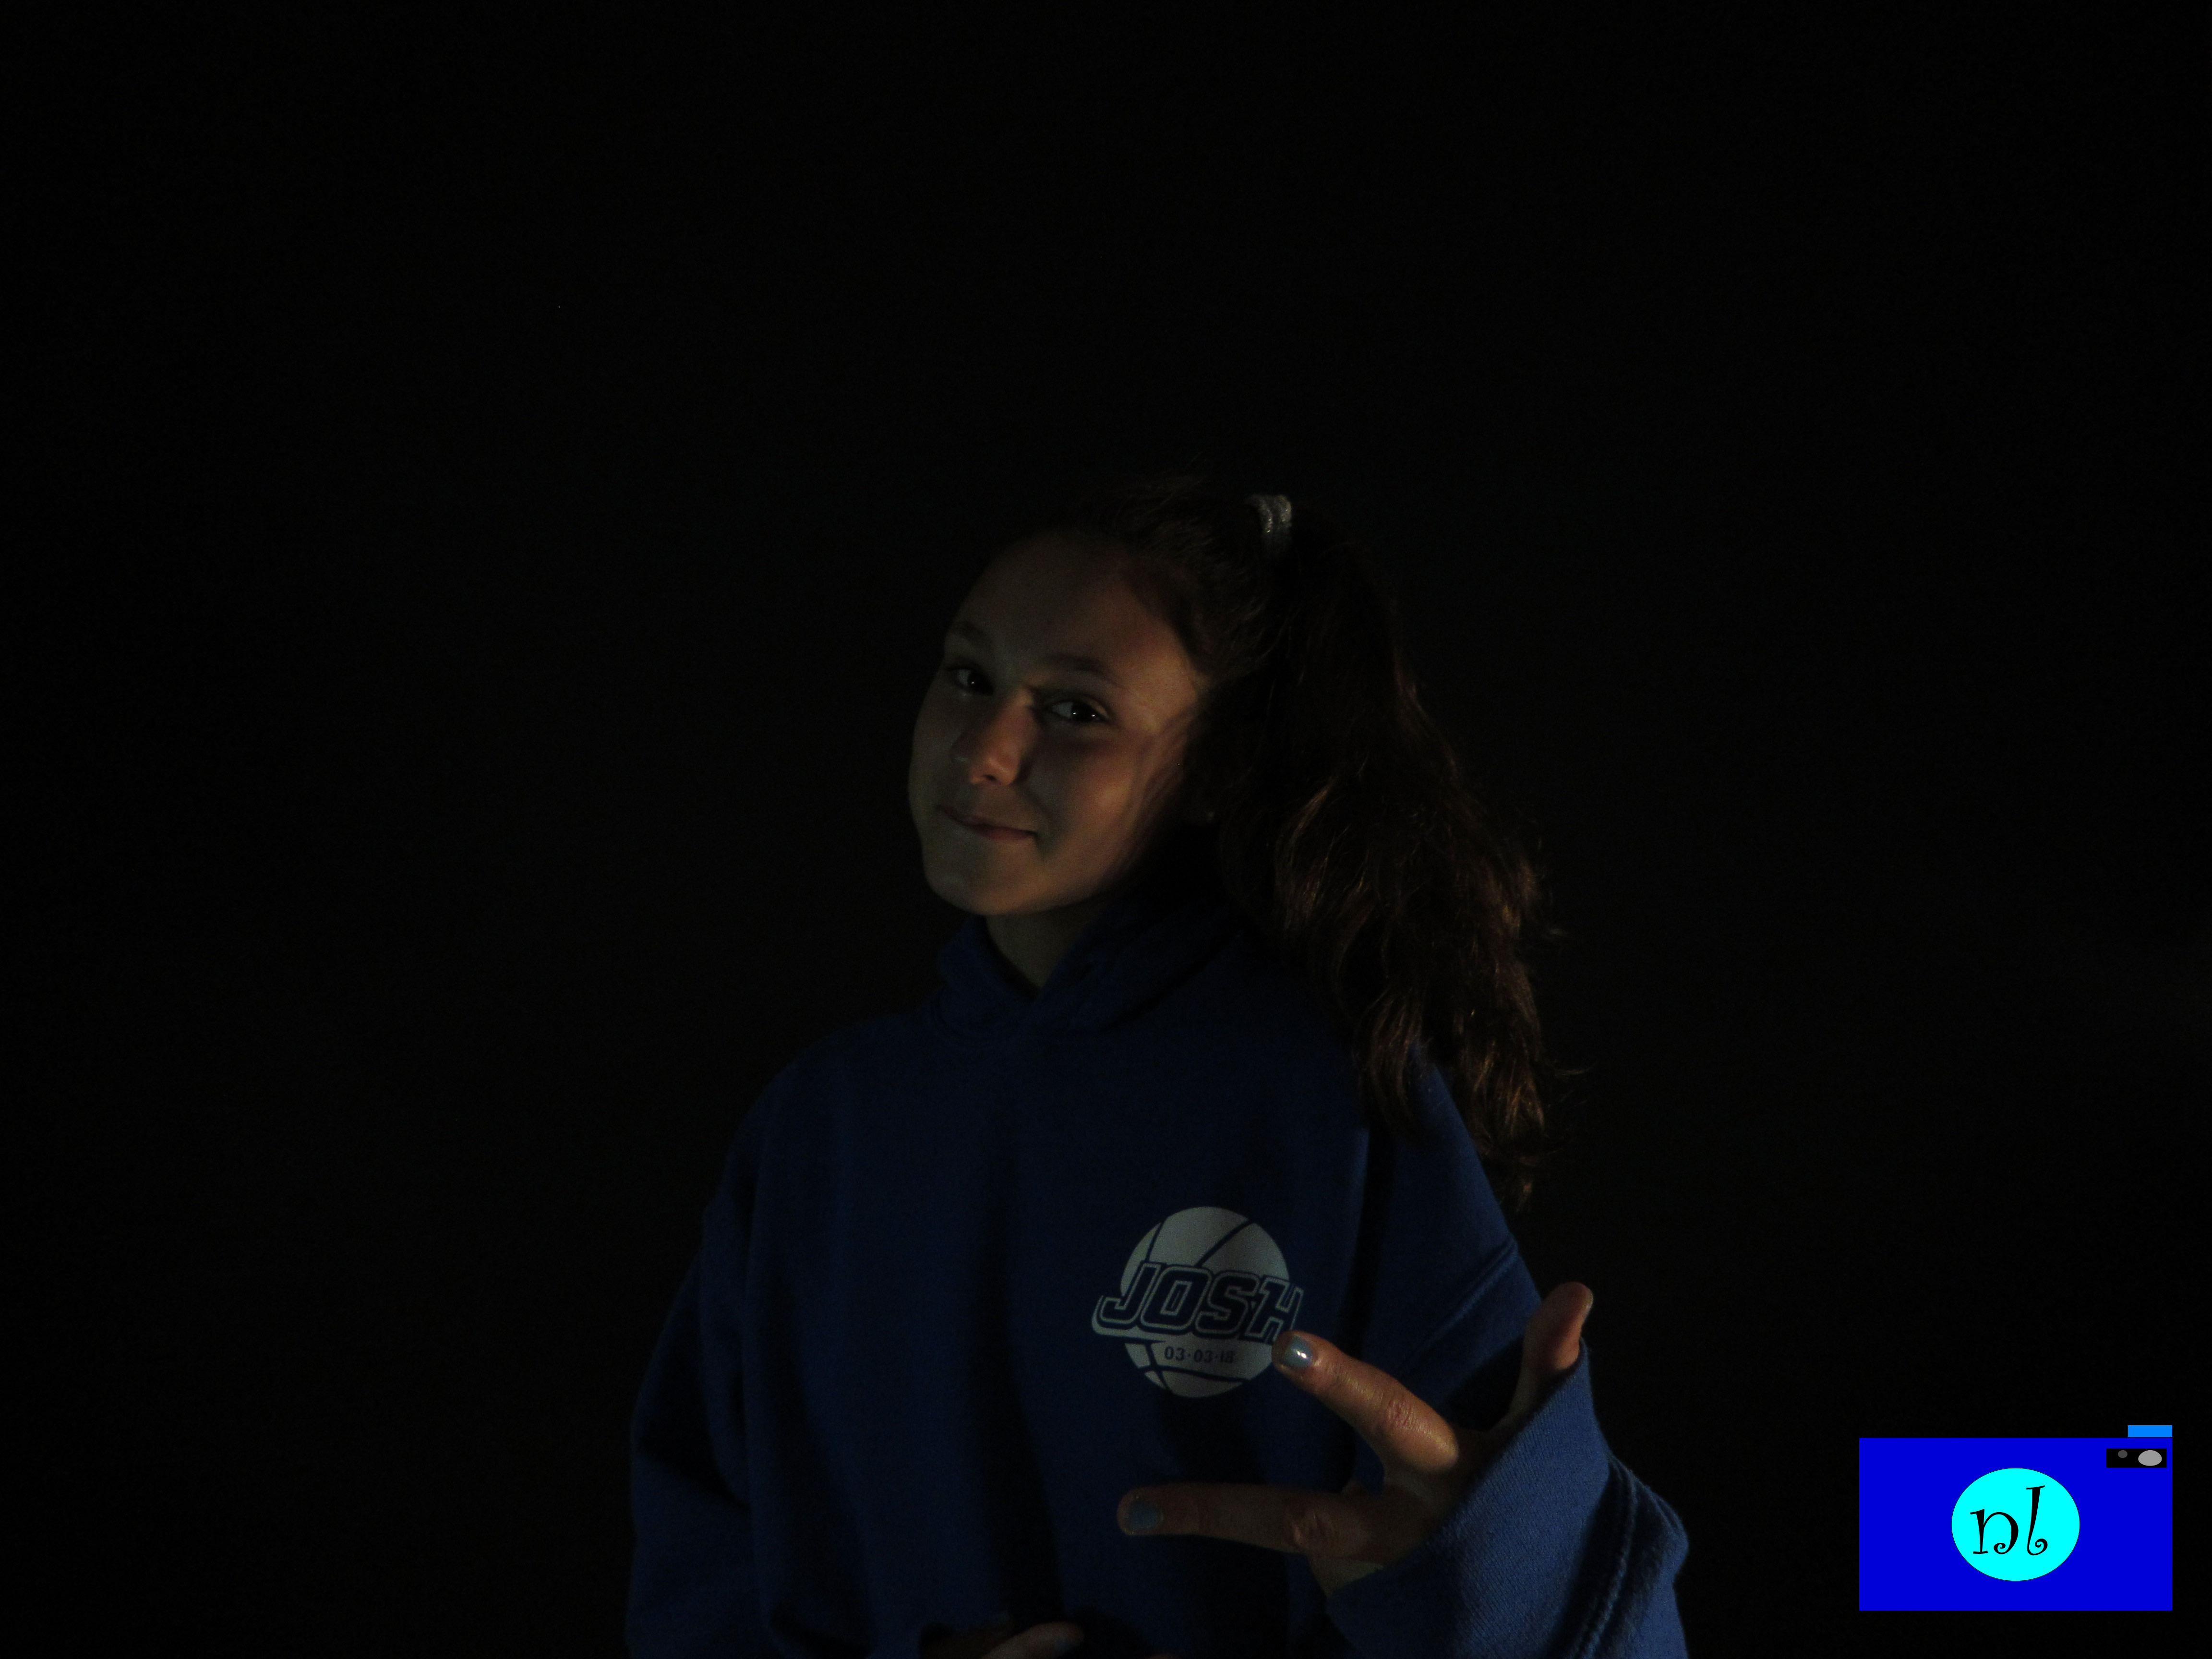
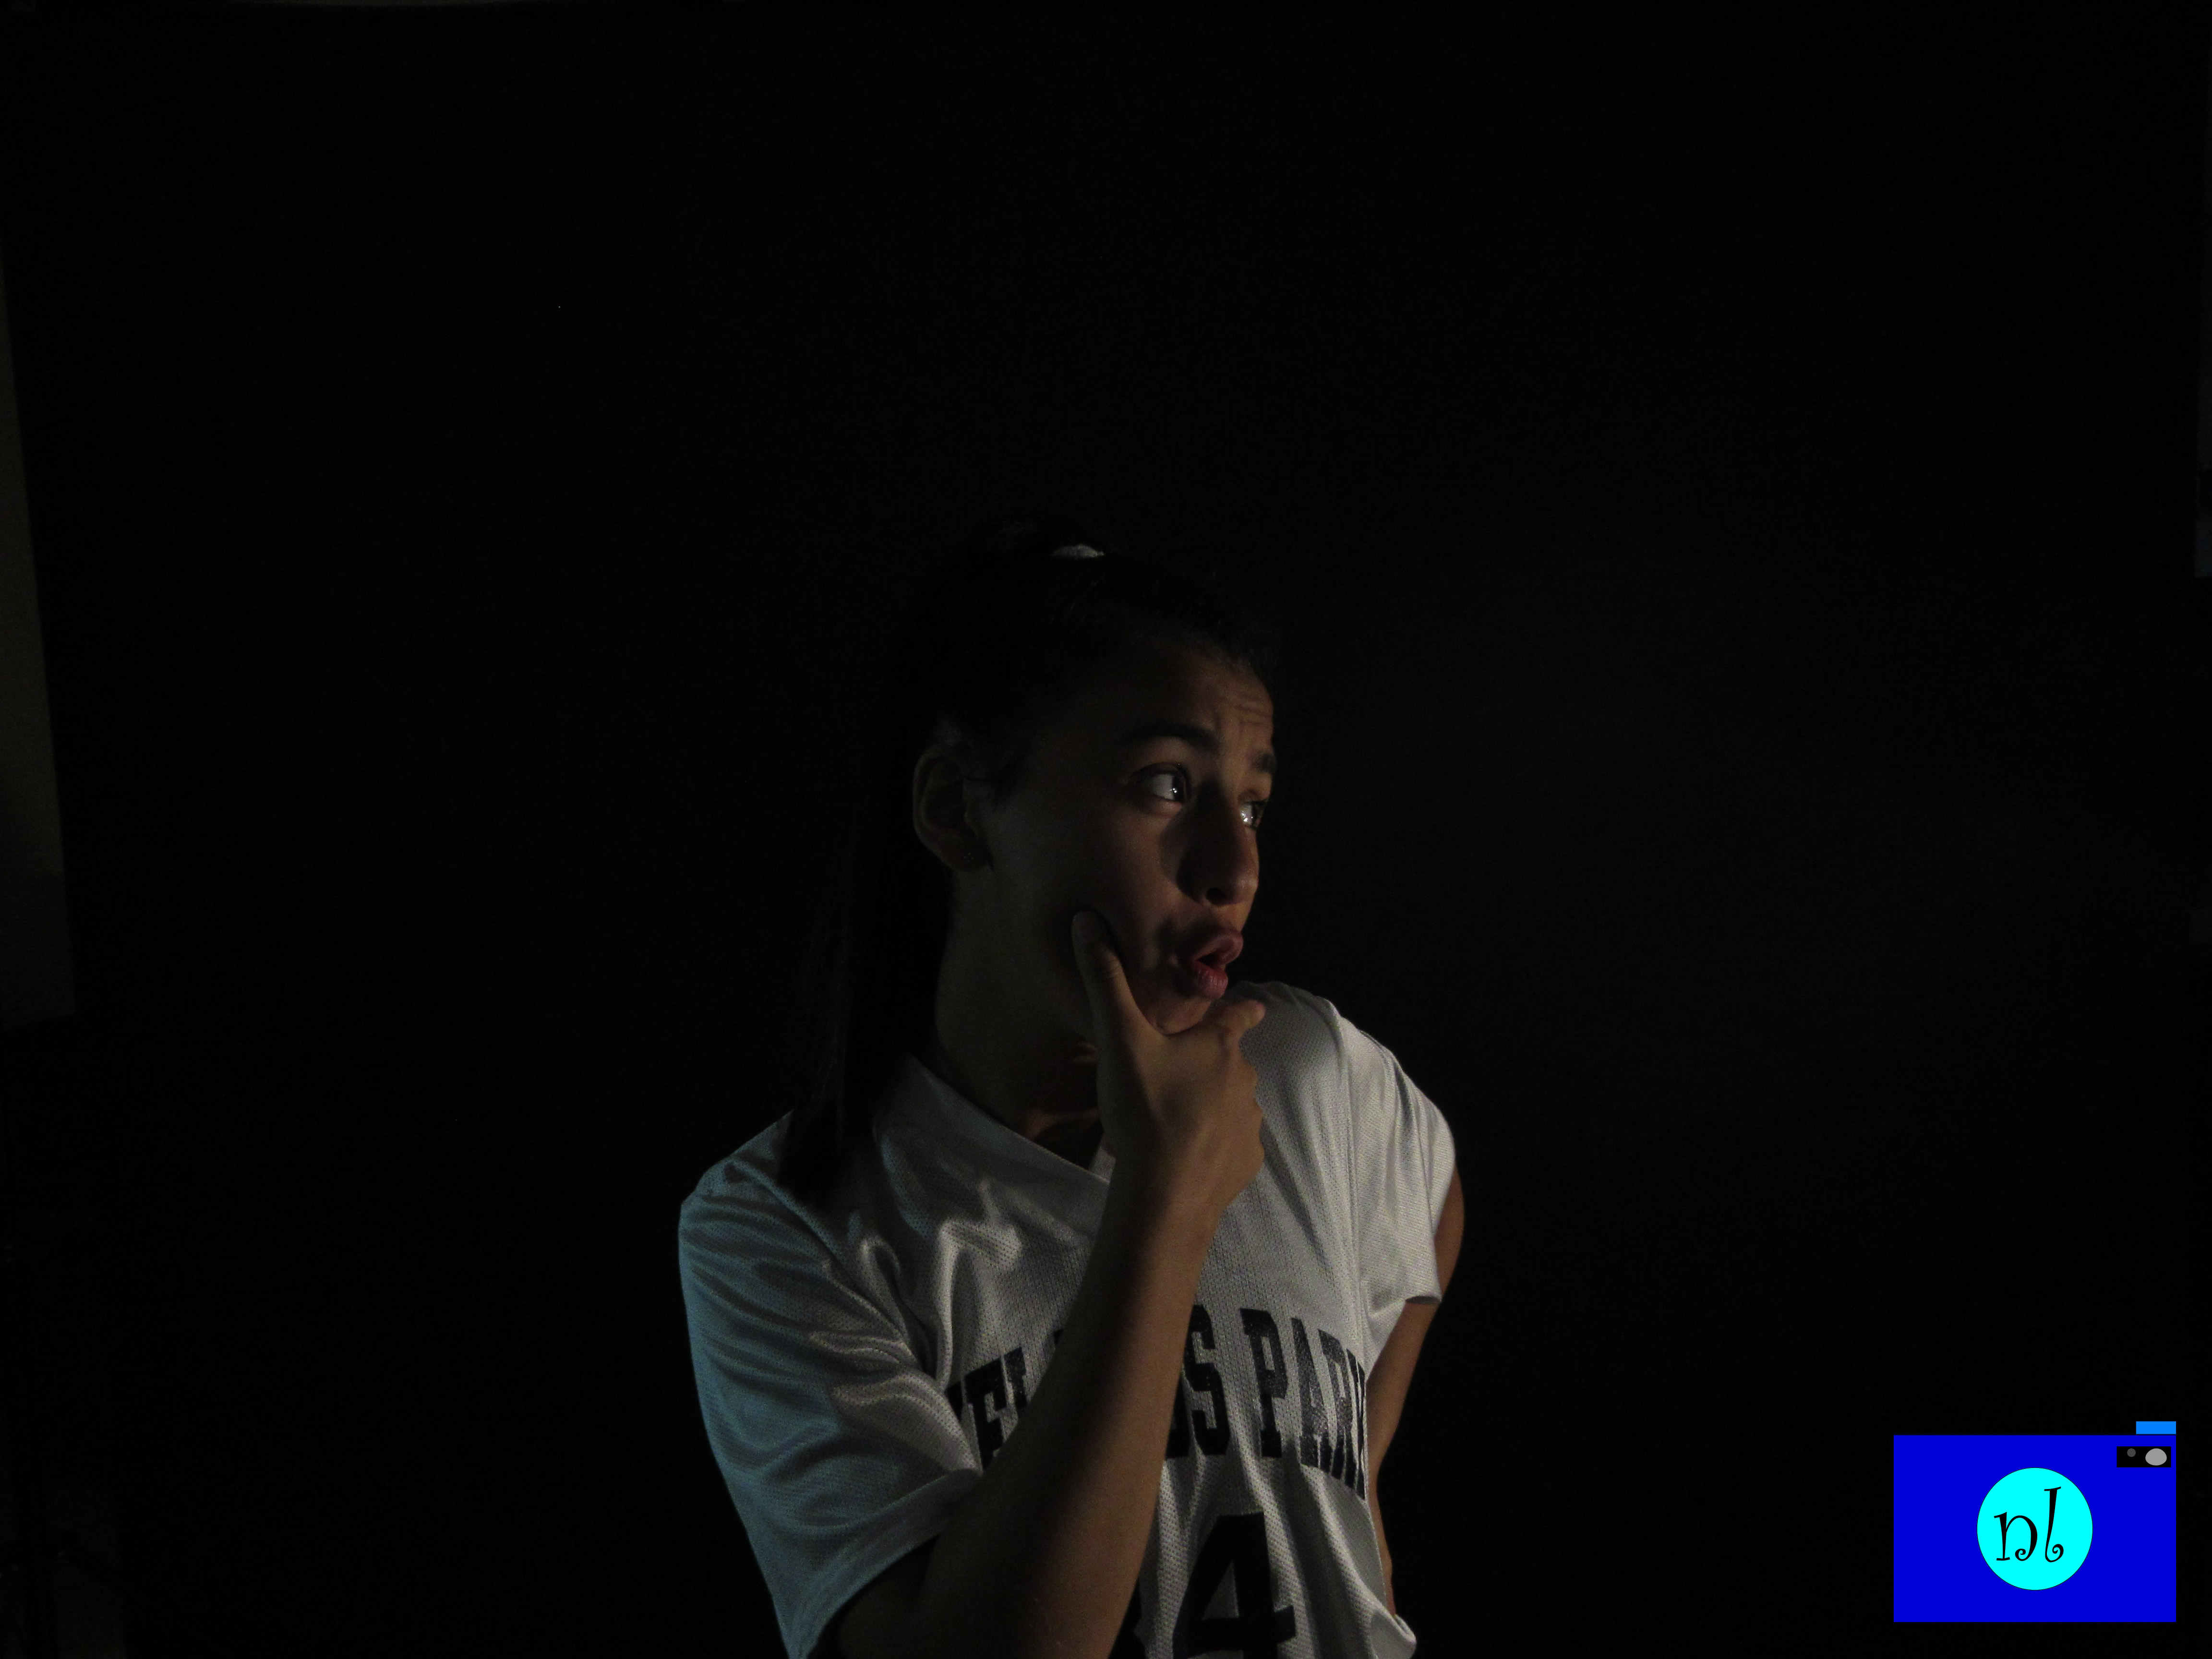
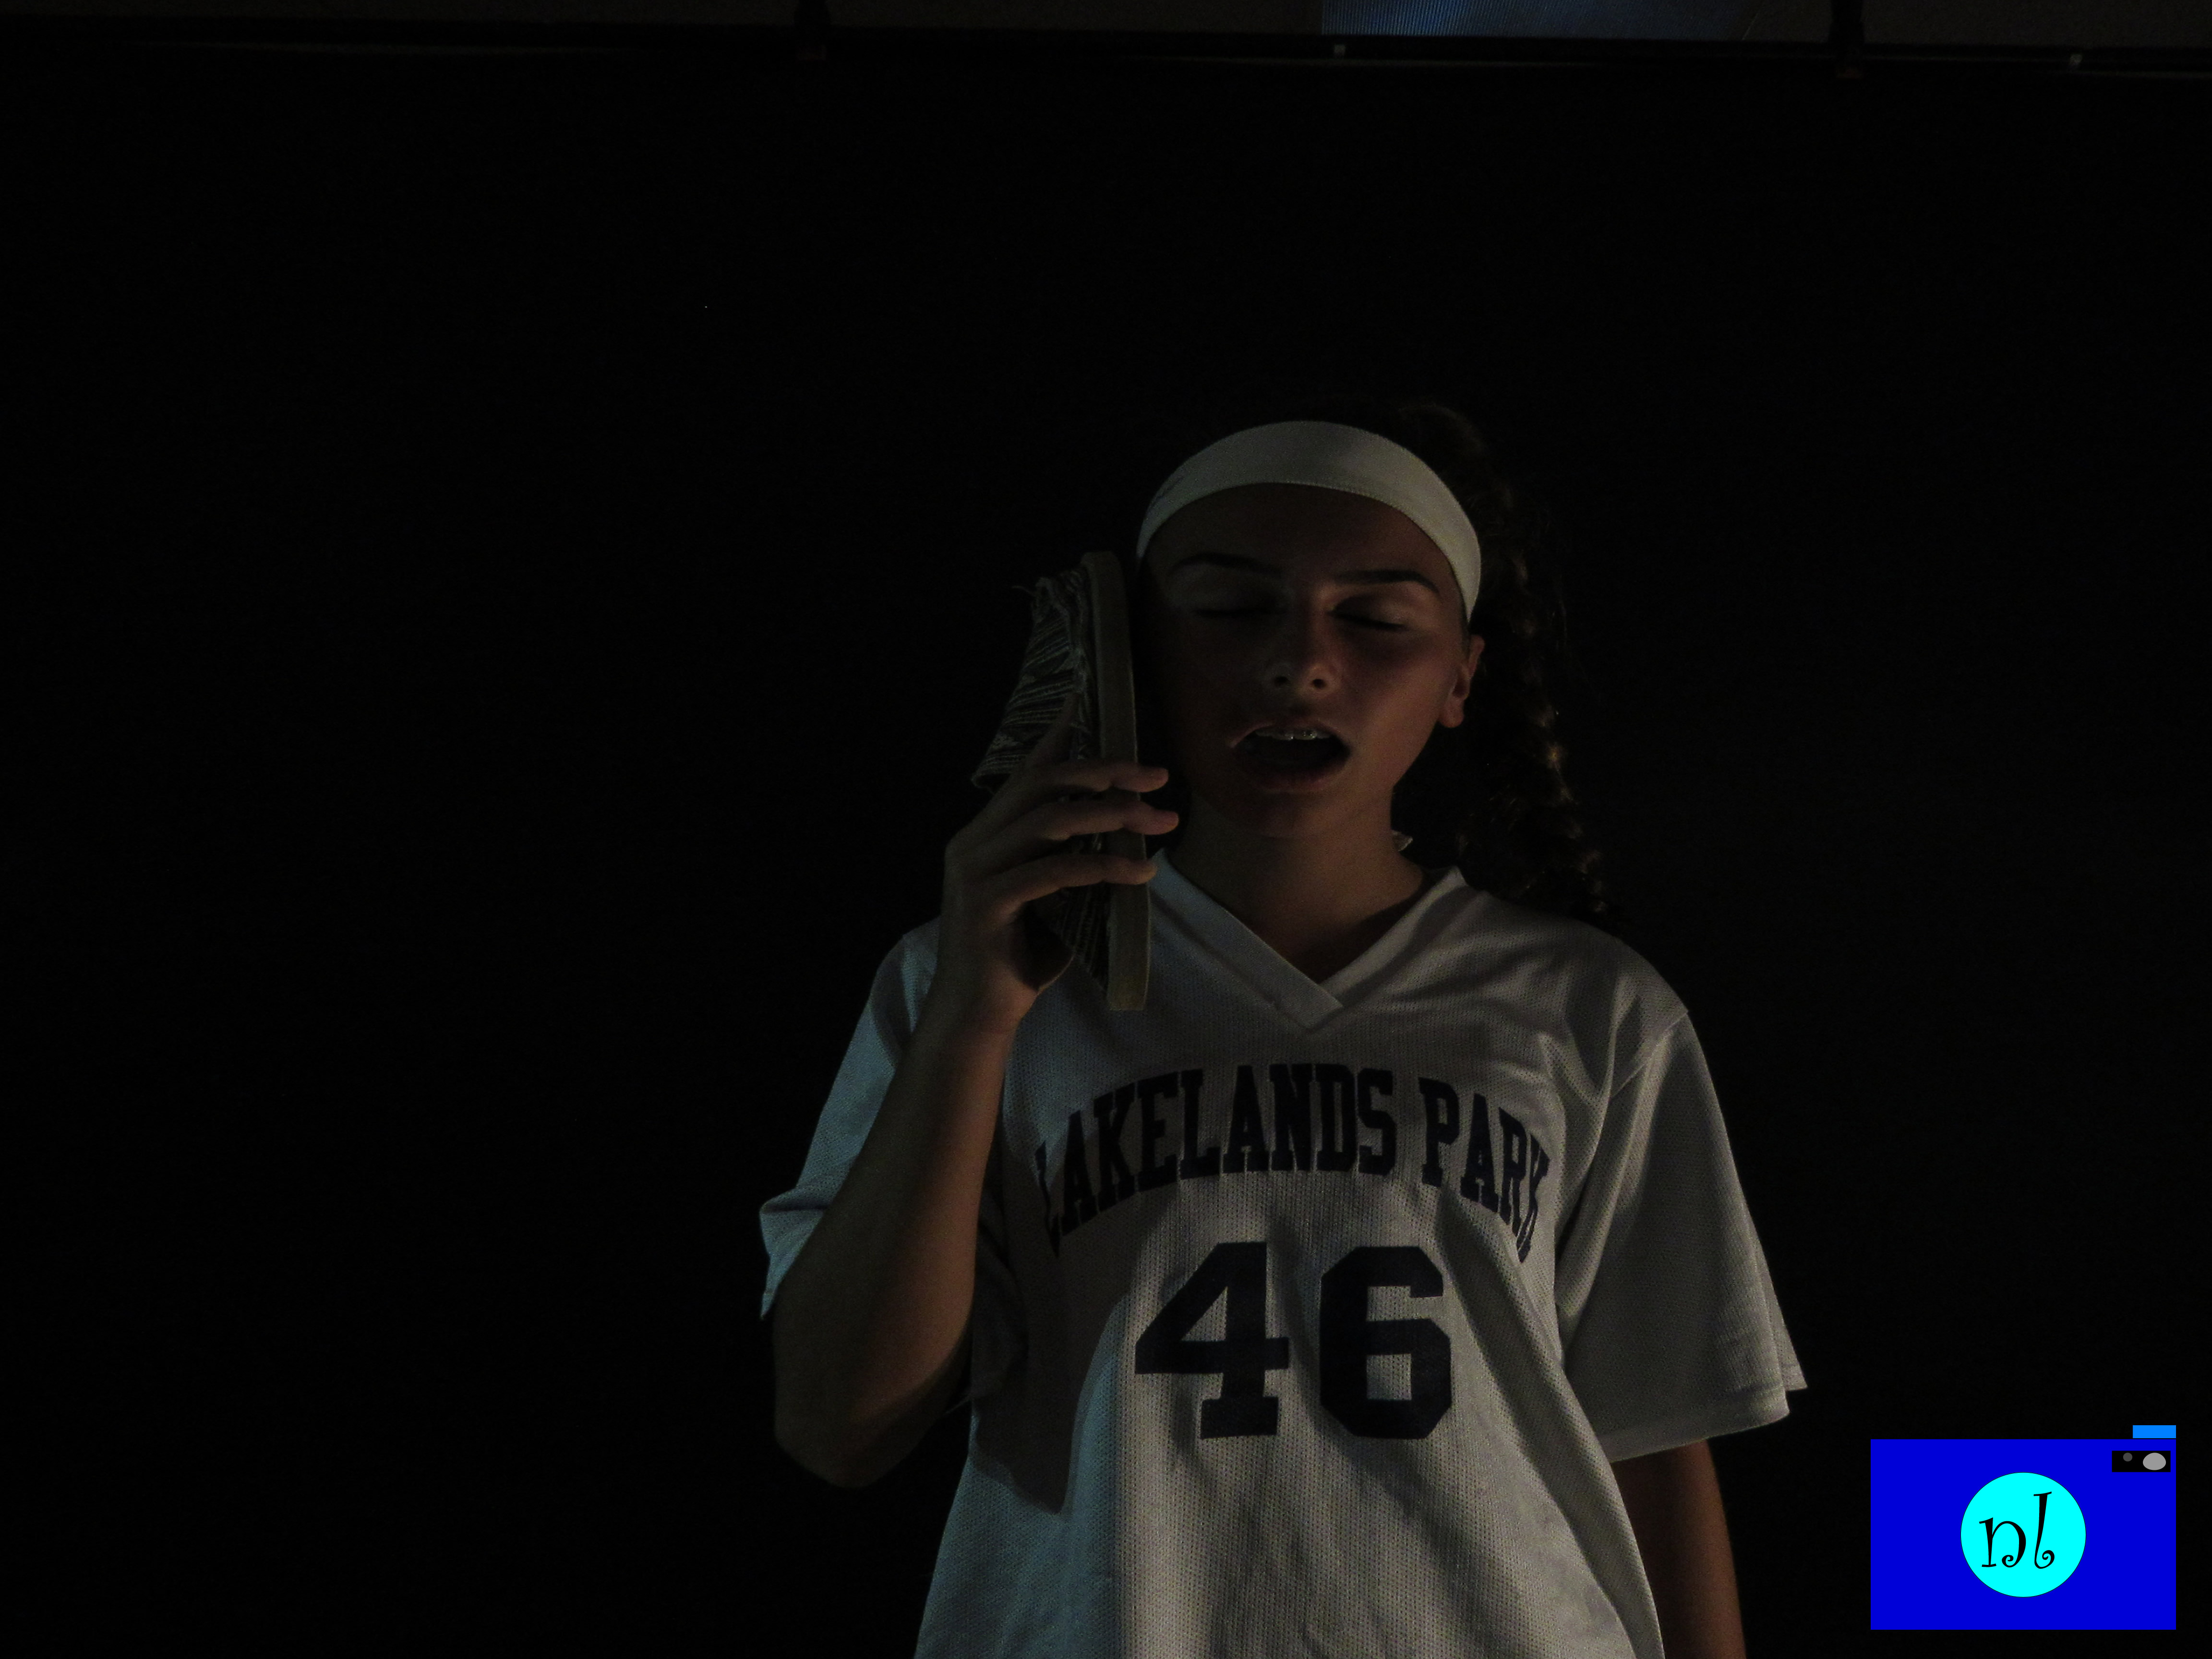
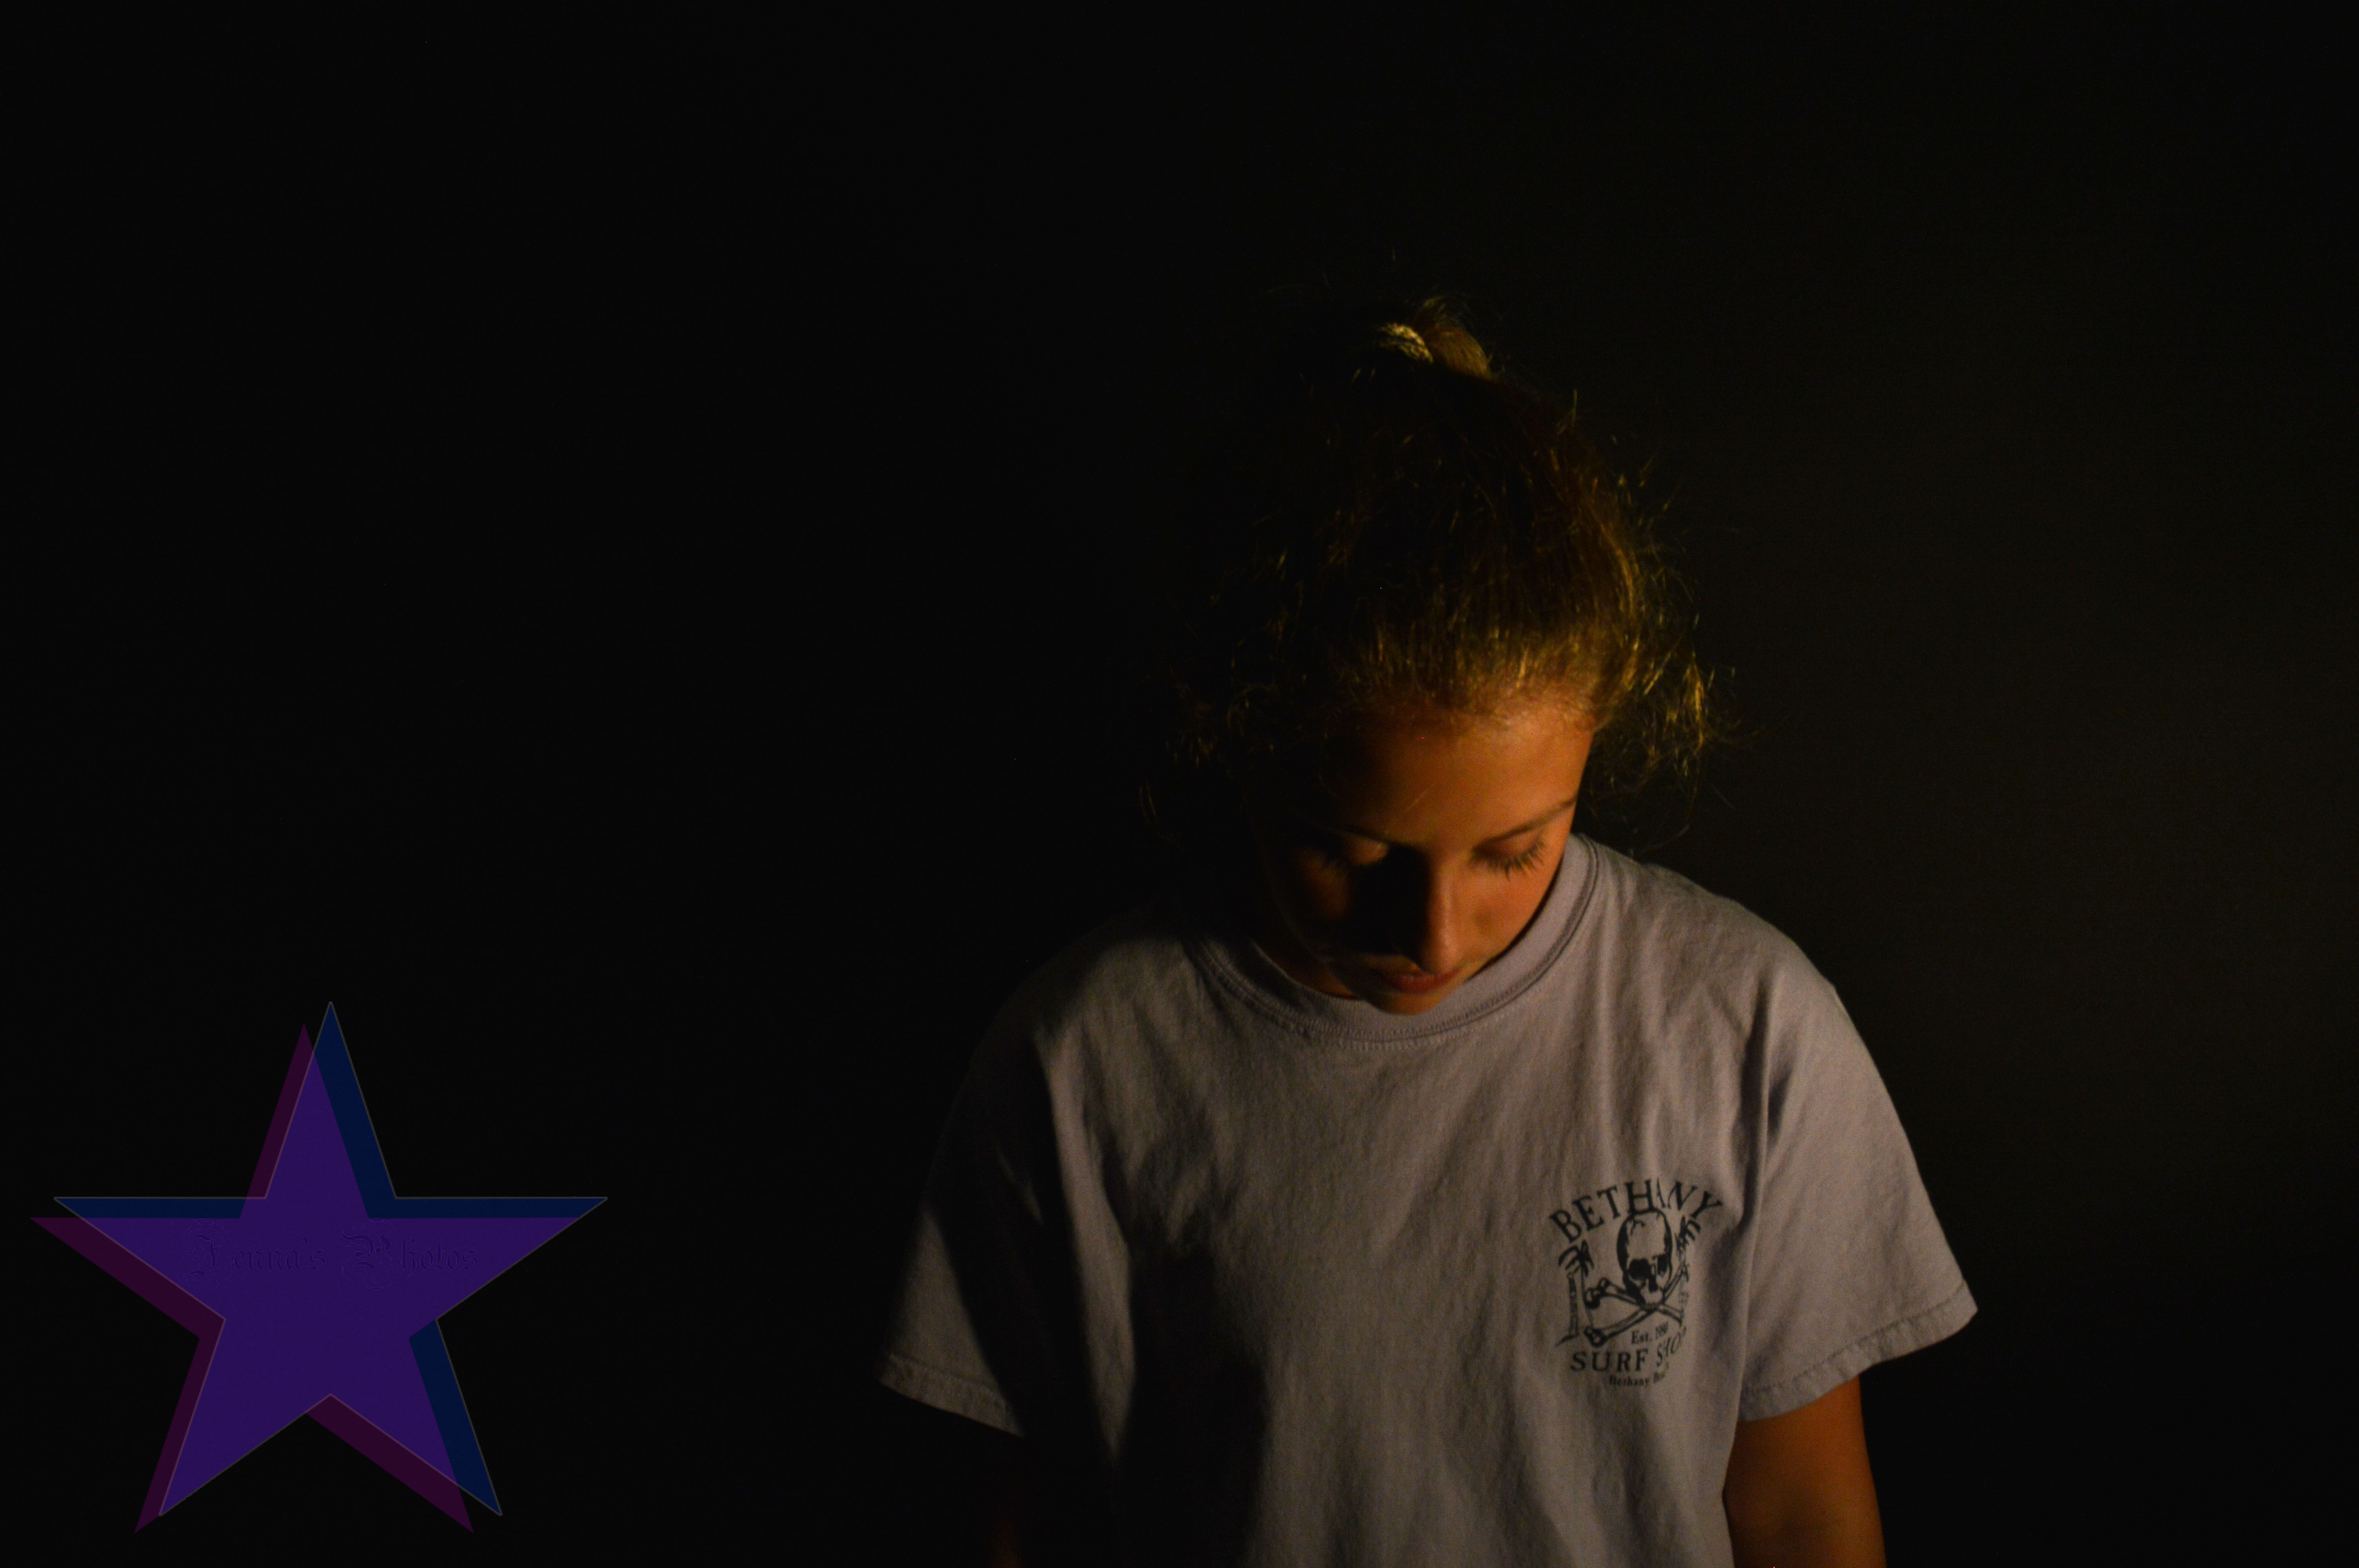
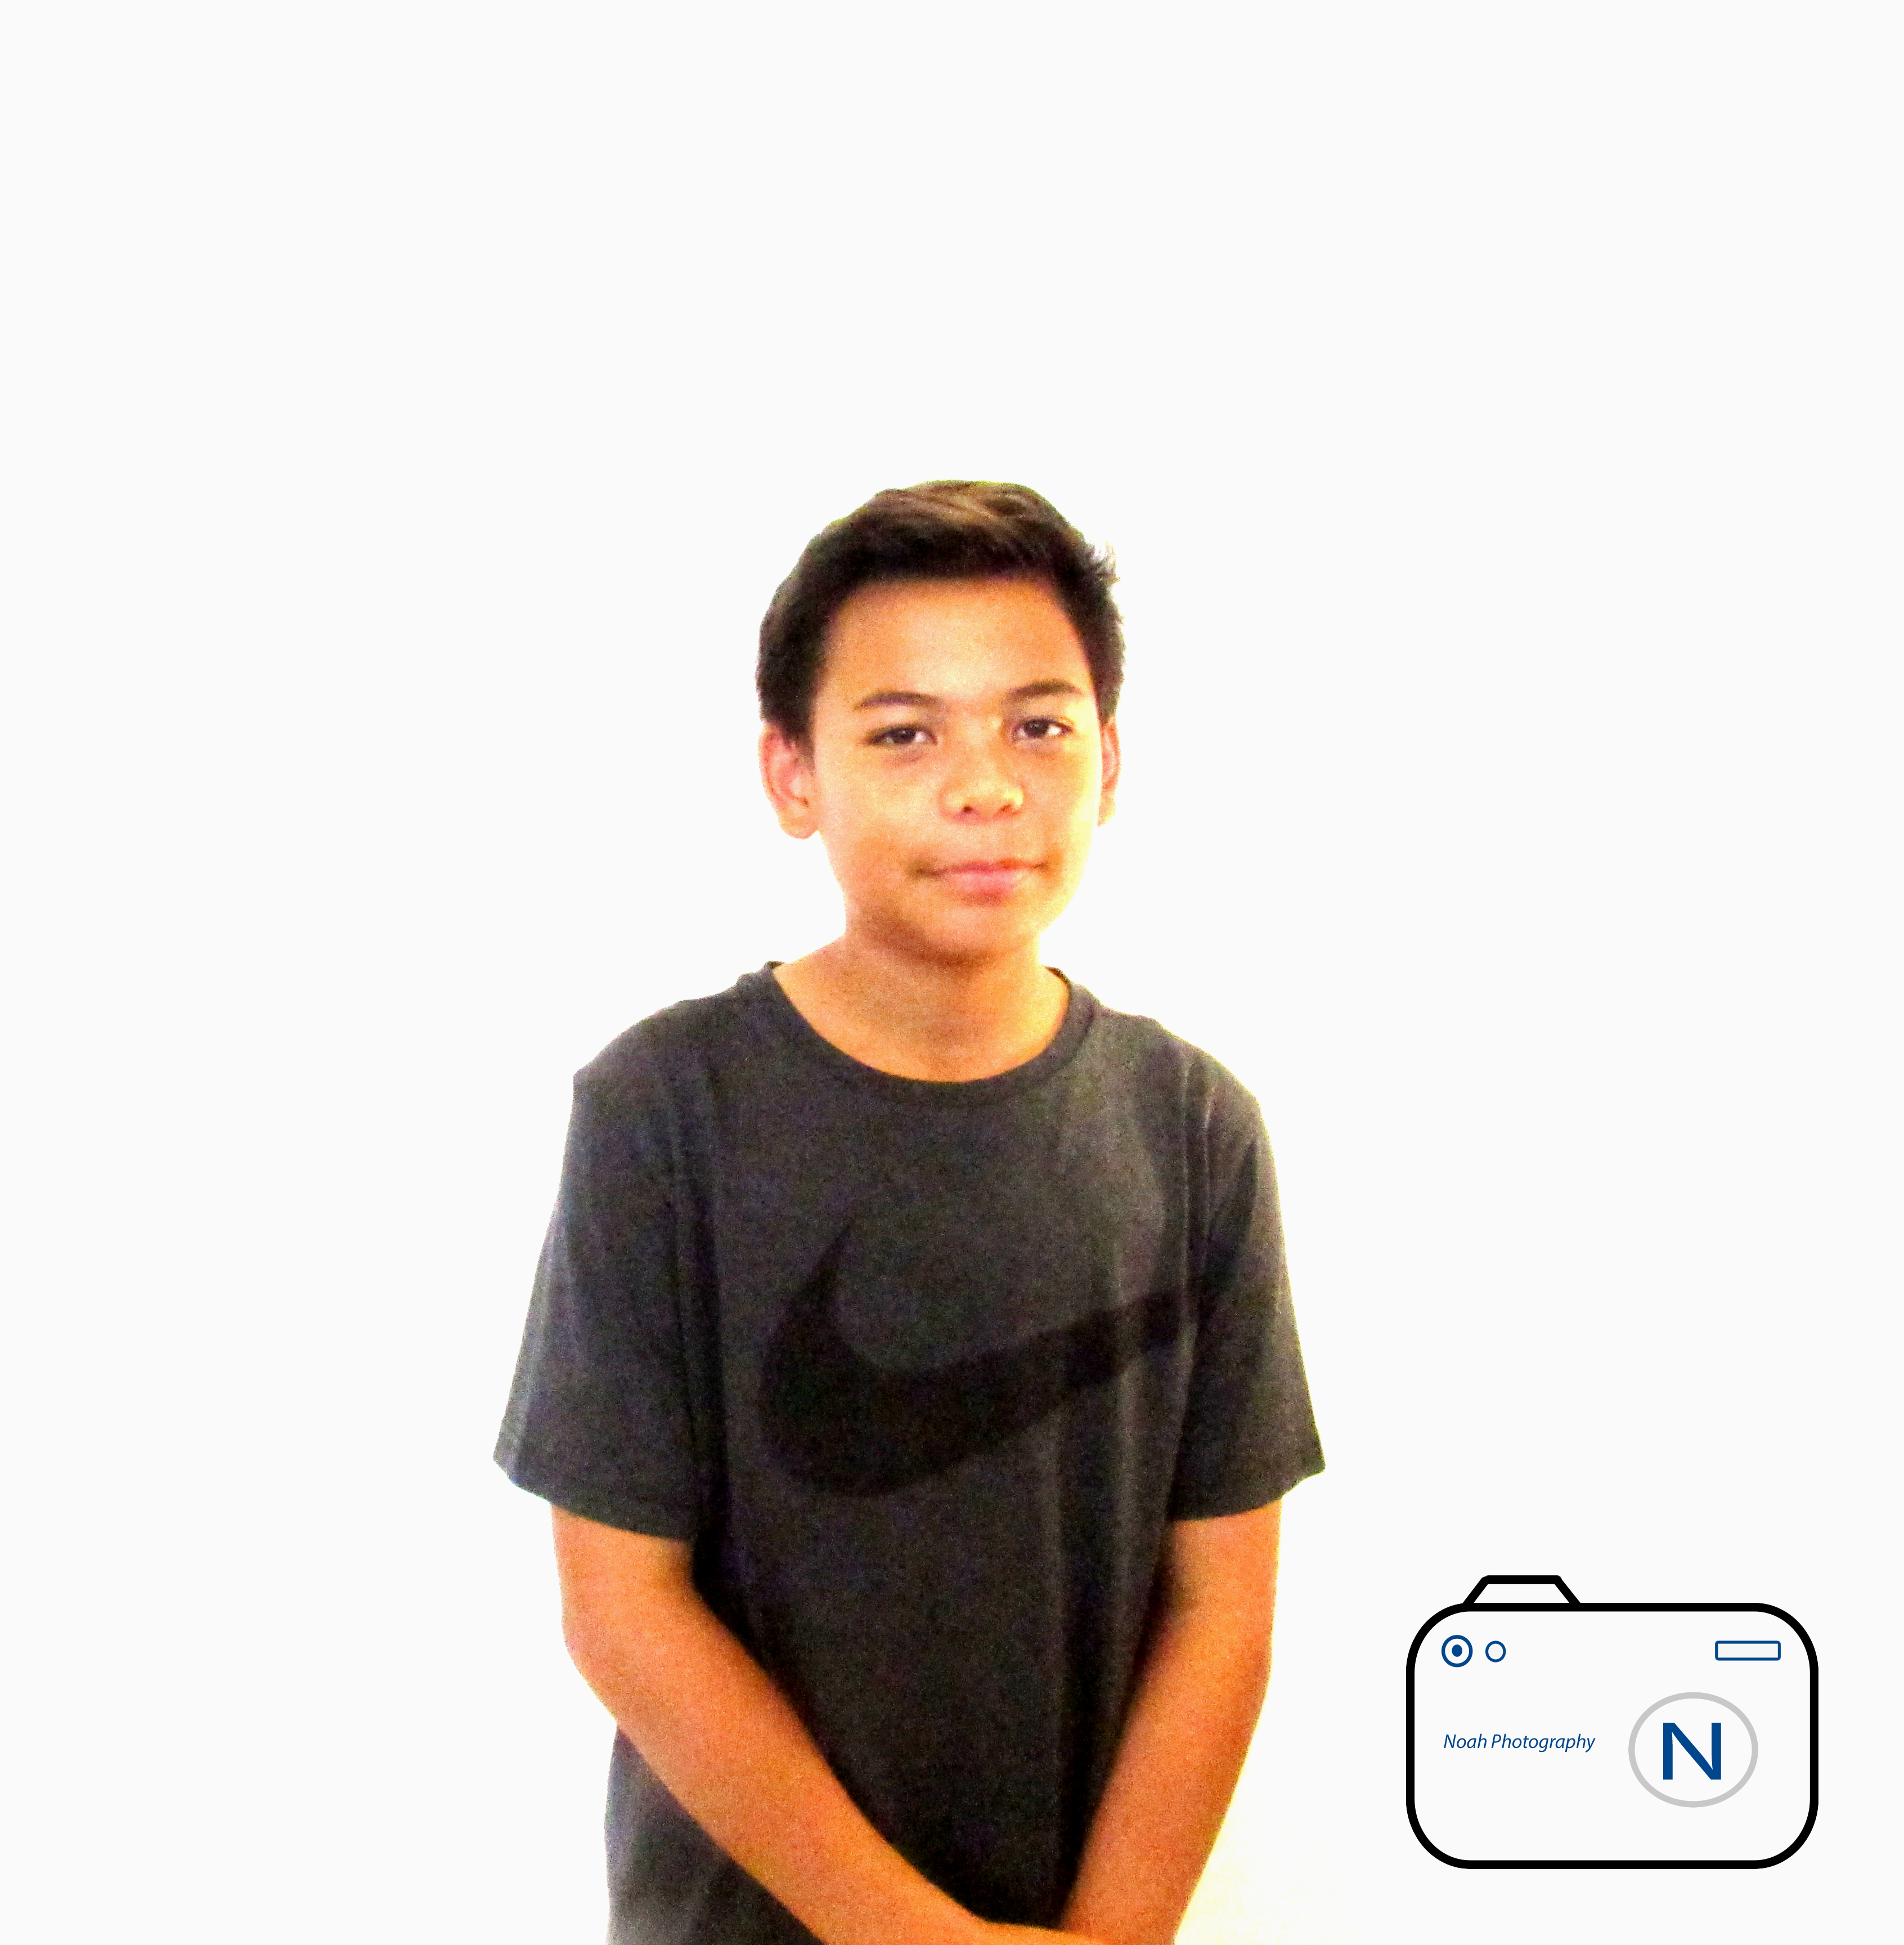
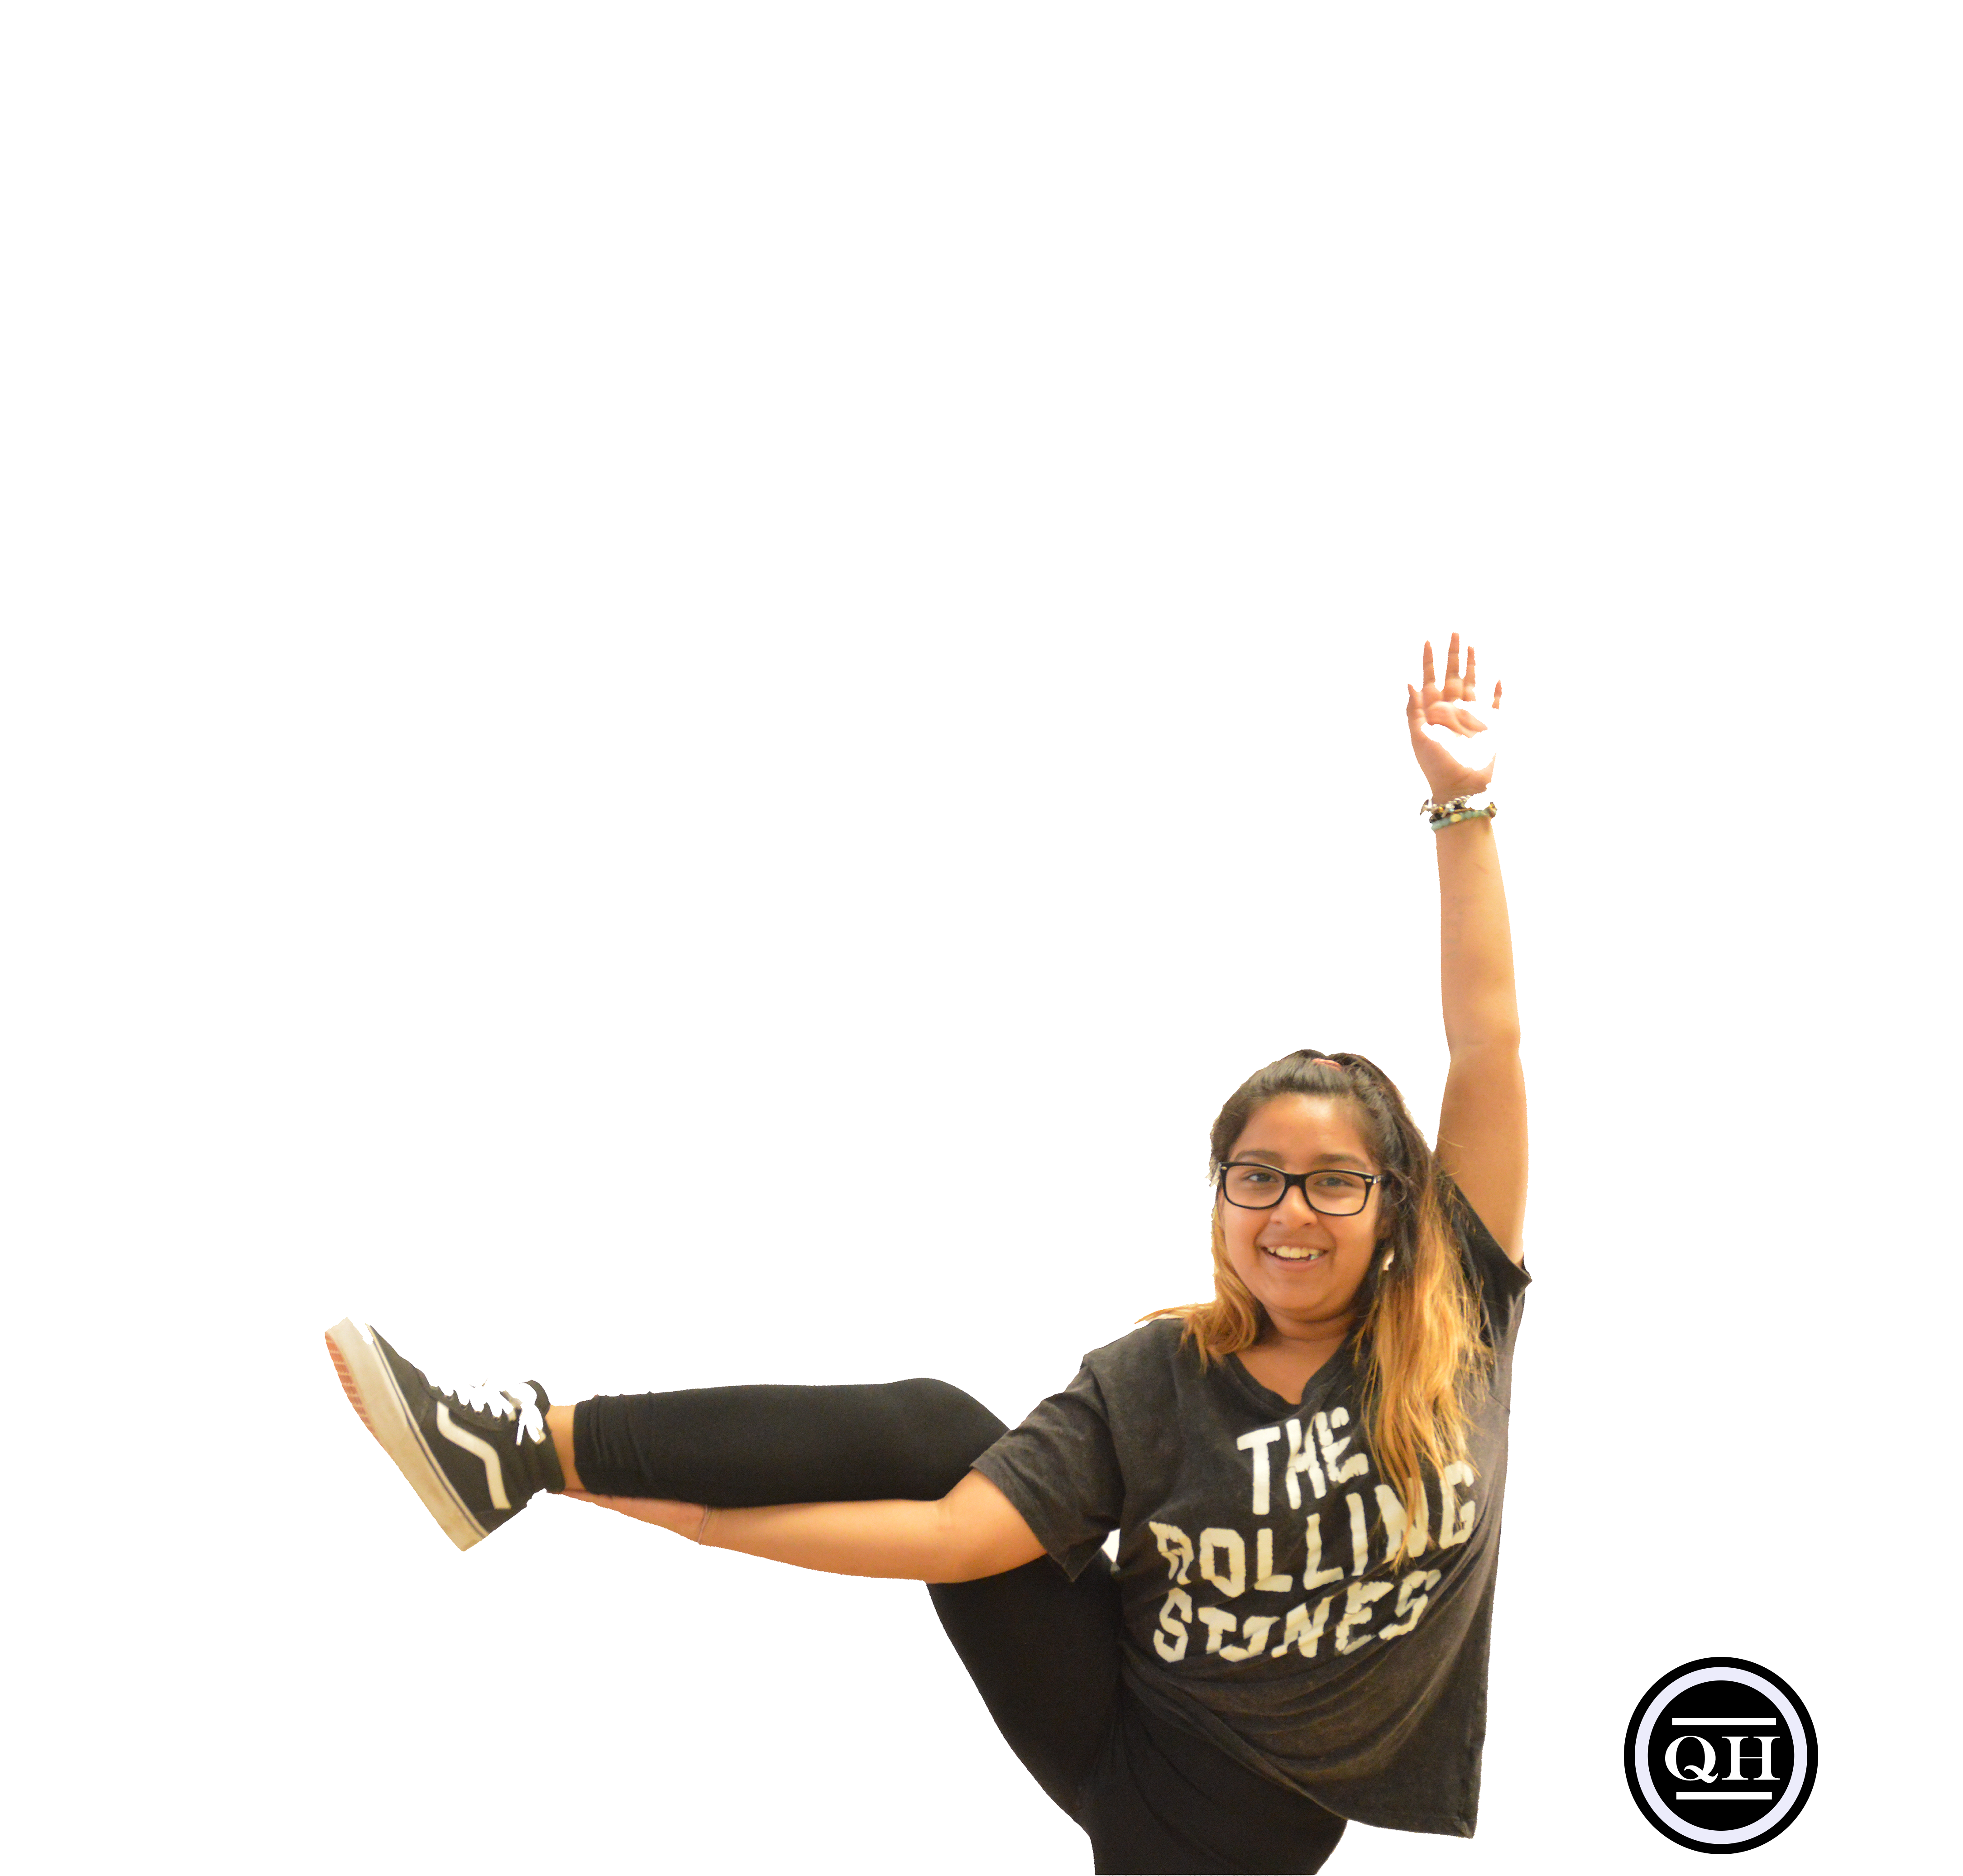
In this project, me and my group had to position the light in a special way, so that there would be no shadows, and so that the light would only be on us. We needed to set the camera settings to manual mode, and we needed to take pictures using ISO. The thing that worked for us the most was positioning the light in front of our bodies so that there would be no shadows. Placing the light in front of the person didn’t work. Here is a photo I took and a picture of me:

If you want to see all my other pictures, click here.

Black background

For this project we did black background. To do that we had to stand in front of a black background then position the lights a certain way to prevent shadows.It was easy to found which potions made shadows, like doing peace signs. It was hard to find where the lights would shine. 

Black Background

For this project, we took pictures on a black background of each other. It worked because we ended up getting a good lighting . The only problem was that we couldn’t get a camera until the last day, so we were kind of rushed.

Black Portrait Background


For this project we had to take pictures with a real camera against a solid black background without leaving any shadow or seeing any flash from the light. My group would hold up lights on just the model’s face so there wouldn’t be light on the background only on the face.  After we uploaded all our pictures so we could edit them on photo shop. We edited them so that there was no light on the background and to make it black and white if needed. Editing the photos was easy because I now have more experience with photo shop and the tools on it. It was a challenge taking a picture without the light reflecting on the background because it required a lot of effort from the person holding the light.  Click to HERE see more photos!

Black Background Portrait

For this project I had to take pictures of people with a black background. We had to hold lights adjust the shutter speed, etc. After my group took photos I had to edit all the pictures we took in adobe photo shop. The pictures worked (turned out well) if you held the lights on the model, but if you held the lights behind/ in front of the model, the background doesn’t look infinite in pictures. Here are the rest of my pictures.

Portrait Photos

In this project we had to take photos of each person in our group with a white background. Challenge was that the lighting had to be just right so that the picture wasn’t dark. The easiest part of the project was editing the photos. We edited the pictures using the Photoshop app. The editing was easy because we just had to use the curve feature and change the lighting so that the pictures didn’t have any shadows.


Click here for more 

Portrait Photos

The first step was to take pictures of everyone in front of the background. This was very easy, except for where to put the lighting for the picture. next, we went to Photoshop to make the background look as light as possible, without getting rid of the person in the picture. What didn’t work was the graph. At first we didn’t know how to use it correctly, but then we figured it out and it was pretty easy from there. 

You can see the rest of the pictures here.

Portraits with a White Background

For this project, me and my group had to take a photo, so that it would like like we had no background. We needed to make sure that the lighting was perfect too. After that, we would edit the pictures on Adobe Photoshop, to make sure the pictures turned out perfect. Using two lights helped us make the background look better, and cropping the picture also helped it look better. We tried to take pictures of us jumping, but that didn’t work. Here is a picture of me, and a picture I took:

To see all my other photos, click here.

Portrait White Background

For this project I had to take pictures of people in my group with a real camera. We used a white background and we couldn’t have any shadows so we used lights behind the model. My group had to adjust the ISO and shutter speed to get a better picture. After we took the photos I edited them on adobe photo shop by brightening the background or making the photos black and white. Here are the rest of my photos

Quinn’s Portraits

In this project we had to go in fount of a white background with lights shinning on the background. When we took the photos we had to adjust the ISO on the camera so that it brought in all the light. This made the  background  all white.   I edited my photos with Photoshop, I changed the contrast a bit and the brightness to help with the yellow spots.  I also crop the photo to get rid of unwanted background like people or the classroom. Many things work with this project.  One example is when we had to stand in front of the lights so there wasn’t any shadows.  The thing that was hard for the project was getting the perfect ISO. So the background is all white. Below is a photo of myself and a photo that I took of someone else.  If you would like to see the rest of my photos click here.