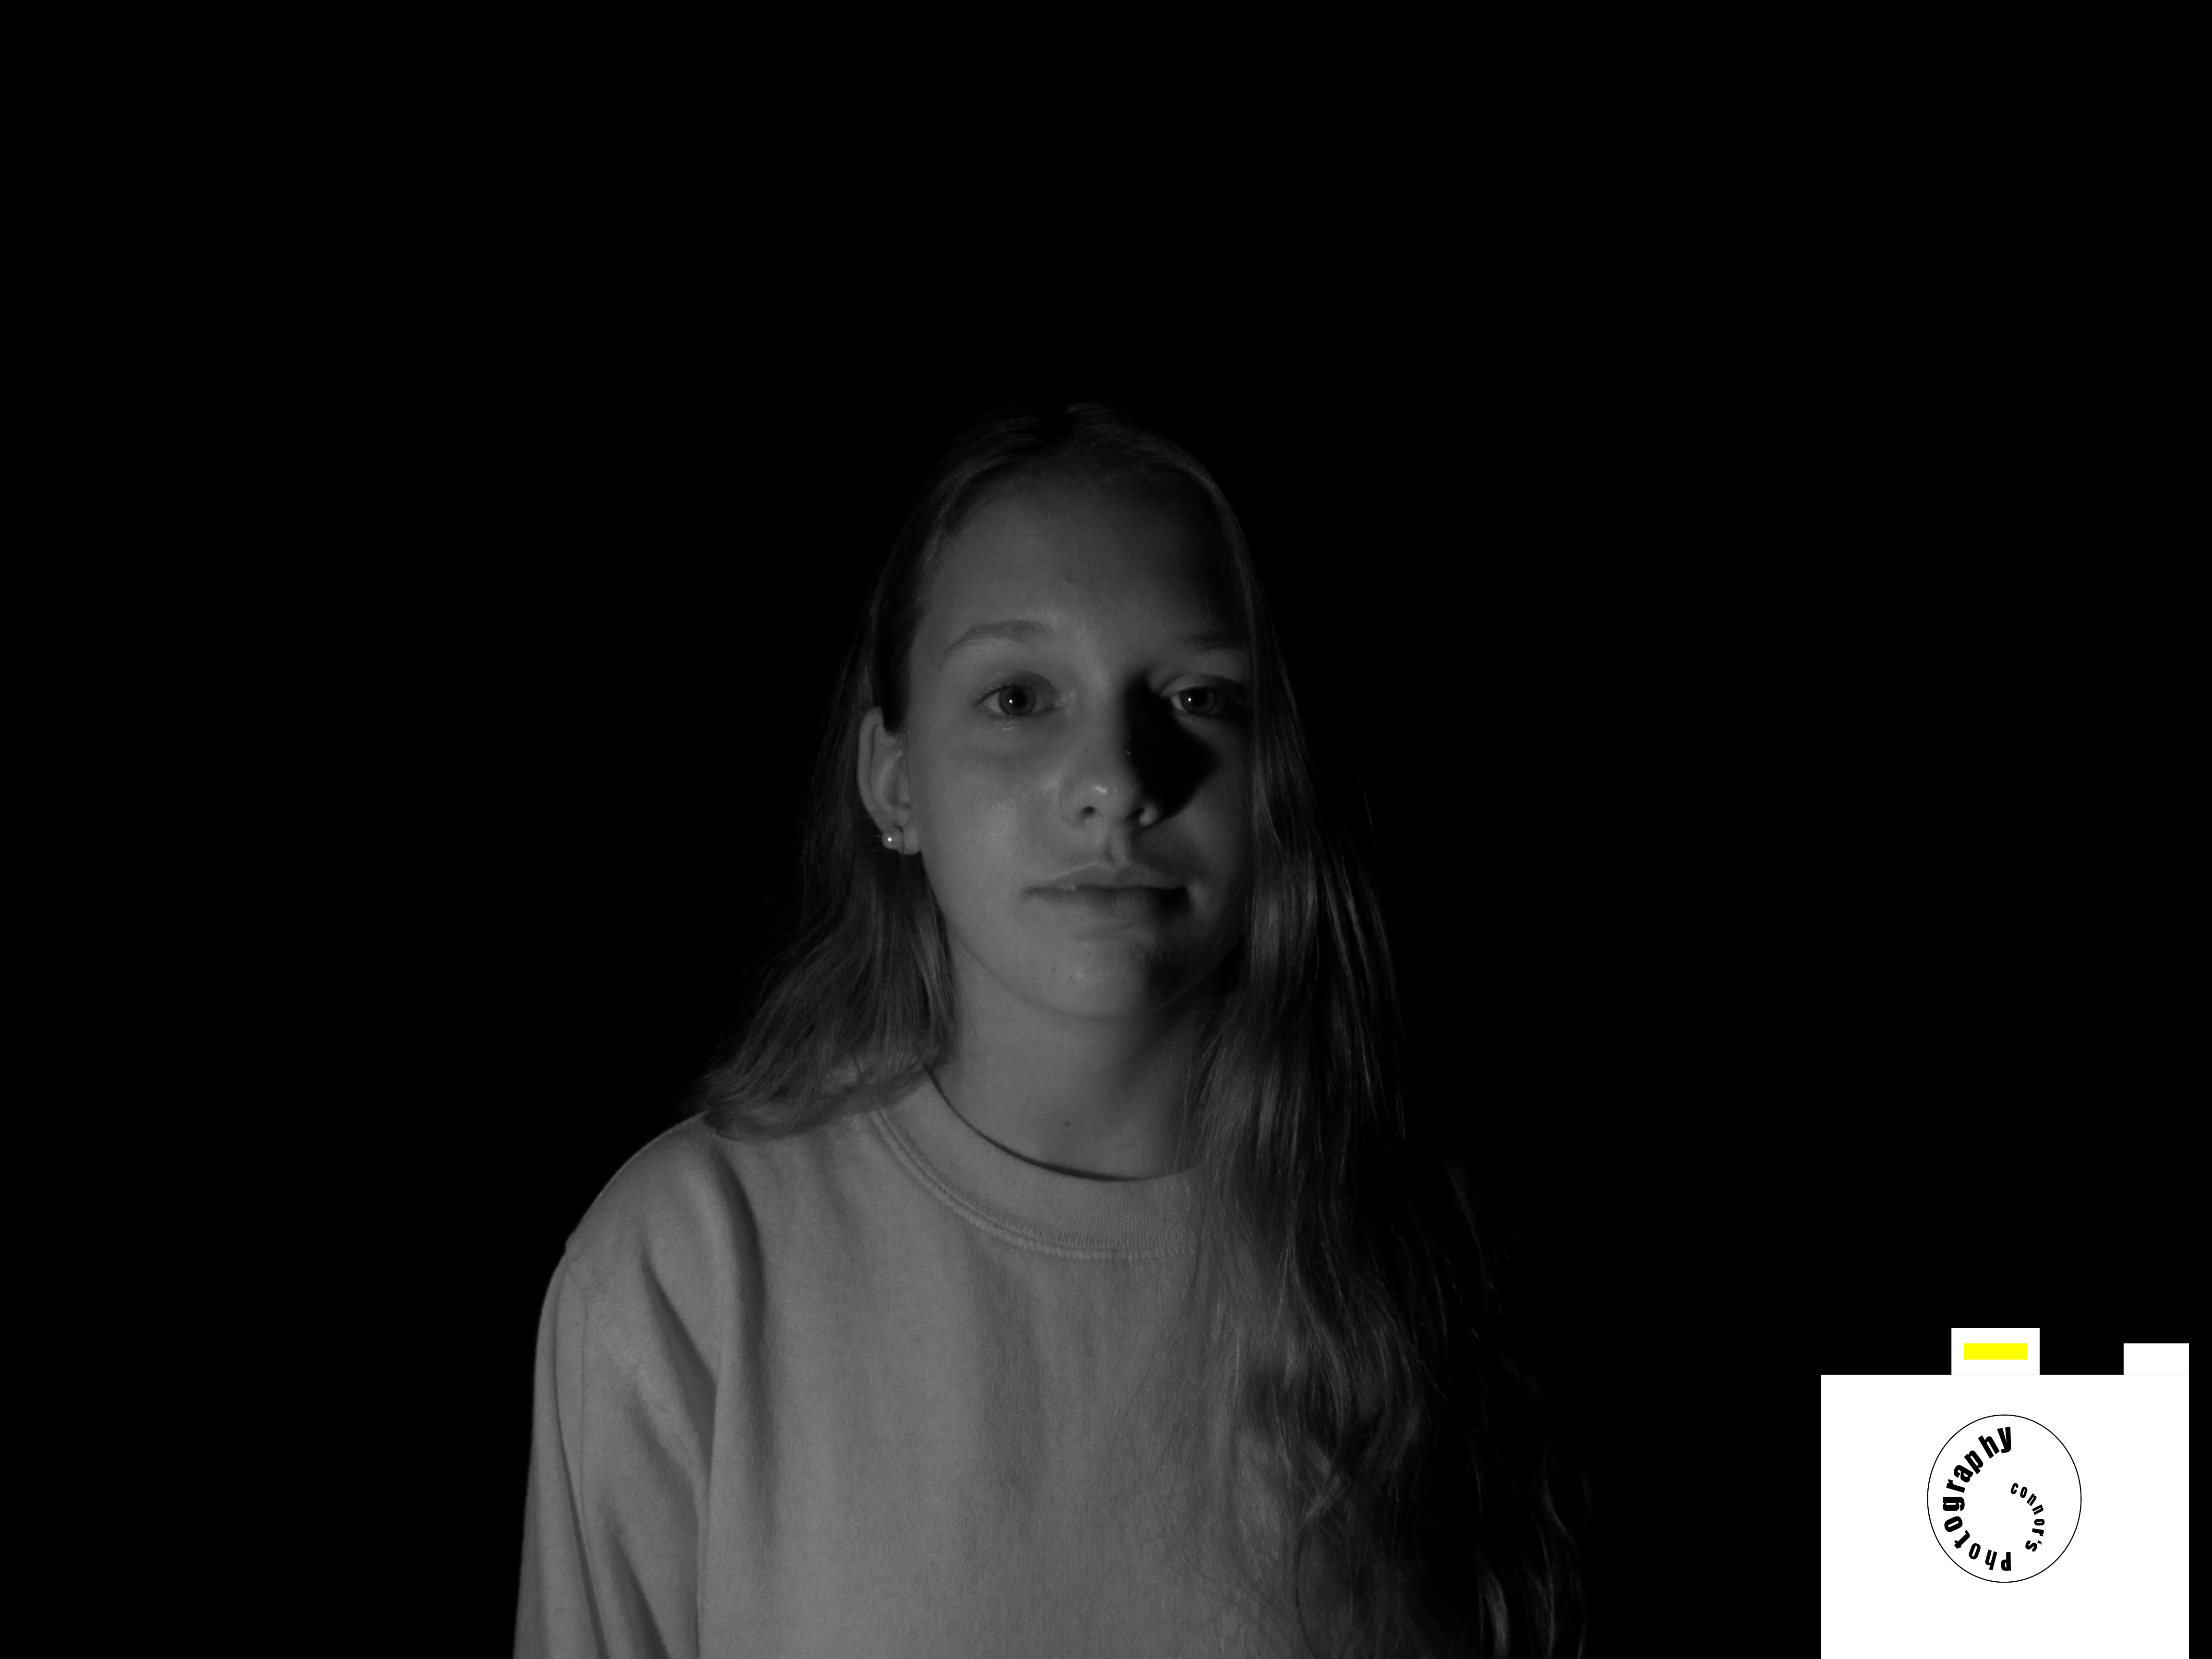
To take these photos we had to turn of all the lights and stand near a black background then have a light shining only on us (the person in the photo). What worked was having the light shining near the persons face. What didn’t work was having the light low. You can find the rest of my photos here.
Portrait with Black Background
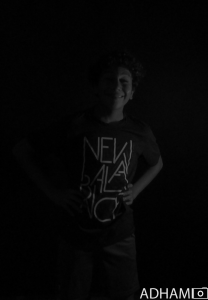
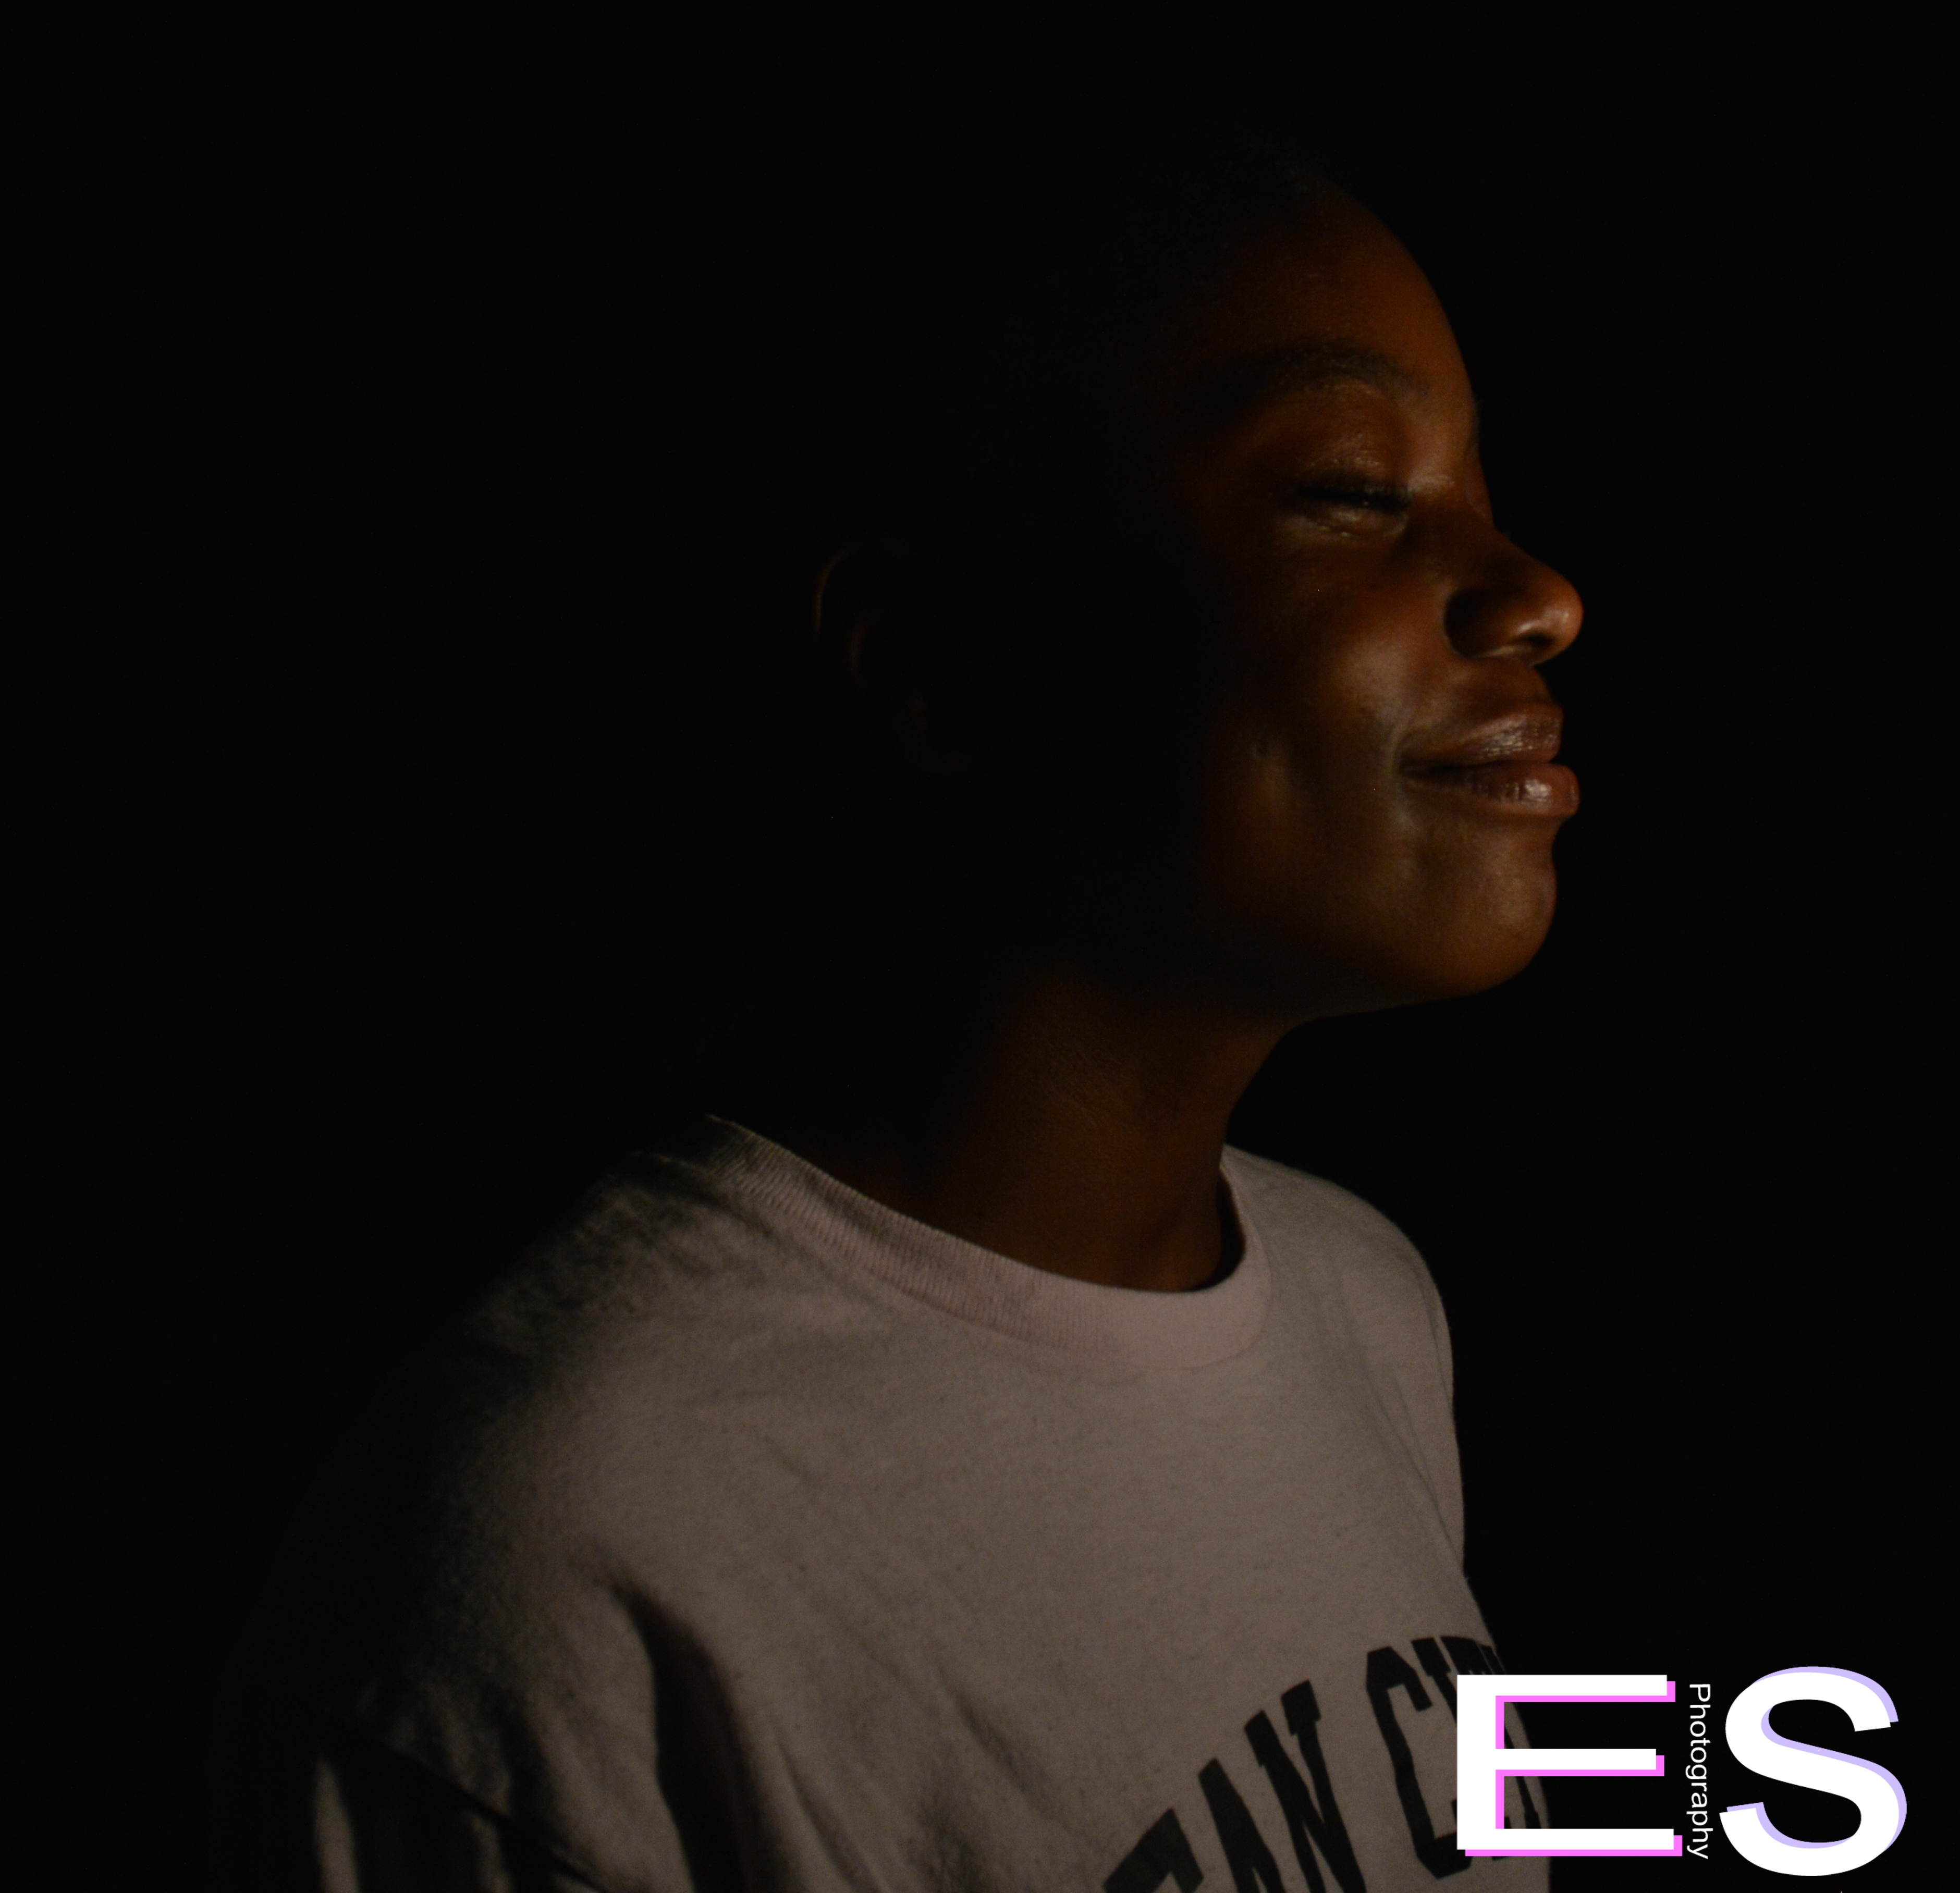
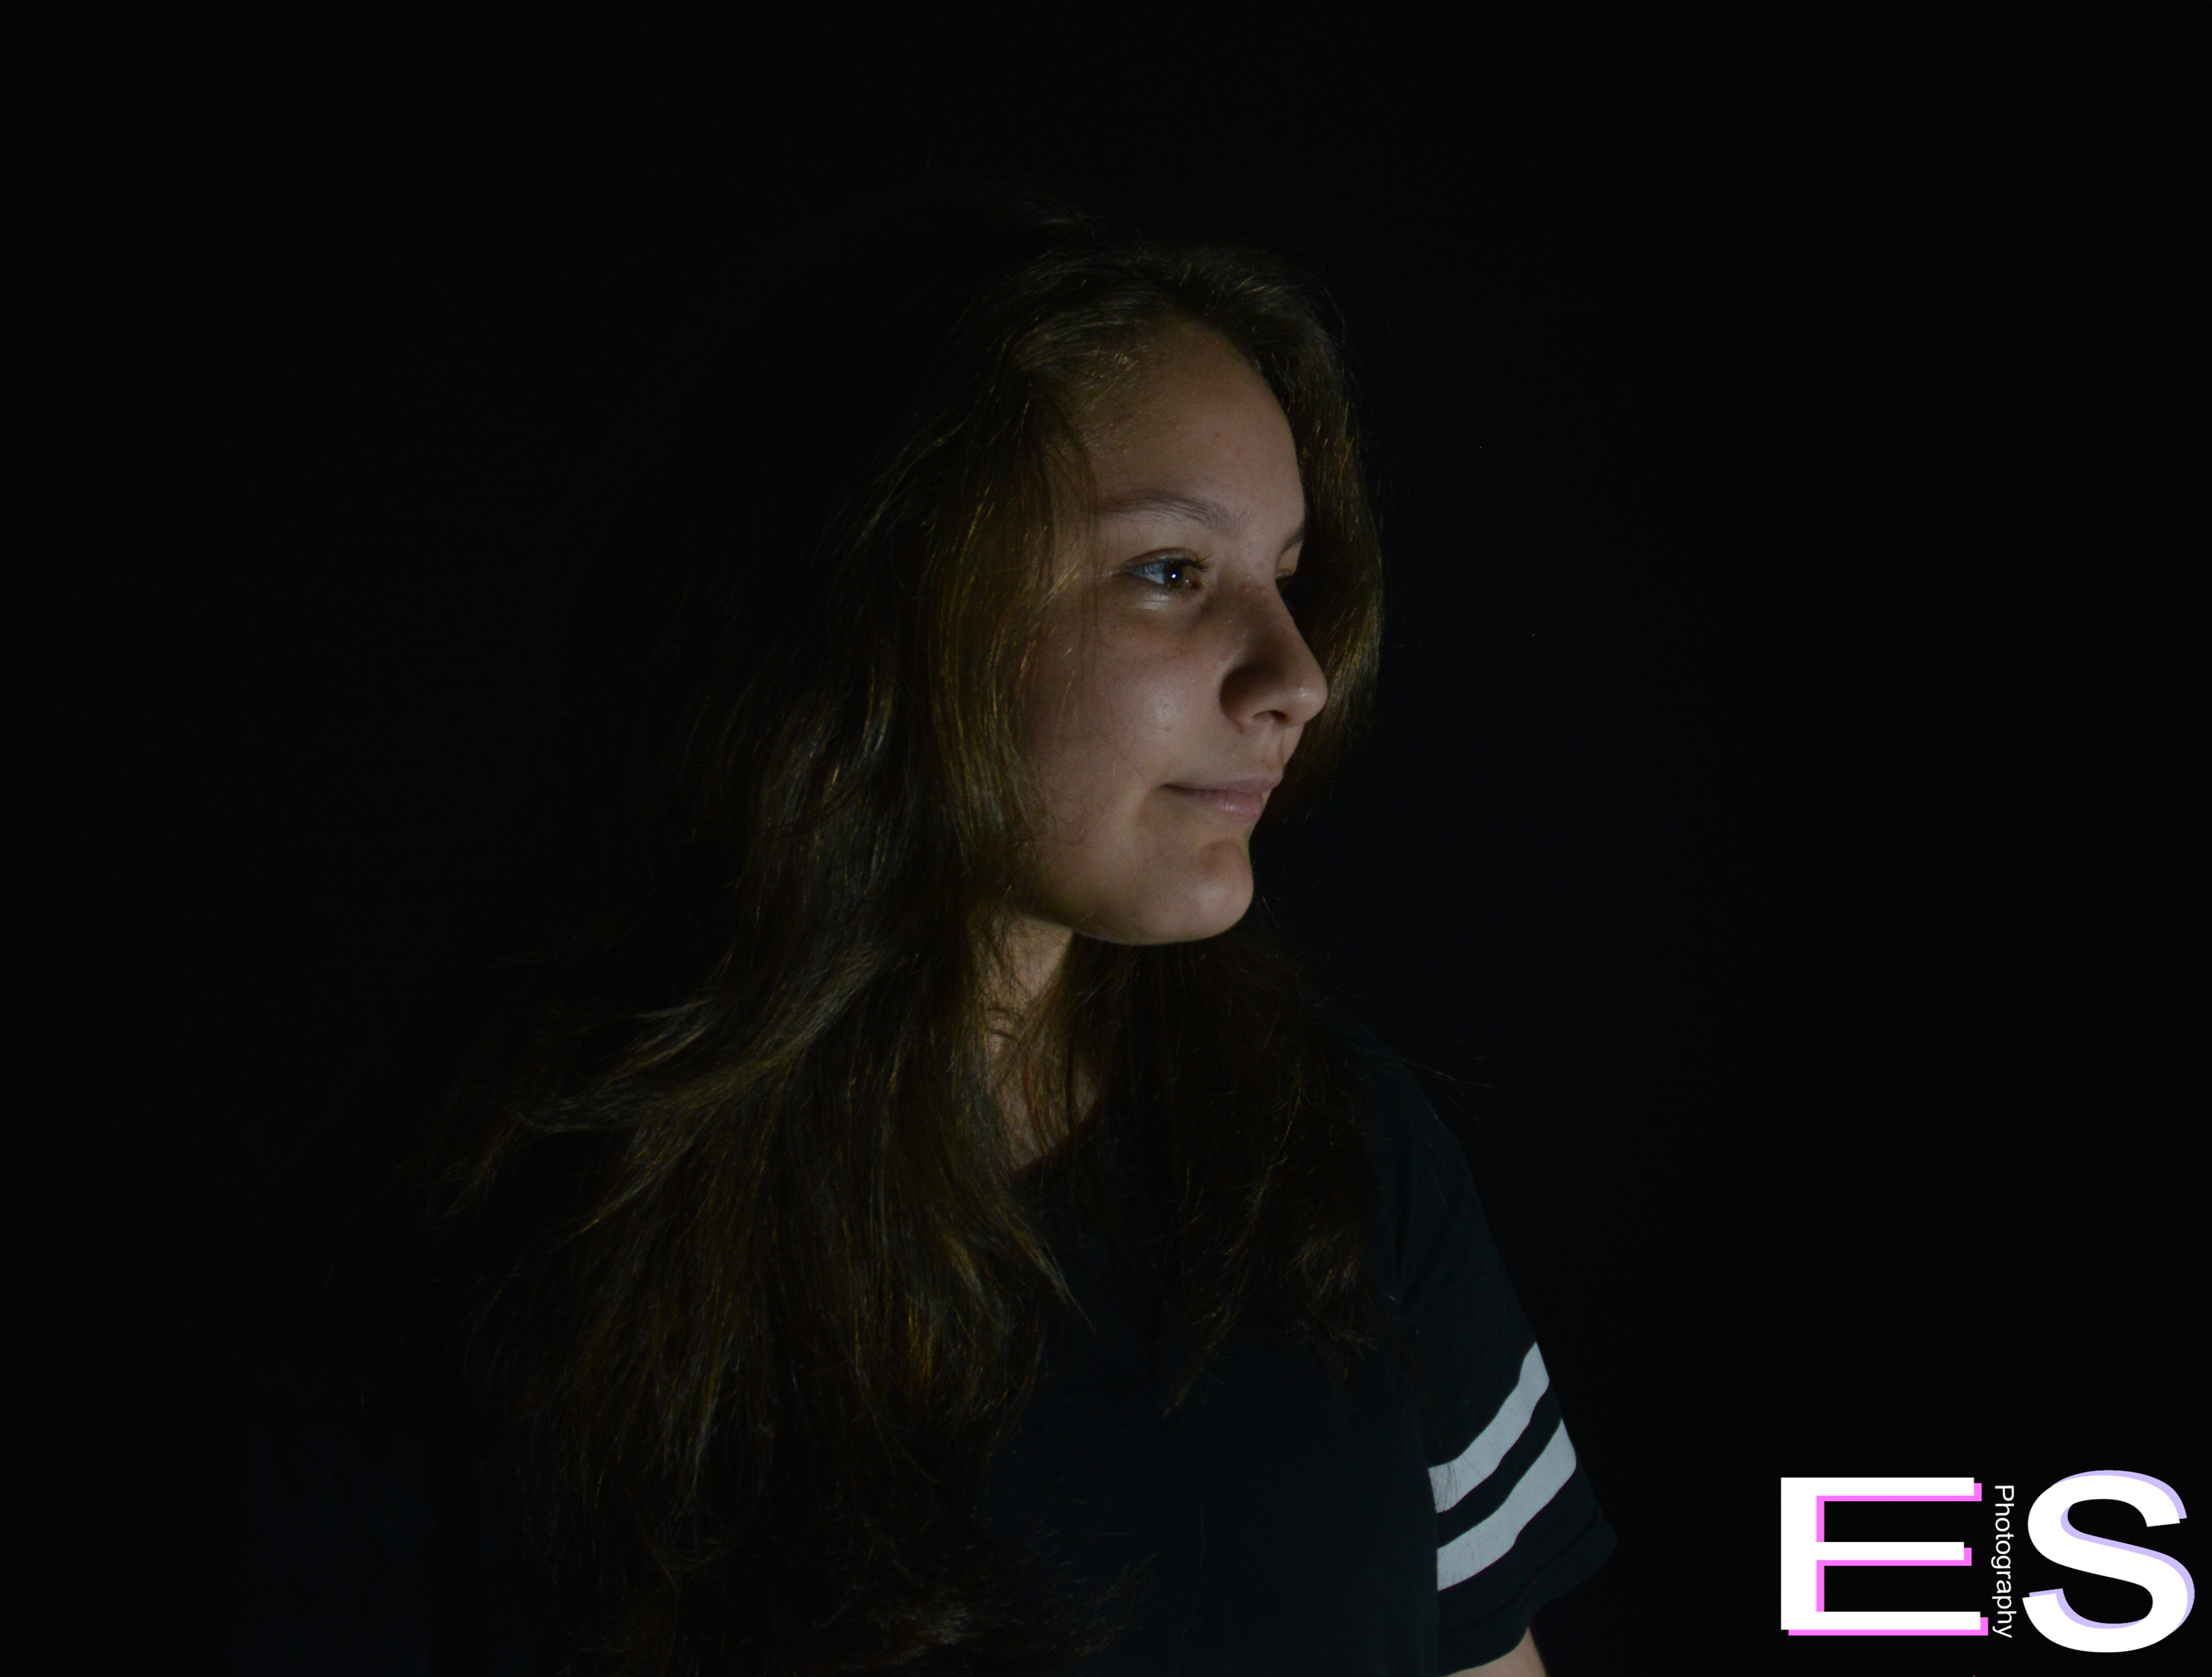
This is my second part of making portraits with an infinite background. It is just like making the portraits with the white background, except you’re using a black background. To capture the dark essence, we had to take a picture with as little light as possible and edit the photos using Photoshop. We also repeated the steps to take a good picture, using the manual setting and bring in a small, perfect amount of lighting using ISO and shutter speed. To edit the photos in Photoshop, instead of editing like we did with the white backgrounds, we had to make the background darker and the figure lighter. We also cropped out some shadows and things outside of the black screen. Our faces are a little too orange and kind of creepy, but the pictures do capture that dark essence and make the photos look infinite. Can’t wait to see what we’ll do next. -Marie Valouiski
Link to photos here.

Infinite backgrounds
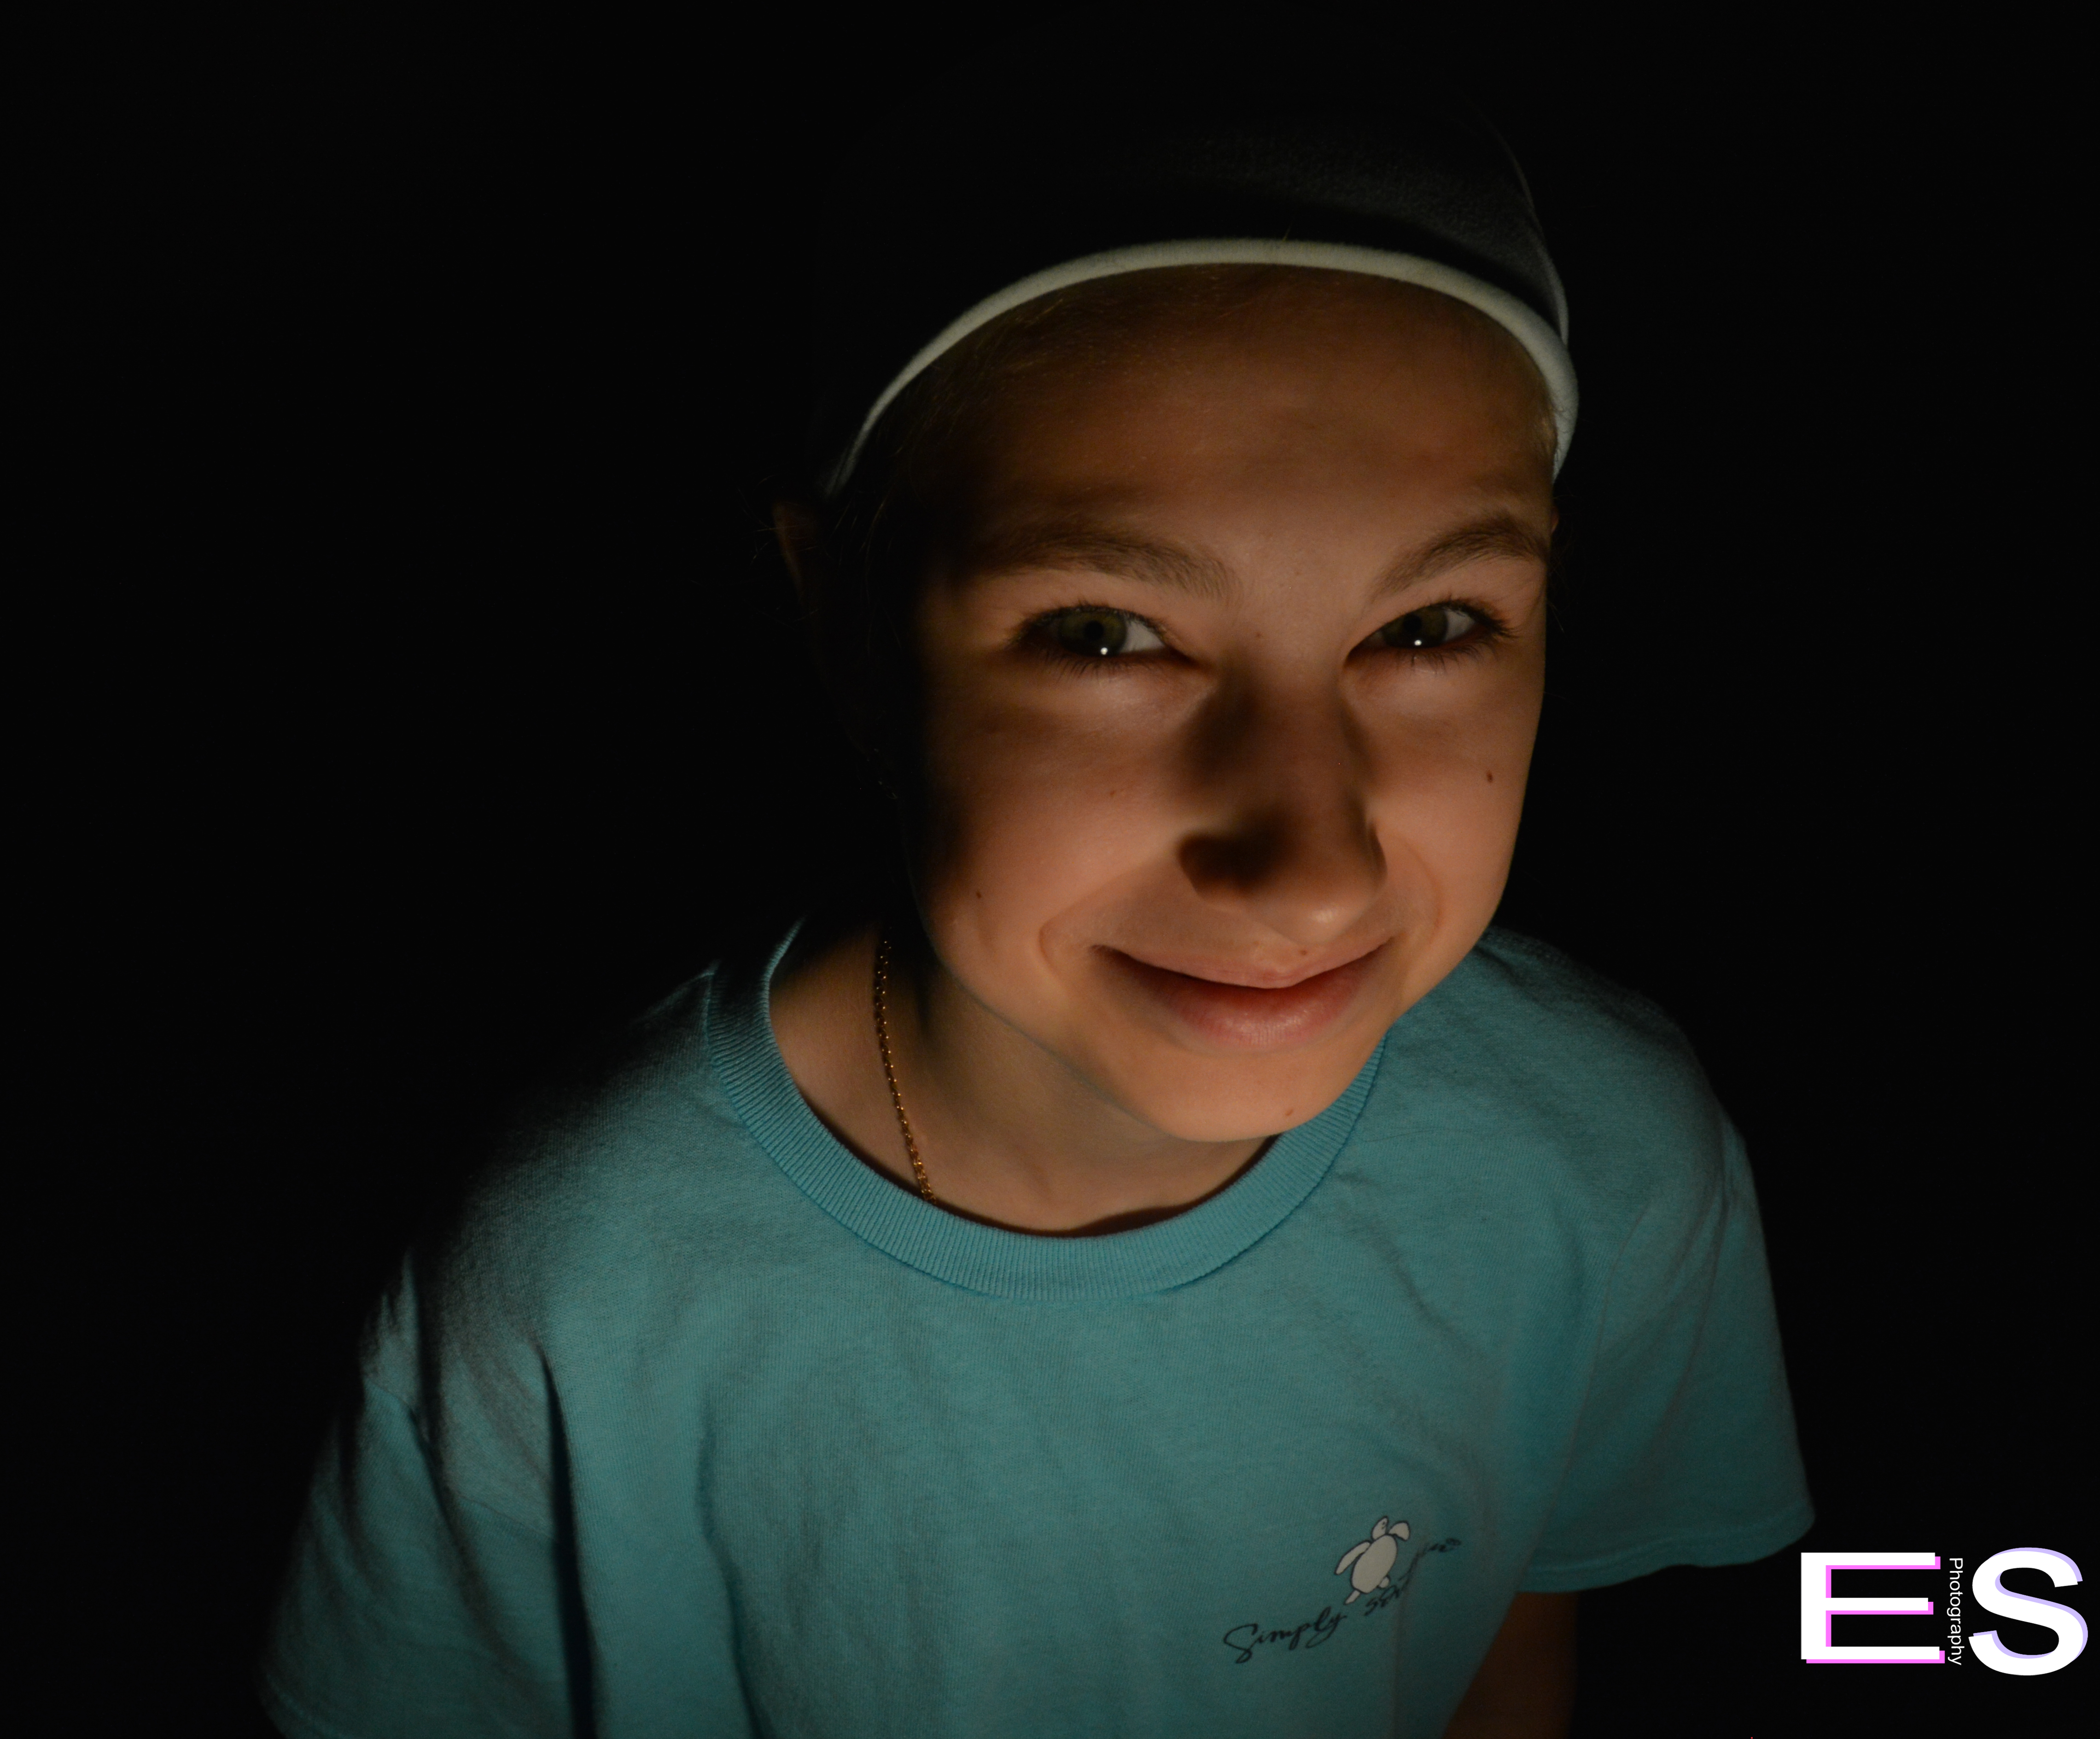
This assignment we had to take a picture in front of a background but also you can’t see the background. Holding the light up higher was easier to capture the right amount of light in the picture. Pointing the light right at my face was not good because there was shadow in the background. To see the rest of the groups photos click here
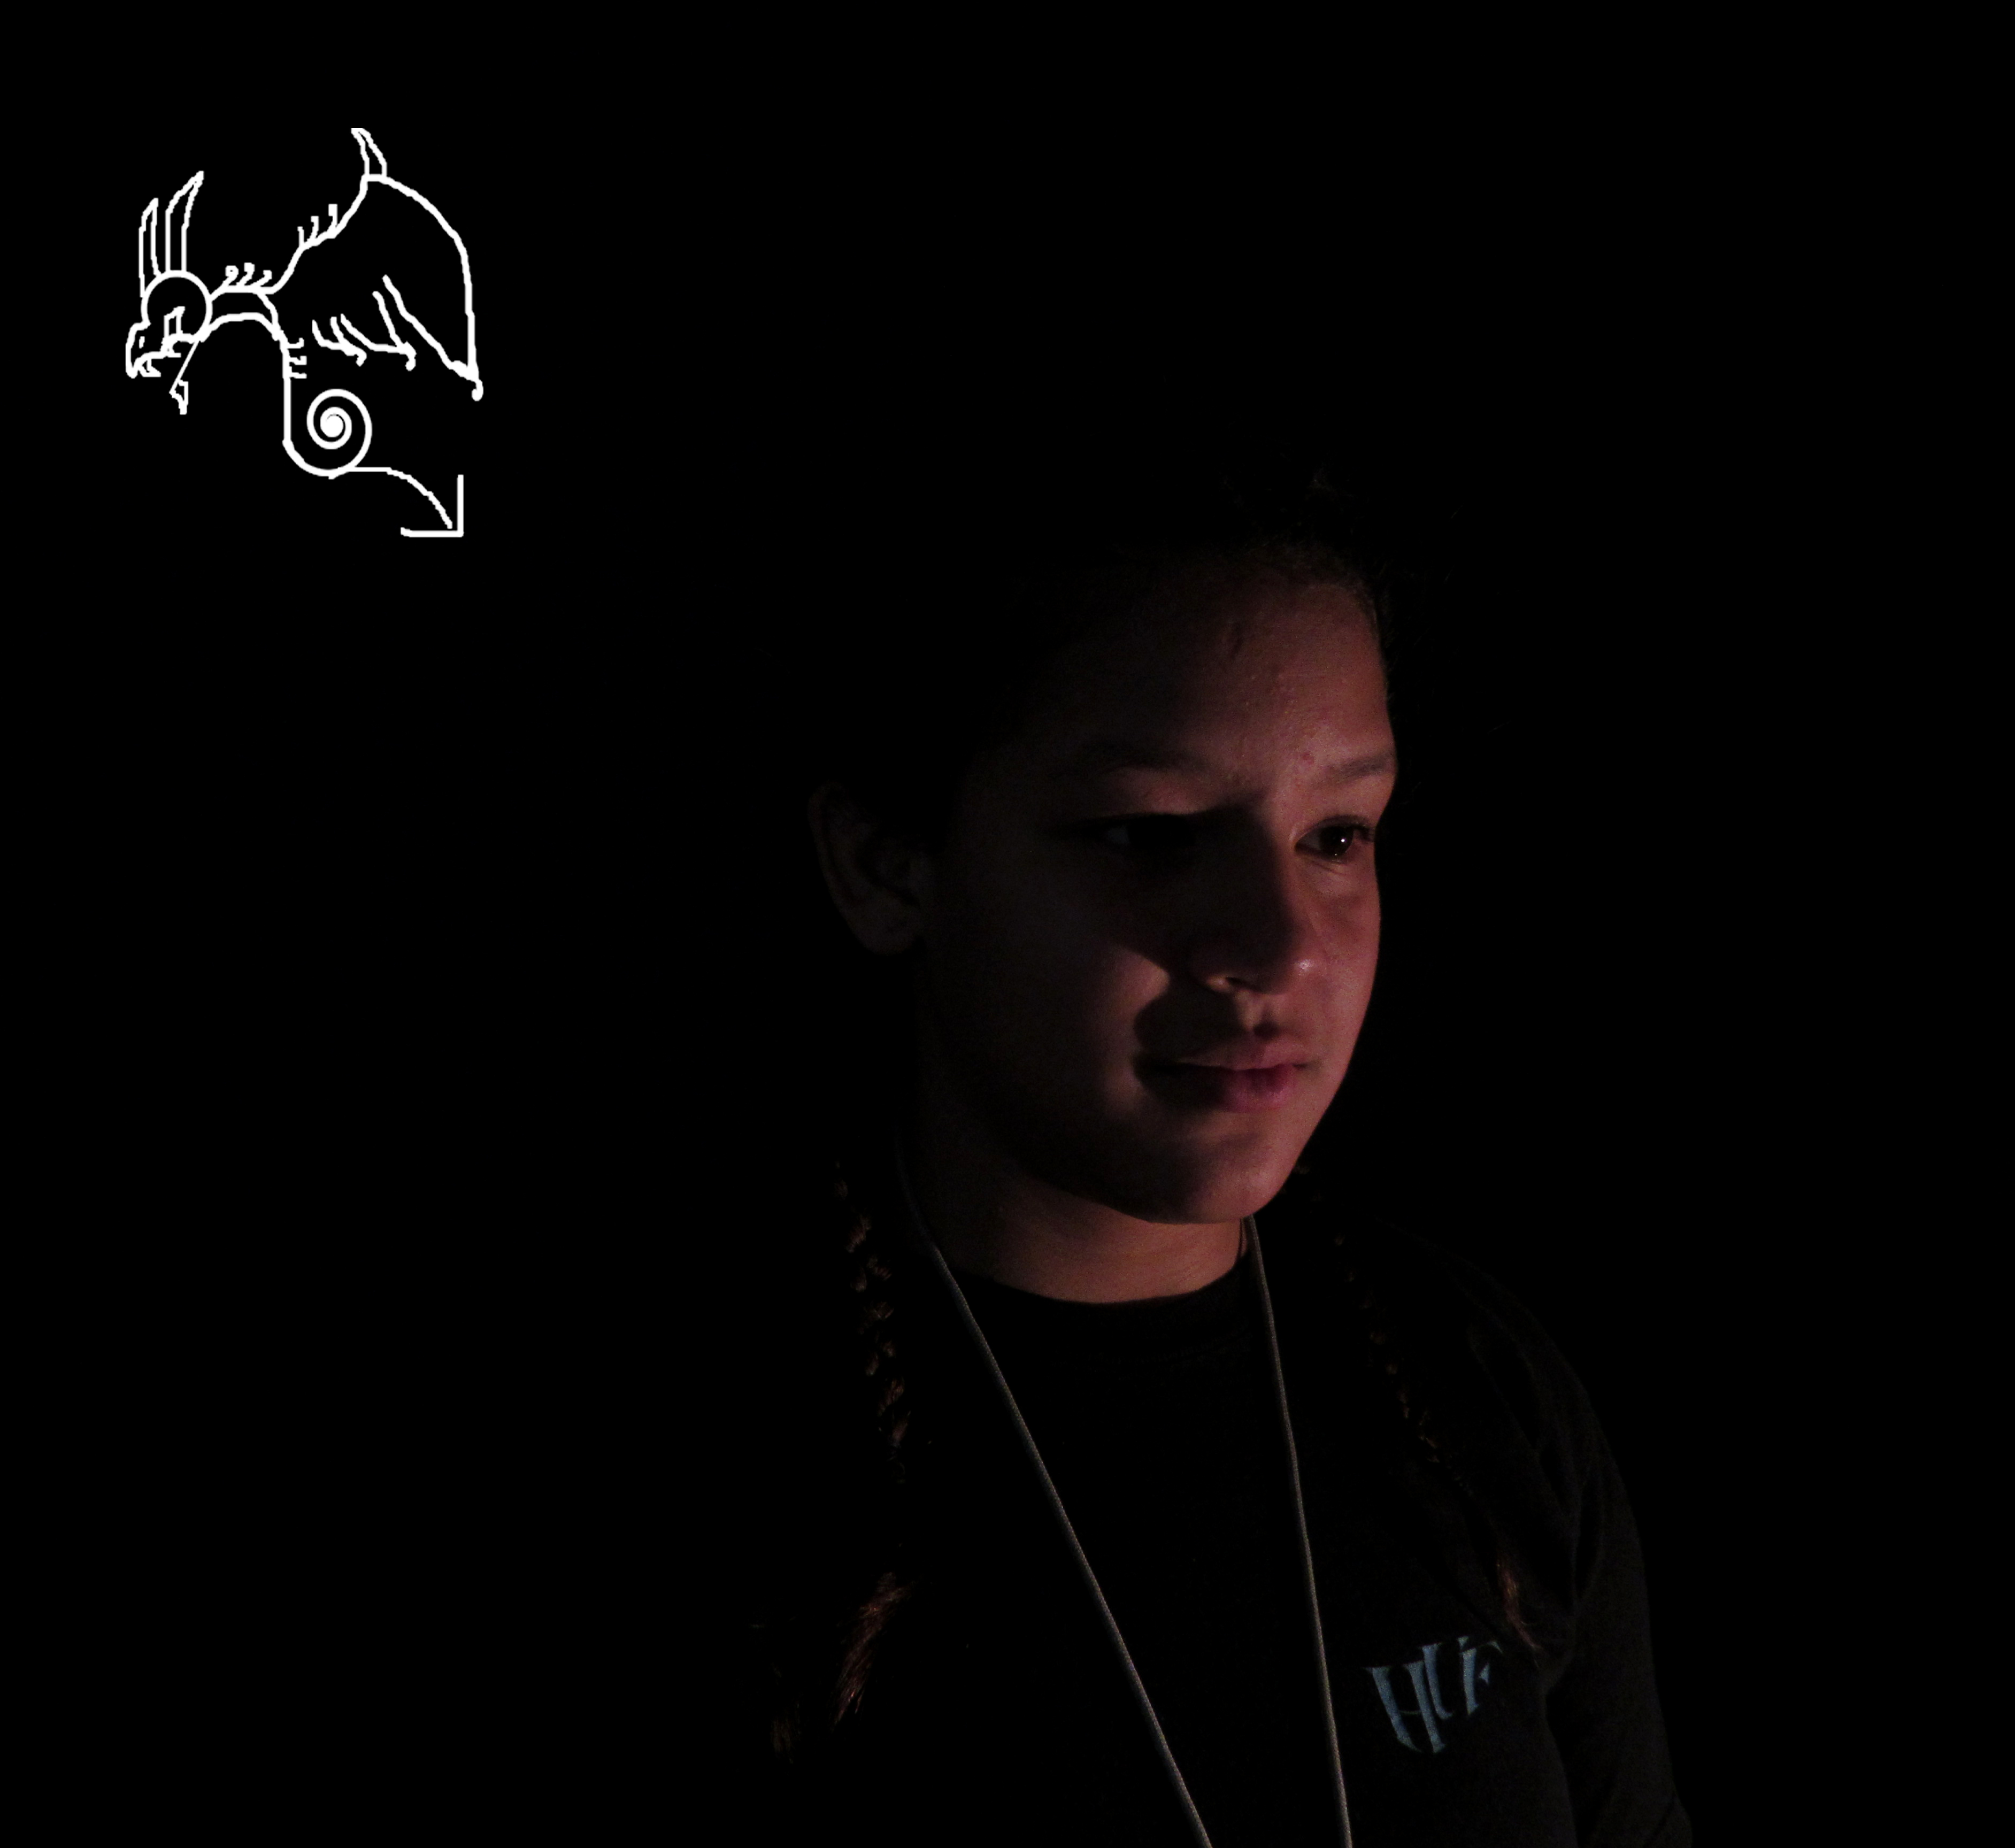
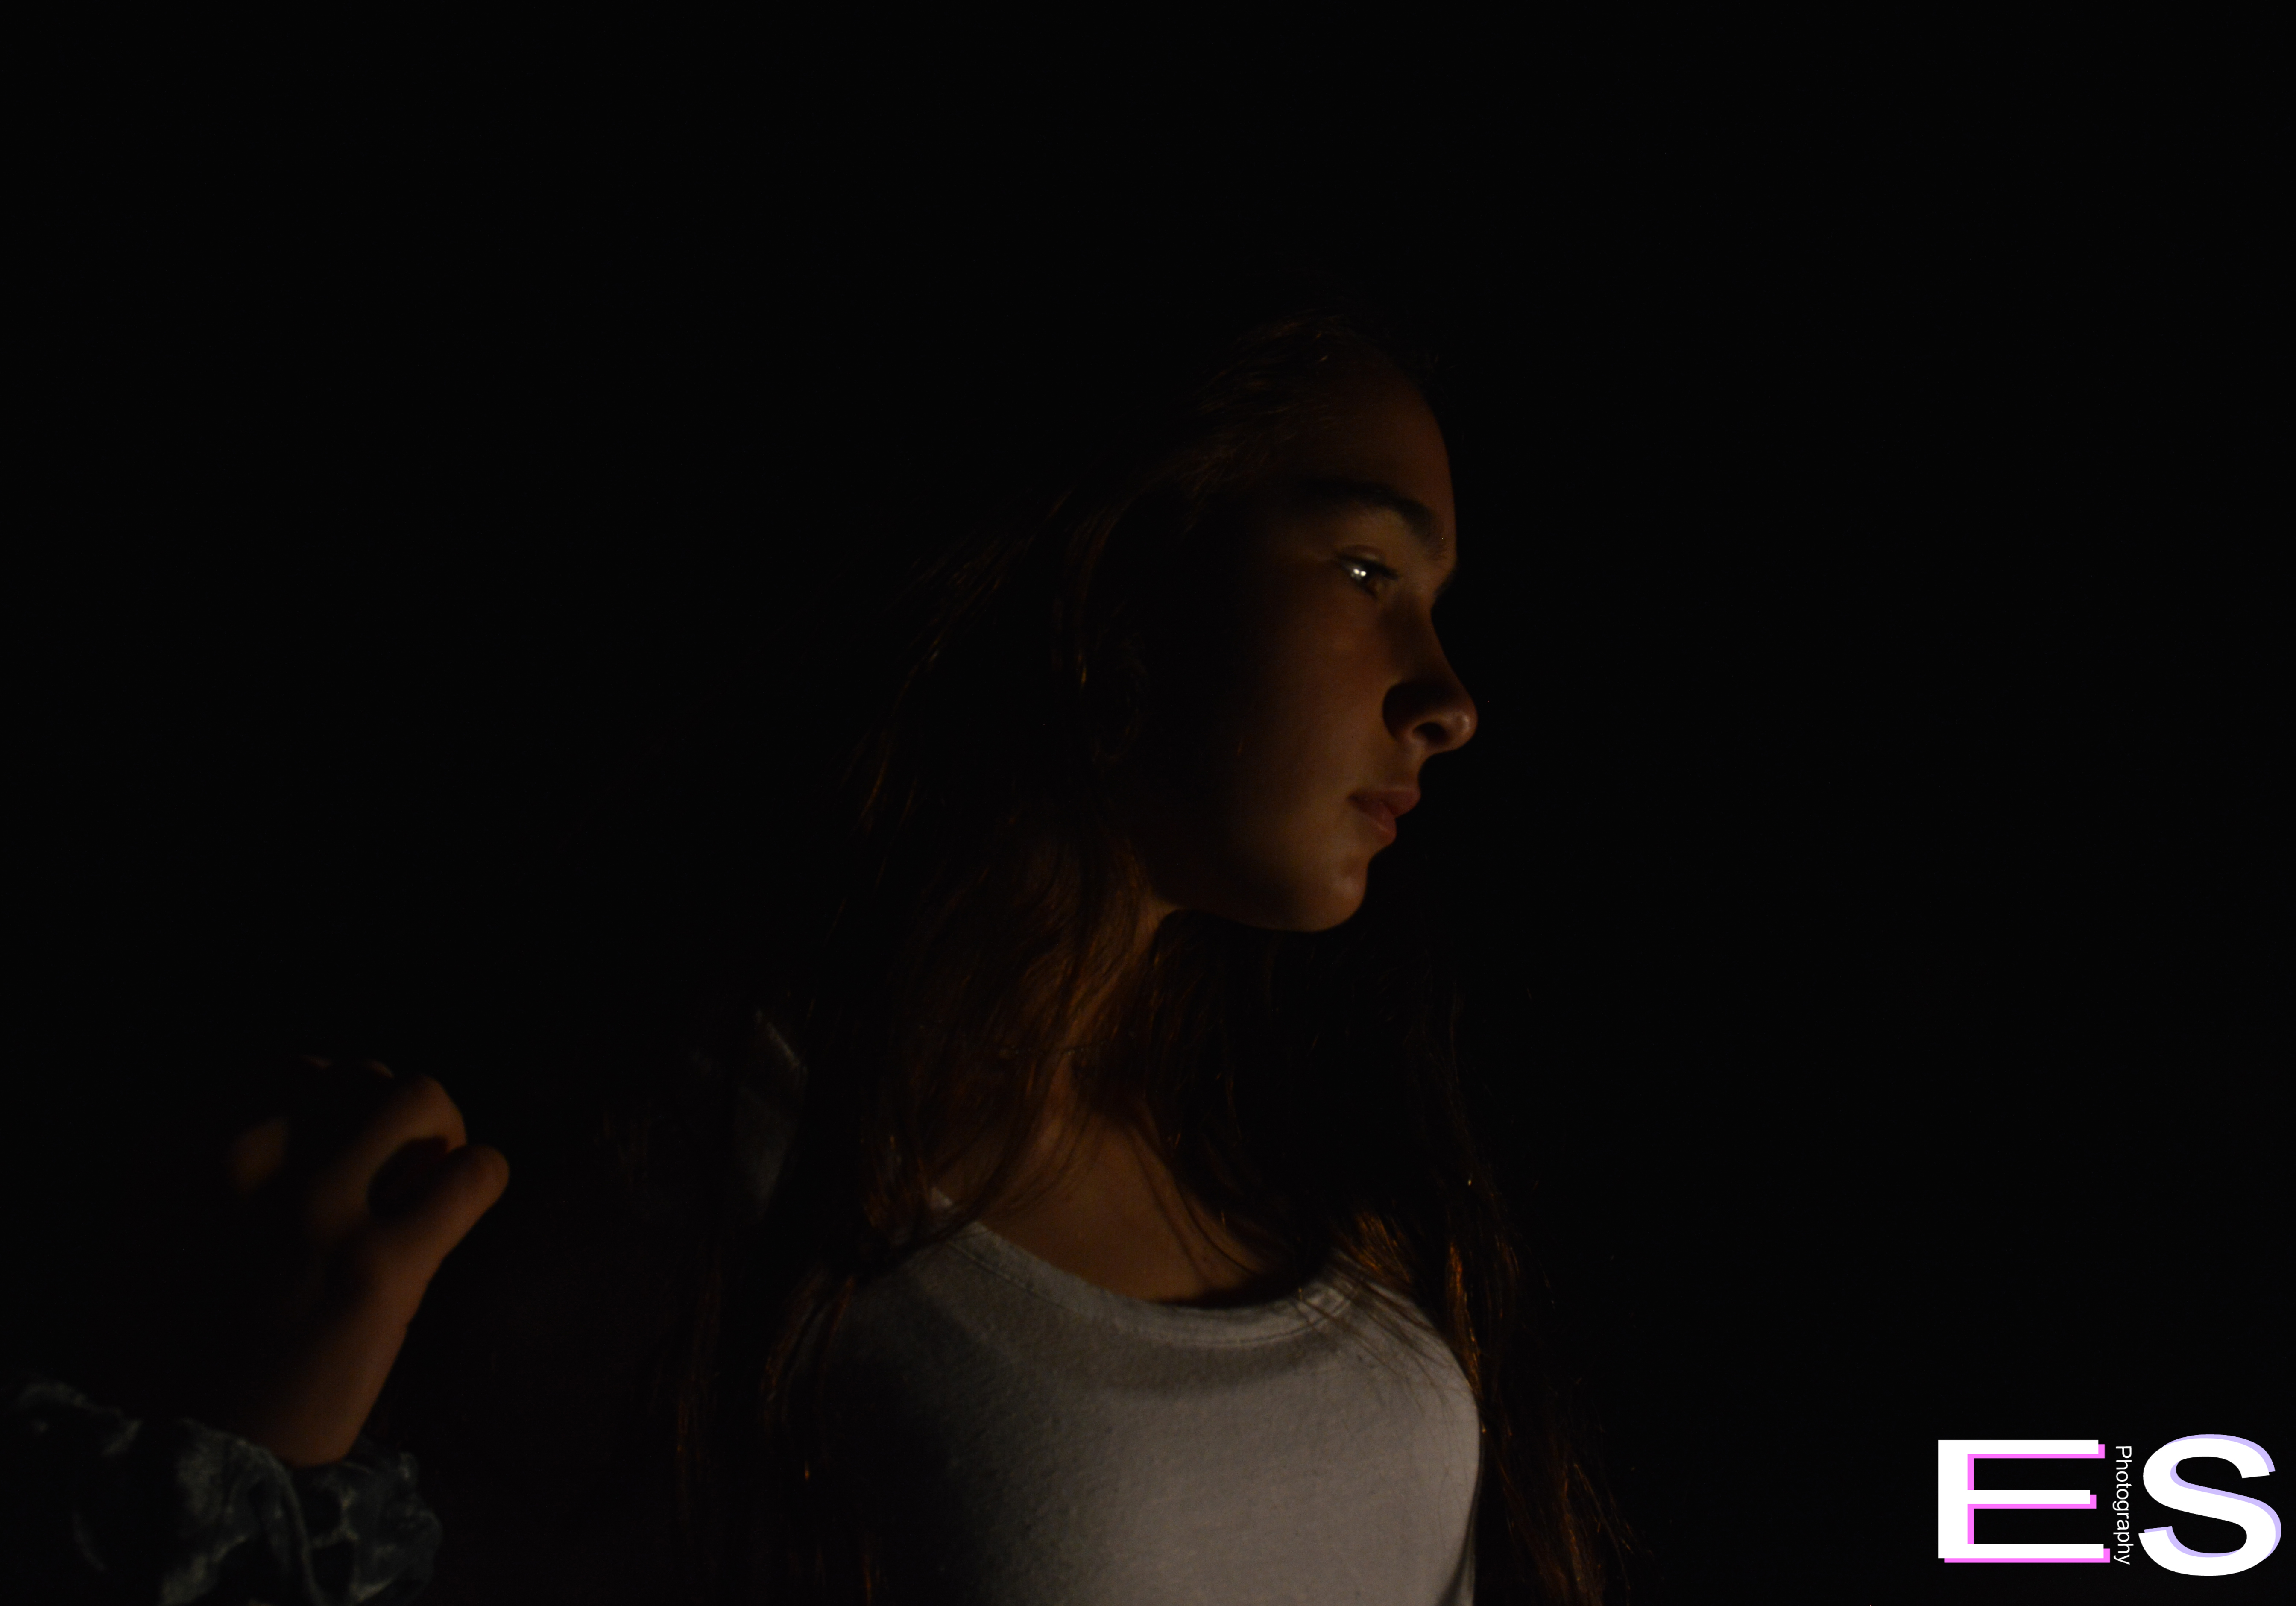
Portraits with a dark background
I set the settings on my camera to have a very low intake of light so that the background would be completely black. This worked very well but it took some time to figure out.
See all of the photos here

Portraits with Black Background
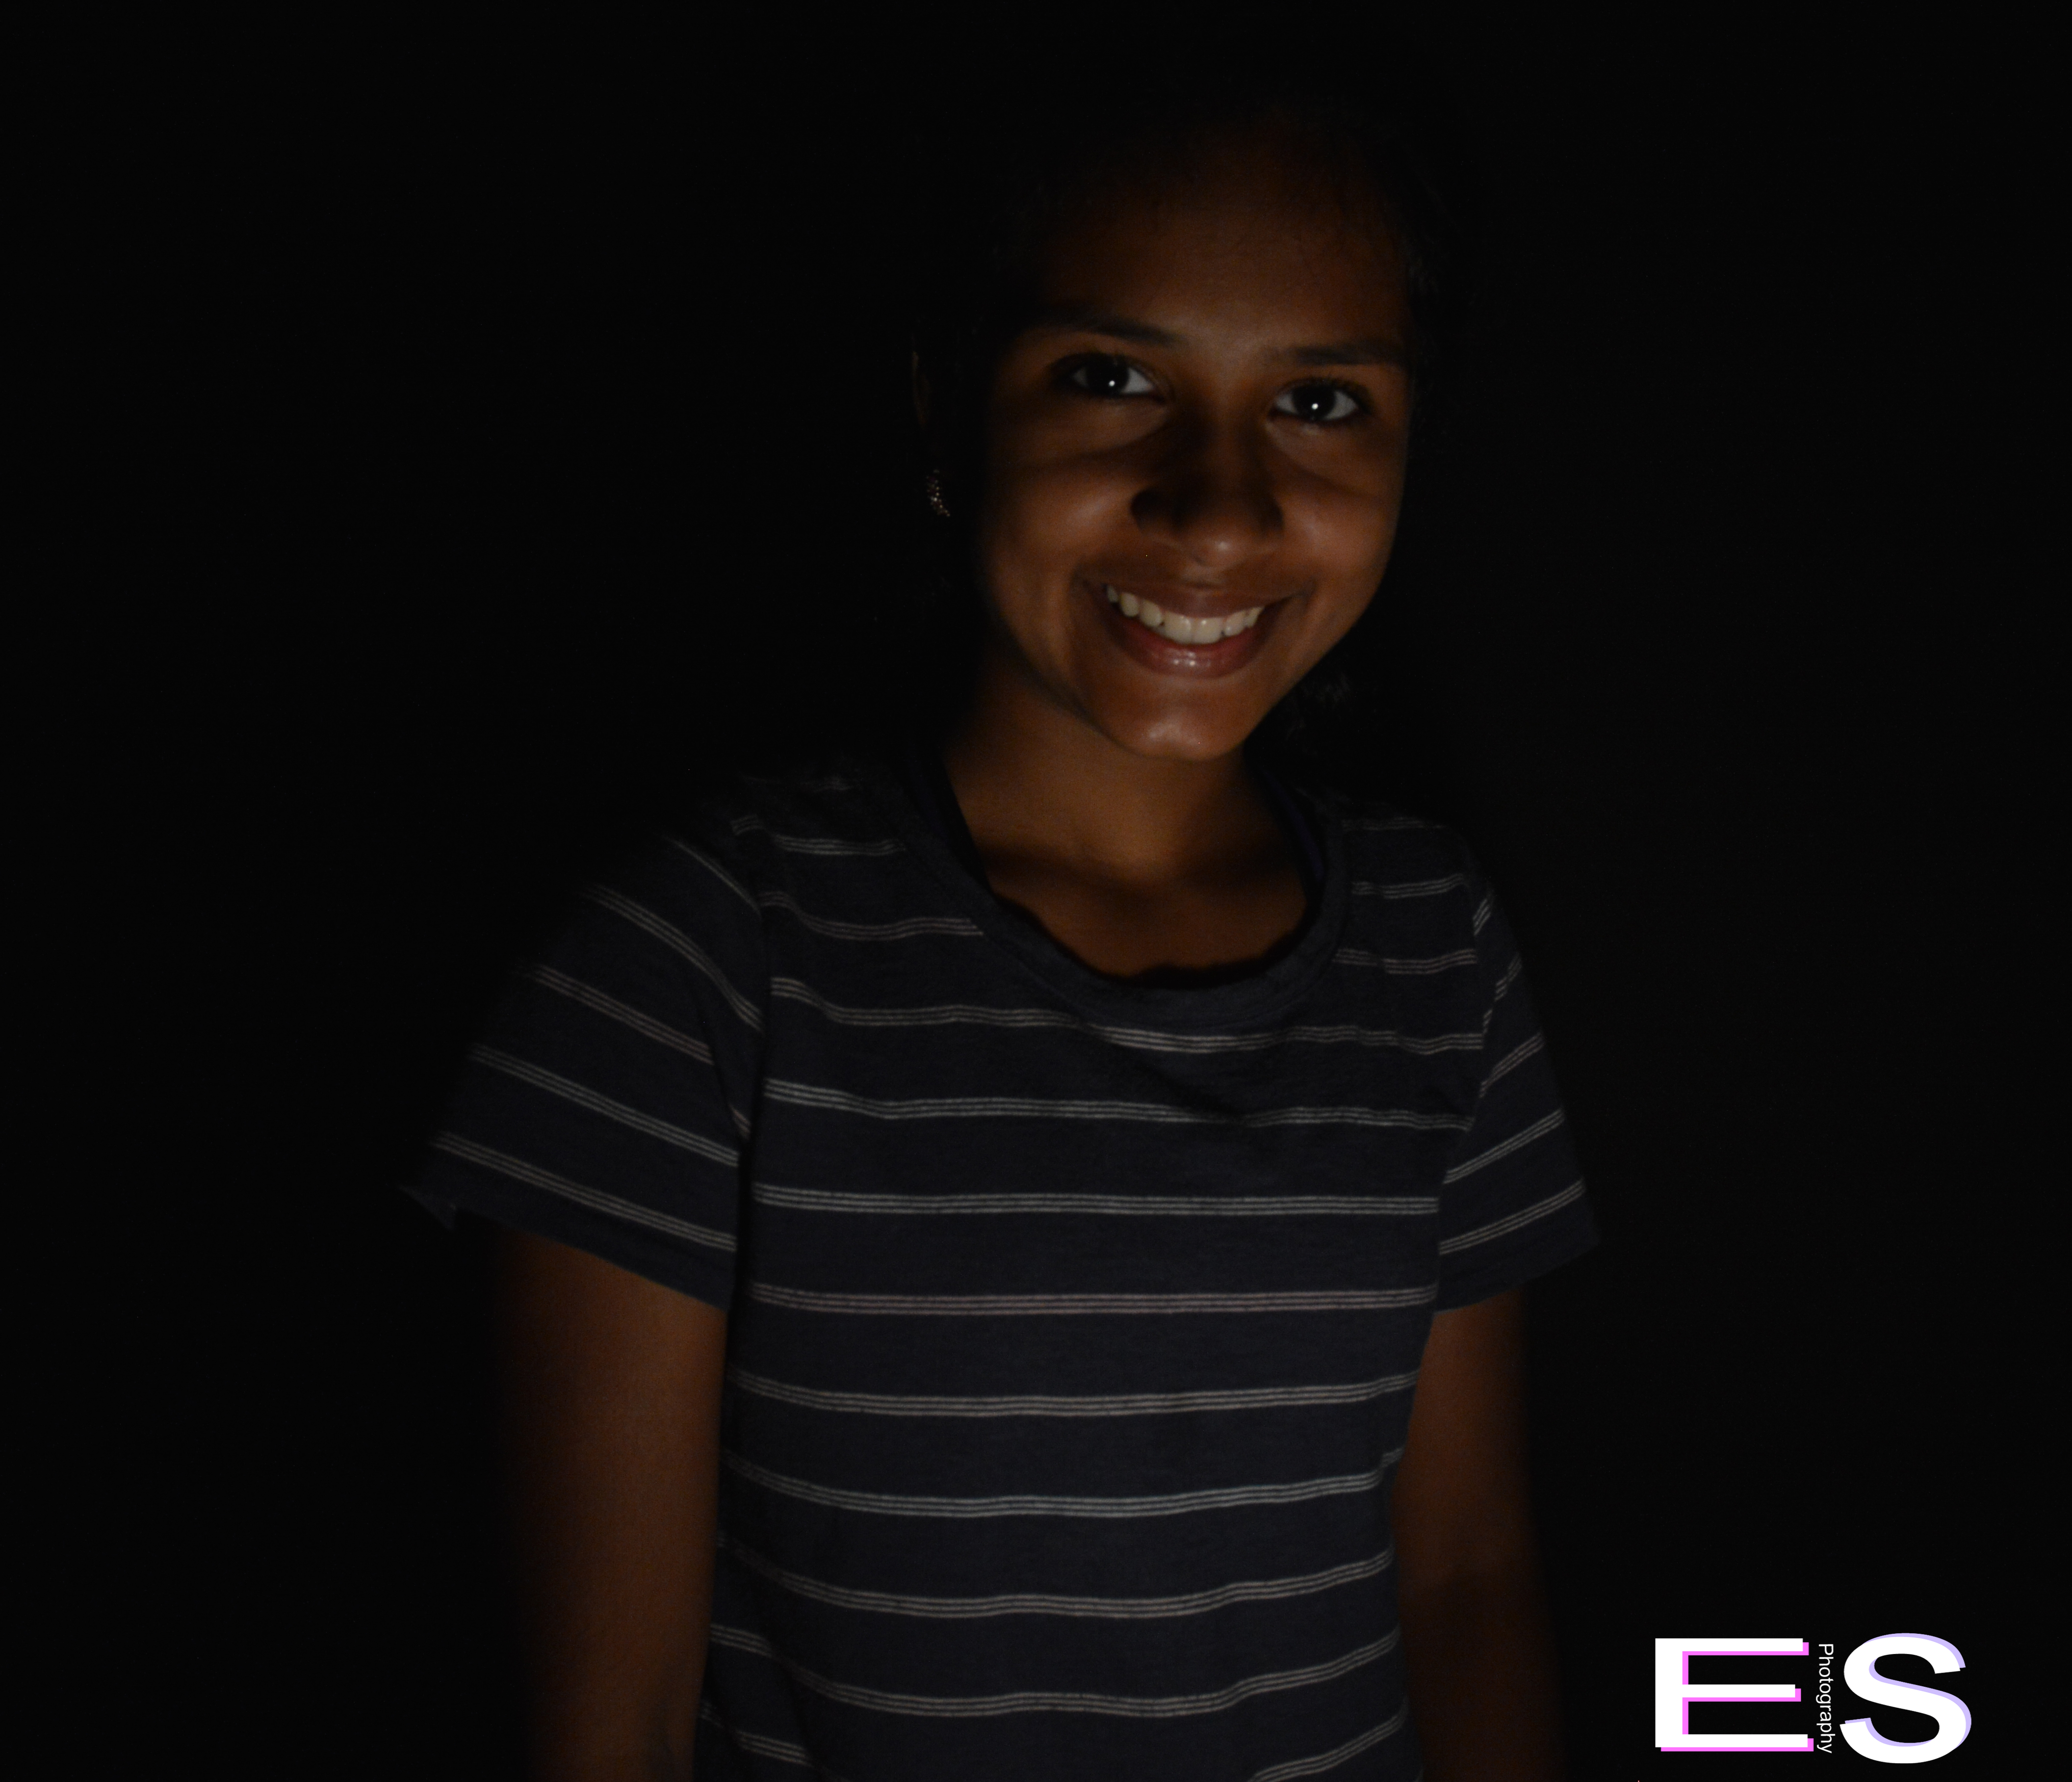
In this project, we had to take portraits of everybody in our group on a dark background. We took the photos by having the lighting just right. At first, we tried to shine the light on the background. But then we figured out that you had to shine the light on the person at an angle. As for editing, we used photo shop to make the background look more dark. We also made the people look more bright.
You can see the rest of the photos here.
Portraits with Infinite Background 2
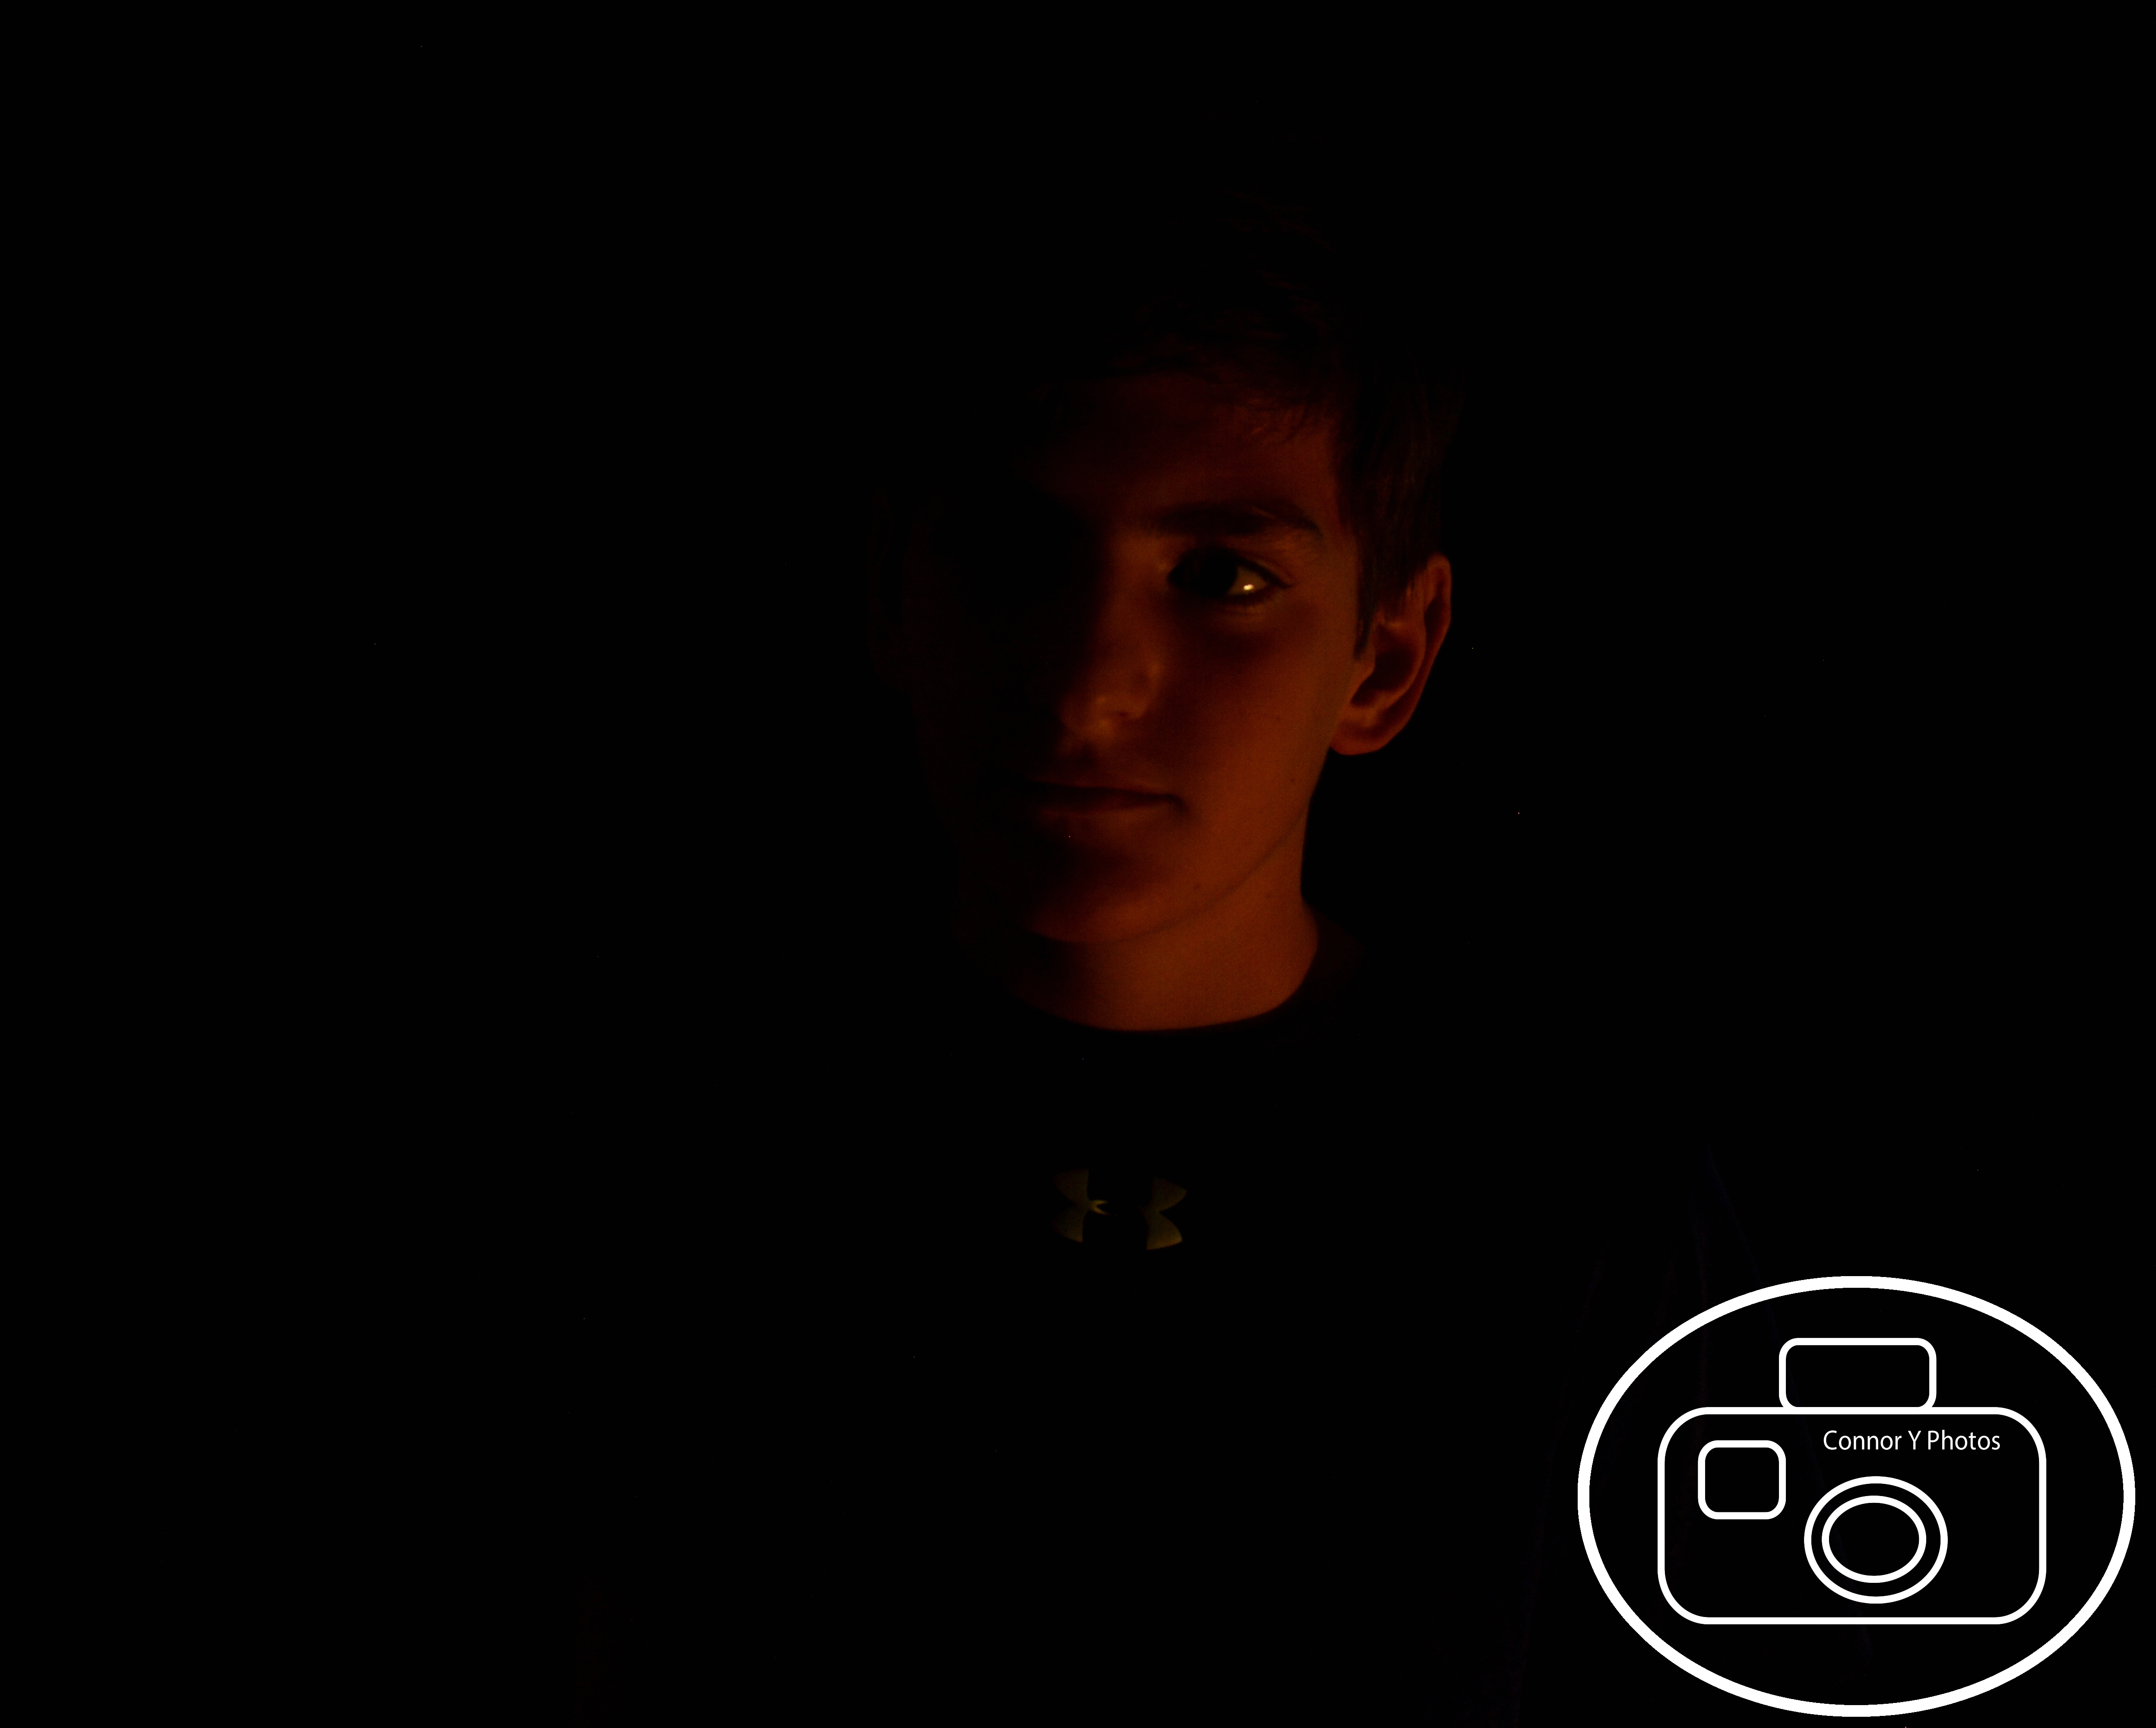
For this project I had to change the ISO, Shutter speed, and the F-stop of the camera to create a background that looks infinite(Again, but with a black background). One thing that was difficult was the lighting and how we had to make it so there were no shadows. One thing that was easy was the placement of the camera and changing the settings. In the end we had to change the contrast in photoshop so the back looked darker. For the rest of the portraits come here
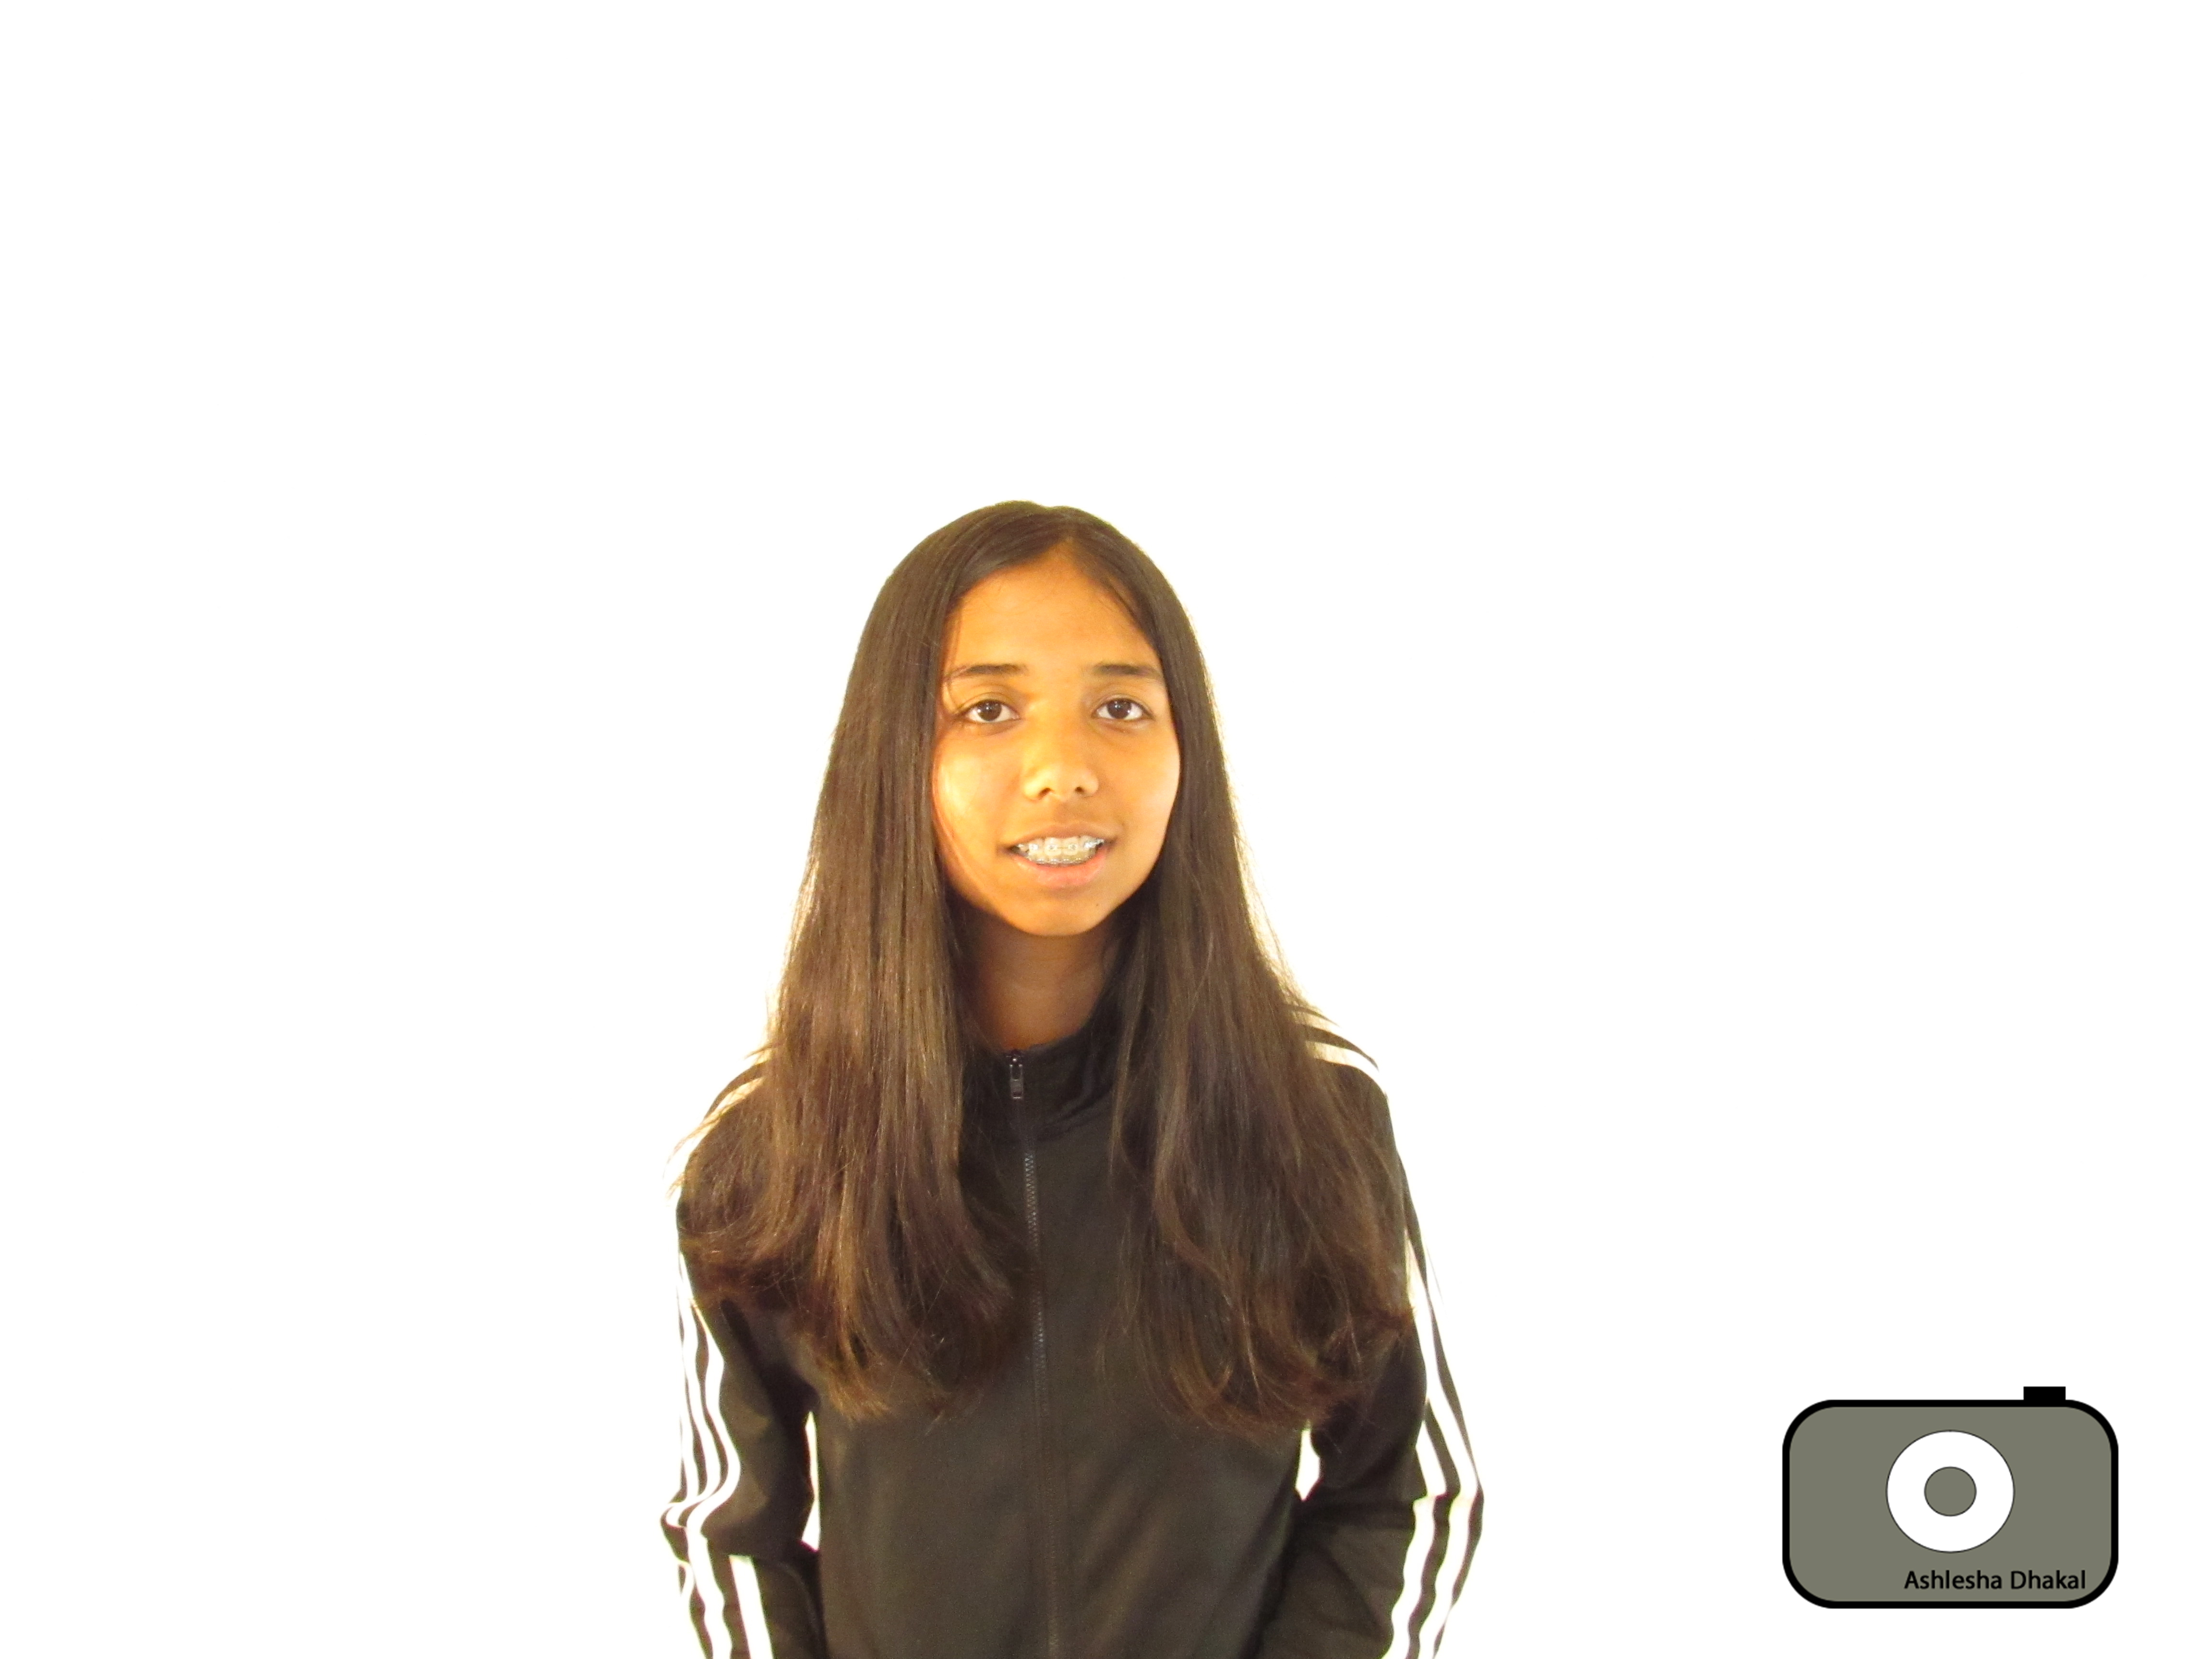
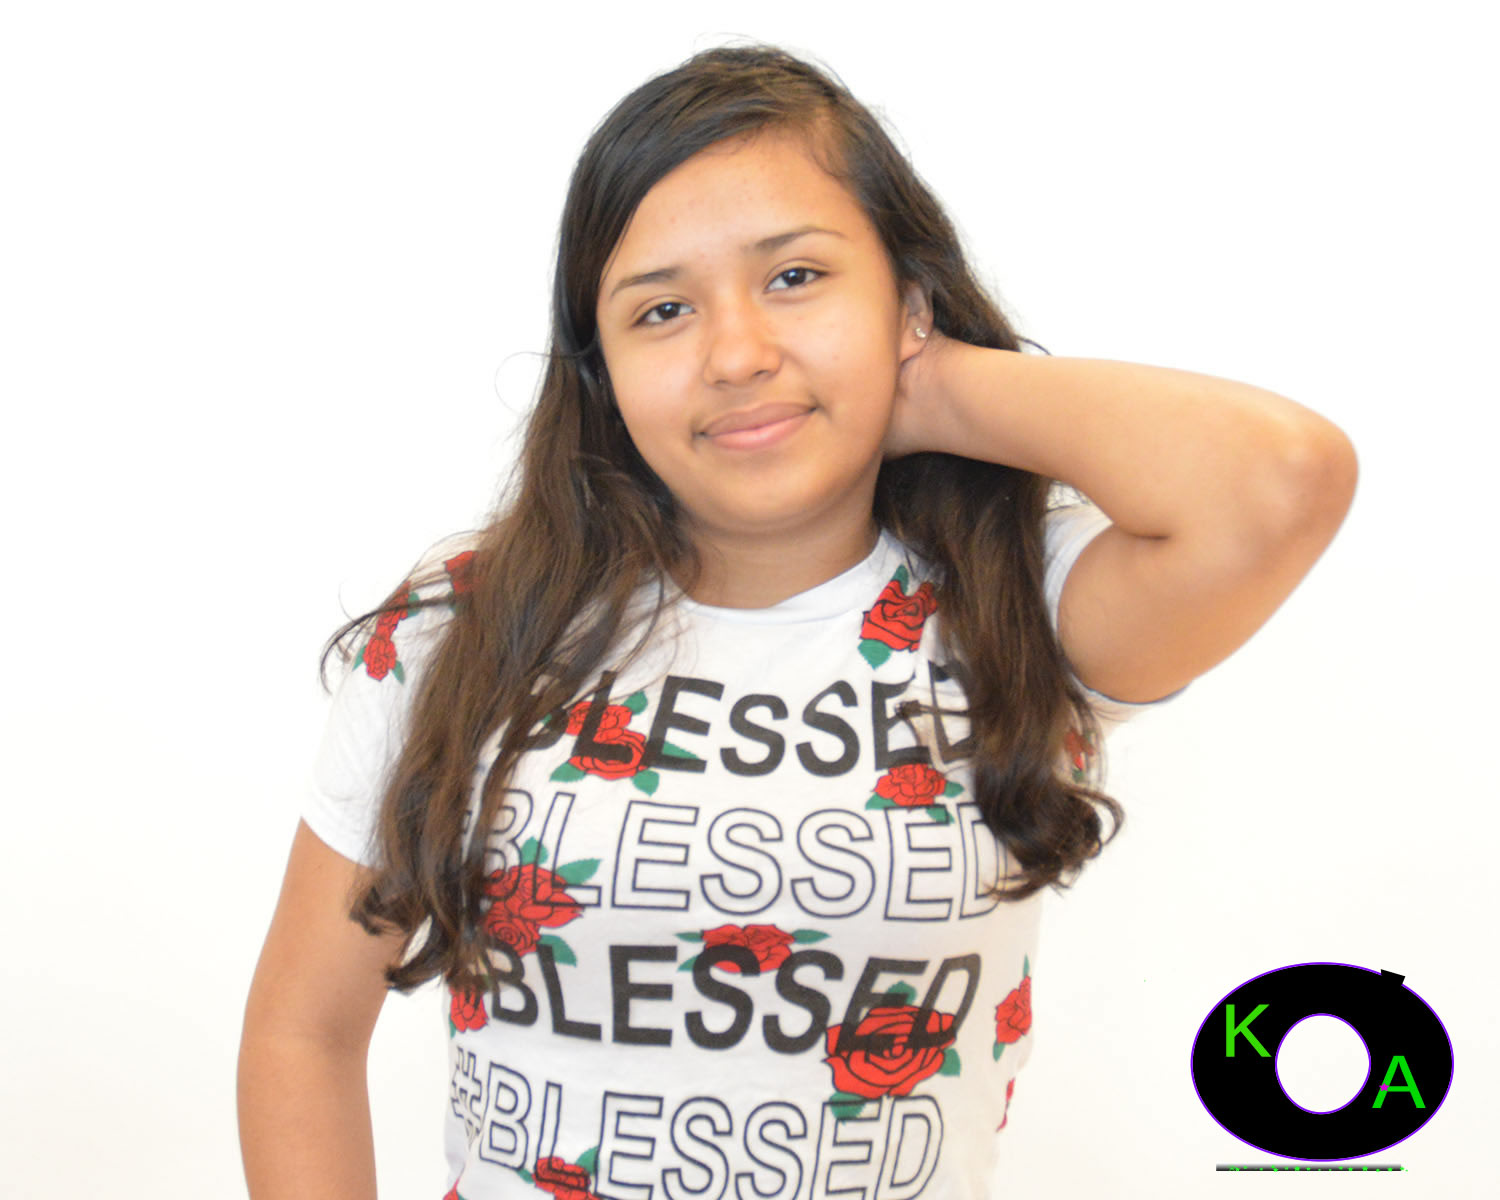
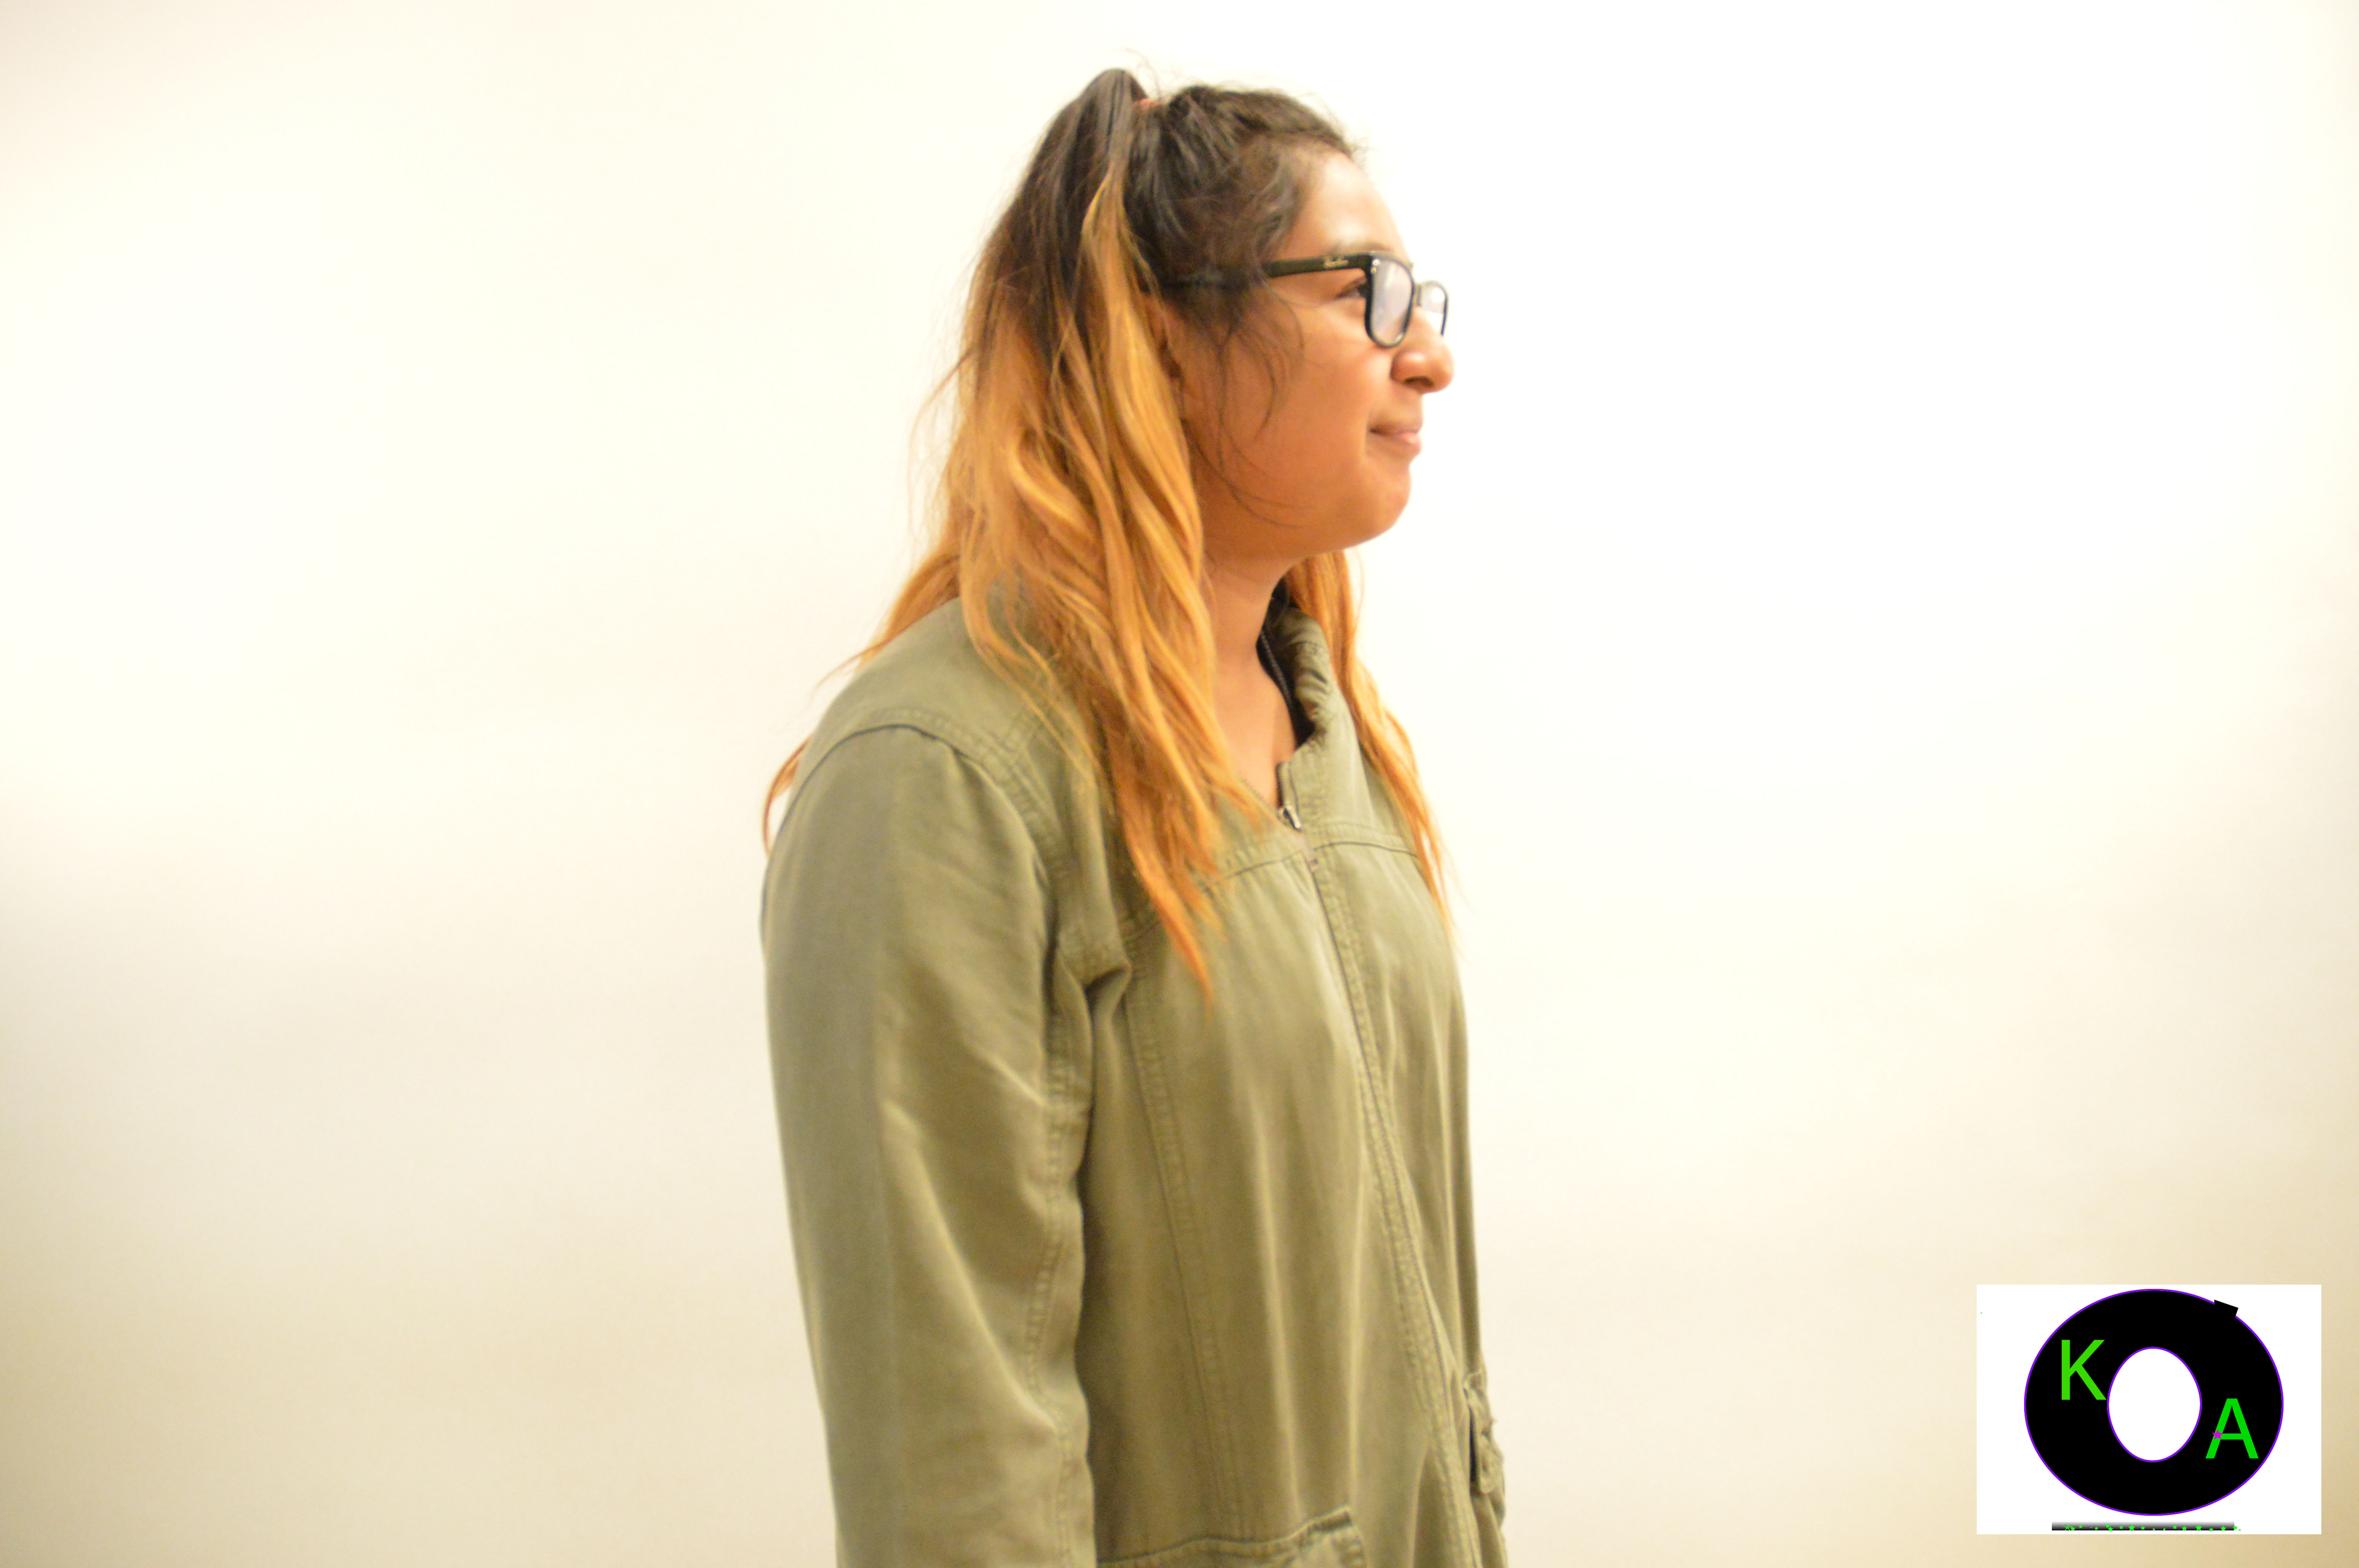
KENIA’S PORTRAITS
In this project what we did was a group of 5, two of them had the lights on each side so the back around would be white without shade. Then we take pictures in a turn each one of us help each other, Then I have to check our photos and if they were missing more white color in the back we have to edit them so that they have a good color. and l have to edit them to put the logo in the photo that i pick. And also we have to chose a photo of other people that we take of them and with our logo too. If you want to see ours photos you can seeing by clicking Here
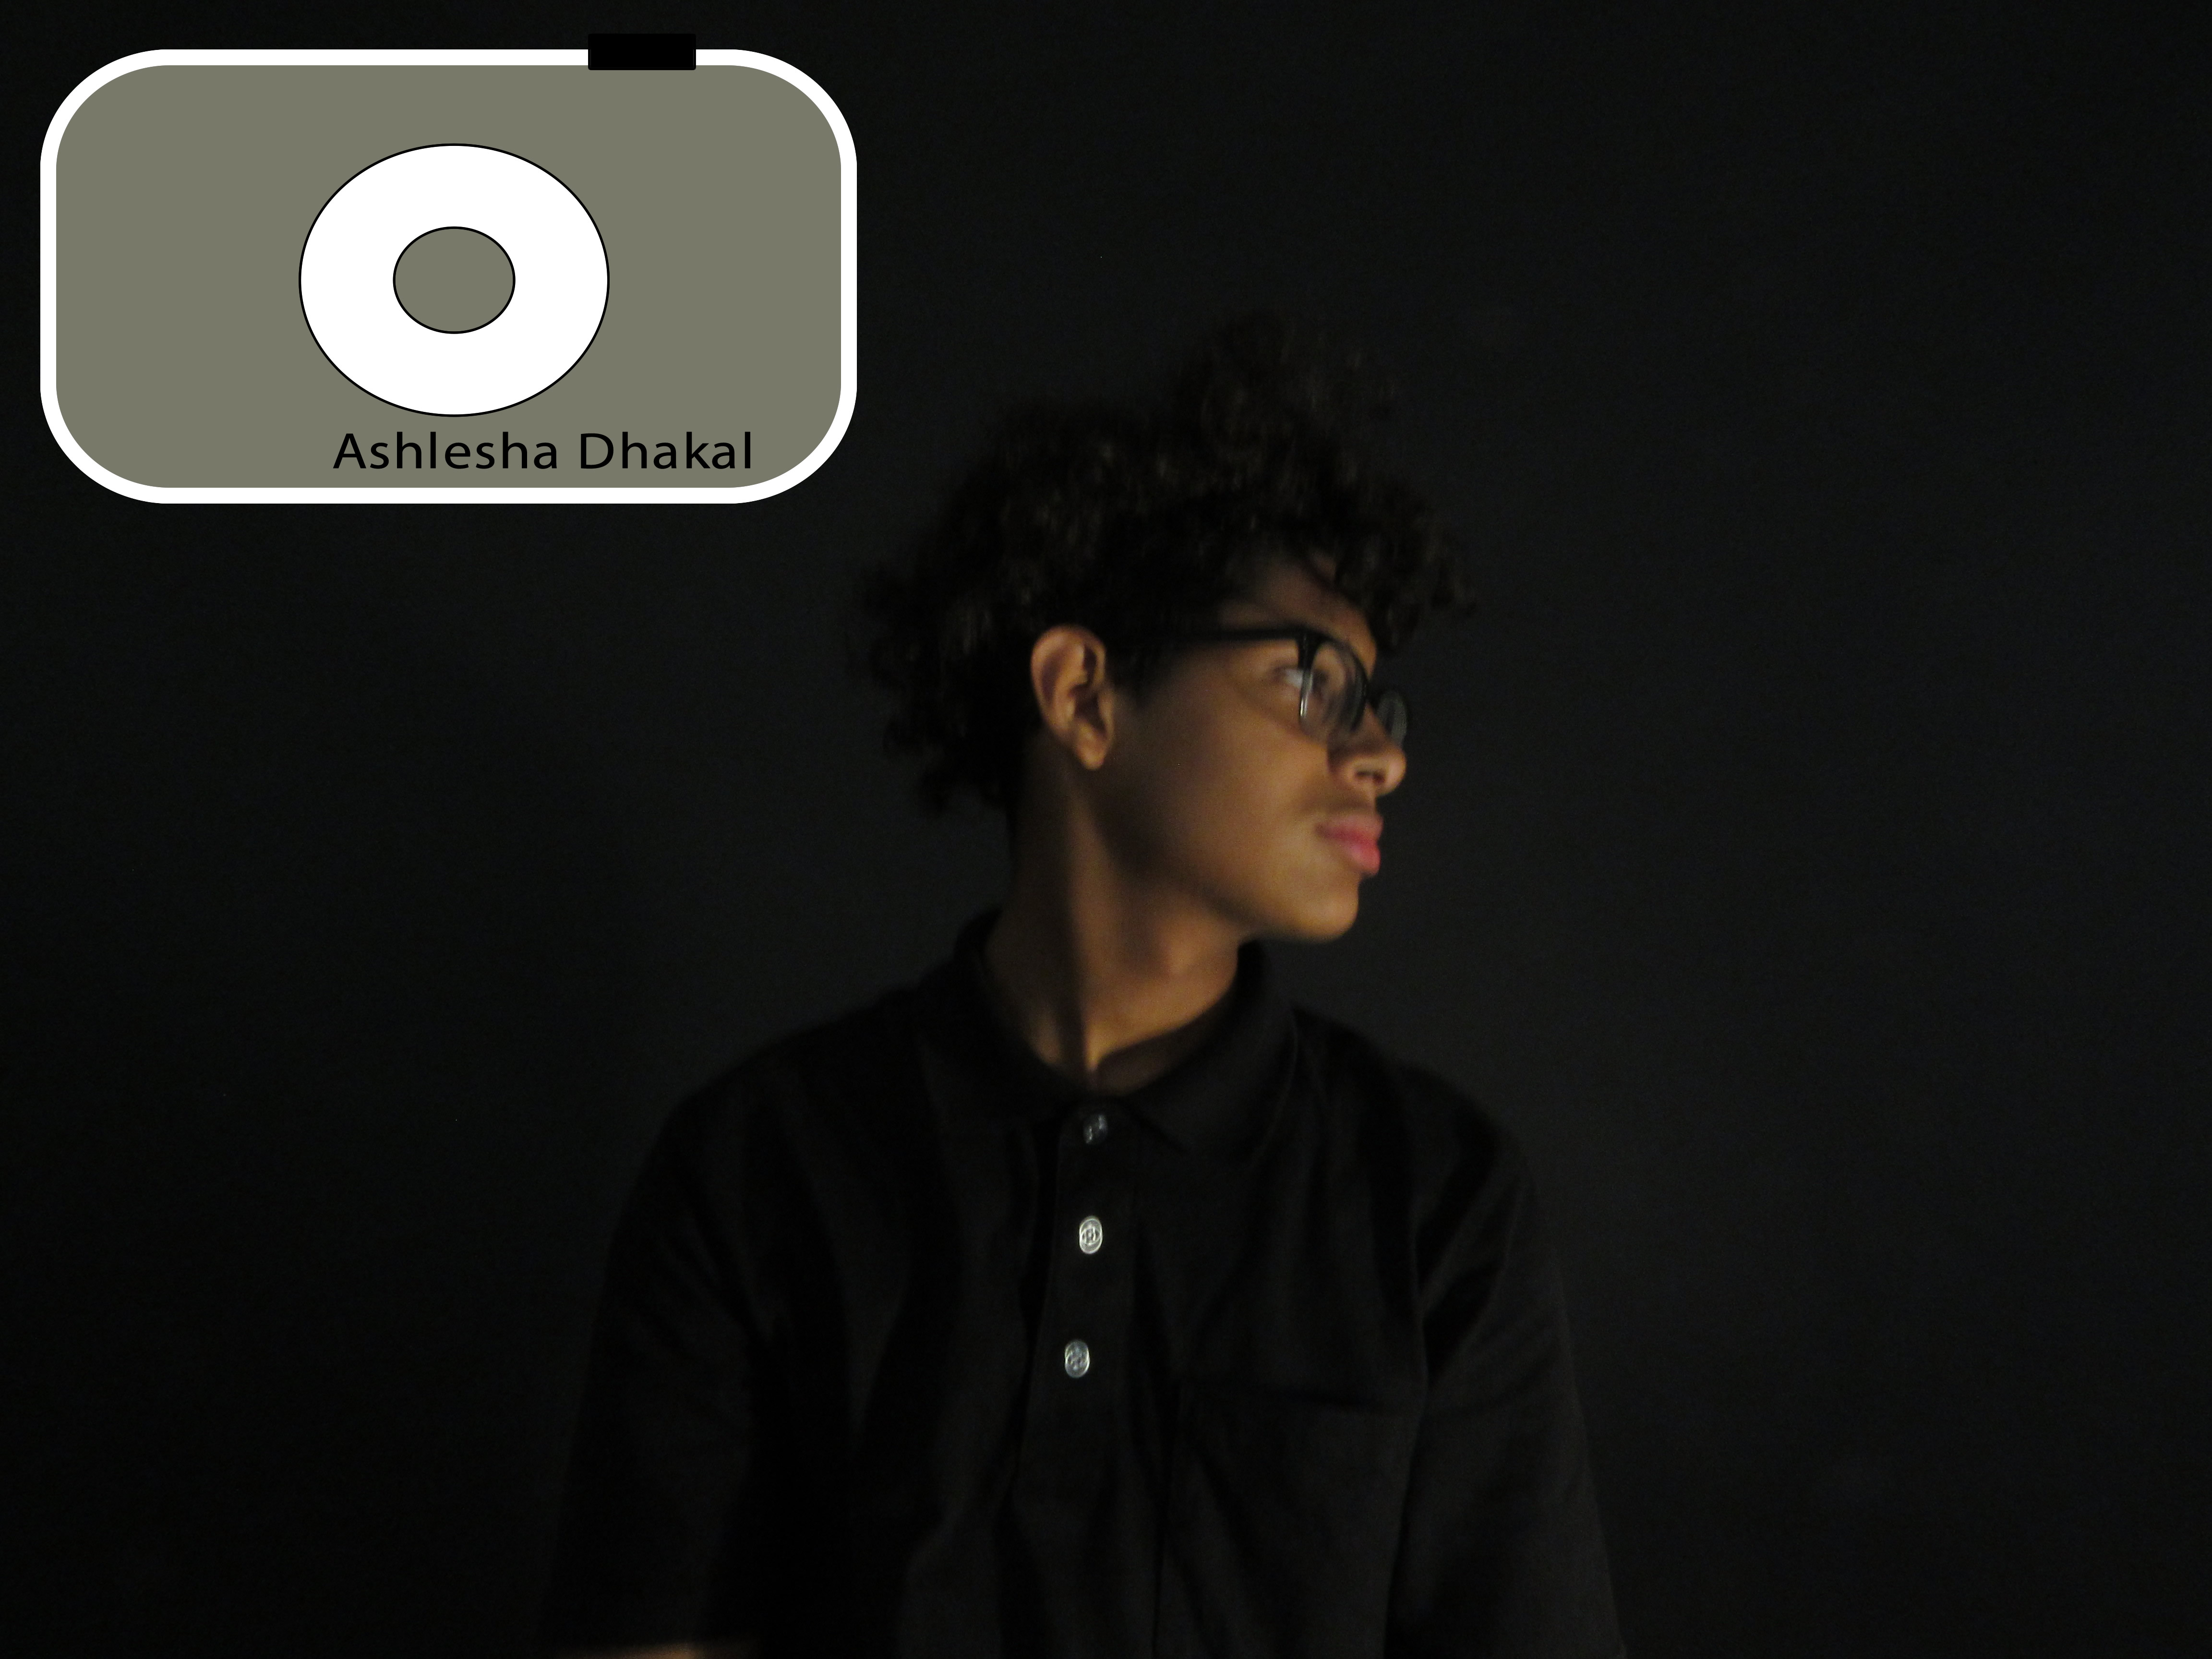
Black Background
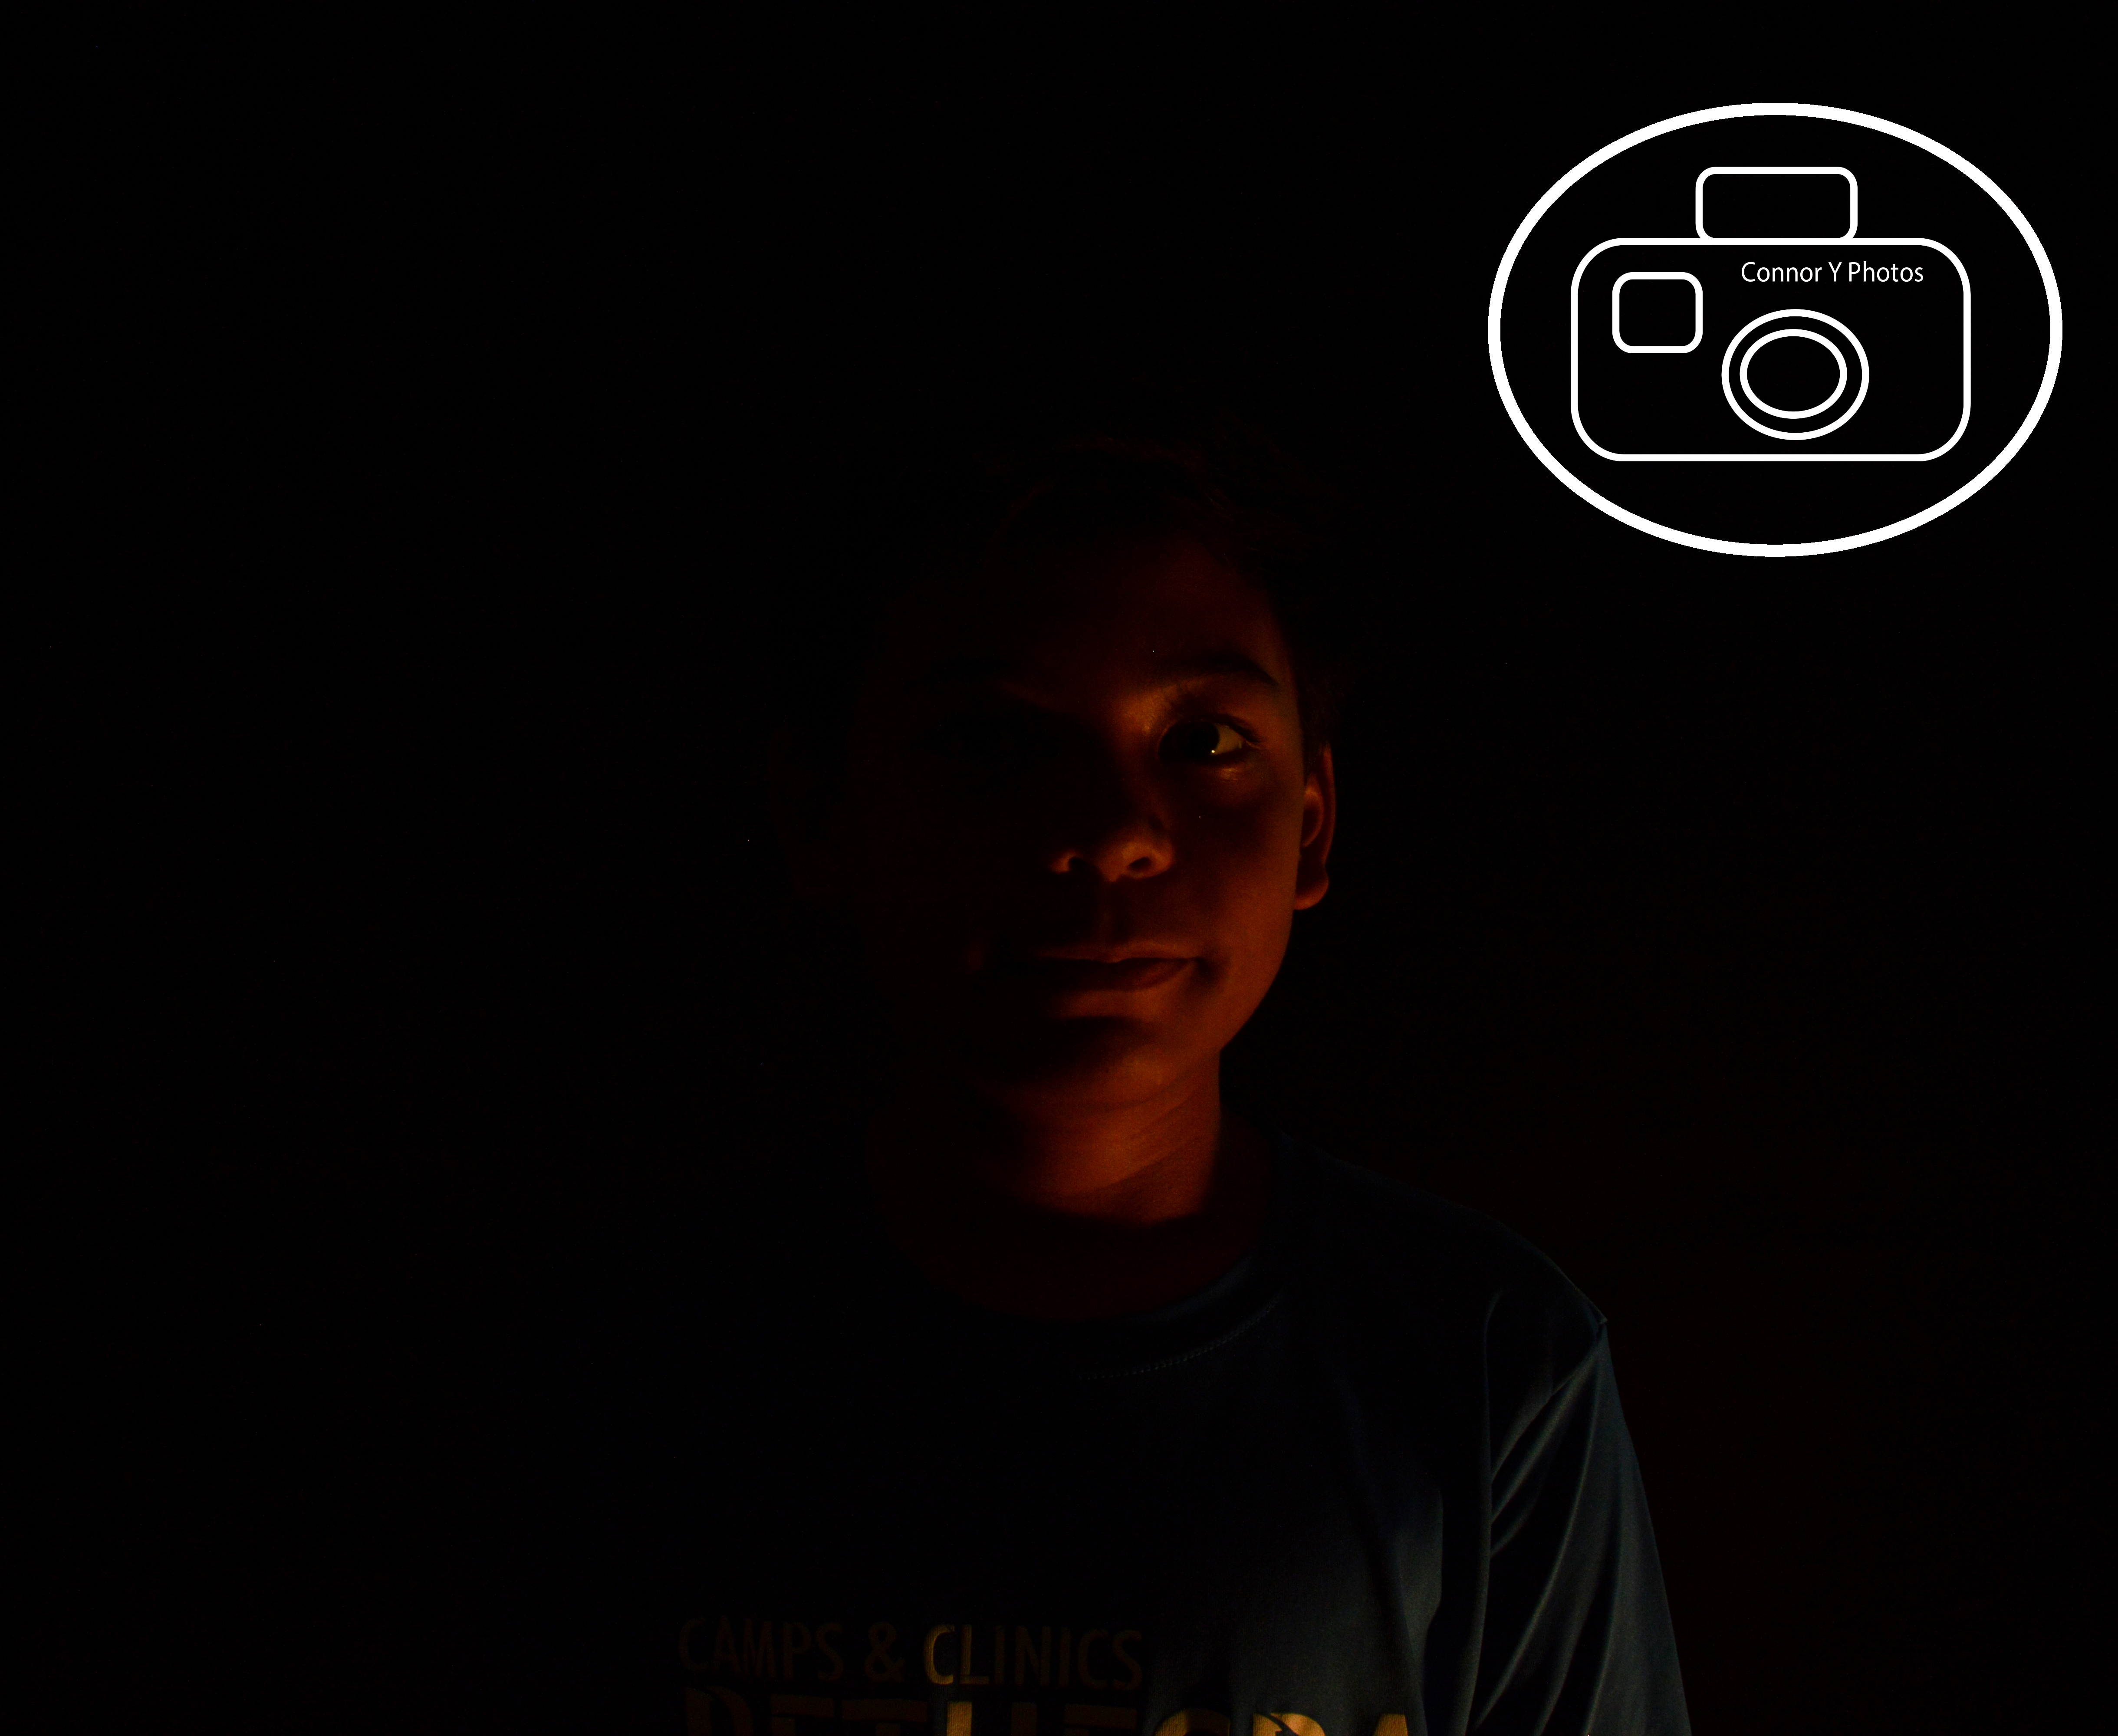
In this project we had to make the background of the pictures we took pitch black. We had to keep changing the ISO so enough light would shine on our faces, but not on the background because that would give a shadow. Once, we figured out the correct way to hold the light and the correct ISO, it made the project just a little bit easier. The most challenging thing was finding a good way to hold the light so it would shine on our faces, but not on the background. This project was probably one of the hardest project because there was so many things that you had to make sure where in the right place. The rest of my photos are down below.
Black Background Portraits
For this project we had to figure out the best lighting possible for out photos, then we had to find a good shutter speed. Then we used Photoshop to help crop and make our photos a little bit darker. It was pretty easy to find the shutter speed that was necessary for the best possible picture. It was a little hard however to get the background darker, and keep the person lighter/find a good contrast.
To see all my photos click here.
Portraits
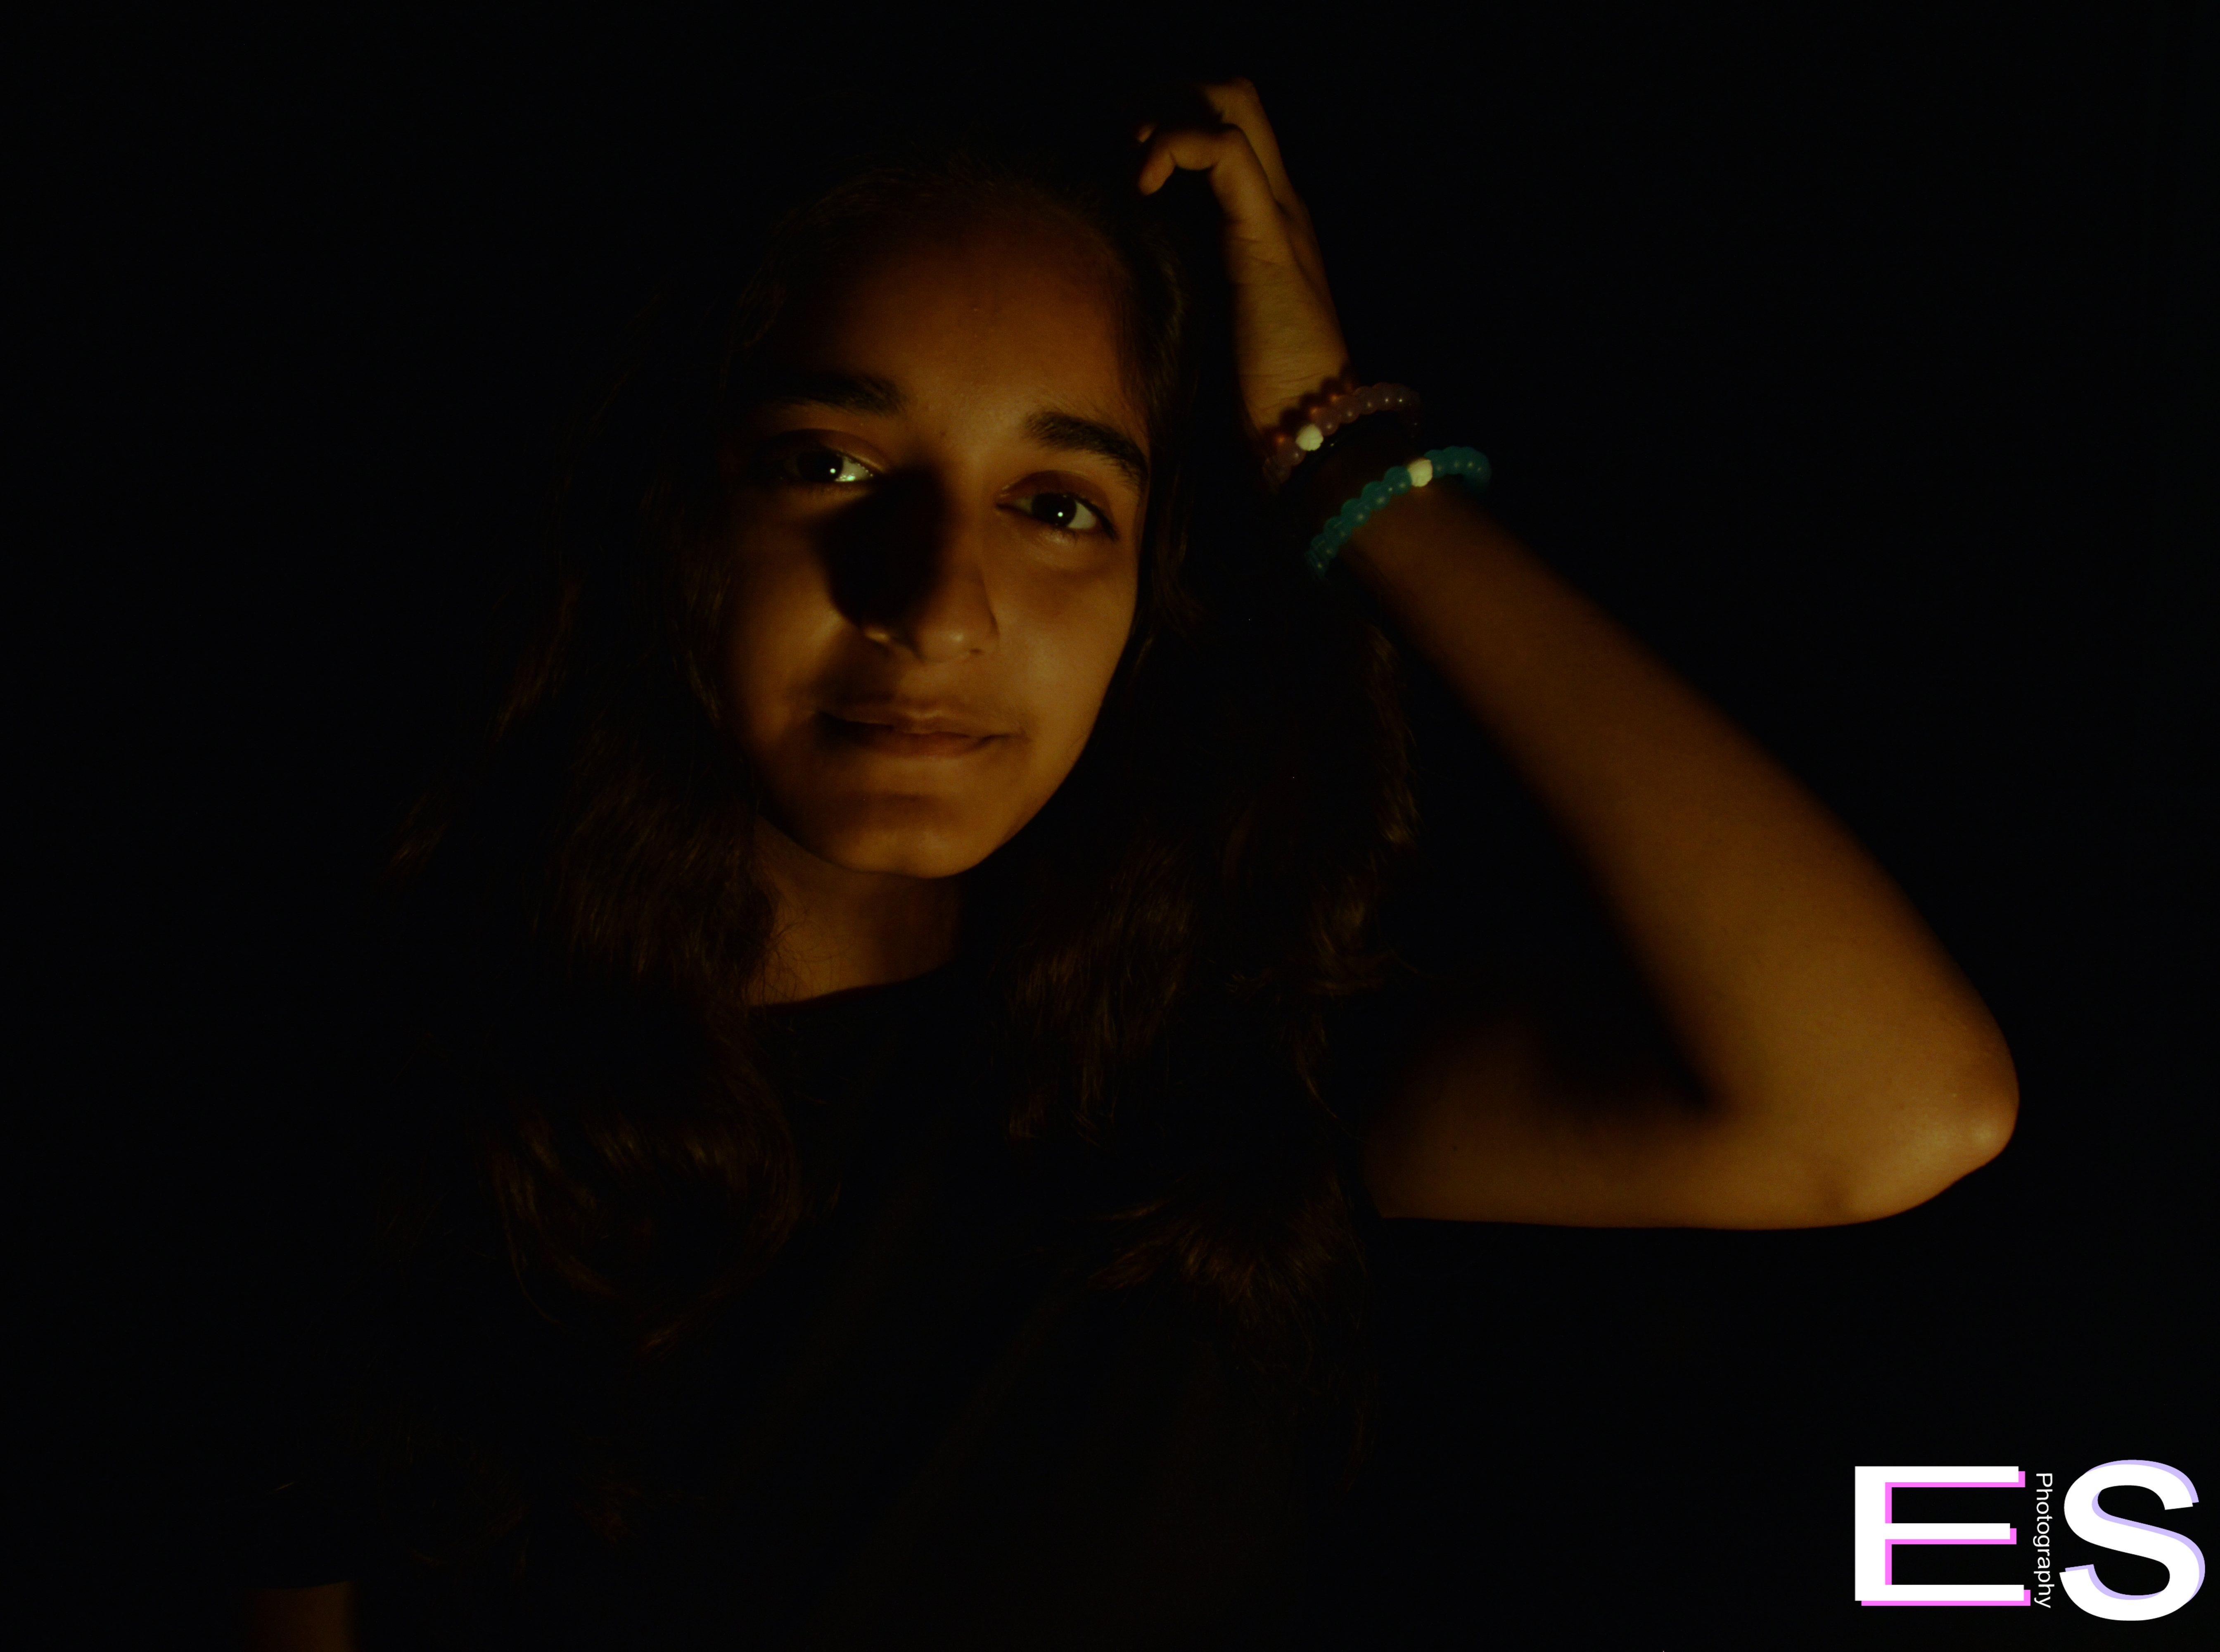
In this project we had to take pictures of each other that had a black background with no shadows. We made the shutter speed slower in order to let more light in. The easy part was being creative when taking the pictures. The hard part was getting rid of all the shadows. You can see the rest of my photos Here.