Photos With Dark Background

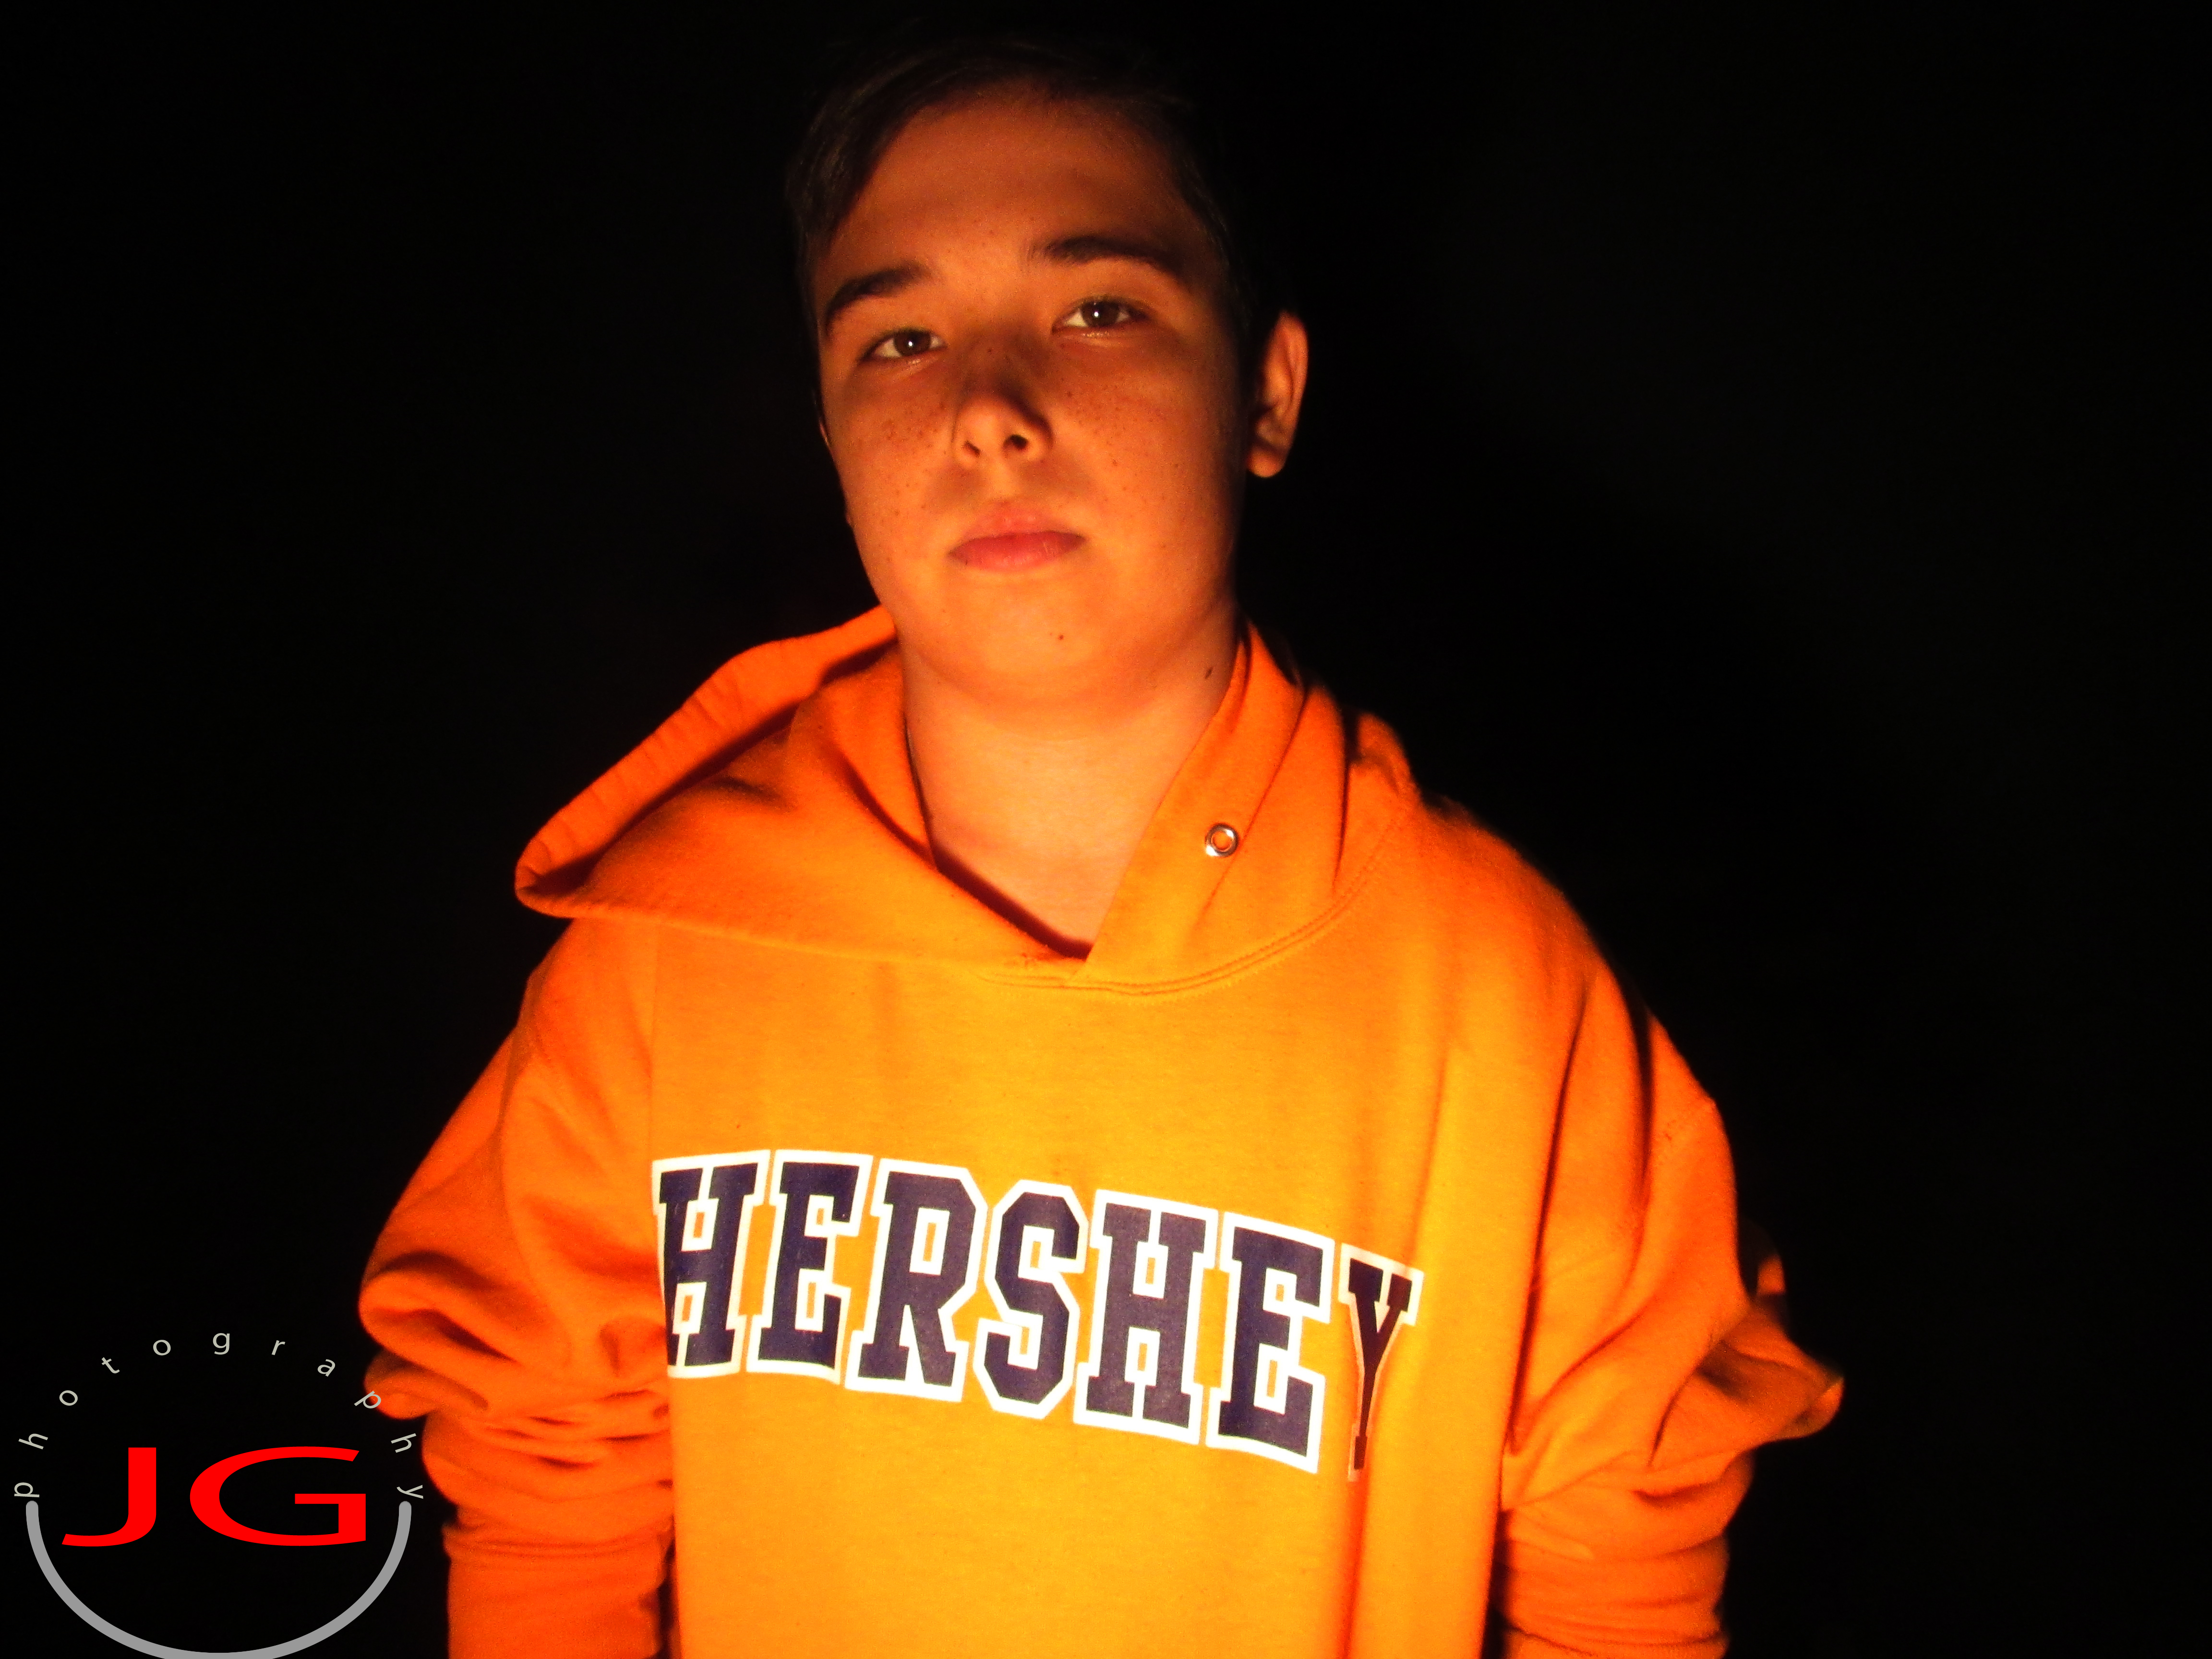
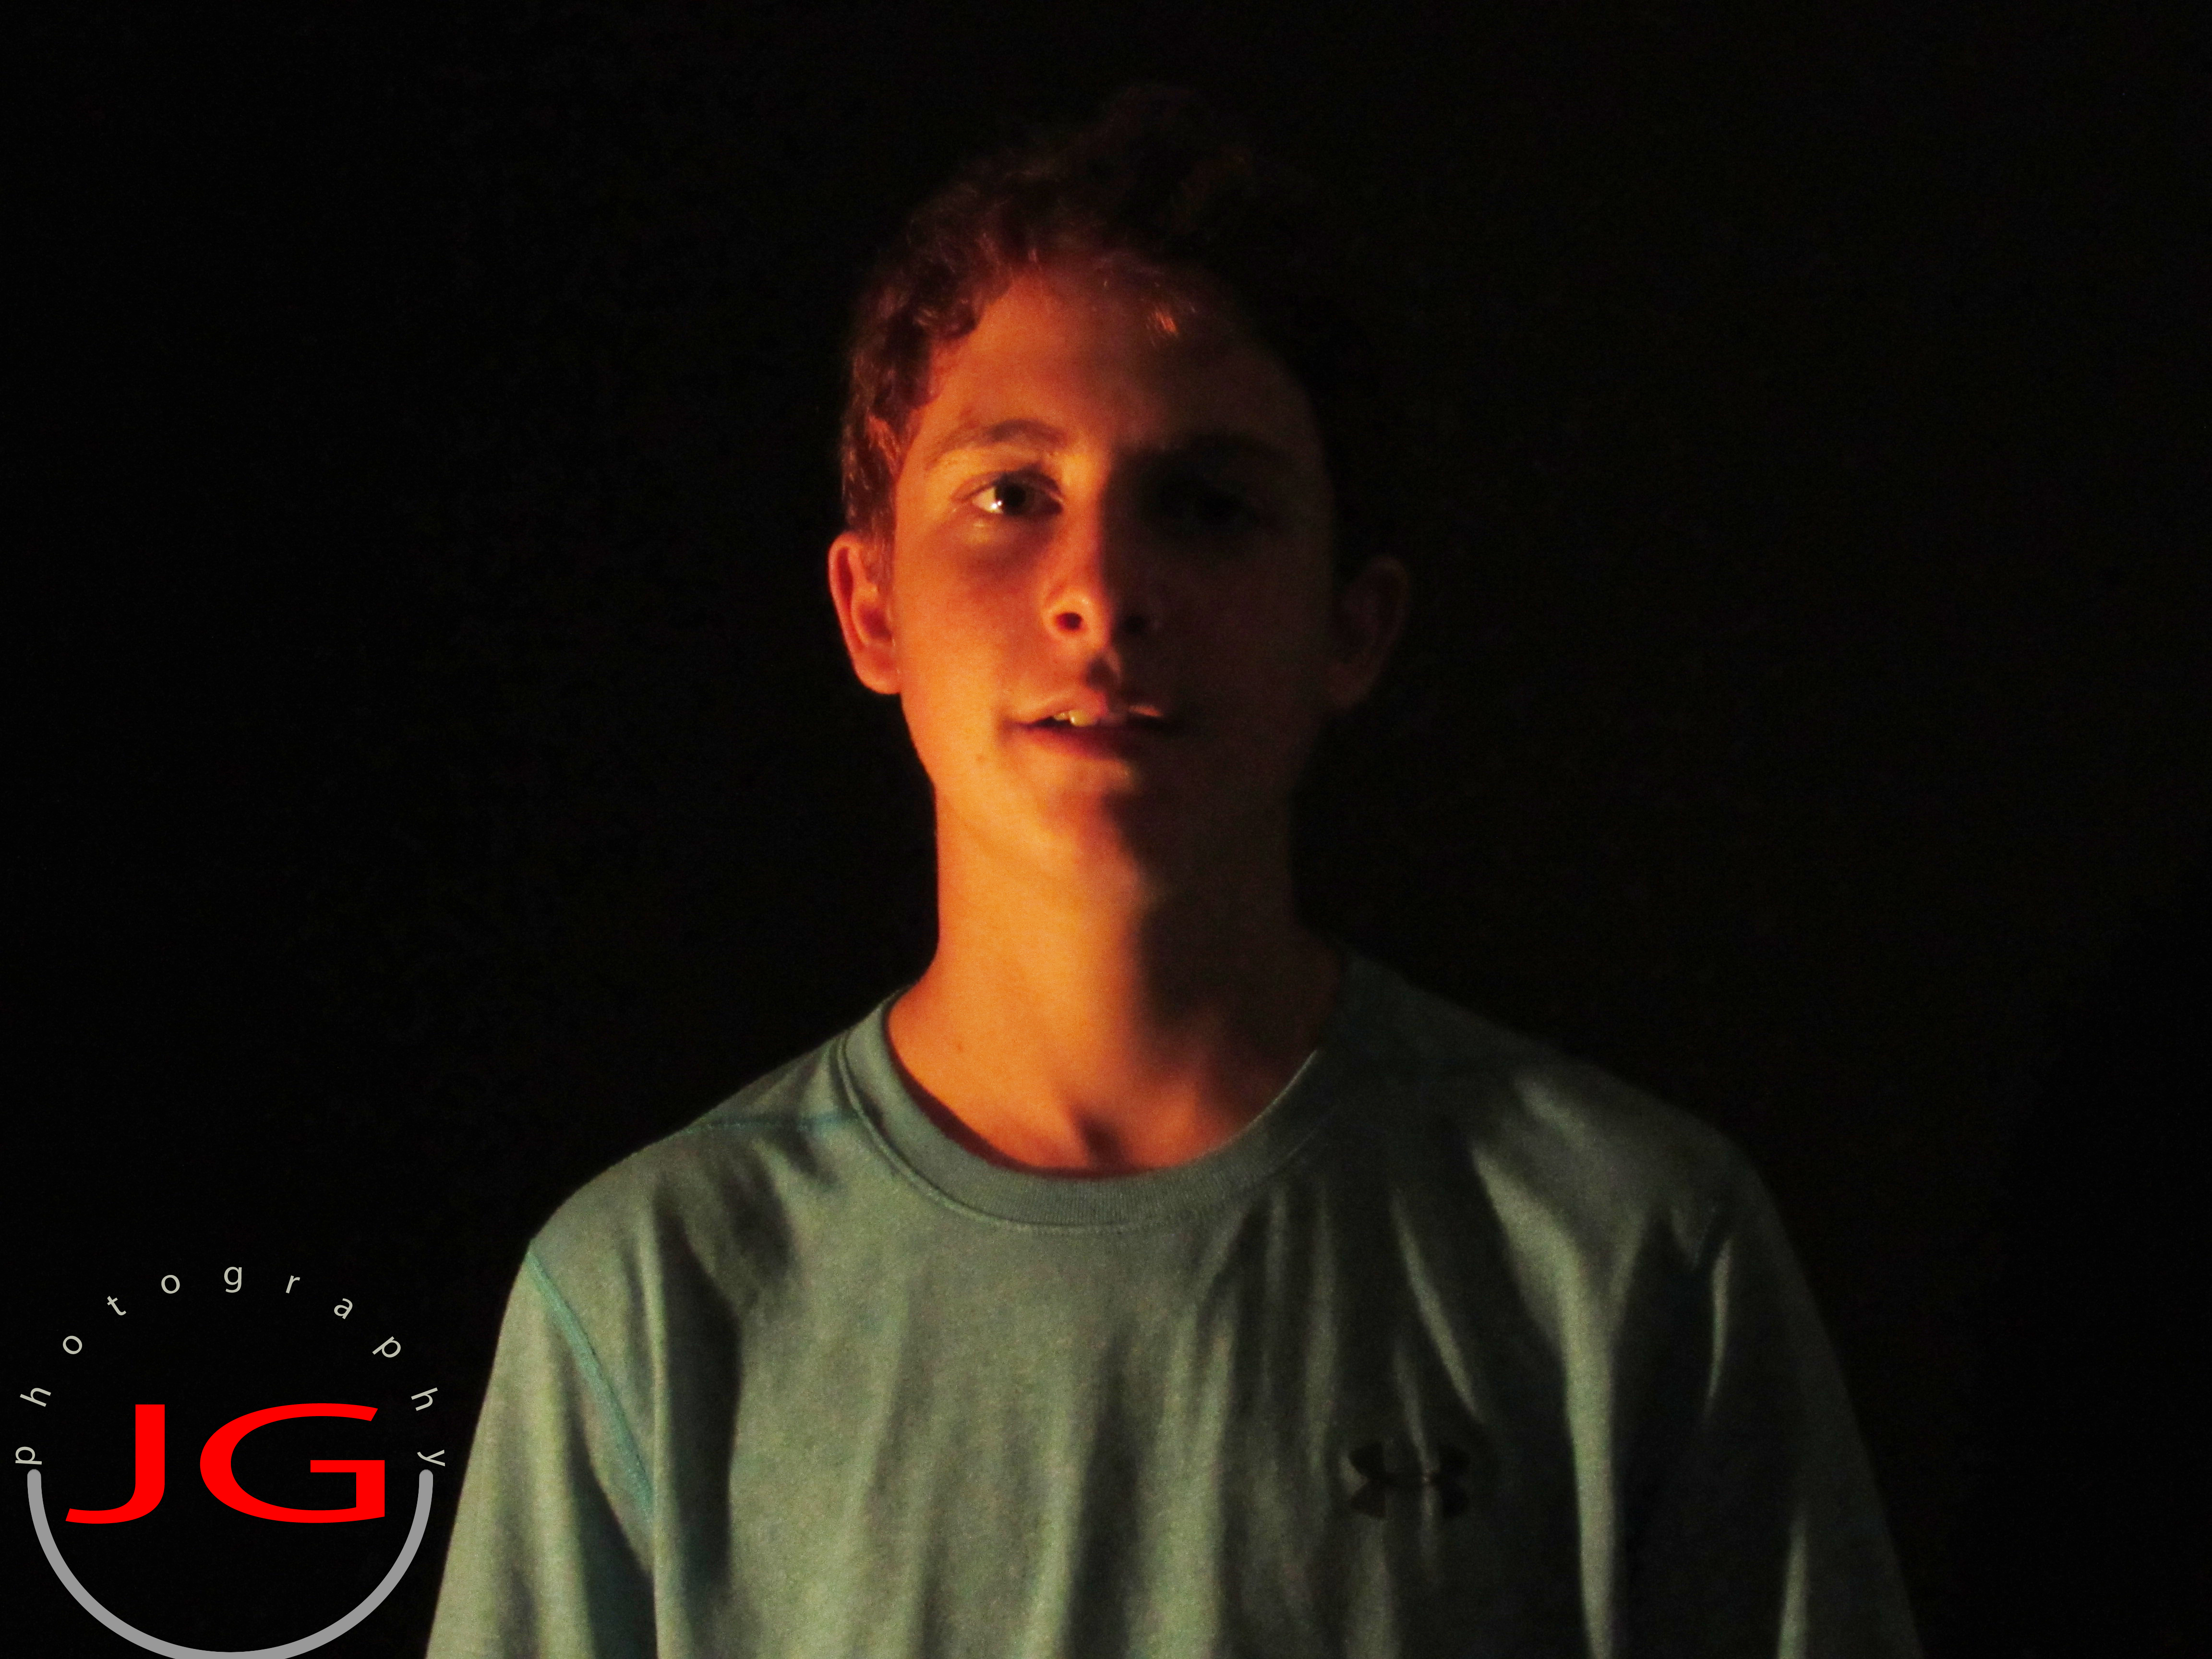
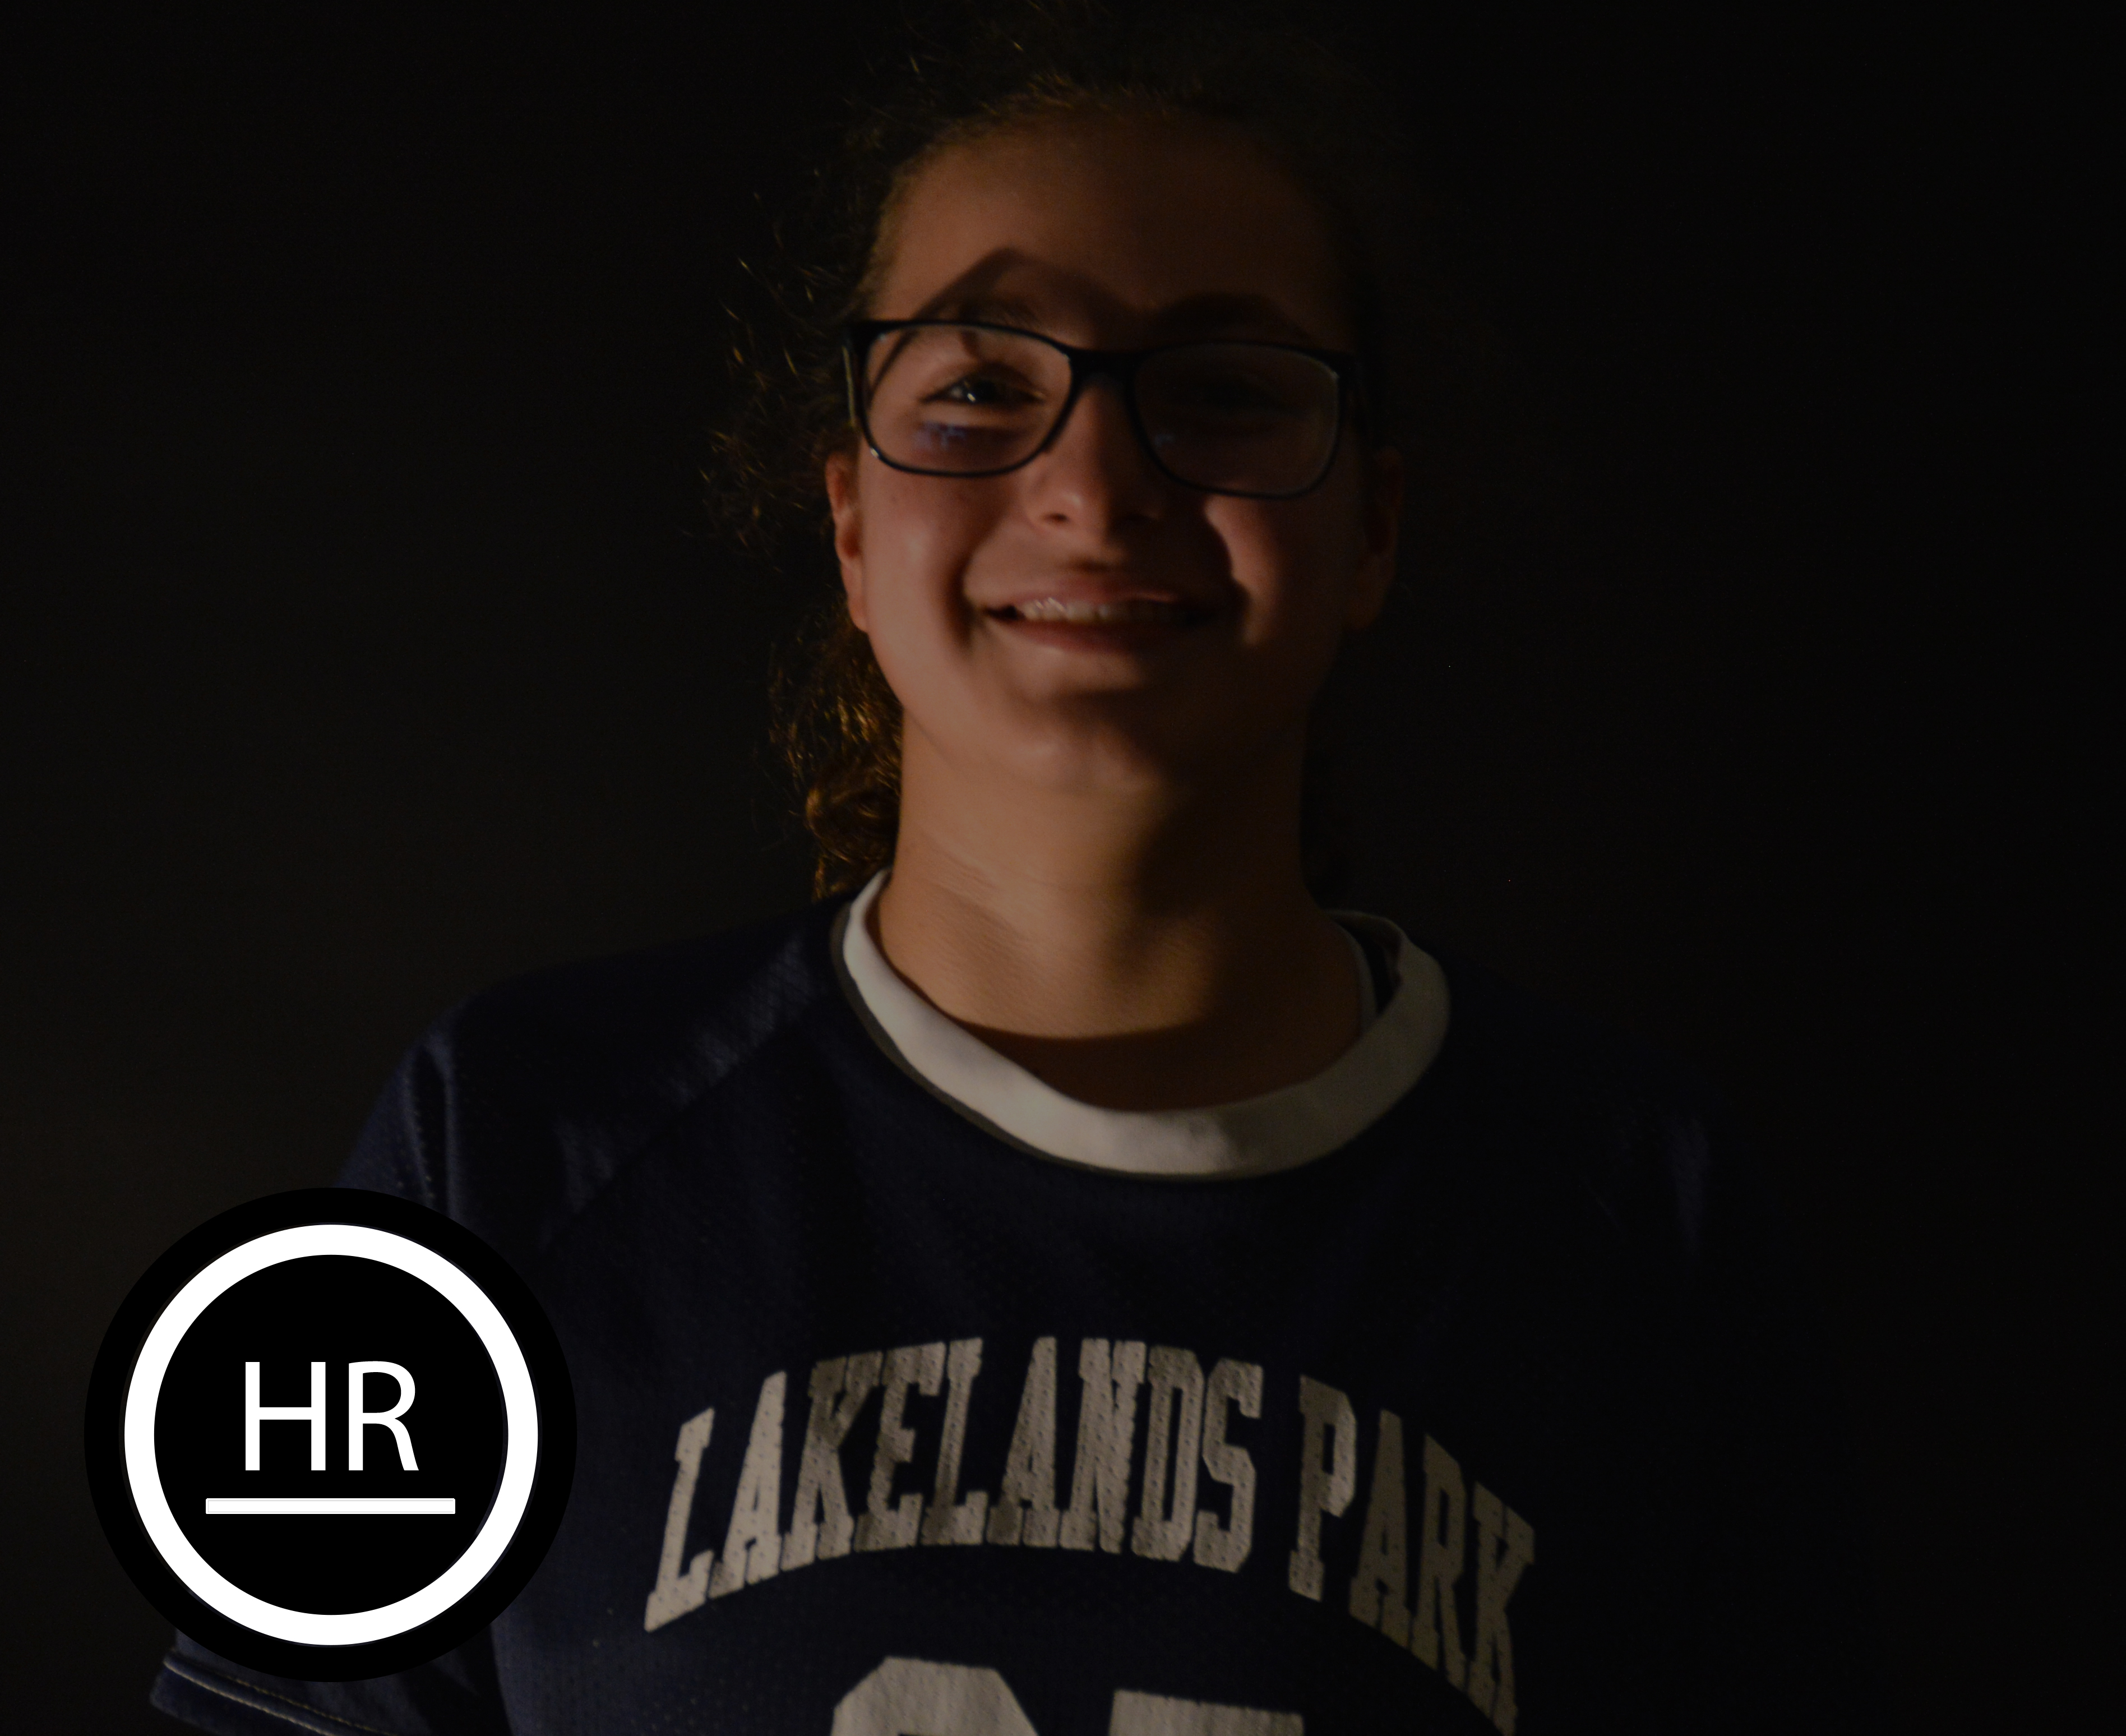
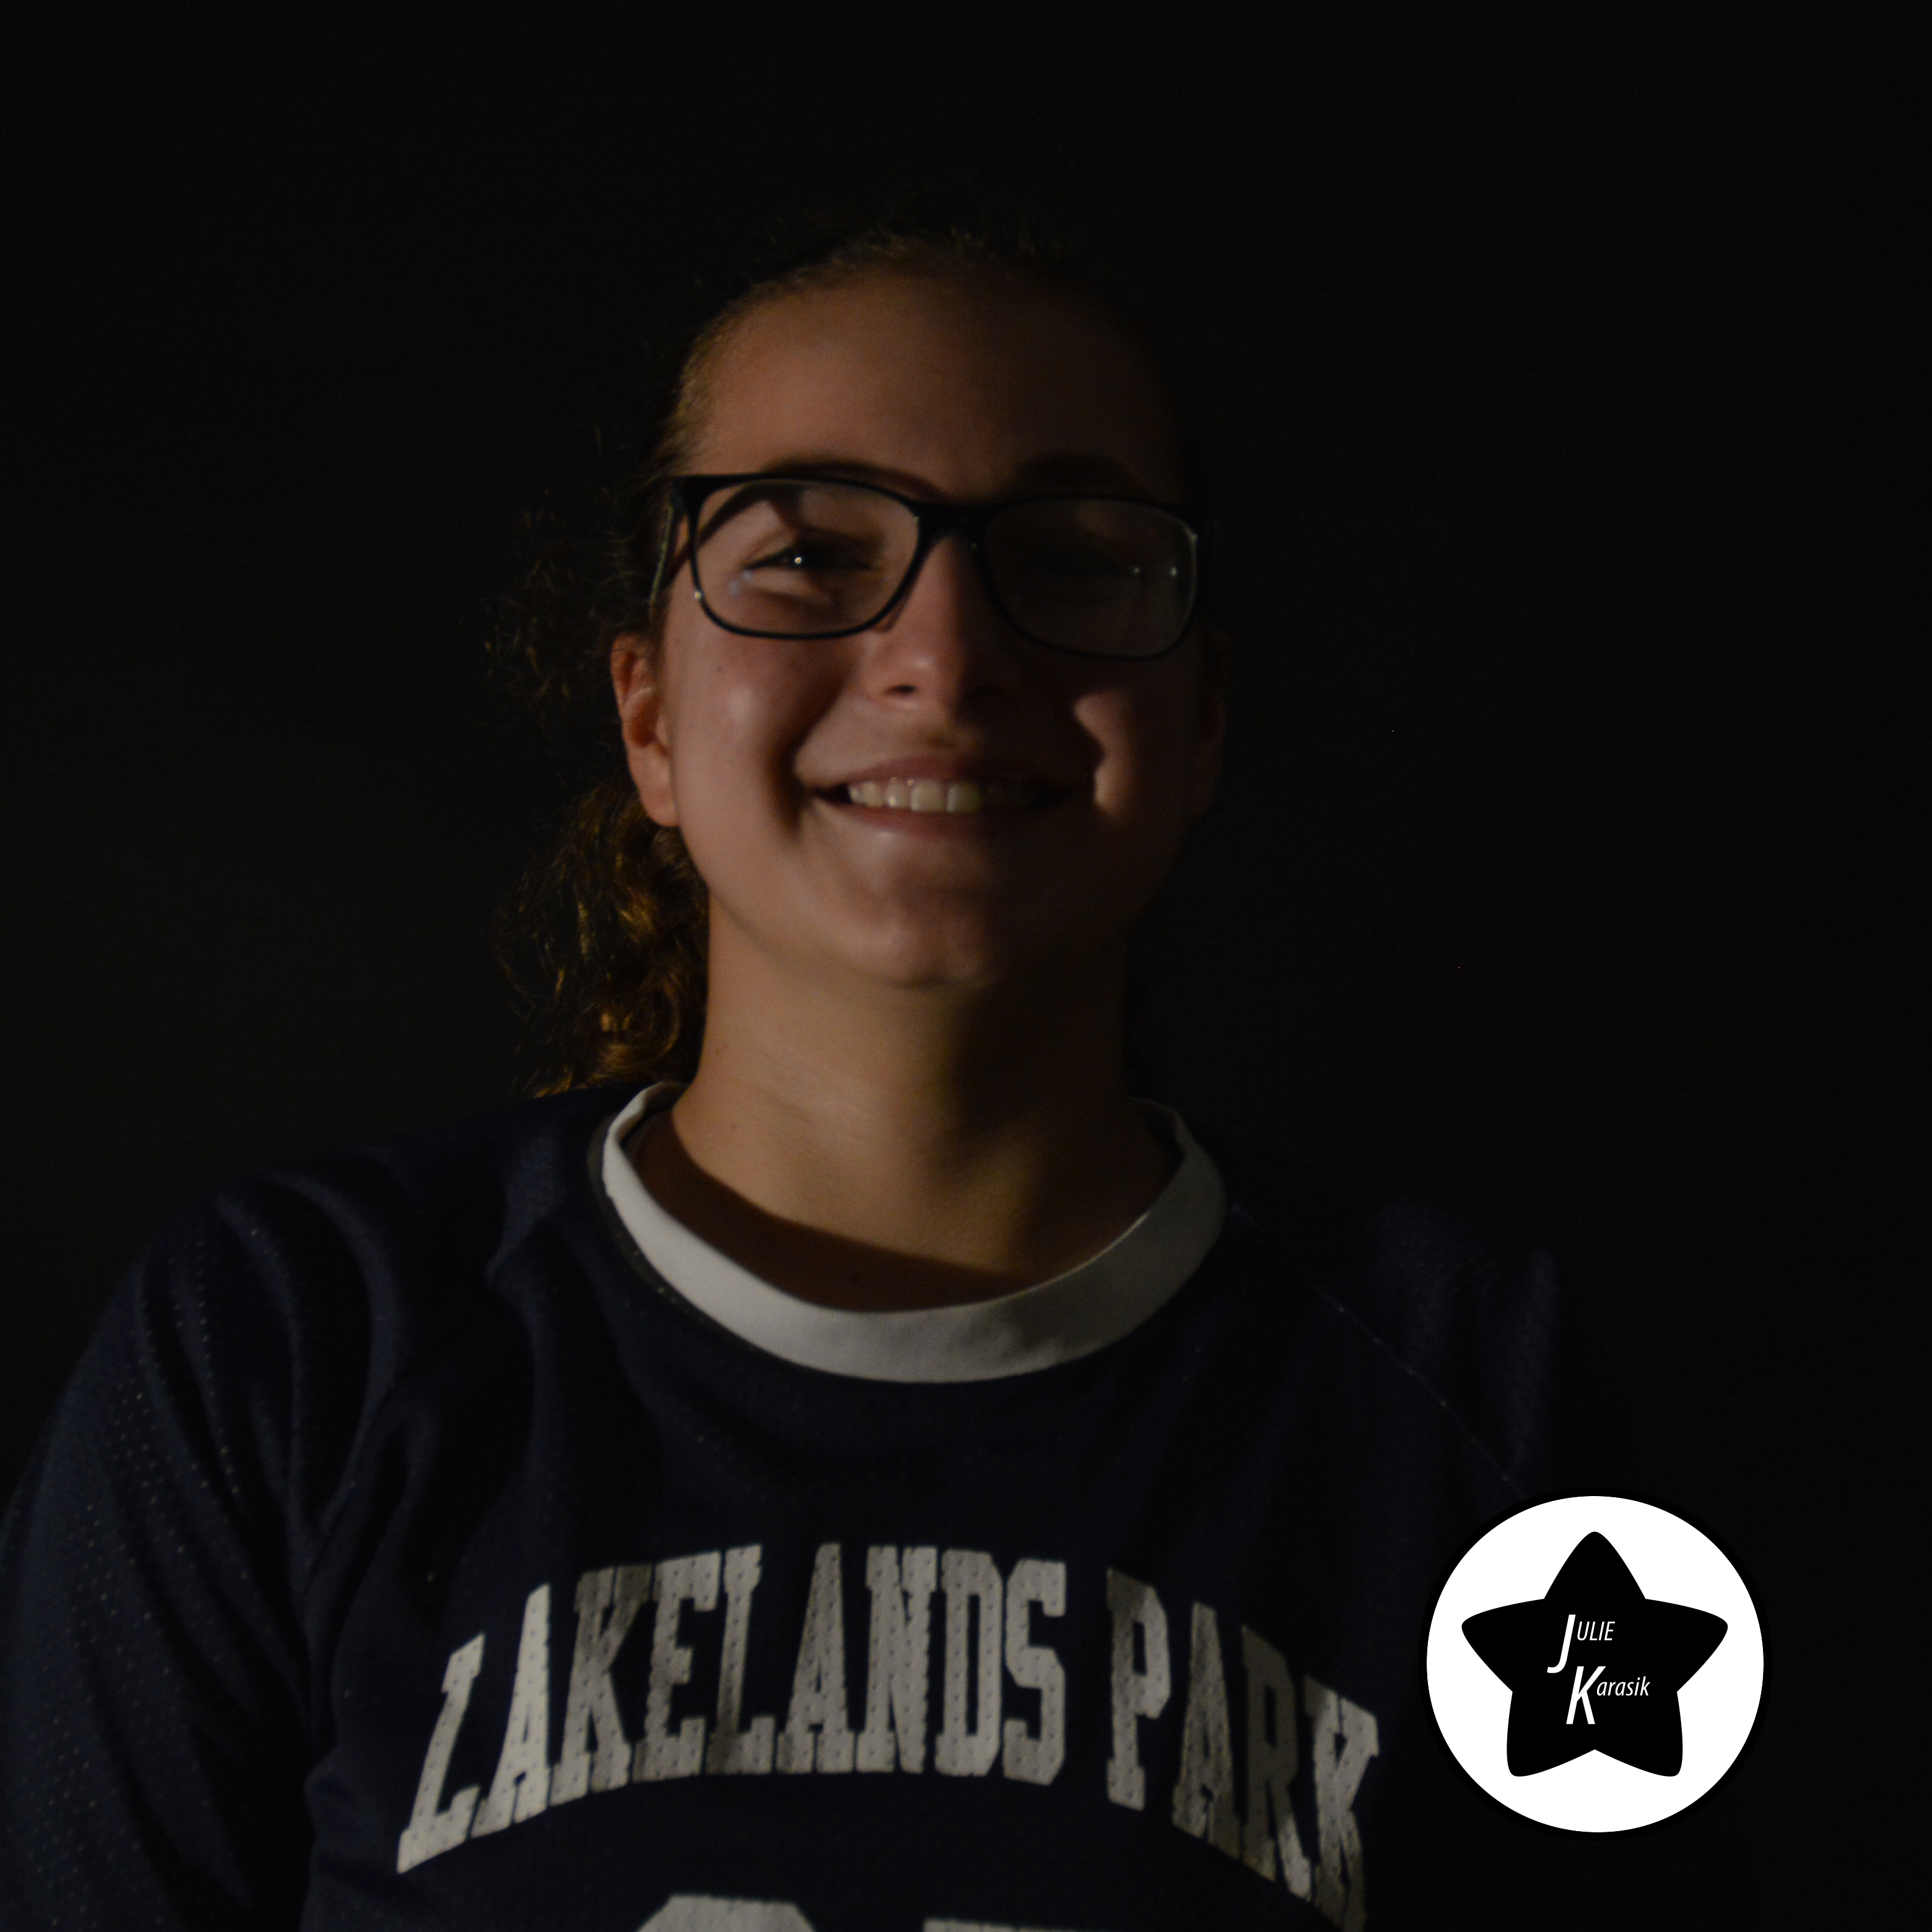
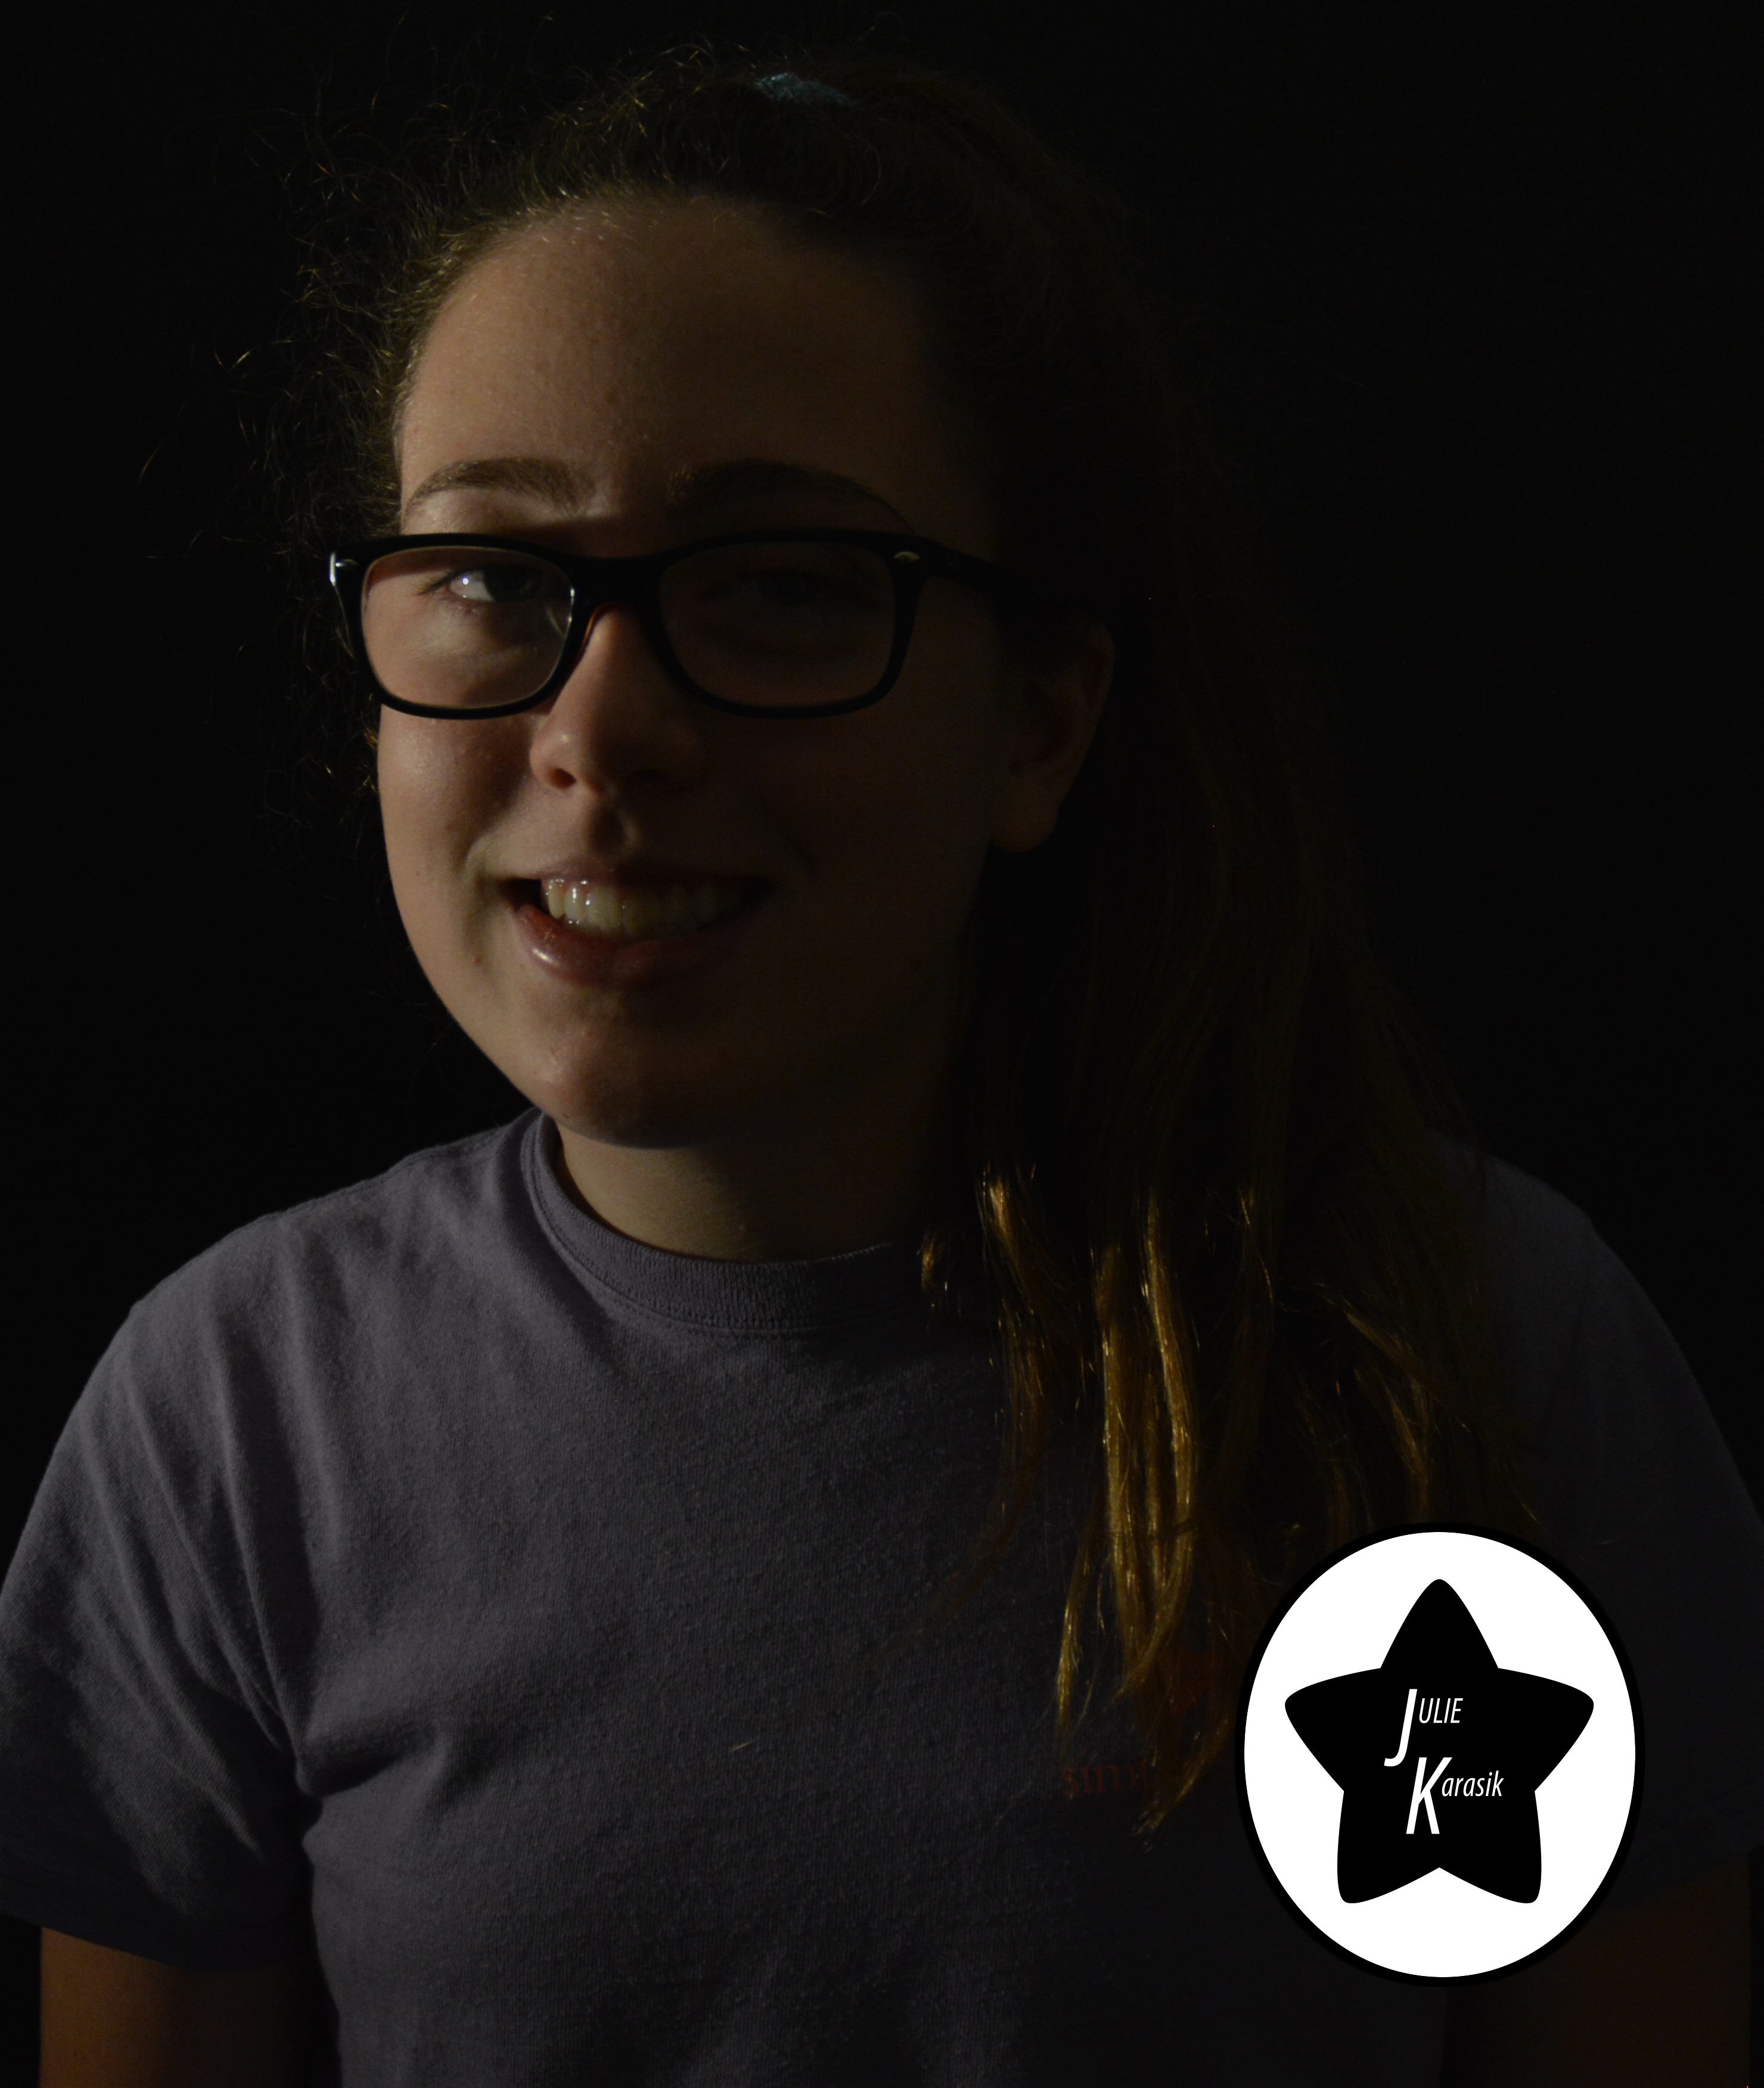
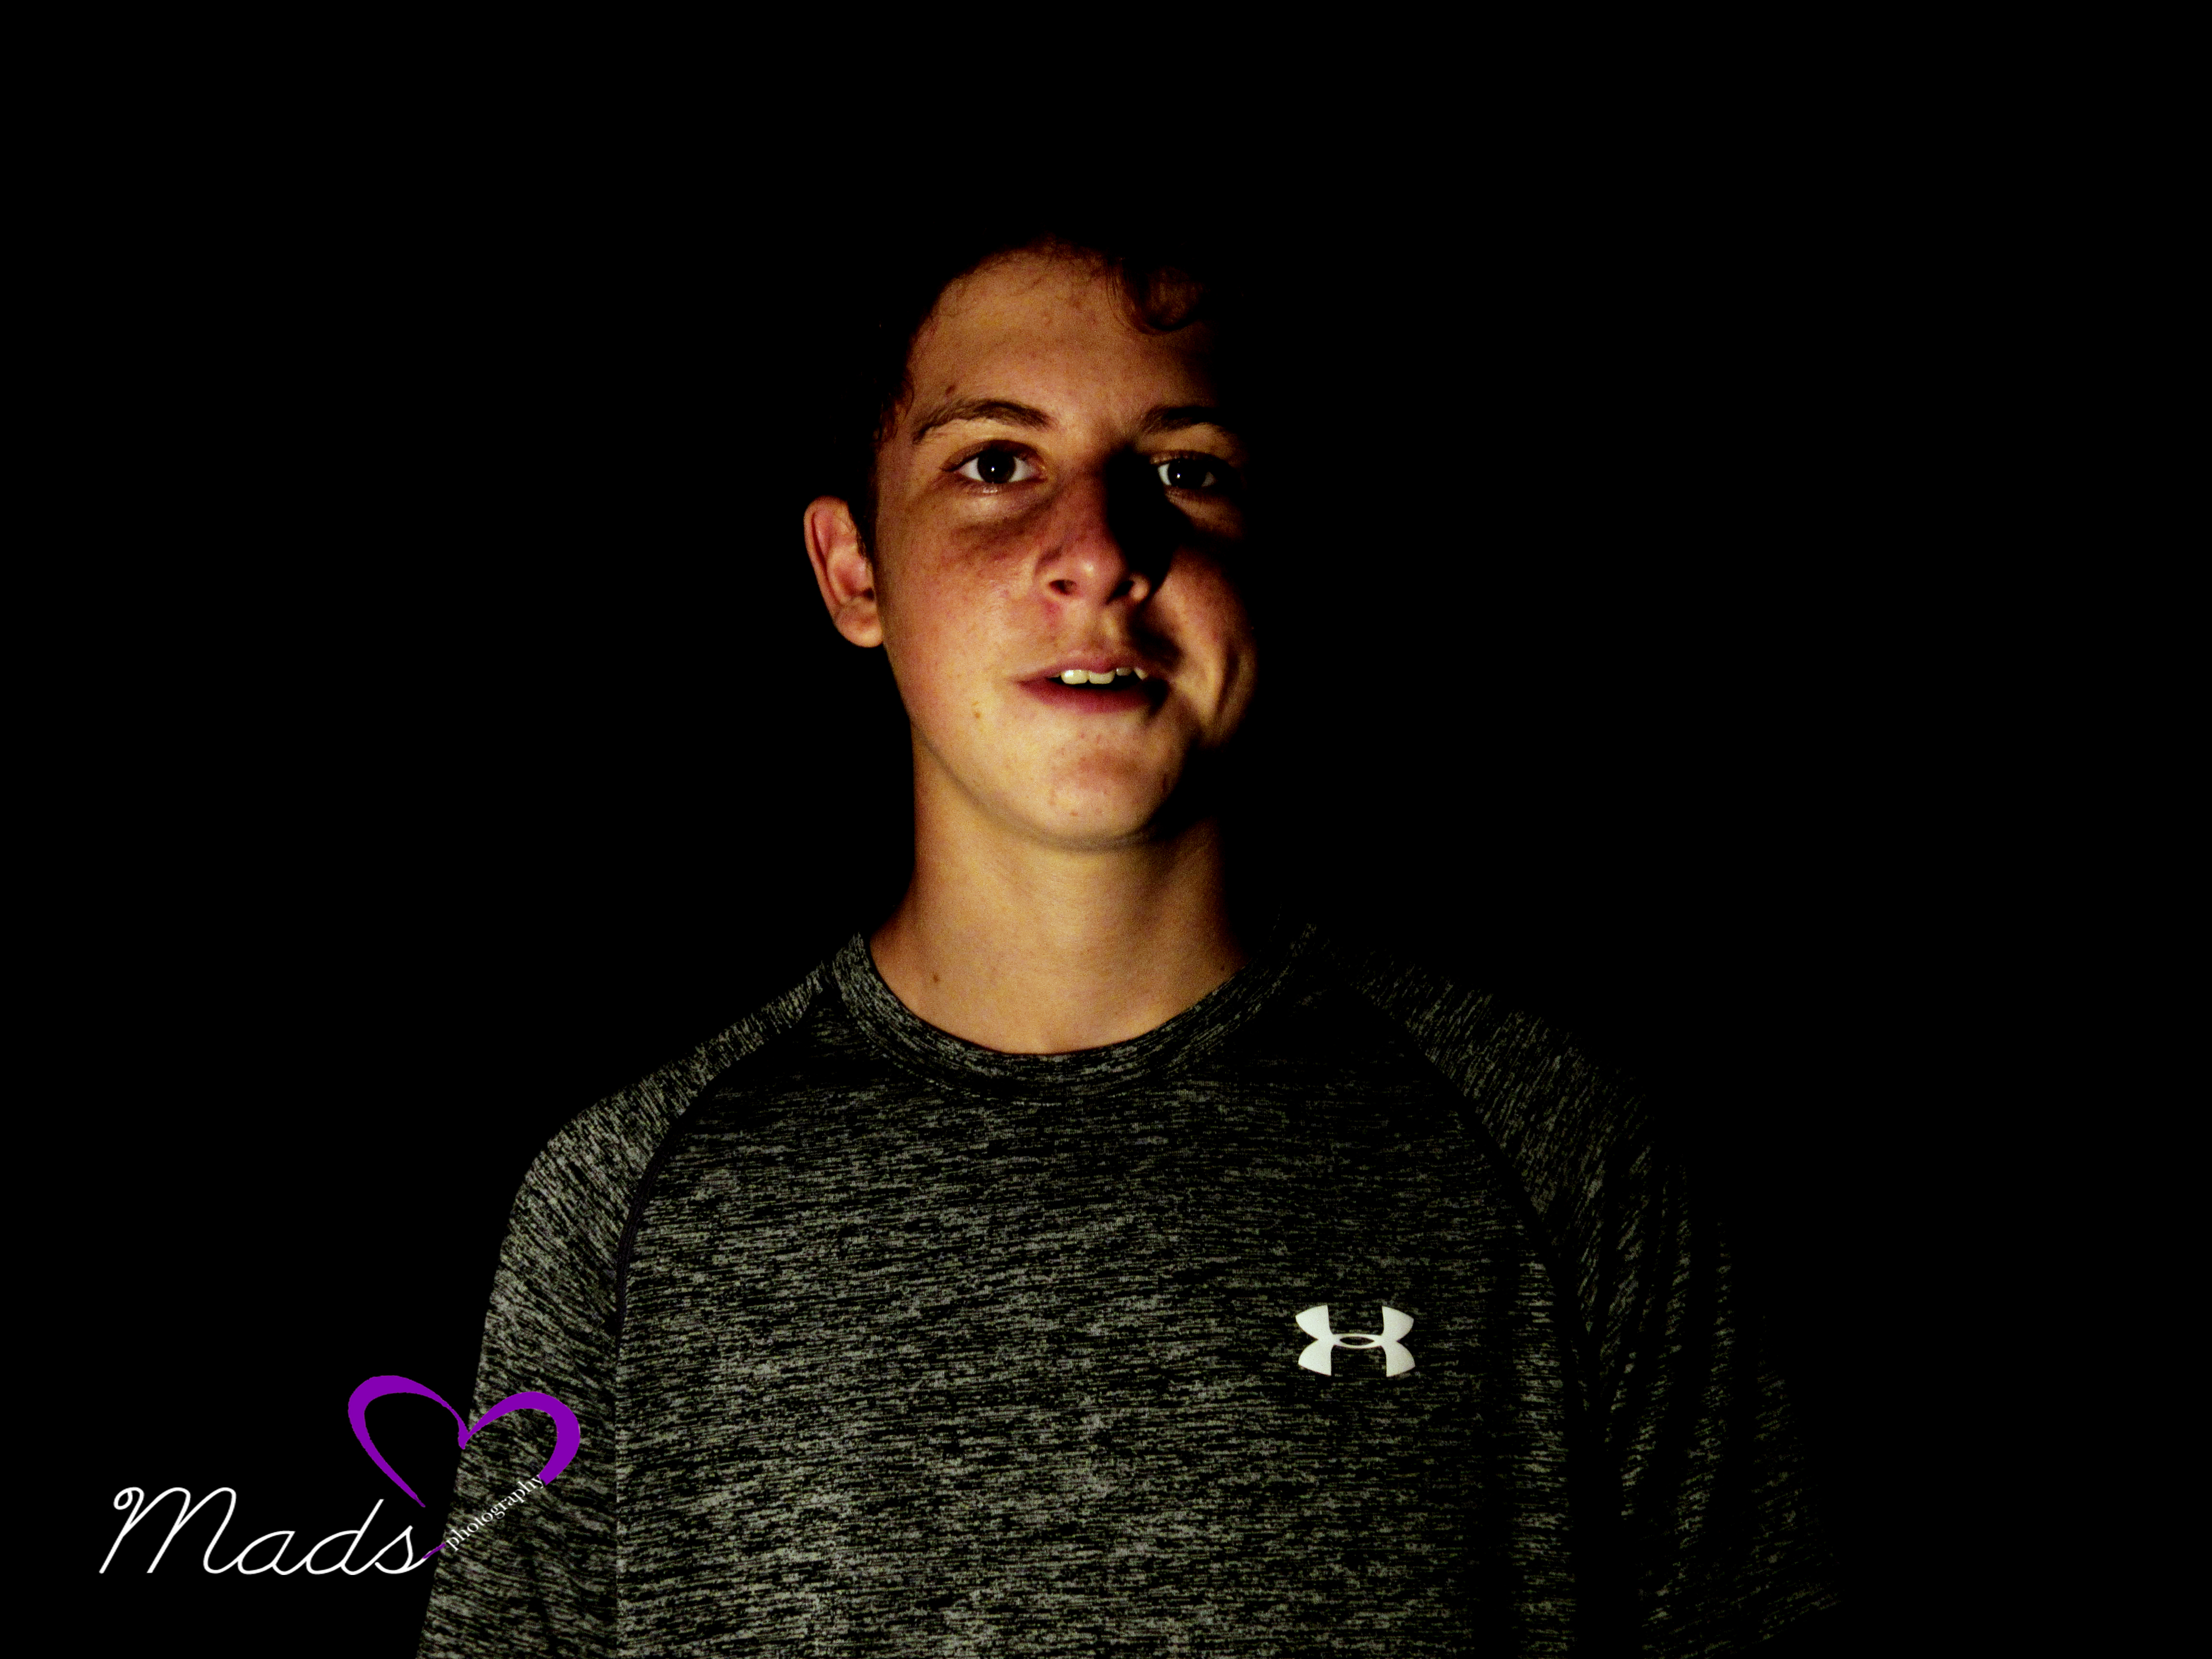
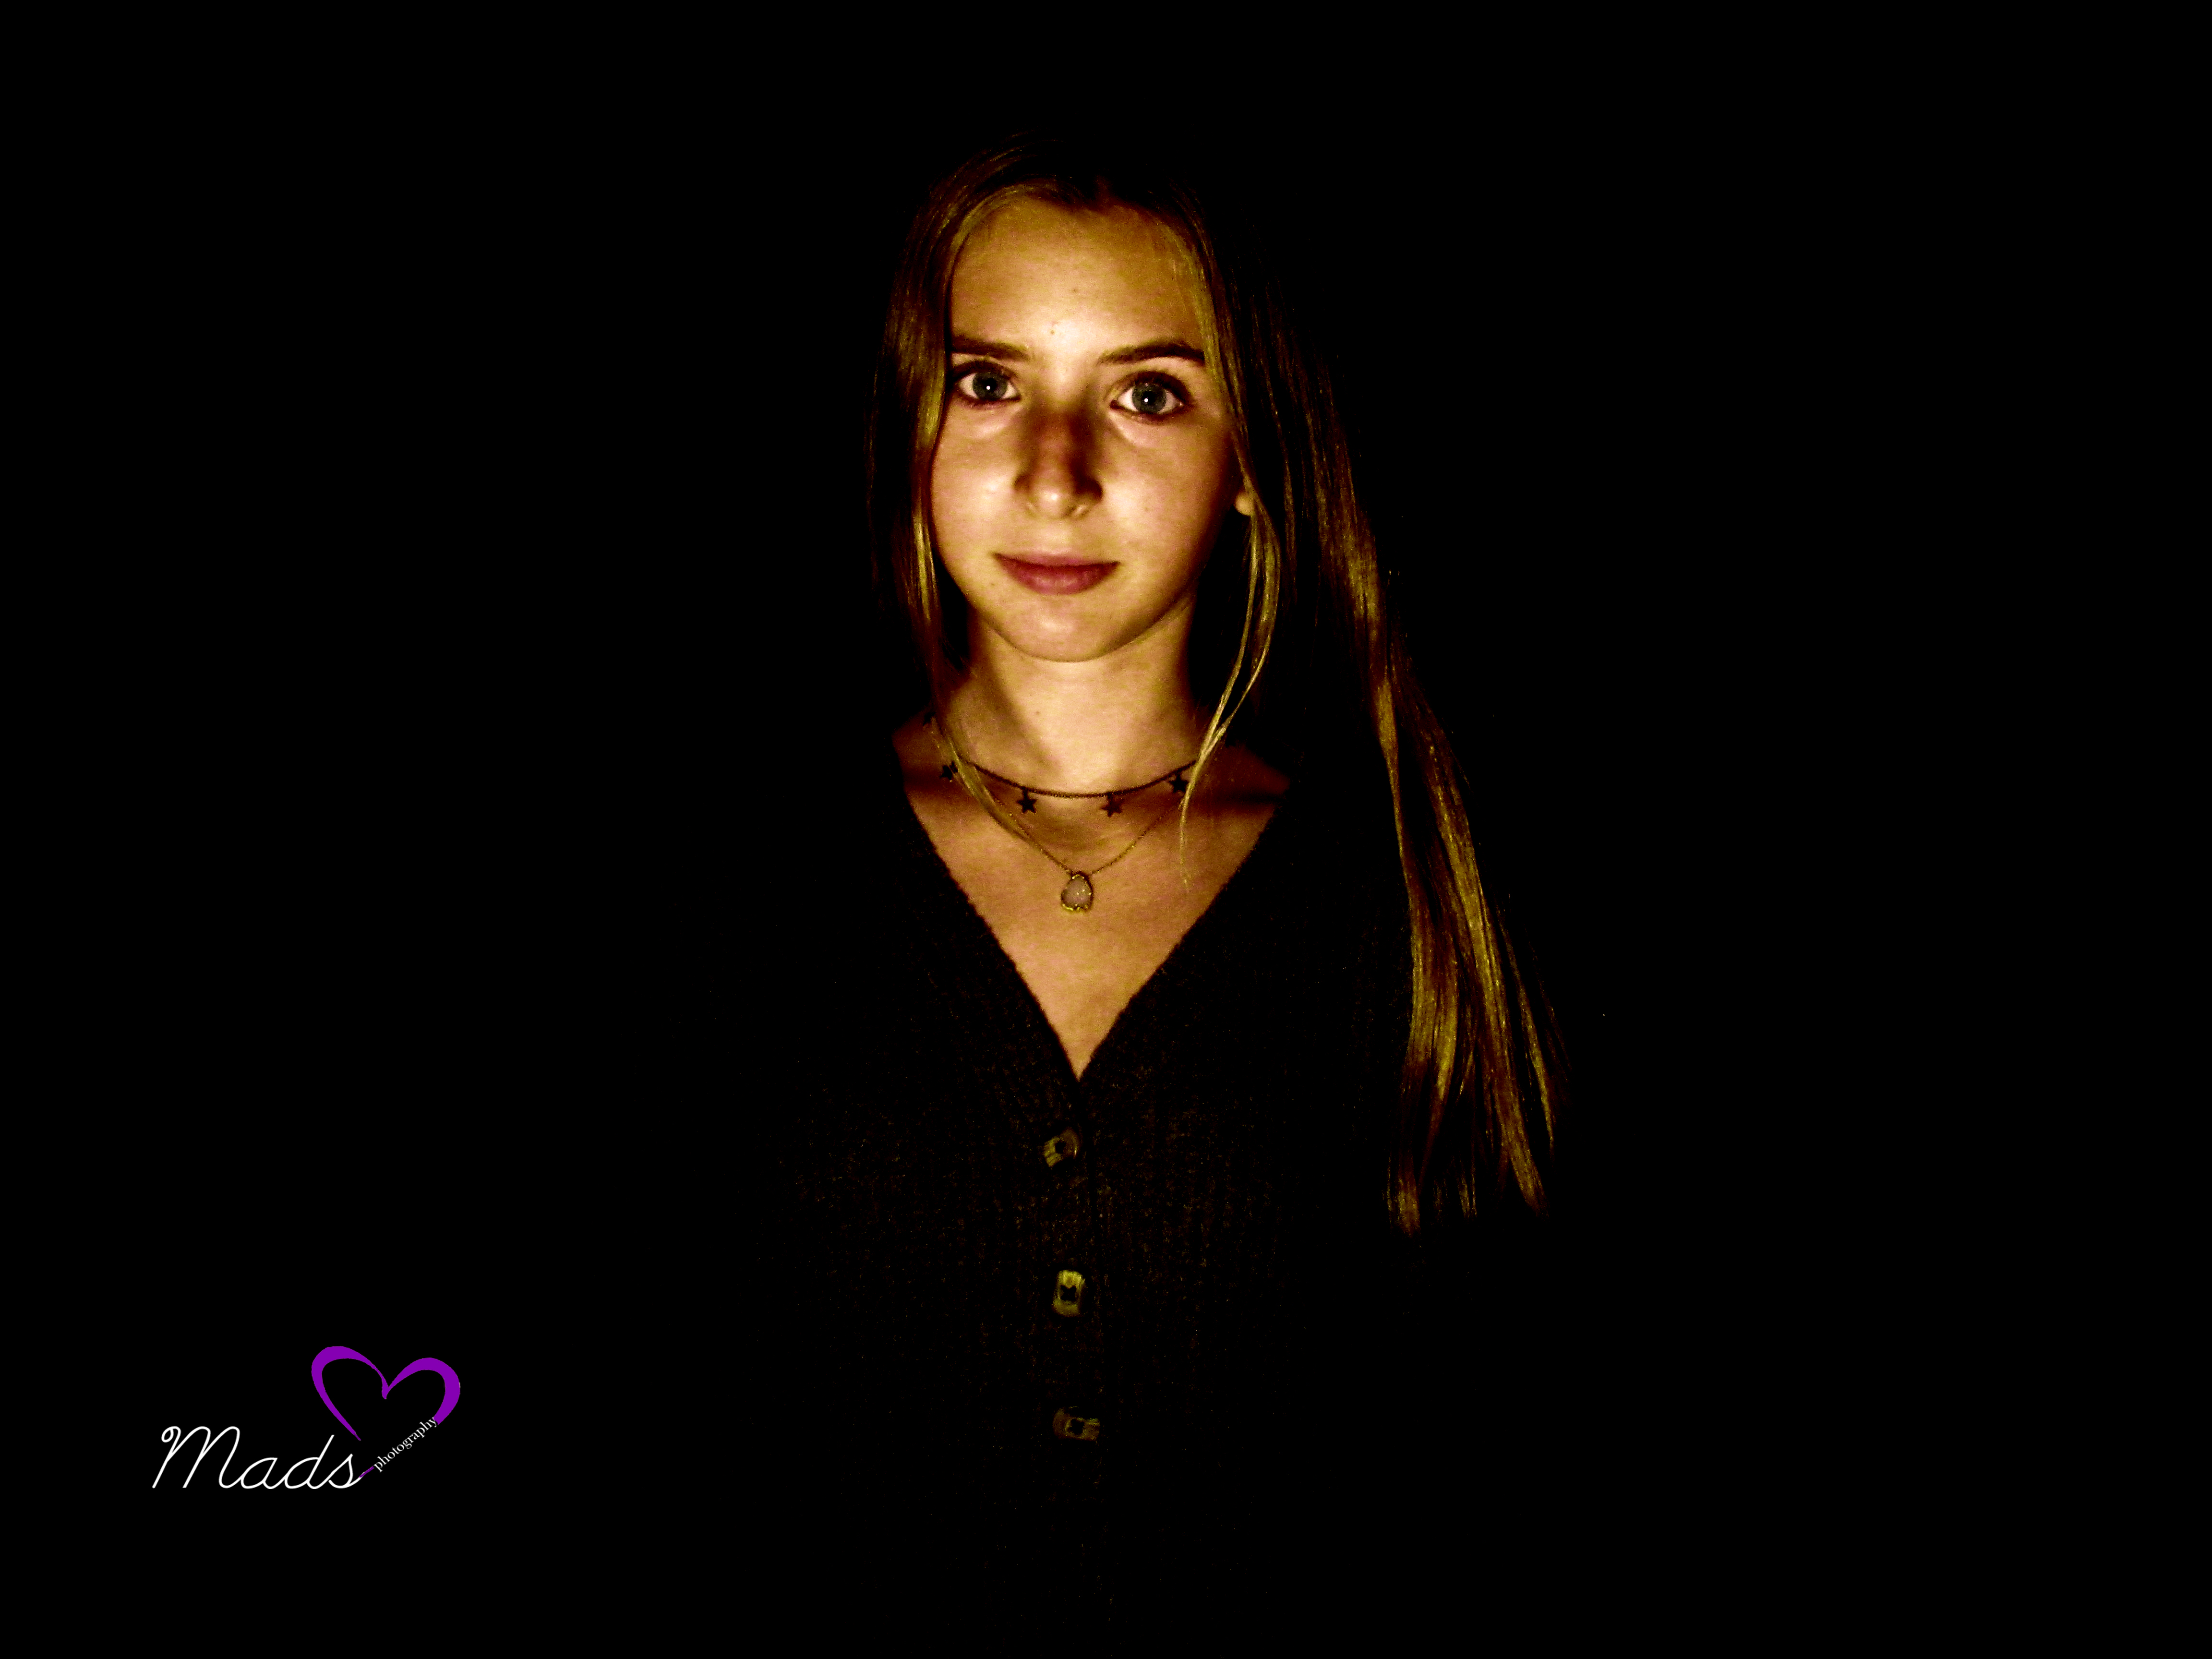
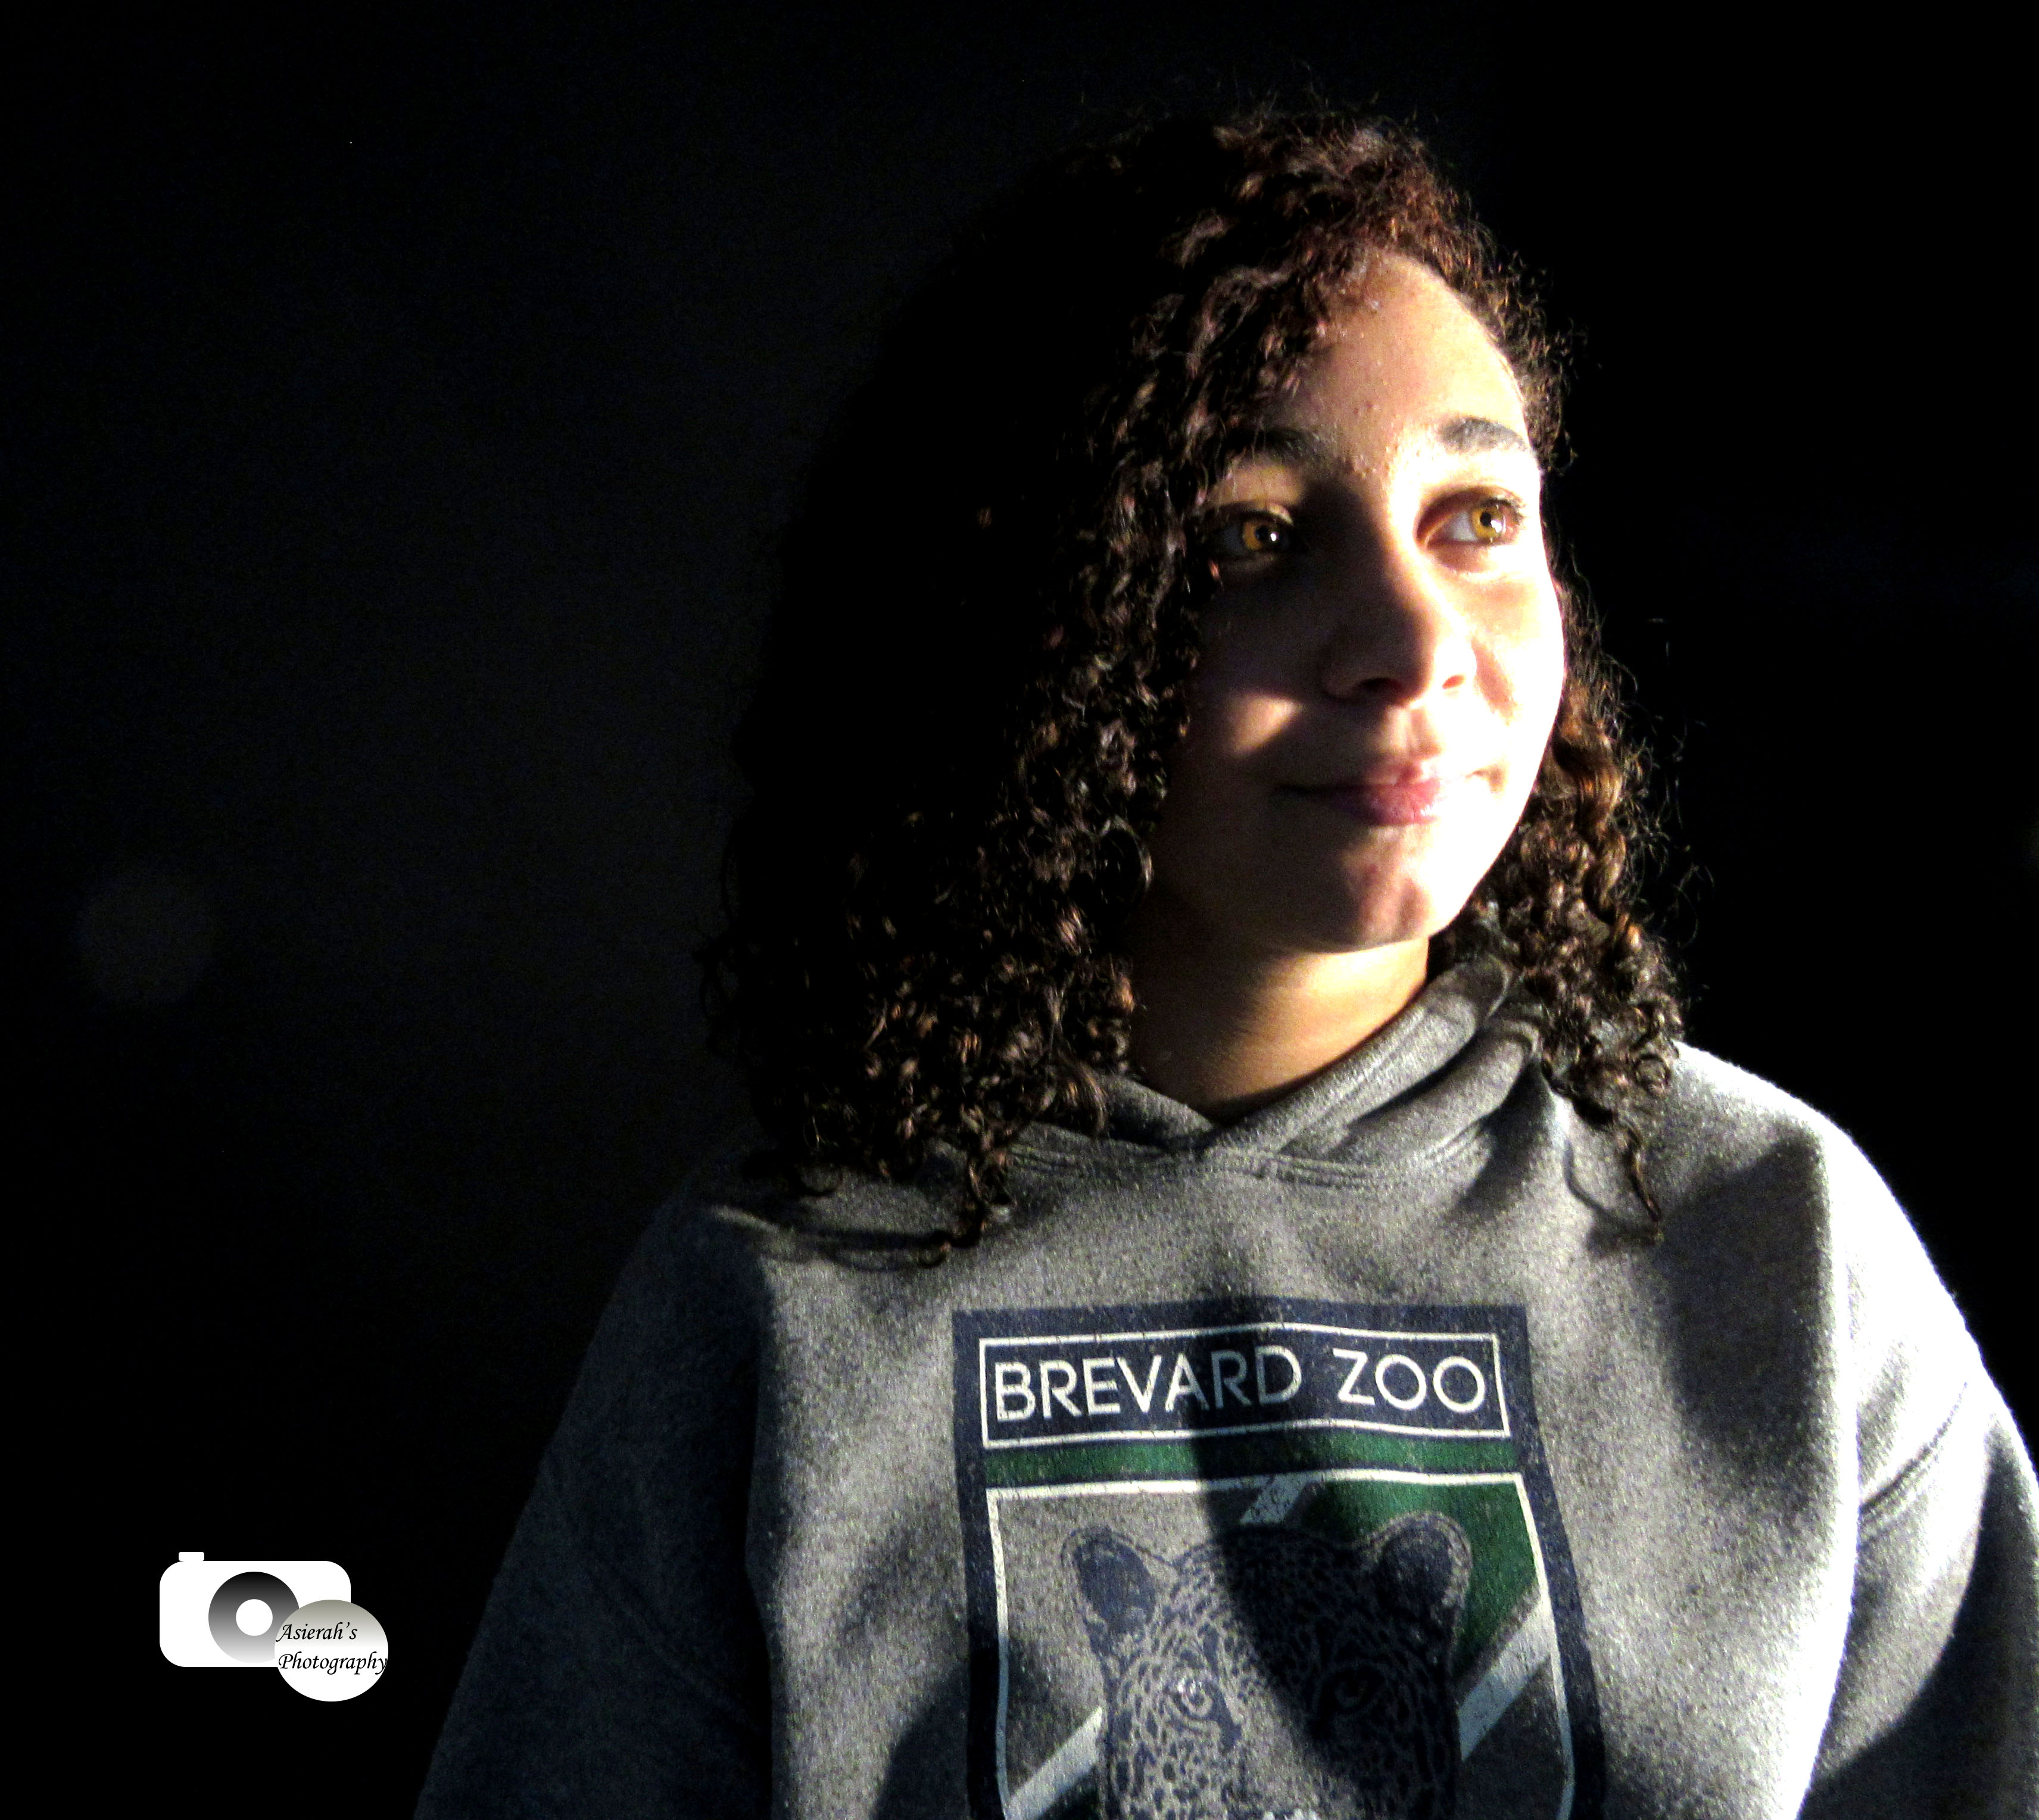
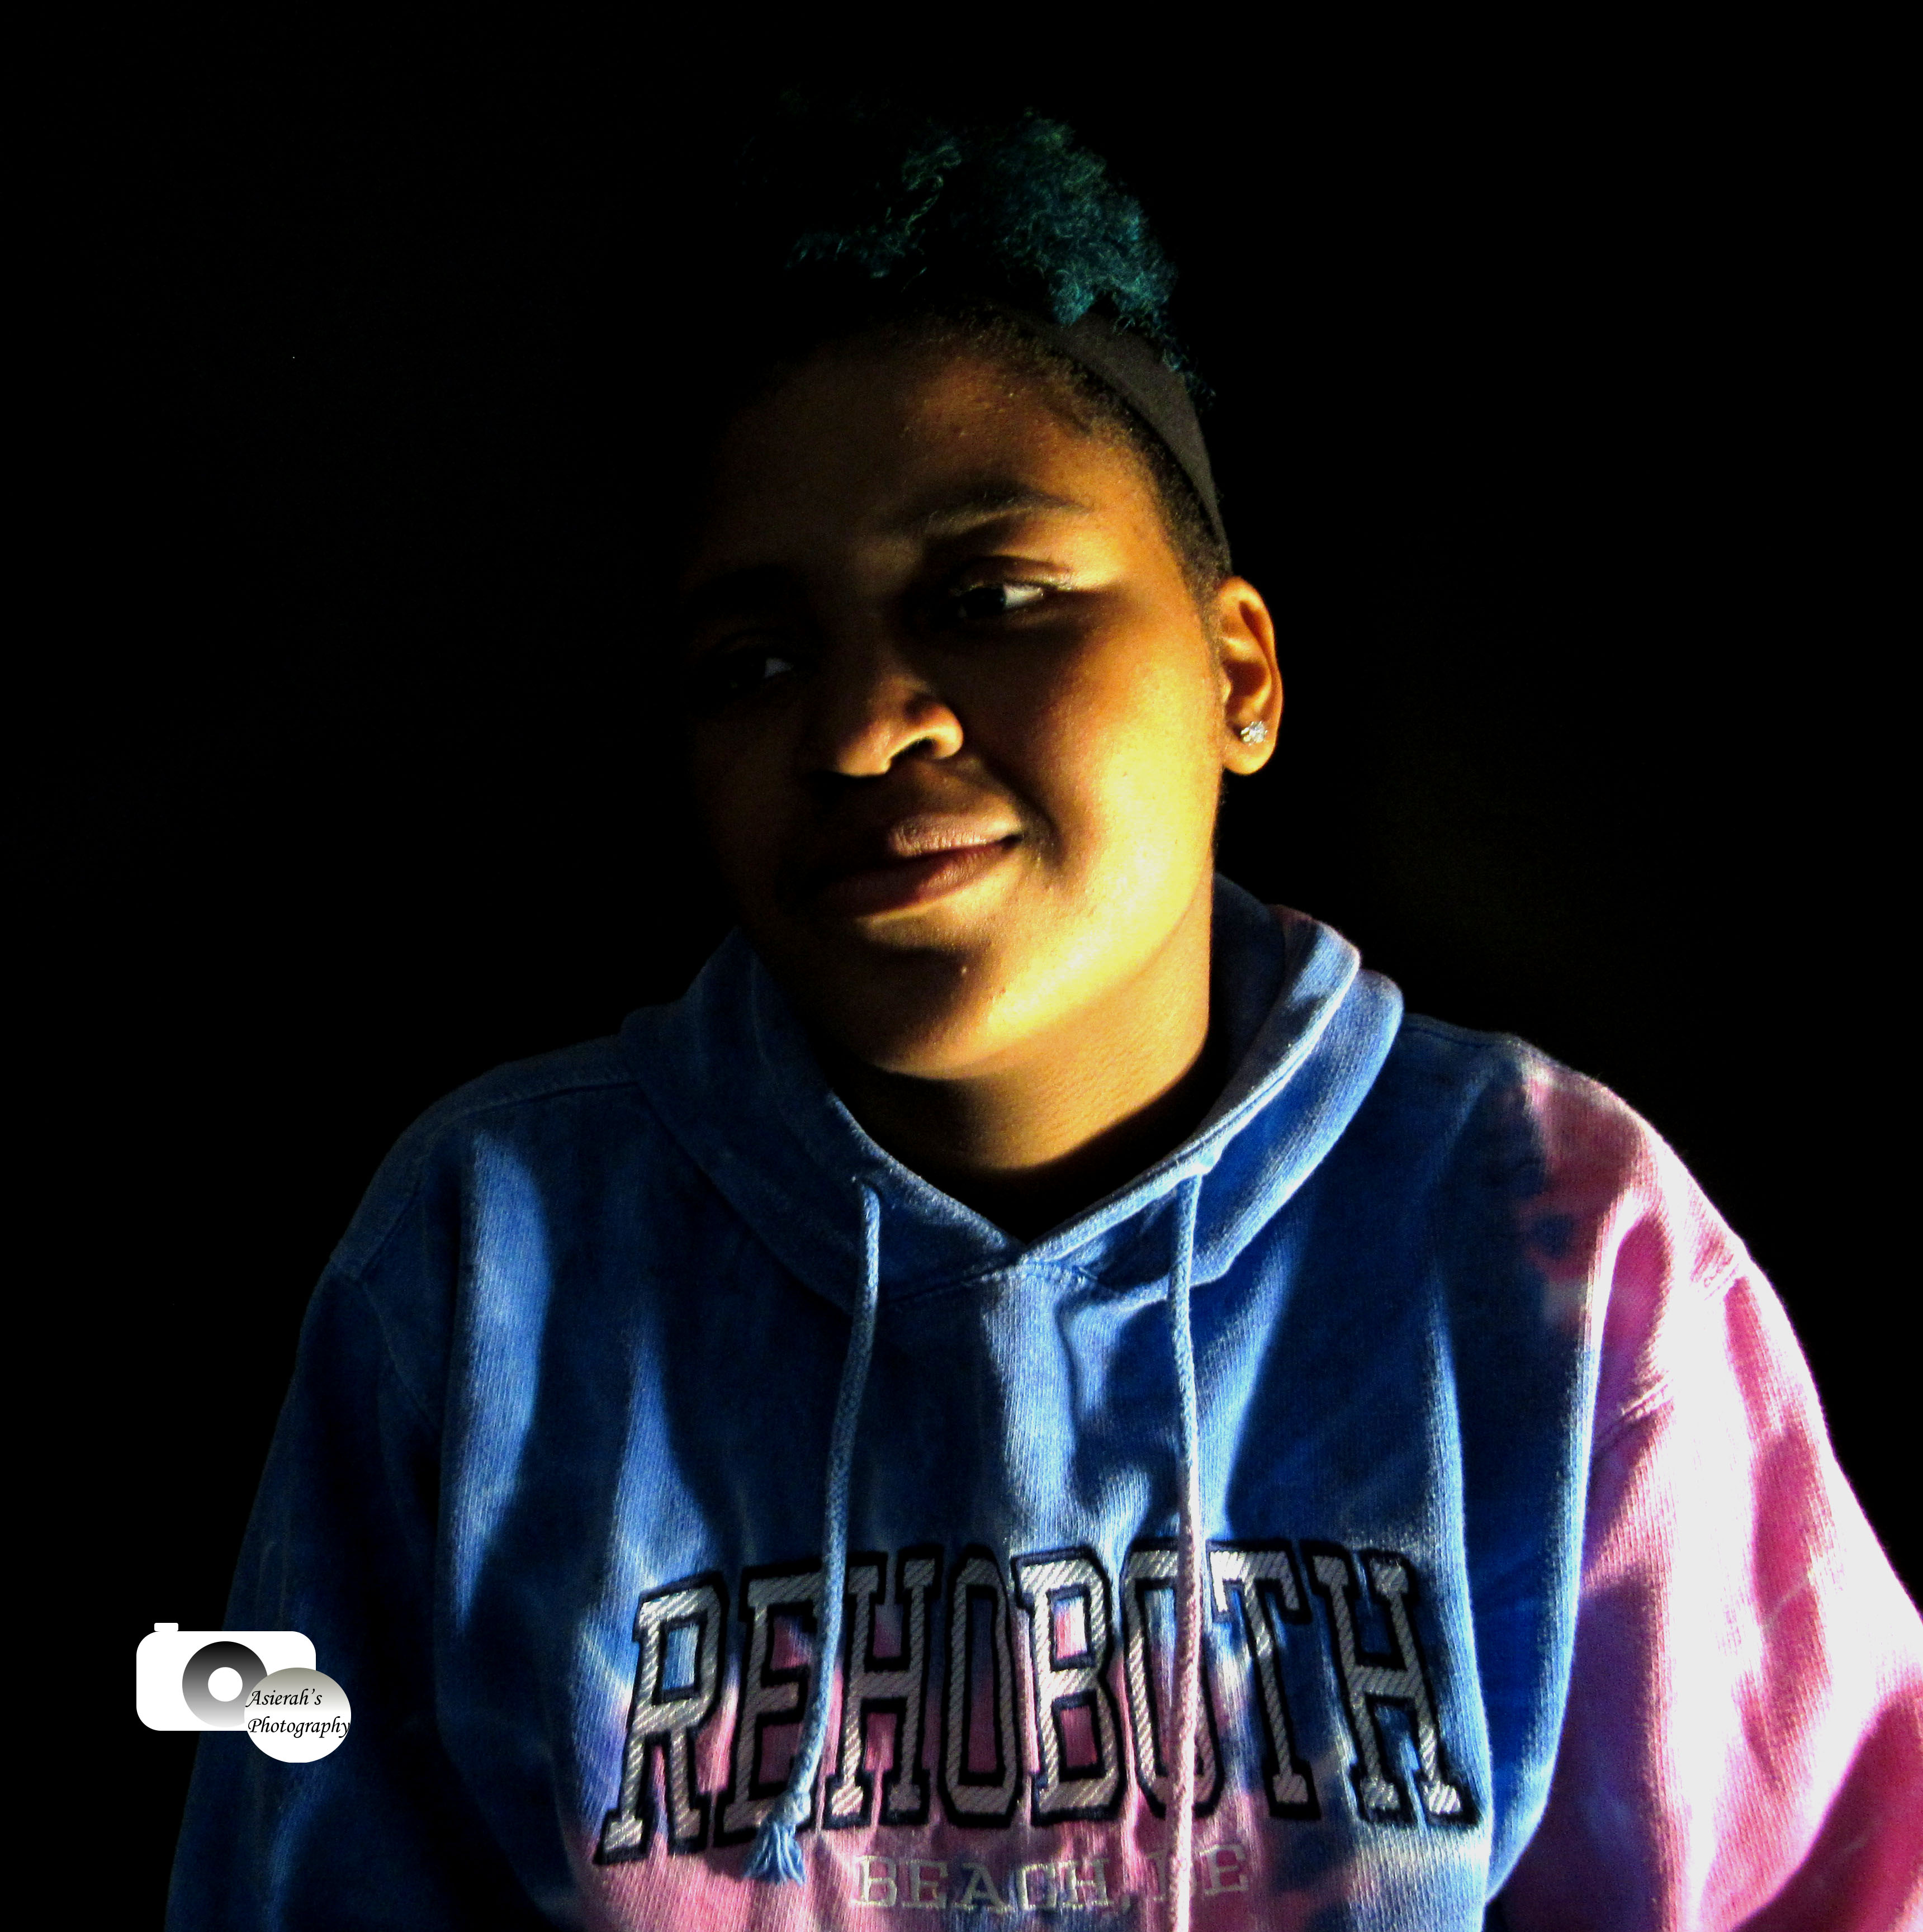
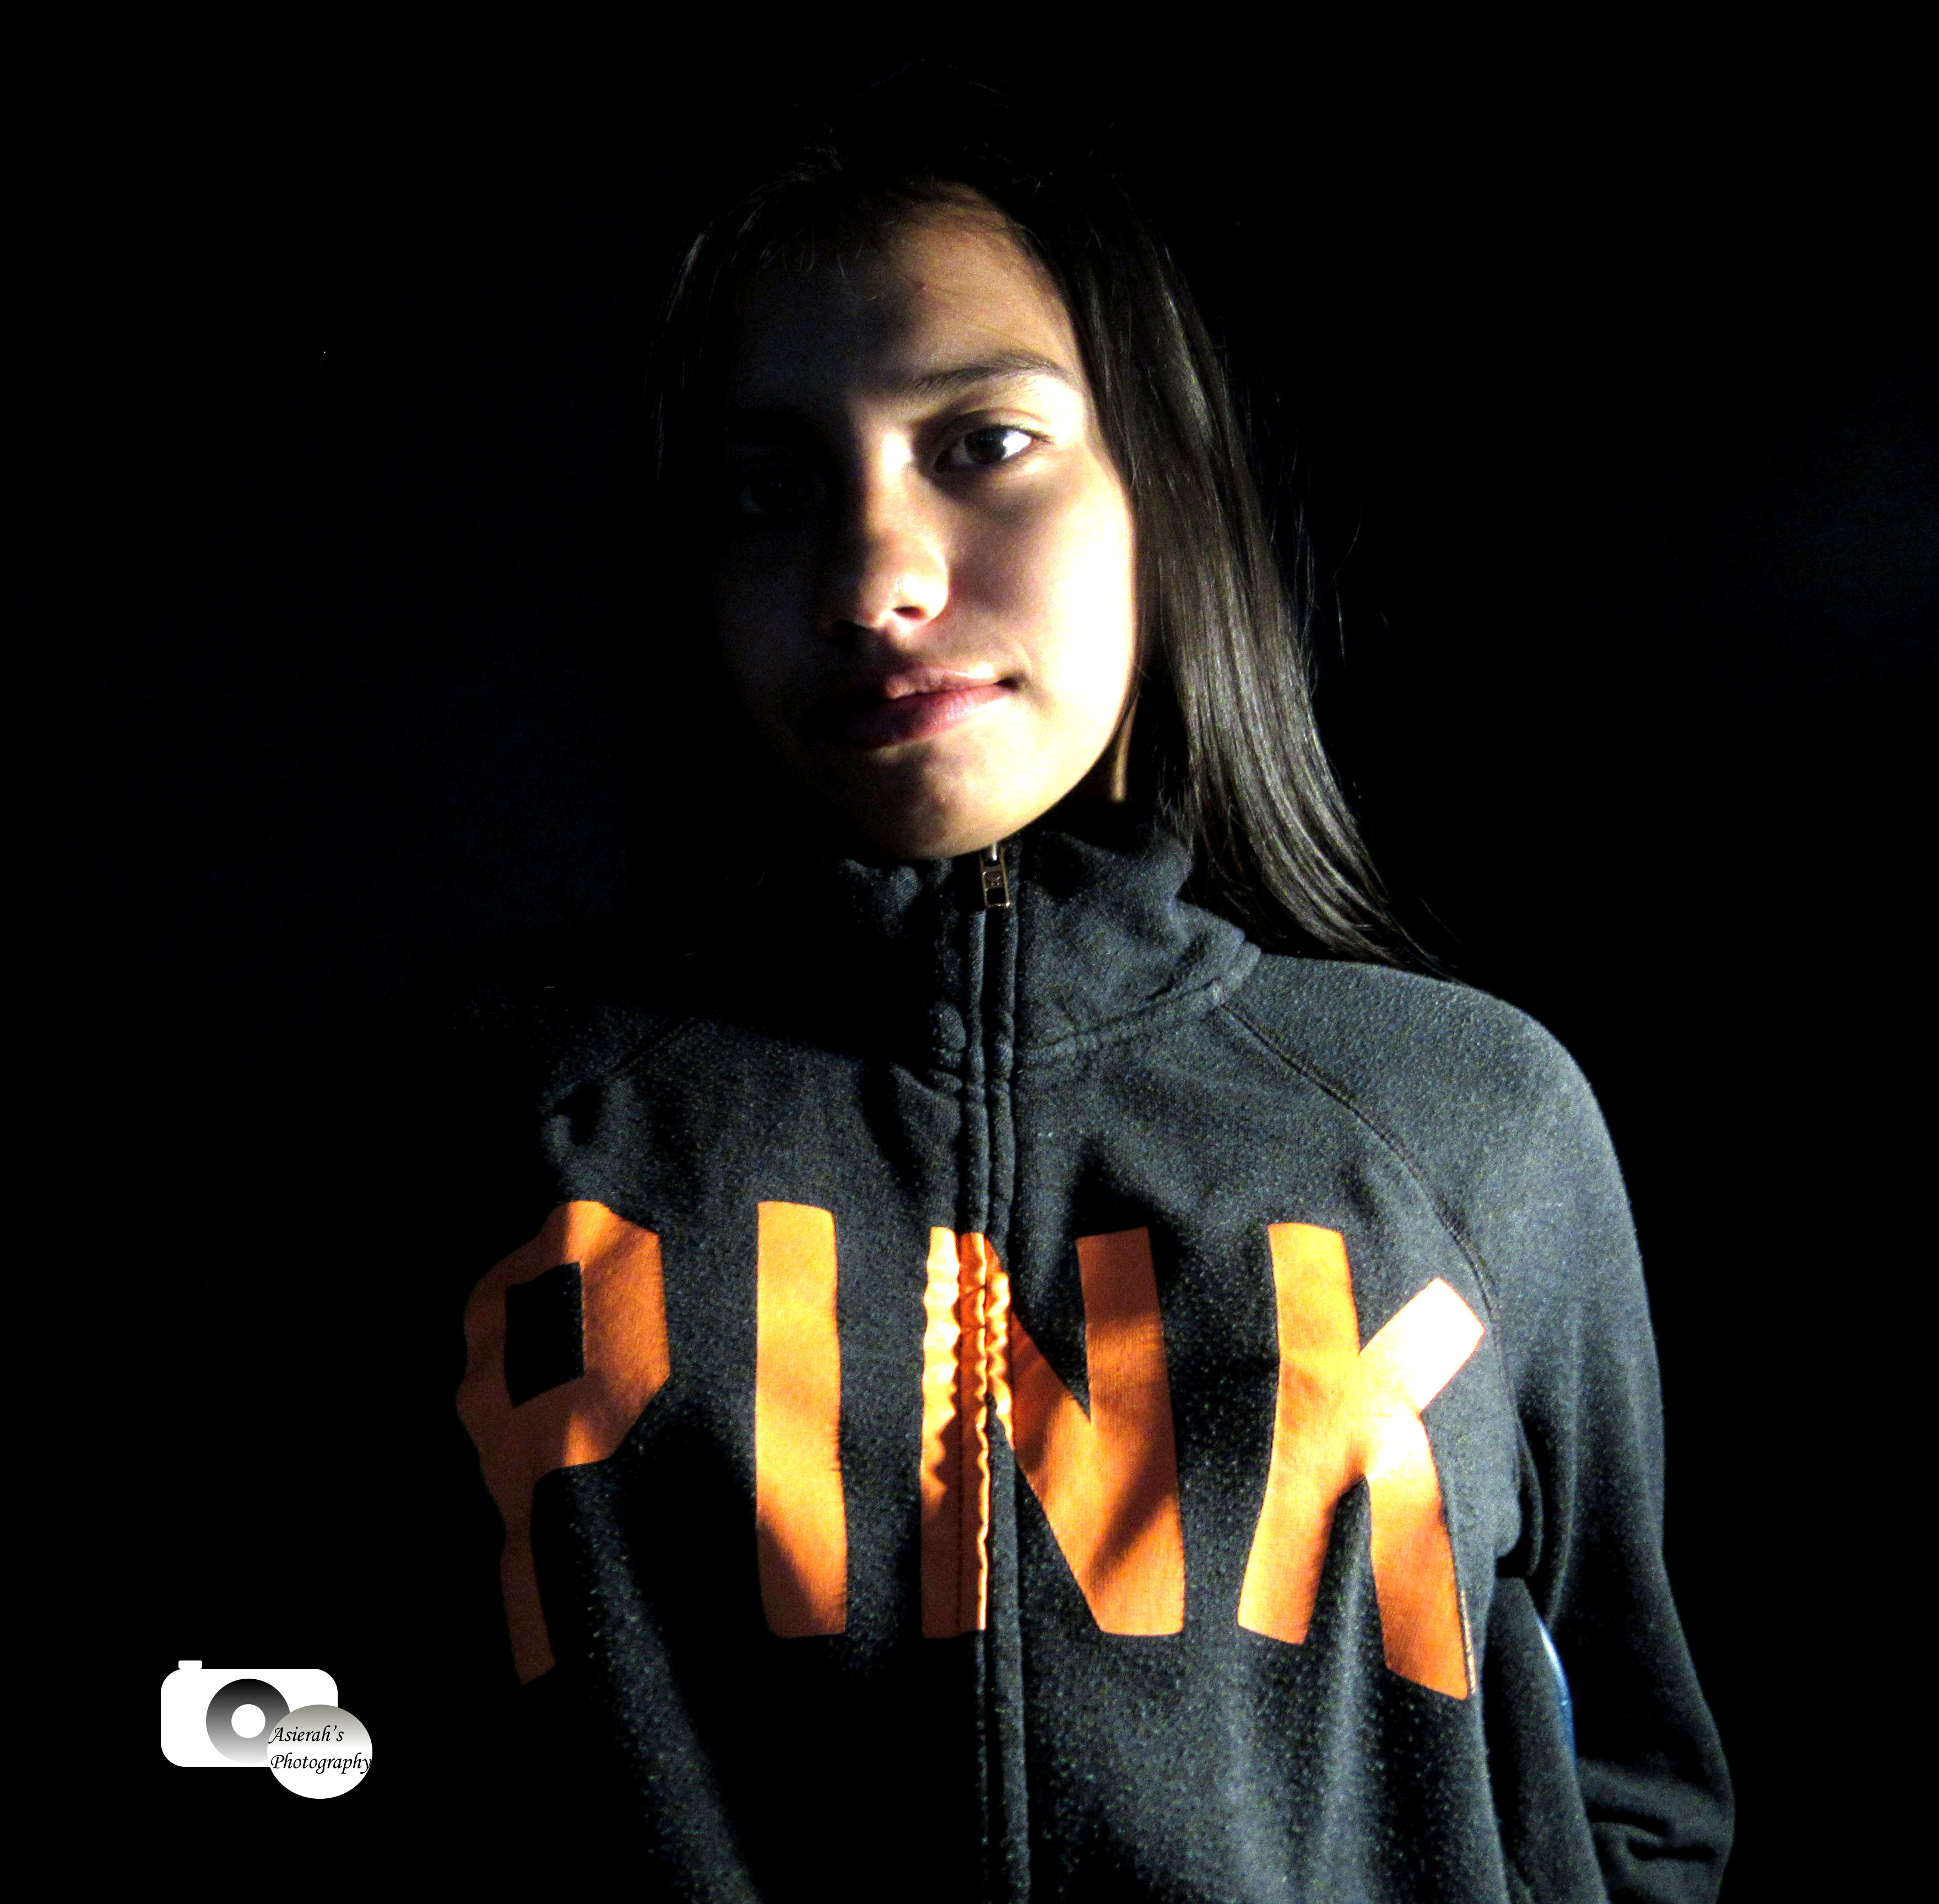
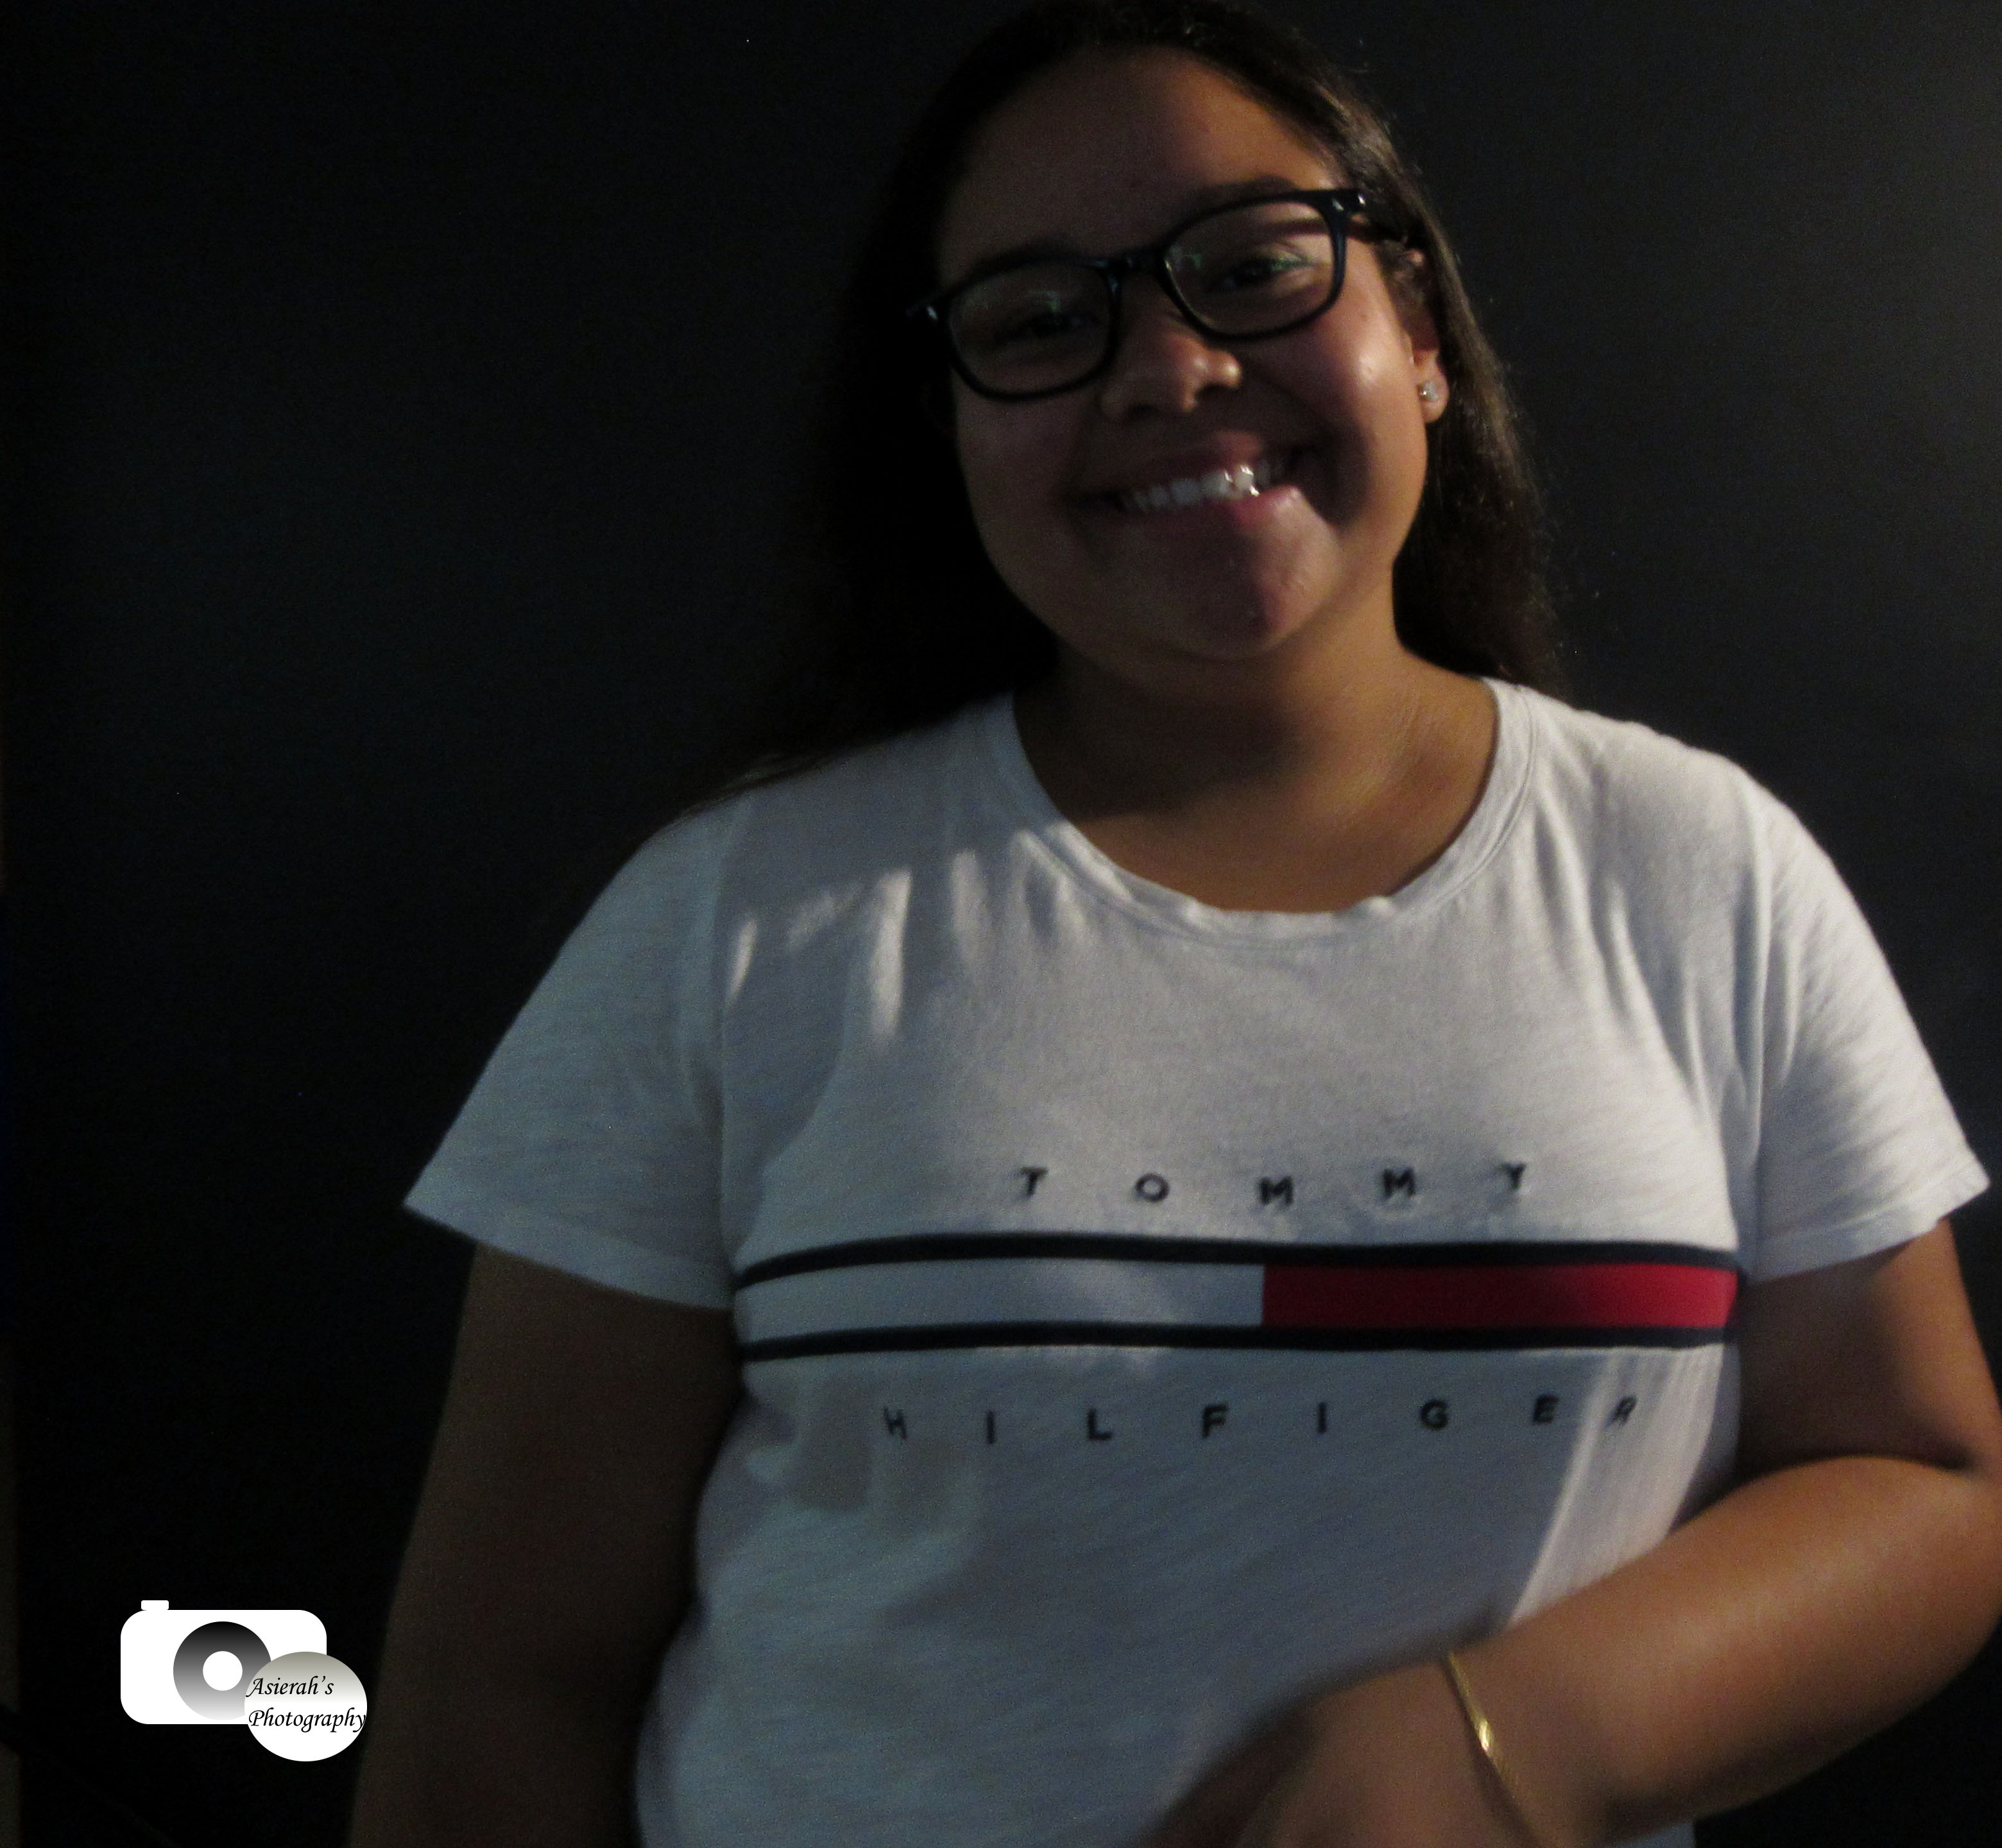
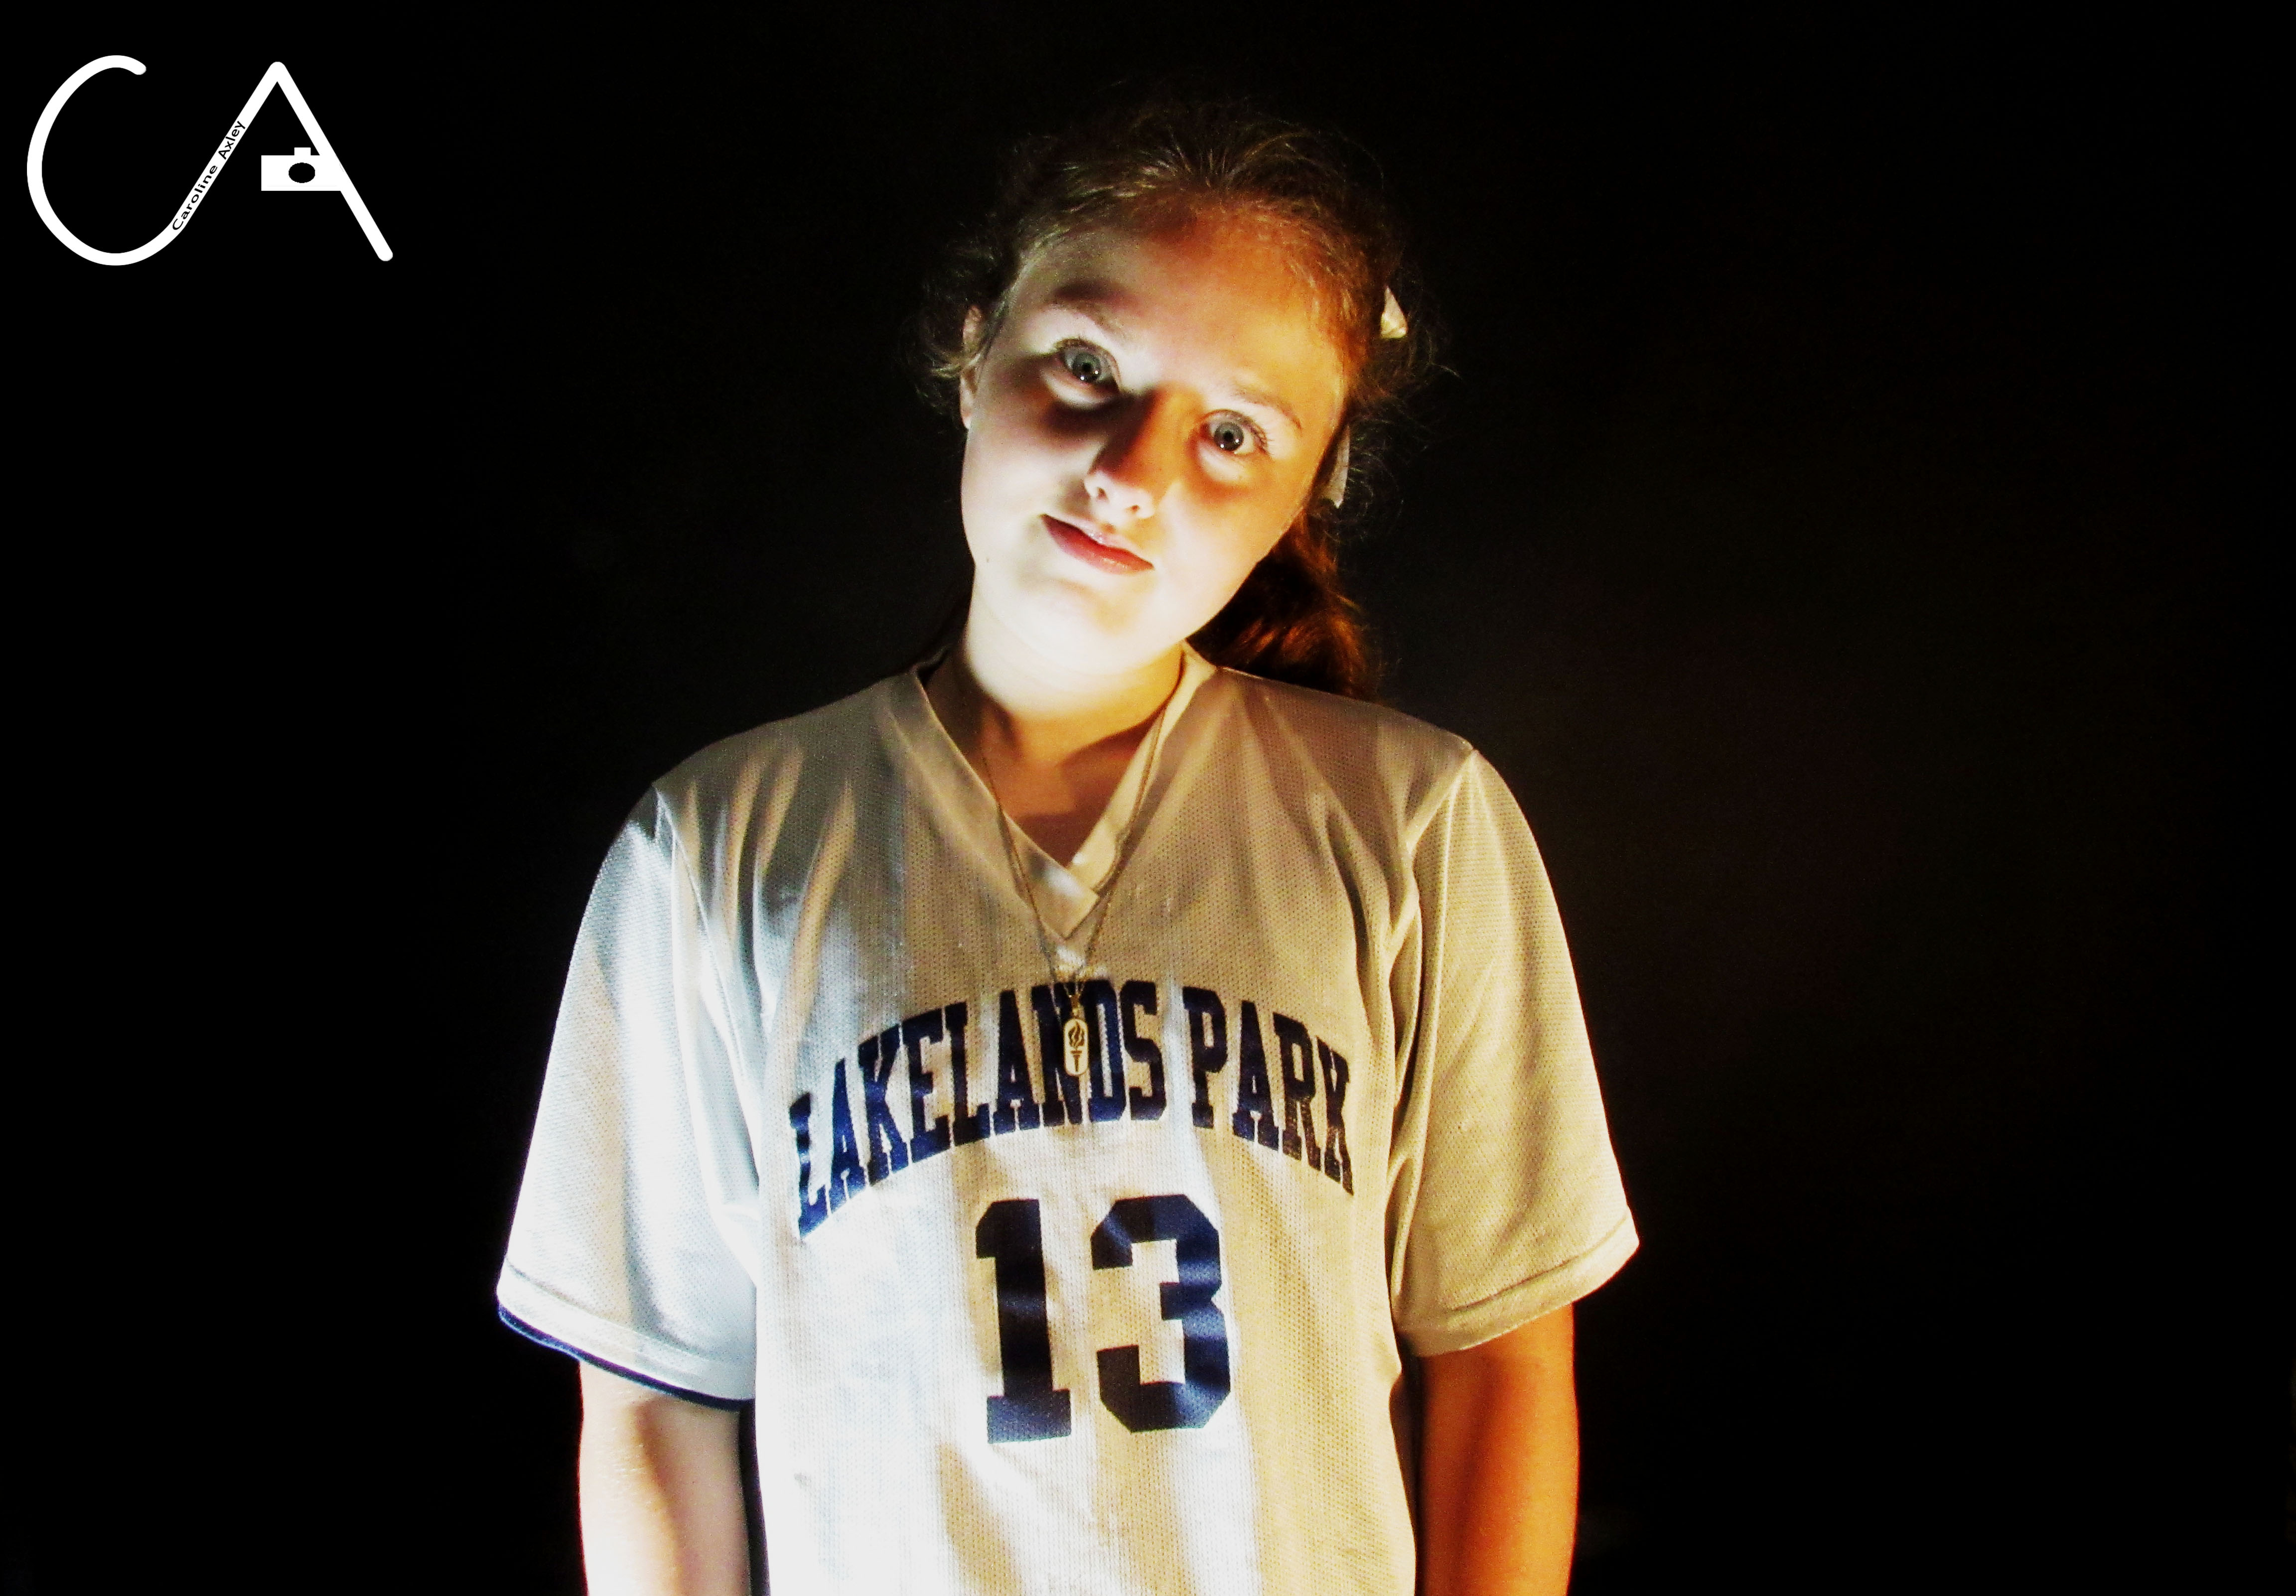
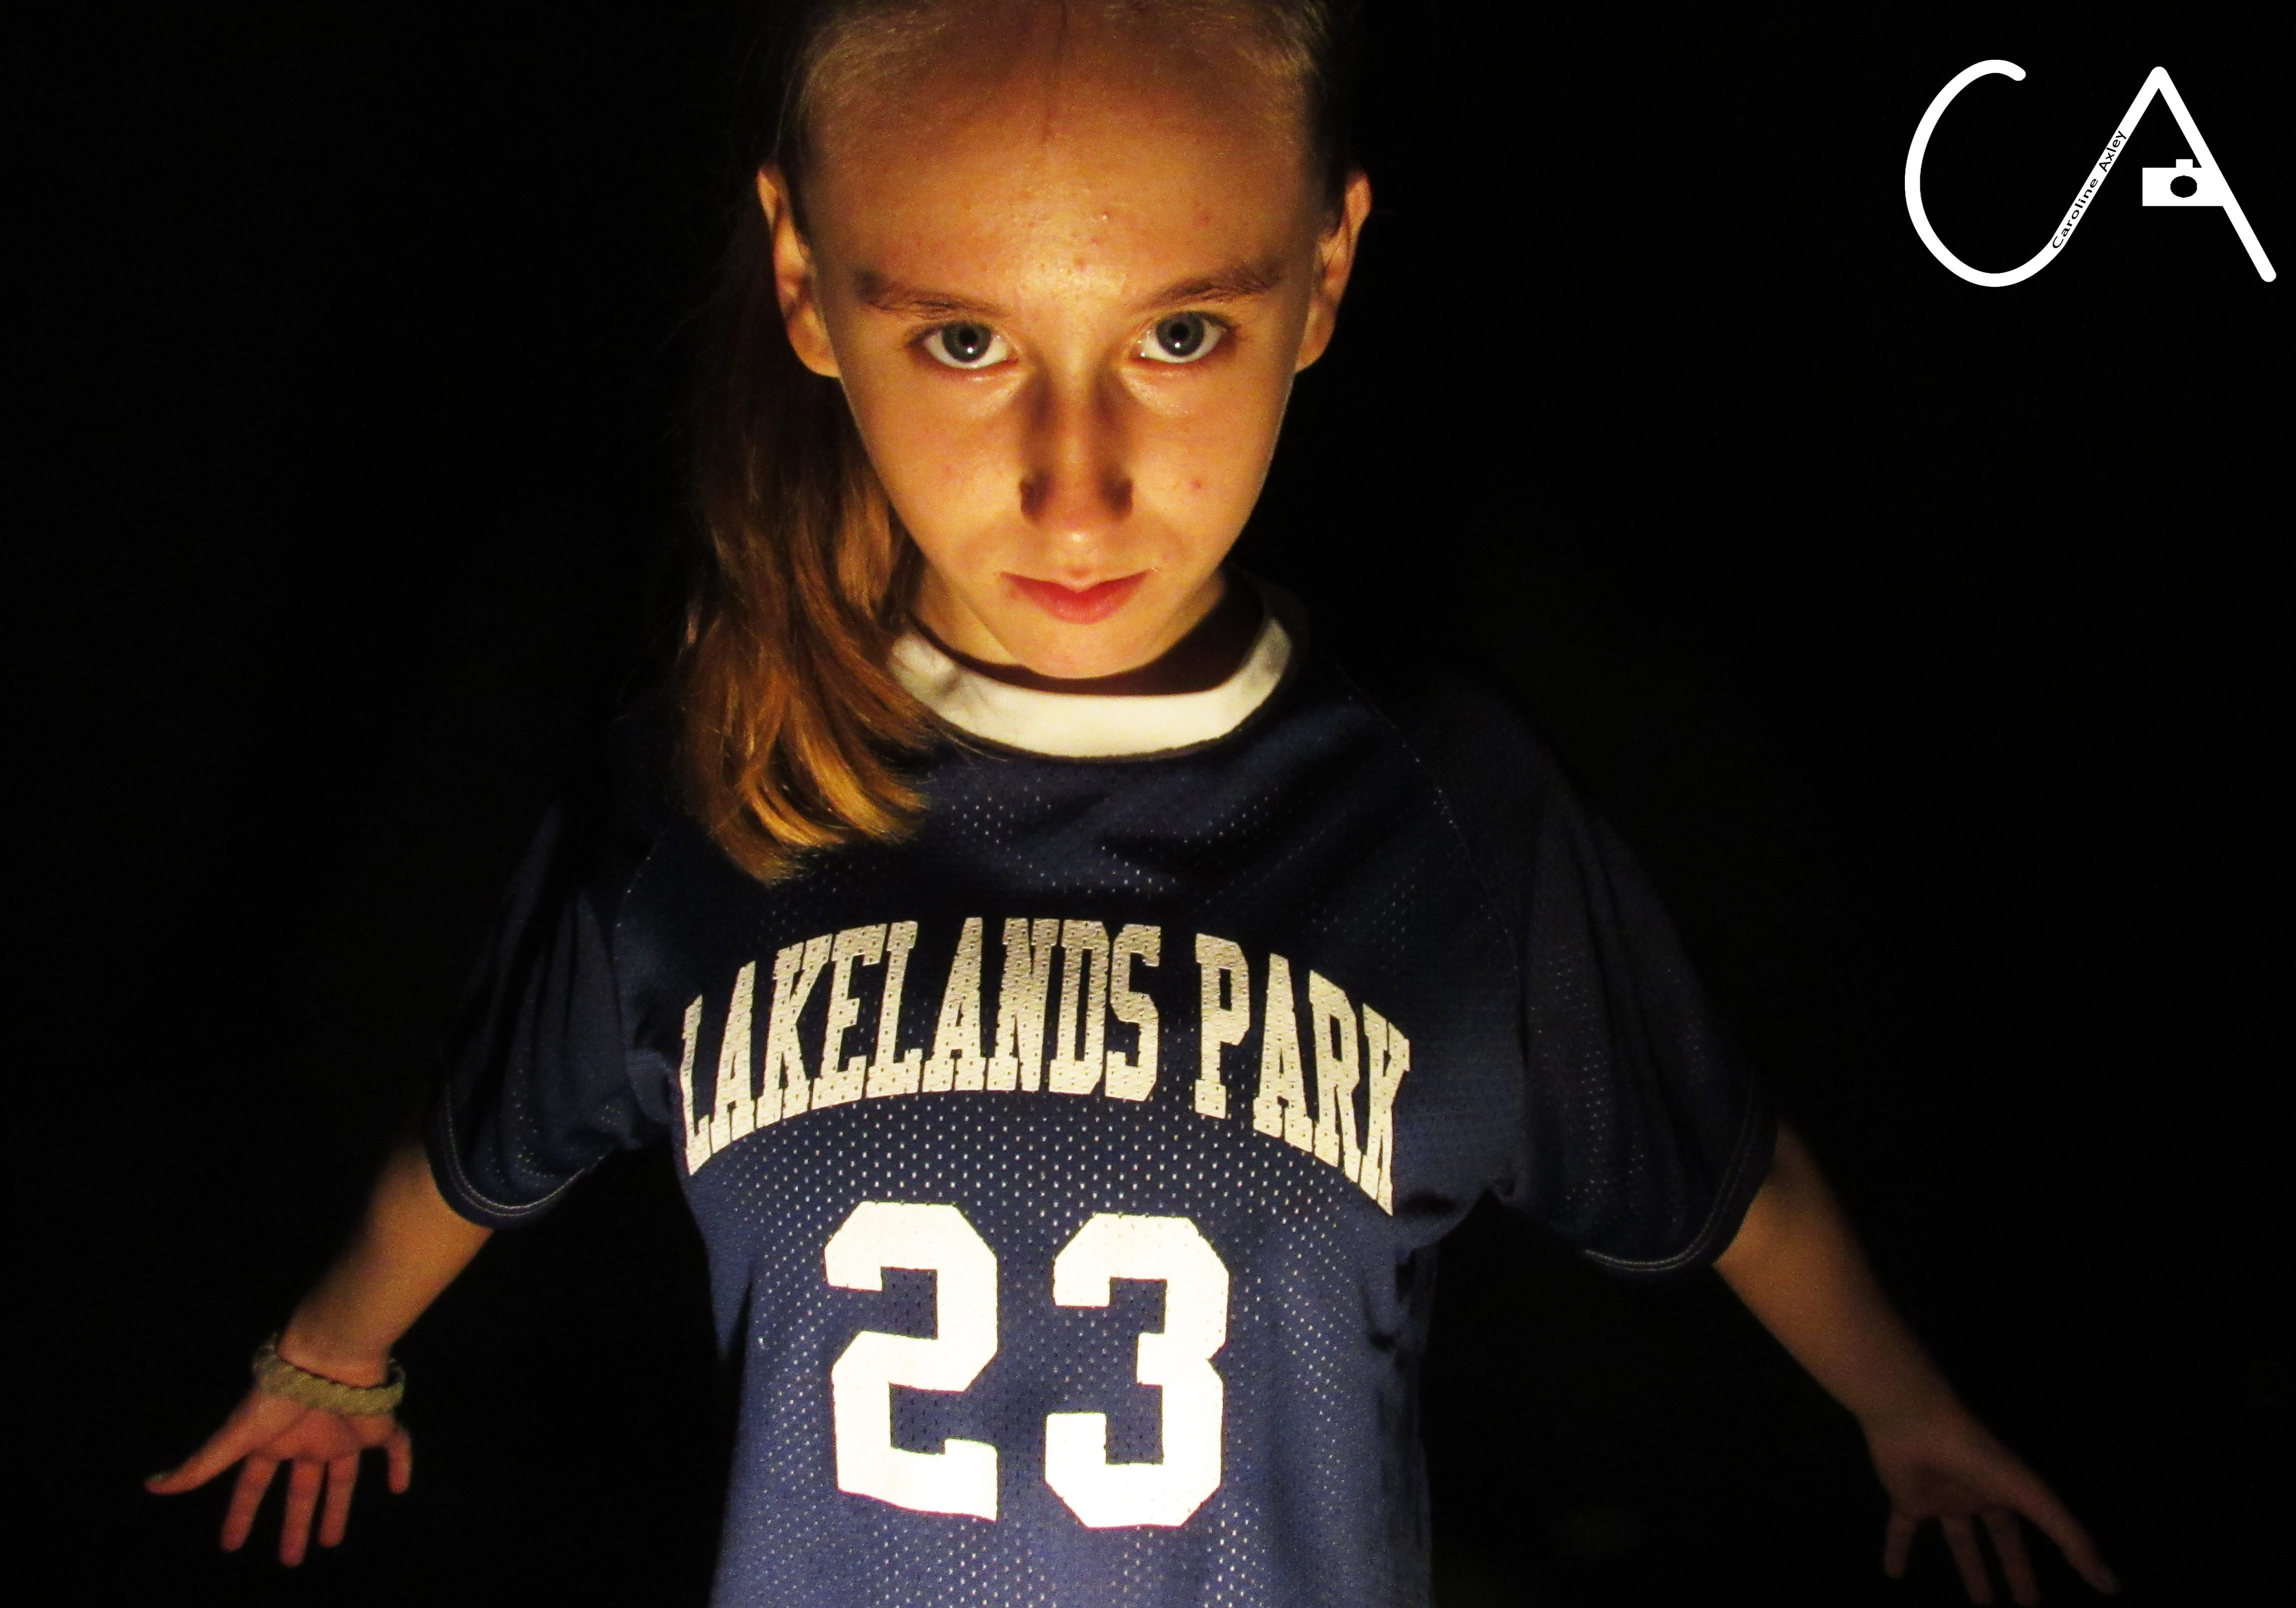
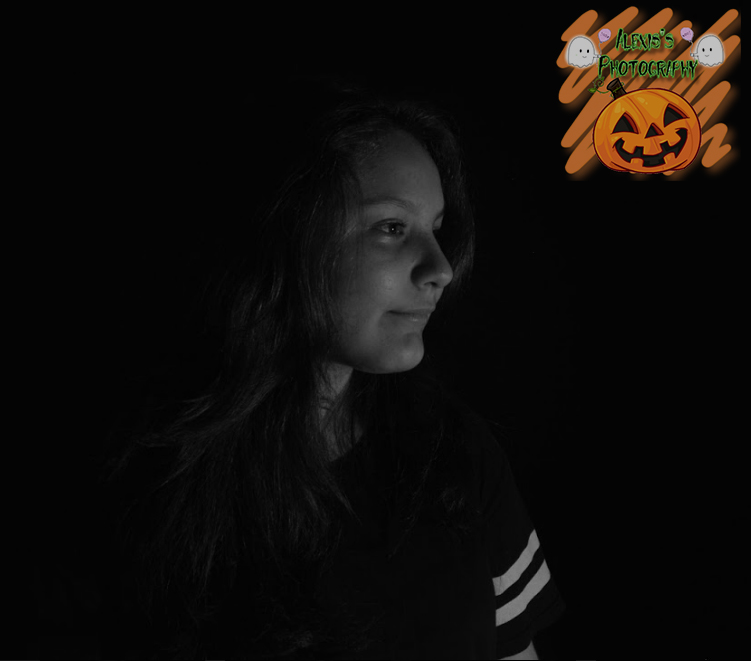
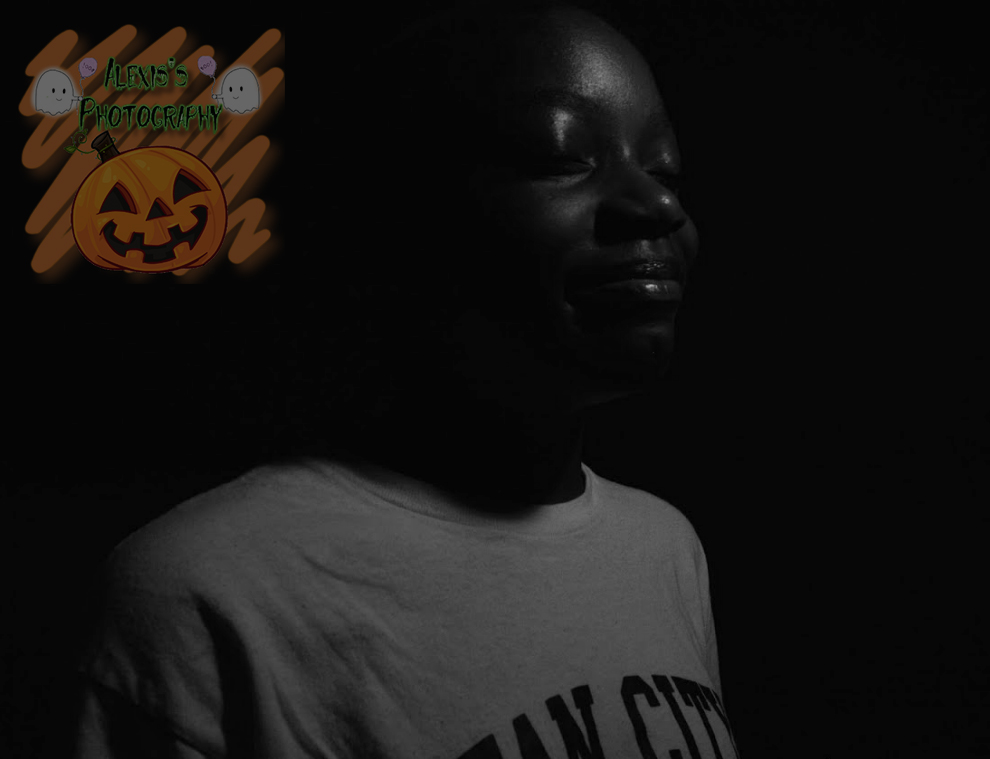
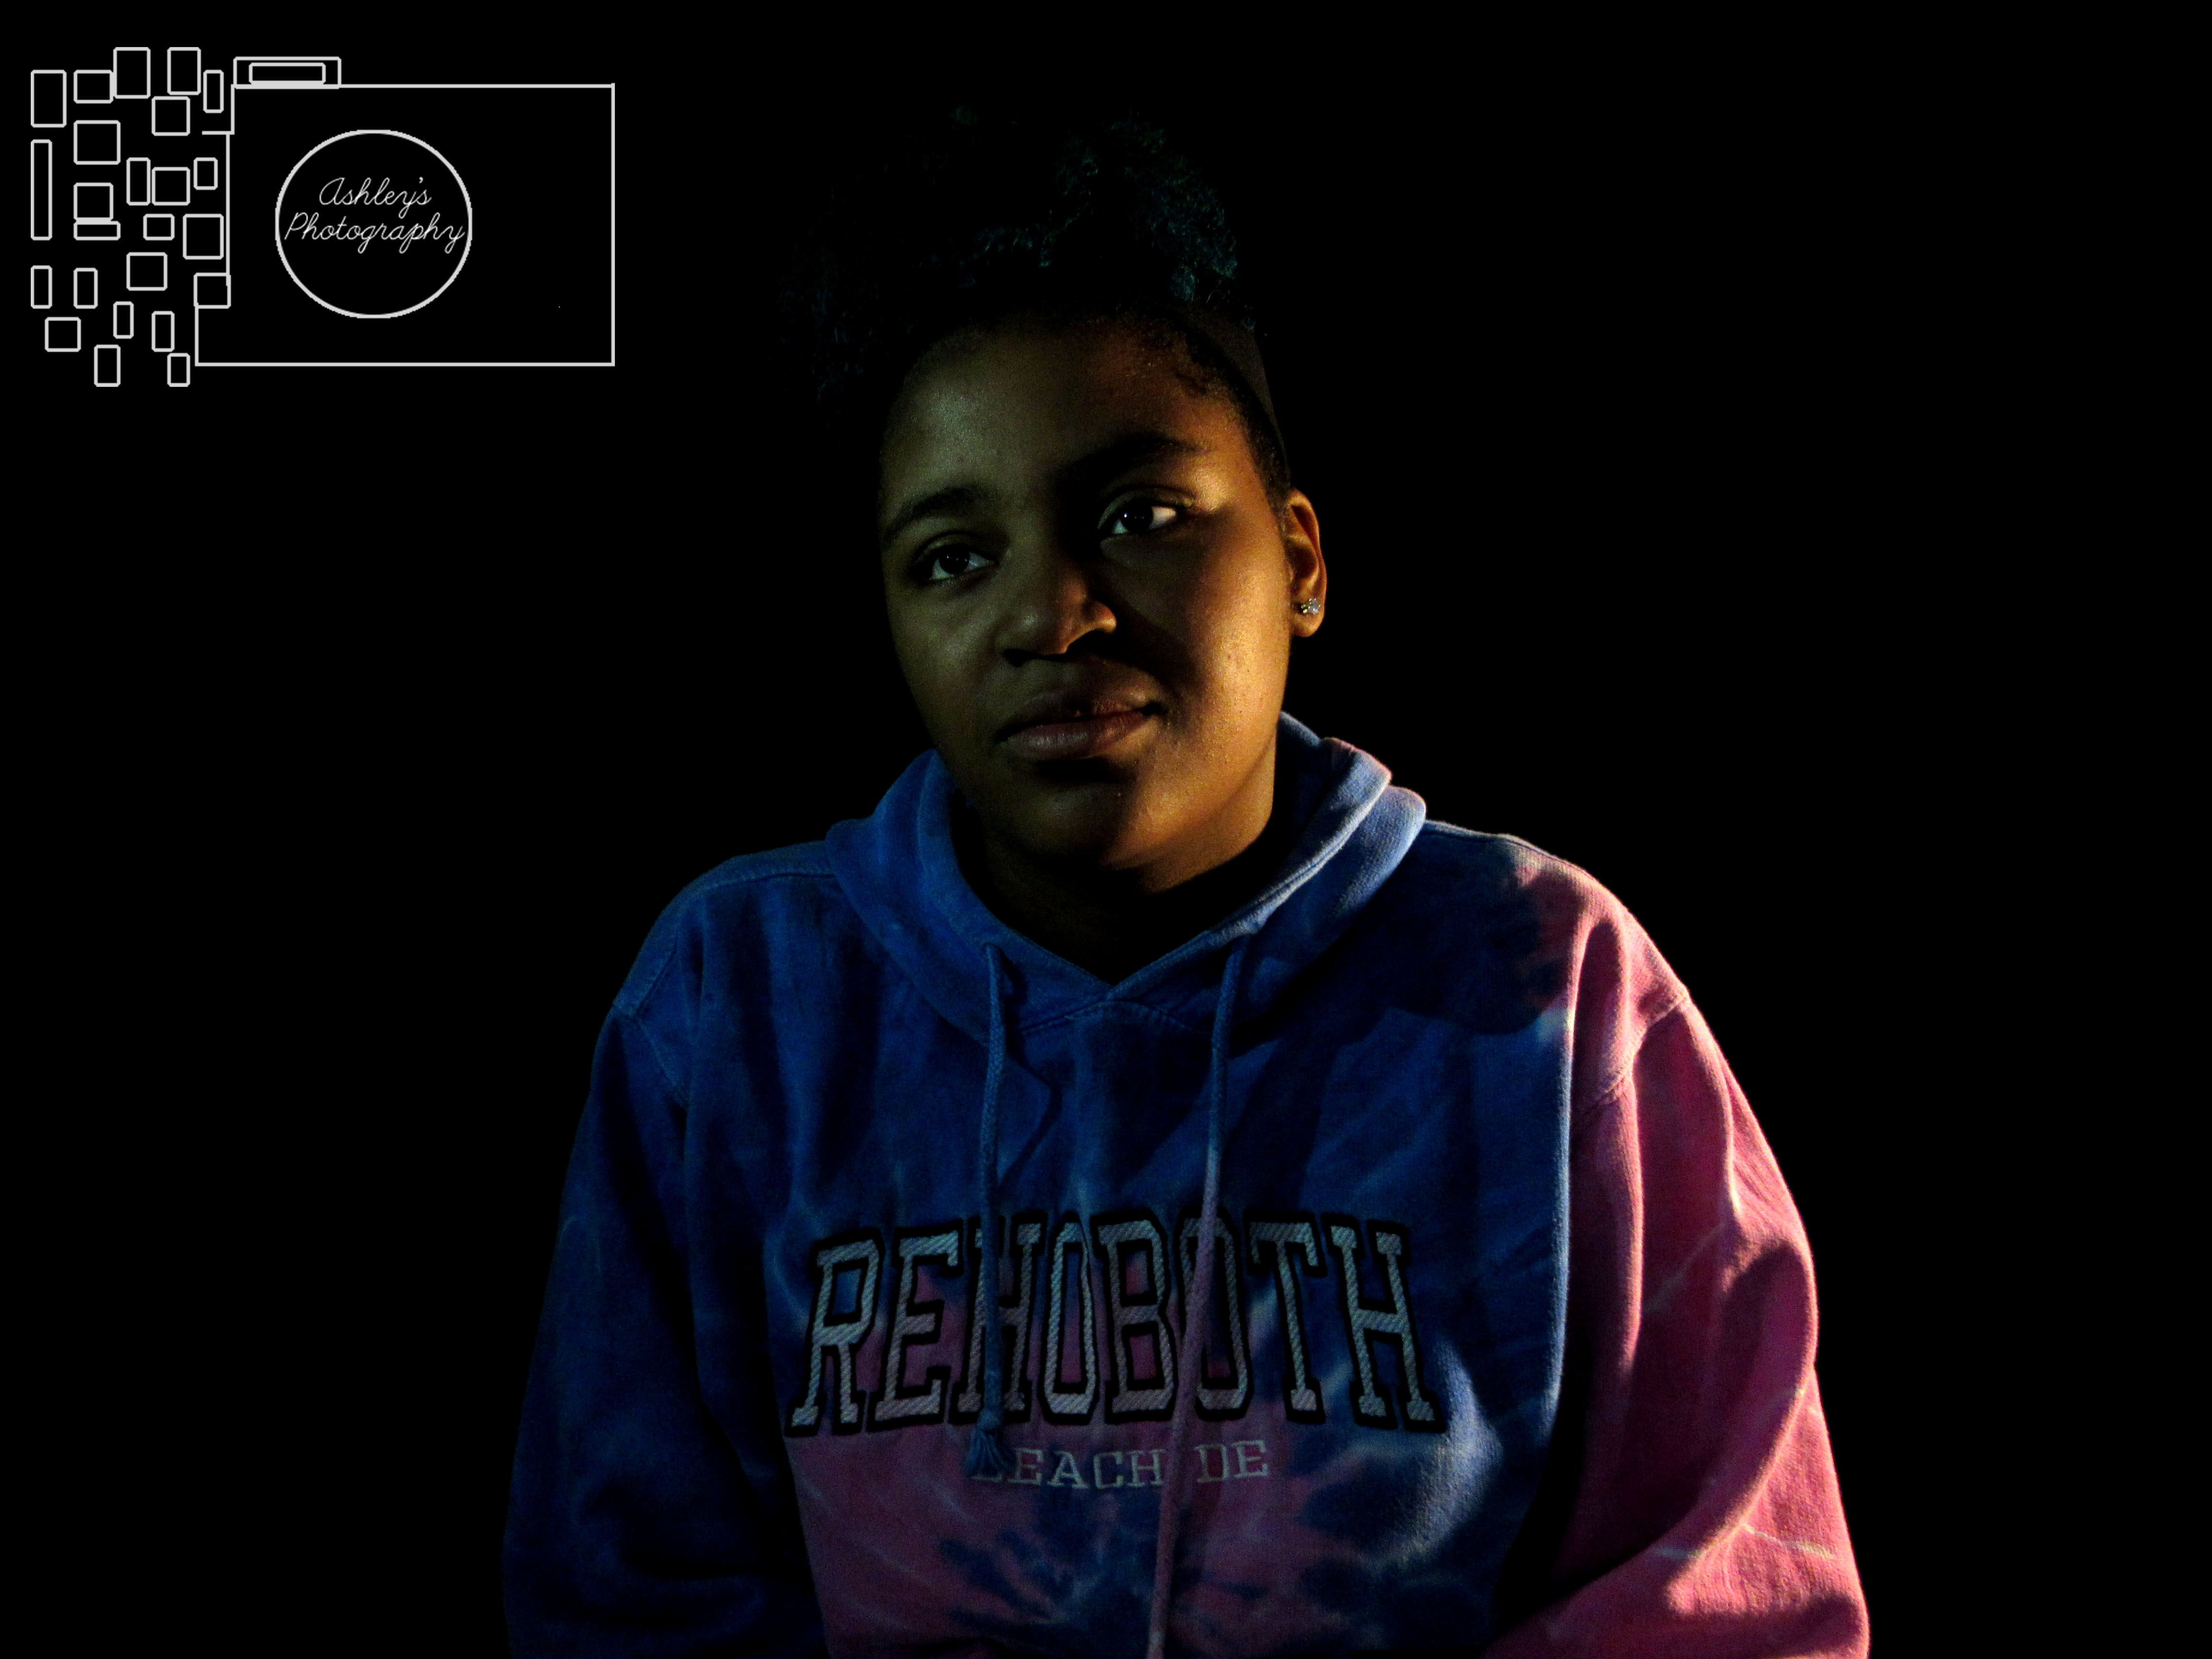
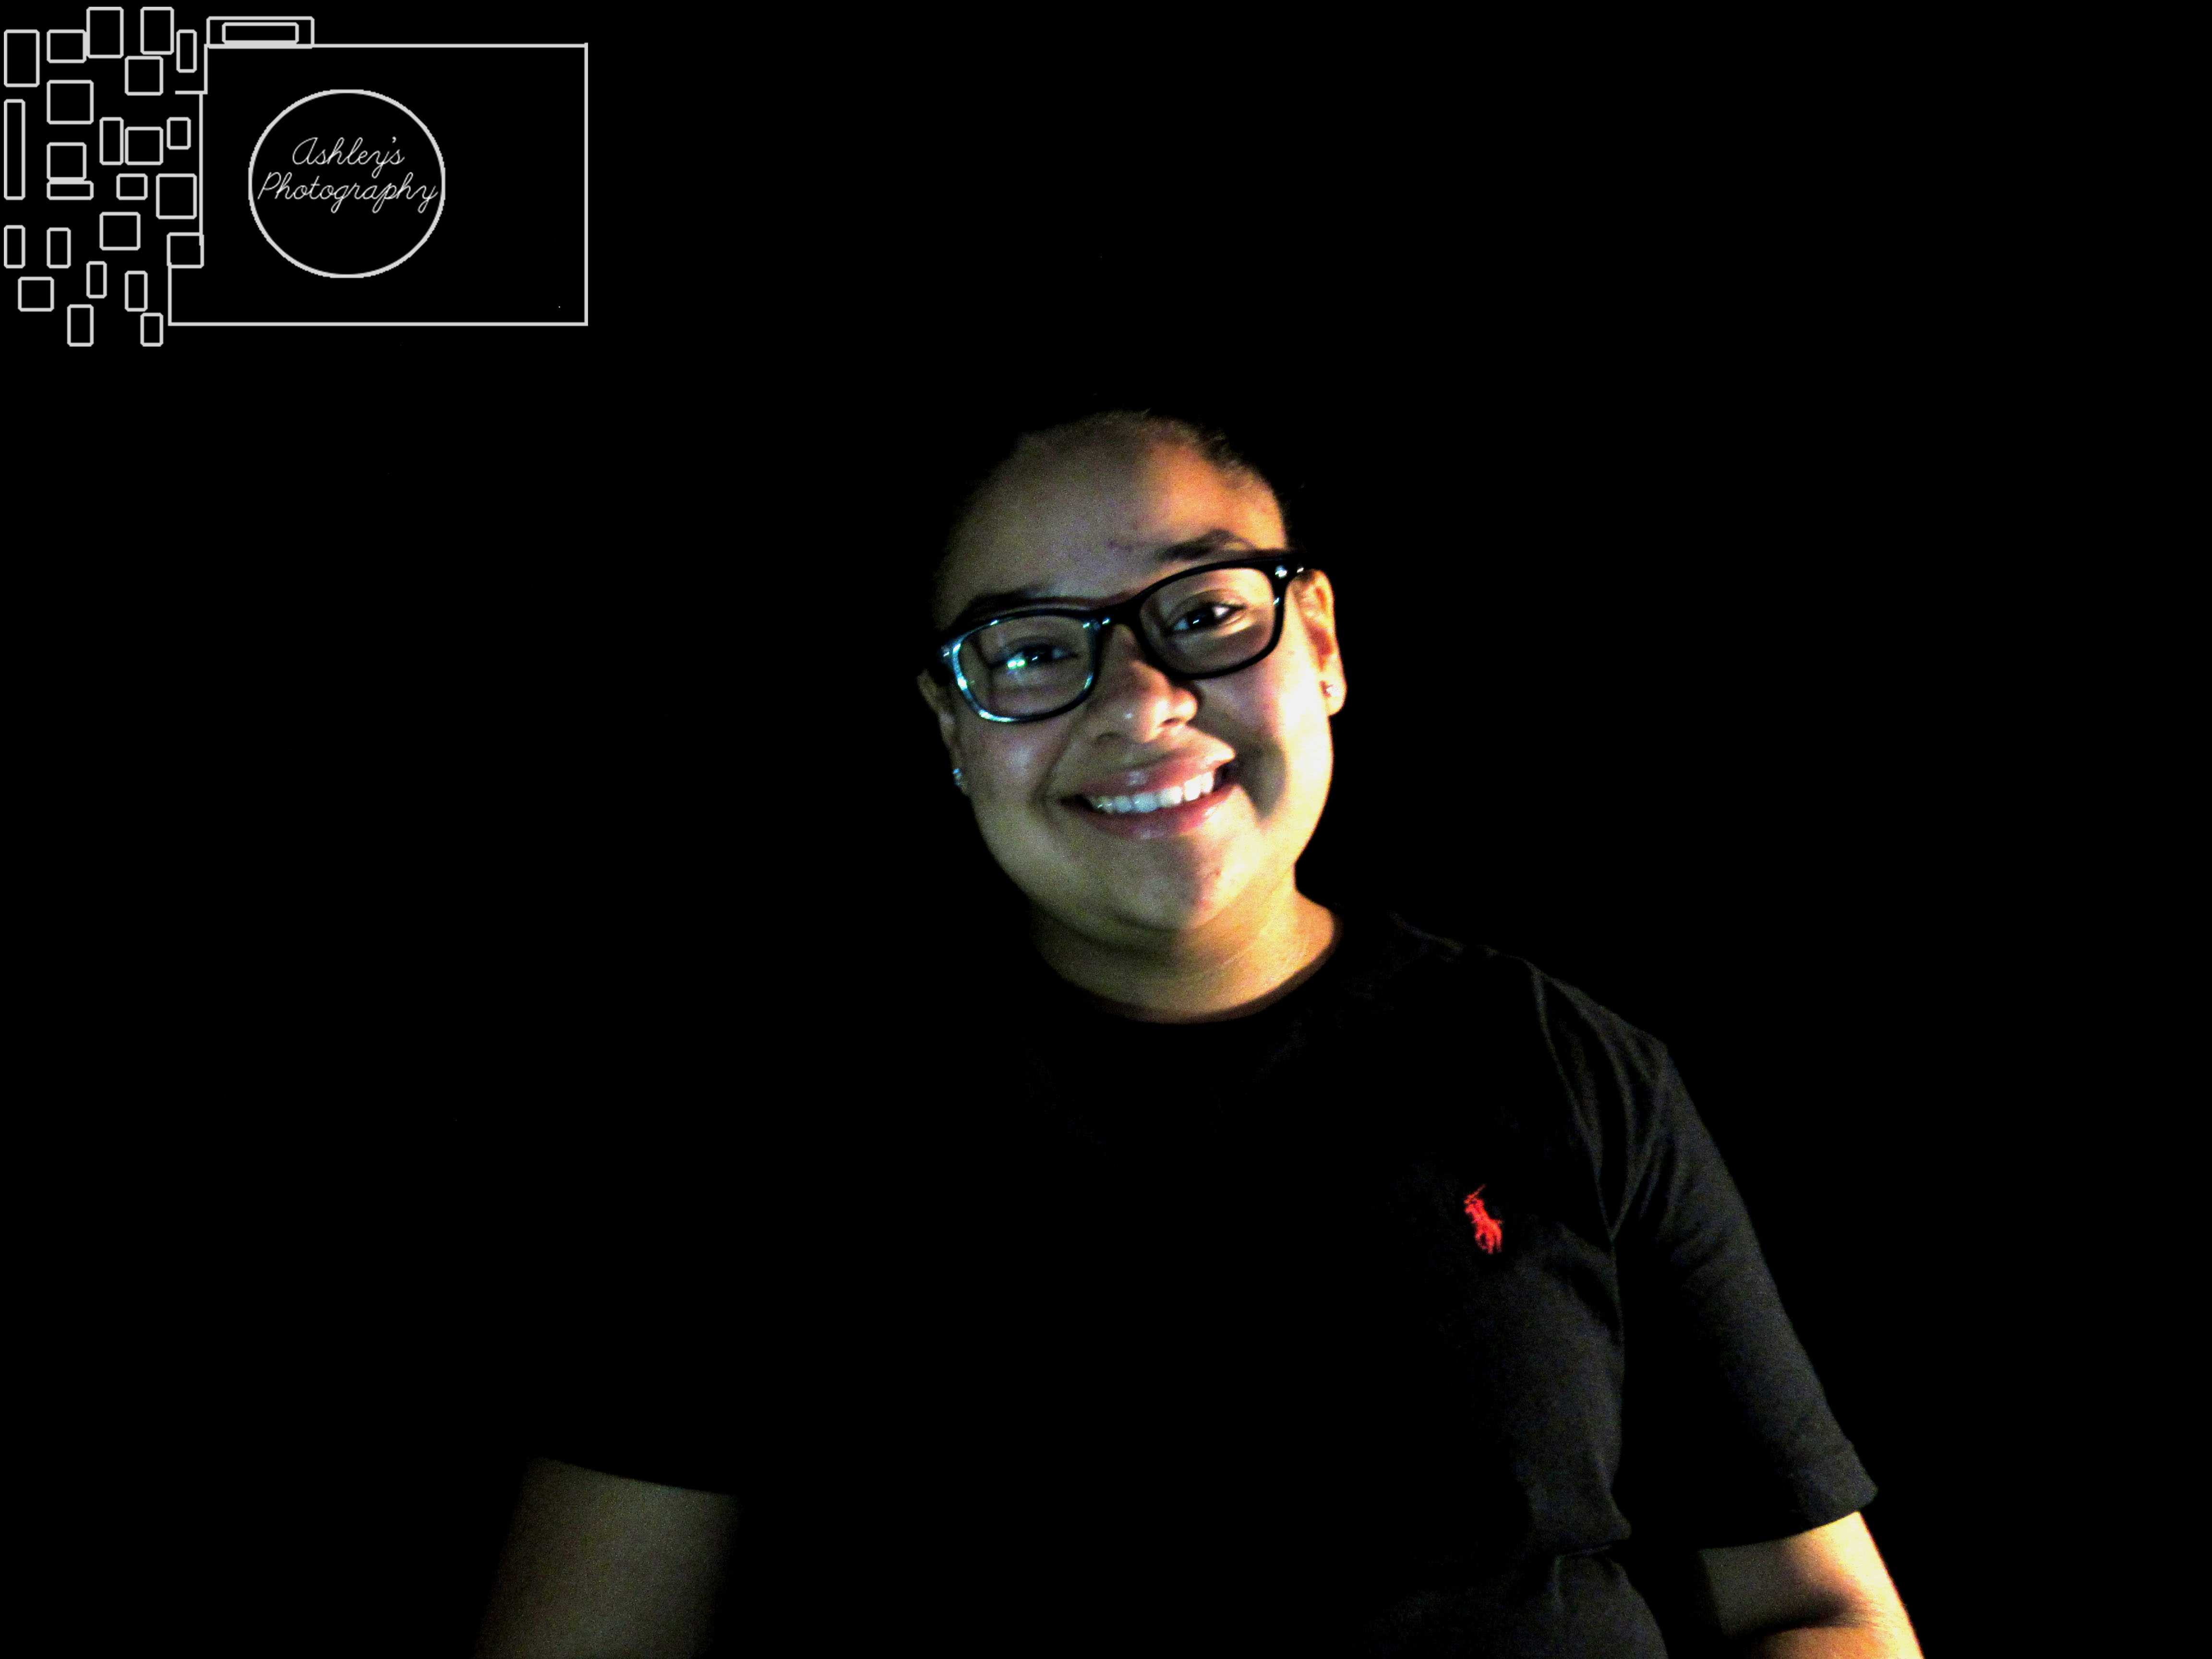
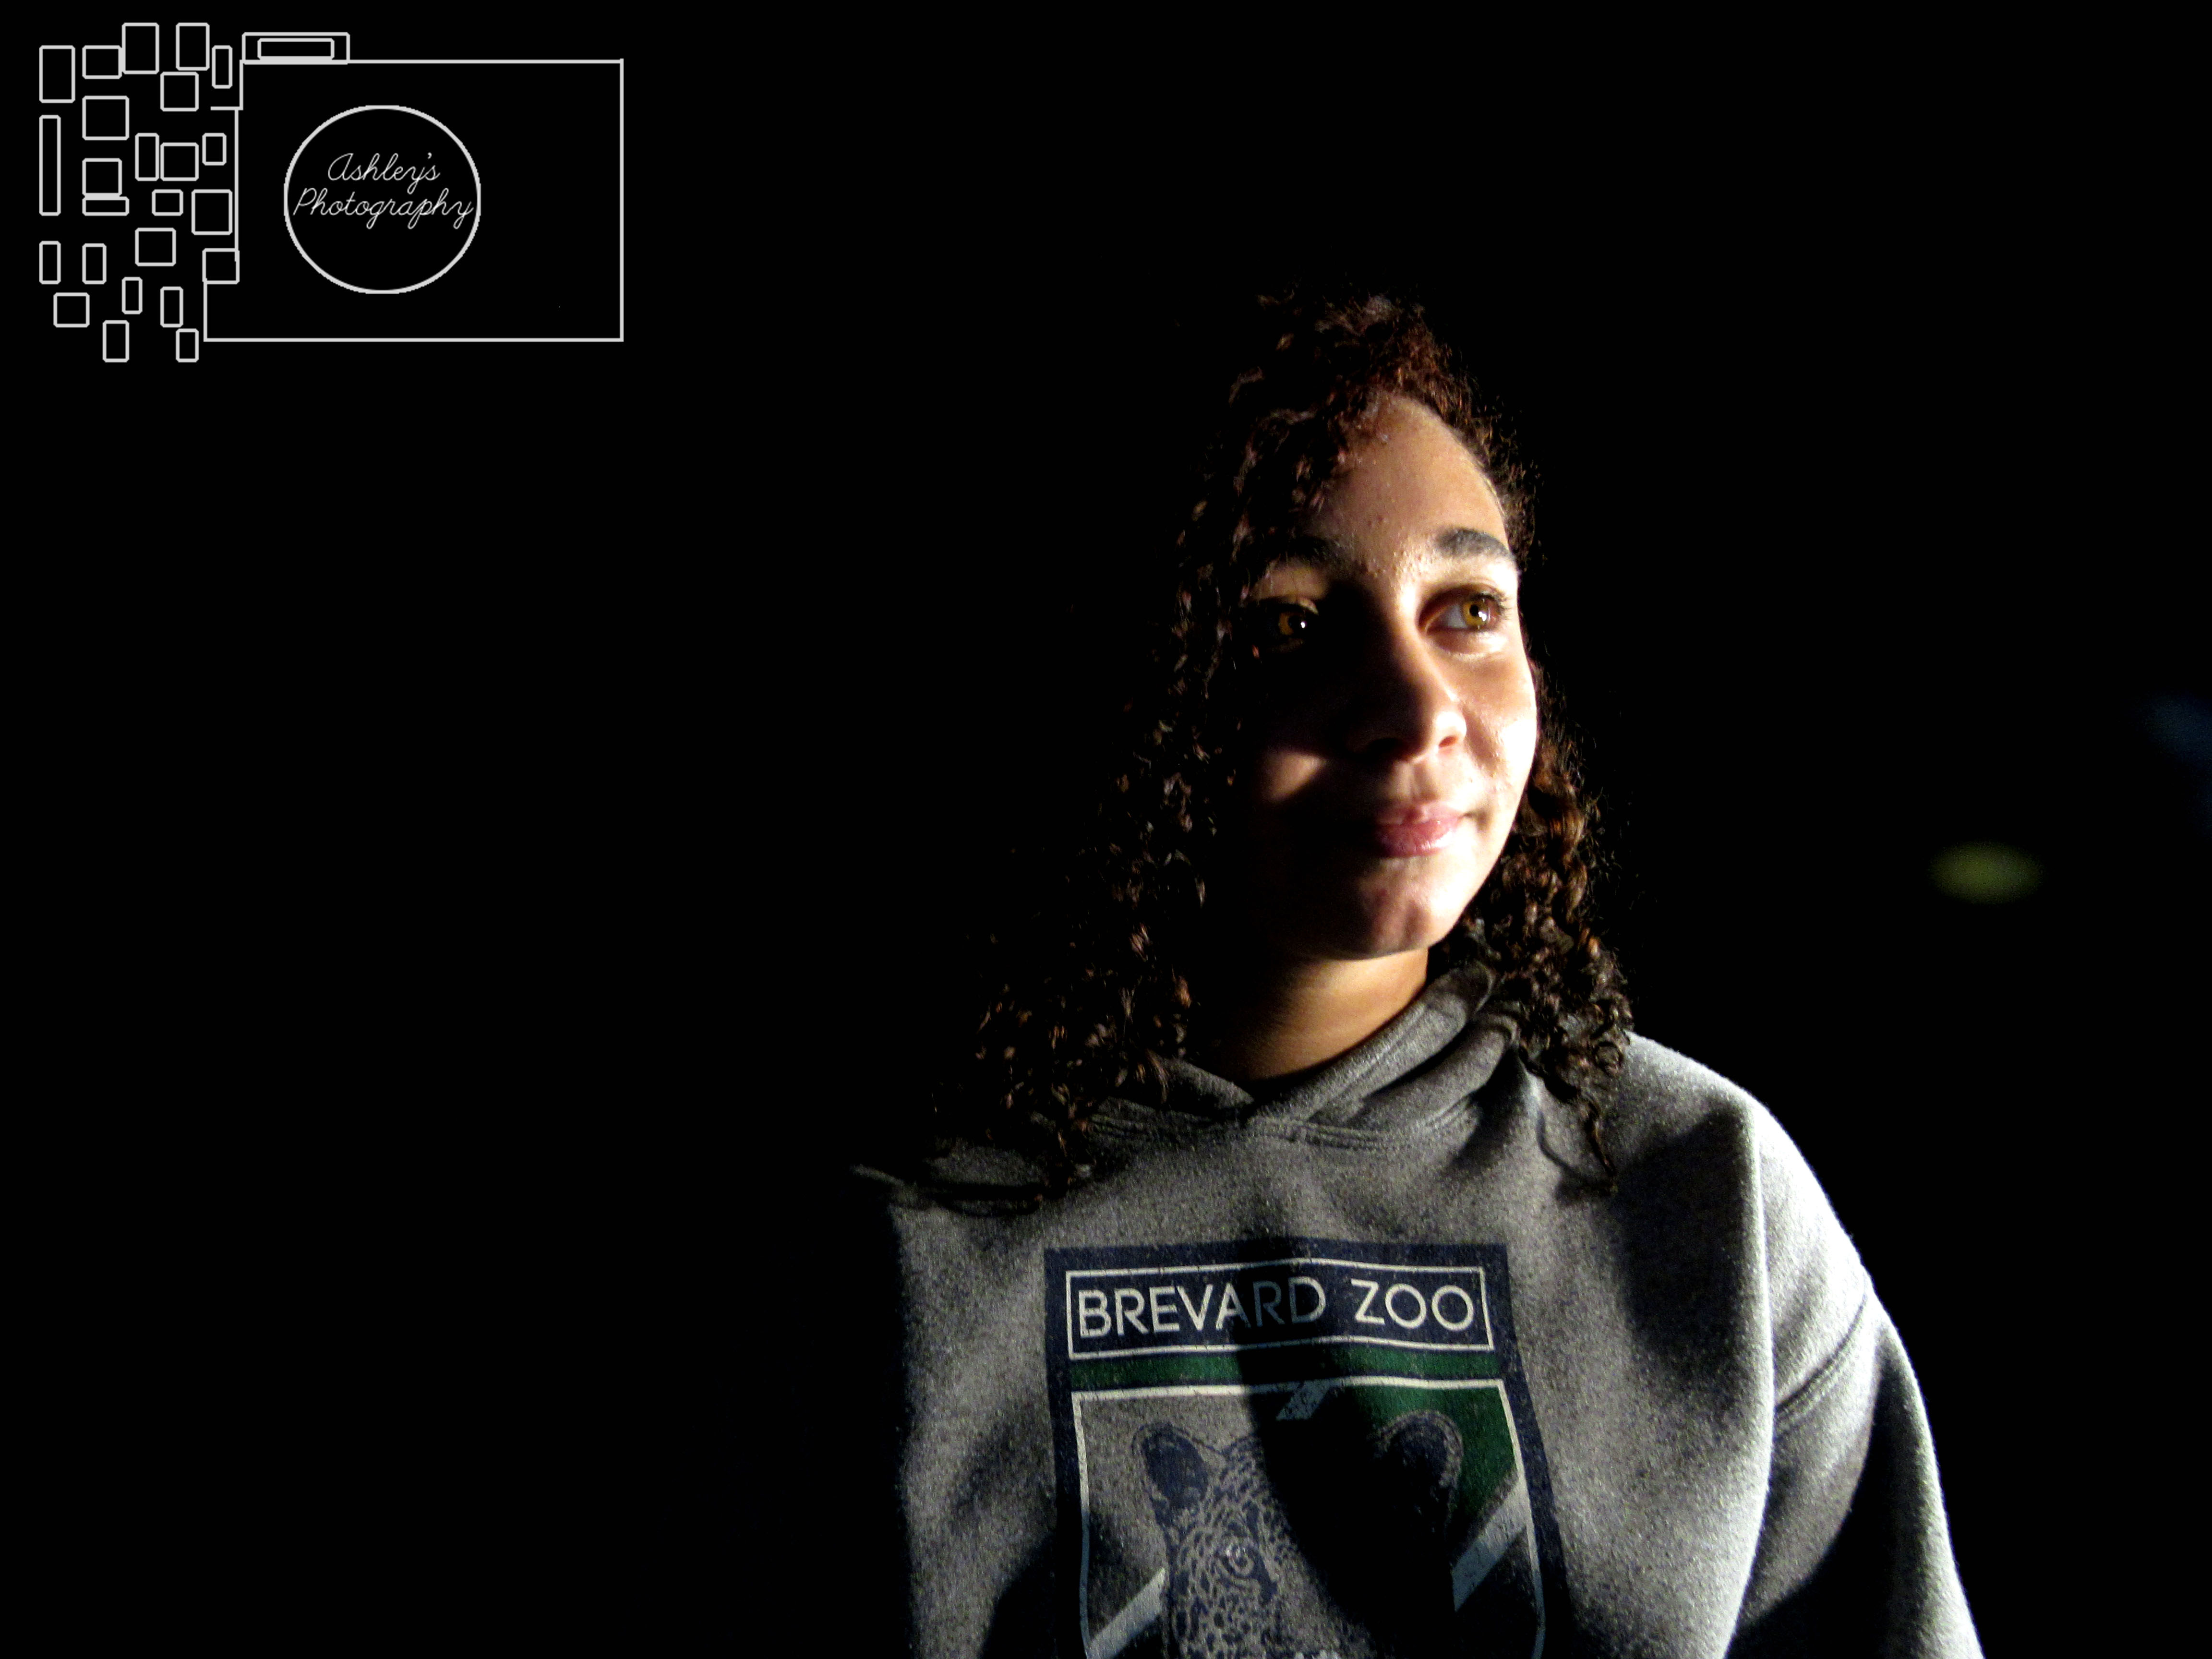
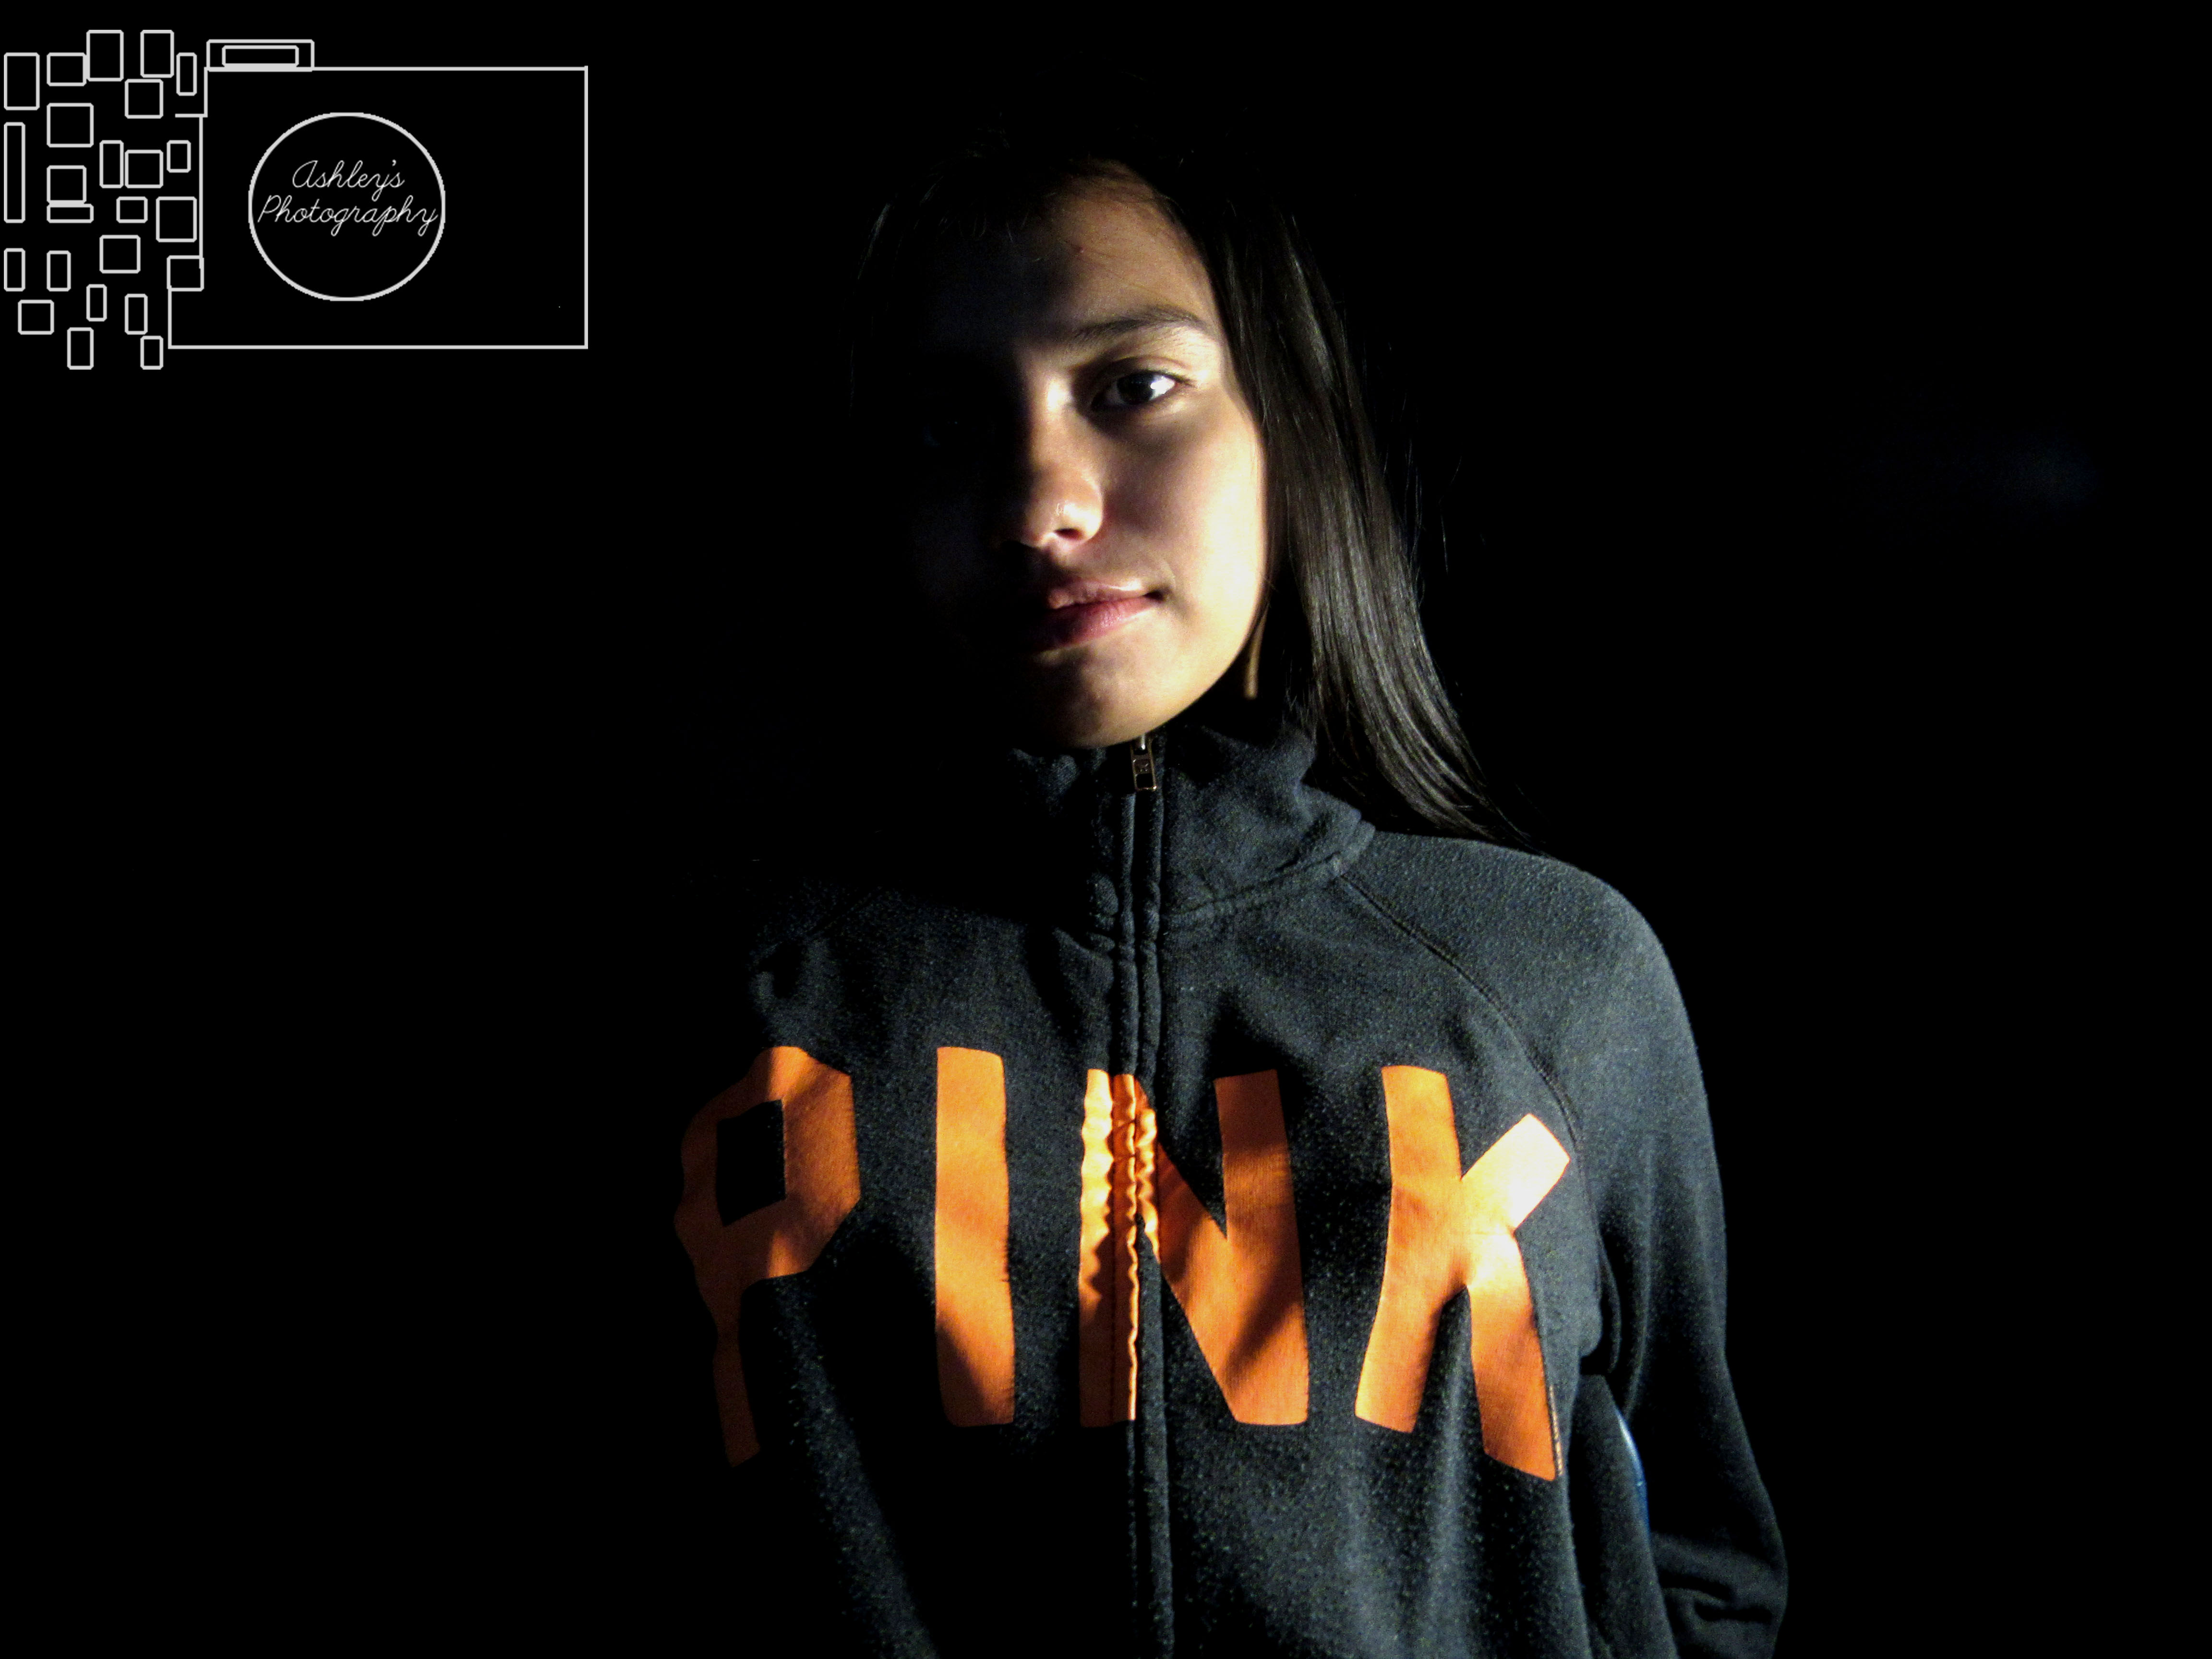
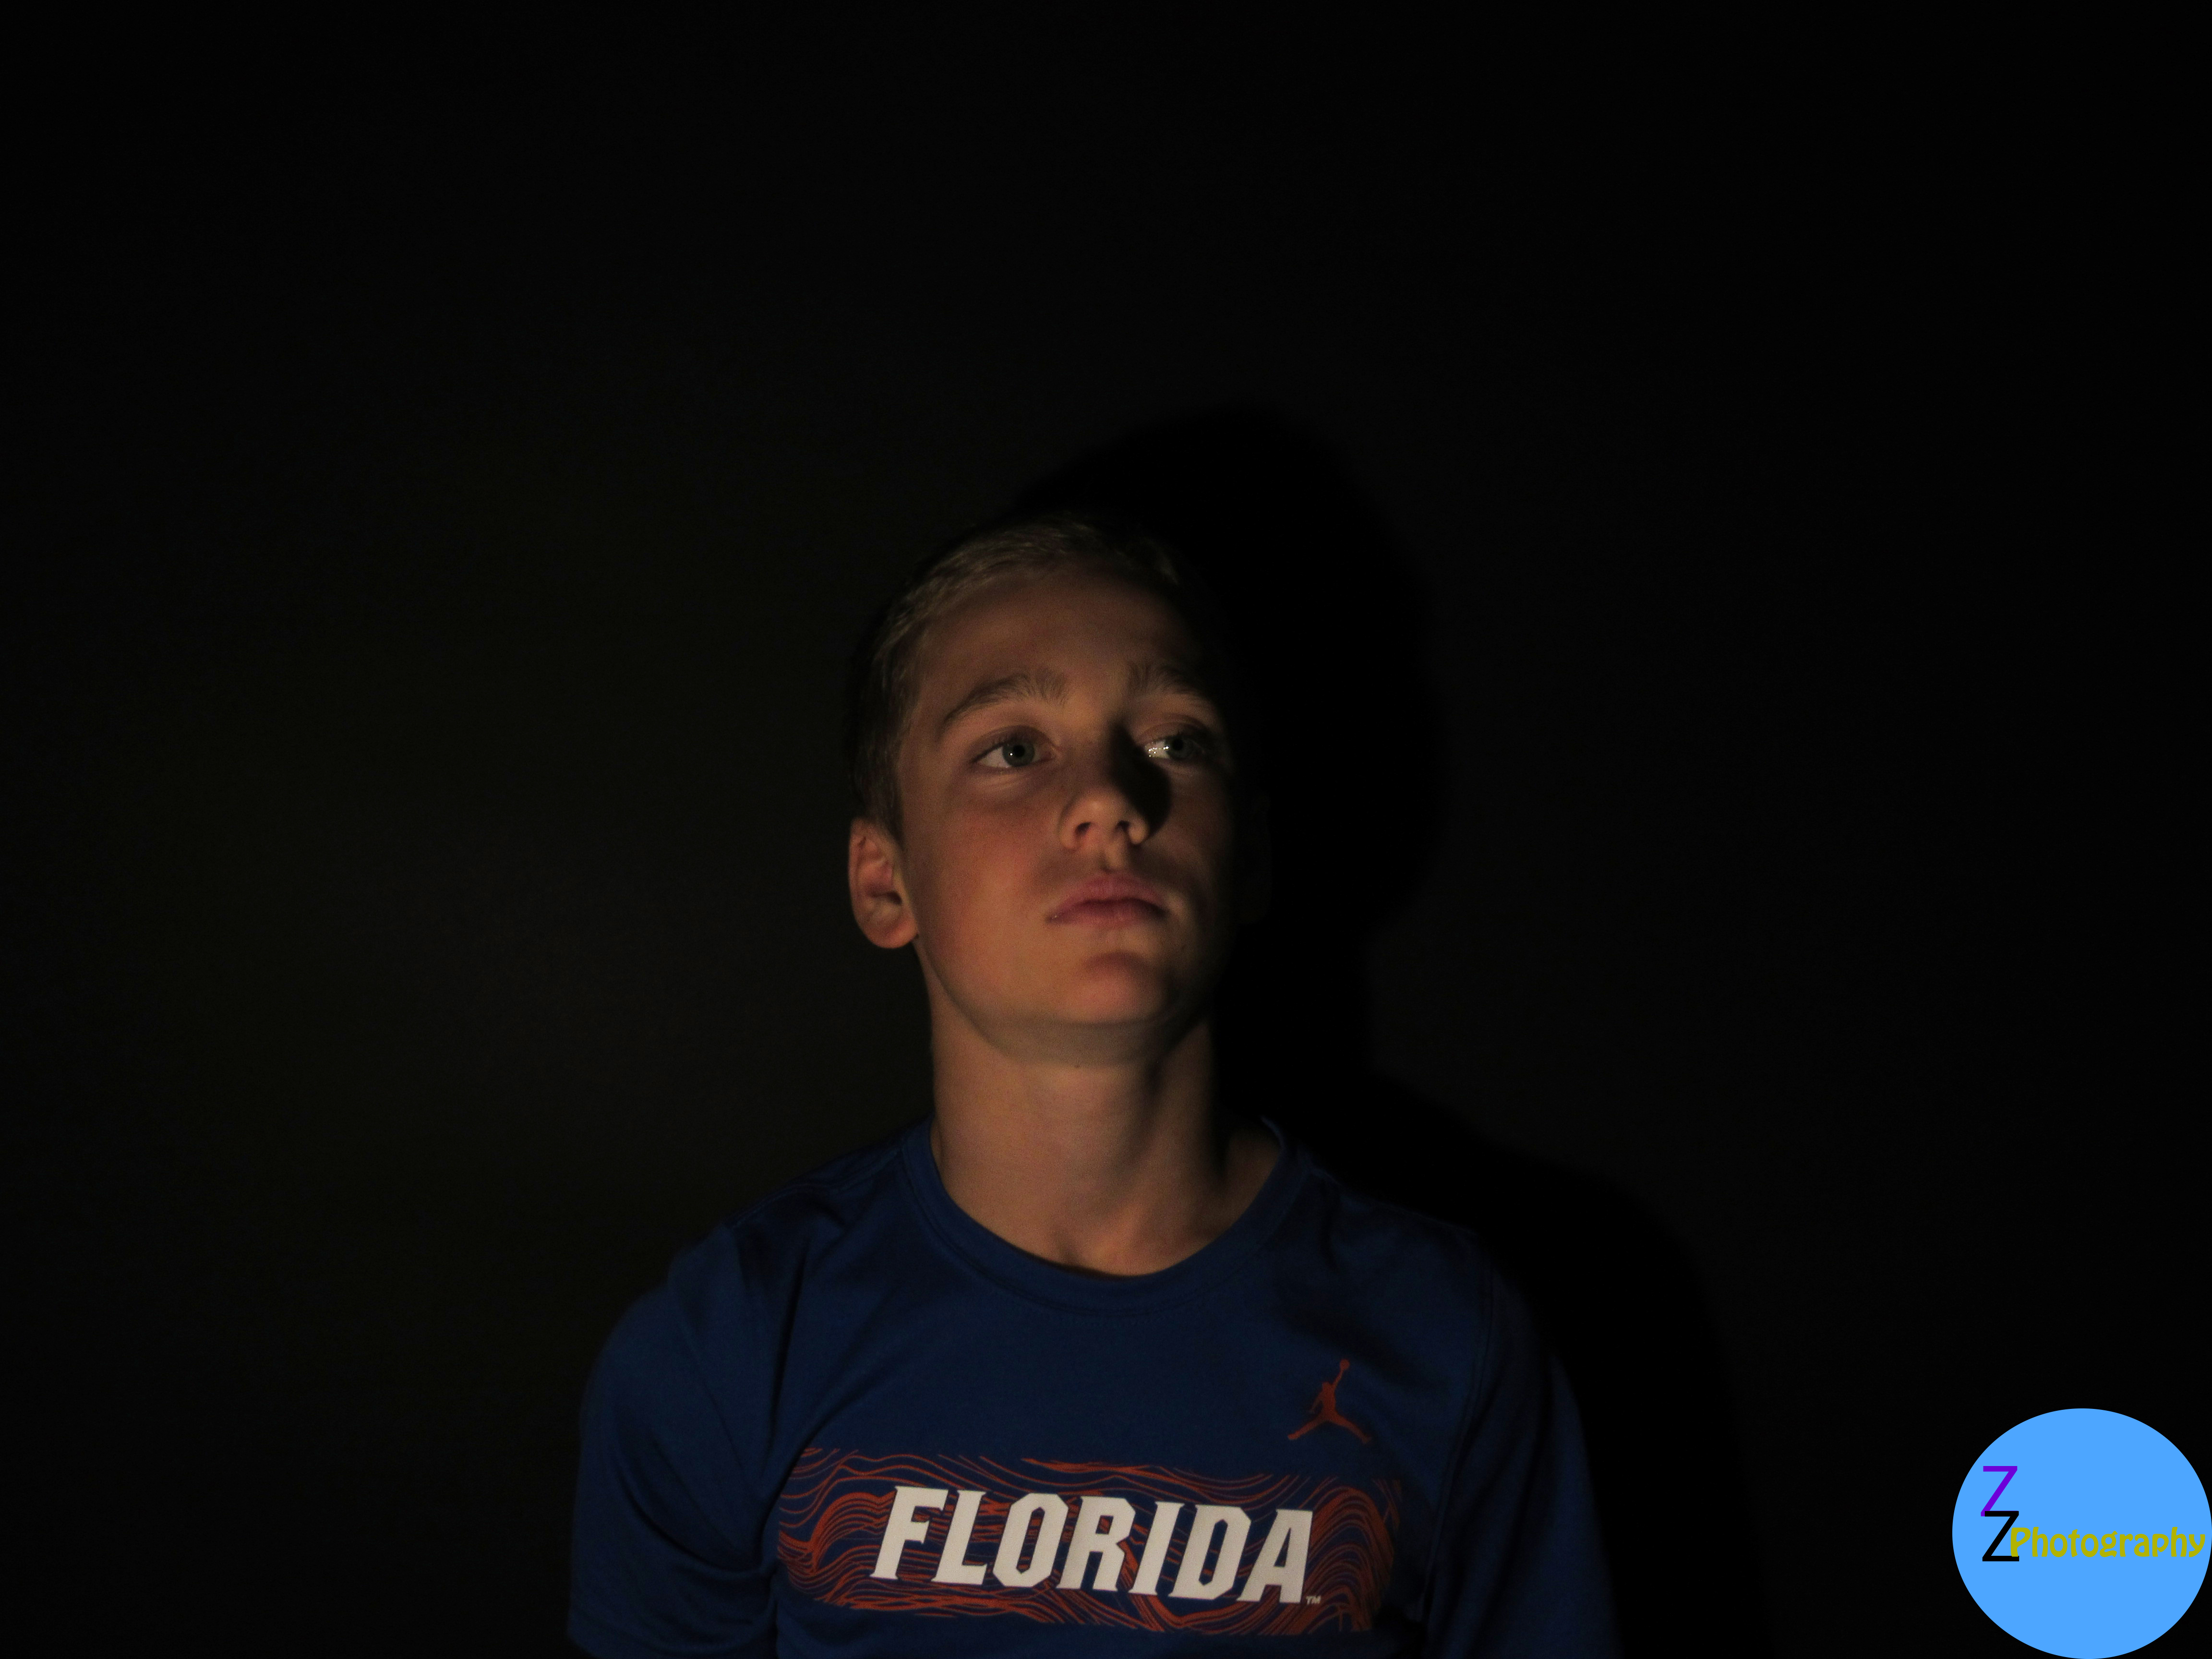
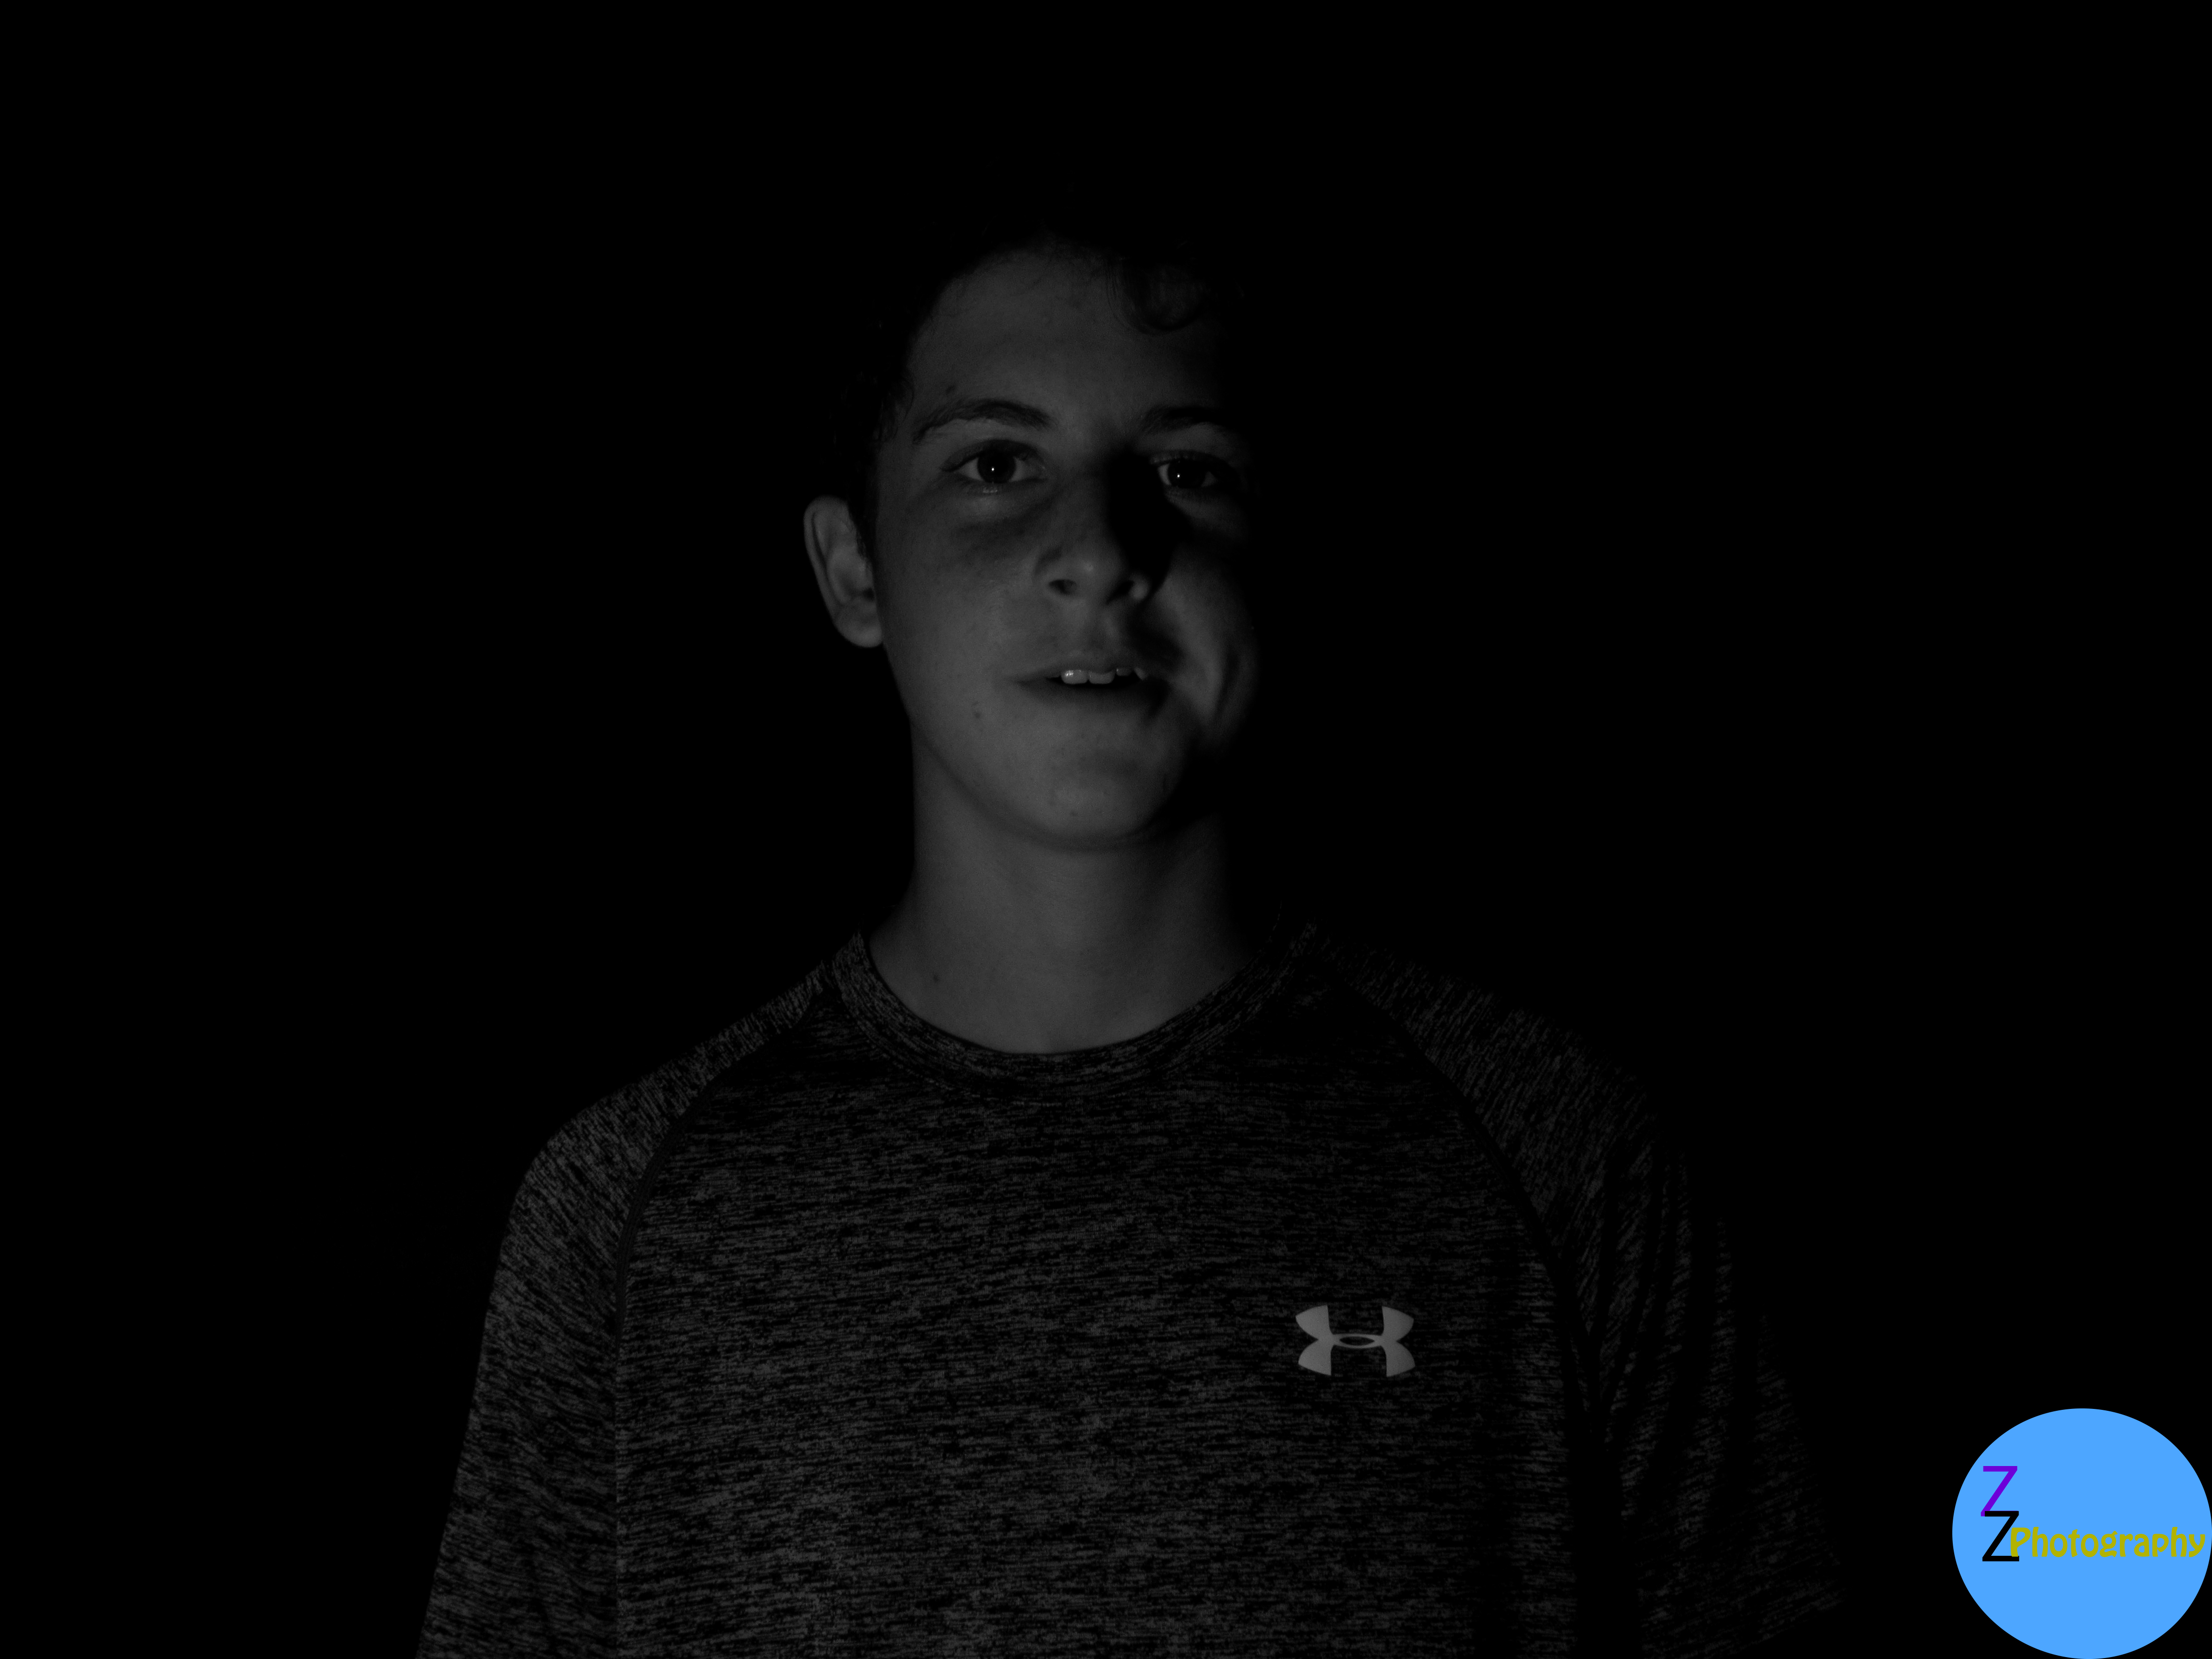
For this project I had to change the shutter speed and the f stop and iso to create a darker background. To edit, I had to adjust some colors to fit into the black background. The lighting was hard to minimize because there were more shadows in our photos. Editing the brightness and contrast helped make the background more infinite worked very well and was quick and easy. 

Click to see the rest of my photos here

Portraits with an Infinite Background

To take the photos for this assignment, we had to take a picture of someone standing in front of a black background with a light shining on them to isolate them from the background. We then had to put it into photoshop and adjust the levels to make the picture look good. It was very easy to adjust the levels in photoshop and it really helped make the picture look good.  Taking the photos, however, took a lot of practice and a lot of focus to make it good. Click here to see the rest of the photos.

Portraits

To take our photos we had to stand near a black background in a way that there was no shadows. We had to change settings on the camera and hold the light in a certain way for there to be no shadows and for the lighting to look good. It worked when we didn’t have too much lighting on the person. What didn’t work when we had the flash on the camera. See my other photos here  

Black Background Portraits

To take and edit my photos i needed a black background and a light and the lights off. Then we needed to go on photo shop and pick the best picture and edited them to make the background better. It worked to make the lighting face the camera inside of make the lighting face the bored and what didn’t work was using the flash on the camera. photo link: HI

Portraits With An Infinite Background

The process for taking photos in front of a black background was just standing in front of the background and taking the picture. For editing I use photo shop to edit the photo and adobe fireworks to add my logo to the photo. Using the light worked well but it was hard because you had to find the correct angle to point the light at so it wouldn’t create shadows. What did not work was standing too close to the background because that also created unwanted shadows. To see more photos click here.

Portraits with an Infinite Background

The process for taking these photos consisted of taking pictures in front of a black background using multiple camera settings to portray an infinite background. After we took the pictures, we edited them in Photoshop so that the background was completely black. Then, I added my, “dark logo,” so that you can see my logo. In this project, the tripod worked well. The tripod allowed us to take better photos because the camera didn’t move. The lighting didn’t work for us because it was hard to figure out where the placing of the light should go. If we didn’t get the lighting right, there was a shadow. Click here to see the rest of our photos, here.

Black Background

So, to take our pictures, we had to try and keep the round black, while shining the light on people so that they can be seen. We also photo shopped the light to make it look right. Nothing worked the first time, but the second time it was DECENT. If you want to see more click here

Portraits with Infinite Background: Part 2

For this assignment we had to take photos using a black background and make it appear as if there was no background. We had to light the person not the background so it would not cast a shadow to take the photos. This was challenging when doing poses because sometimes you can’t see the shadows on the person until after they are uploaded. Using a light brighter than two iPhone flashlights worked the best for lighting. Most of the photos were better when the person was closer to the camera lens. Using lights to light a person from underneath often didn’t work due to their own shadows. The lights we used were hard to keep your eyes open if the light was being shinned on you. We edited these photos only with brightness and contrast and curves to make the lighting better. Here are some of the best photos from this assignment. 

Black Background

Our group had to take pictures of everyone in the group with a black background. We had to cover half the light with our bodies and and made the shutter slower. We kept changing the settings trying to find a way to take them efficiently. You can find the rest of the photos here. 

Portraits With Black Background

To take pictures we used the camera on manual and used a light to put it on the person, not on the background.  We stood in front of the light so it won’t get on the black background.  I would say what didn’t work was putting the light on the background, it made the background stay brighter then its supposed to be.  What worked was turning the person lighter, so the background looks like a black hole.  If you want to see all my pictures click here