Portraits: Black Background

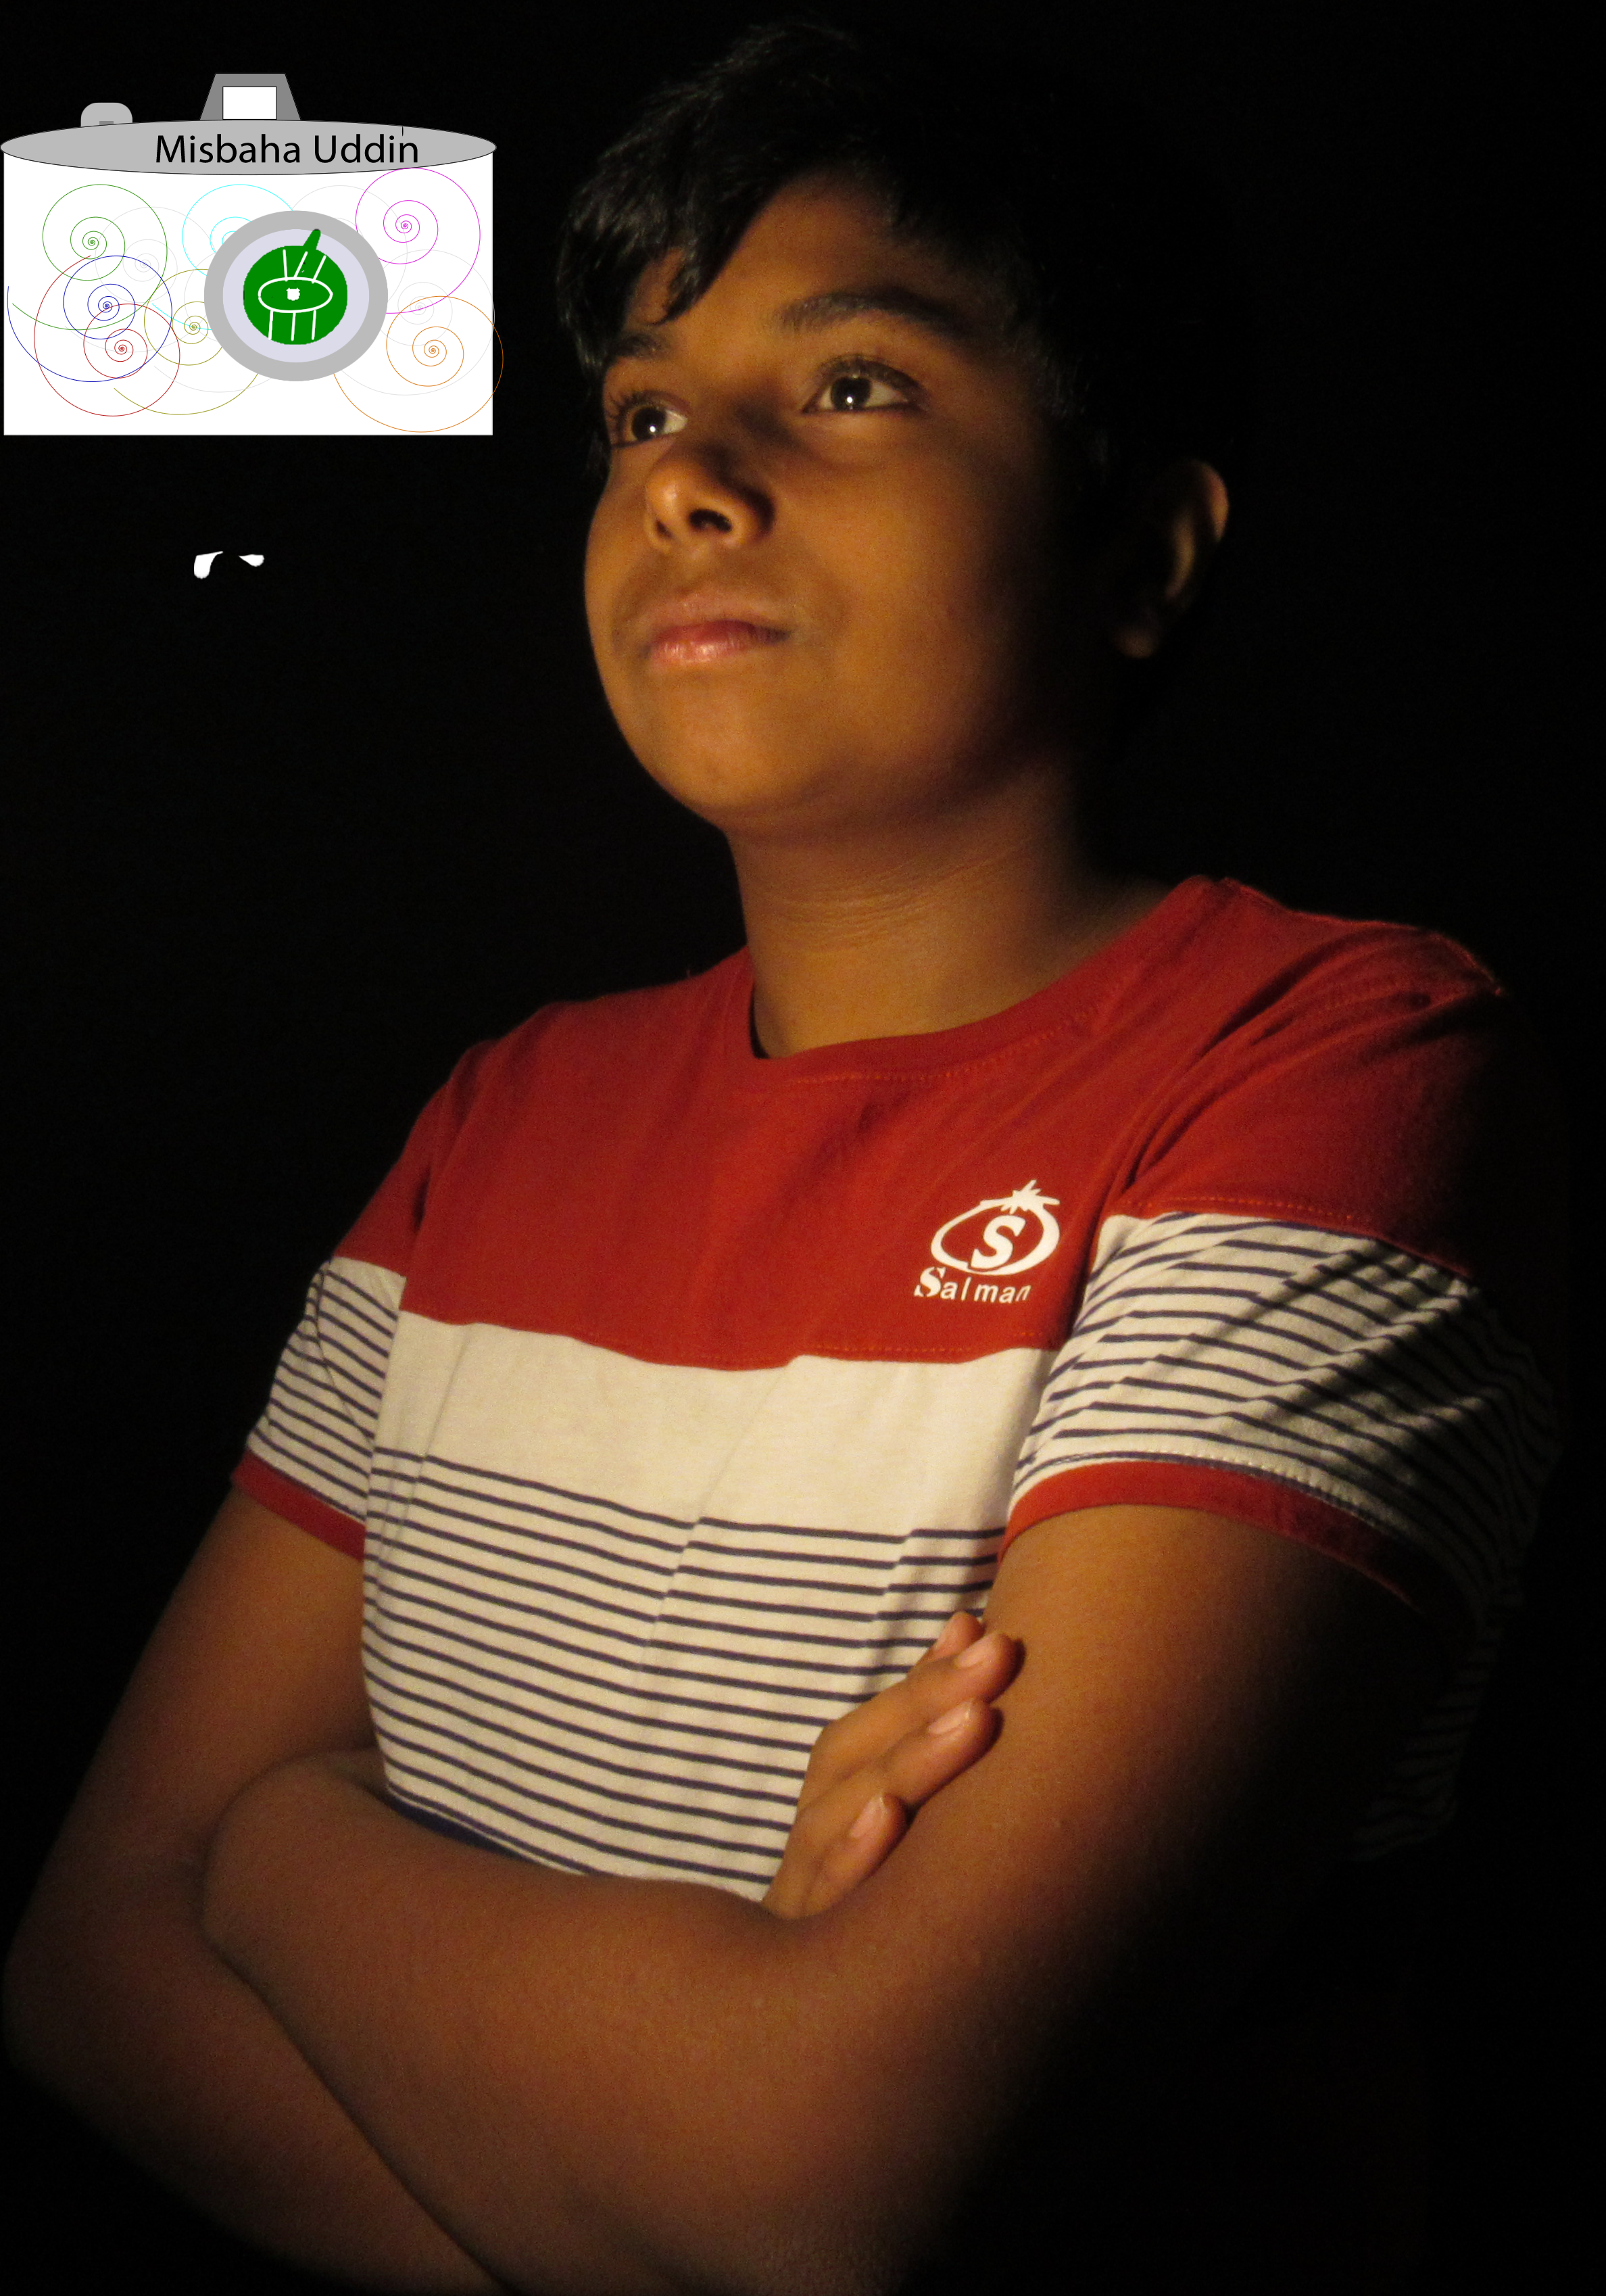
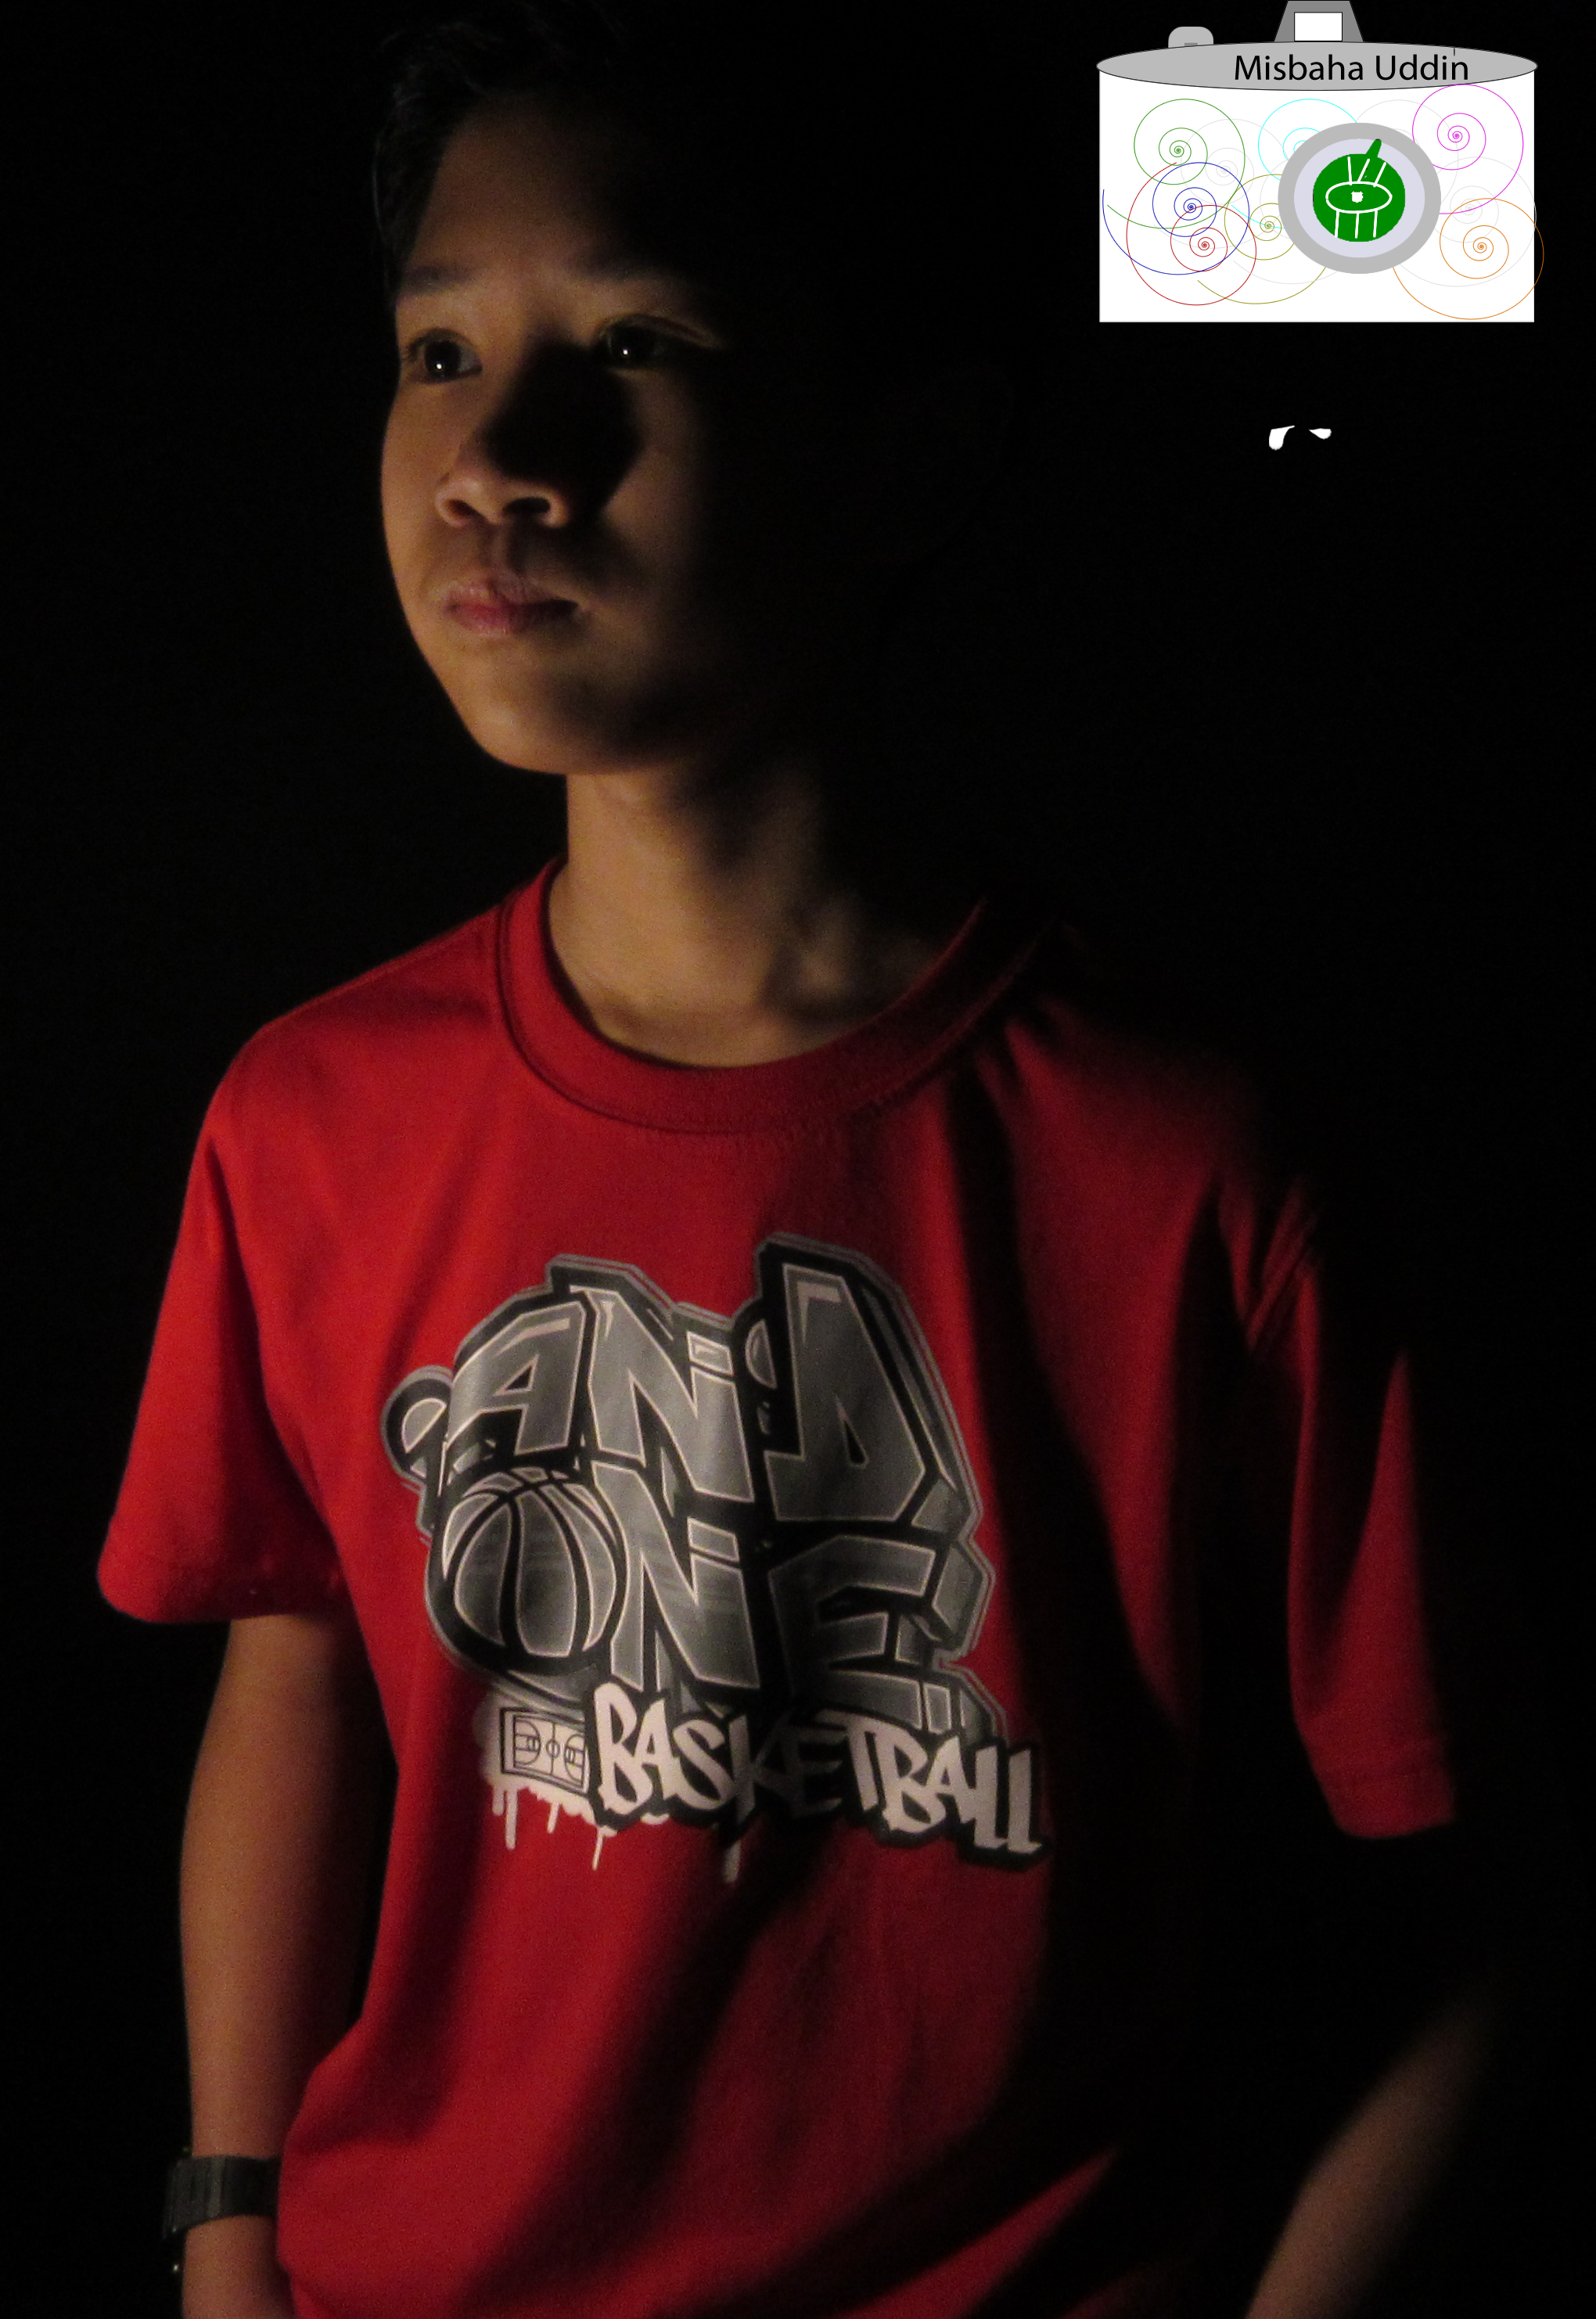
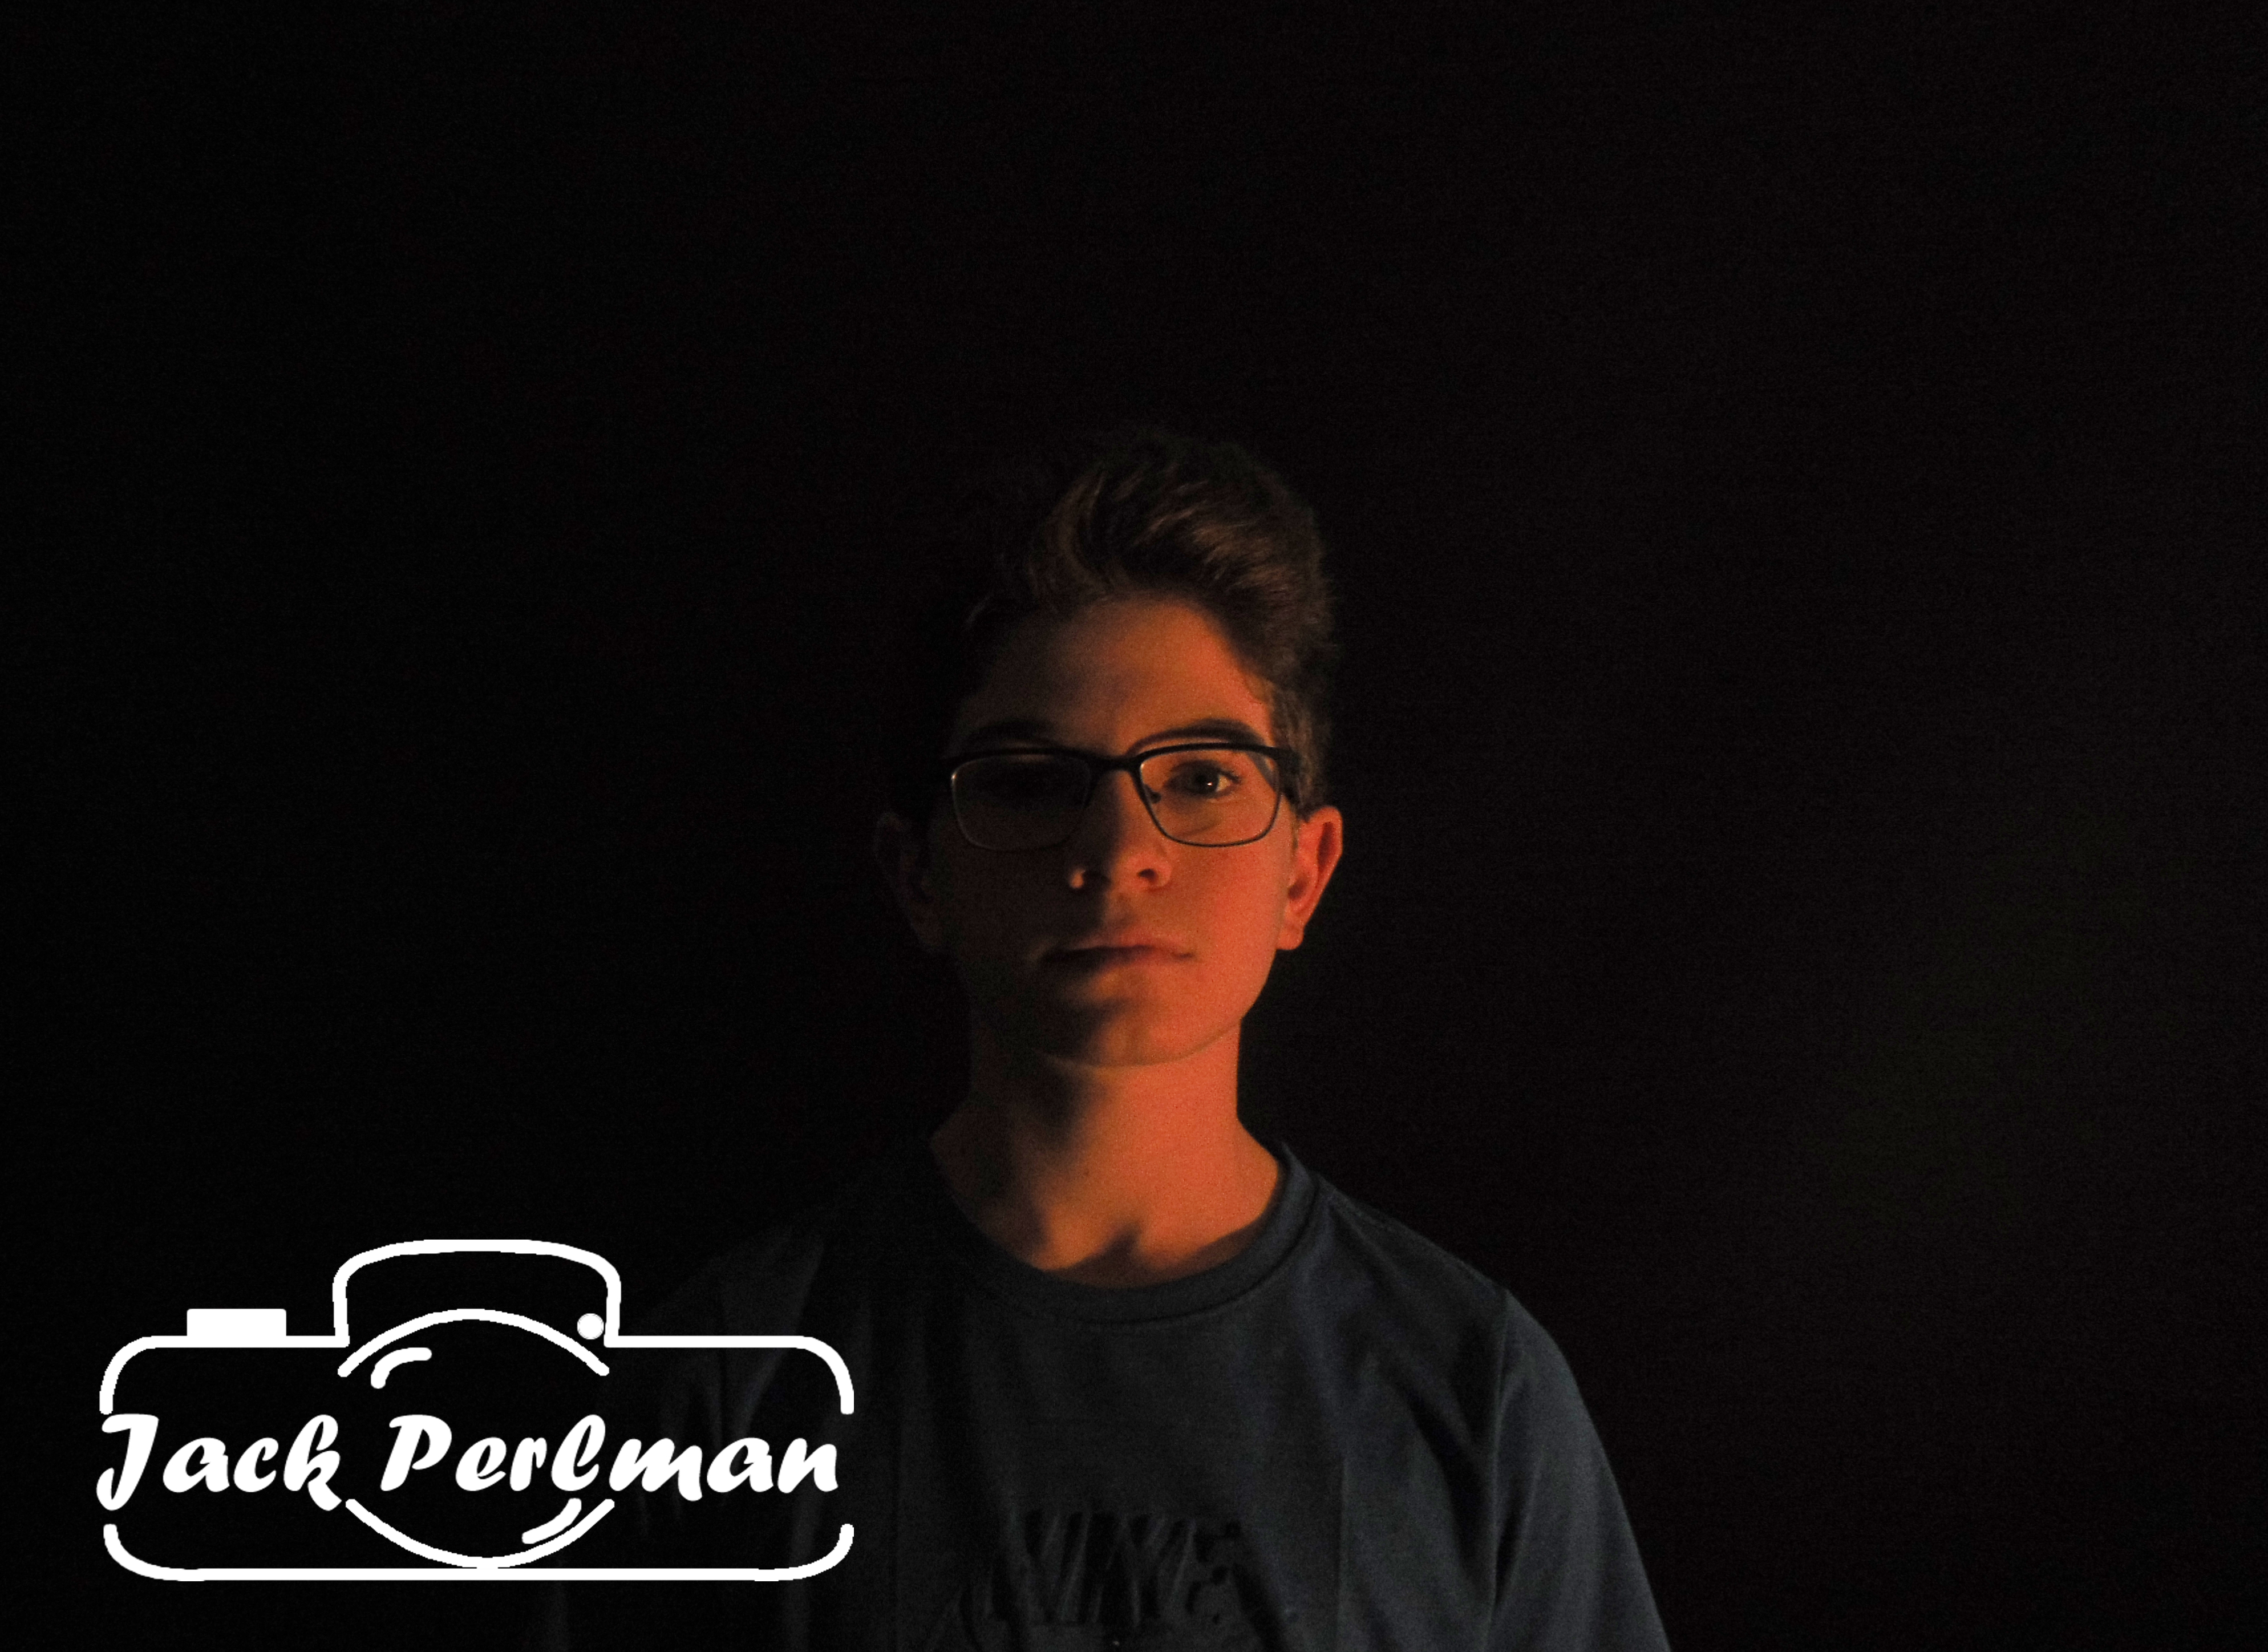
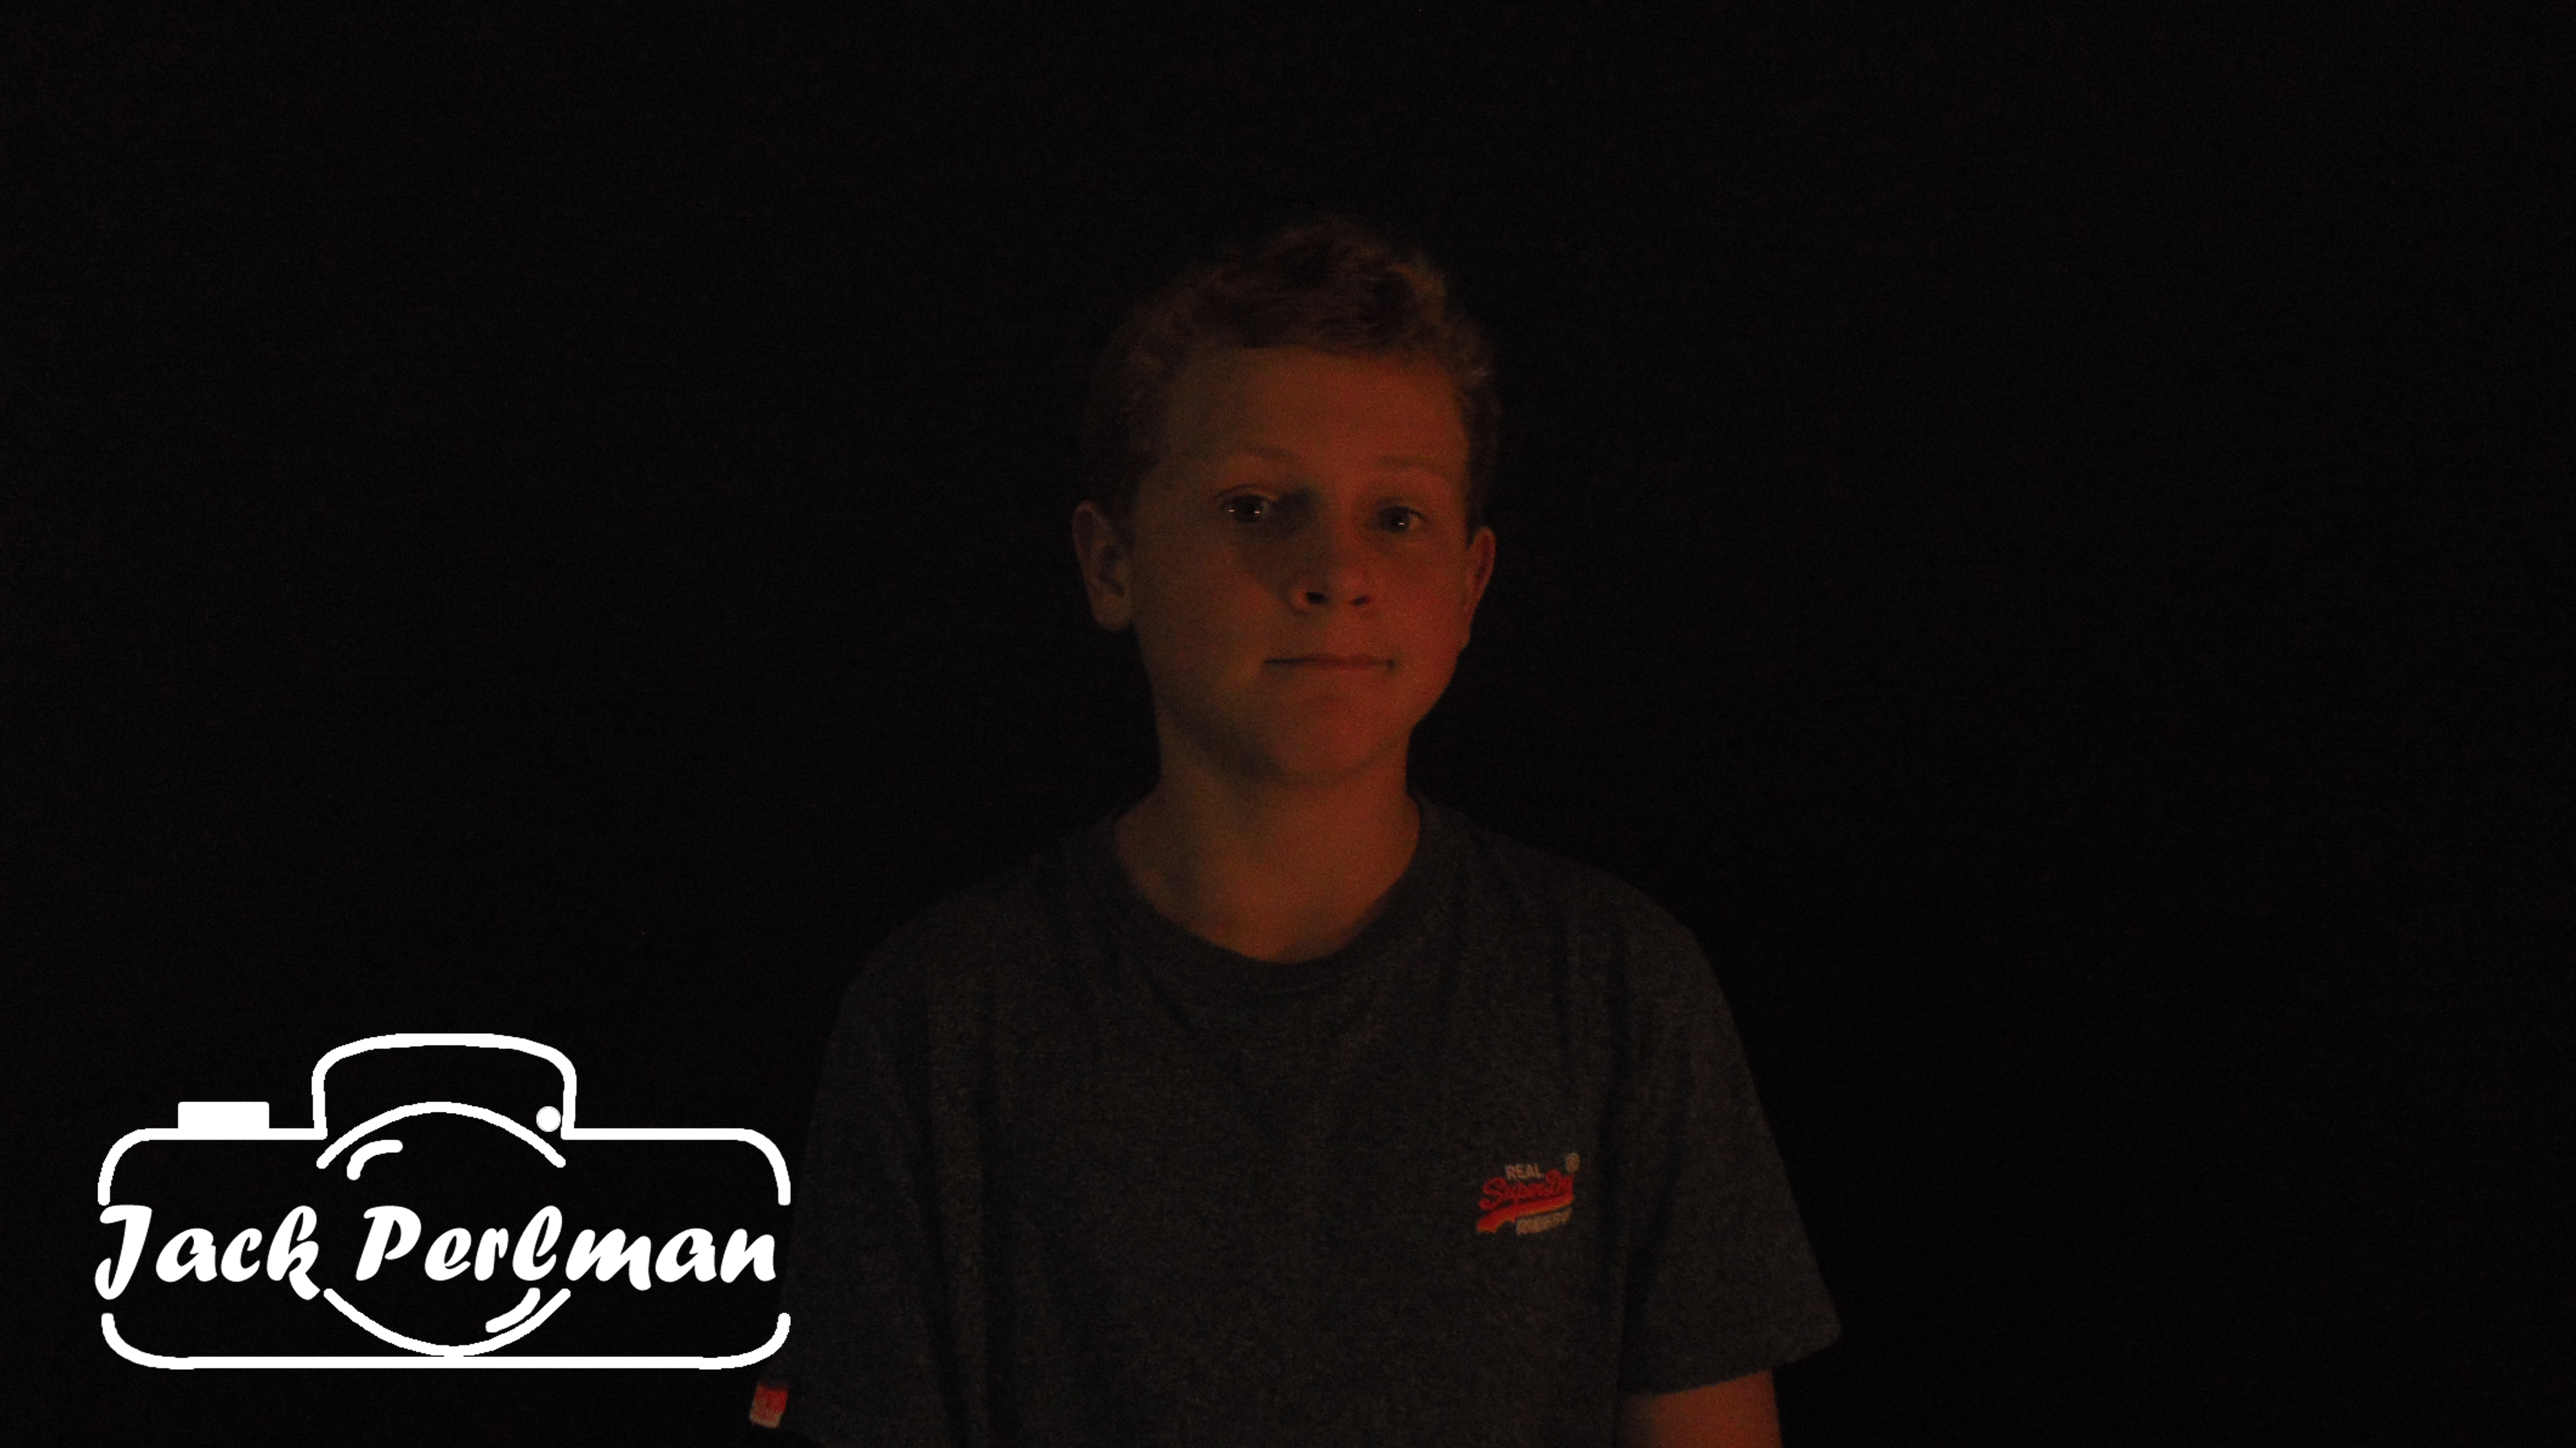
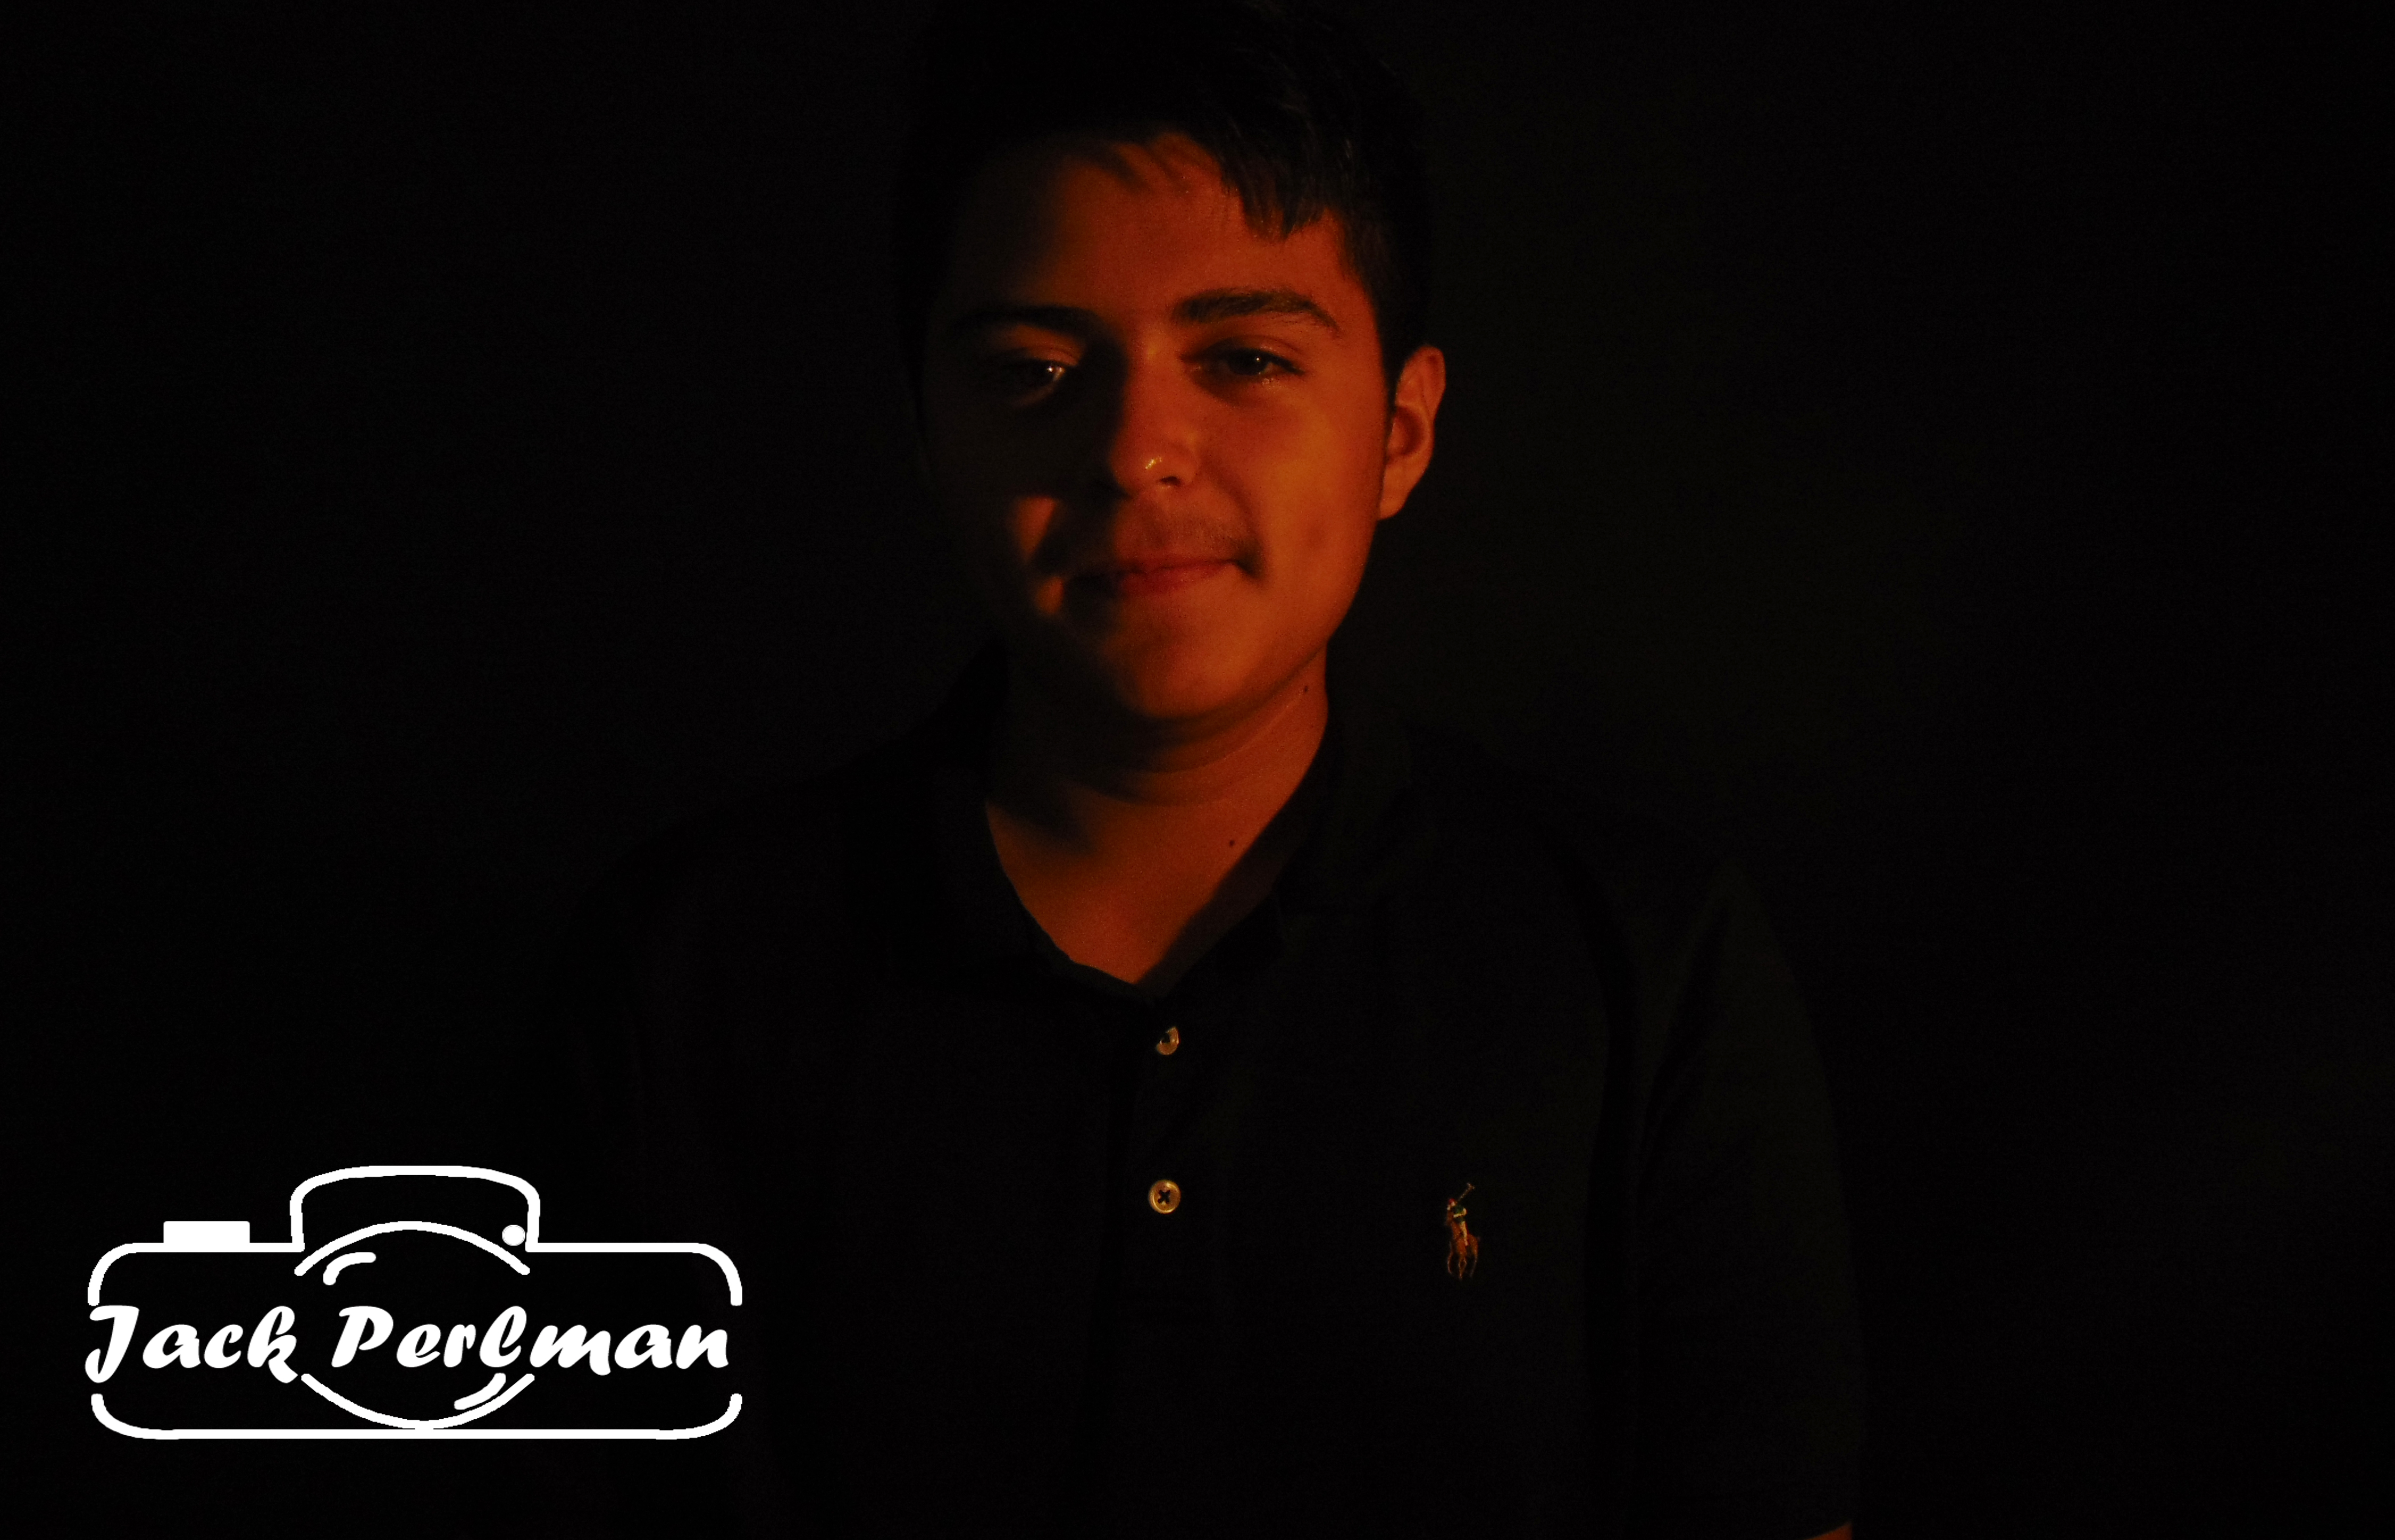
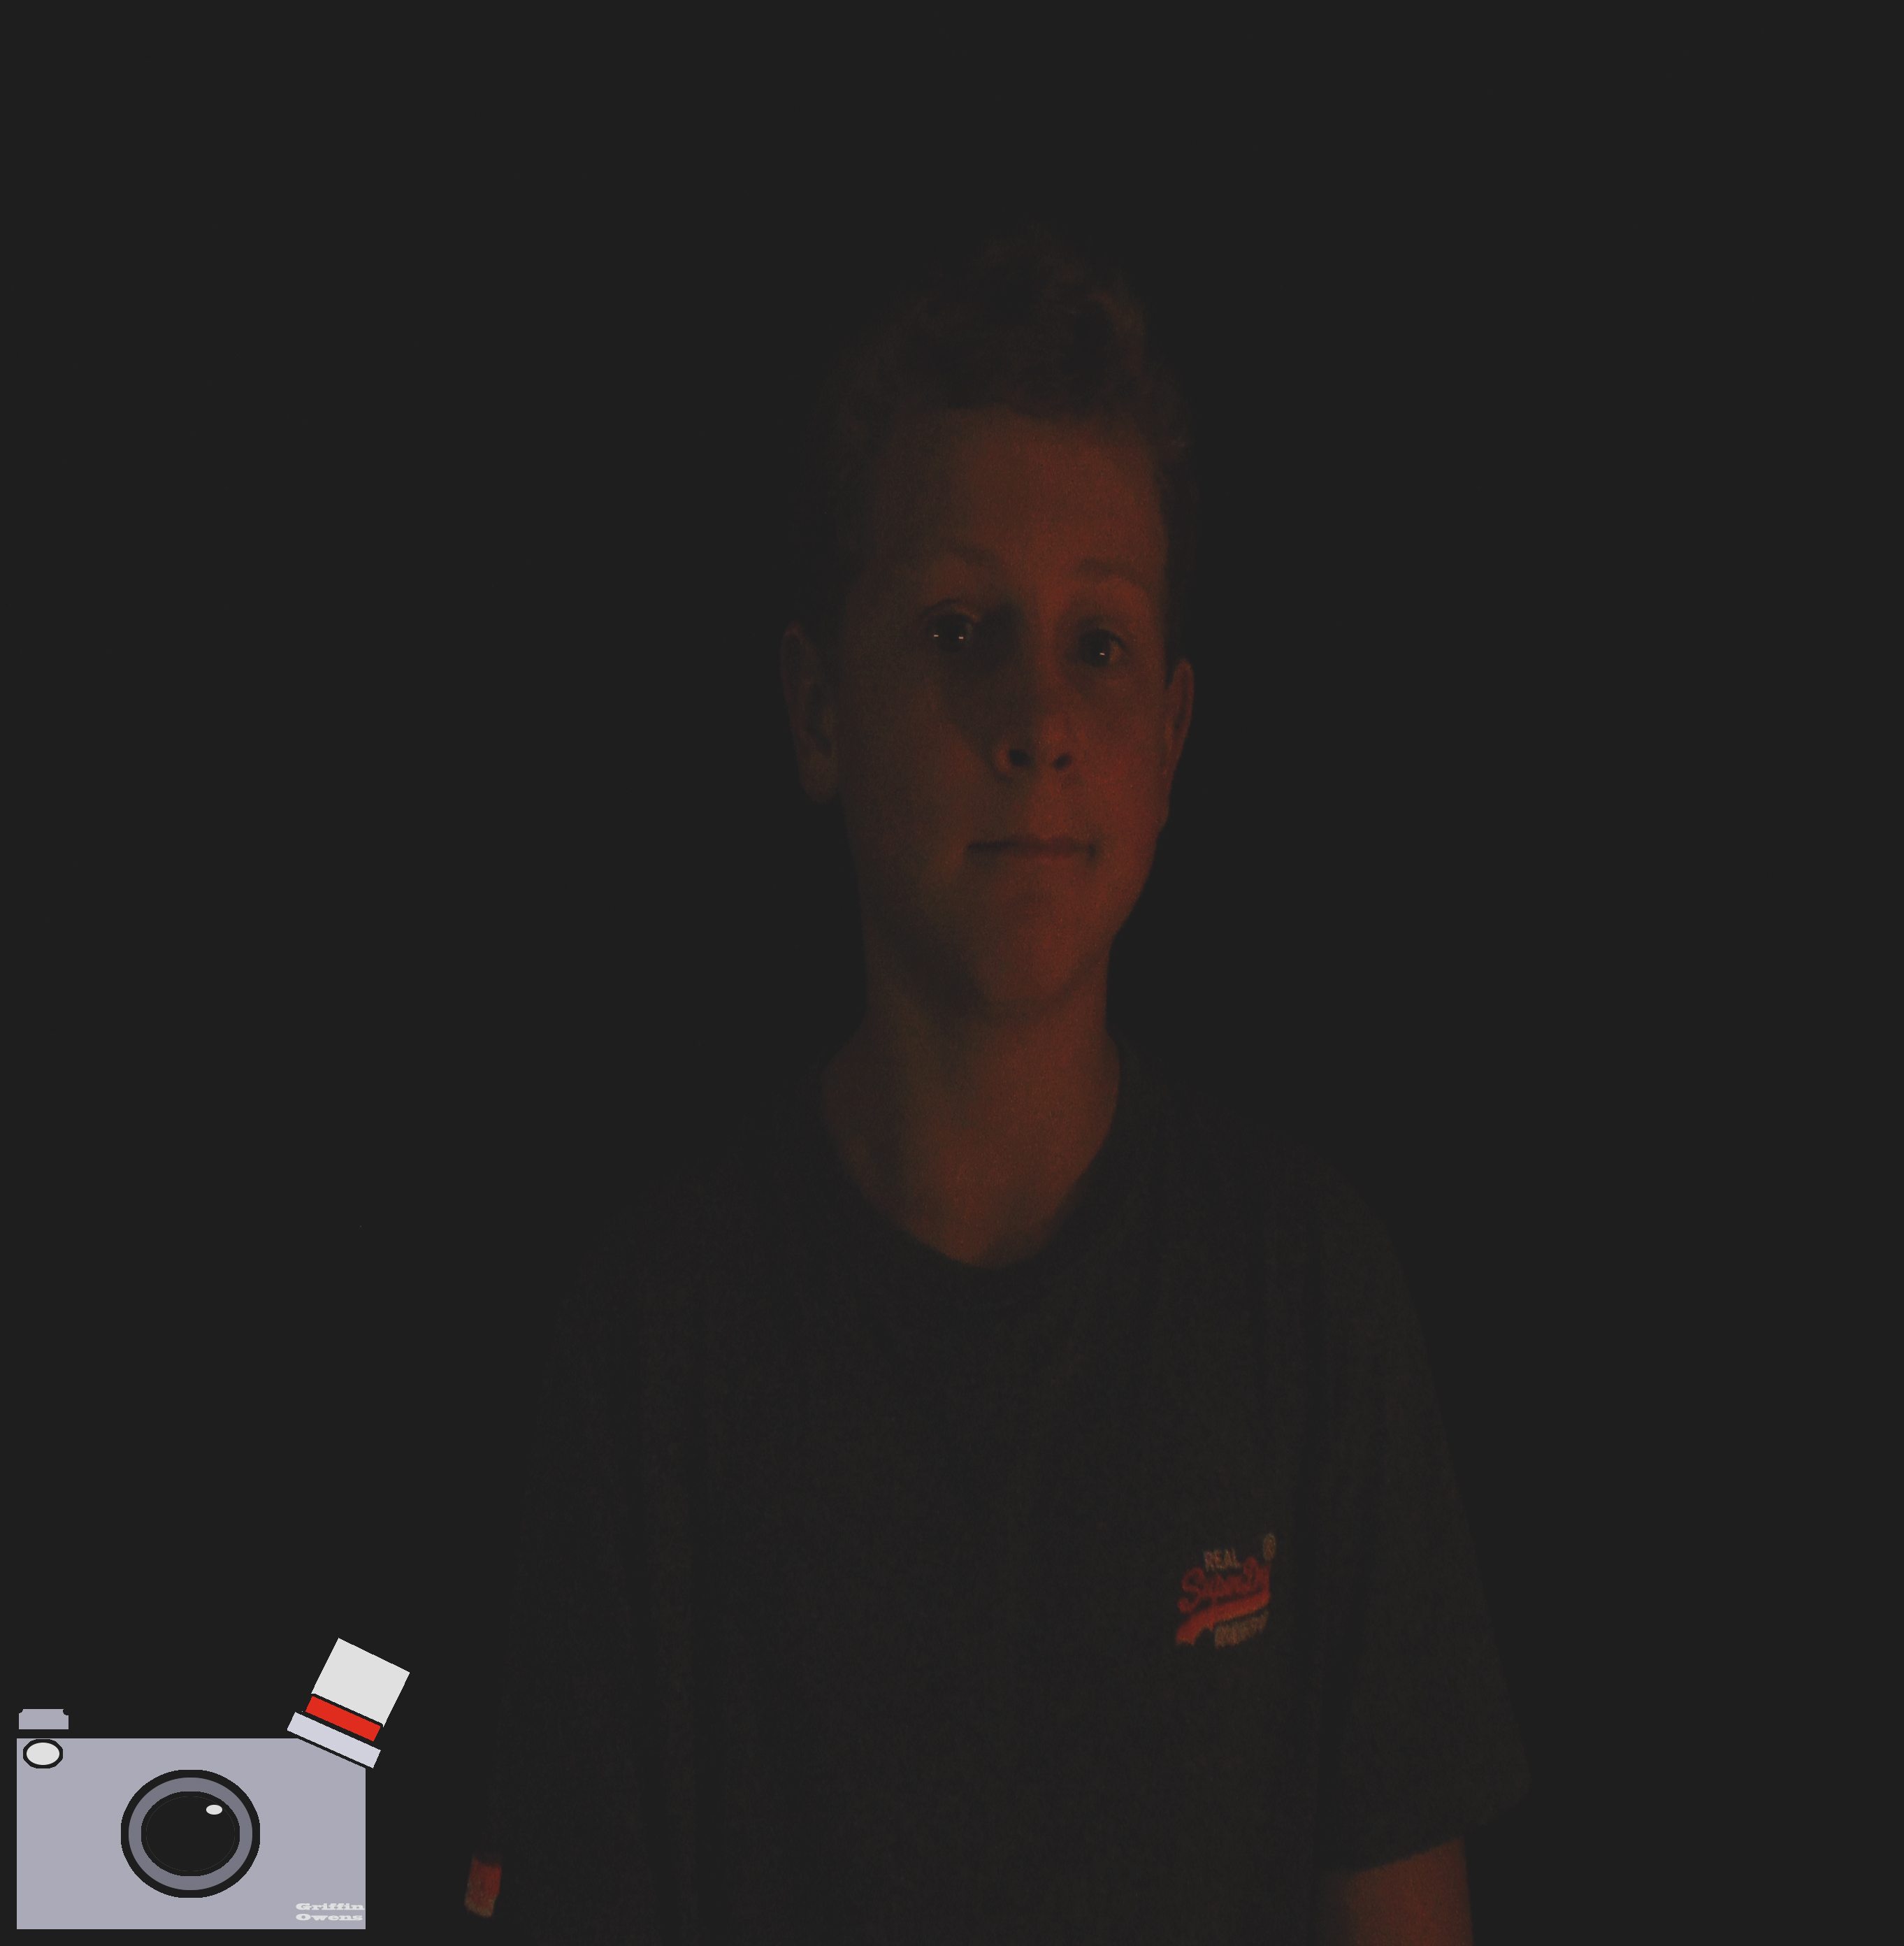
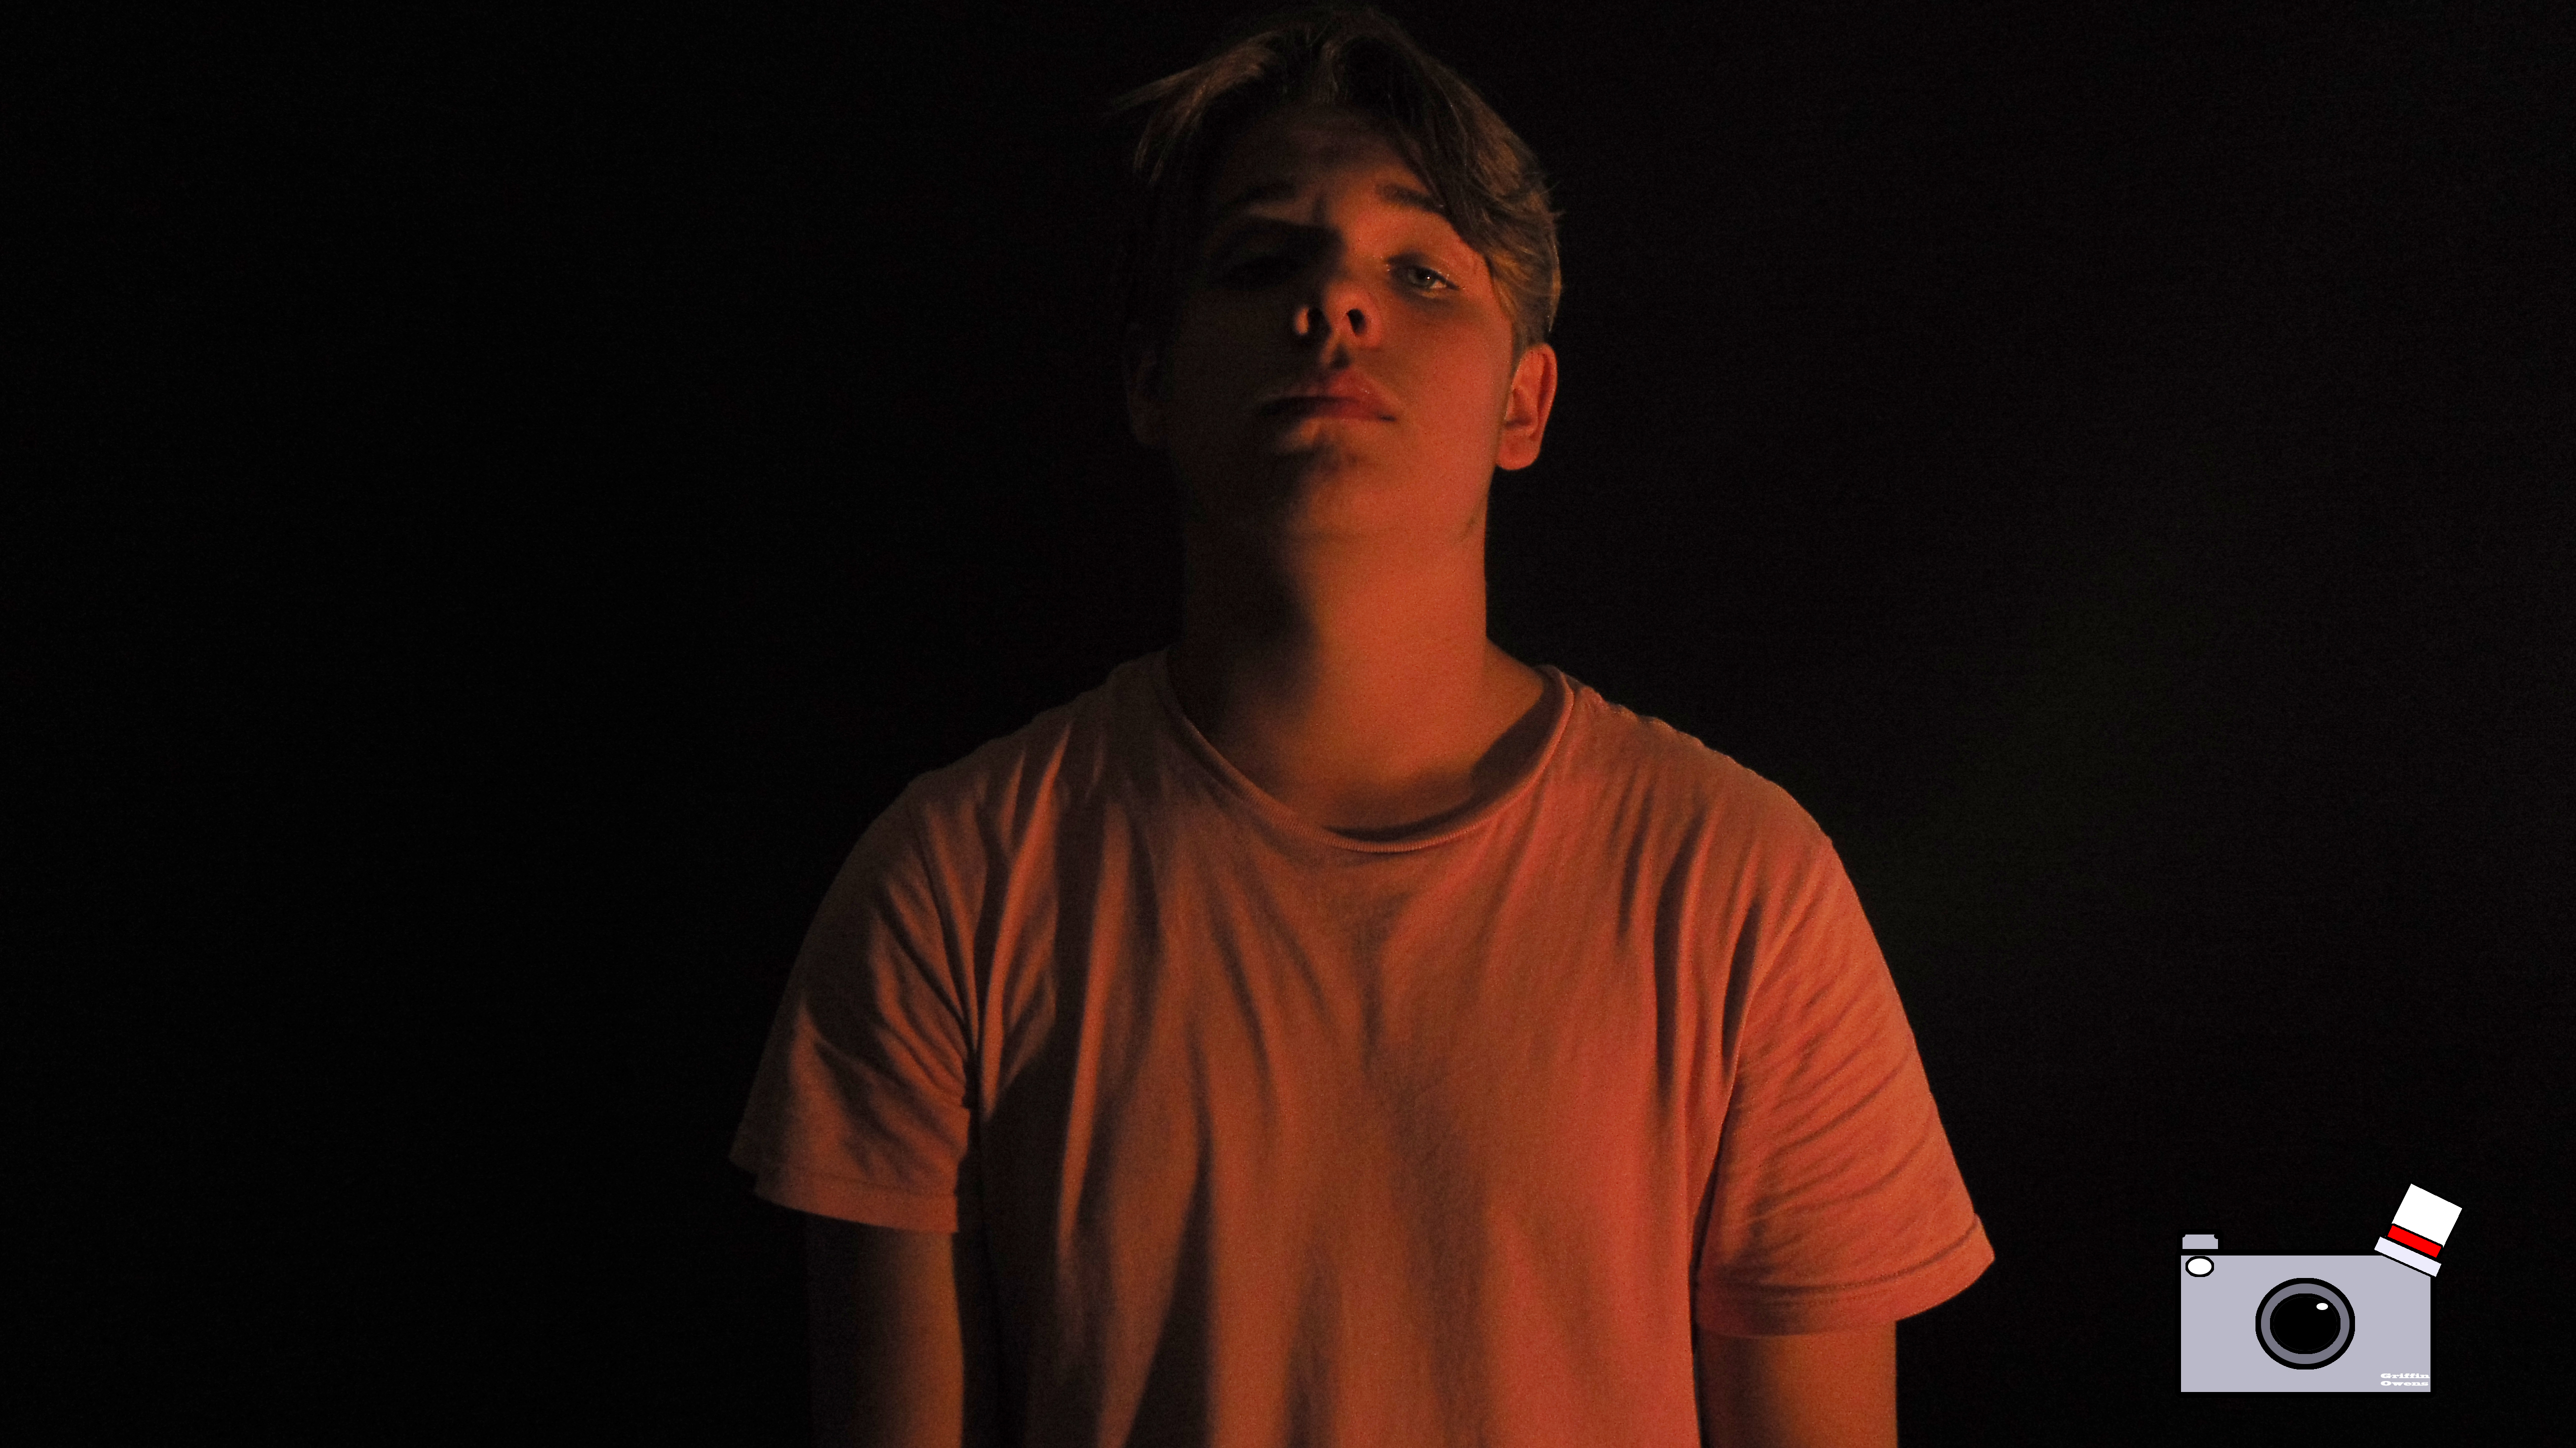
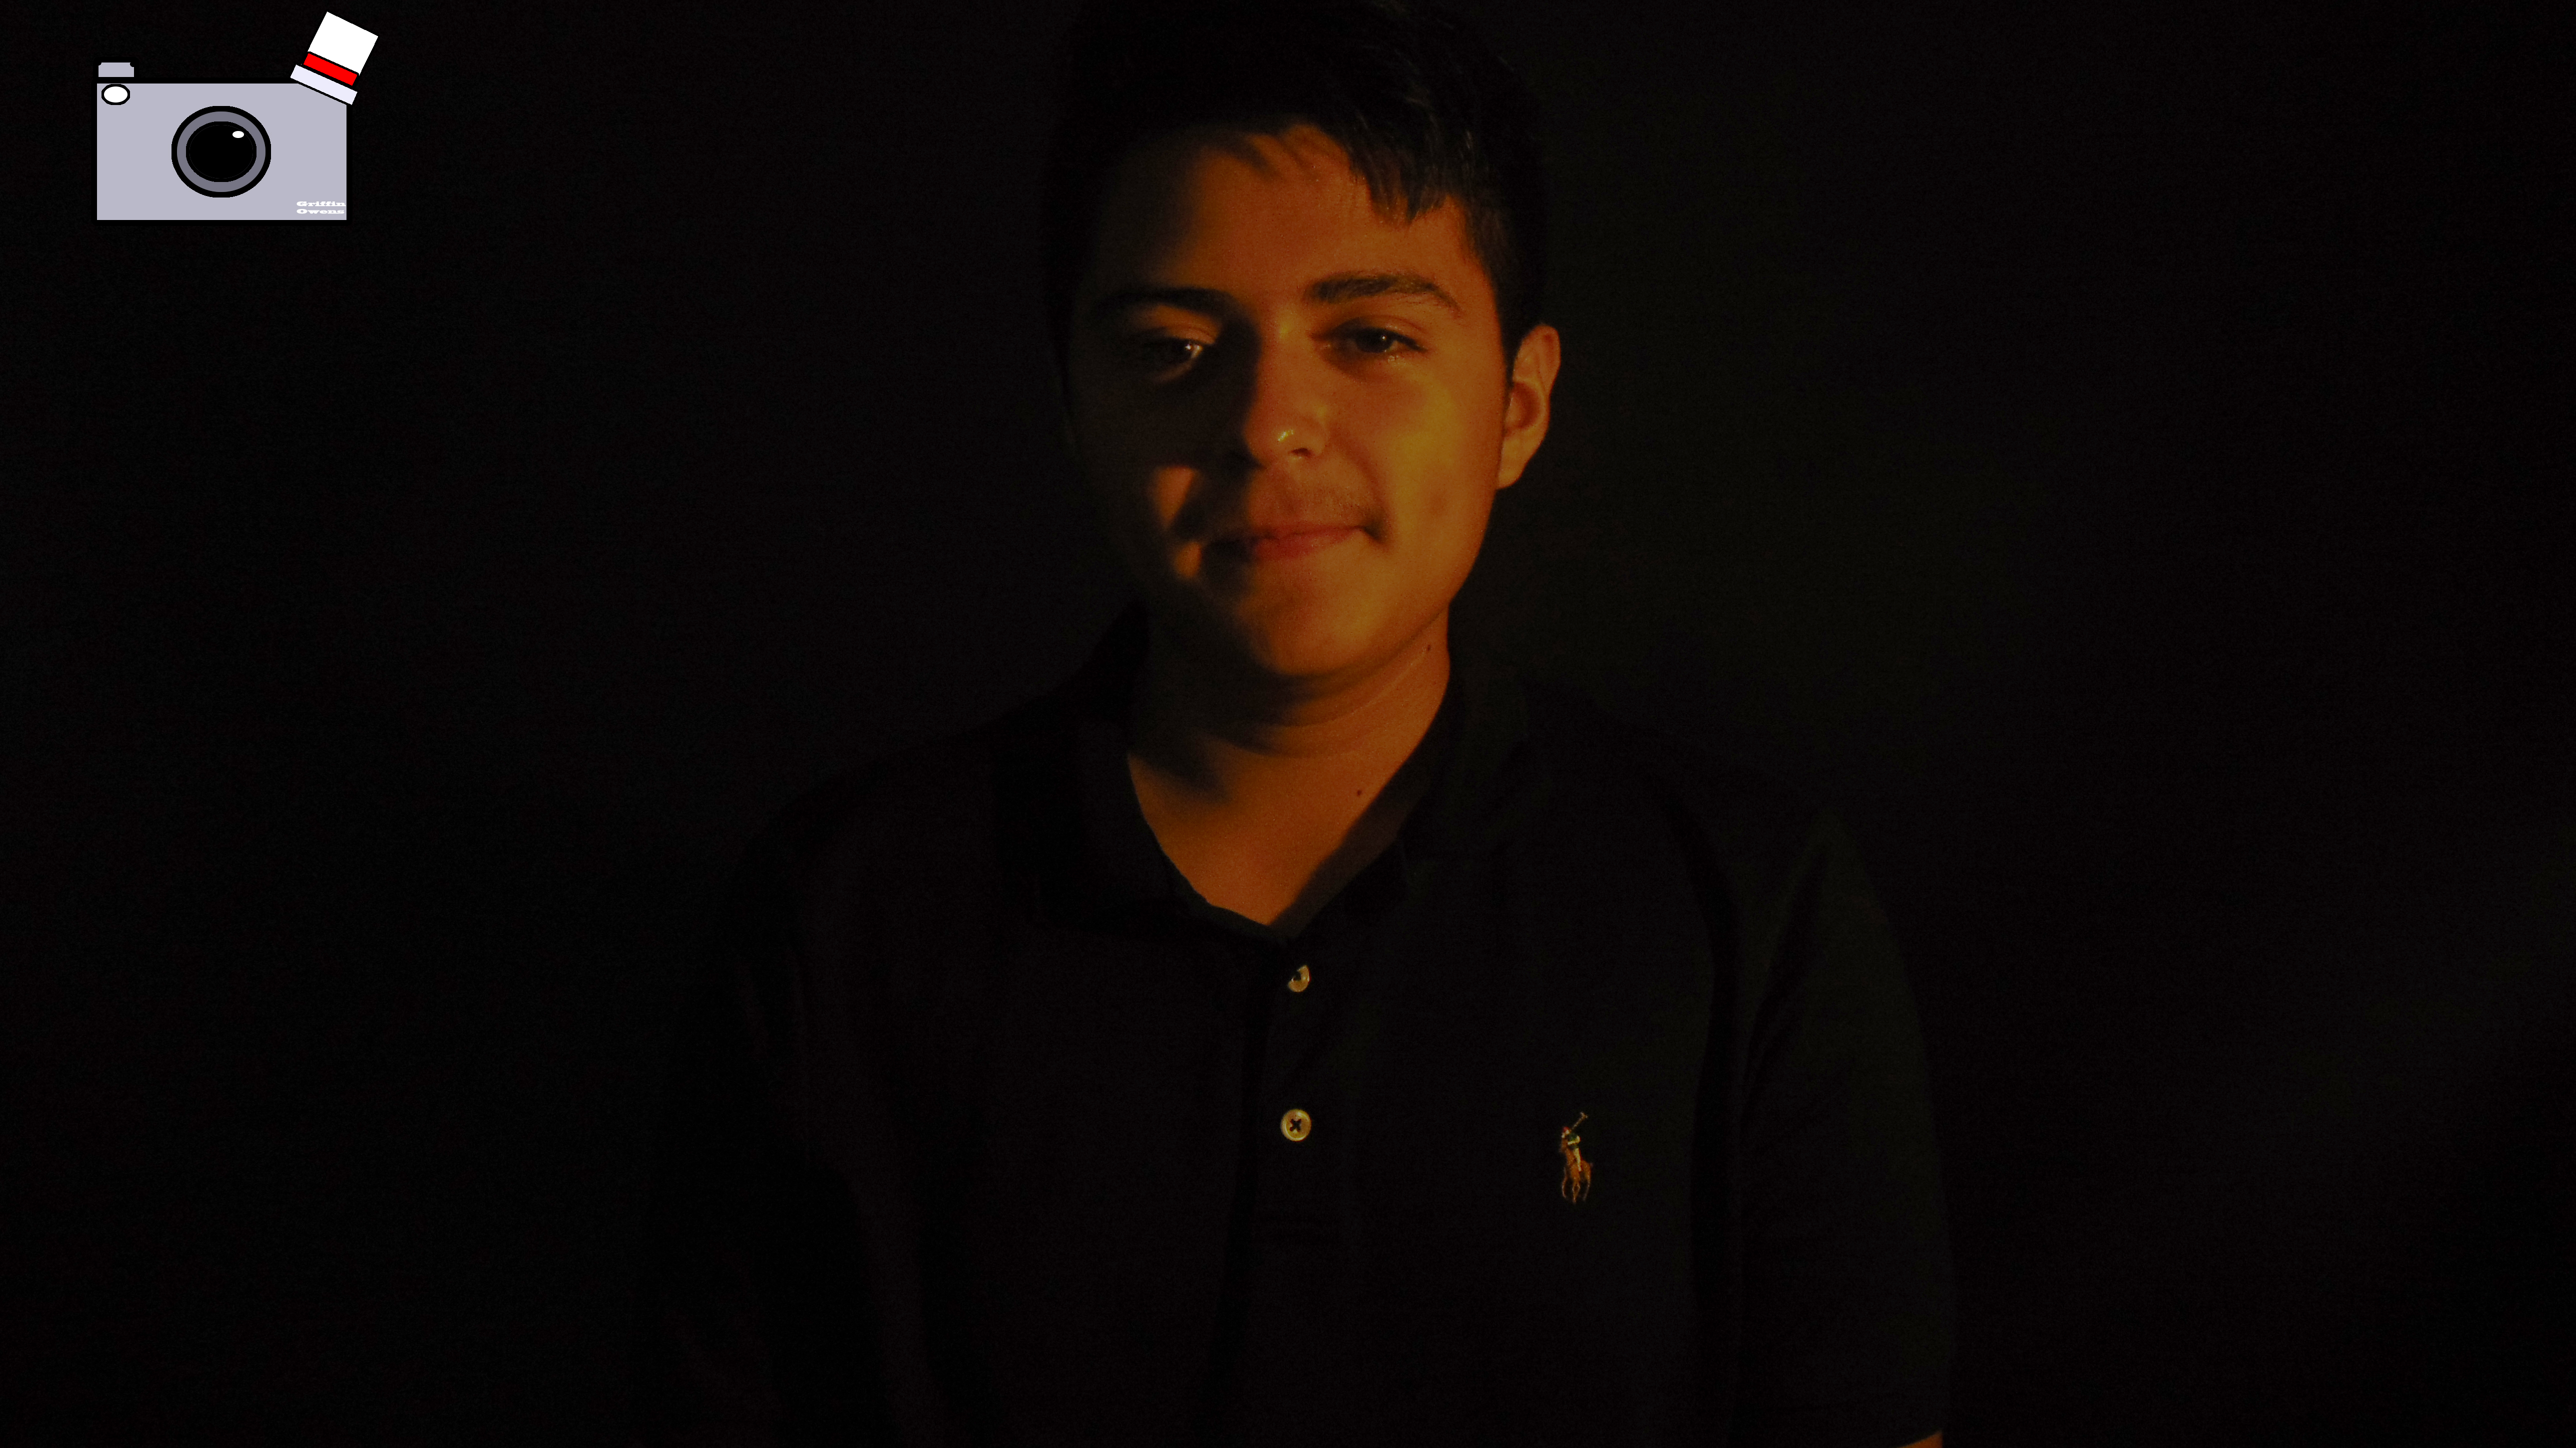
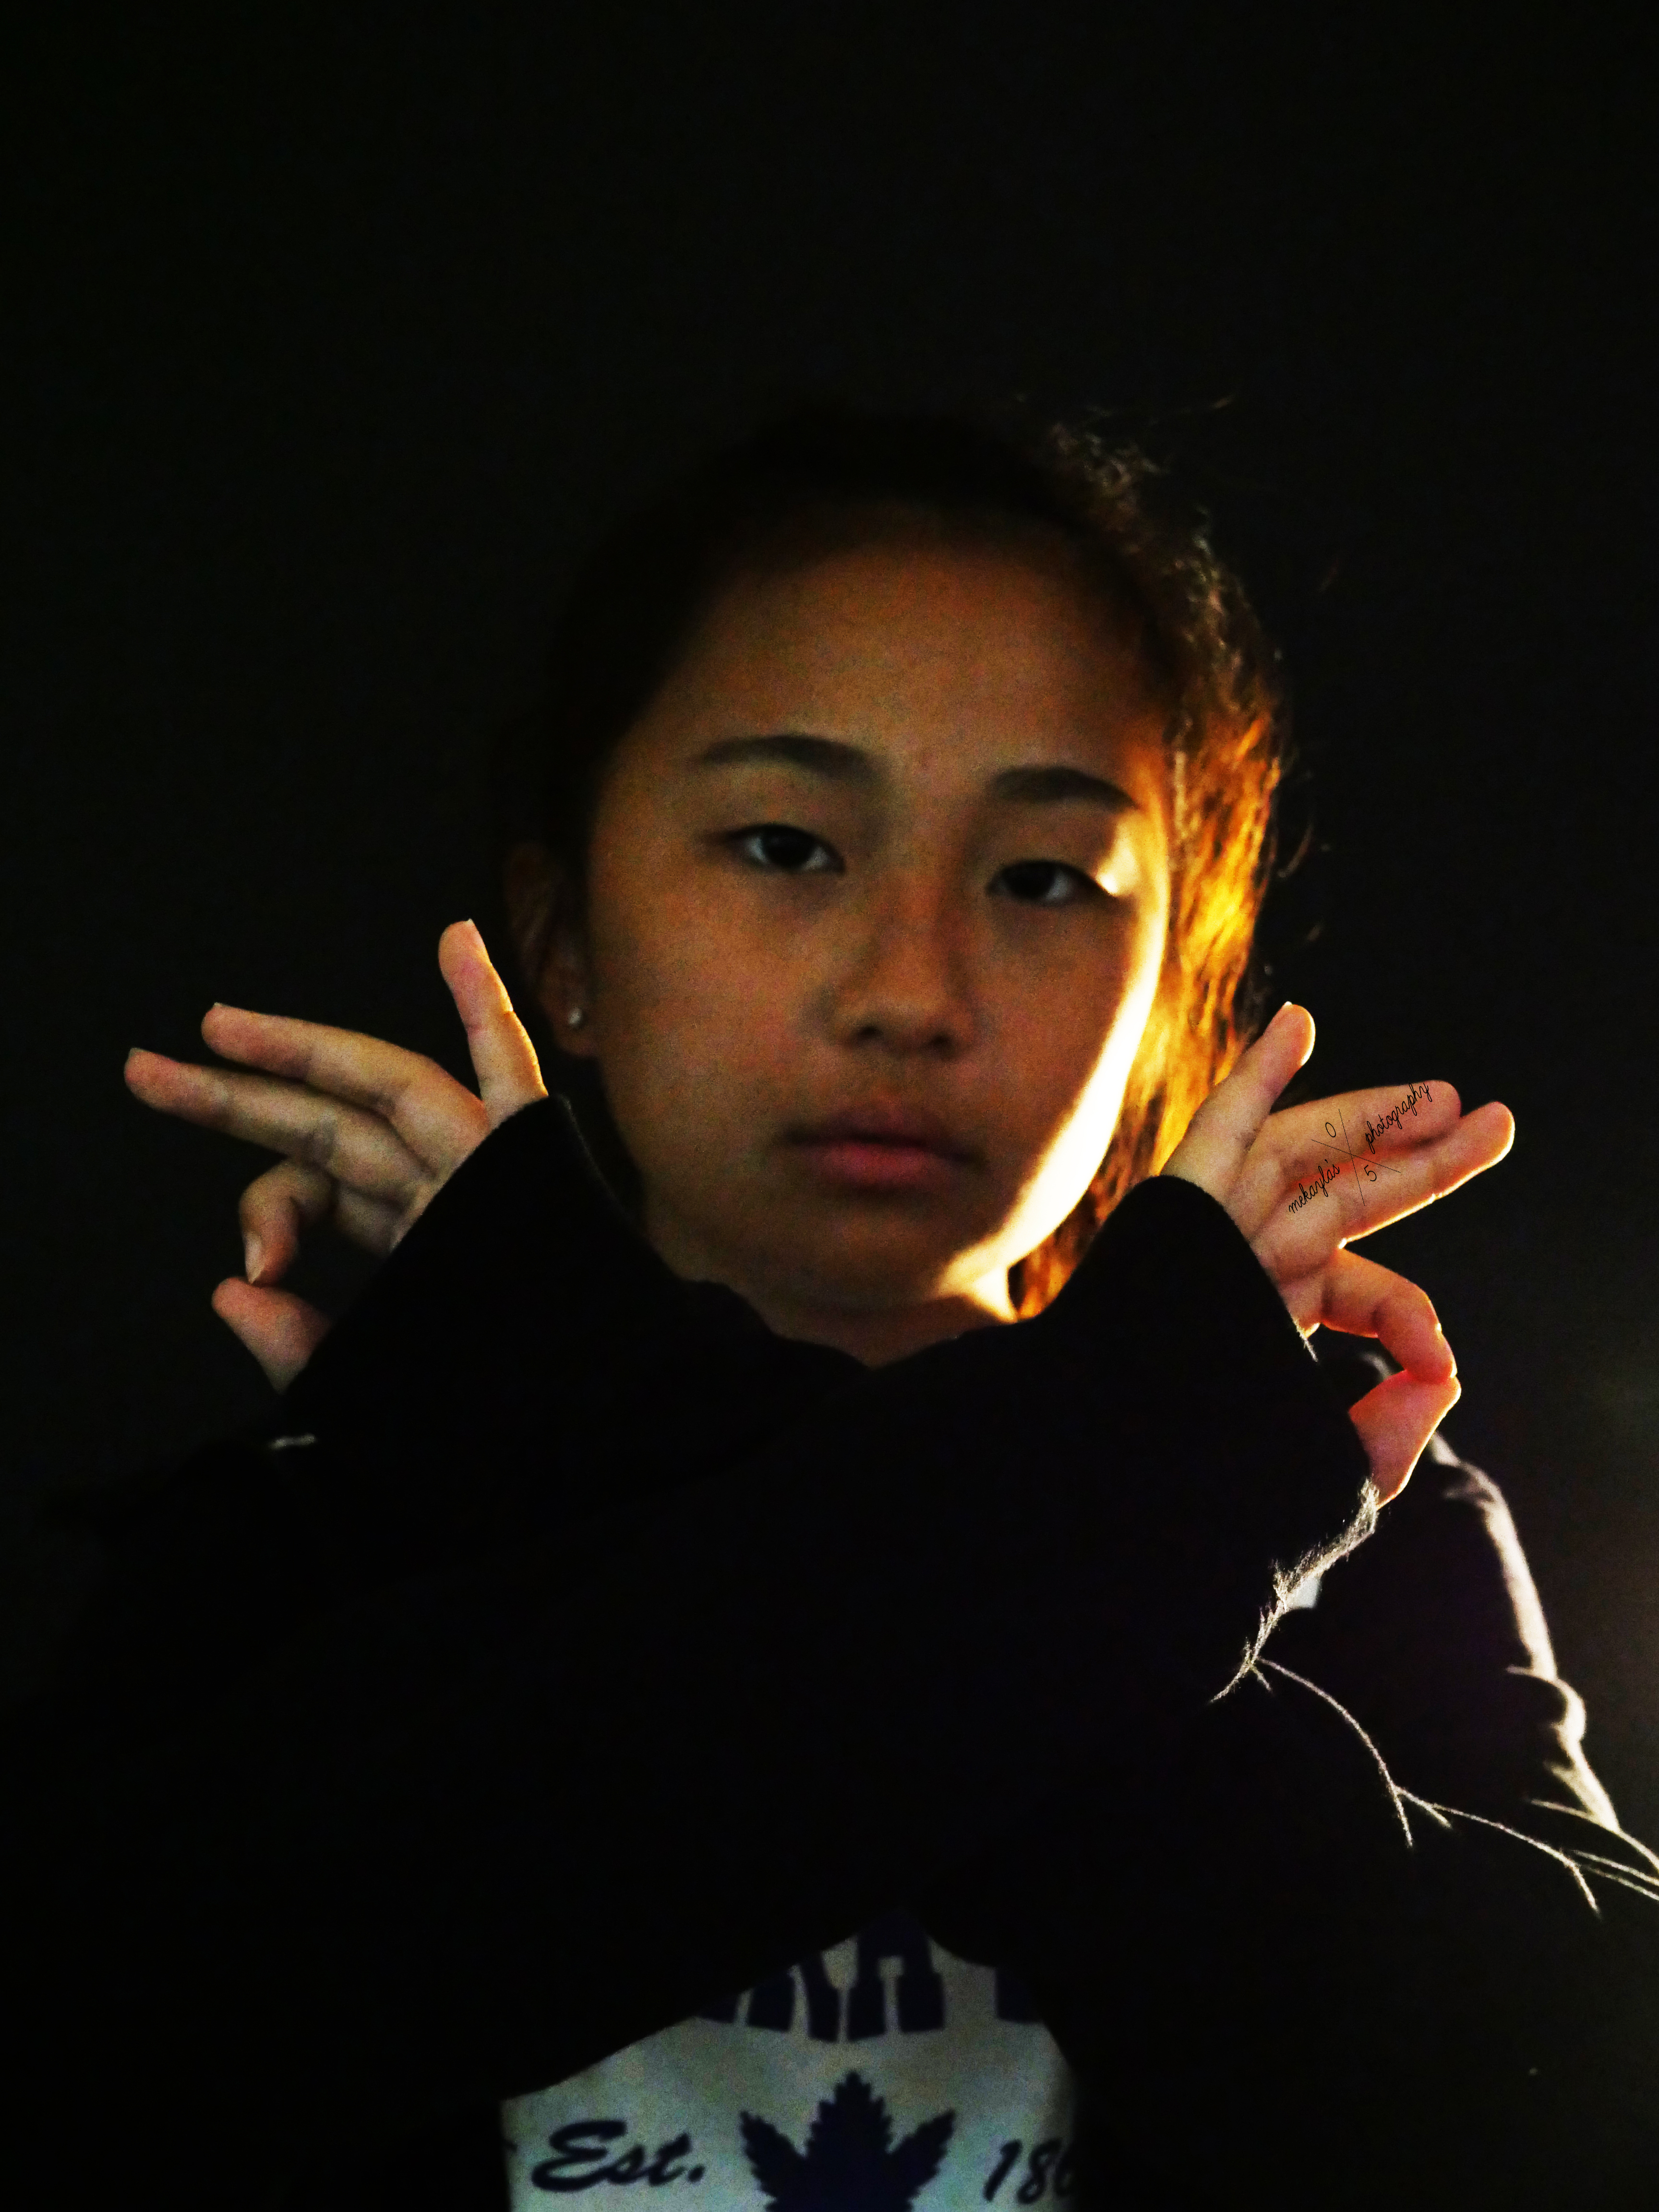
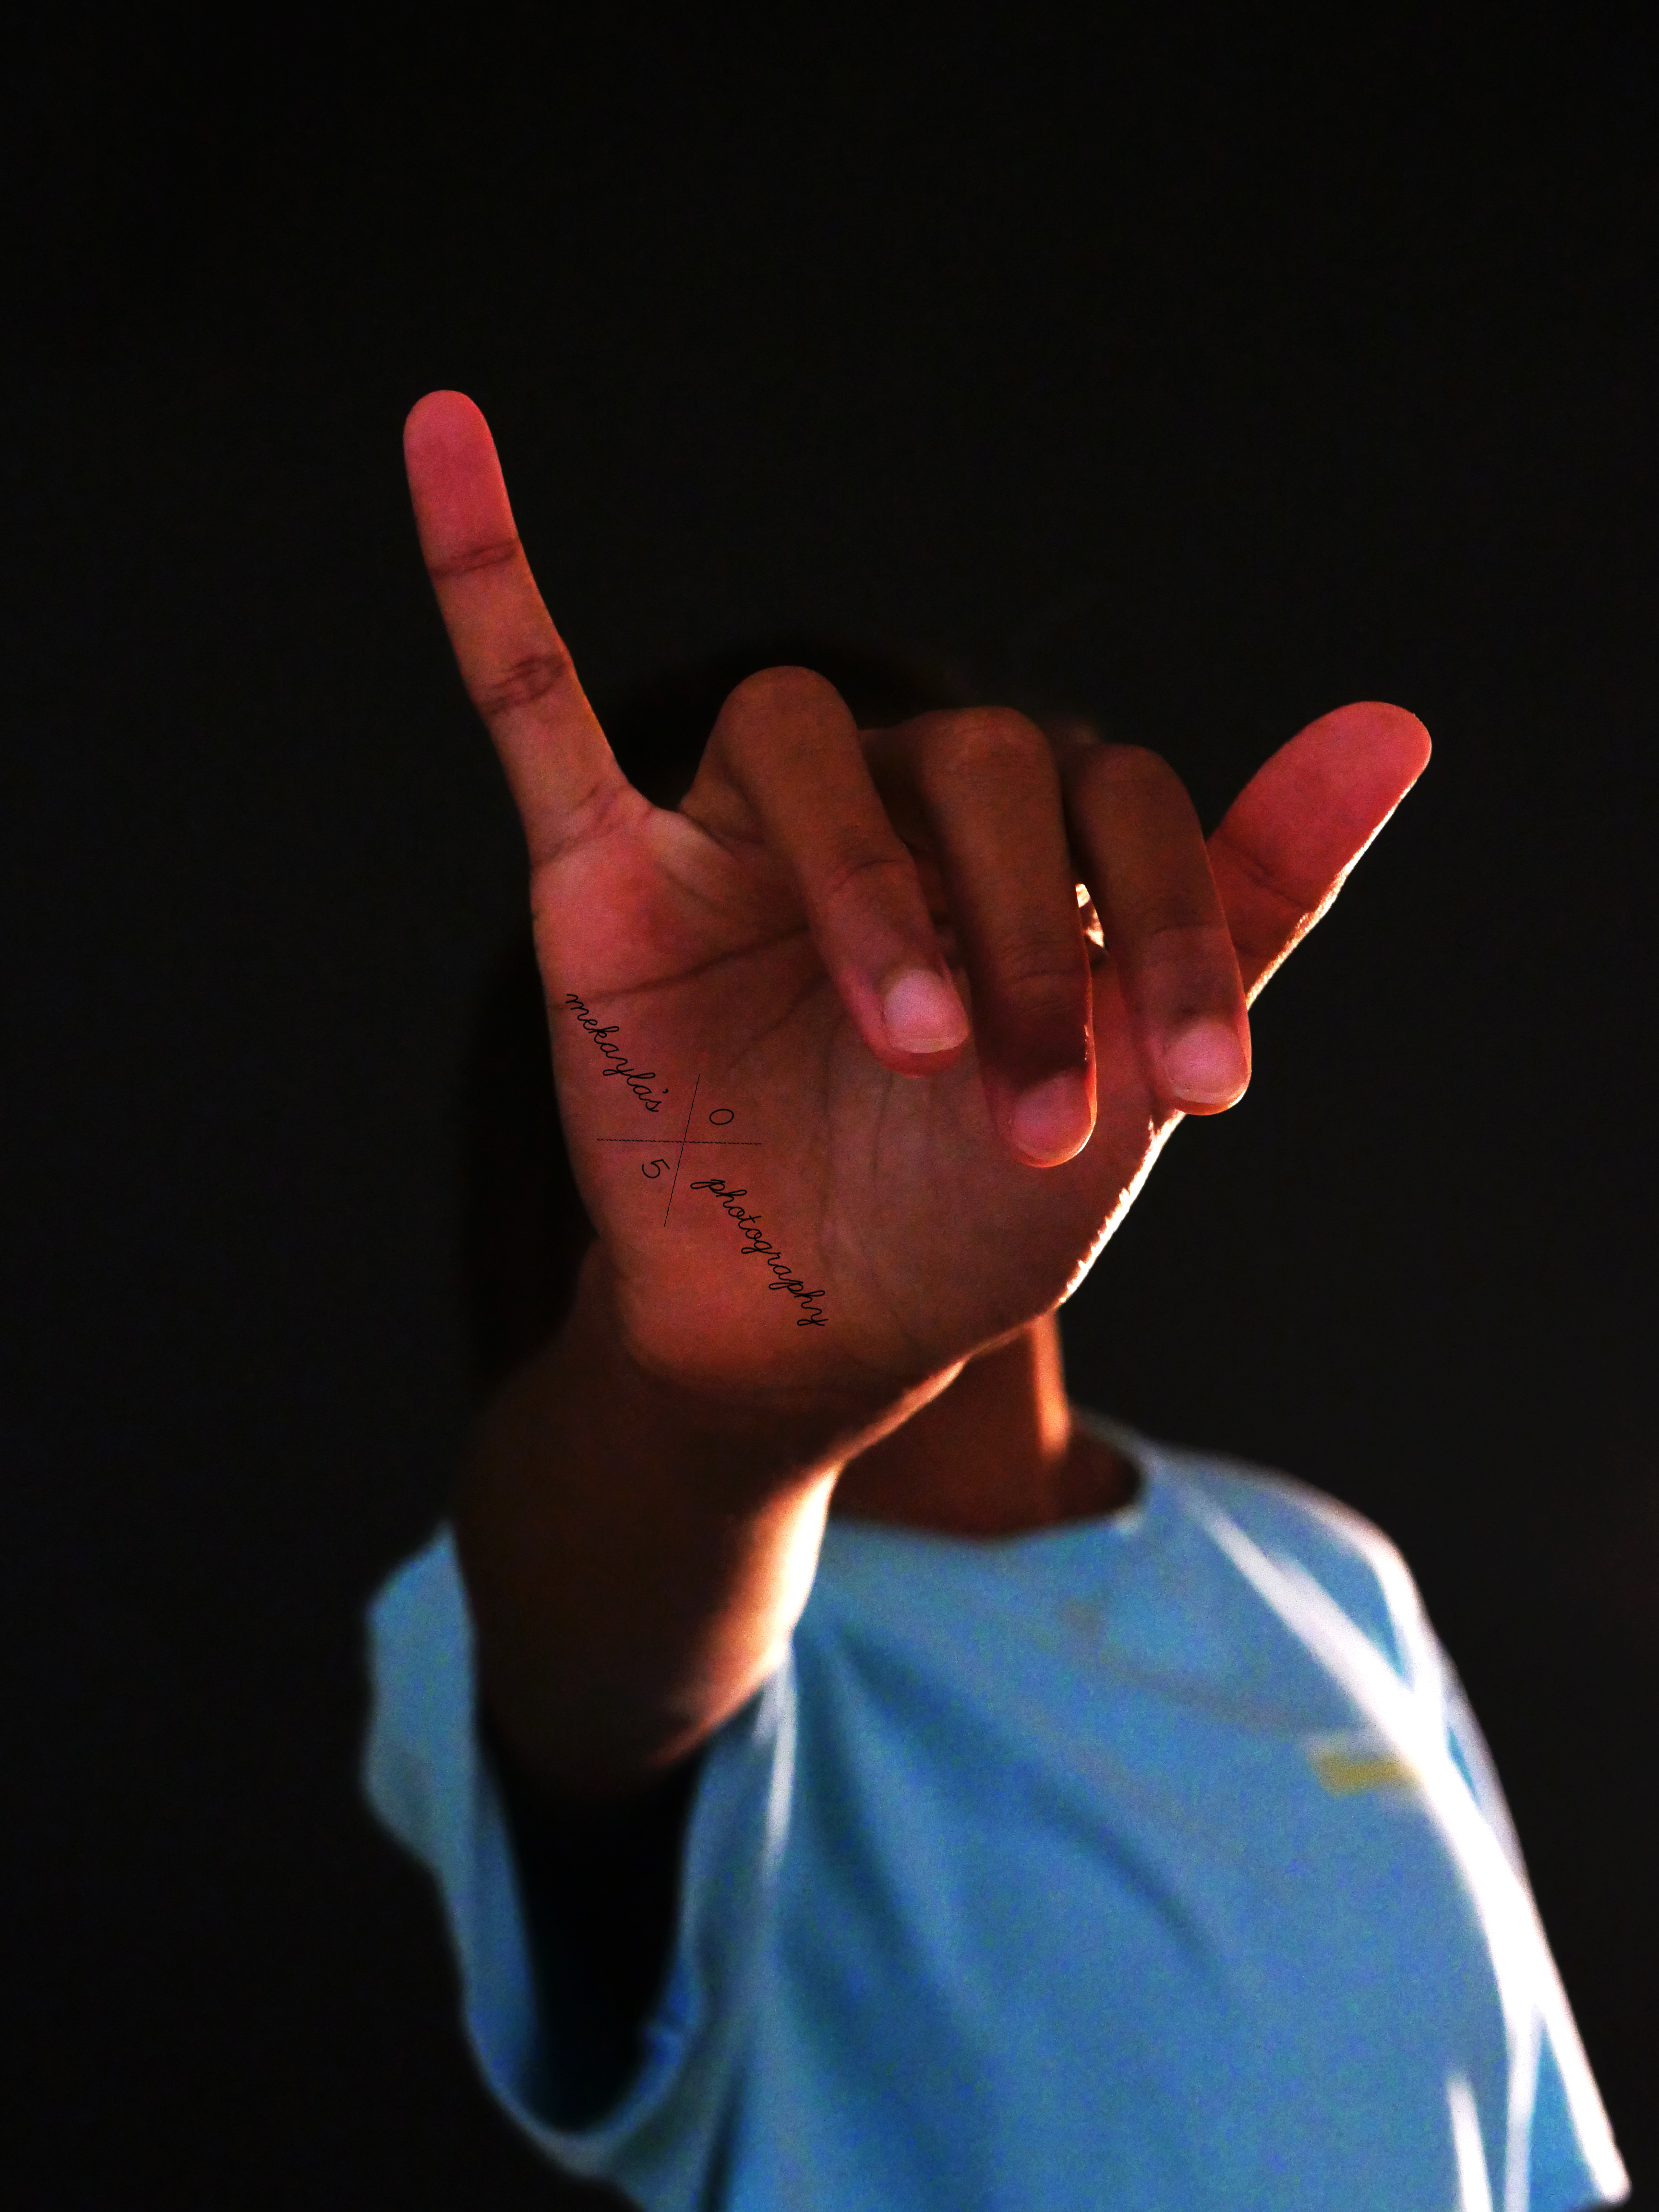
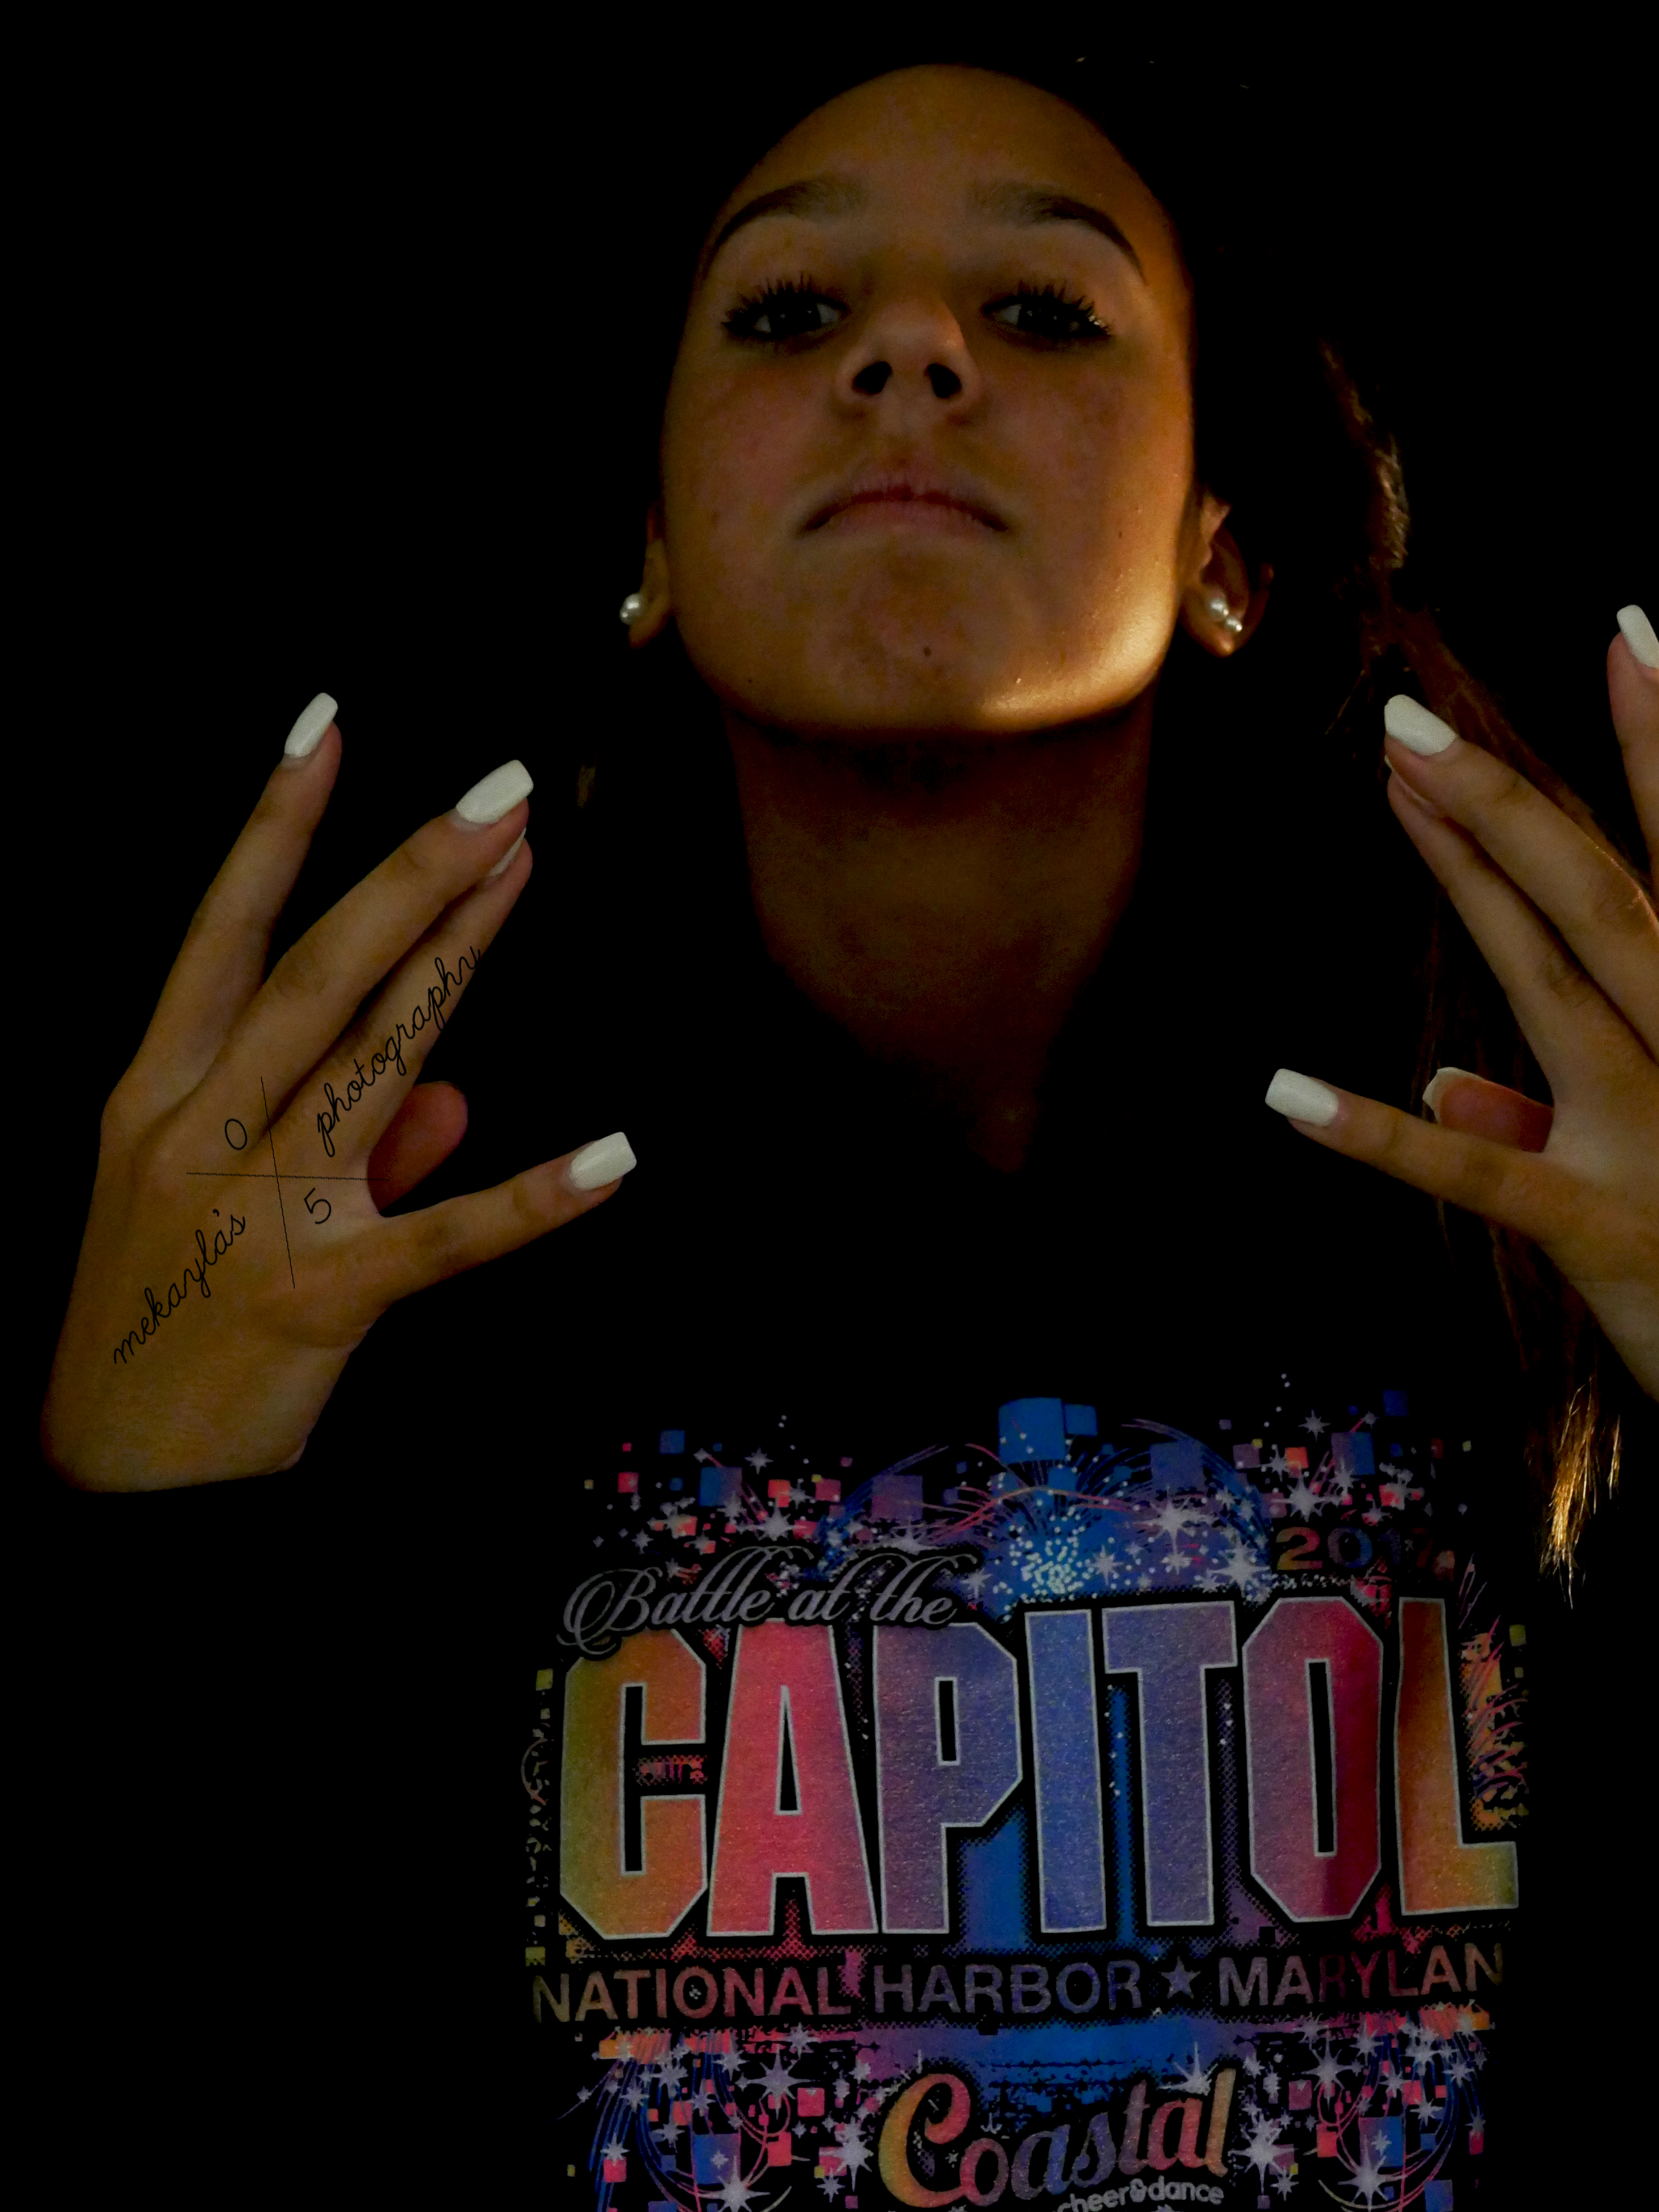
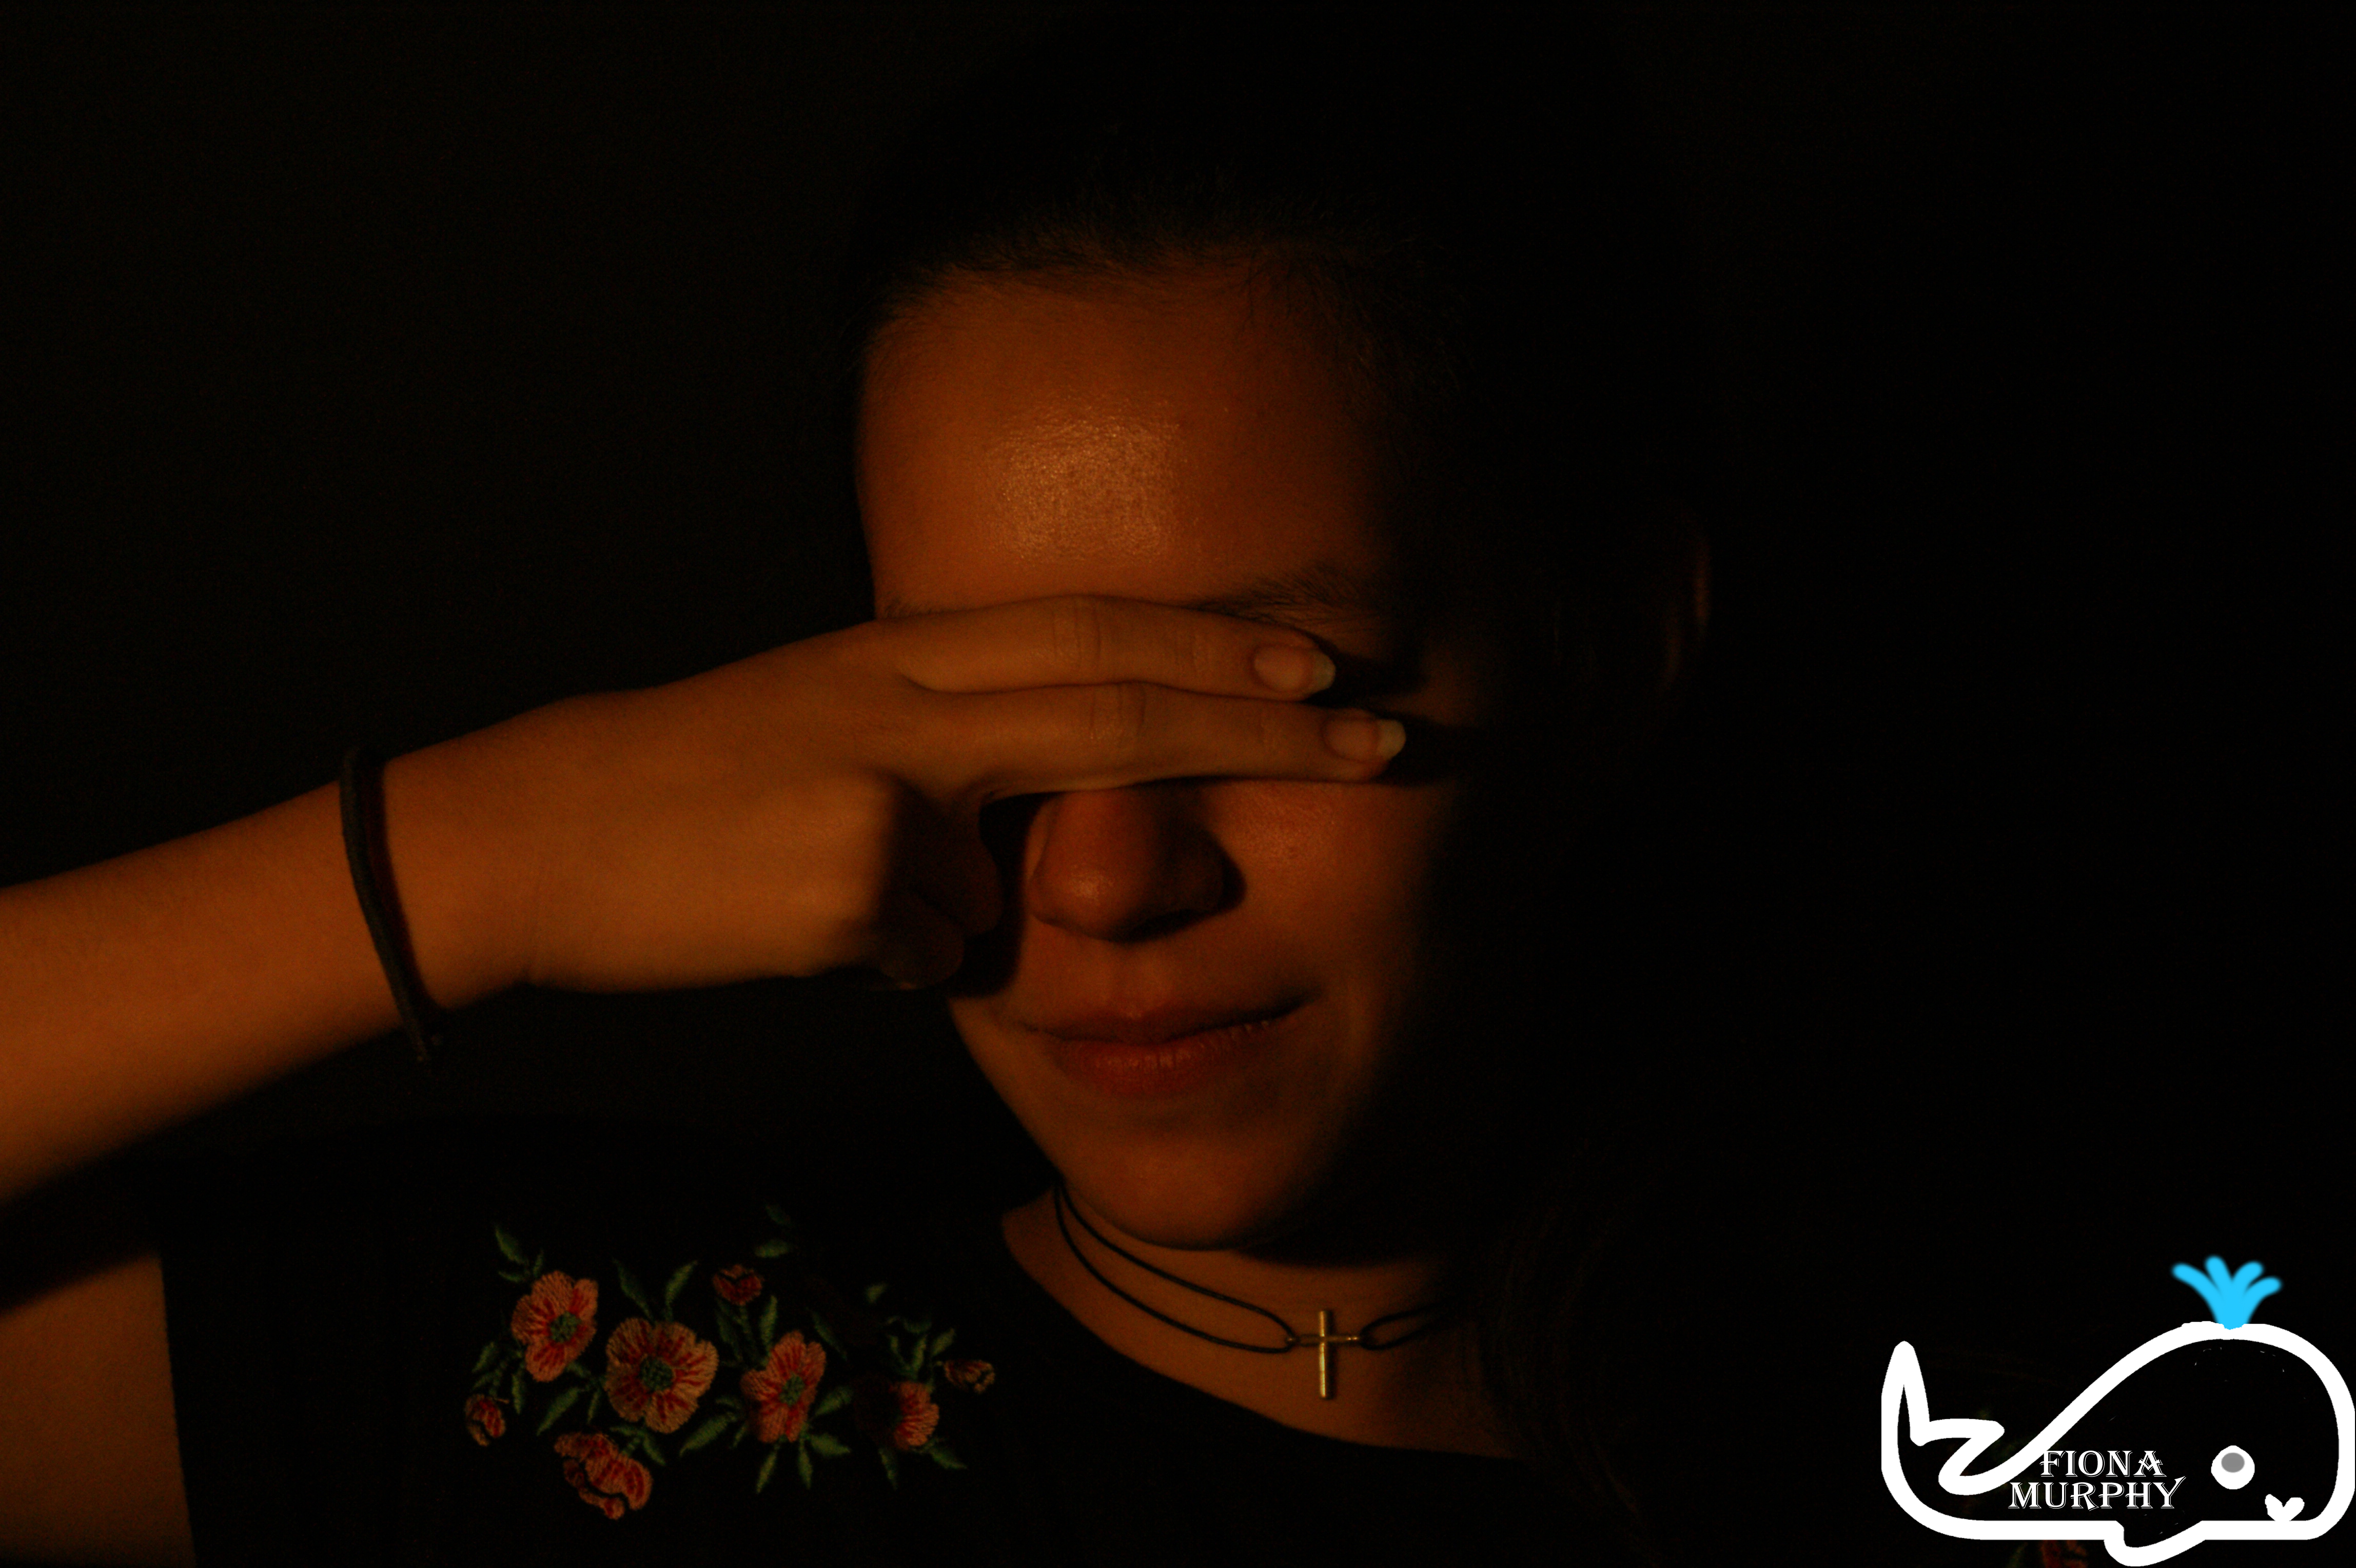
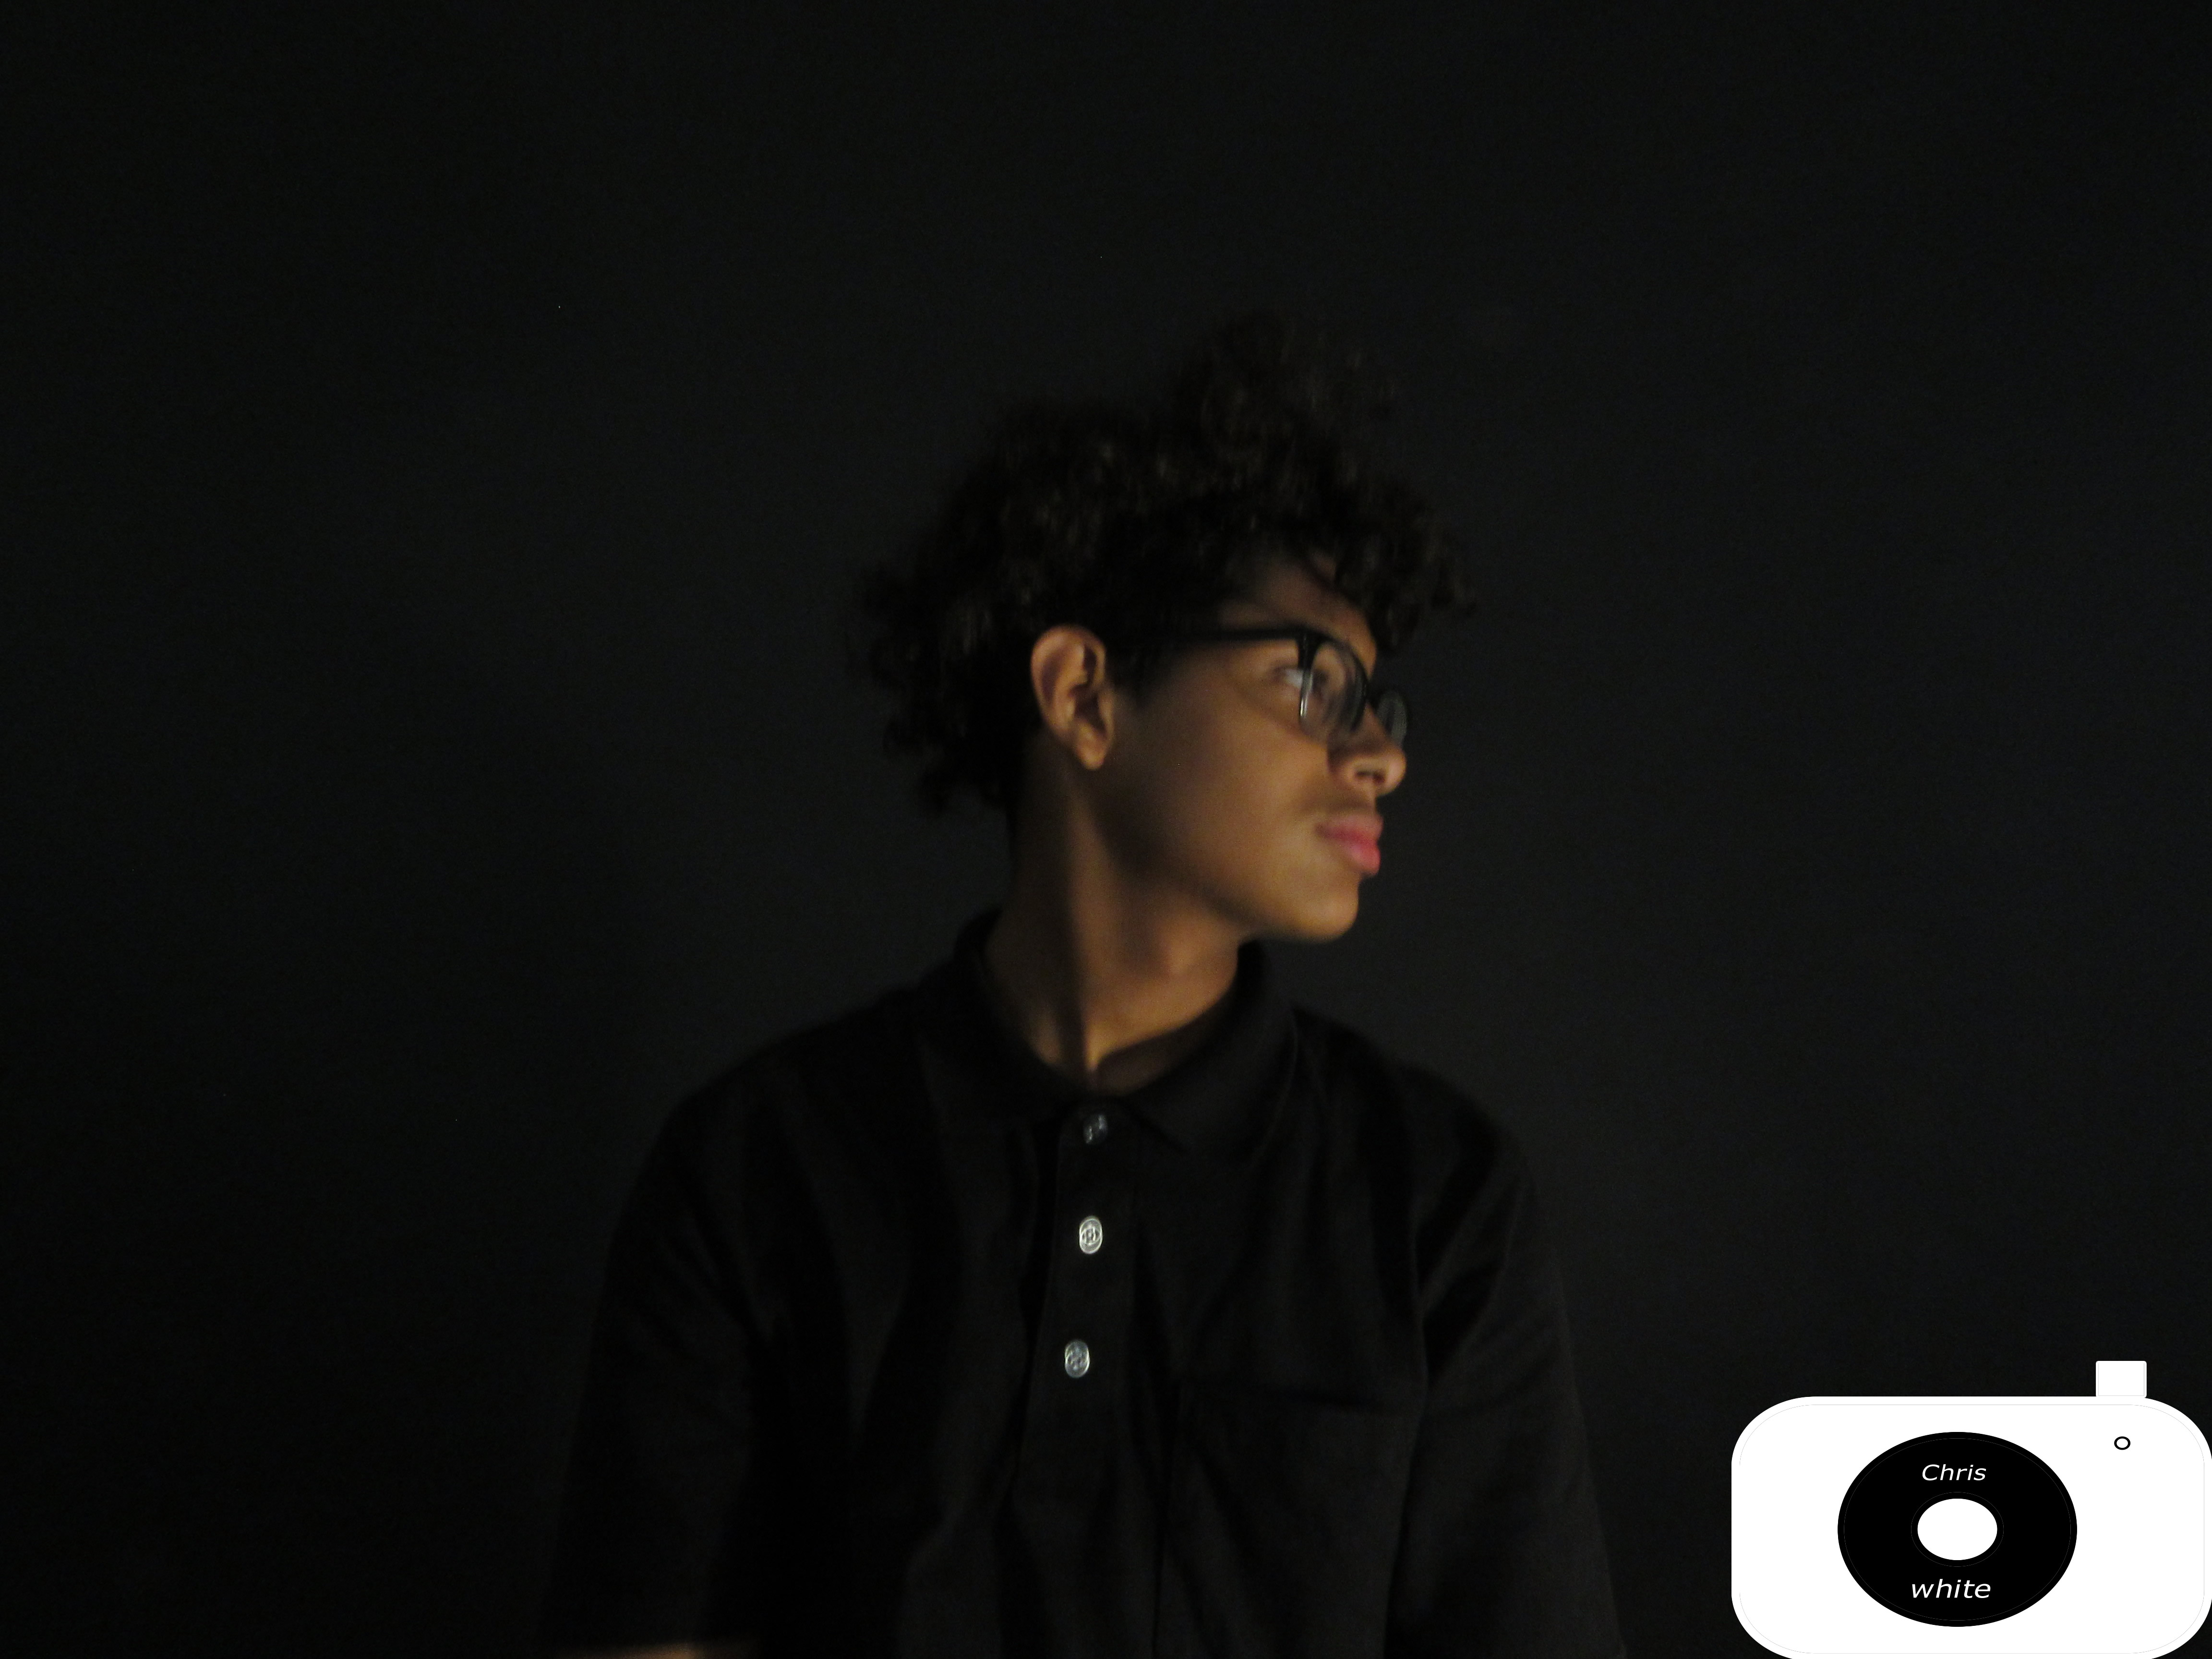
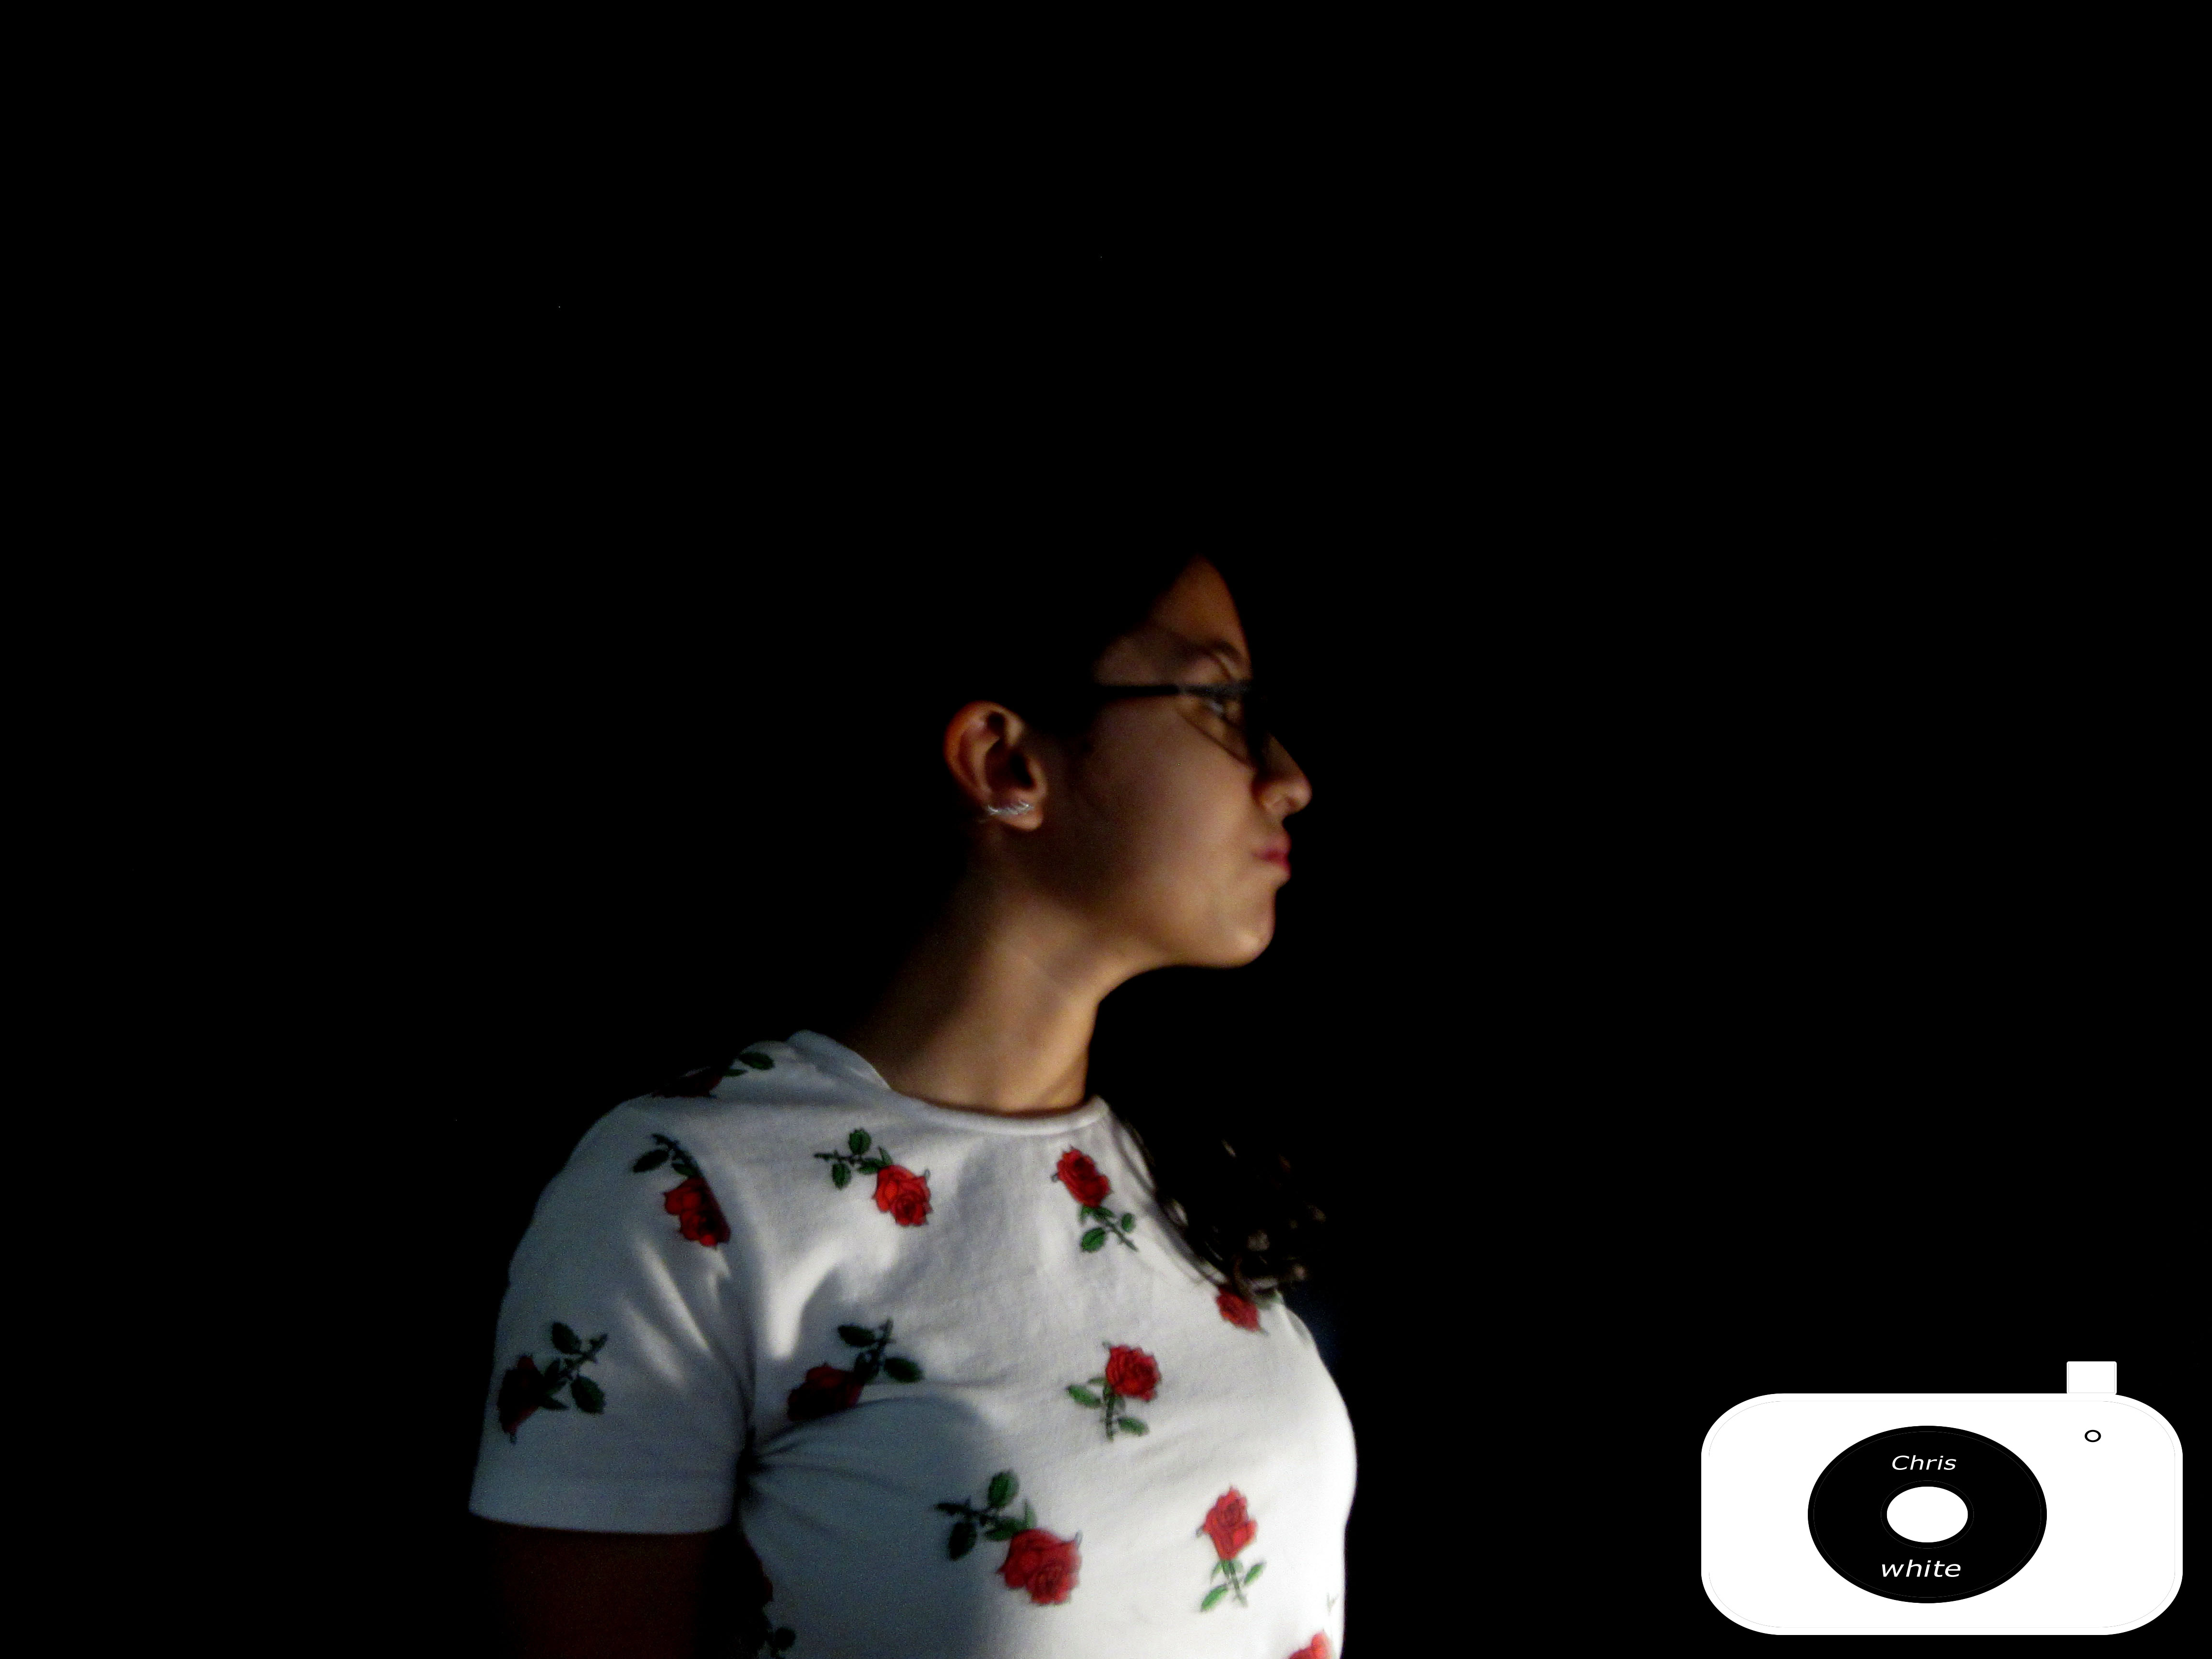
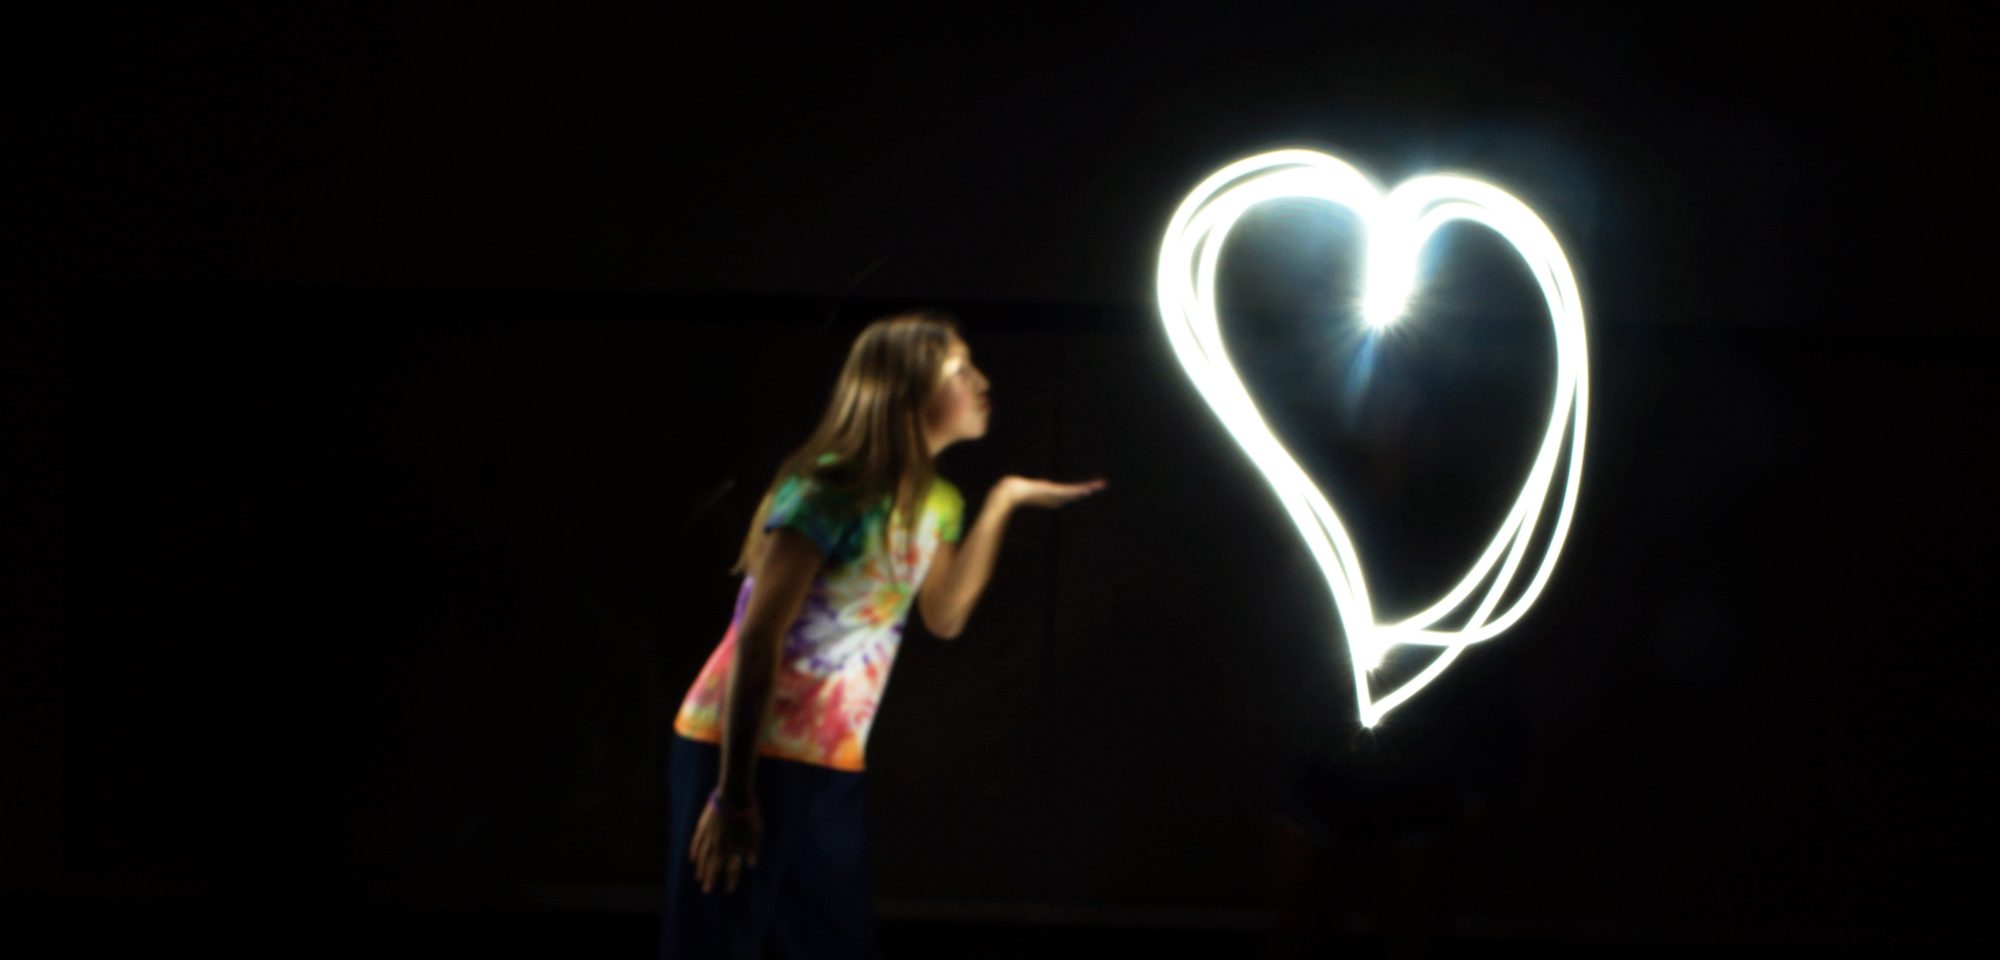
In this project, we were required to use certain settings in a camera to take the perfect photo on a black background. We had to mess with the shutter speed in order to get just the right amount of  light so others can see us. The easiest part of this project was taking the photos and sometimes cropping the photo. The hardest part was not having the urge to wear something black or something dark.

To see the other photo, click here.

Portraits: White Background

In this project, we were required to take photos of yourself and others on a white and black background with some lighting. We had to use certain camera settings to get the perfect picture without and brown spots on the background. We also need to go to photo shop to try and remove any brown spots. The things that worked was taking  the actual pictures. The most difficult thing was not wearing white. To see the other pictures, click here

Portrait: Black

In this project I had to mess with the iso settings and the shutter speeds. I used a dial that affects the shutter speed. Shutter speed is how long the camera lens is  open. The longer the lens is open will make more light show up in the photo. If the lens was open to long then shadows would show up in the background and we can’t be having that. But if  the lenses were open to short then the person would start to disappear . It was hard to find a good pose. The poses had to show the persons face. But if  the person was at an angle it looked a lot better. So to combat this I took many photos with different shutter speeds and chose the best of them. If you want to see more photo’s click here

Portraits Black Backround

For this project, I had to use a camera and learn how to change the ISO to make it look like there was a black background behind the person I was taking pictures of. Also, I had to change the shutter speed so it can stay open for a longer amount of time so as you can let in more darkness from the room. The thing that worked for me was the position that the person was in and the color of the clothes the person was wearing. What didn’t work was in some pictures the light way too bright to where you couldn’t see the person. Also, the lighting had to face directly at the person you would be taking pictures of. The further and higher the light is the better the picture will turn out if you have the light to close it might make the picture too bright to where you would see shadows. You can see the rest of my group’s photos Here

SONY DSC

Black Background

My group had to take pictures of each other in front of a black background with a light on us. To get out photos we used a 80 ISO, a 30 shutter speed and a 3 f-stop. We had to set the camera to these settings in order to make it seem like the background We also had the light shine on the left hand side of their face which gave us a good outcome. If we were to shine the light directly on them we found there were shadows in the background. 

You can find the pictures below.

Black Background

For this project we had to change the ISO,F-stop, and shutter speed in order to make it look like there was nothing behind us. To get our photos we had an ISO of 80 ,F-stop of 3, and a 30 shutter speed. Something we had trouble with was using light to help, the light made the person’s shadow more visible as my group opted not to use it at all. Check out our other attempts here

Portraits

This assignment was very fun. We had to take pictures of each other to make us look like the background behind us is black, but it’s not a physical background. It wasn’t very difficult to get the lighting right, but we had to work on making the background darker by editing the pictures. Here are two of my favorite pictures, but you can see the rest of them here

CAITLEEEEEN weird picture (^-^)

Black Portraits

To take the pictures, the person stood in front of a black background and we shined a light towards the back of the person. It was hard to get the light in the right spot but at the end it worked good. 

Portraits

In this project, my group and I had to stand in front of a black background, and someone had to shine a light on the other person while somebody else took the picture. The shutter speed was faster, because we had to get less light in the picture for it to look like we were standing in front of nothing. What worked was when we were shining the light only on the person. What did not work was when we were shining the light on the background and the person, because if it was on the background as well, there would be a shadow, and that is not good. You can see the rest of my photos HERE.

Black Background Photo’s

First i had to get into my group. we each took pictures of each other and later then edit them. we had to change the color of the photo to fit how we wanted to look. I also had cropped the photo to a fit in a angle i wanted it to be. each photo had to have a pitch black background with a spotlight to make the person in the photo visible.What worked for me was angling the light to the background to have the head shot visible to see the person. what didn’t work for me was when the light was directly on the person, so what i did was shine the light off the person or faced the light right up to the ceiling for the light to reflect gently on the person. Click here for the rest of the picture.