It worked when people where not movie around in the background and it didn’t work when many things were too close. I thought rule of thirds was very hard but it got easy. There were 2 lines going vertically and 2 lines going horizontally which made 9 sections. LINK
What worked in the rule of thirds it was when the person’s eyes or an object lined up with the grid and created a great picture. What didn’t work was when somebody or something was tilted and nothing lined up. My thoughts about the rules of thirds is that it makes the picture look a lot better. The lines we used in the making of these photos made sure that we lined the person or thing to make the rule of thirds actually work. For the rest of my photos come here.
The Rule of Thirds is an important concept in the photography world. To help practice using the Rule of Thirds, you would need to use/visualize a grid on your camera screen that is divided by three lines going vertically and horizontally. The purpose of this is to put the subject of the photo along those lines so that the viewers’ eyes would involuntarily be drawn to that part. It’s also important to keep in mind that the subject CANNOT be in the very center of the photo. Lastly, during the use of the Rule of Thirds, photographers should be mindful of the background to give the final photo a nice, finishing touch. To put these rules into examples, we can use them to describe how a photo of a person close up would be takes. The photographer may want to put the person’s face on the left side of the center line going vertically. He/she might then put the person’s eyes along the center of the line going horizontally. For the background, there might be a brick wall, but it isn’t completely against the wall and the photo is taken from a little bit of distance from it. This would add depth to the photo and make it more interesting. I quickly picked up the pattern and use of the effect, but it got much easier towards the end. In my experience, it was easy to imply the Rule of Thirds to my photos, sense my camera provides a Rule of Thirds grid. The challenging part was finding objects with an interesting background to take a picture of. I am excited to use this technique for my photos in the future. -Marie Valouiski
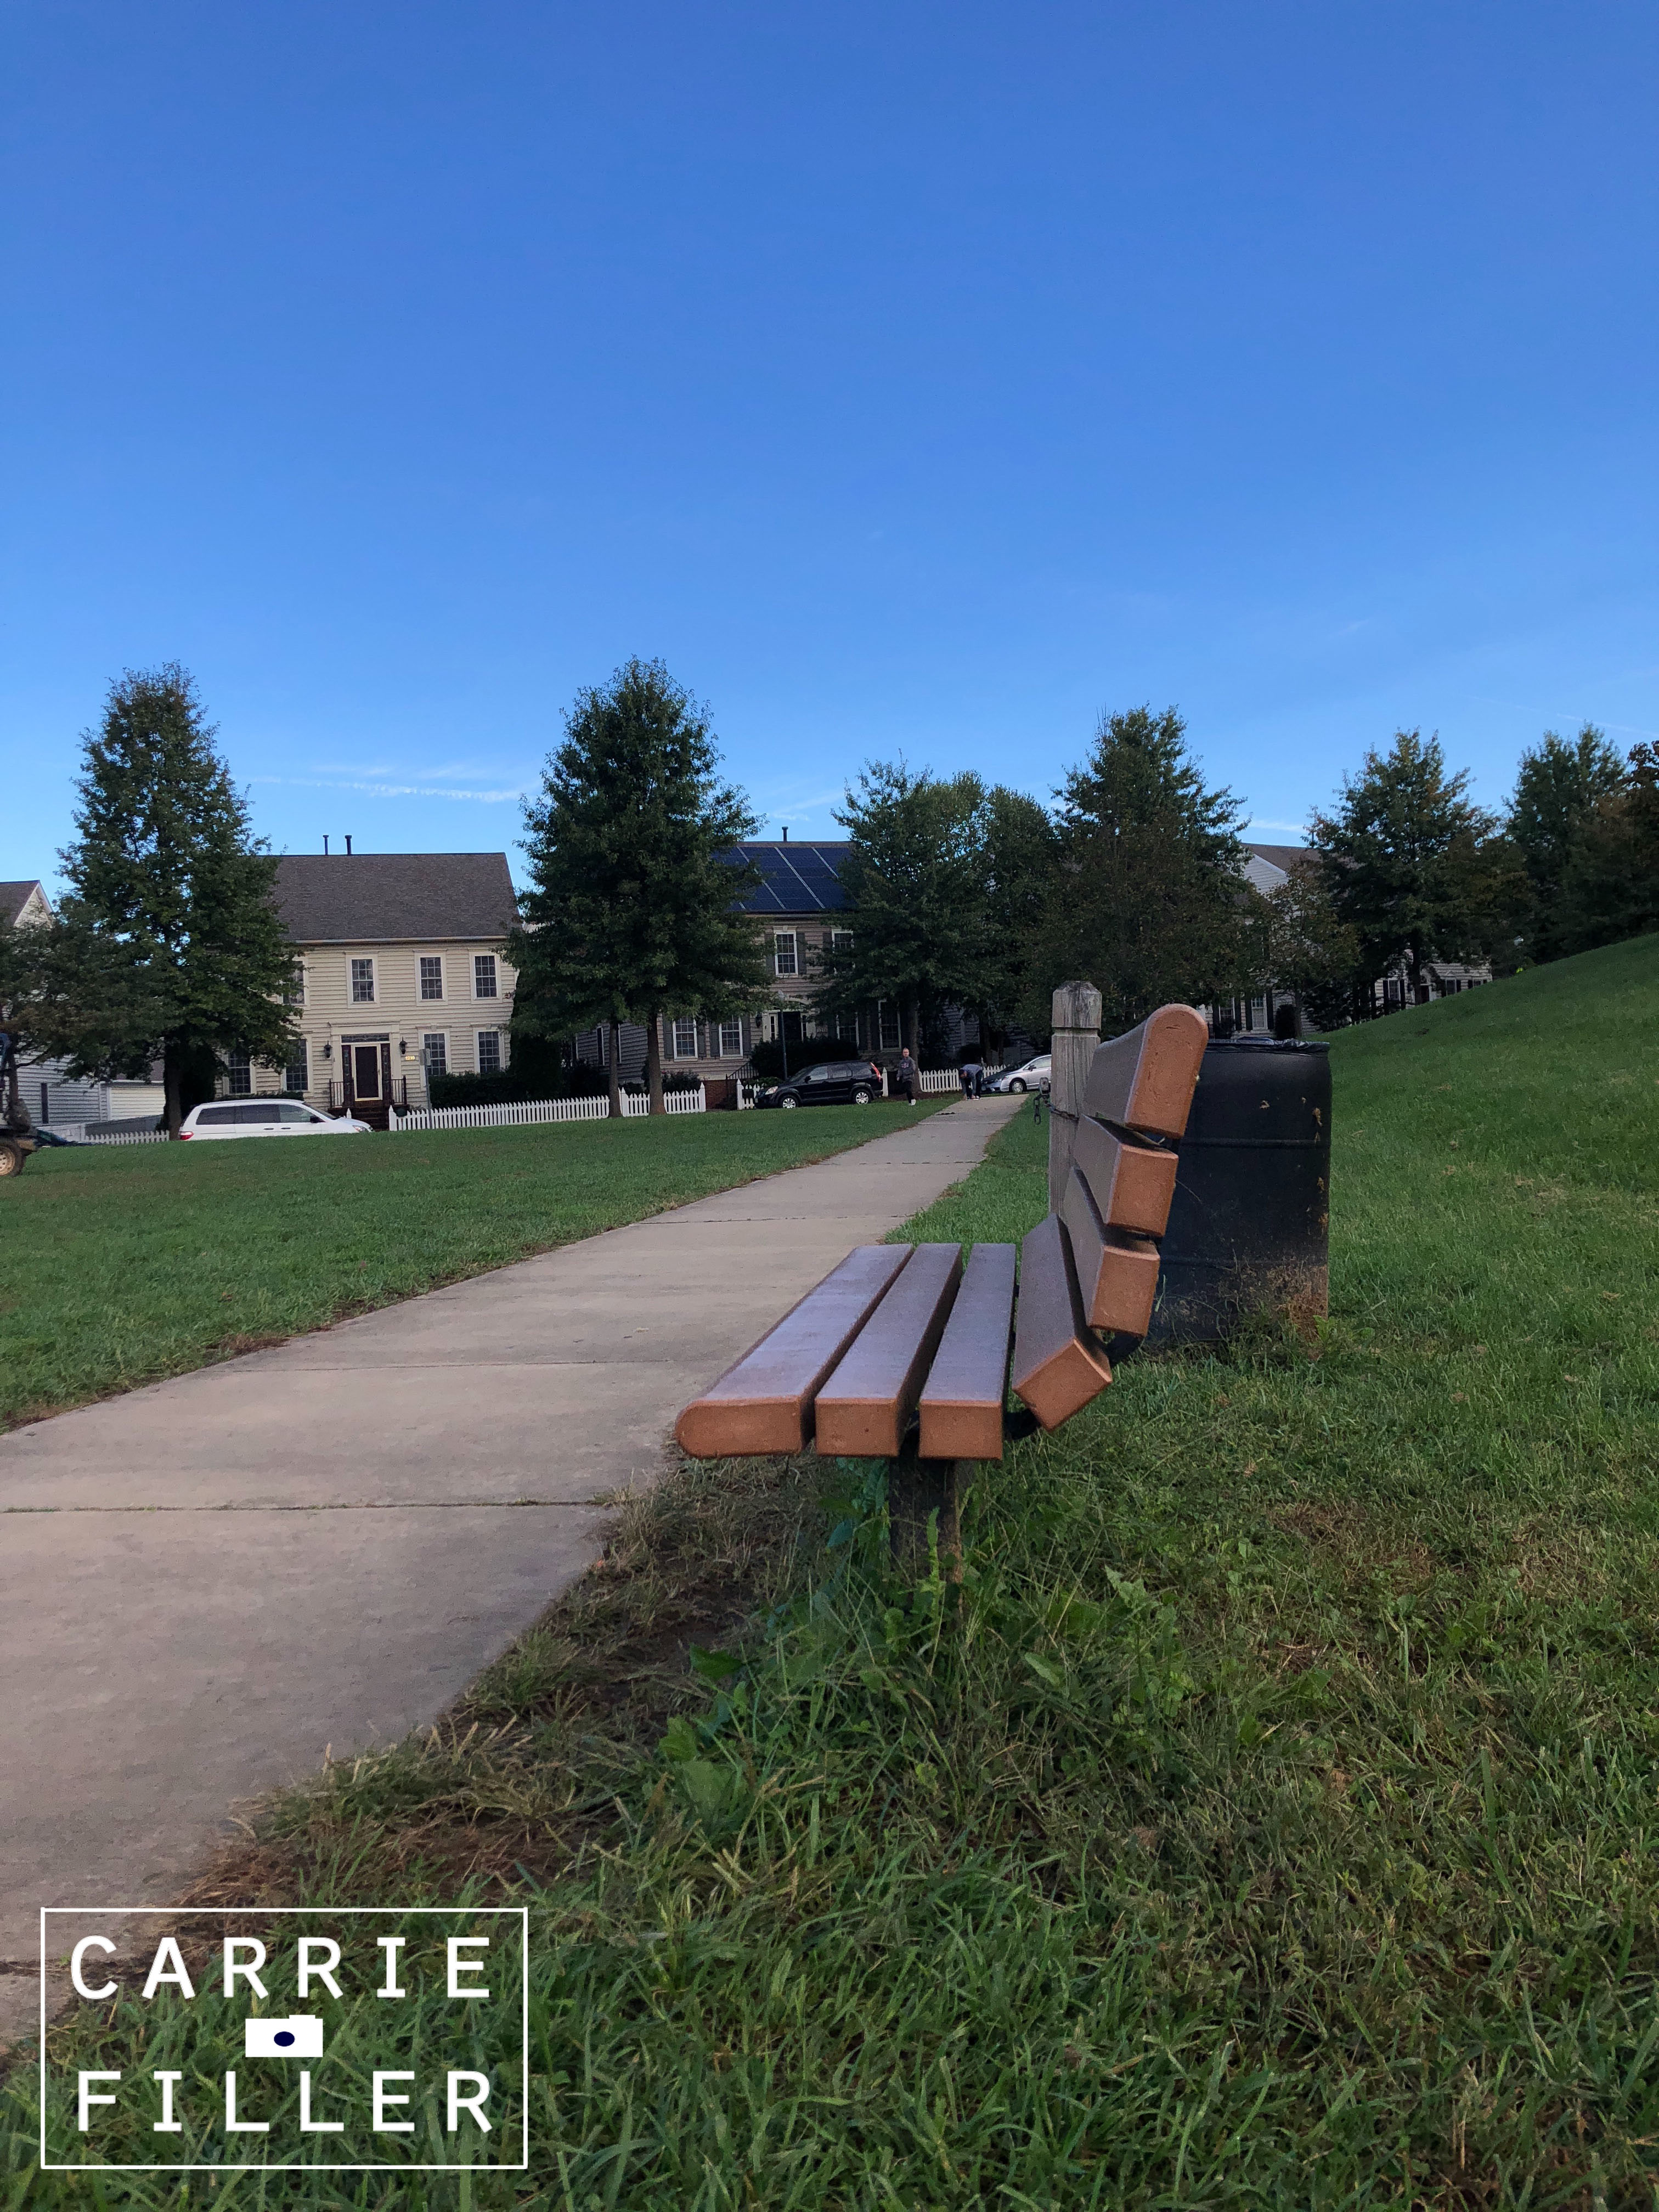
In this project, one thing that worked was when we took pictures outside. It was easier to find spots to take them. One part that was hard was when we had to take pictures inside. We had trouble finding places to take pictures. I thought this project would be easy but as the project went on, it got more difficult. The “lines” in my shot had to line up with the object in the photo. In the bench picture, one line was on the back part and the other line was where you sit. you can see the rest of my photos here
In this project we had to use this imaginary grid to take photos. The hard part was taking pictures without people in it. The easy part was lining up the grid in the pictures. The lines we used look kind of like tic tac toe lines. the object or scene had to line up with these lines. You can see the rest of my photos Here.
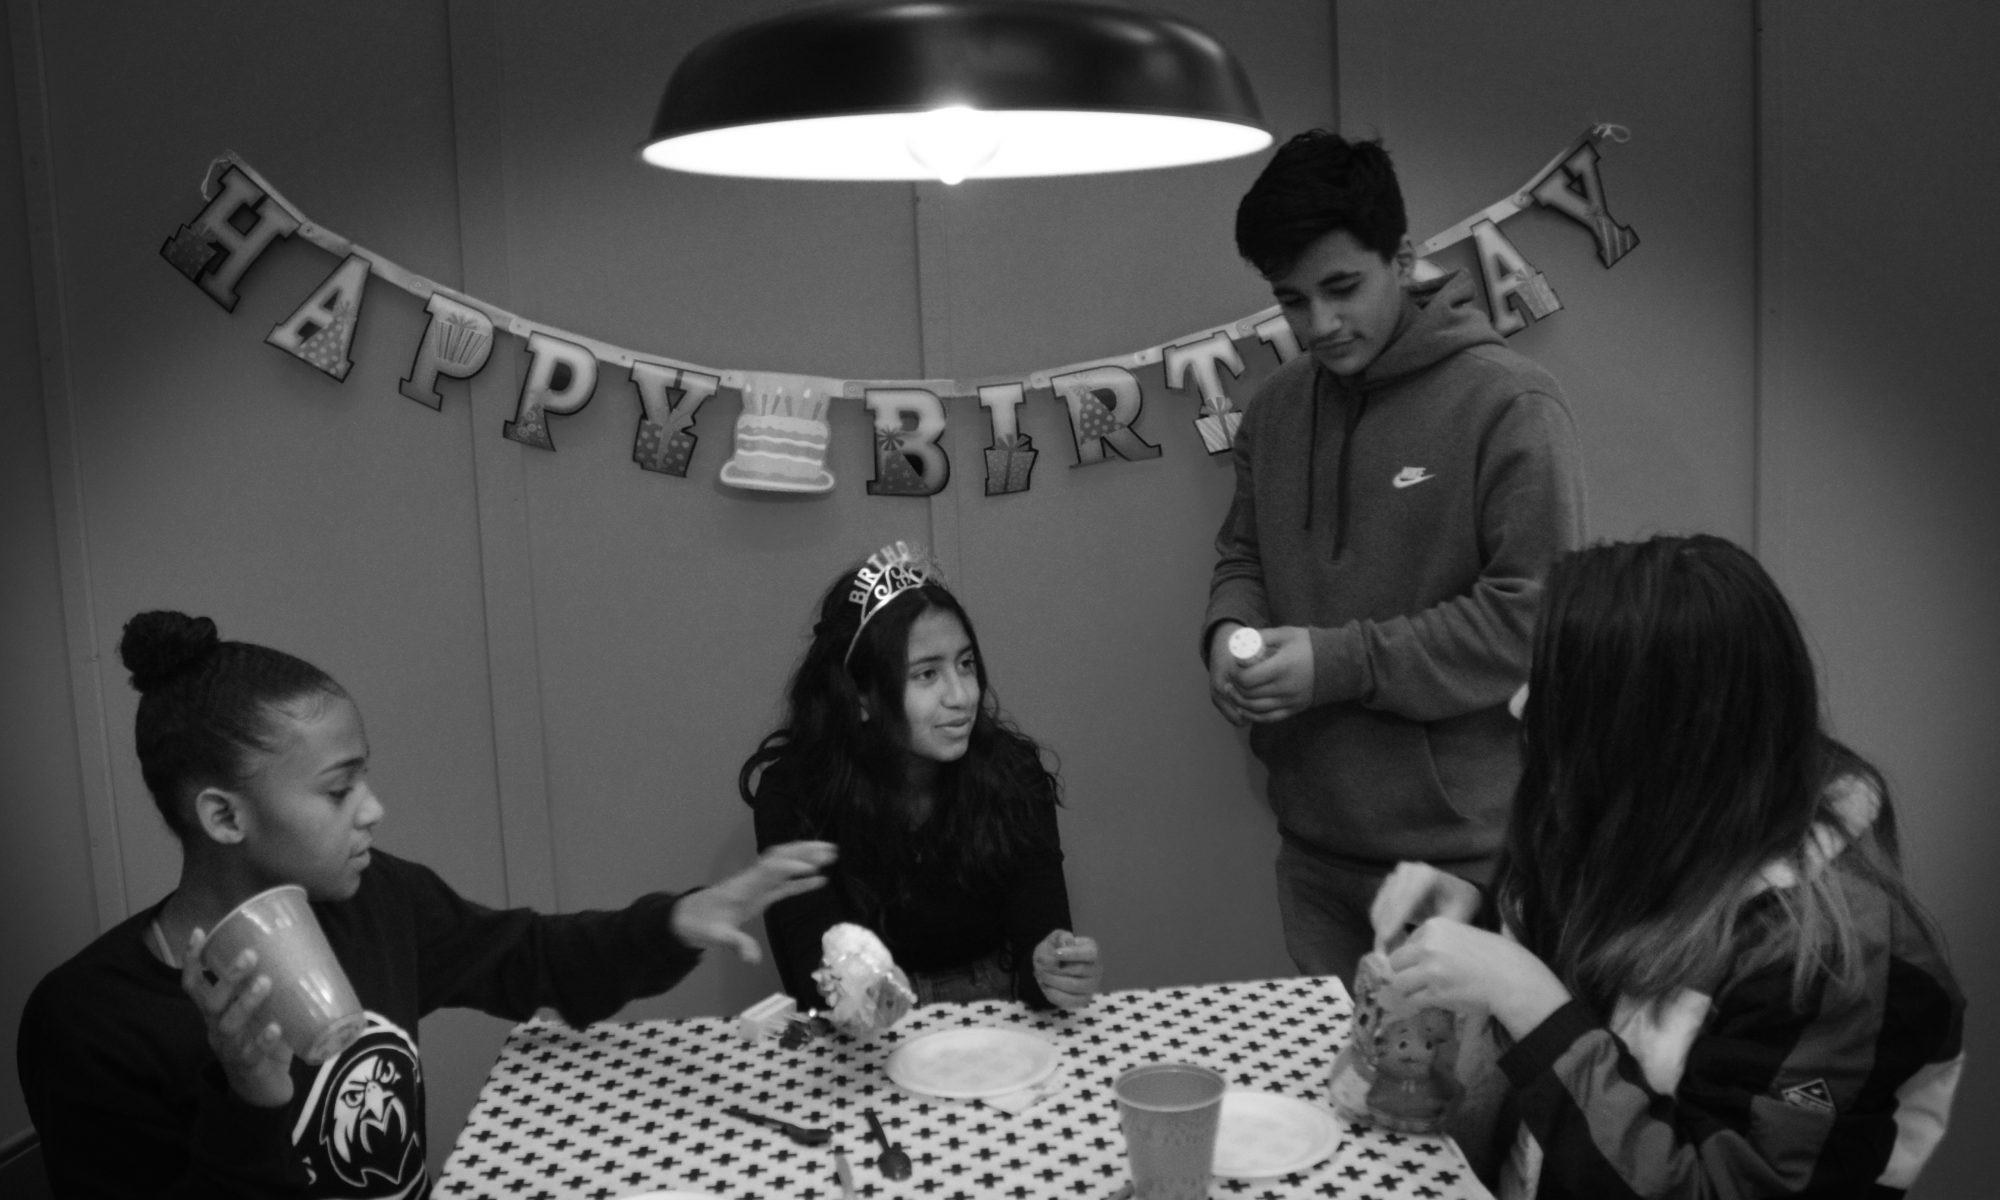
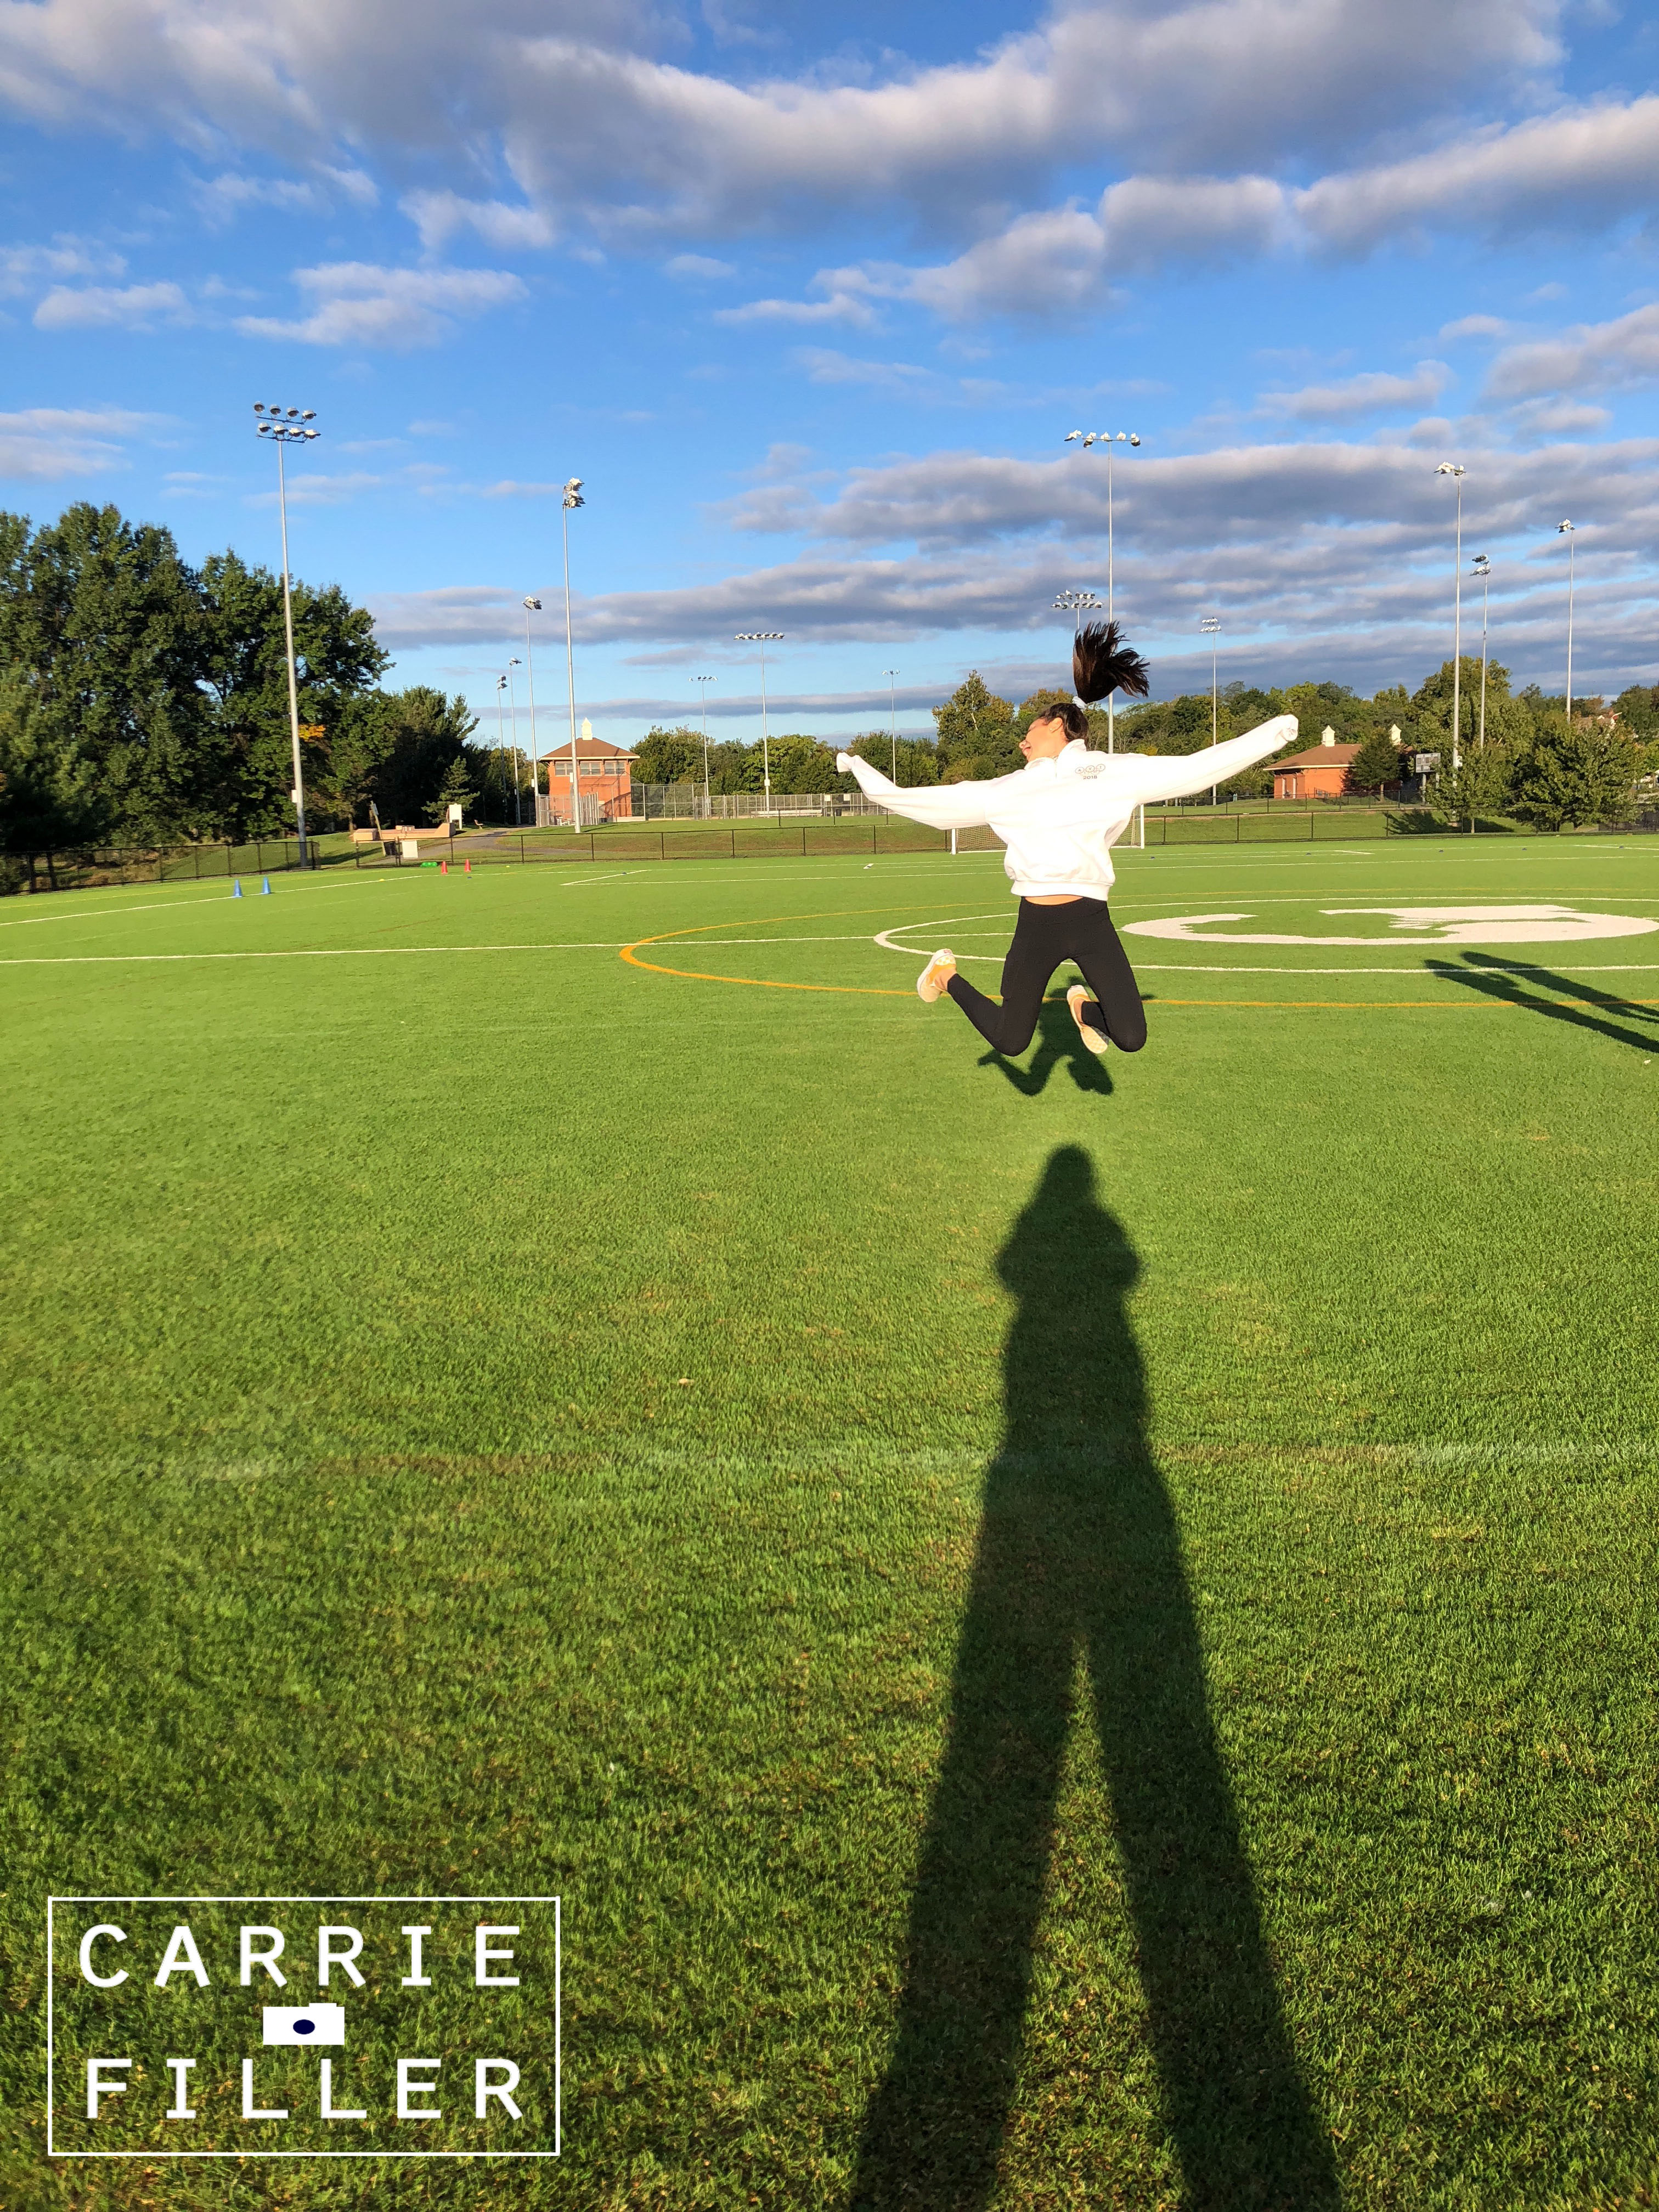
This project was a lot more difficult then I thought it would be. At the beginning I thought all we had to do was take random pictures, but that was not the case. Some things that worked was having the people stay completely still. That was very easy, especially if it wasn’t a person but an object. However, one thing that proved difficult was trying to get the right angle, the thing/ people in the right position, and on top of all of that get them on the line or on a cross. One thing that I found didn’t work was getting the object/ people on the very bottom line. It is possible, but it was very difficult and I couldn’t really do it. The lines, also known as the grid, is used to help position an object or person in a photo so your eyes are drawn to it. You do this by getting the object or person on a line or cross. Below are 2 of my favorite photos. One is of my friend Valerie and I, and the other is some cones outside. To see the rest of my photos click here.
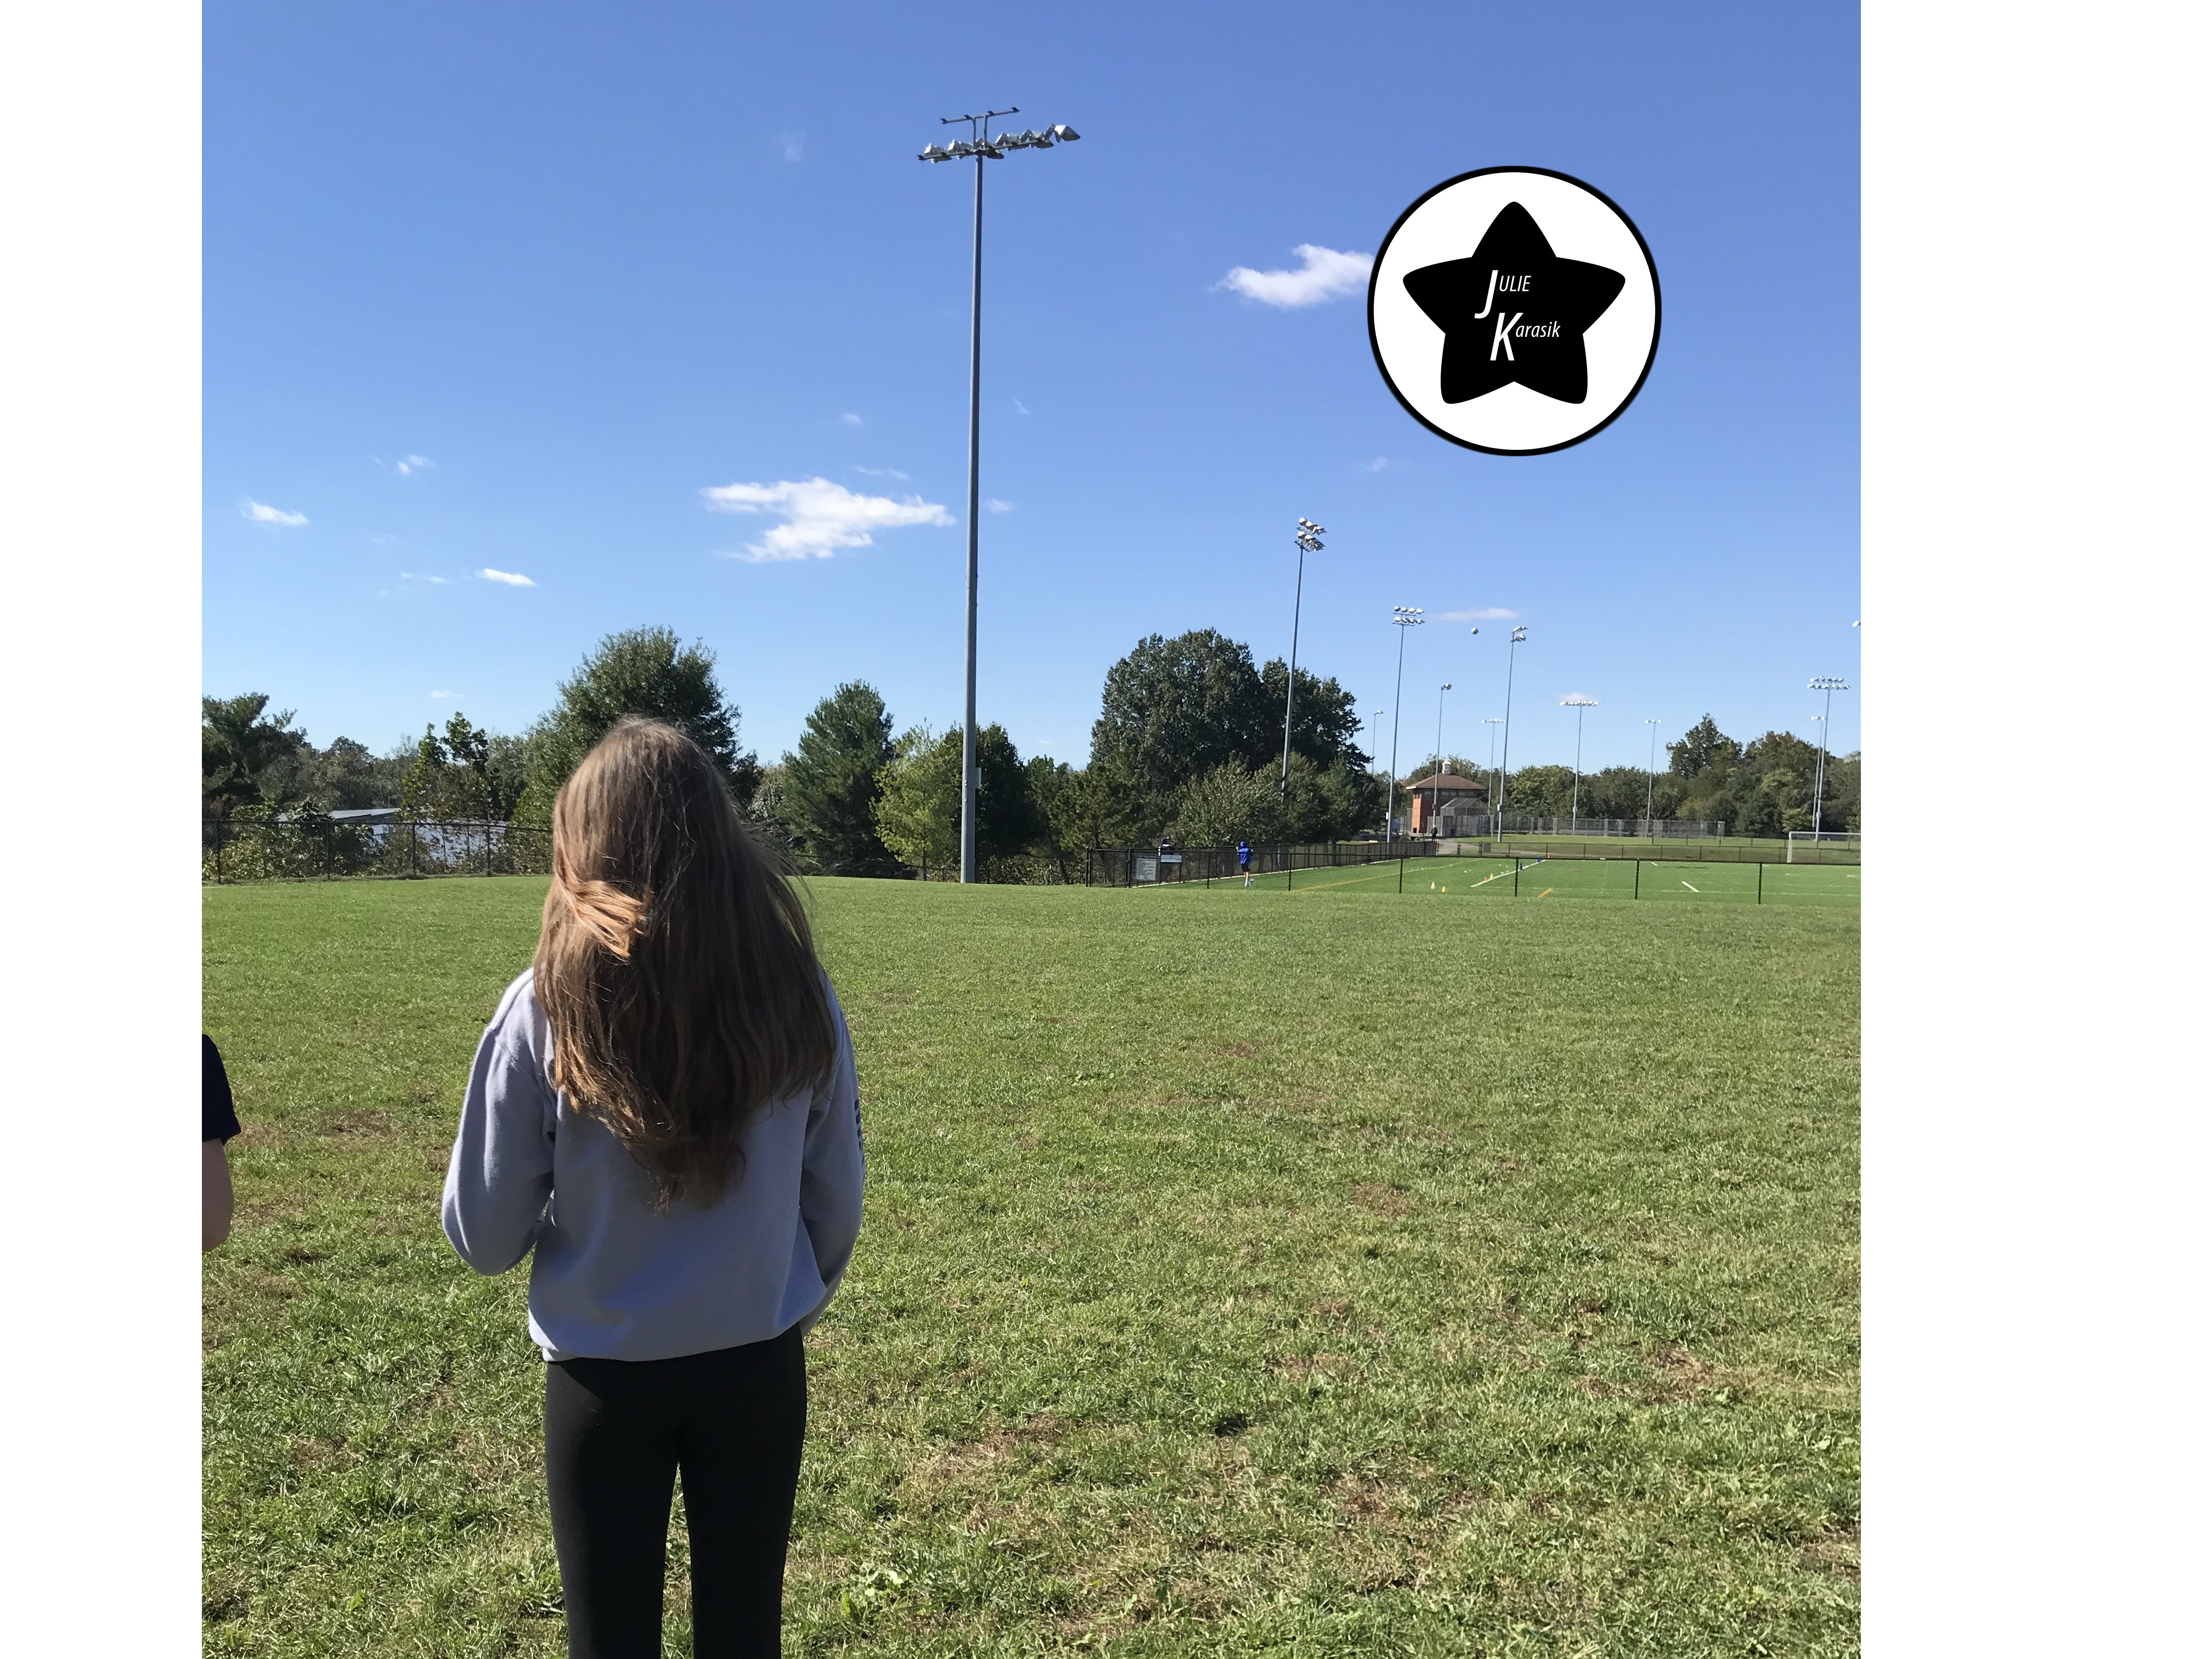
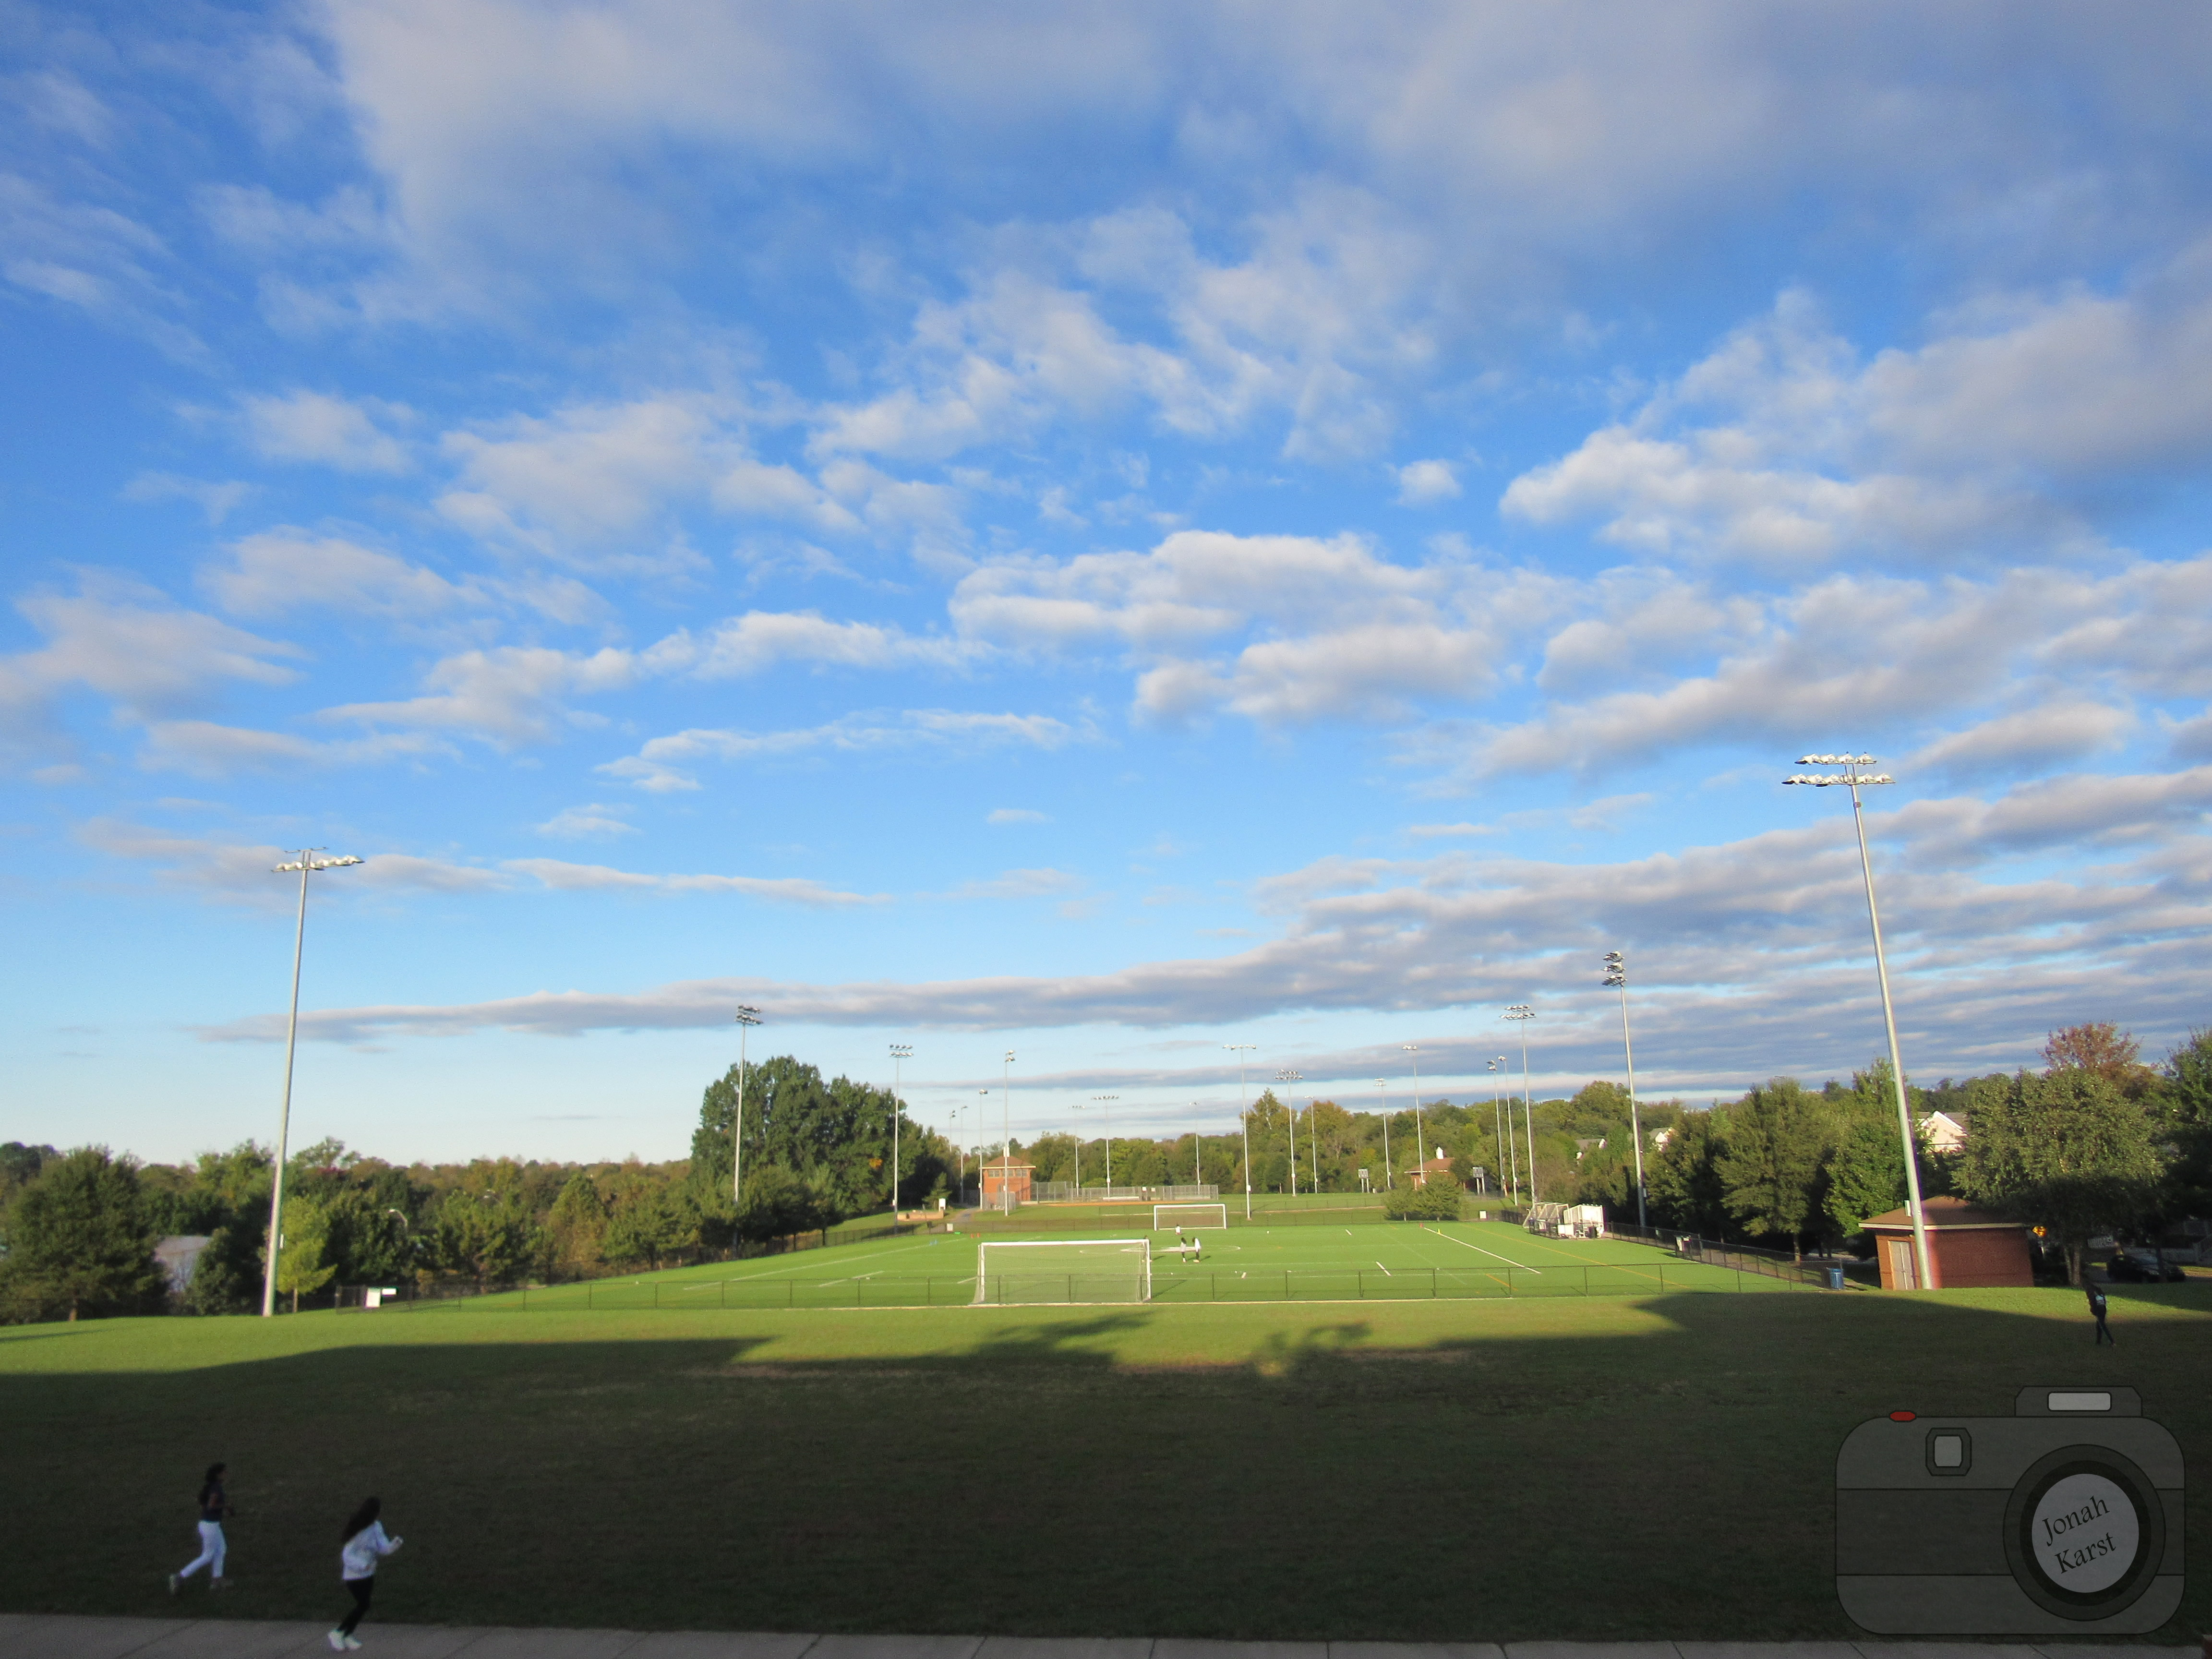
During this project it was pretty easy to find thing to include in our rule of thirds photos. It was pretty hard though to find the best possible place for the object to make it a rule of thirds photo. I thought that it was going to be super easy to make rule of thirds photos. After the project I realized that it was a little harder to make rule of thirds photos. To help follow the requirements for a rule of thirds photo, we used a grid to show us all the thirds of the picture. When setting up a shot you had to bring the main object or area, into a third of the photo either horizontally or vertically.
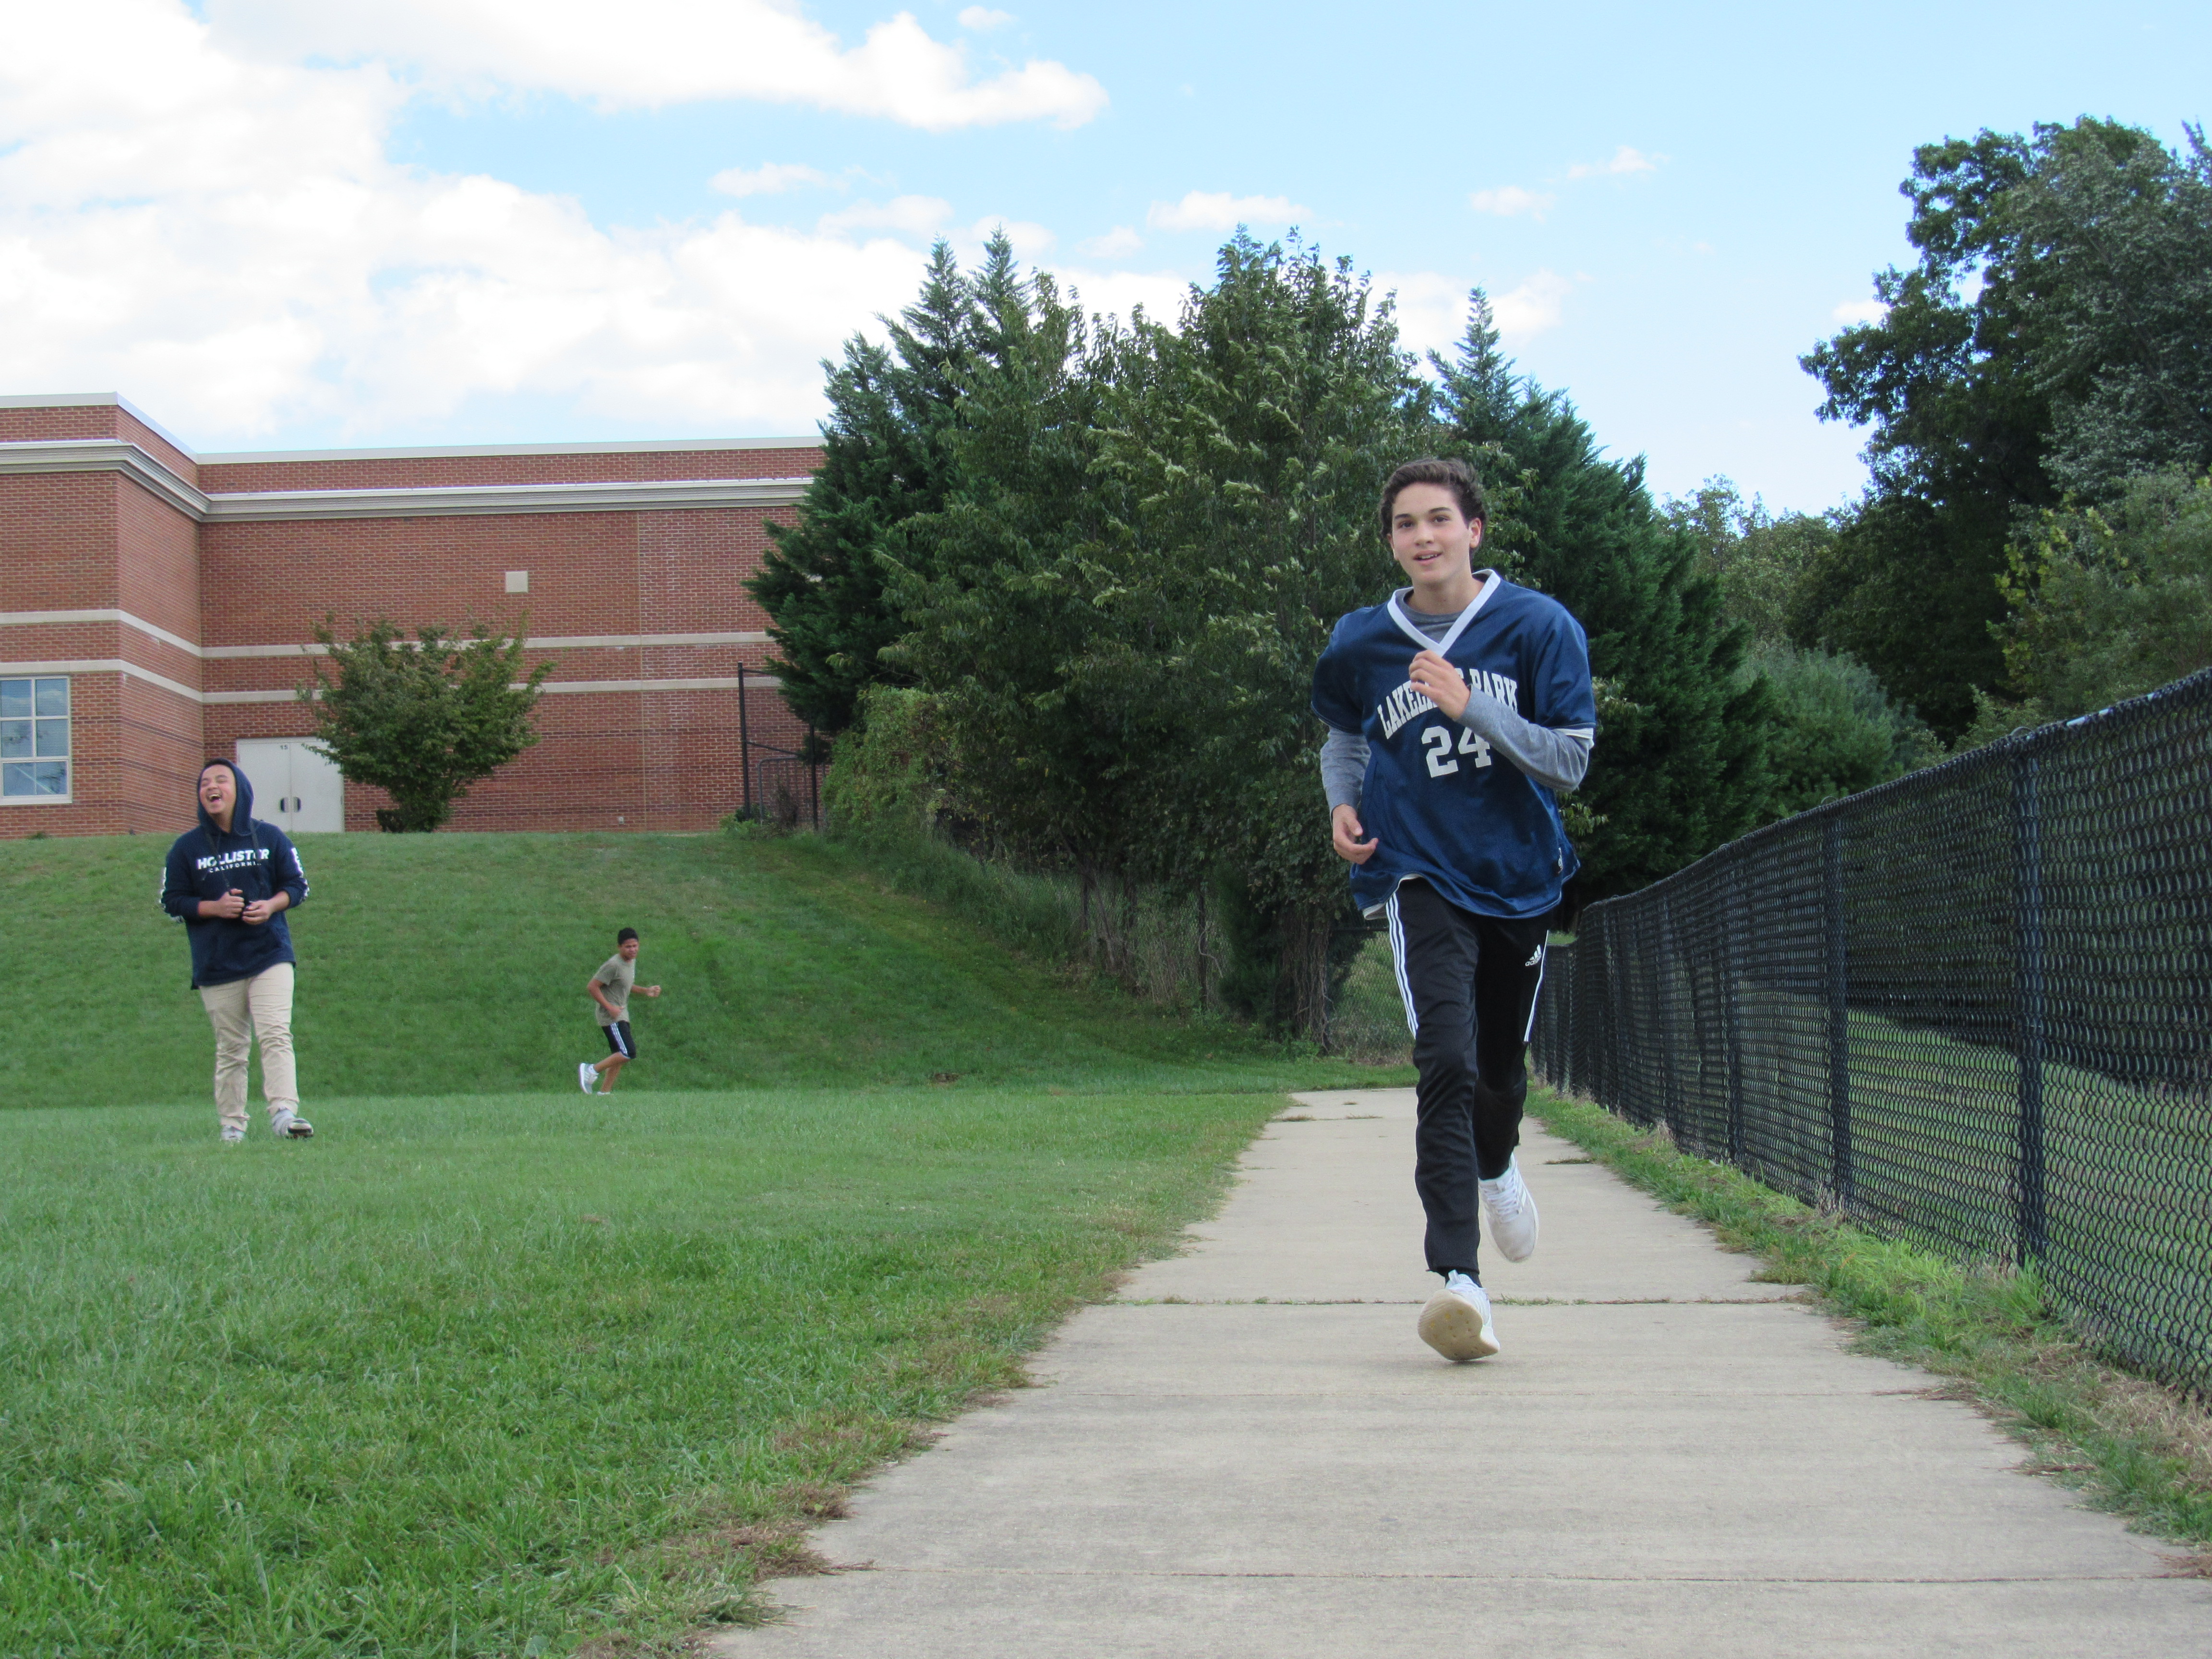
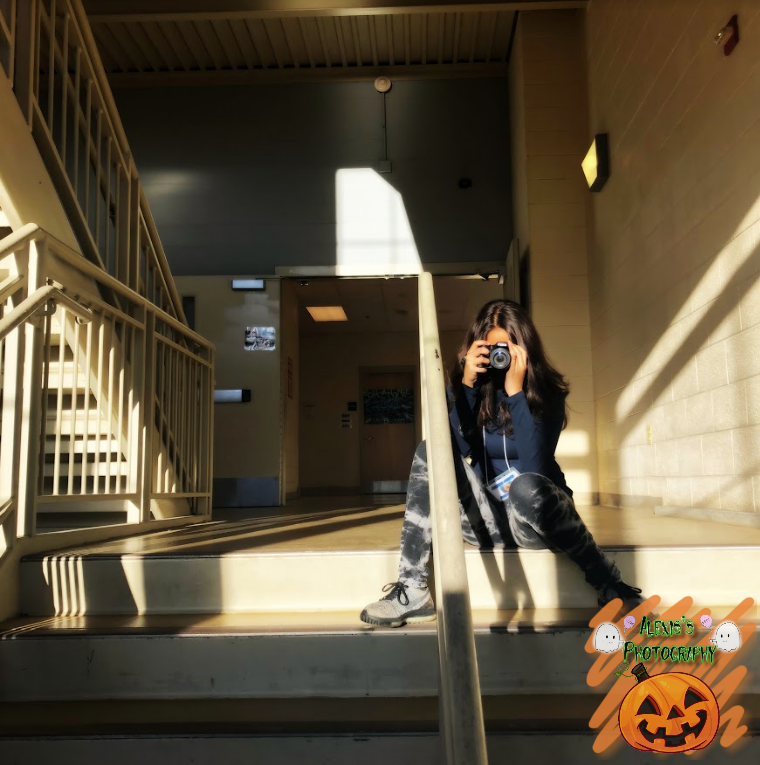
We had to take pictures with the rule of thirds. My phone was able to have the grid to use rule of thirds without any errors of not knowing where to take the picture therefore it made it a lot easier to accomplish. What didn’t work out was when we weren’t allowed to go outside because inside most of the the school had bad lighting or it just seemed plane. The best place I found with good lighting inside was the stairs making it easier for this project since we weren’t allowed to take pictures outside that day. Our setup would be on where the angle should be that would make the rule of thirds really noticeable. I would have one of my friends go in a specific spot that brings out the law and good lighting onto them. We had to move the cameras more to the sides so it would meet up with the lines. At first I thought we were gonna have to take pictures inside which I wasn’t happy about but then we ended up going outside. It seems like a very unique way to take pictures and really brings out the surroundings as well.
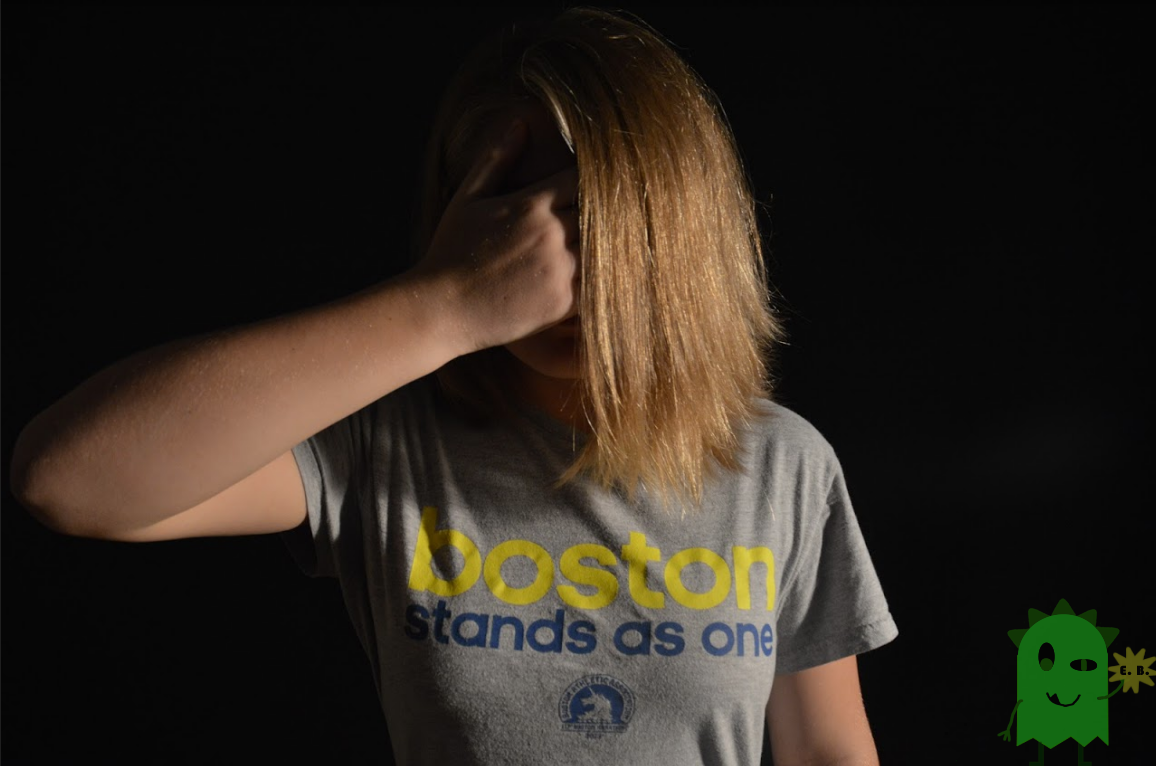
For this project, we had to take pictures in front of a black and white background. While we were taking photos, we had to adjust the lights and move the people so the background was plain white and plain black (no shadows). After a few minutes, we figured out that it was best to point the light more towards the camera. We knew pointing the light toward the person was not good because then we would have shadows. Below are some pictures I took. And here are my other pictures >>> https://drive.google.com/open?id=1K3uJ0VTyUZNT7HXXXizeslSFTDQvxLzG
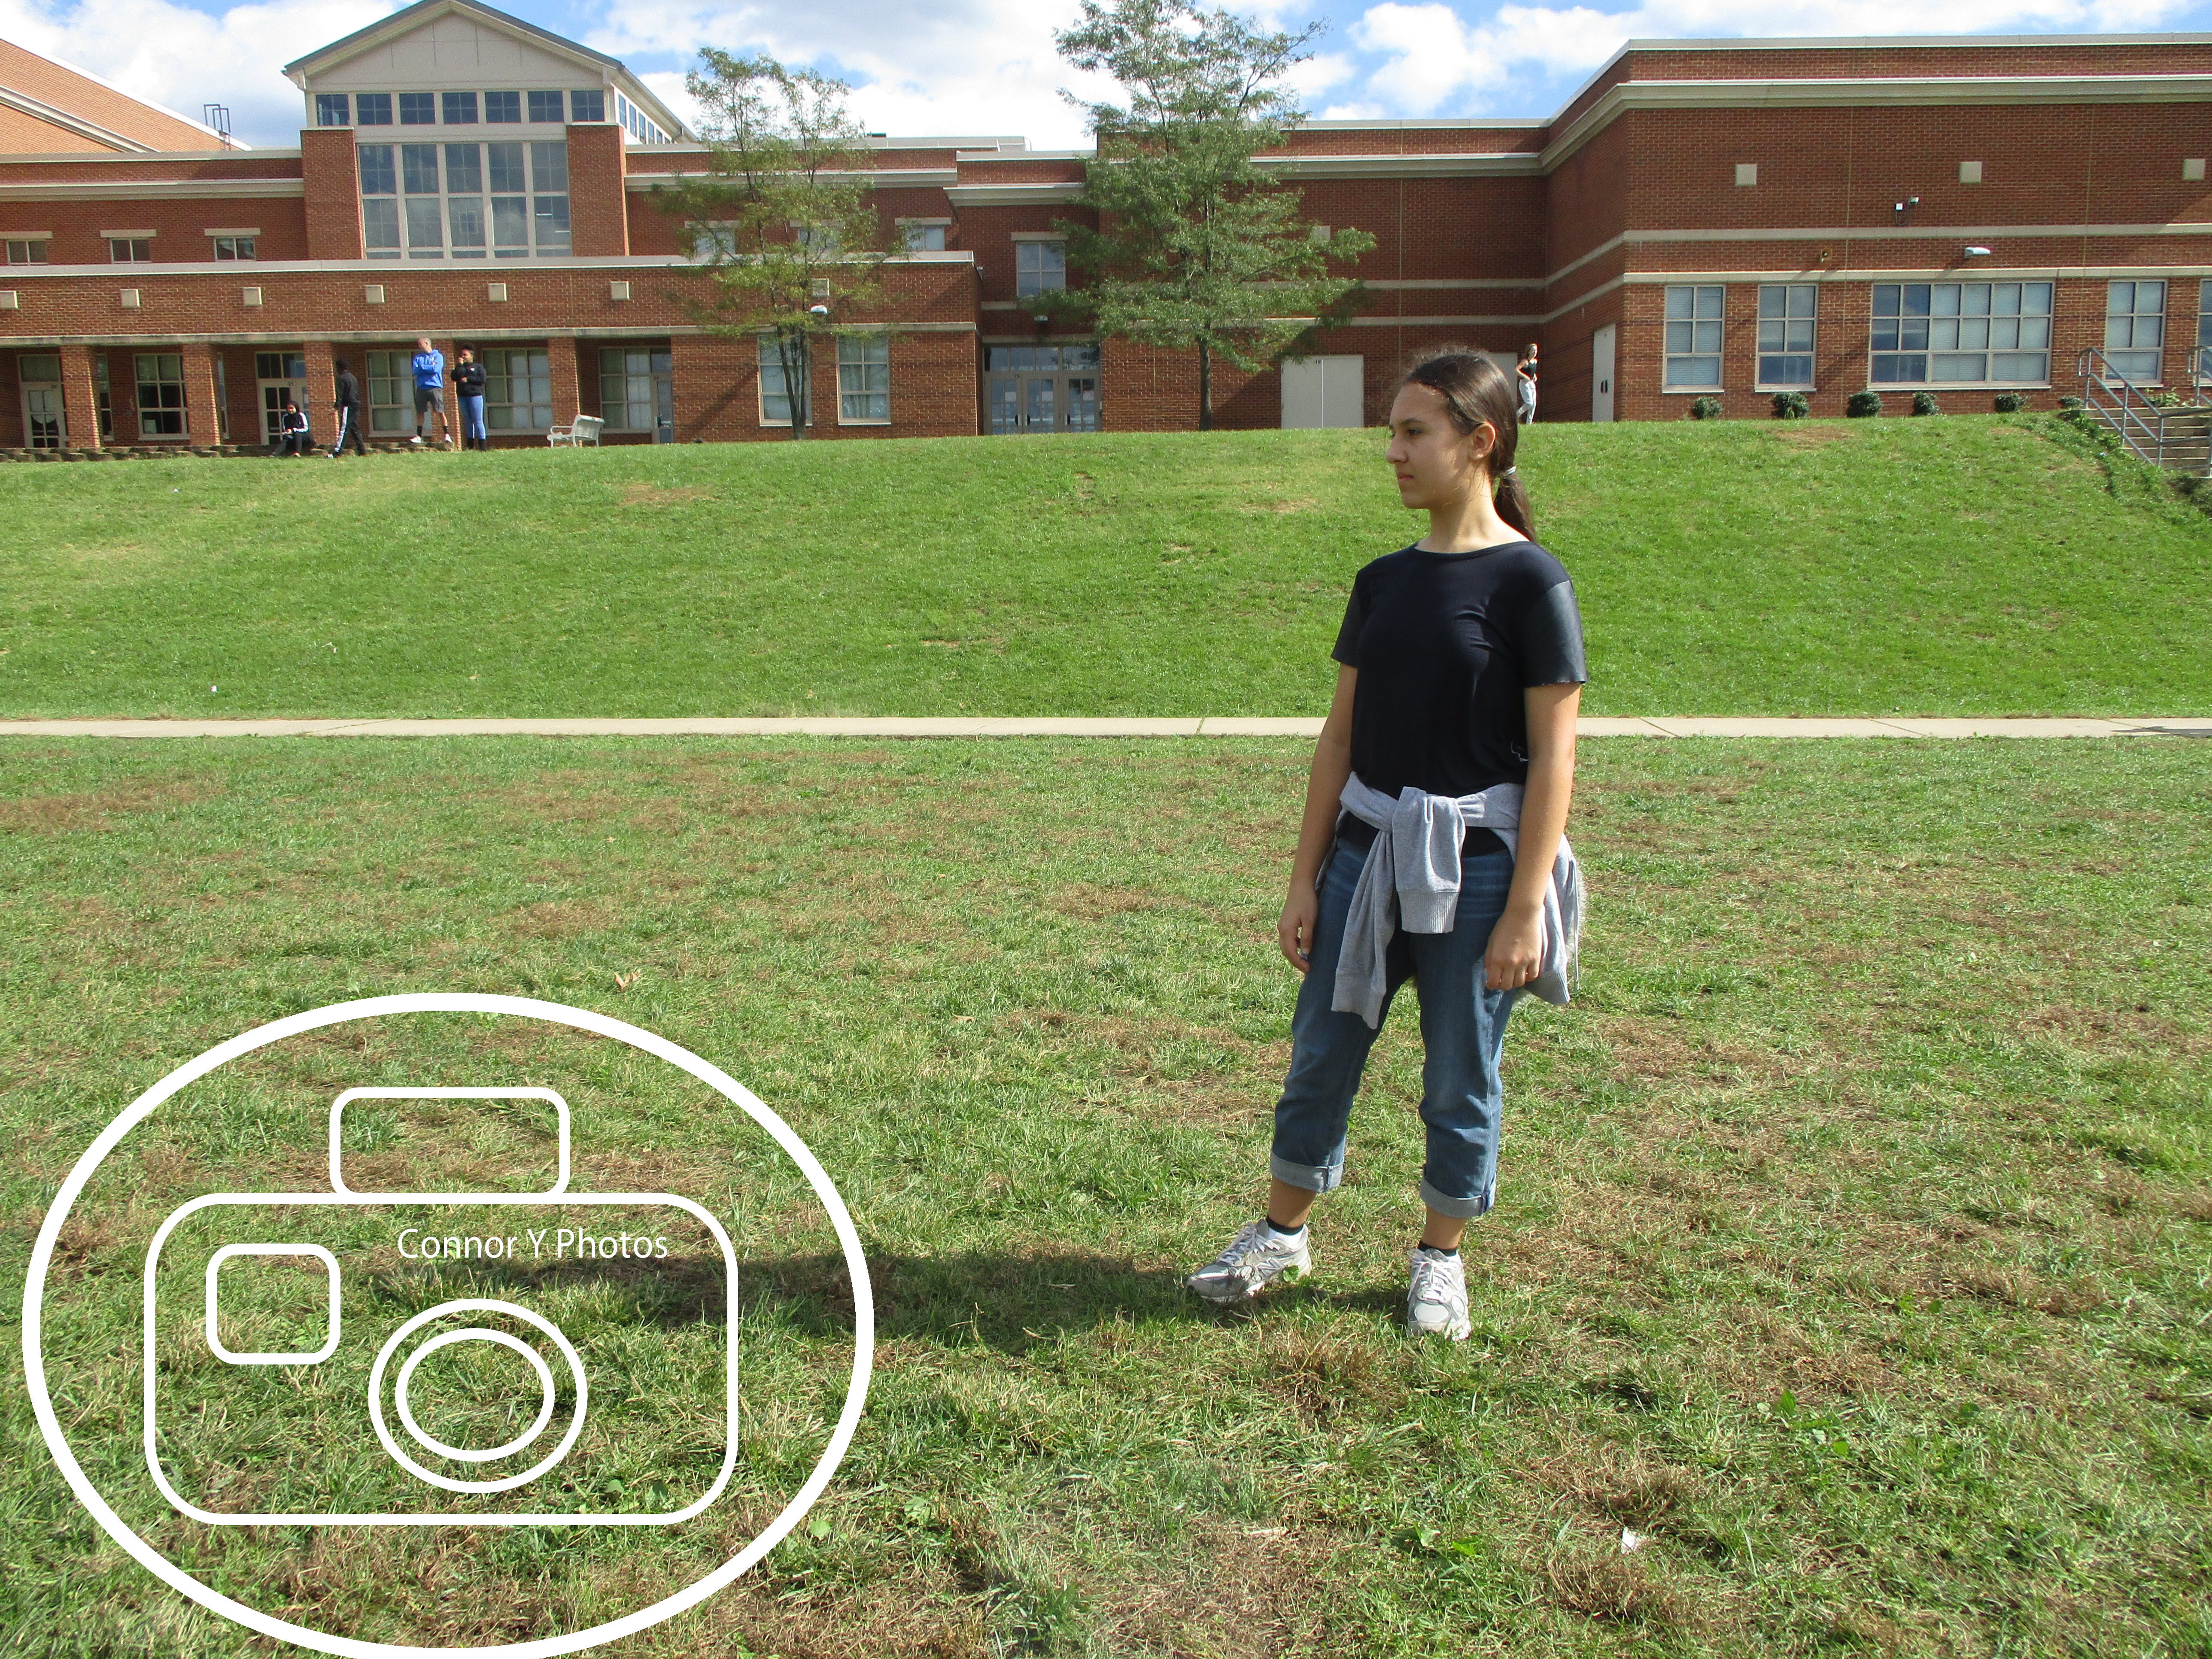
For this project, what really worked was that I used a grid on the camera and it made it much easier. Also, choosing the right background made it easier. What didn’t work was having the person or object in the middle of the photo. My thoughts before the Rule of Thirds was that to always have the person in the middle of the photo. After I took my pictures, I realized that having the person to the side makes the photo look better. The lines I used were the all the 4 points of the grid. I set up the shot by taking a photo to the left and to the right. Then I chose which one was better.