Rule of Thirds

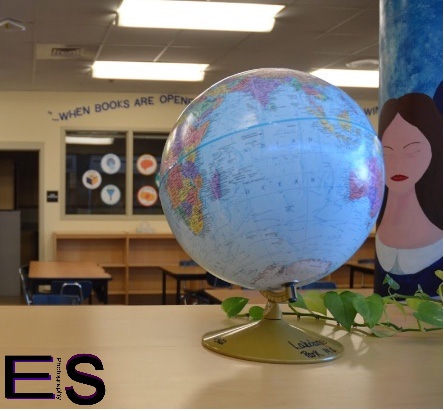
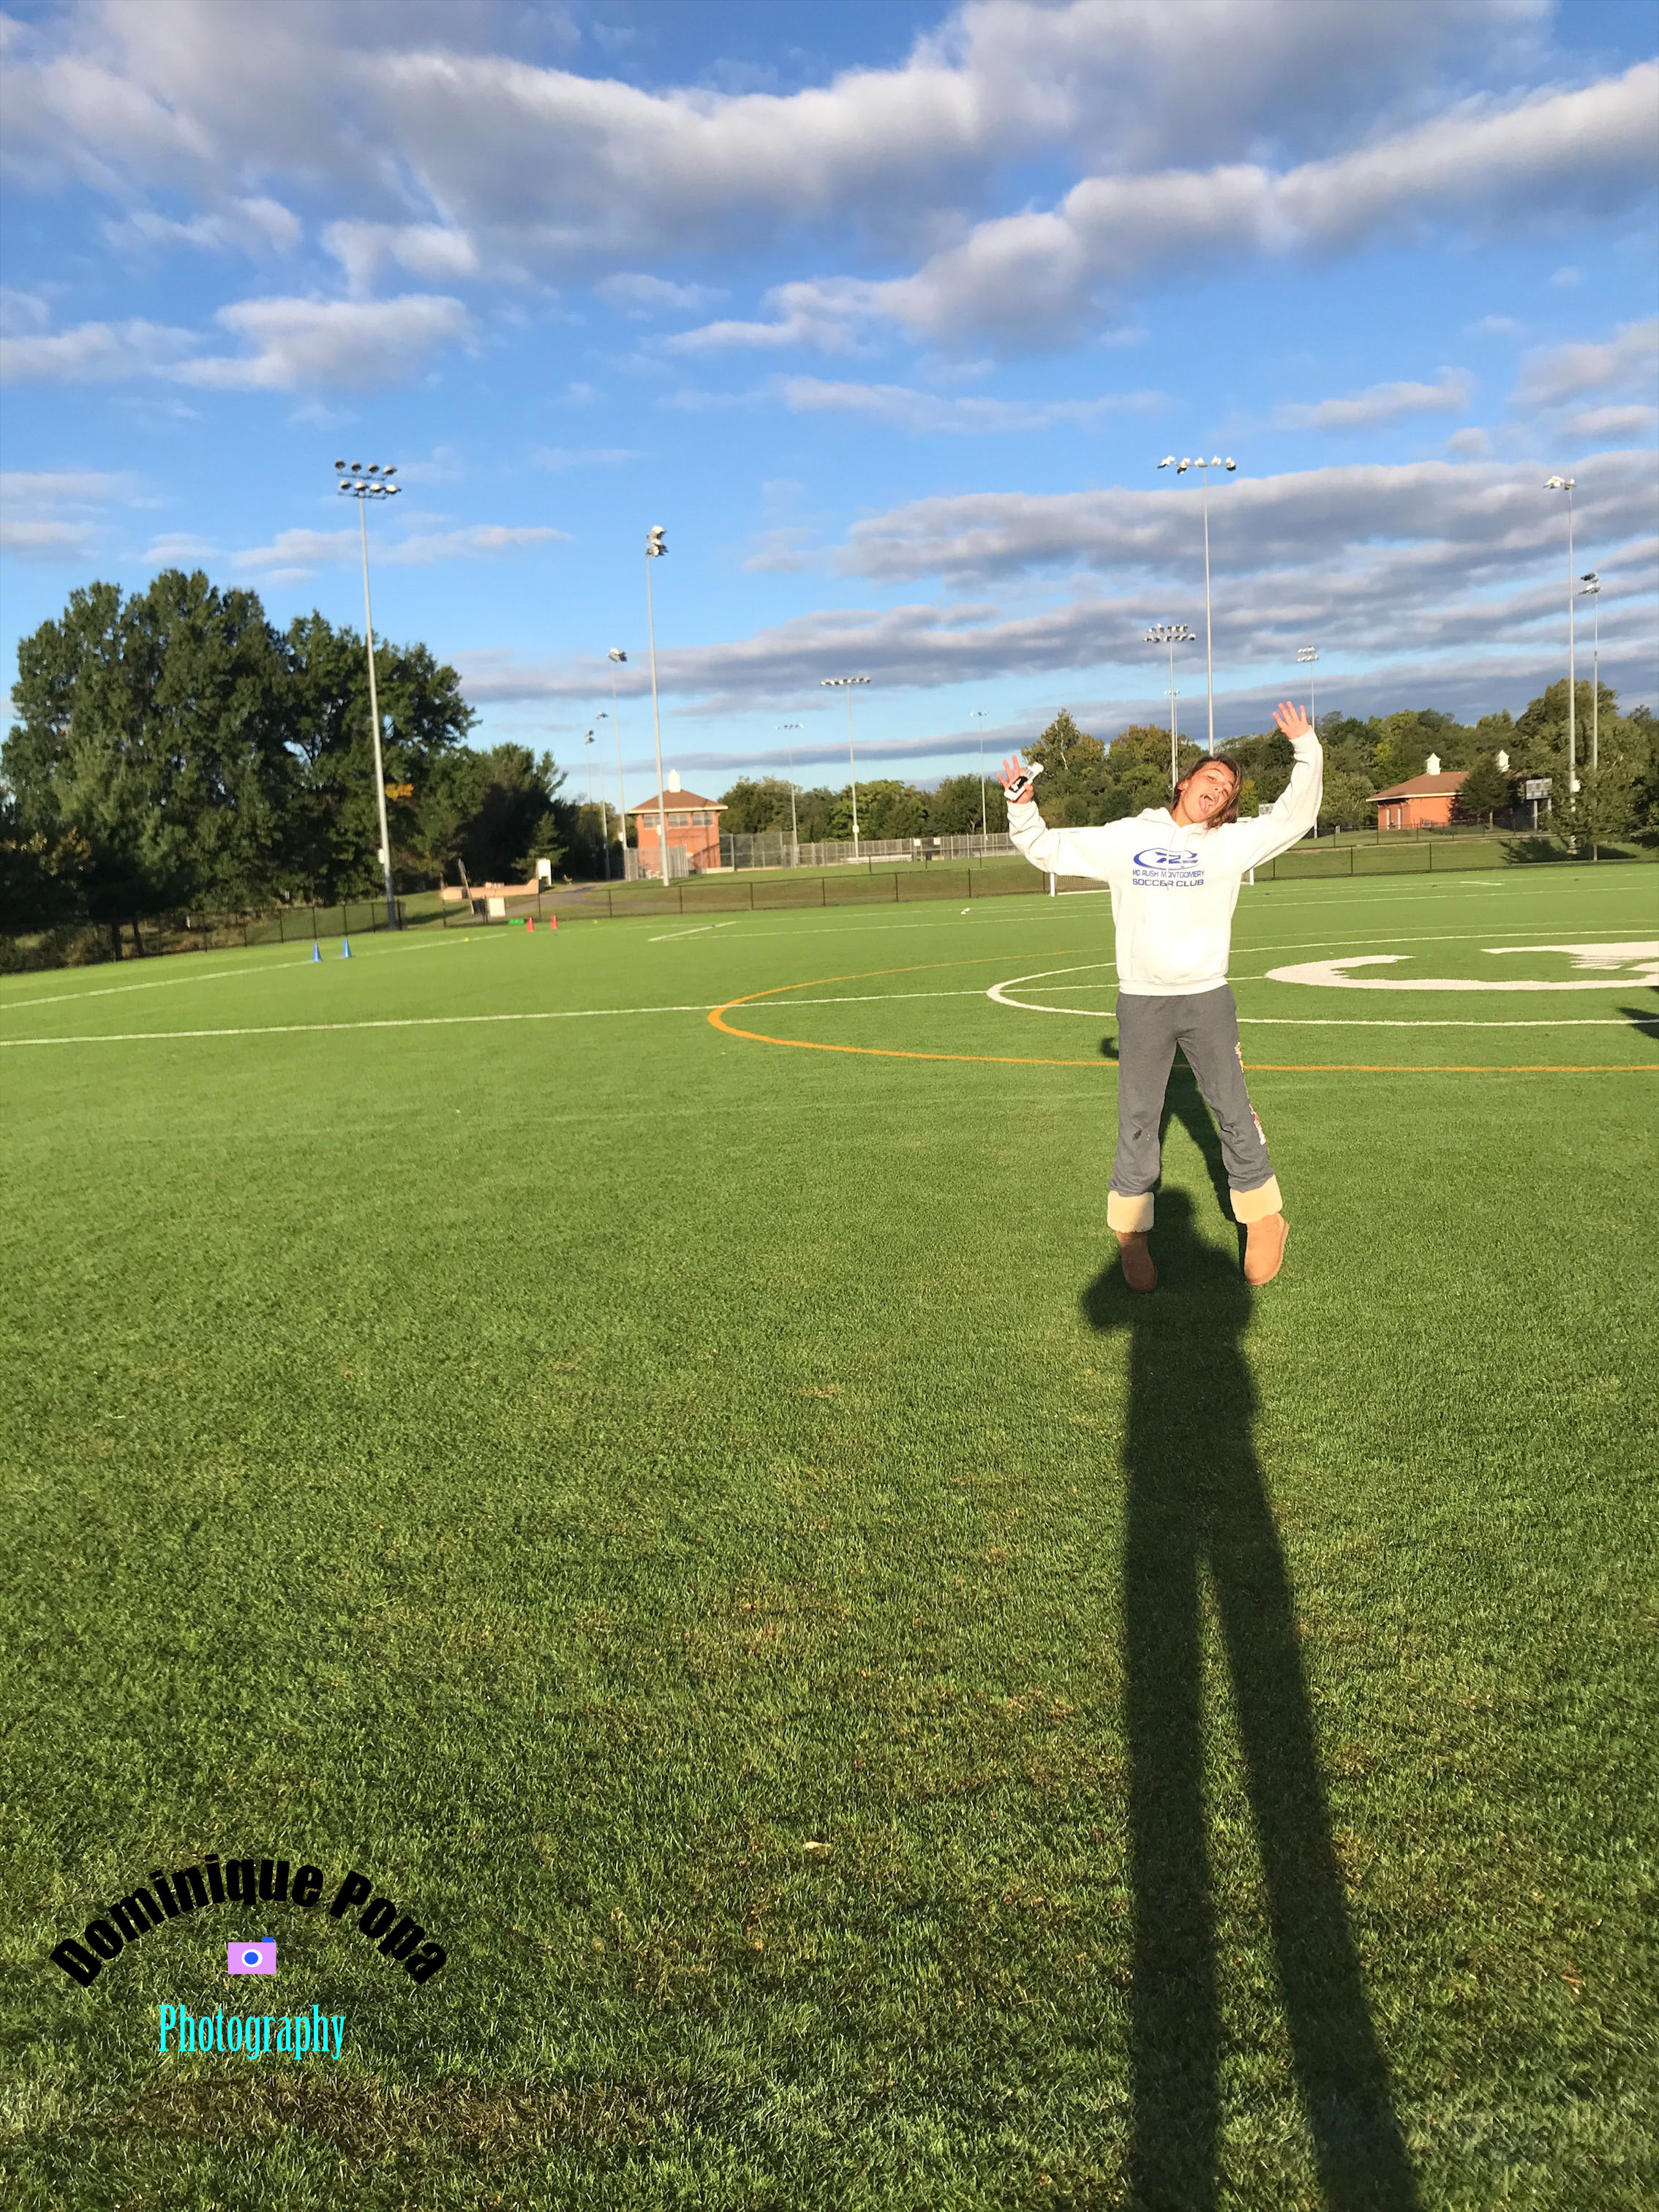
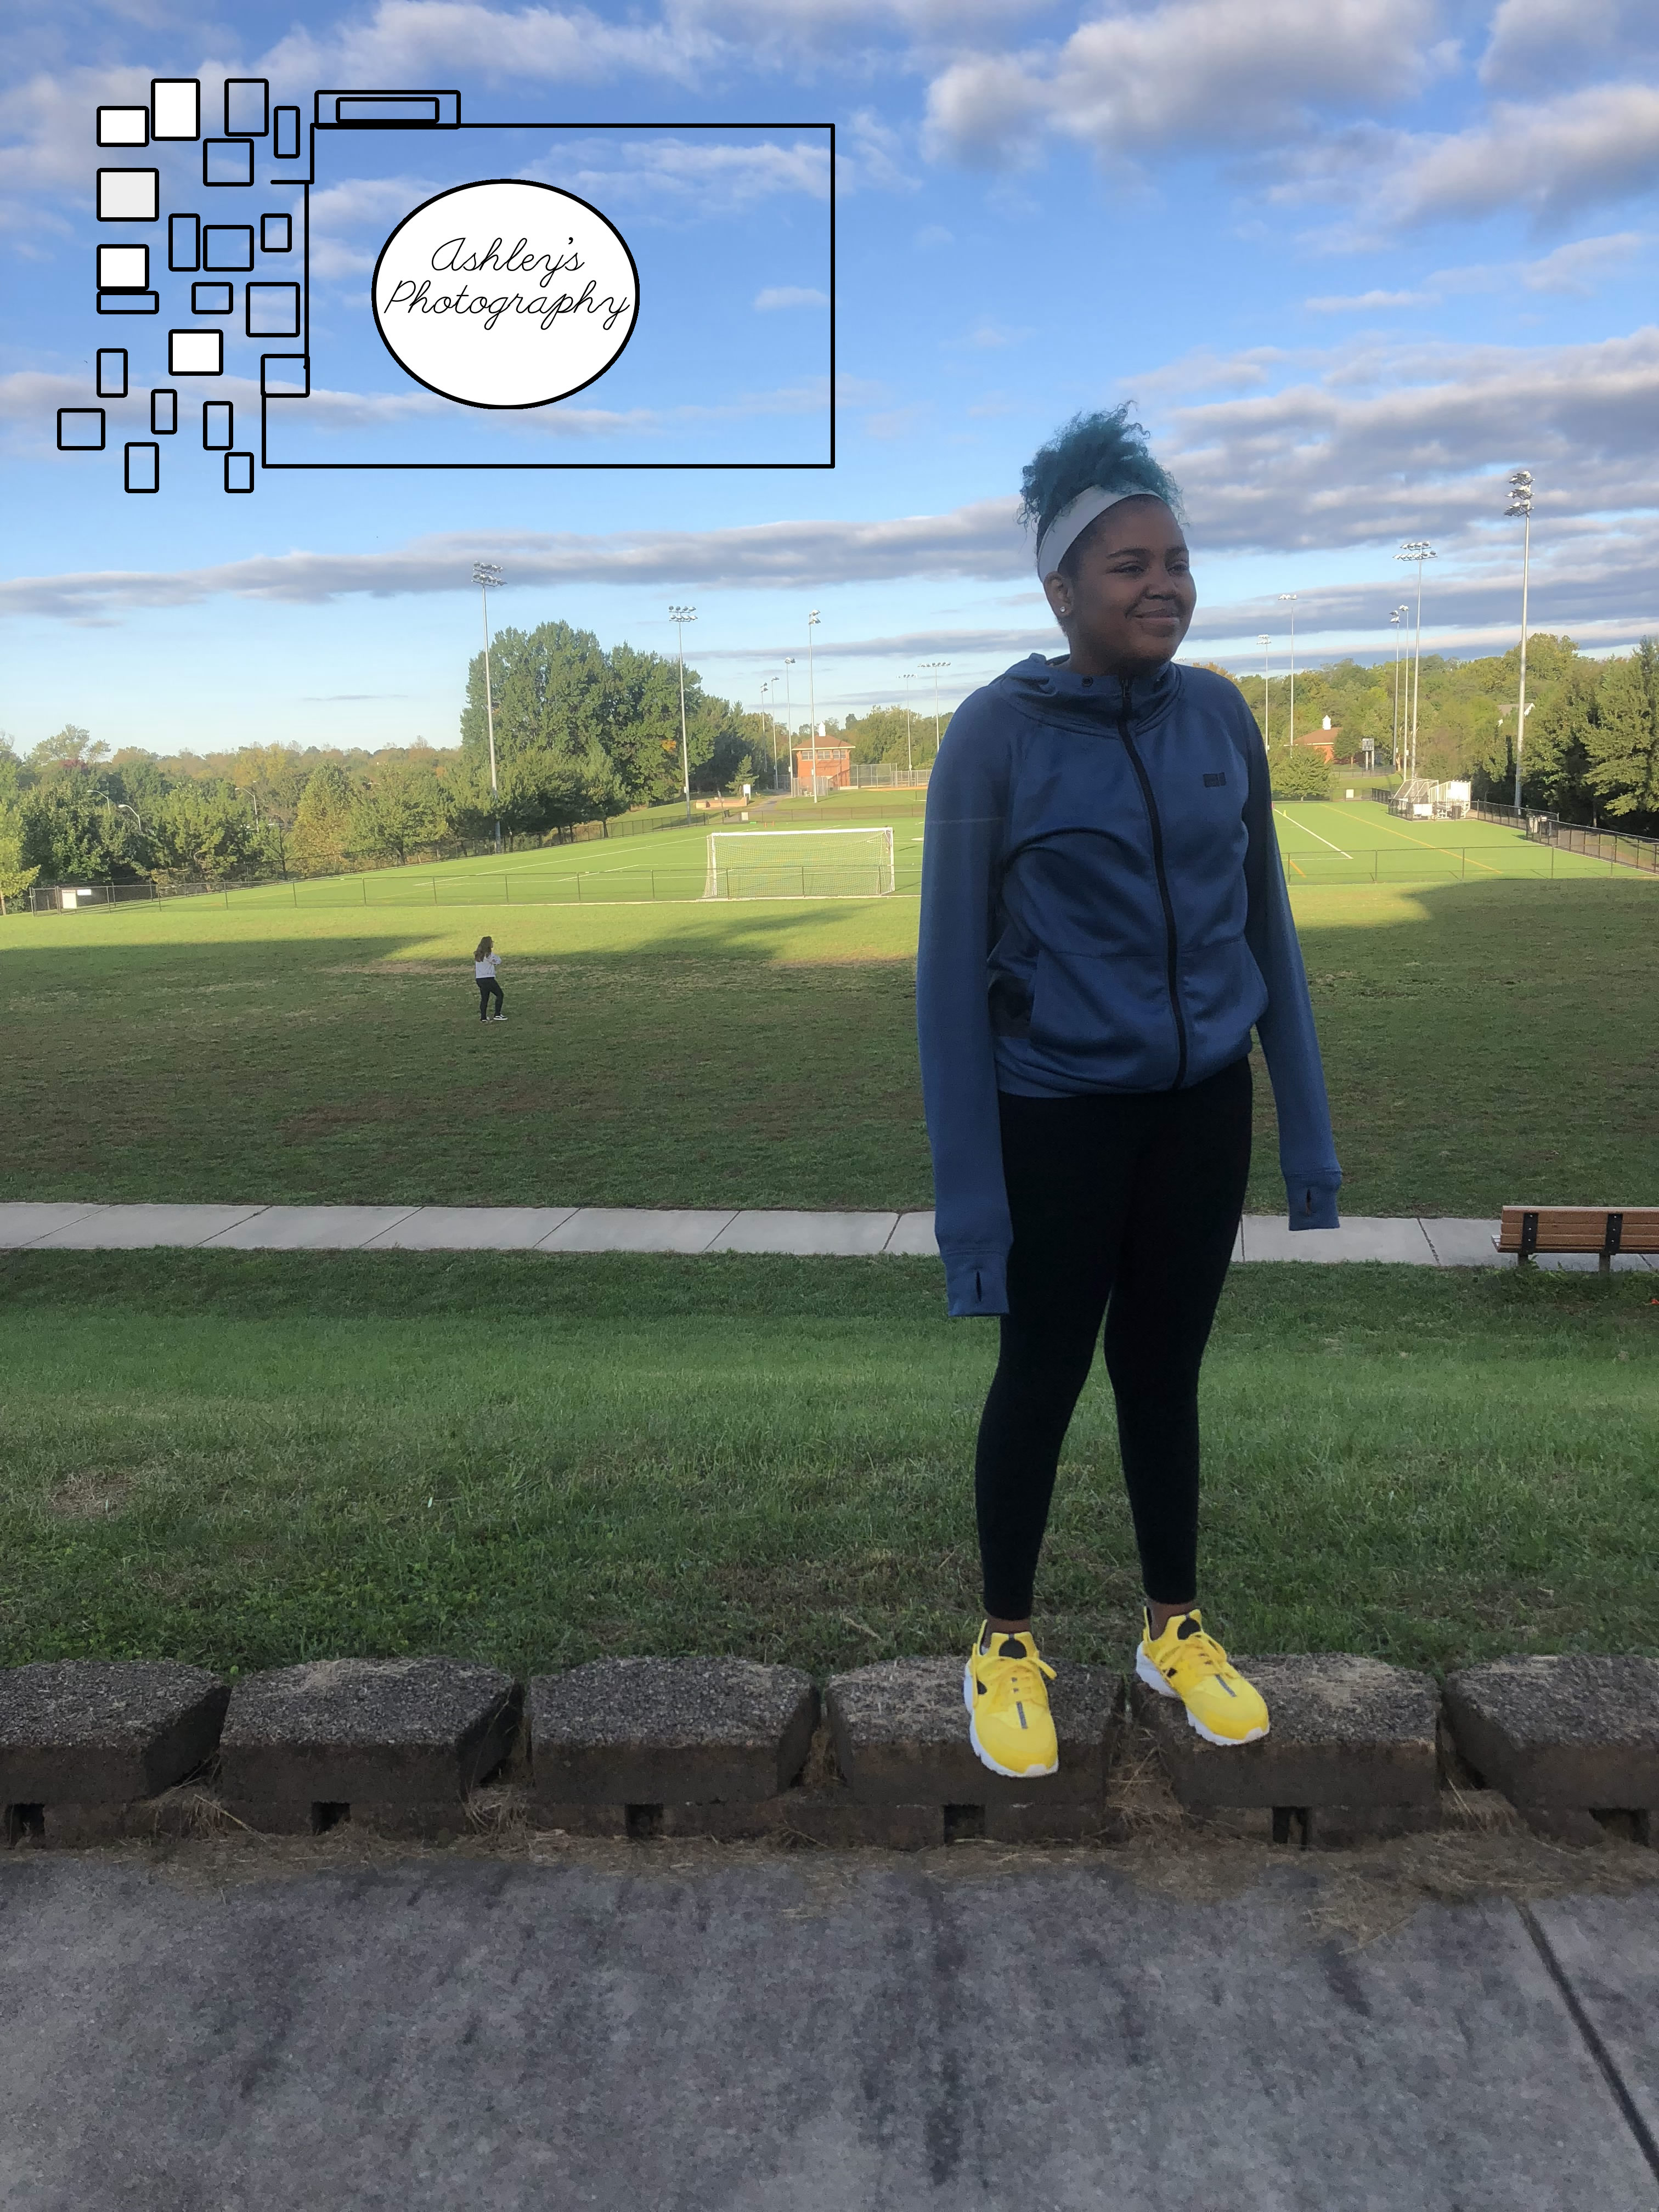
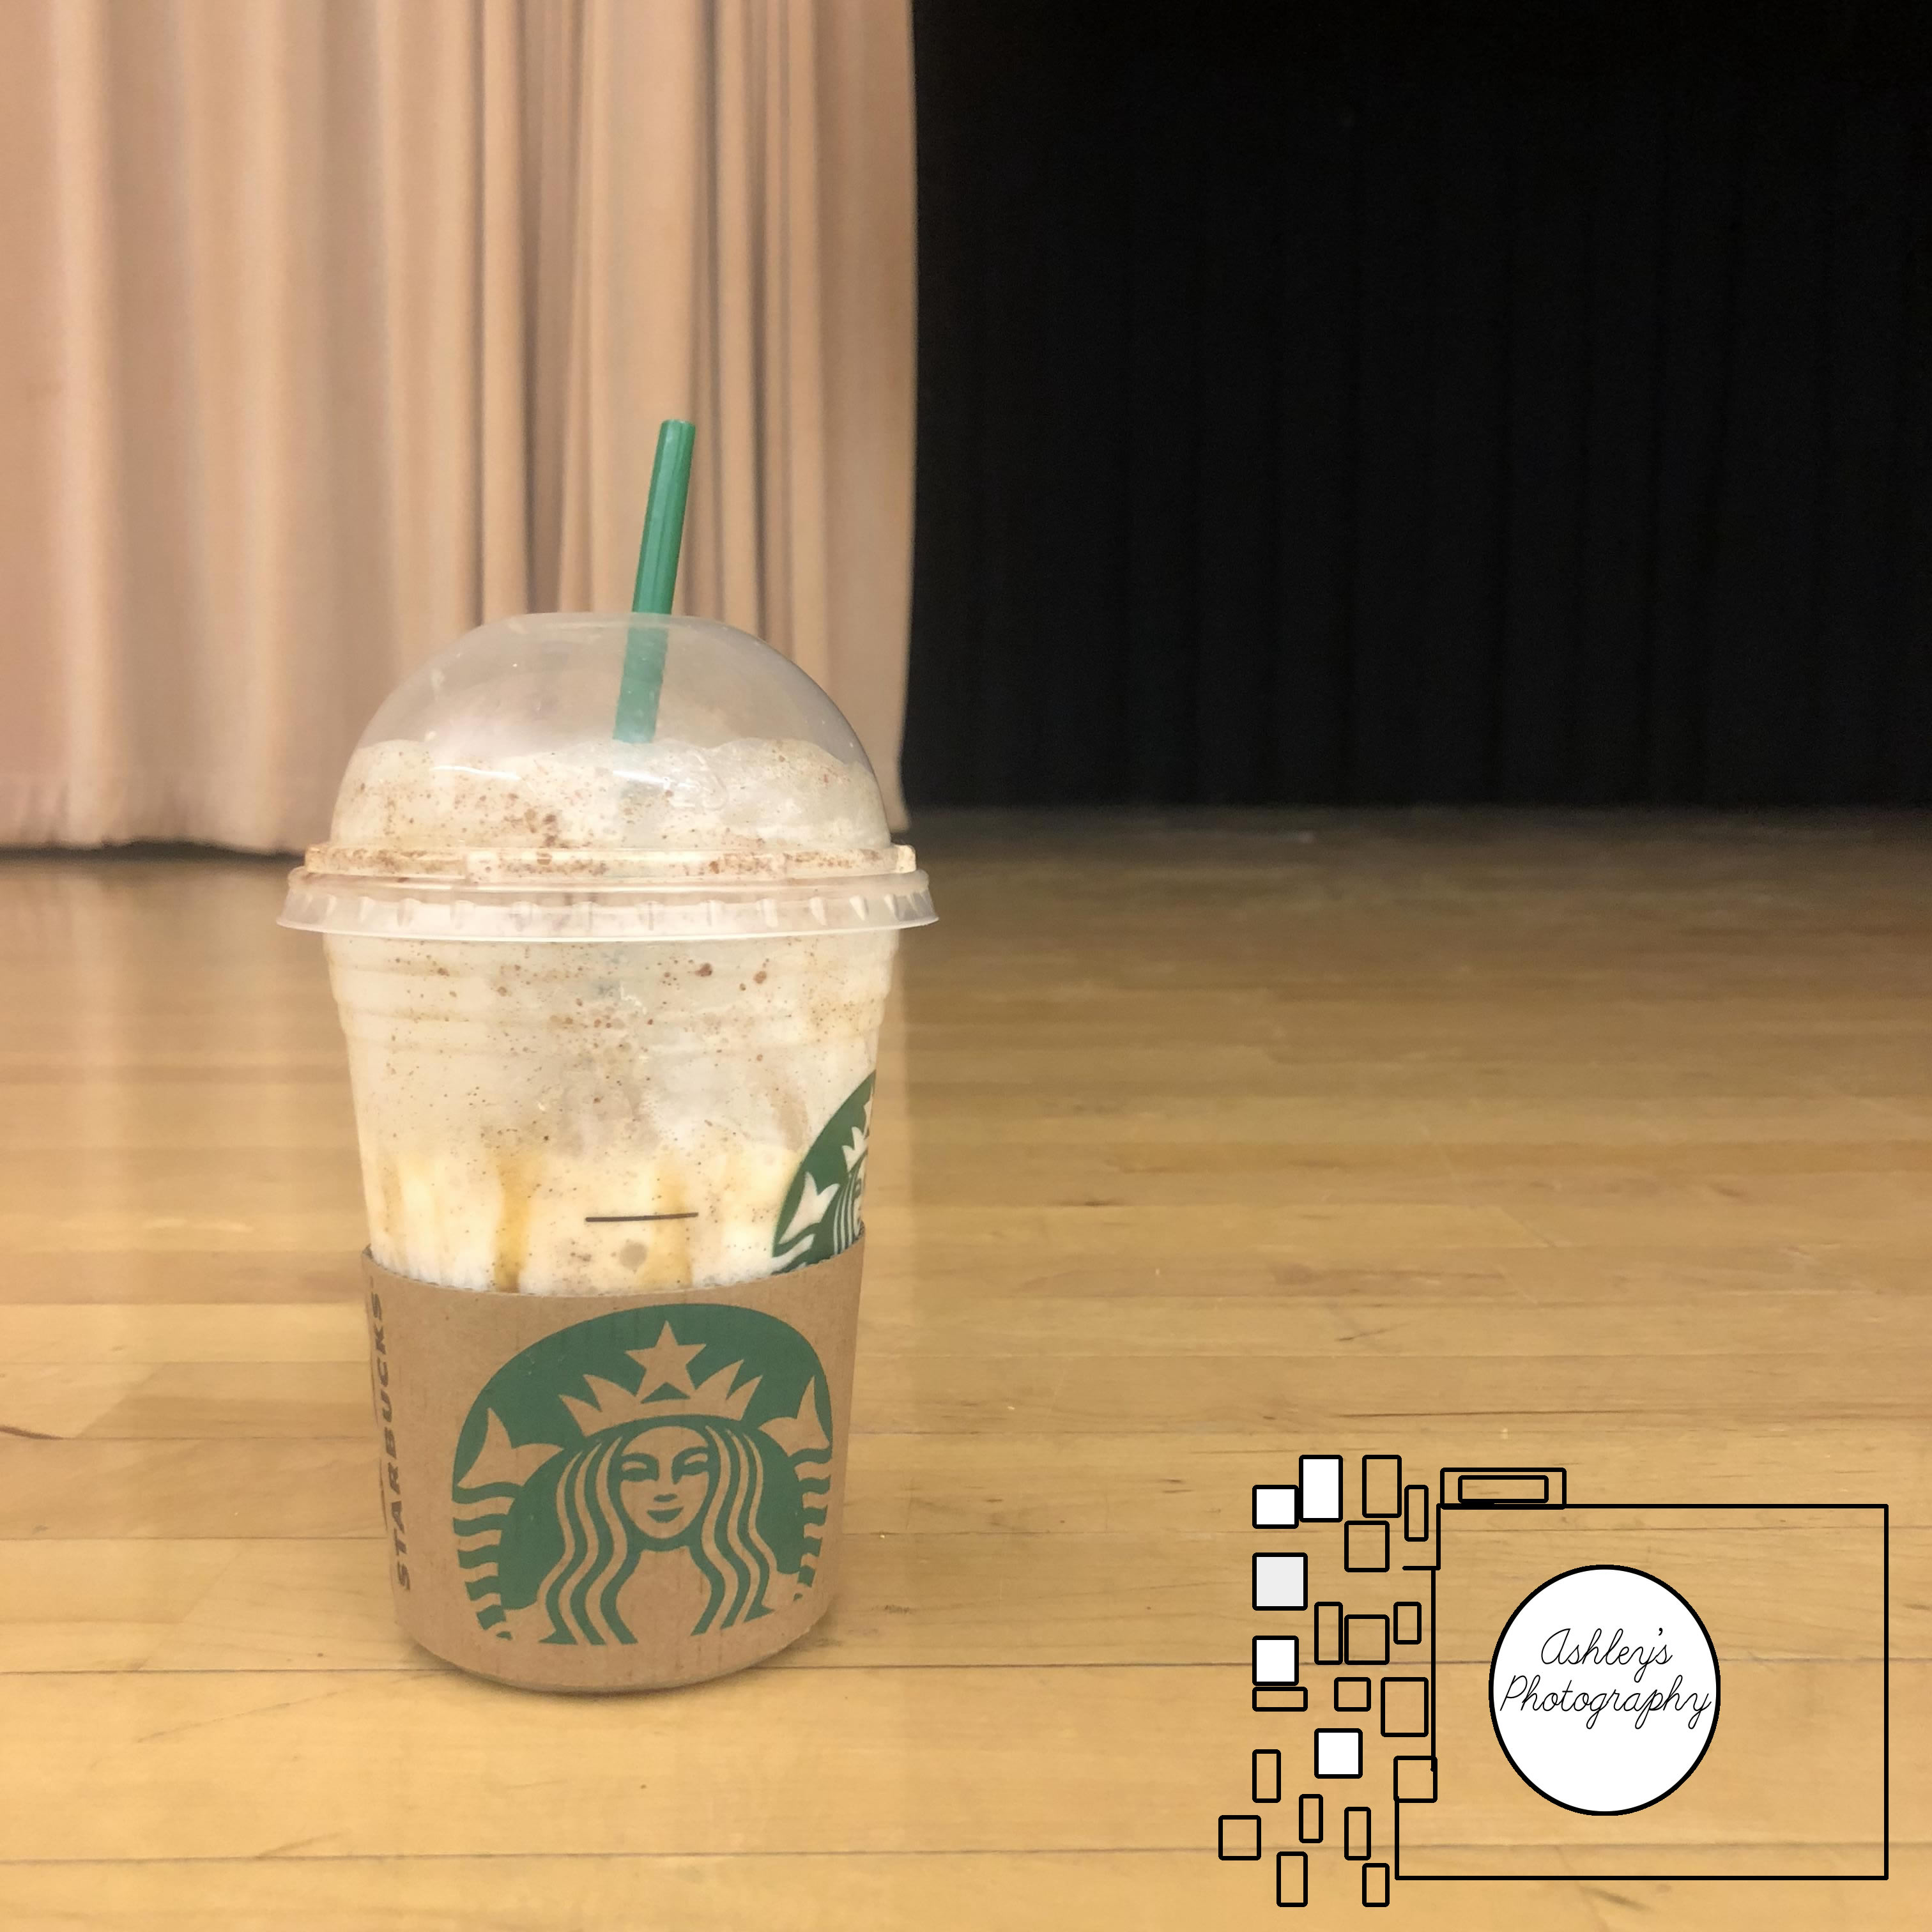
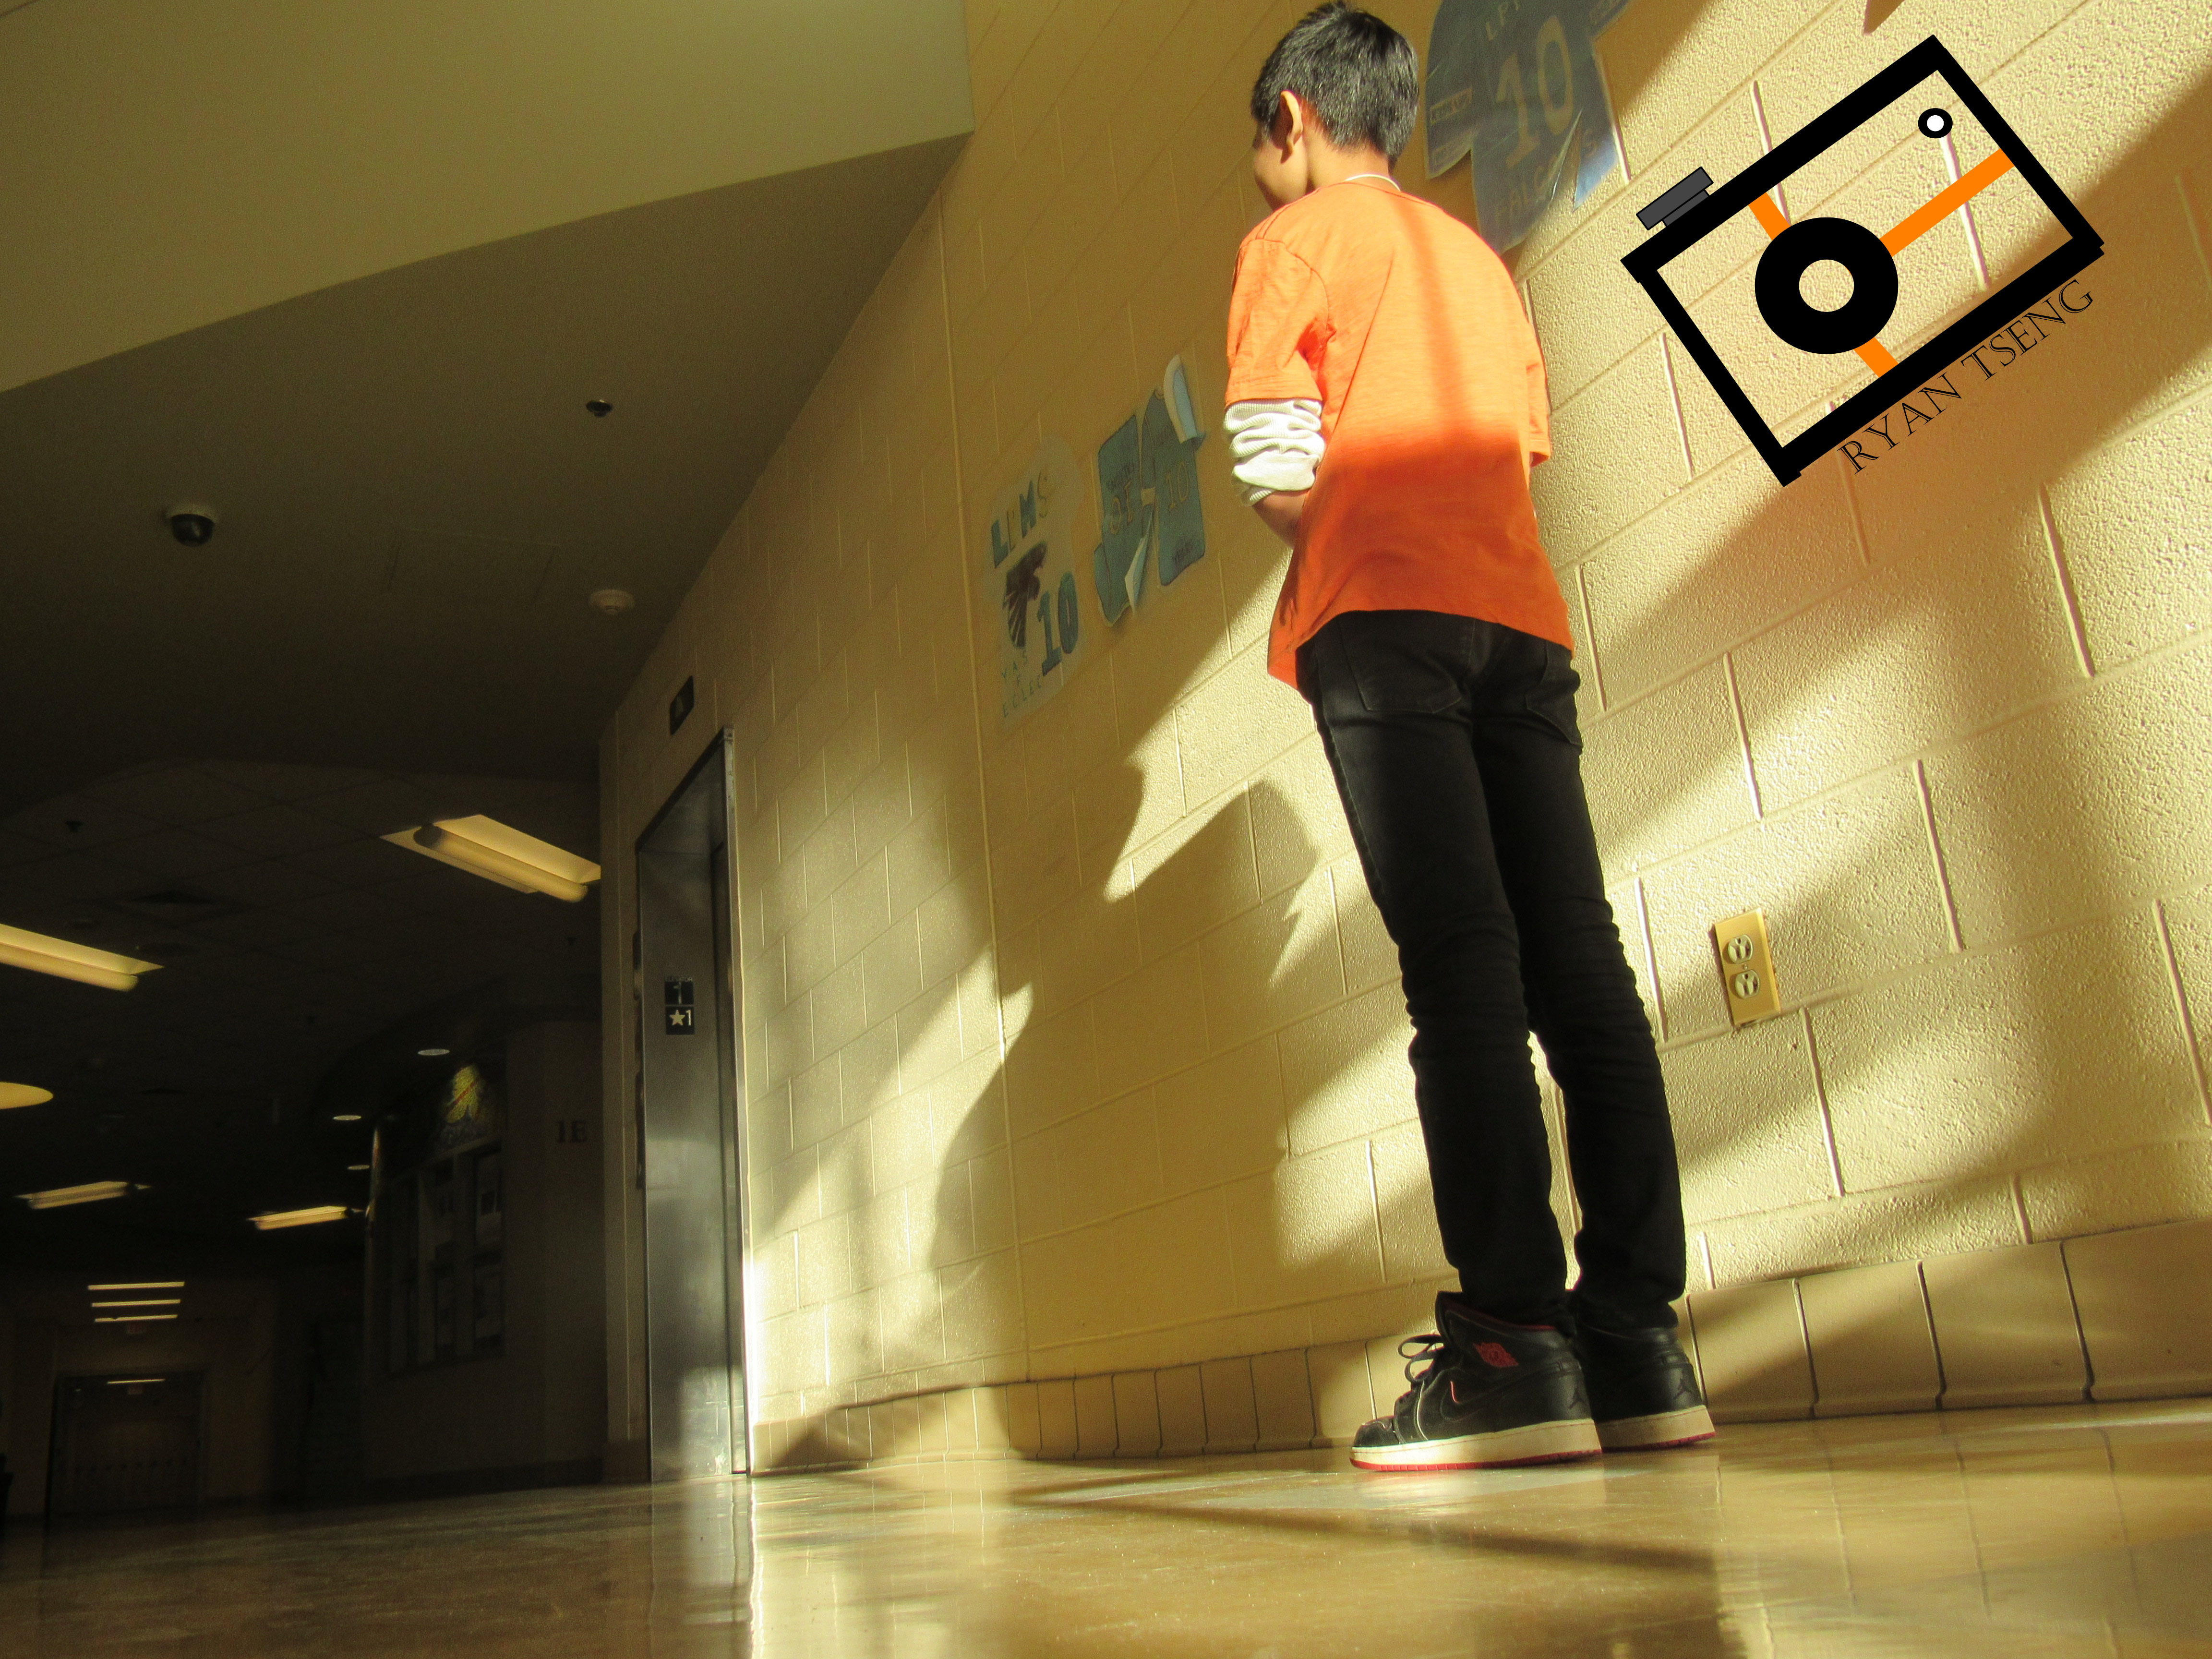
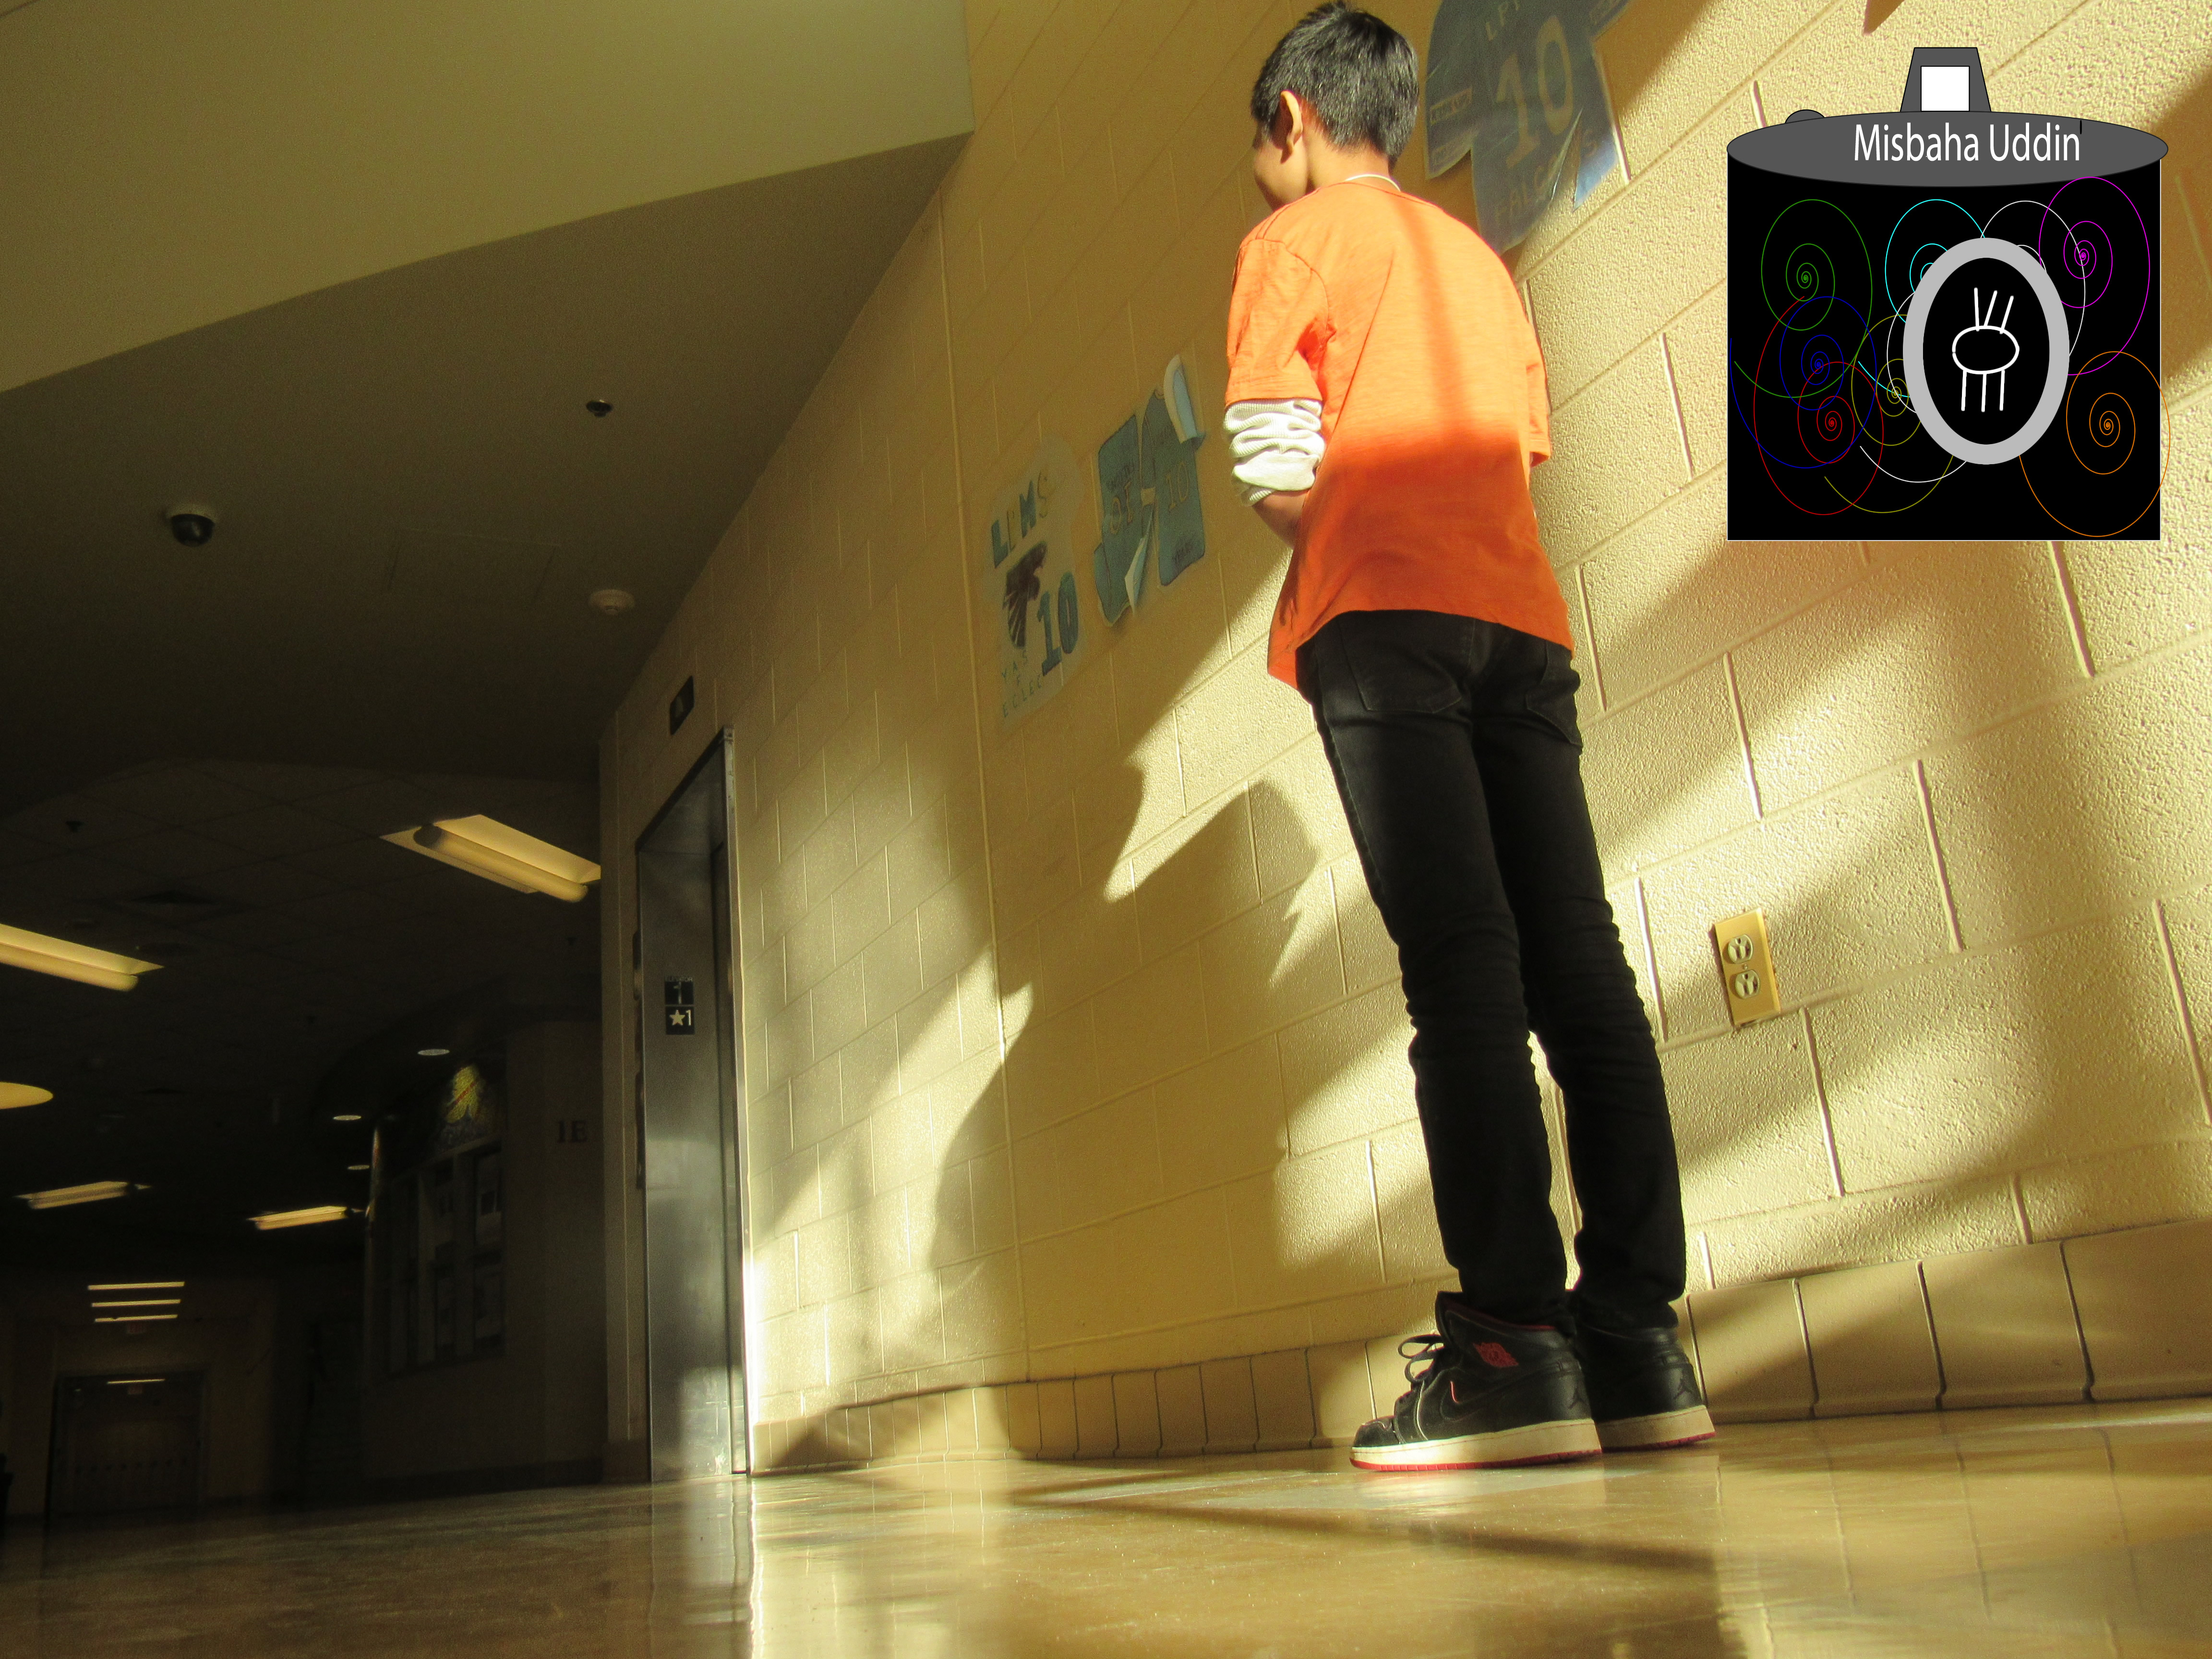
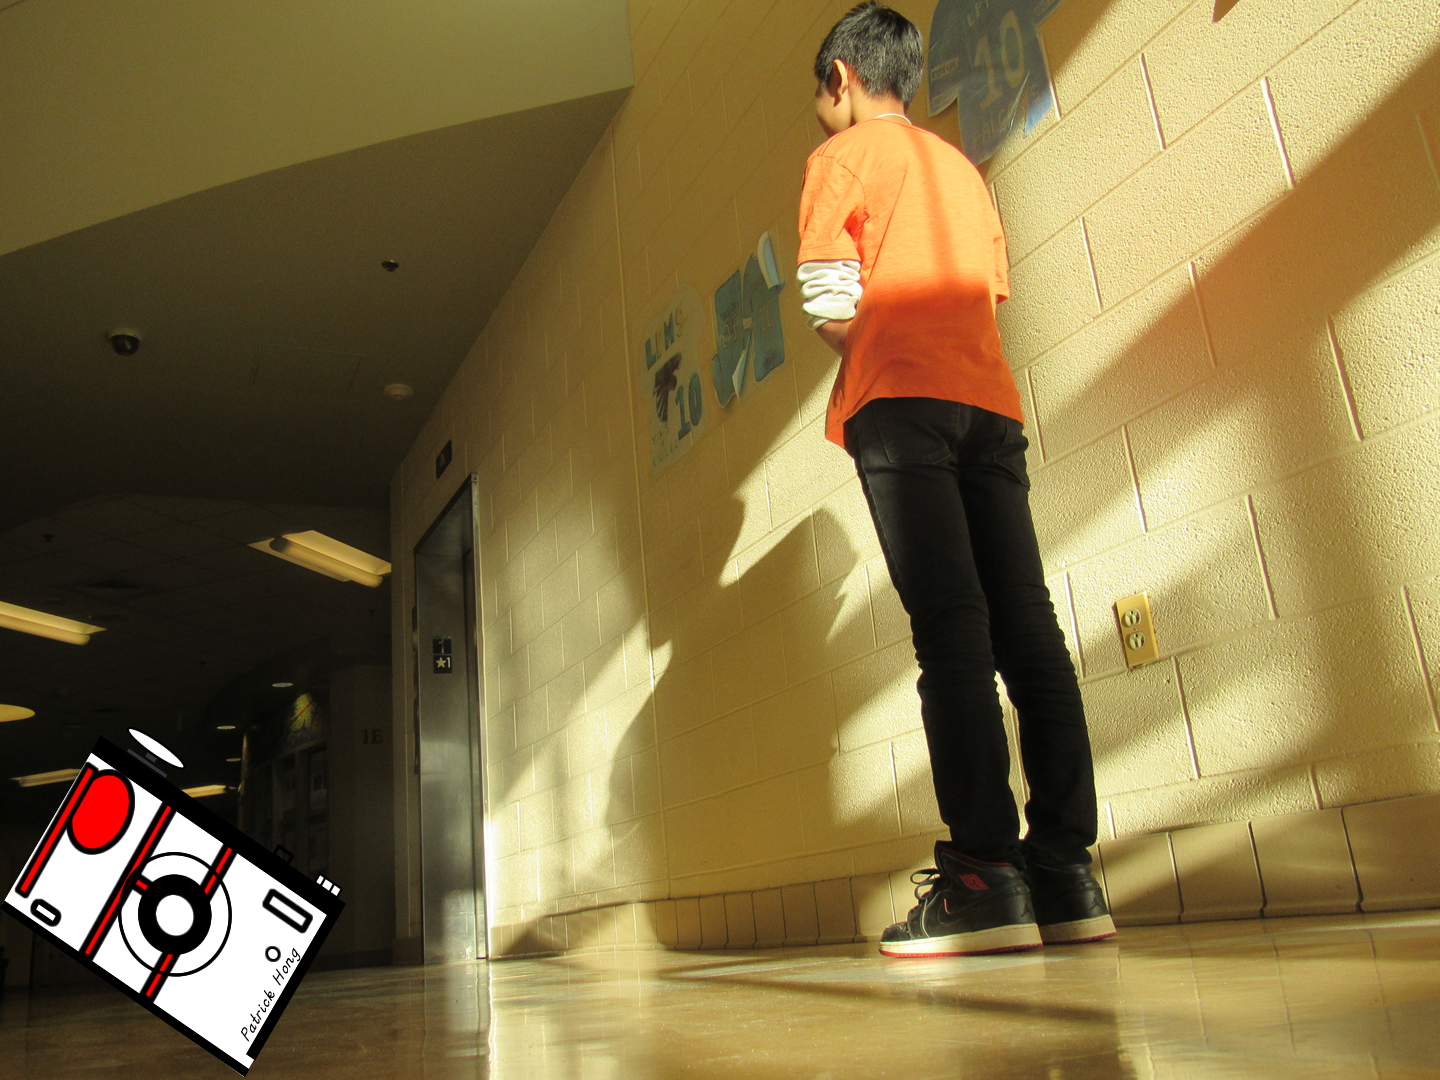
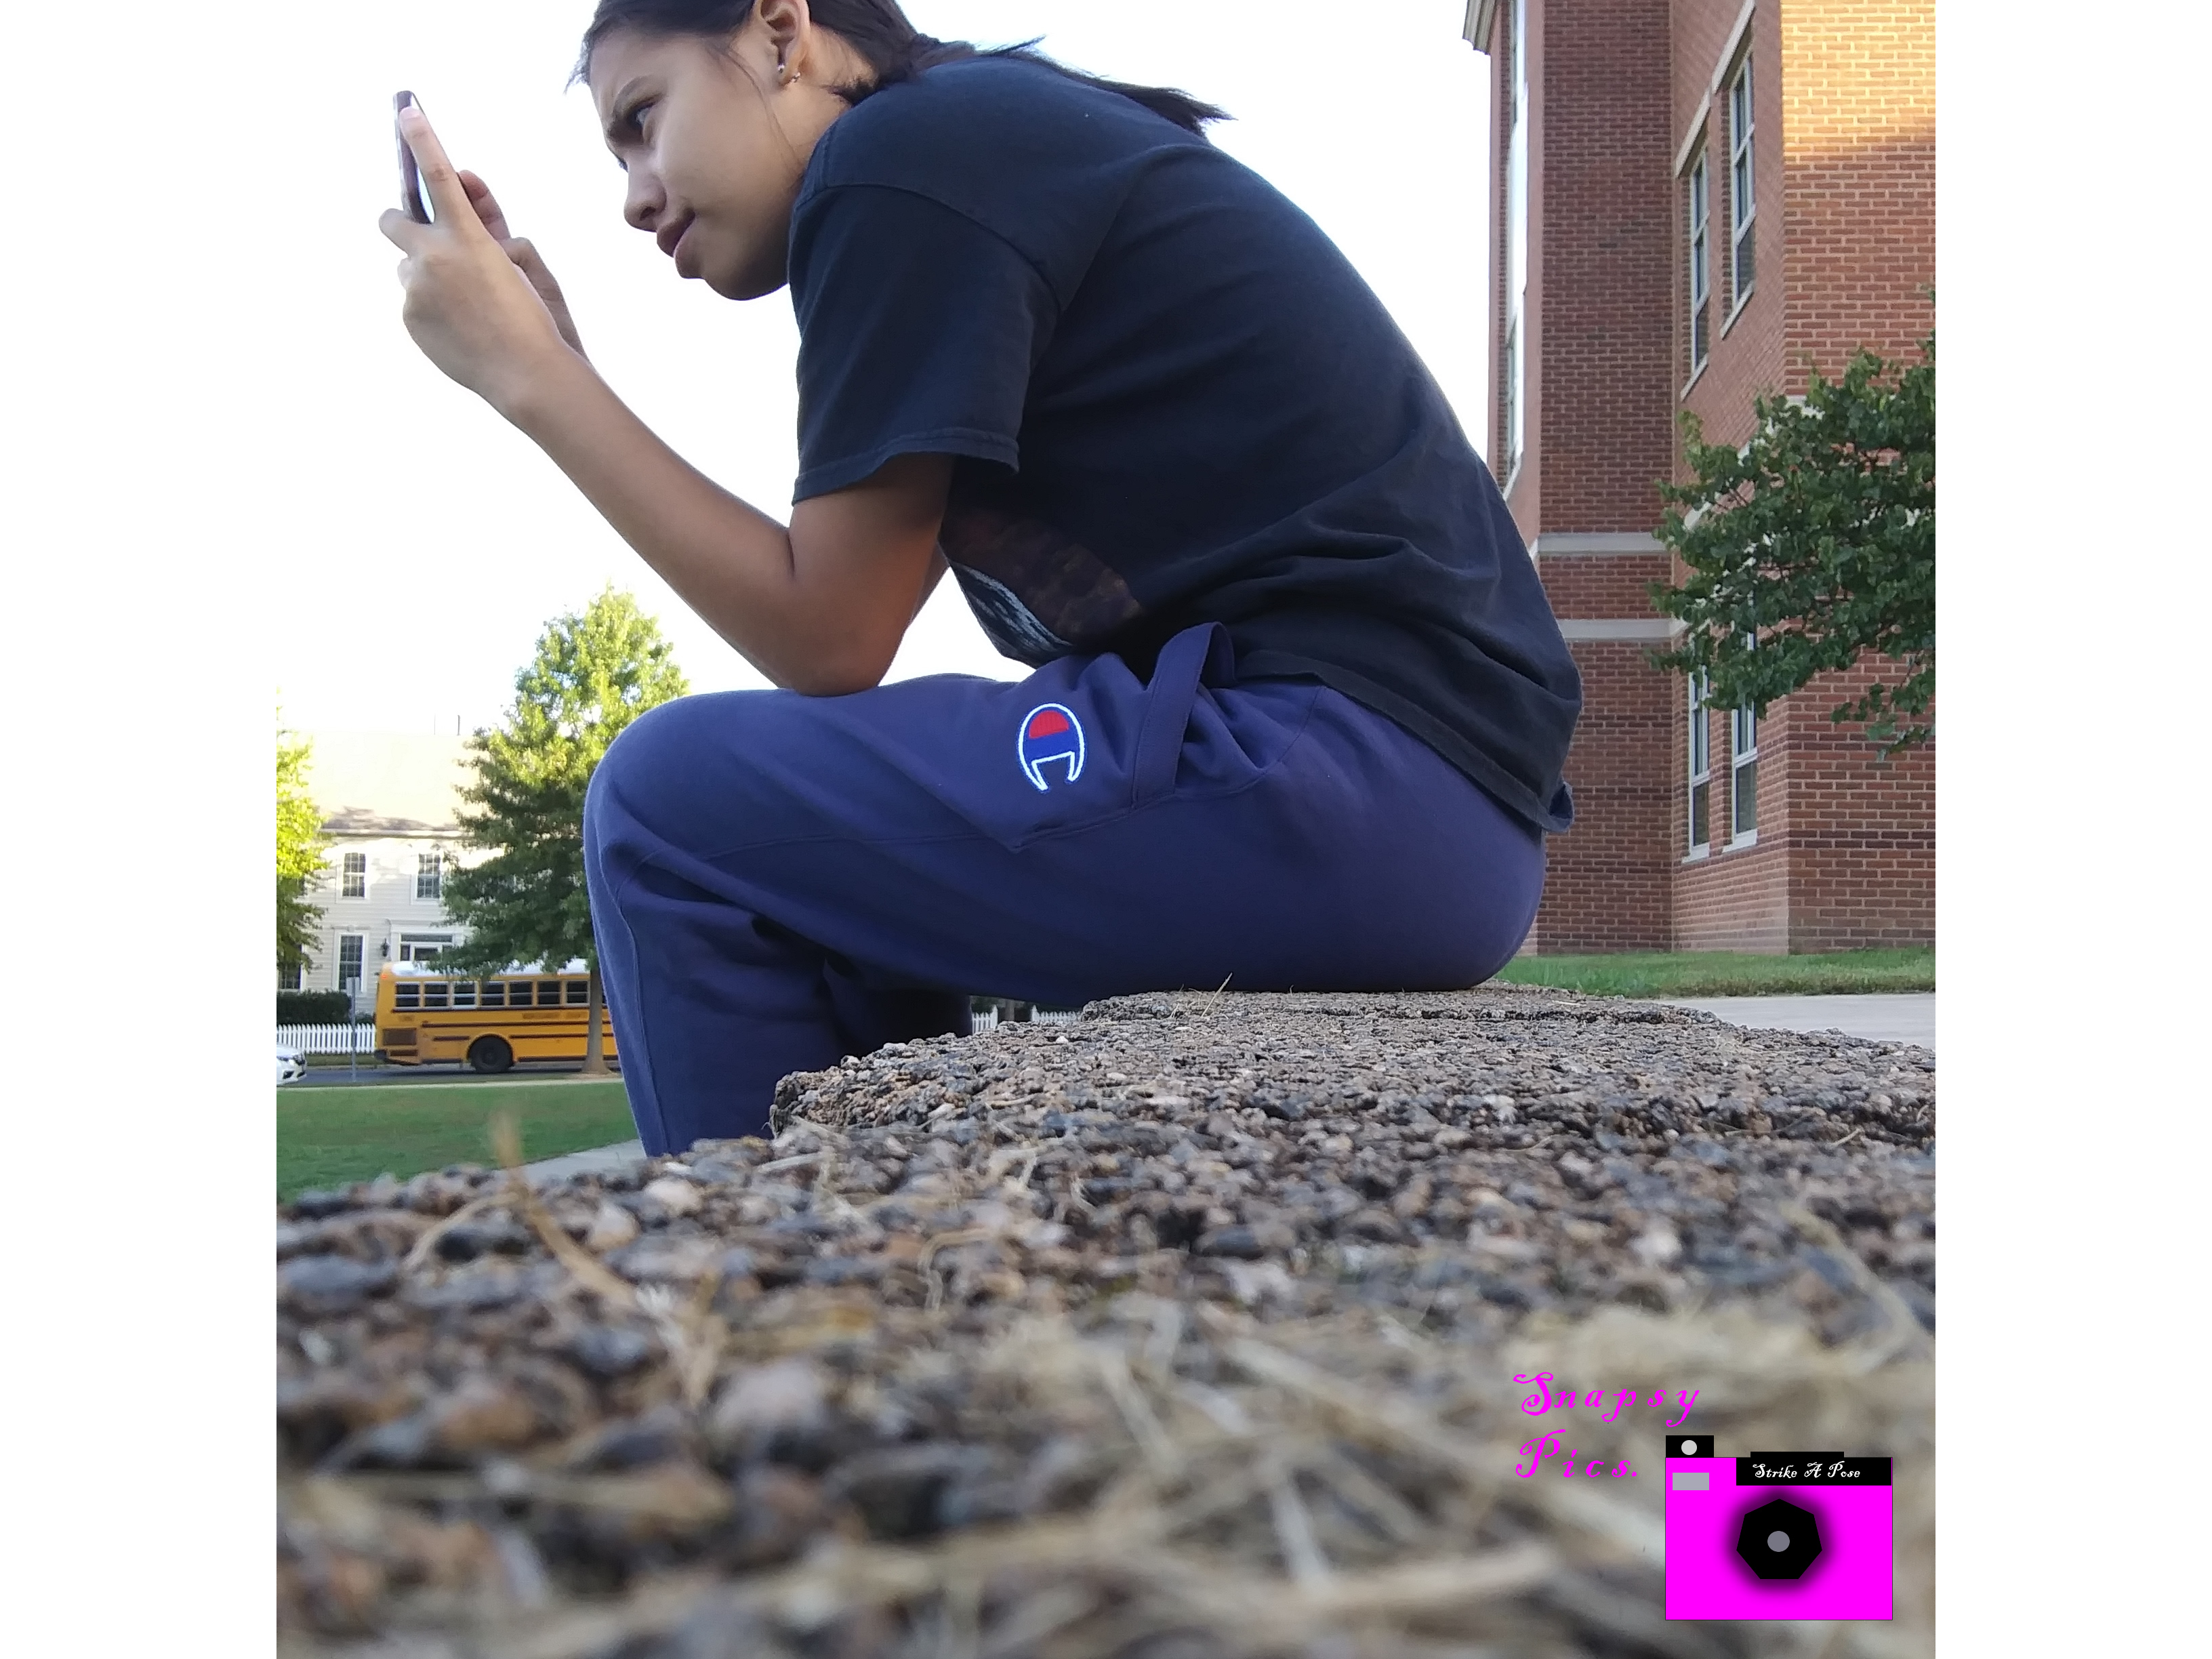
Rule of Thirds was an easy project once, we figured out what worked. What worked best for my group was taking the picture and leaving a bit of space to one side. Therefore, if we needed to crop it we wouldn’t need to retake the shot. There was a few things that didn’t work in this project. Such as, taking pictures of more than one object with the rule of thirds grid. Since, we could really figure out where to place the object or person in the frame of the camera. How I used the lines to make sure my photo was rule of third was, by having my point of interest on one of the lines. If you would like to see the rest of my photo, click here

Rule of Thirds

In this project many things worked and many things did not work for example finding the best angle did not work all the time but lining up the object to rule of thirds was really easy and worked. My thoughts on rule of third changed because I used to think it did not matter where the object was but now I think it does matter a lot more because it changes the way you look at something.Down below you can see an example of rule of thirds. Also you can click here to see more.

Rule of Thirds

  I would say putting the grid setting worked.  What didn’t work was taking pictures of people hugging.  My thoughts on rule of thirds is that it can help to make the picture better and more interesting.  My thoughts haven’t changed really.  So there is 2 lines going vertically and 2 lines horizontal, you have to put the main thing in your picture on one of the 2 lines.  I usually put the object in one of the 2 lines.  You can see the rest of my photos here.

Rule of Thirds

The things that worked in this project was finding the right spot to take the rule of thirds pictures. The hardest part of the project was matching the main object with the lines. In the beginning of the project, I thought that it would be easy to find somewhere to take pictures and line the object up with the lines. It started getting harder, but just slightly. The main image of the shot would be taken somewhere on the lines or where the two lines intersect.

Here are the other pictures, click here.

Rule of Thirds


In this project, we had to take pictures with a 3 by 3 grid. It will only show up when you are taking the photo. It won’t show up on the actual photo. The easy part was lining the picture up with the grid. The hard part was finding things to take pictures of. You can see the the rest of pictures here.

Rule of thirds.

In this project the things that worked are finding the ideas for the images, and it was easy to communicate. The hard part was matching up the lines. It was also hard to get the proper lighting. Inside the school we had to find good objects that are photo worthy.  In the beginning of this project I thought this would be easy,  by the end of the project I knew that there were so many other things that could affect the photo. For the lines I just imagined them first on the object or person being photographed. And then I used a setting on the camera that made the lines show up. Here are some more of the photos.

Light Graffiti

For this project we had to use lights to draw things in the dark. On the camera we used there was the bulb setting so instead of changing our shutter speed to stay on longer, we just held the button down until we were done drawing. Once we held the button down we drew things using flashlights and some LED lights. The hard part about this assignment was getting people to stay still when we “painted” them. The easy part was being able to hold down the button for however long we wanted. To take this project to the next level I would suggest taking multiple photos of the same scene and combining them to make a short stop motion film. You can see the rest of my photos Here.

Rule of Thirds

For this project we had to take photos that followed the Rule of Thirds. The Rule of Thirds is where there are 2 lines going across the screen vertically and horizontally, creating 9 boxes. For the camera we turned on the Rule of Thirds mode to help us take the pictures more easily. To follow the Rule of Thirds we centered the object along one of the lines so all our photos (if not most) follow the Rule of Thirds. In the beginning I always thought that you had to place the object in the center of the picture but now I know that that’s wrong. The Rule of Thirds creates a very focused and more developed picture rather than placing the object in the dead center. For this project we were not able to place one of the Rule of Thirds line on a thin object. We tried to place one of the lines on a goal post but it didn’t work very well because it was too small. What worked for this project was lining the Rule of Thirds lines along the edges of the object if it was too big for the screen. As showed below, I took a picture of the school building and lined the edges of the building on the Rule of Thirds lines. My favorite image with a person and without a person is shown below. The rest can be found here.

Rule of Thirds


Rule of thirds is three imaginary lines where you put the subject of the photo on one of these lines. what worked was lining the objects up with the lines and what didn’t work was trying ti find lines to line yourself up with.  I really like the rule of thirds because it brings out the focus and makes it look like a portrait. The lines also are for lining the object up with something in the background and for rule of thirds you line it up with the 3rd line on the edge of the photo.

There is no gallery selected or the gallery was deleted.

Light Graffiti

For this project we needed to take pictures, using bulb mode. We then needed to hold down the button on the camera, while someone else “drew” something with light. The other person would use some kind of flashlight and draw something (streaks of light), but they had to face the flashlight towards the camera. If you wanted to make the whole background lit up, you would face it away from the camera. Taking turns, helped us all work together, but our big group didn’t really work well, because it was too big. I was very frustrated on the last day, because I didn’t have enough time to take pictures(I was absent on the first day), but our whole group had other ideas too, so we were all stressed. We should have some kind of a field trip over night thing, and take pictures at night in the city. Here are two pictures I liked:

To see all our other photos click here.