Quinn’s Light Graffiti

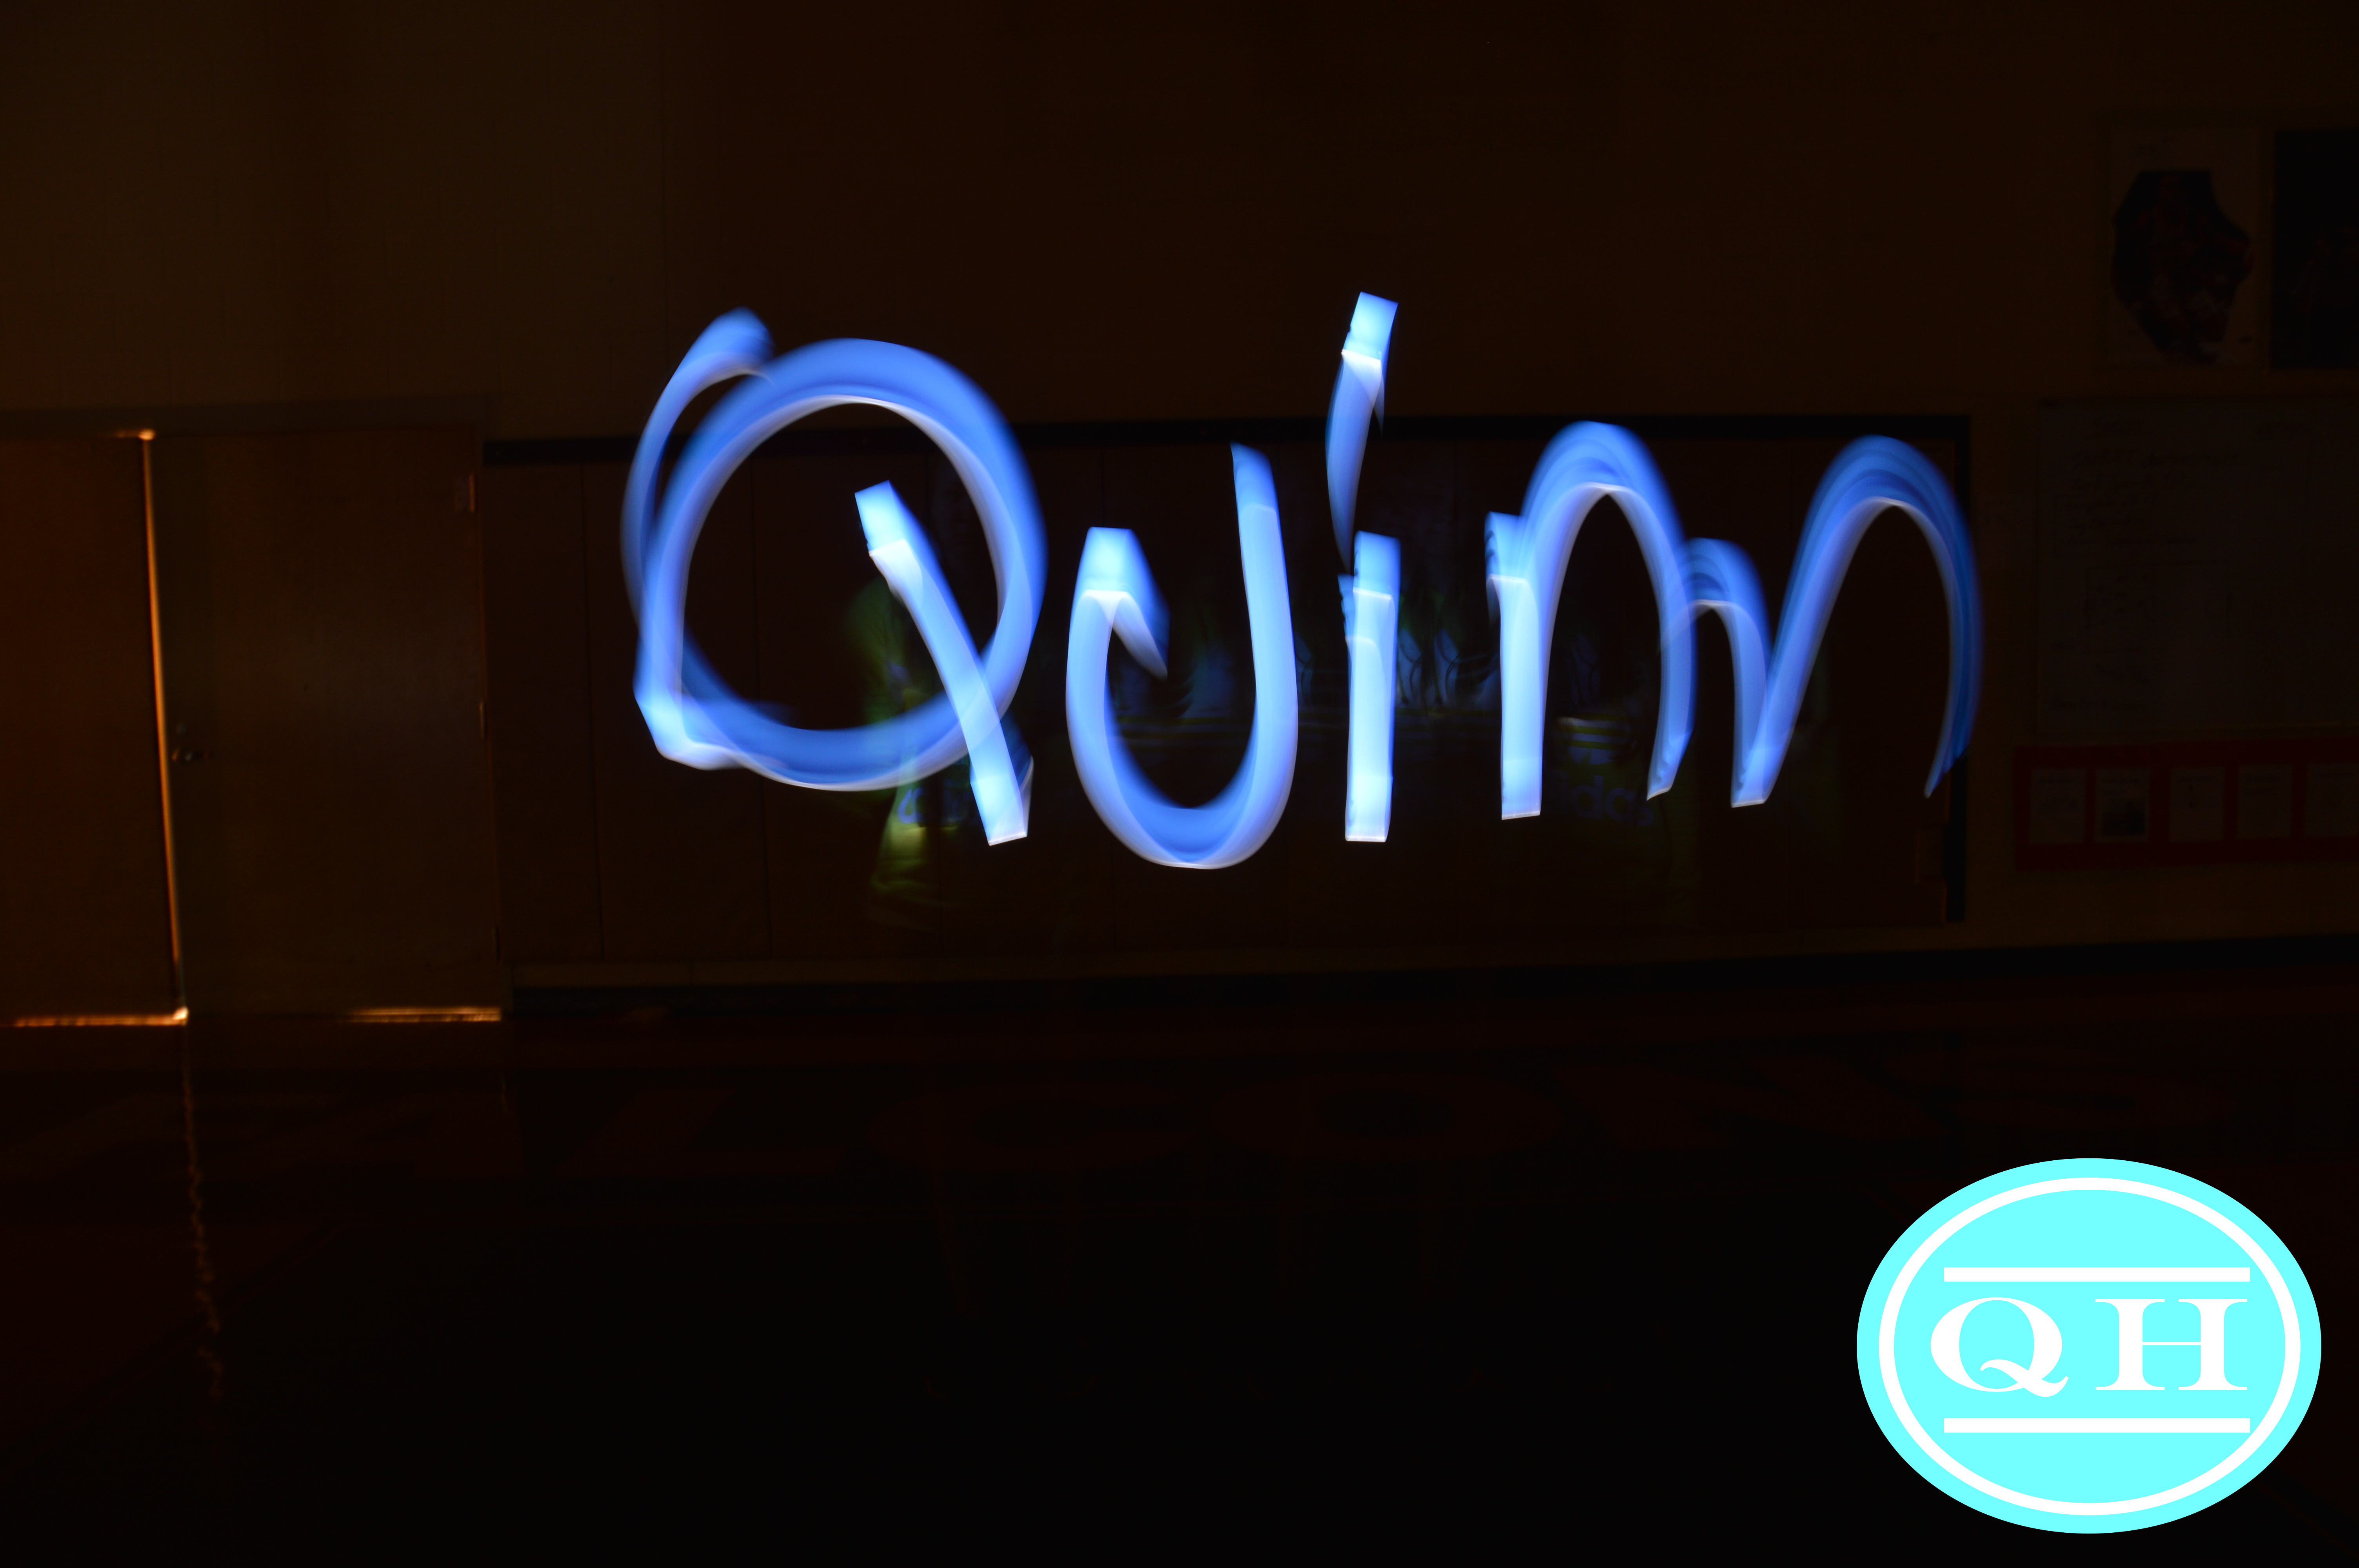
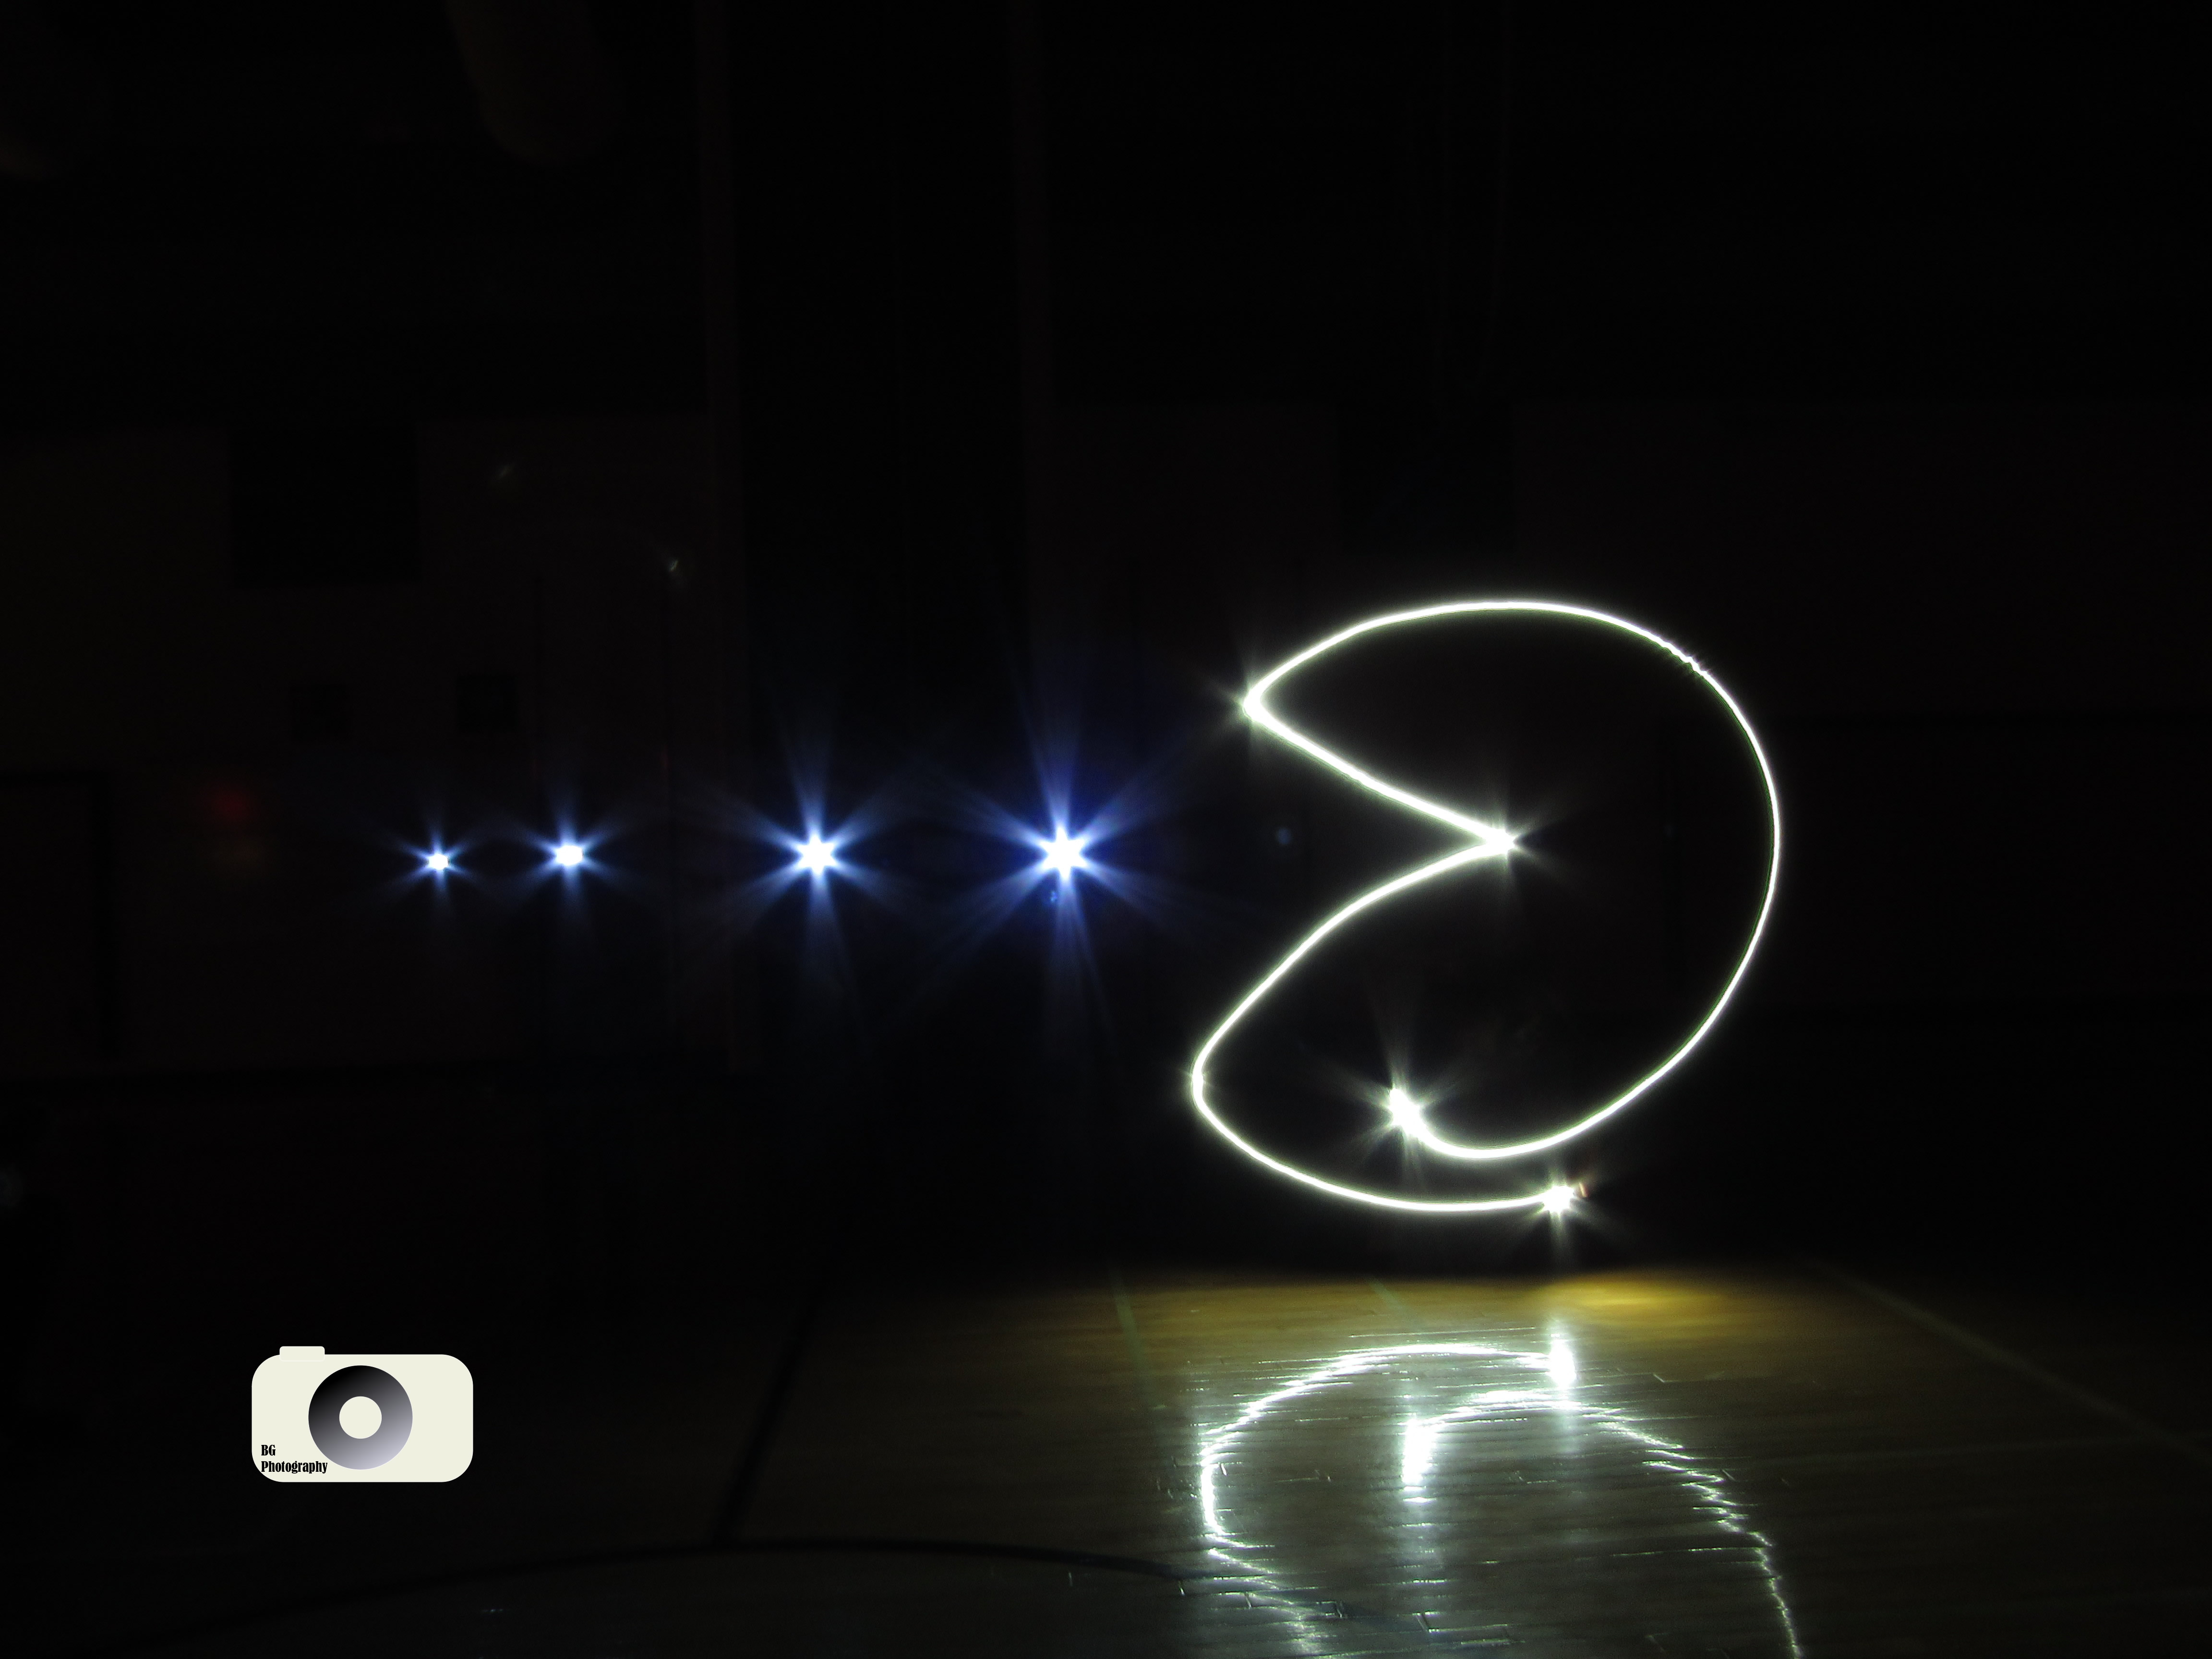
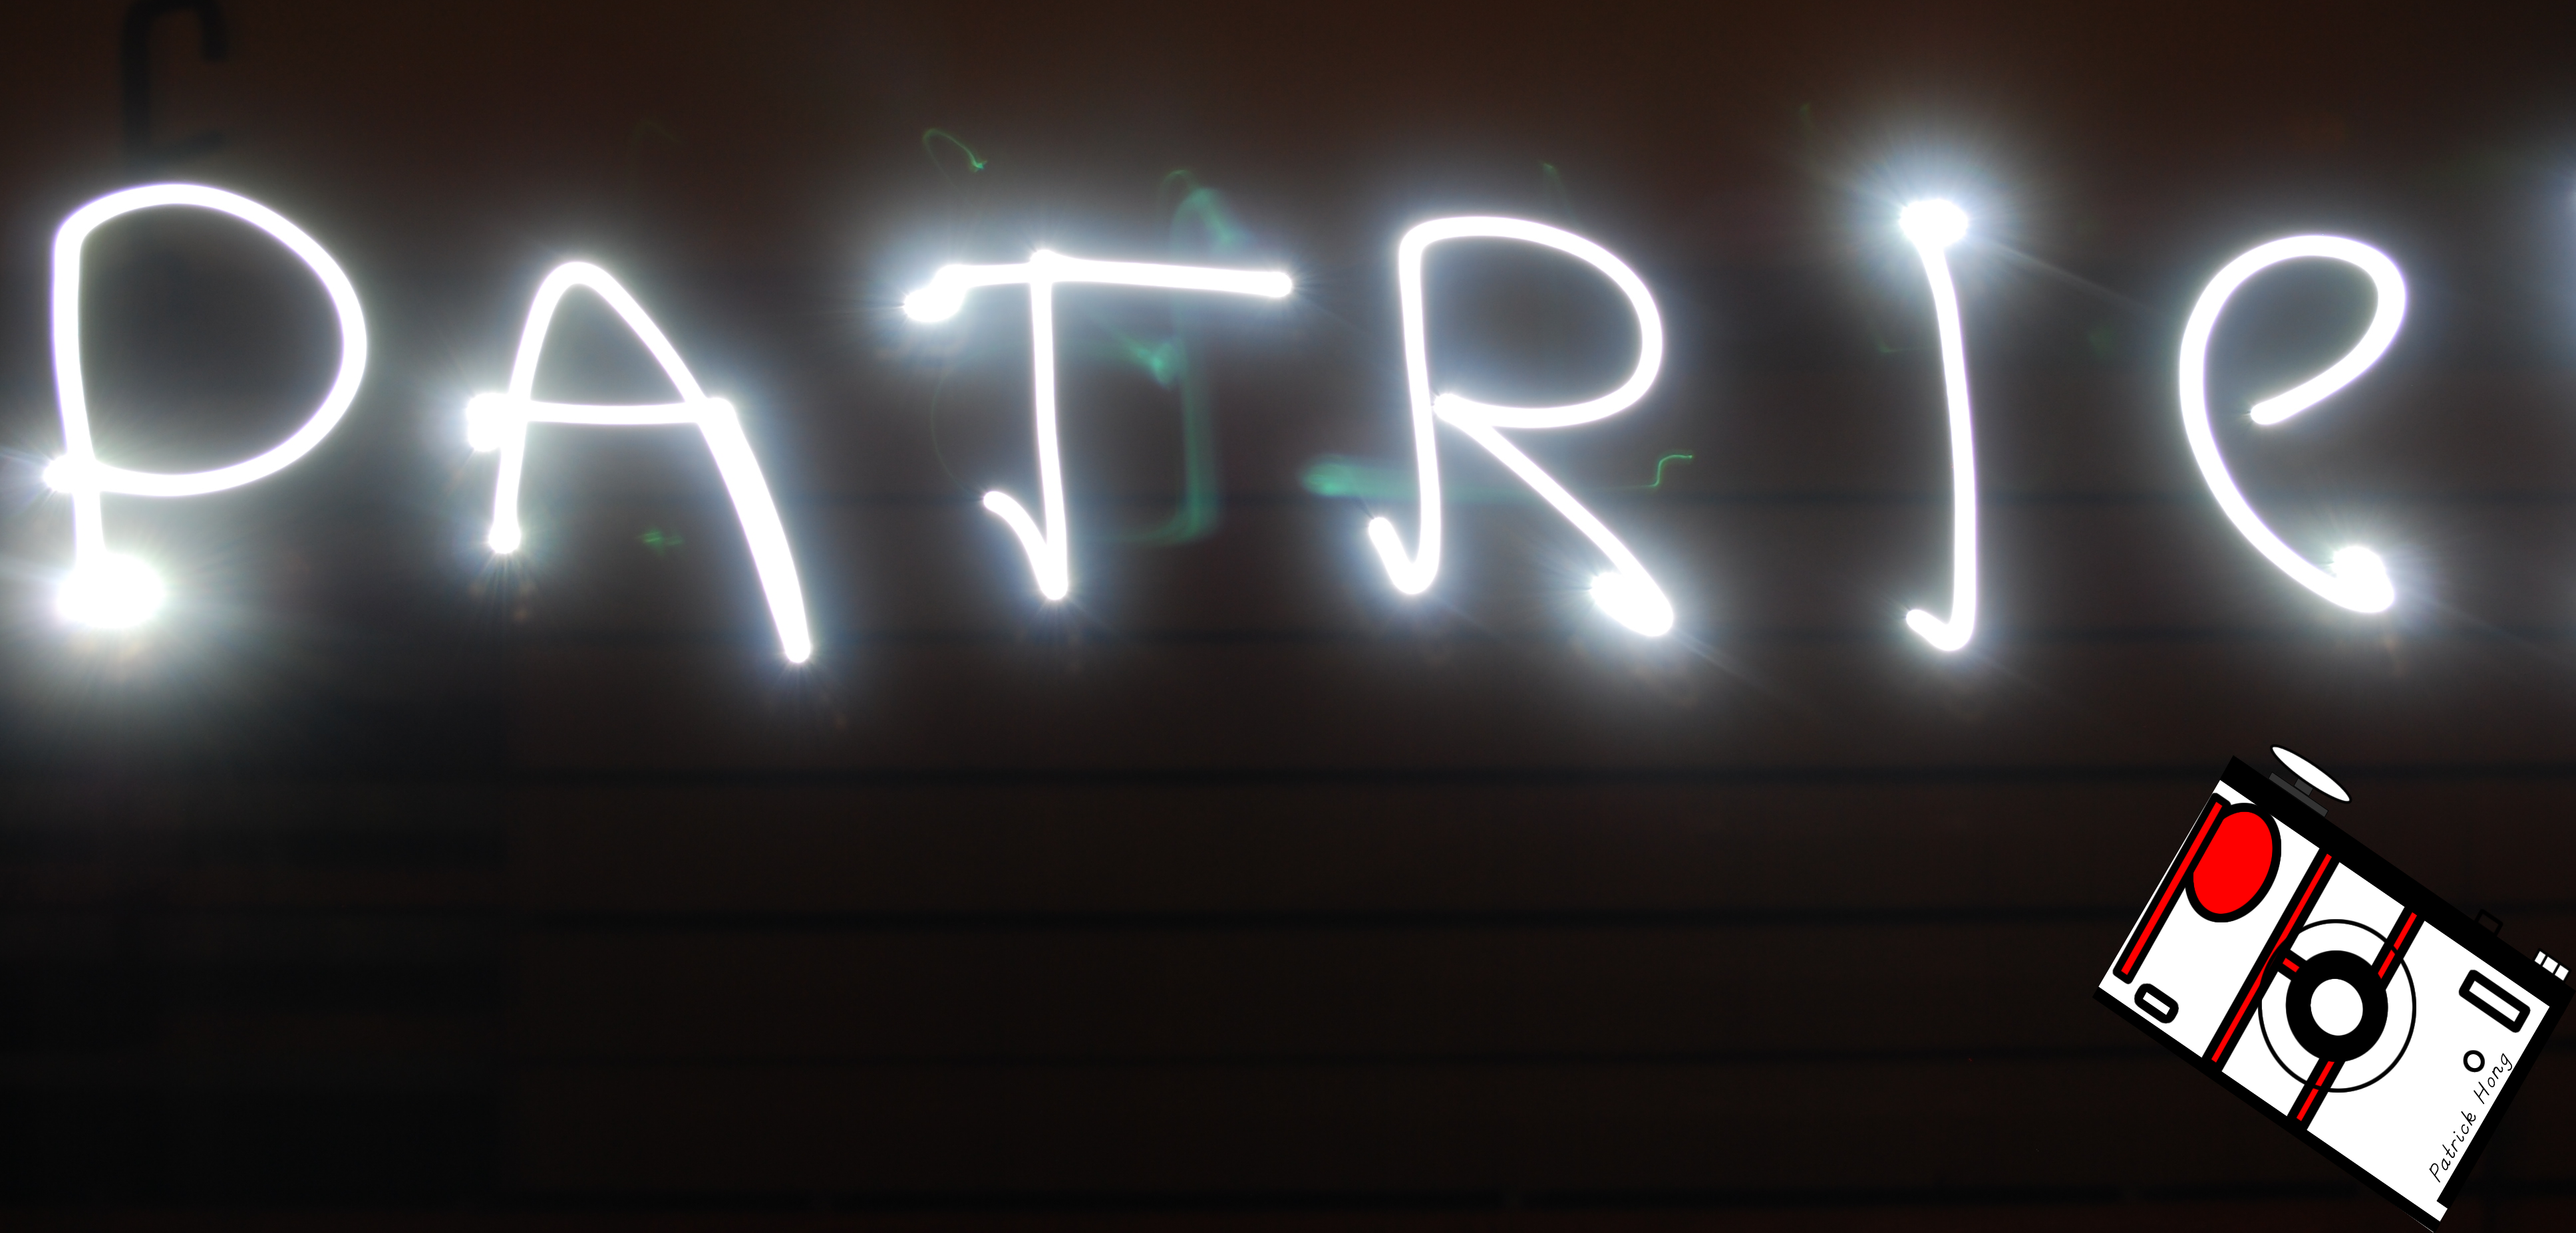
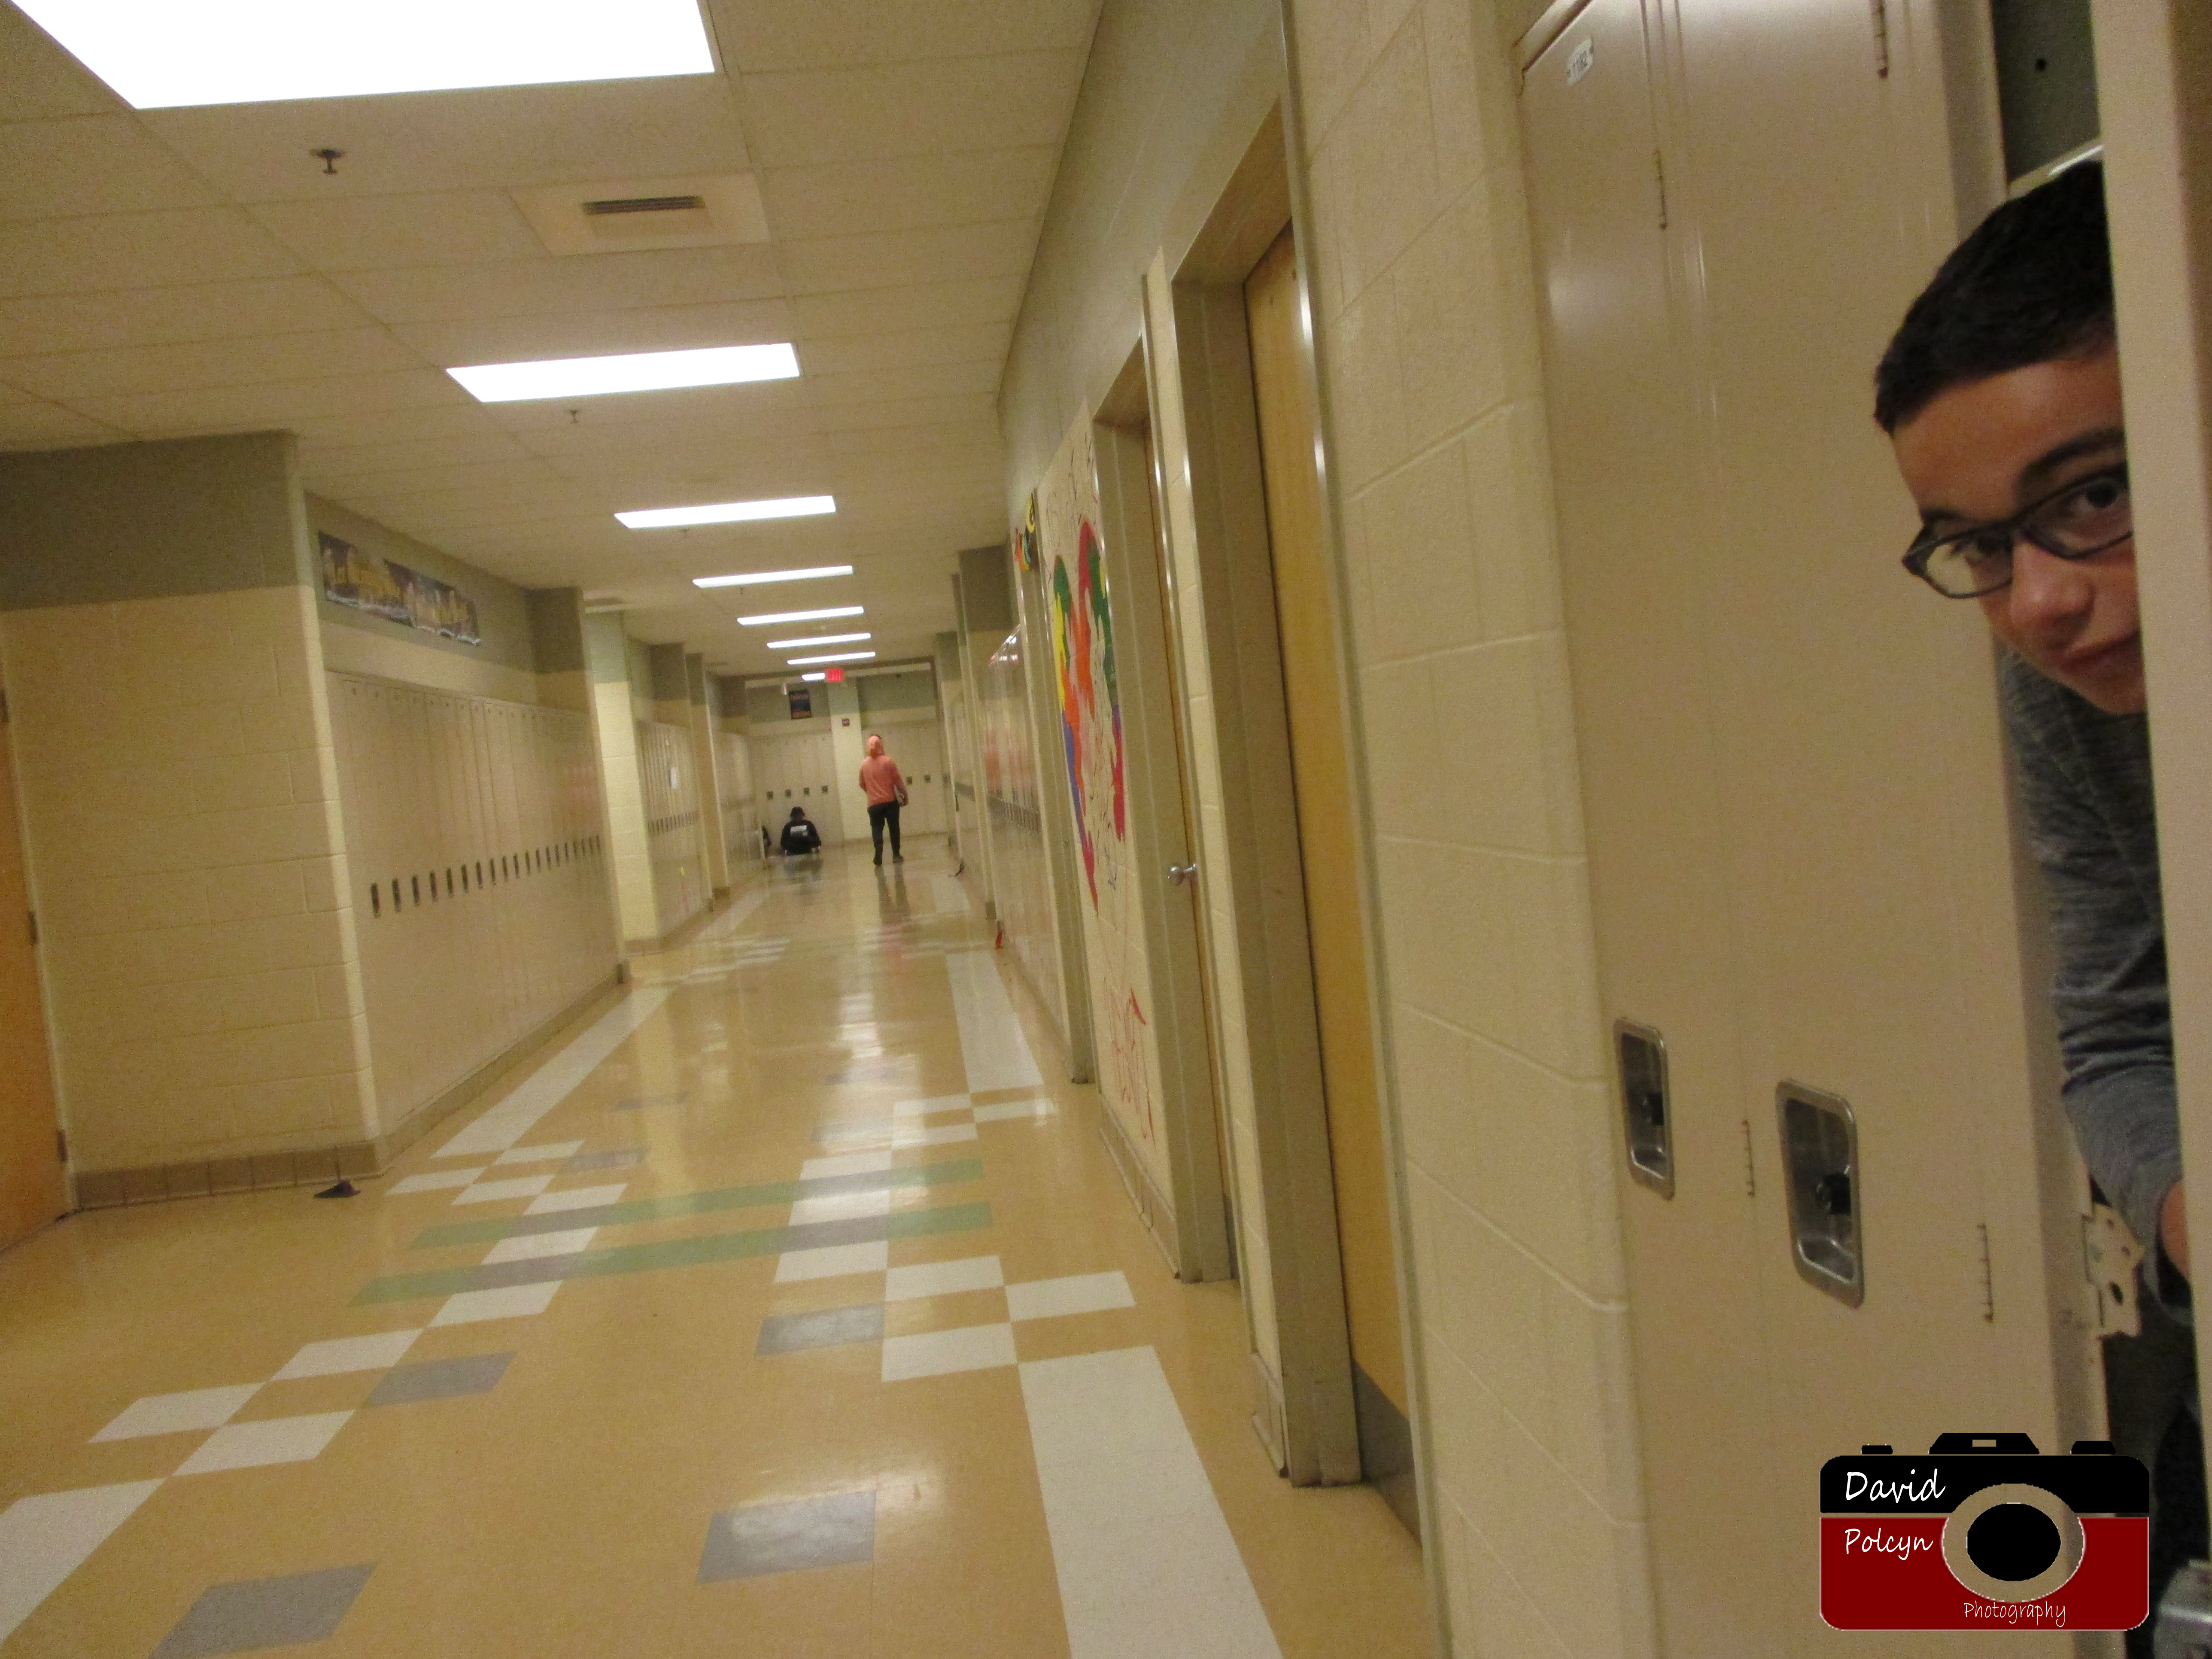
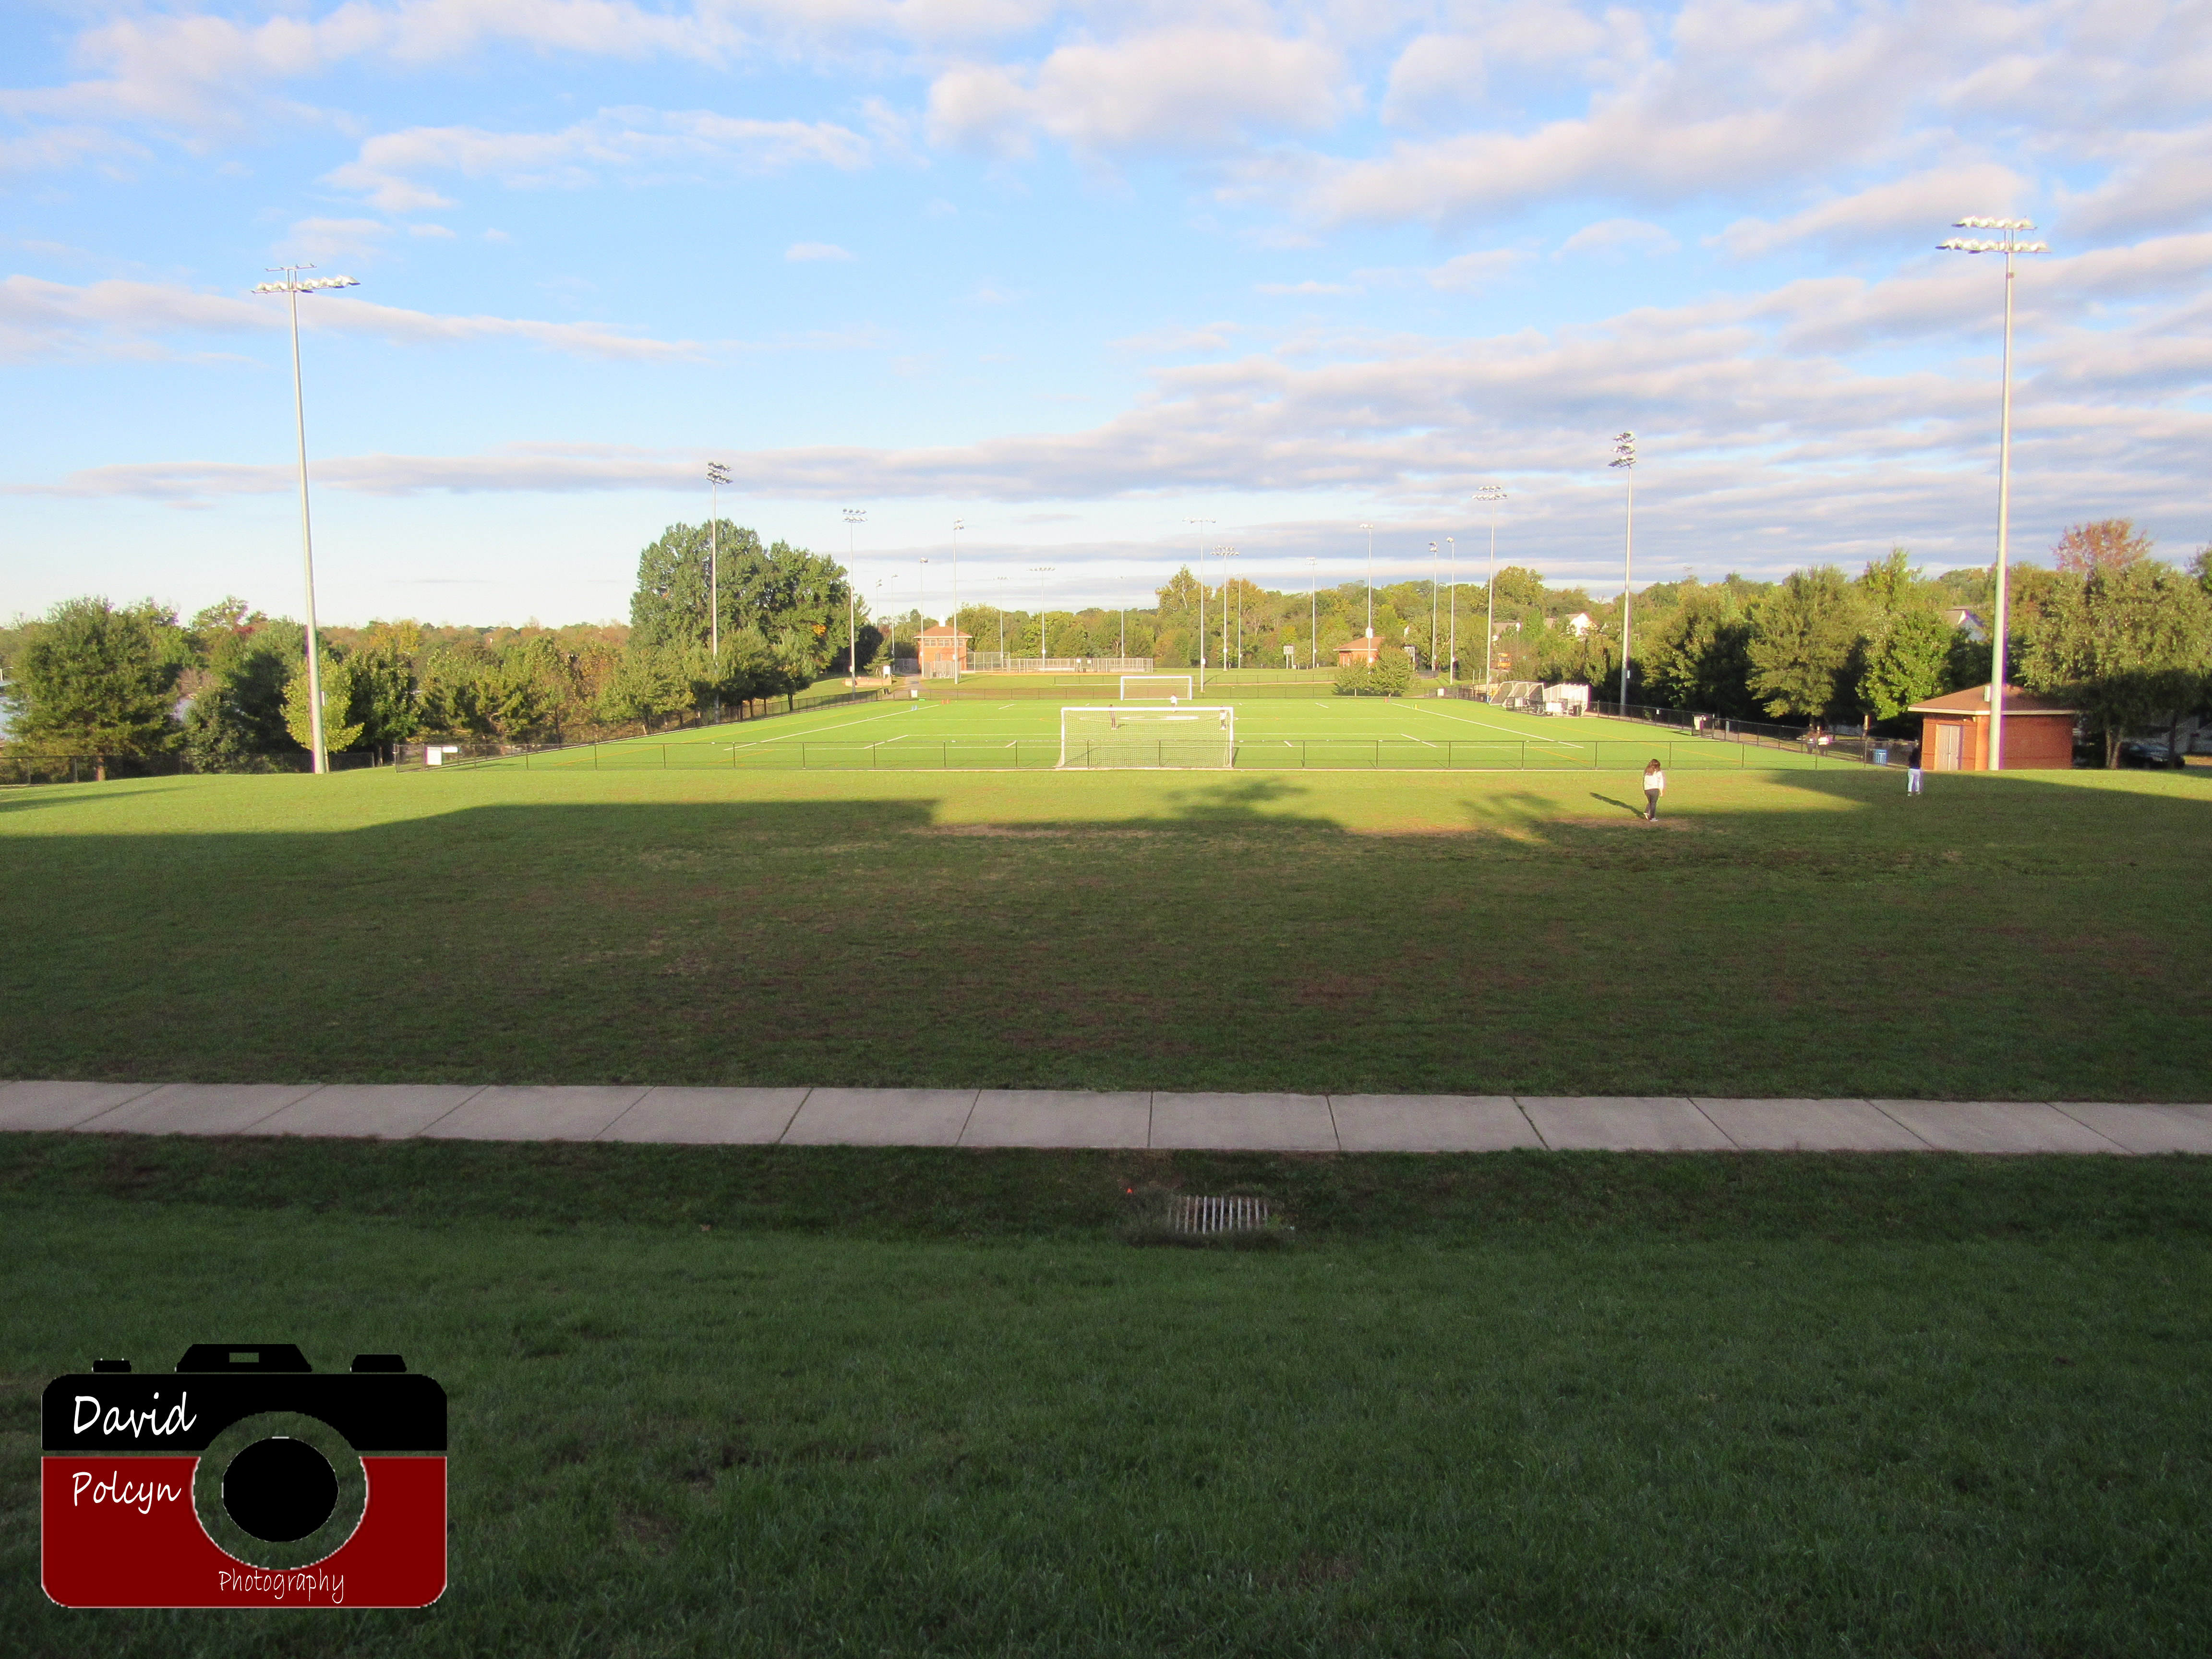
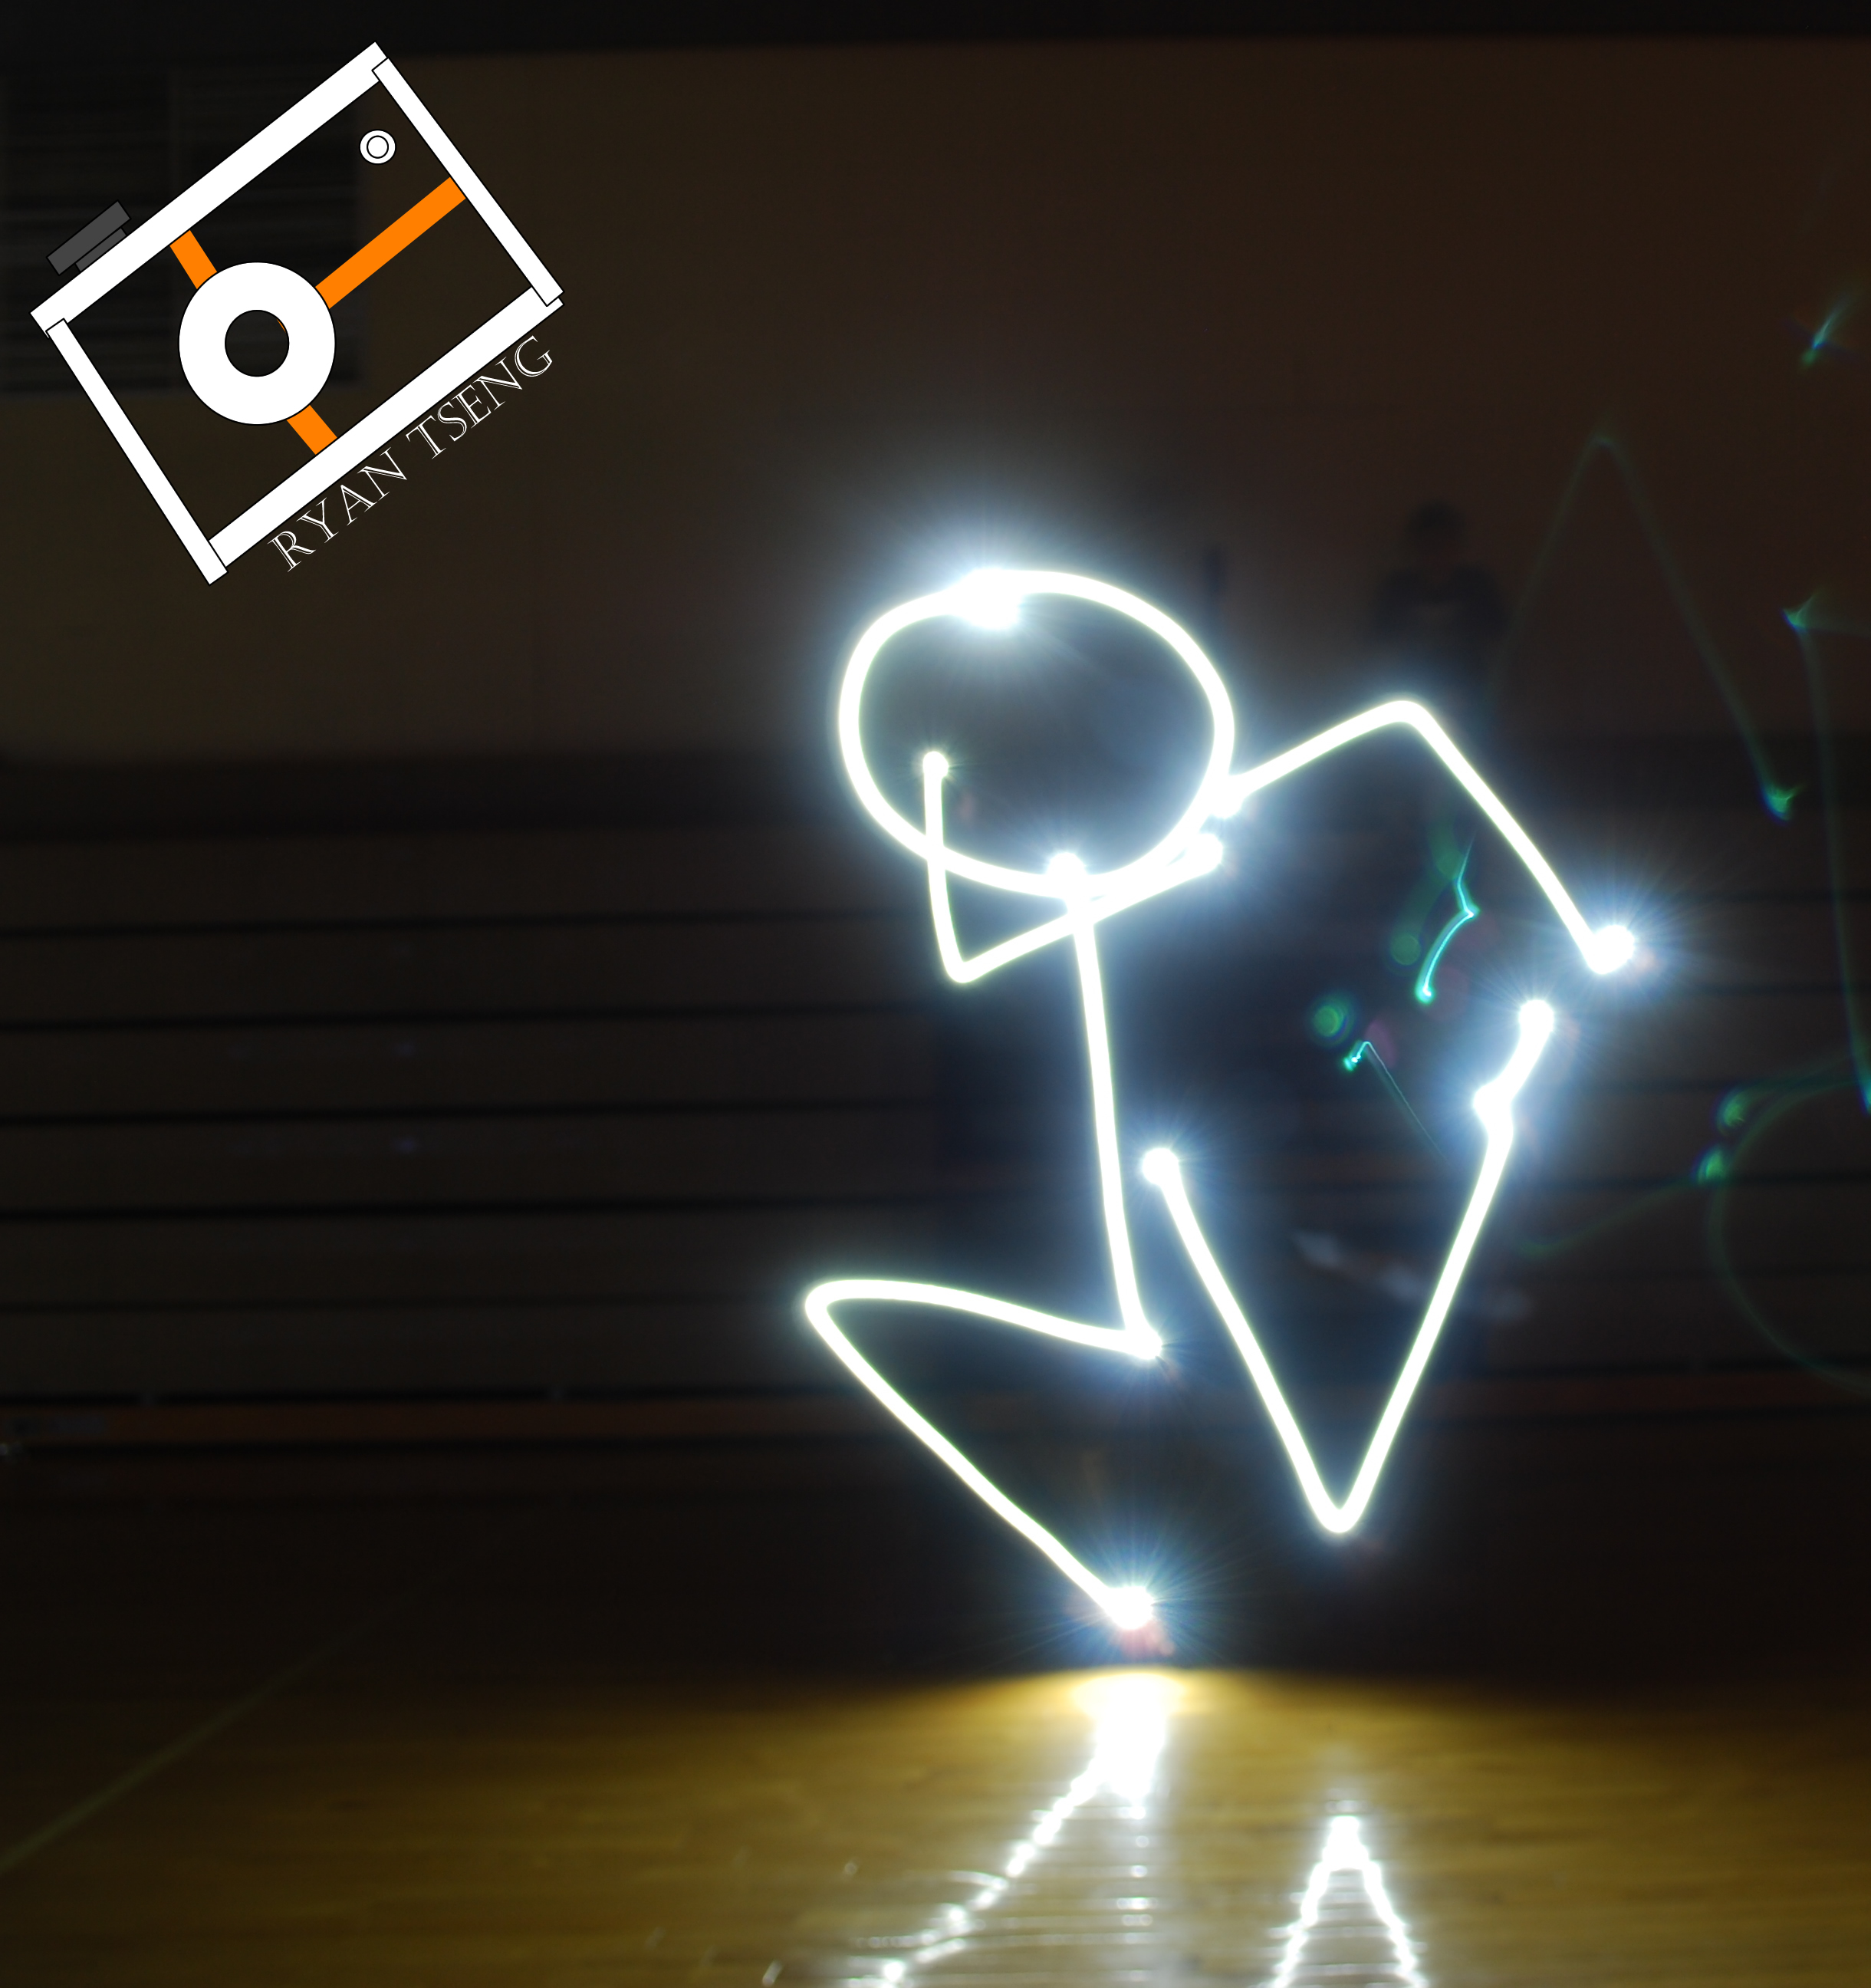
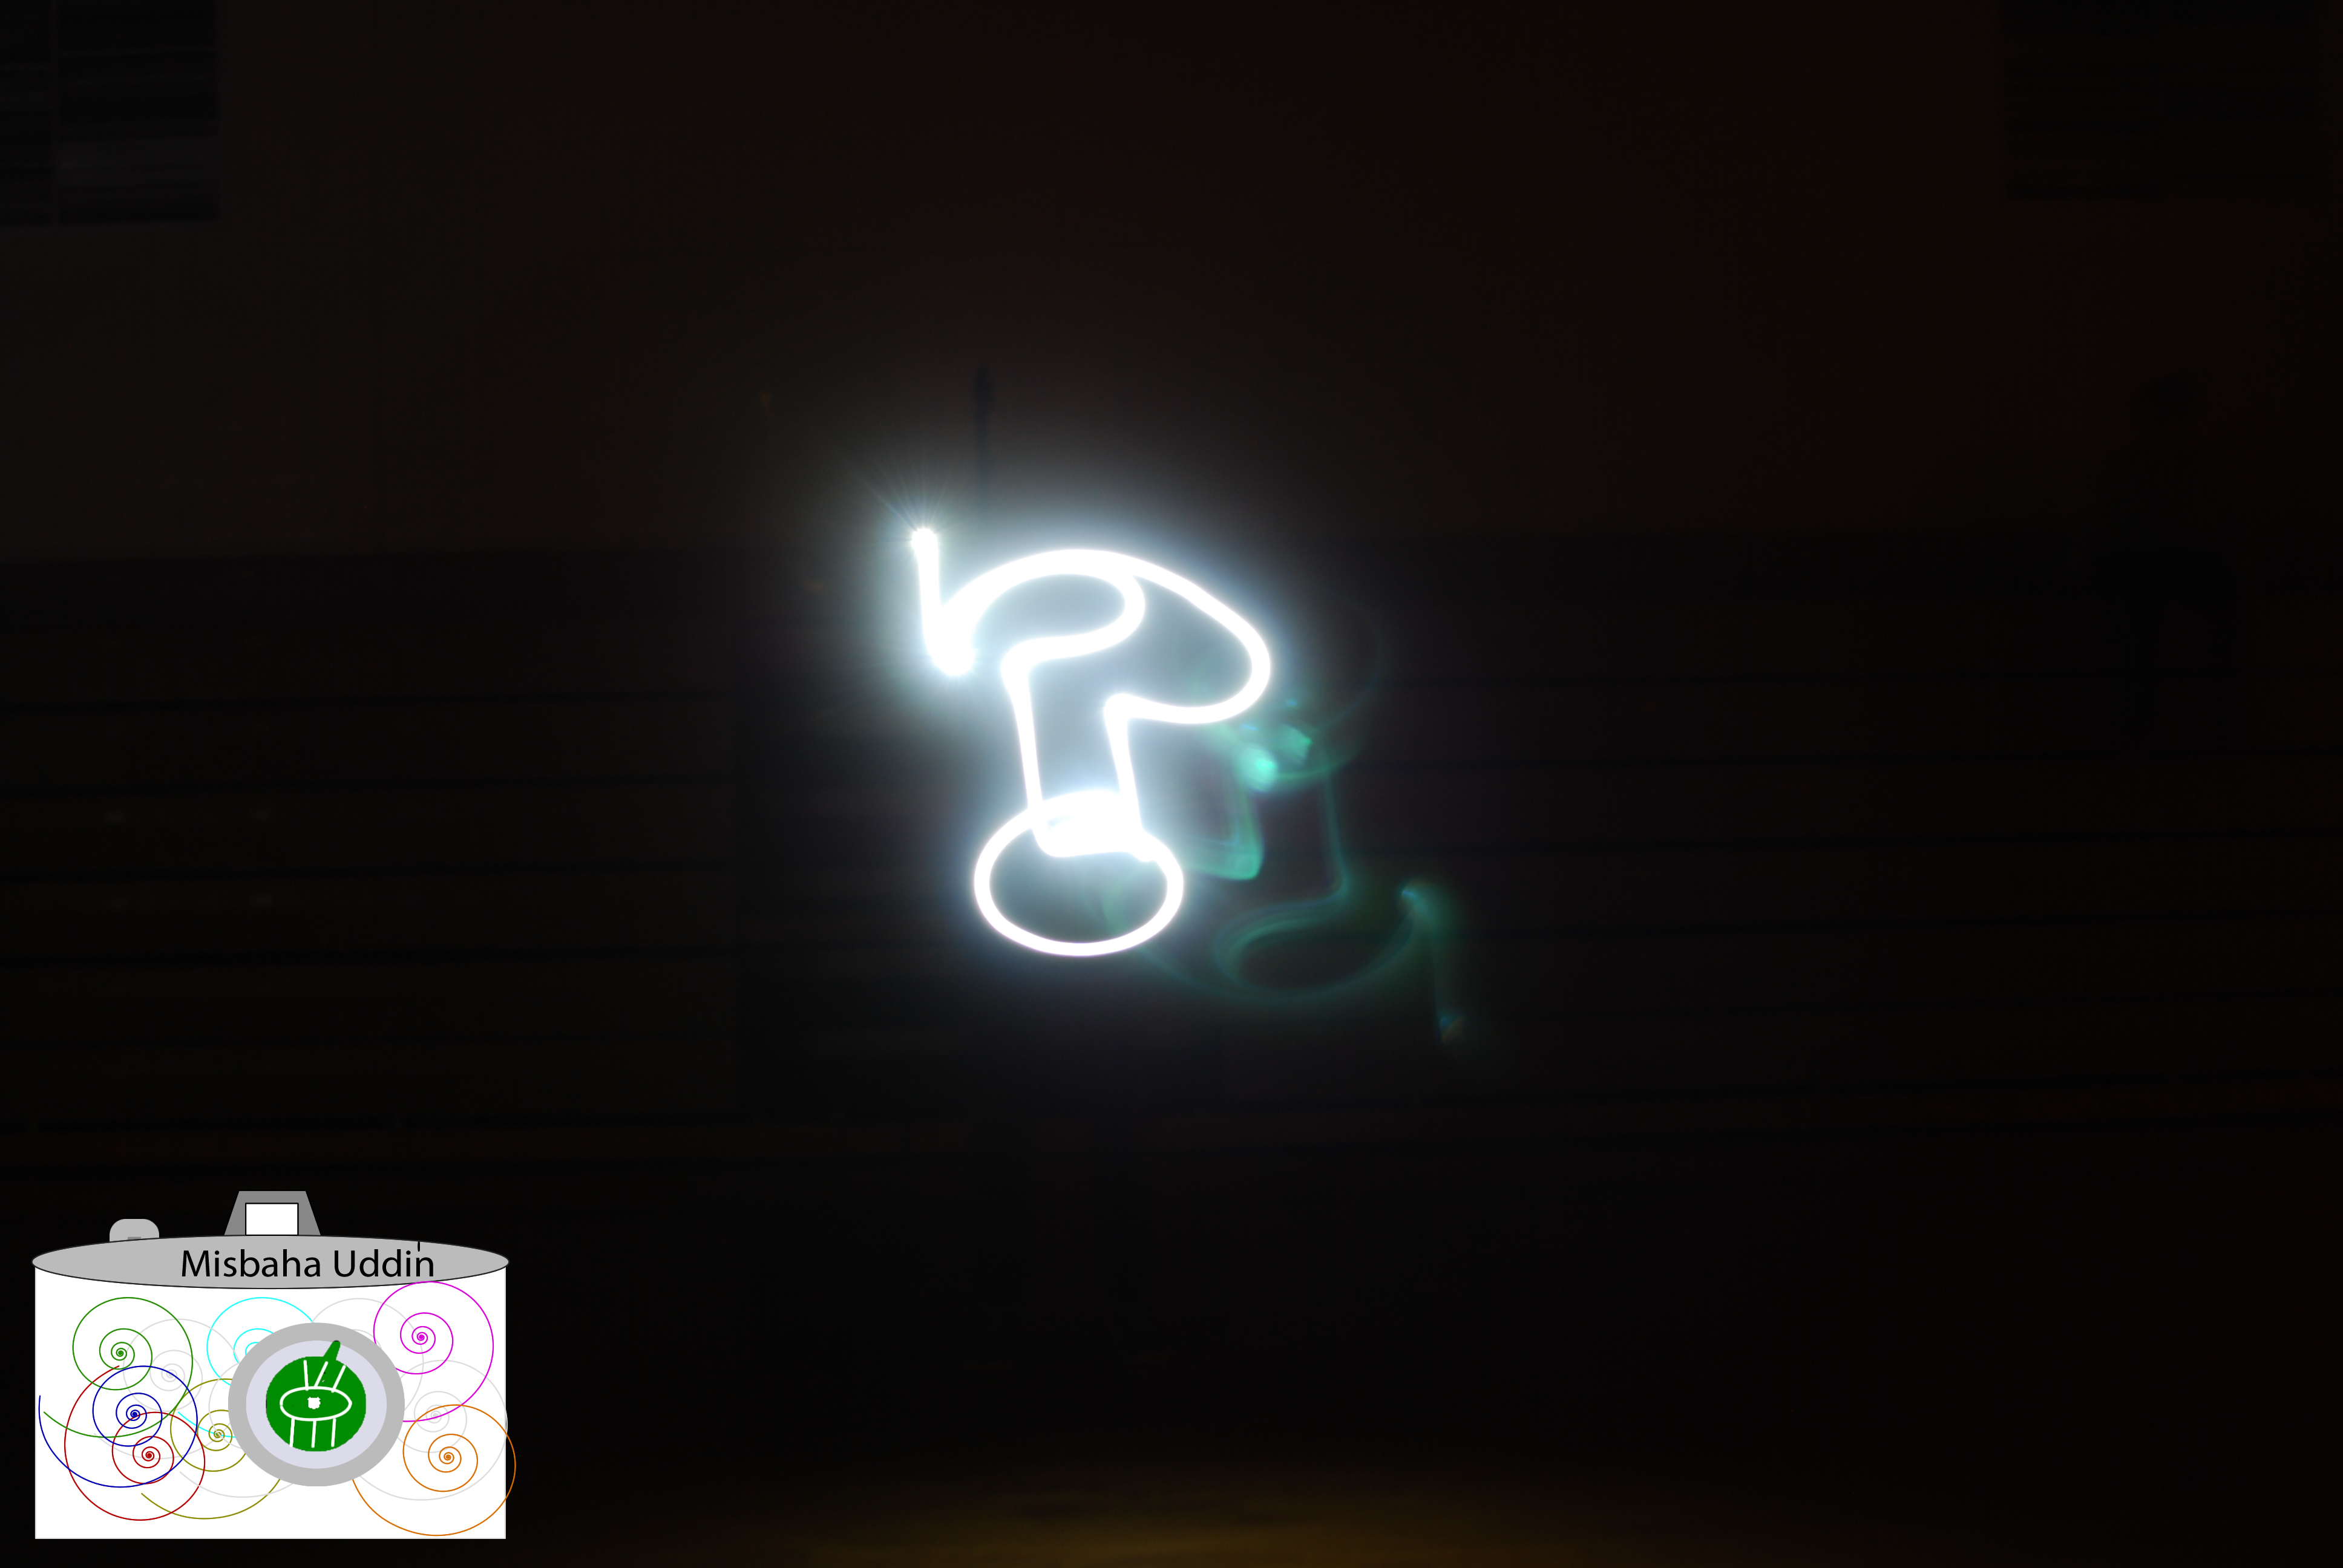
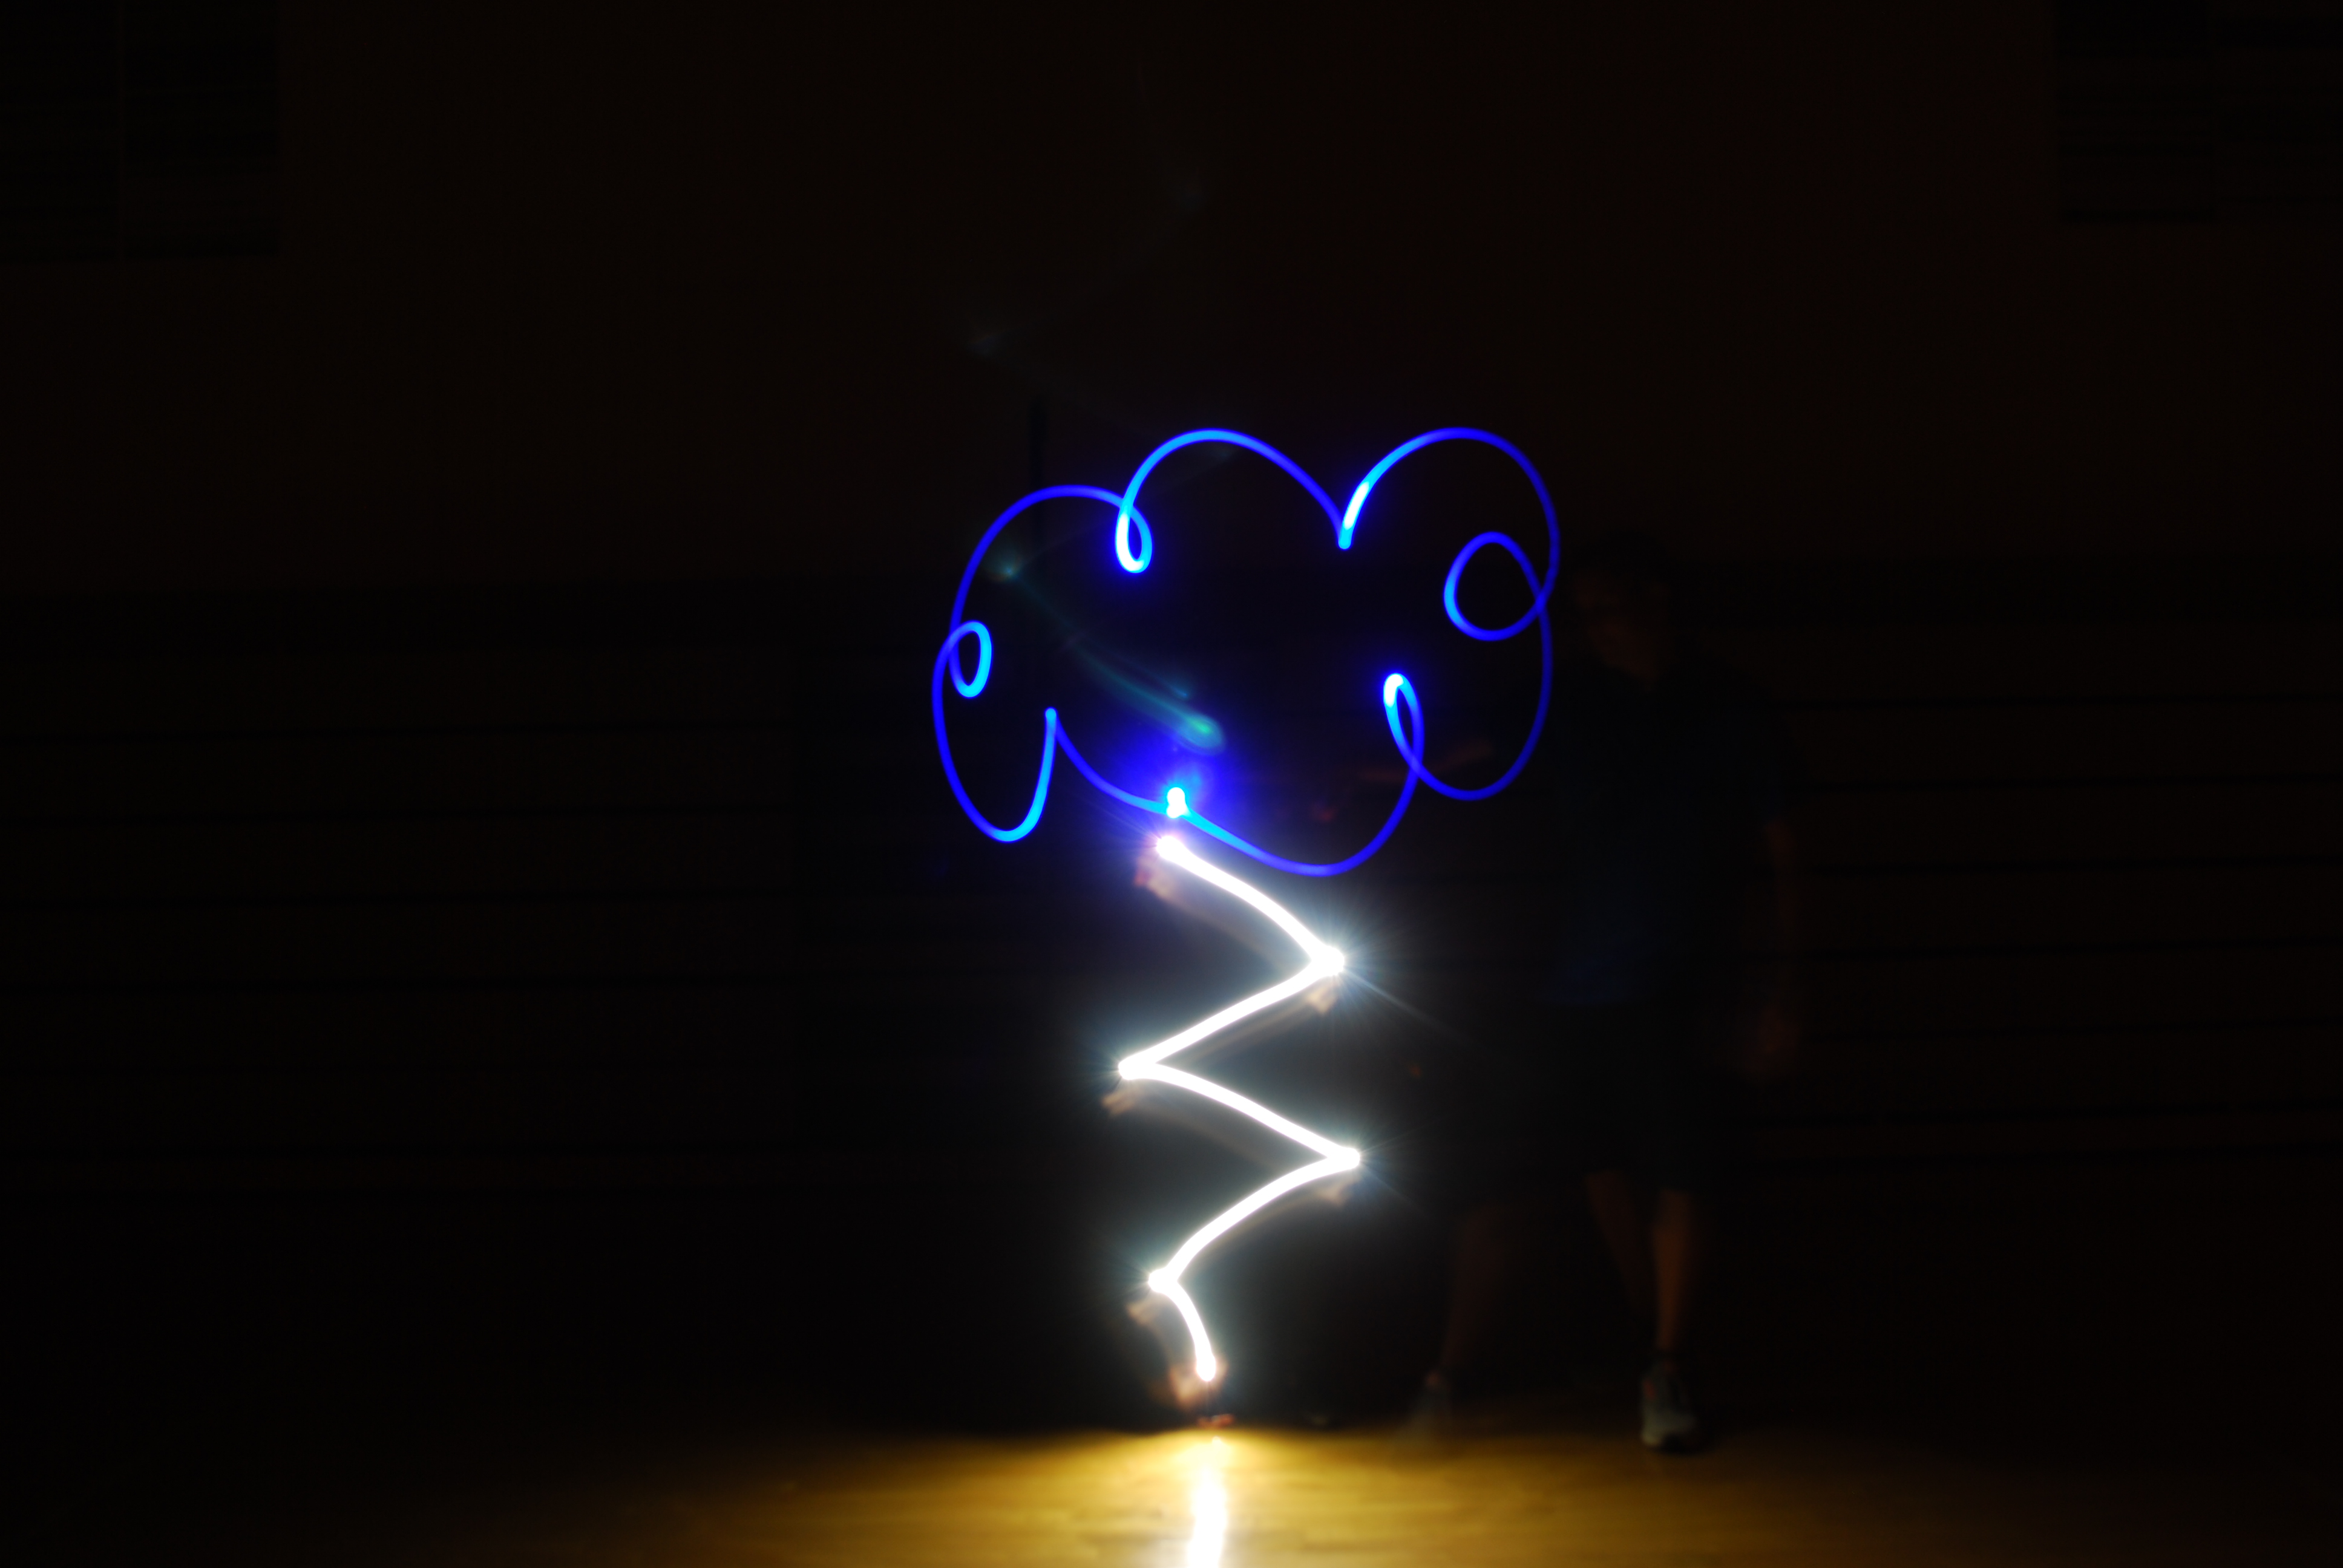
I took my photos by going to a dark room and using phones, glow sticks and flashlights to draw objects and our name.  The first set was making the camera lined up in middle right where you want to take your photos. Then we change the setting too this allowed us to take as long as we need drawing with the lights. Someone had to hold down the button then let go when the others where done drawing. Then we had to wait for a few seconds to allow the picture to prepossess. The thing that work was using our phones as lights. My group and I had an idea to go online to find a plain color background then we took a screenshot, turn up the brightness, then we drew.  The things that didn’t work was trying to draw a landscape, this was really had to color all the way in. The things that frustrated me was standing still because if you moved you could end up fuzzy. An idea I have to take this project to the next level is to take a photo of a landscape with people or animals then you try to recreate the same image. The same colors and try to add ideals into the drawing. Below is my favorite photo from this project and if you would like to see the rest of my photos click here.

Light Graffiti

This is my favorite photo if you want to see more click here. The first thing we did was put the camera to manual and then put it on shutter speed for 15 seconds.  Some of the things that didn’t work was when you had to hide the light so you could make the design. Sometimes people didn’t face the light towards the camera, some people didn’t even turn the light off when they were done so it was just a big blob of light. Also some things that did work didn’t really work as we wanted it too. Some of my frustrations were when the picture didn’t look like what you pictured. Some ideas for taking it to the next level is making weird designs.

Light Graffiti

For this assignment, we had to draw/write with lights. We had to leave the camera shutter open for 5-10 seconds to capture the drawings. If you went over your drawing it usually wasn’t as accurate and didn’t look as good. Also, when writing you had to write backwards for it to read forwards on the photo. It was hard to work in larger groups and still get everything done. I would have liked to redo certain photos but there were to many ideas to go back. If we were able to bring Nerf guns into school it would be fun to do a Star Wars esque gun scene with the red lasers coming out of the guns. Below is one of my favorite photos I created and here is the link to the rest of them. 

…and your watching Disney Channel

Rule of Thirds

For this project everything we did pretty much worked. I thought that this project would be really difficult, but once I understood what we were doing, It was easy. There were two lines we had to use on each side of the screen. It had to make the person who looked at the picture move their eyes.  

Light Graffiti

For this project we went to the gym to create light graffiti in the dark. We first had to turn off all the lights and set up the camera. To take these types of photos we had to change the shutter speed so that the camera would stay open for a long time to take in the light while we draw the image we wanted to create using light from our phones or other light producing object. The camera we used had the bulb setting which allows us to keep the camera open for as long as we wanted to which allows us an infinite amount of time to draw our images. All we had to do was hold the button that takes pictures until we finished, then the light graffiti image will be created. If we wanted light to show up we would shine the light towards the camera. If we wanted to highlight an object we would shine it away from the camera, while “highlighting” the object. What didn’t work for this project was drawing “perfectly”. It was difficult to remember where we already shined the camera at and how big the camera’s range was. What was easy was that we had the bulb setting which allowed us to draw as long as we wanted, unlike other cameras that only gave you several seconds. I was frustrated at my group sometimes because they would fool around or they couldn’t draw very well. Also at some times the camera would act weird and if we didn’t draw the picture fast enough, the light in one area would be much brighter than the rest of the picture. I think that this project would be even better if we had several people drawing at the same time with many different lights. We could draw a forest or a city which would be cool. One of my favorite pictures is shown below. It is a picture of my name, but the k was cut off due to the lack of room. The rest can be found here.

Rule of Thirds

See all of my photos here

It was easy to find objects to take pictures of. It was hard to find the best possible angle and setup. I think that it makes no sense but I had to do it anyways. Something had to be on each intersection to be a rule of thirds.

Light Graffiti

In this project, we created light graffiti’s using light. We had to change the camera setting to bulb. We then had to hold down the button on the camera that takes the photos. This will make the camera track the light until we let go of the button. What worked in this project was setting up the camera setting and taking the picture. The hardest part of this project was drawing something with light towards the camera without knowing where you have already drawn with your light. We could use a a mirror to reflect light towards the camera.

Click here to see the other photos

Light Graffiti

In this project we created photos with Lights. To take the photo we changed the camera setting to bulb. We then held down on the button that takes photo’s.  This makes the camera track the light the whole time. So if you make a line with your light, a light appears on your photo. It was hard to make good original ideas,  also it was hard to communicate. There were 2 specific people who irked me. But making the photos was hard to, you can’t see the things that you are writing, you have to picture the image in your mind. Also our group barely made the deadline. Something that frustrated me was how some people were fooling around a lot. Something that could make this cooler is if we used mirror’s to reflect the light.

Rule Of Thirds

The rule of thirds is a set of two lines (one pair vertical and one pair horizontal), kind of like a tic tac toe. To take a rule of thirds picture you have to take up 1/3 of the screen with your focal point or put your focal point on one of the lines or crosses. Photographers do this so the person’s eyes wander around the picture before looking at the focal point. Usually, the picture worked if we put the person or object on one of the lines, but it was harder to take pictures where 1/3 of the picture was something, and 2/3 was something else. Before taking these pictures, I thought it would be hard. Then, after taking the photos, I realized it wasn’t as hard as I thought. Here are some other photos