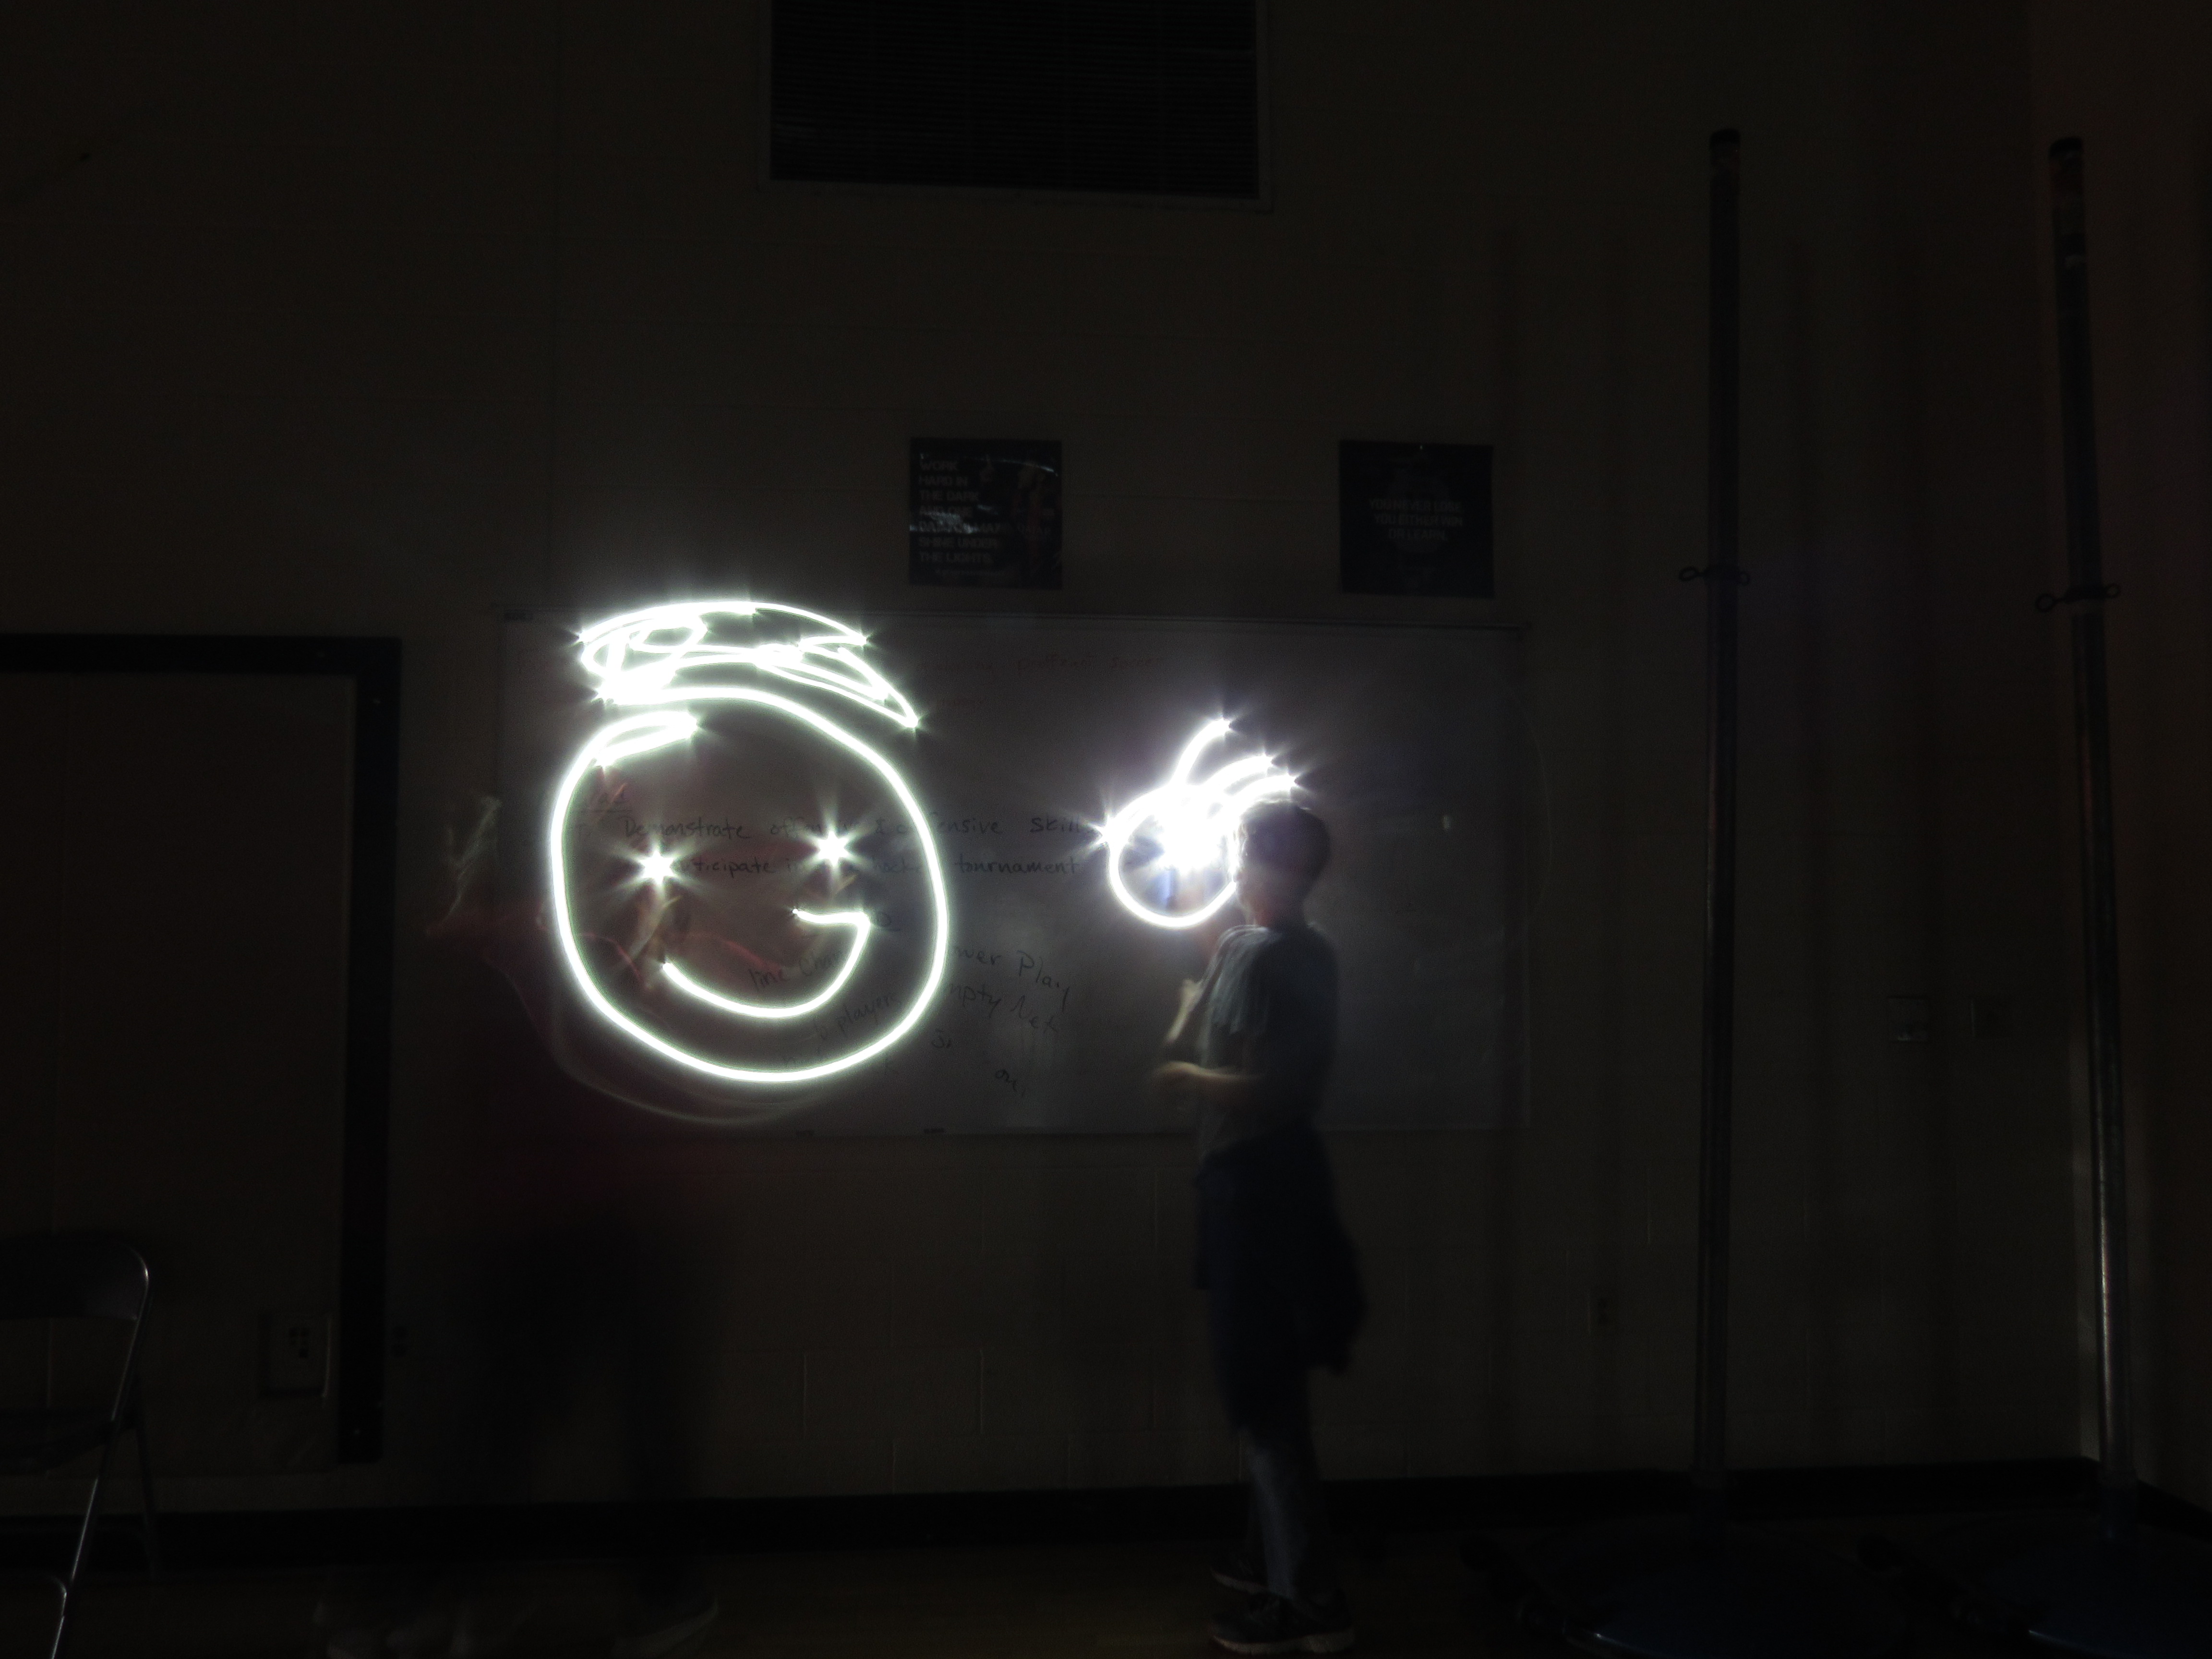
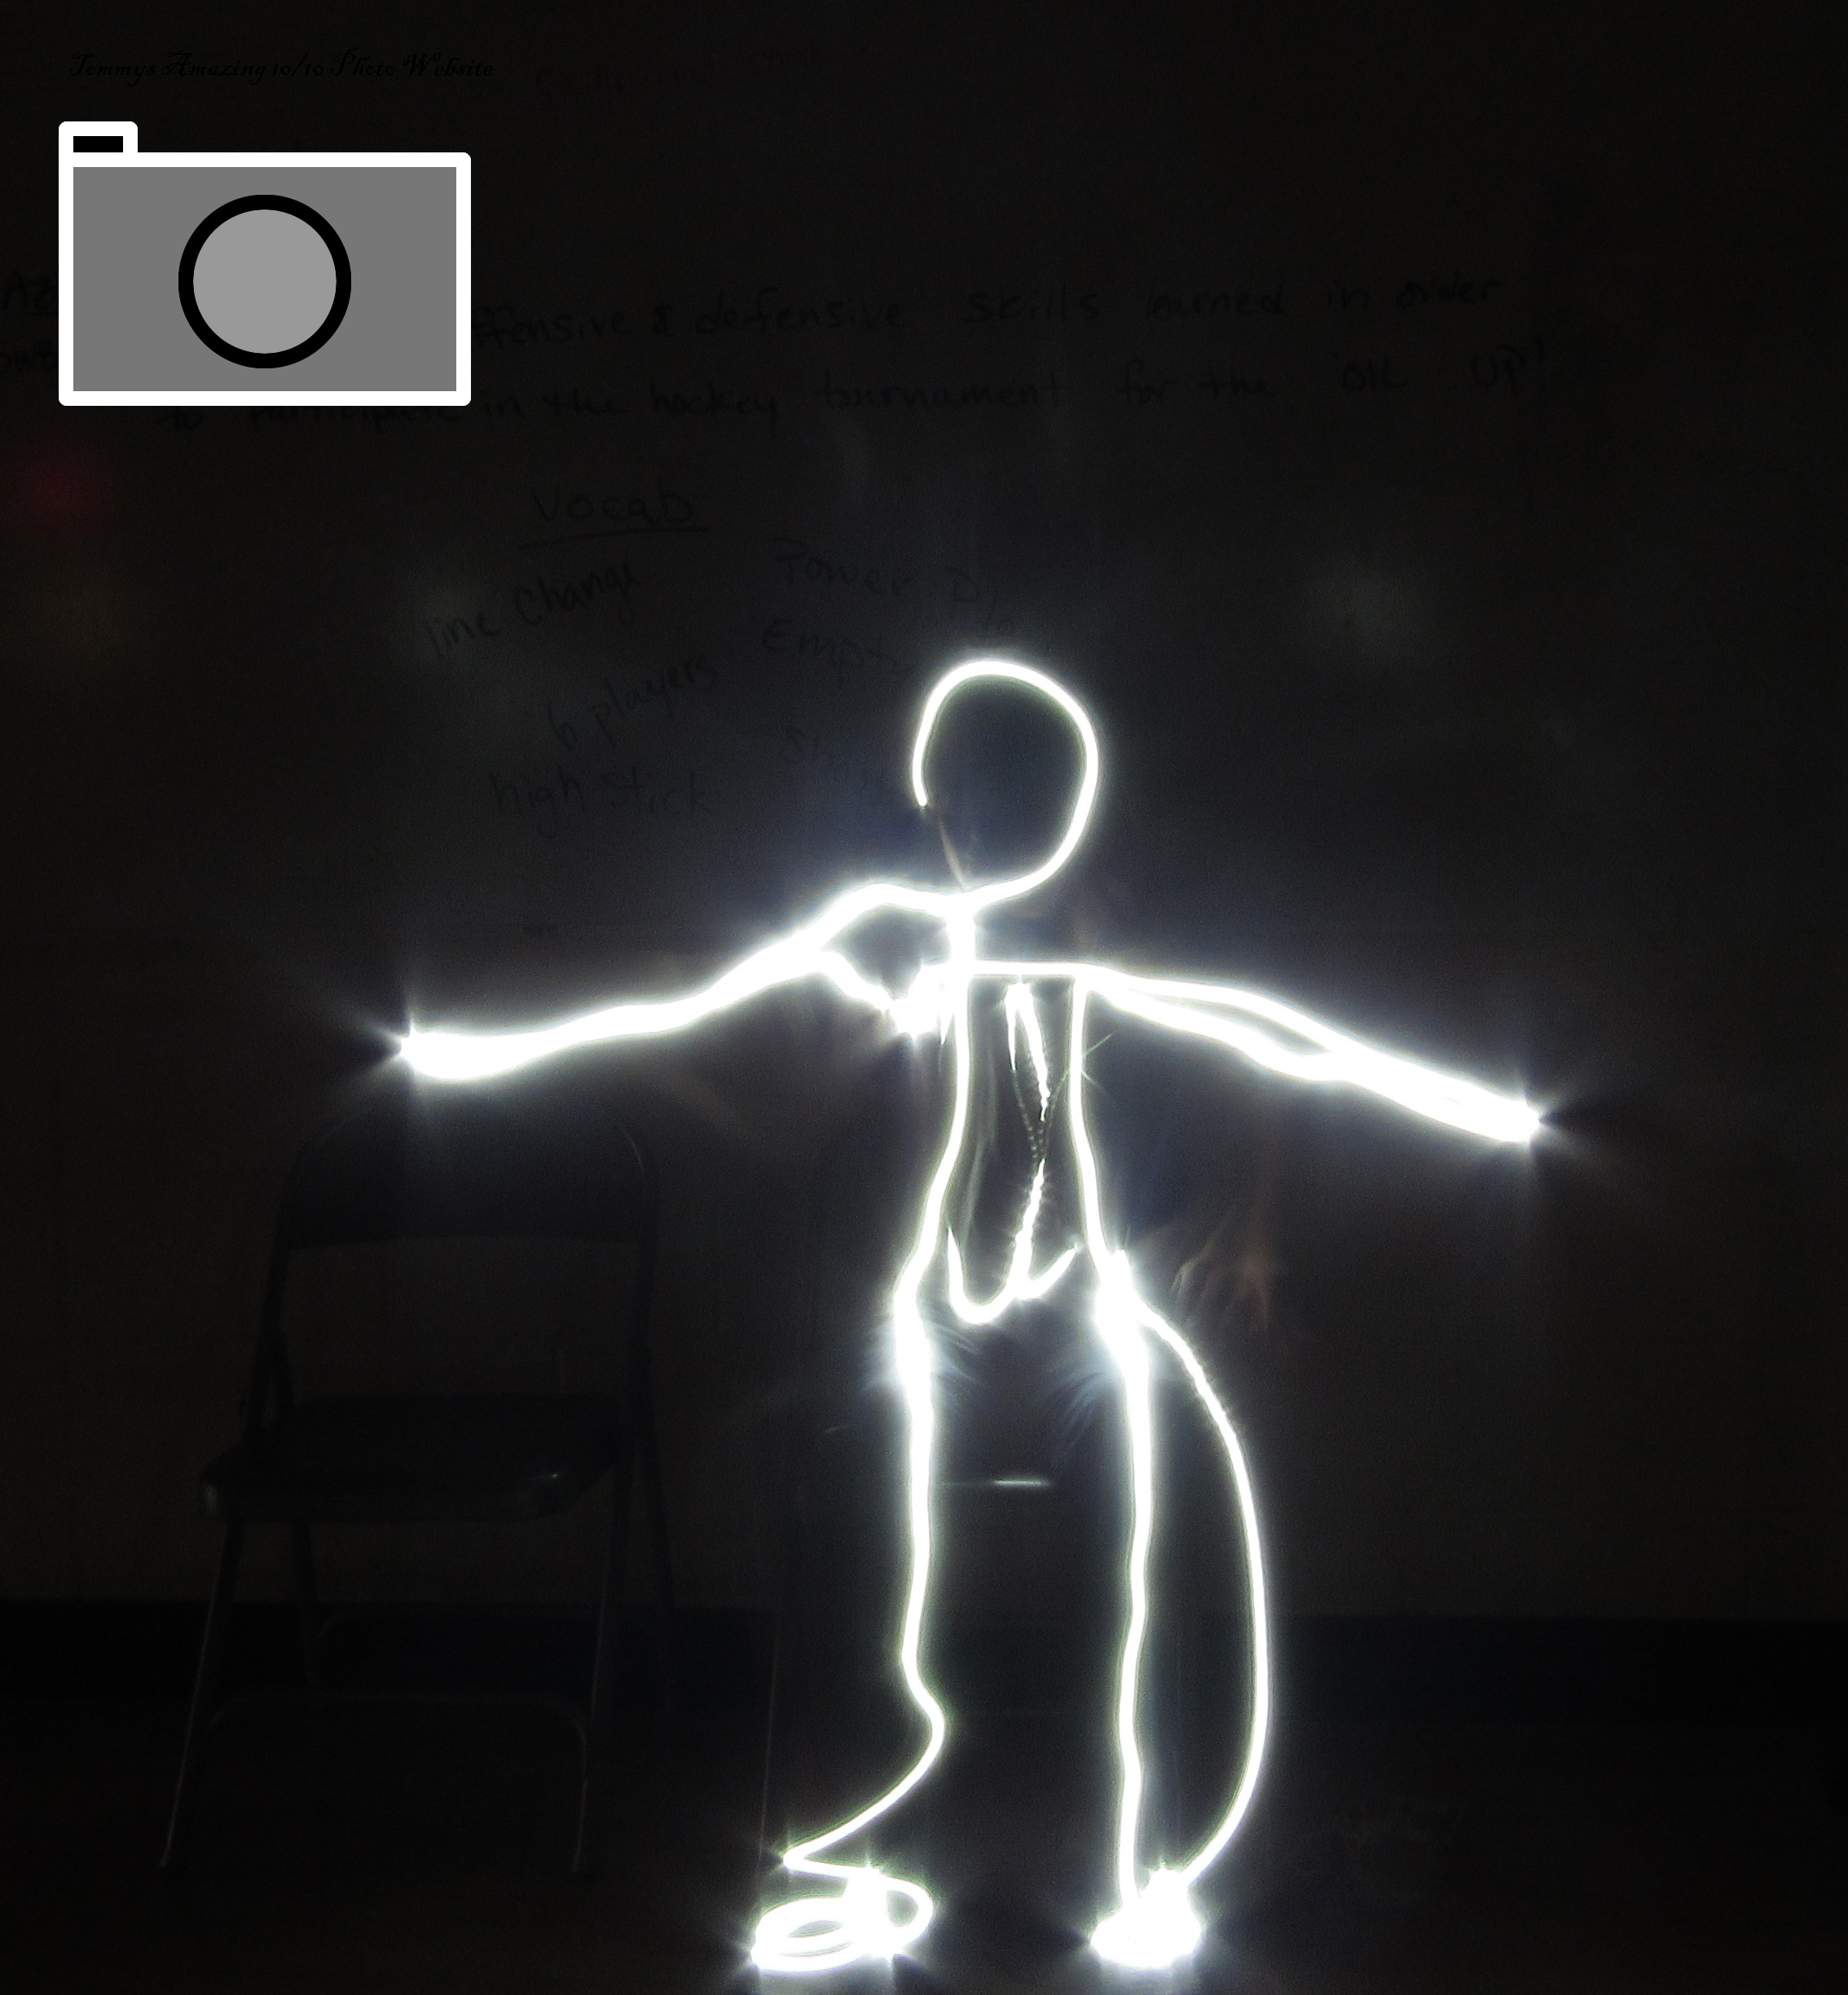
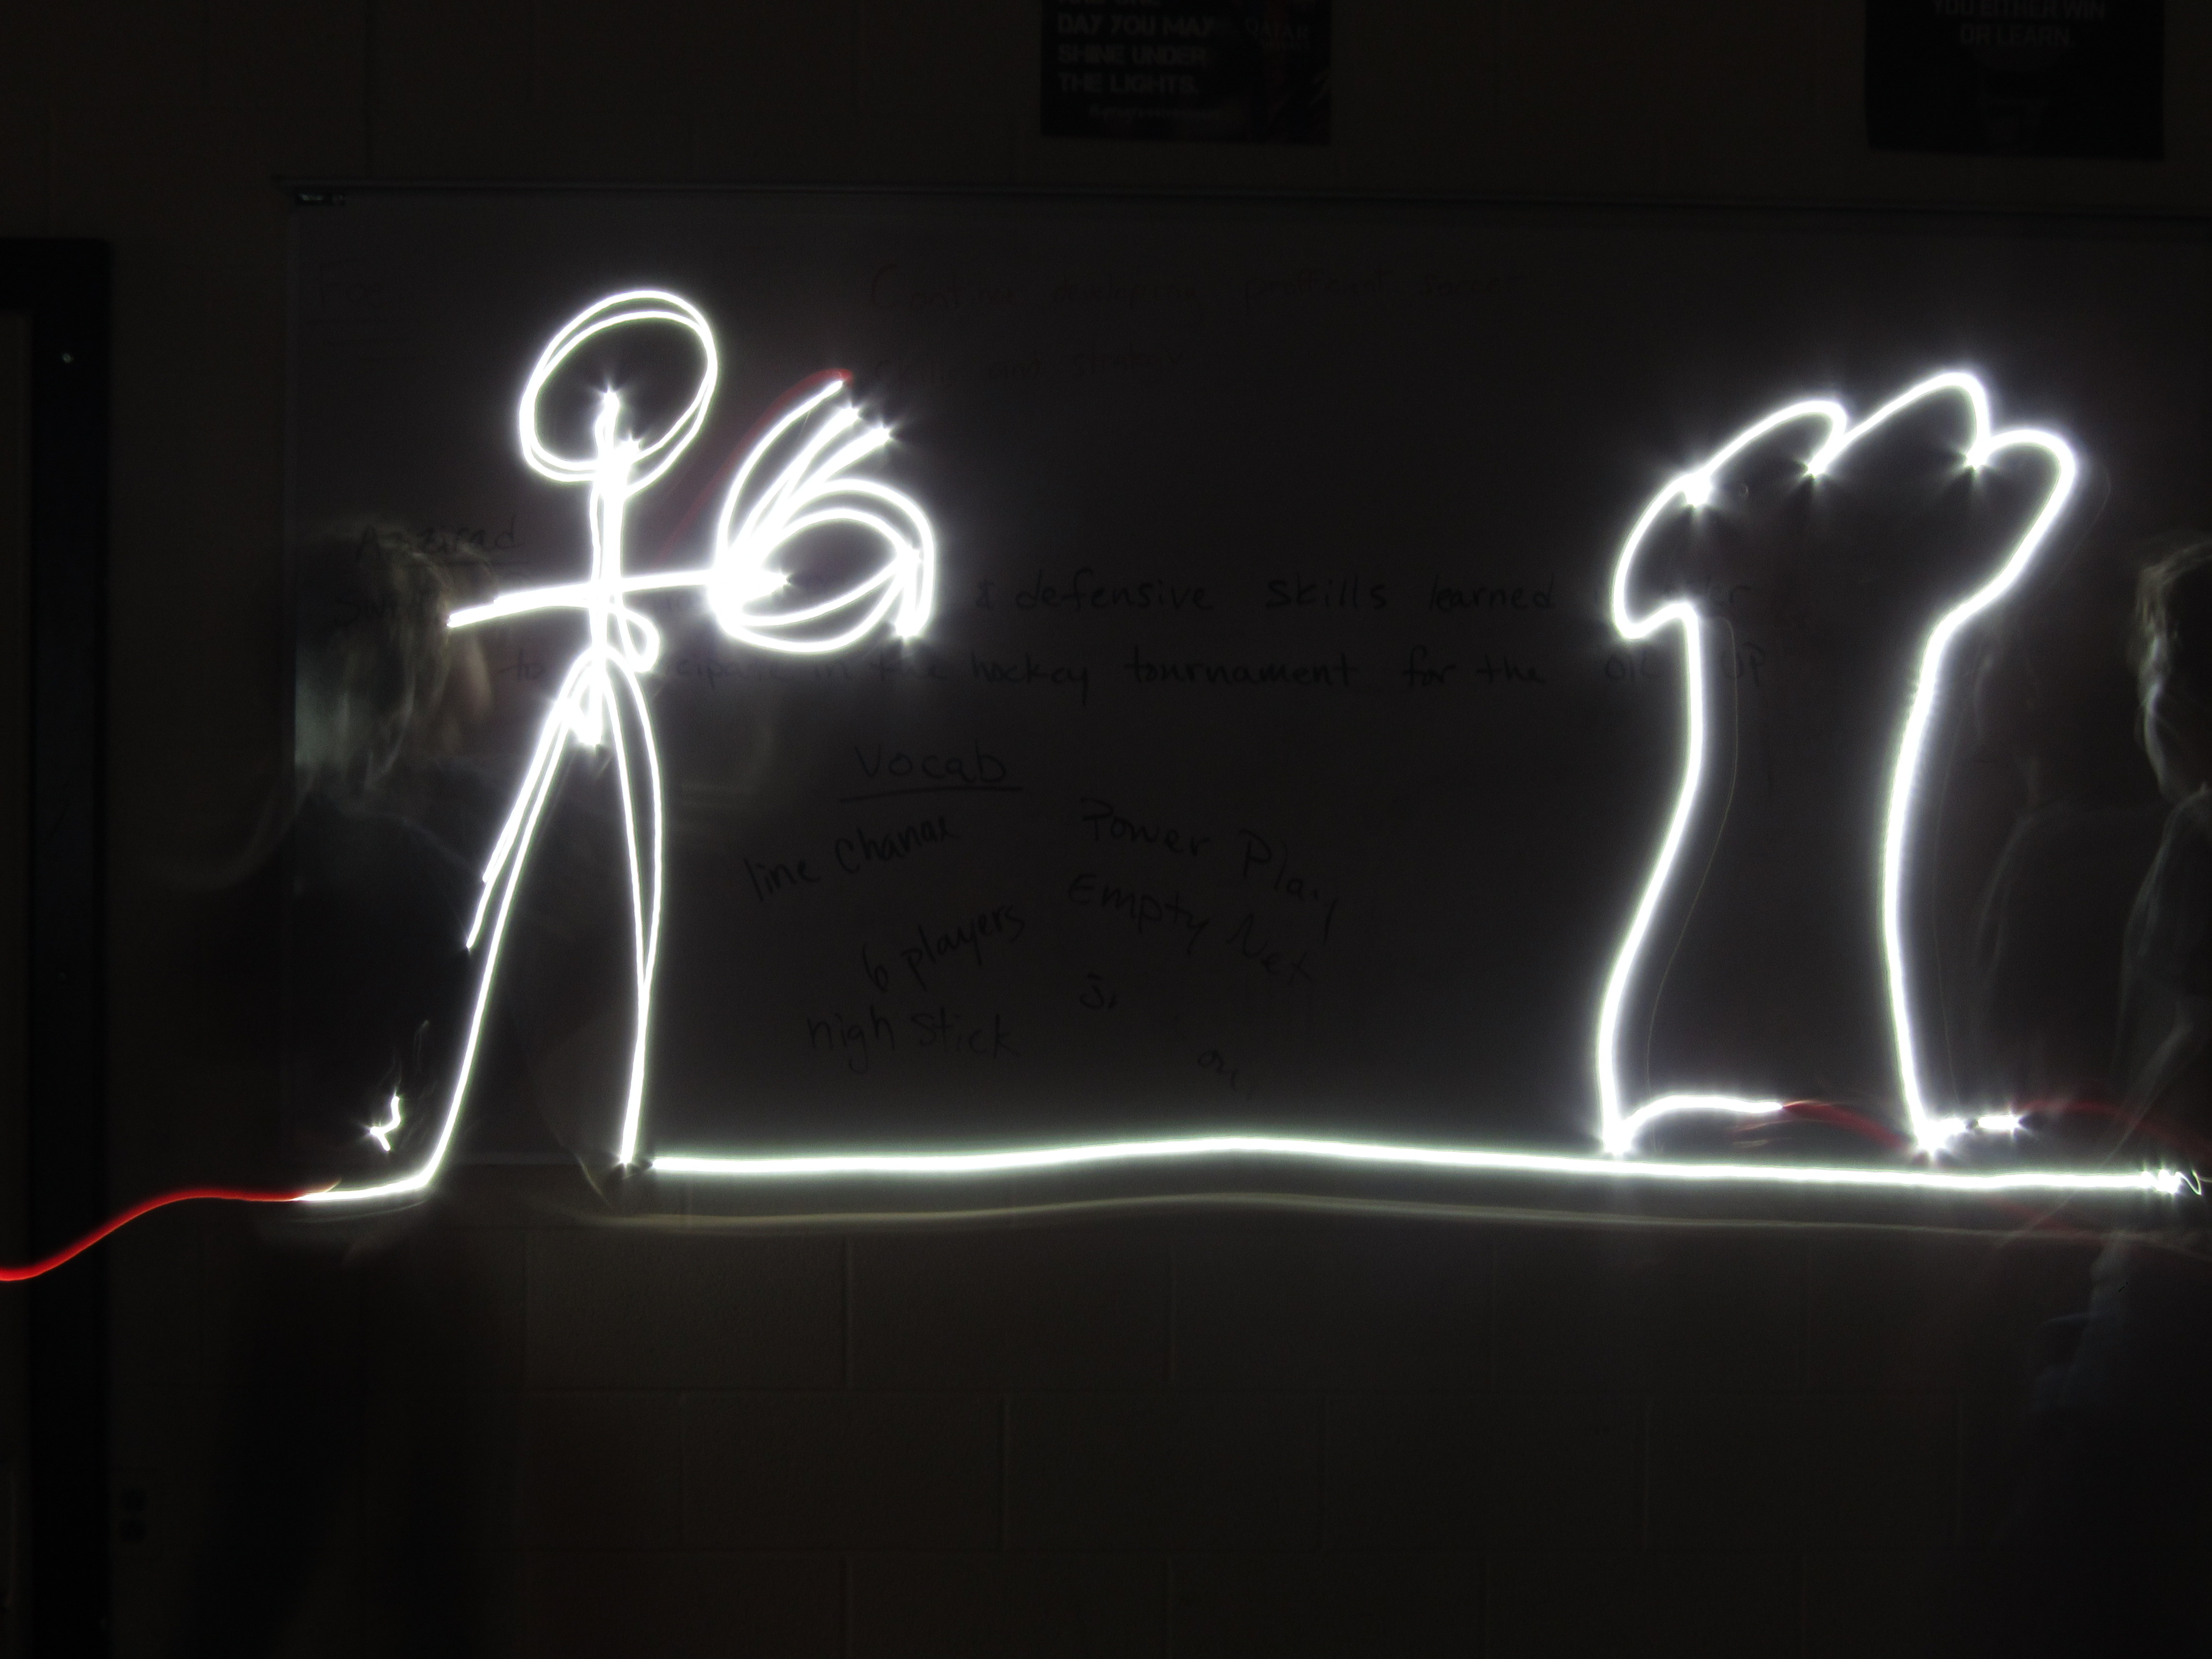
We had to use the cameras with settings that would leave the shutters open for 15 seconds or 30 seconds. Just making stick figures worked best. Same with trees or scenes. Losing one of our members and people getting their light glare on ours was pretty frustrating. Instead of only 15 seconds maybe more.
This assignment was about taking pictures using the rule of thirds. The rule of thirds basically says to imagine splitting up your photo into thirds, and then basing the photo of off that. What worked on this project was turning on the gird on my phone to take pictures. What didn’t work was trying to imagine the lines on the photo. I thought that the project was a little dull and boring. The lines helped divide up the photo, so that you could align the parts of the photo to fit them. You can find all of my photos here.
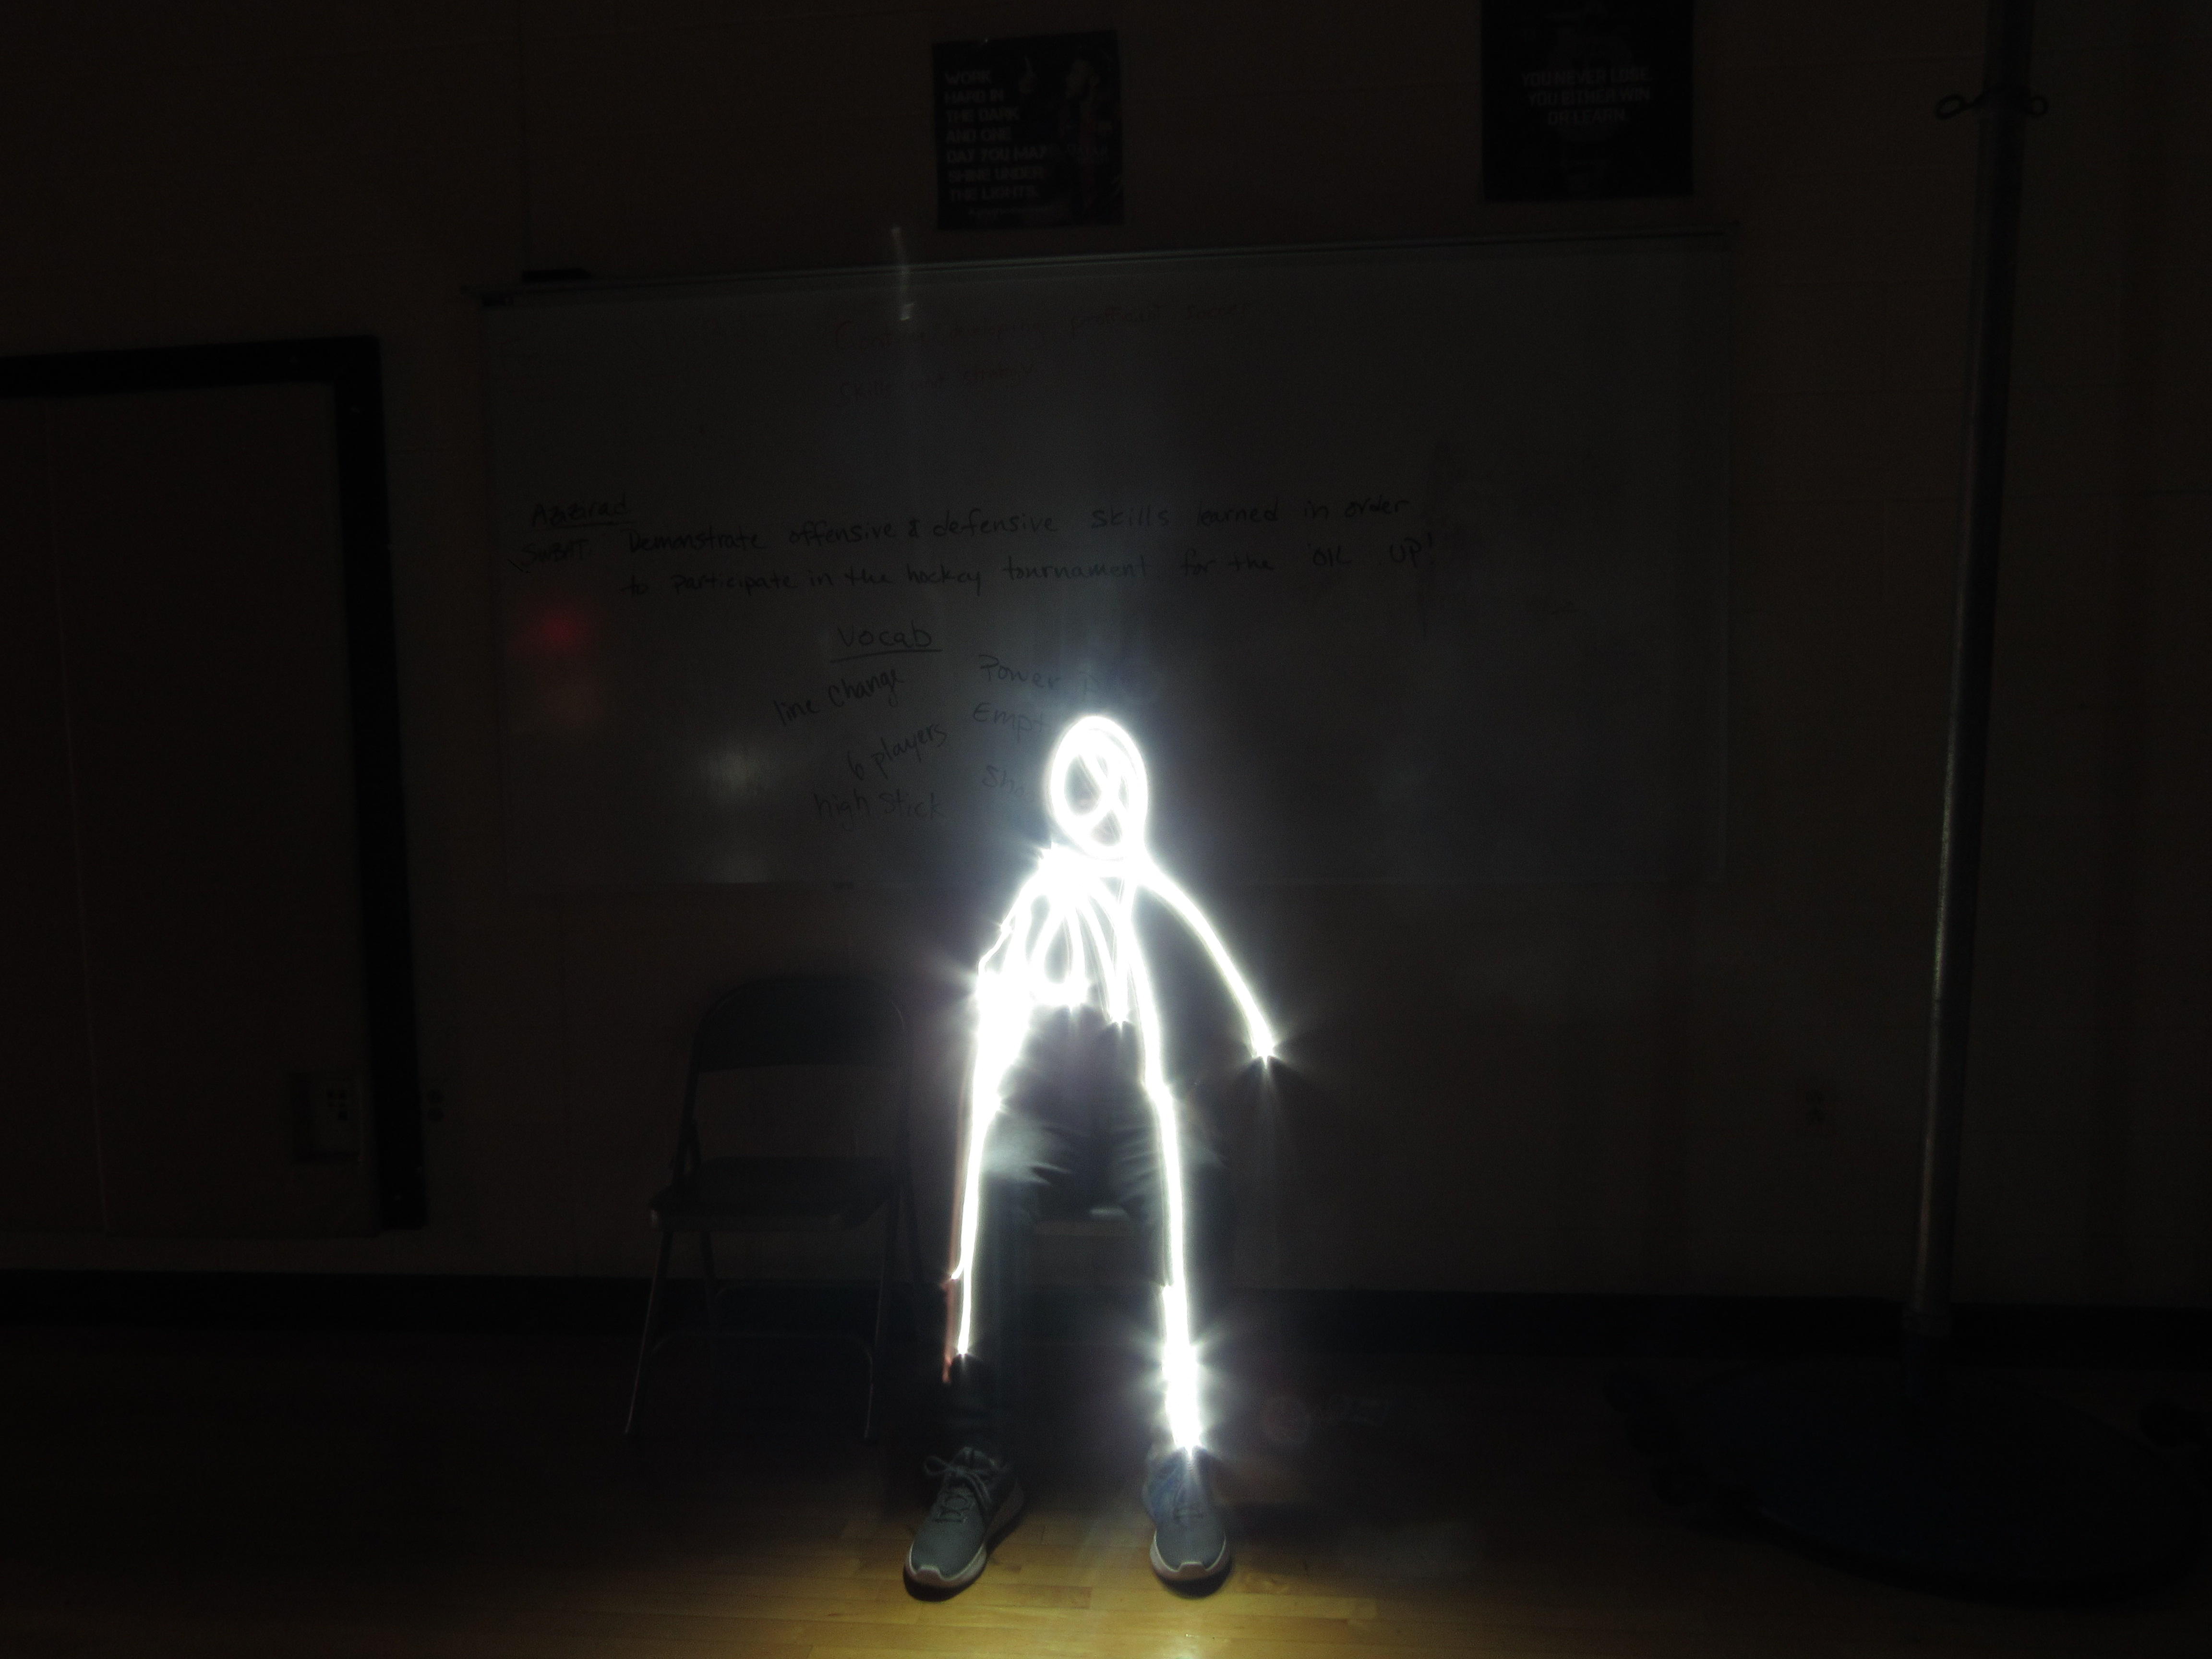
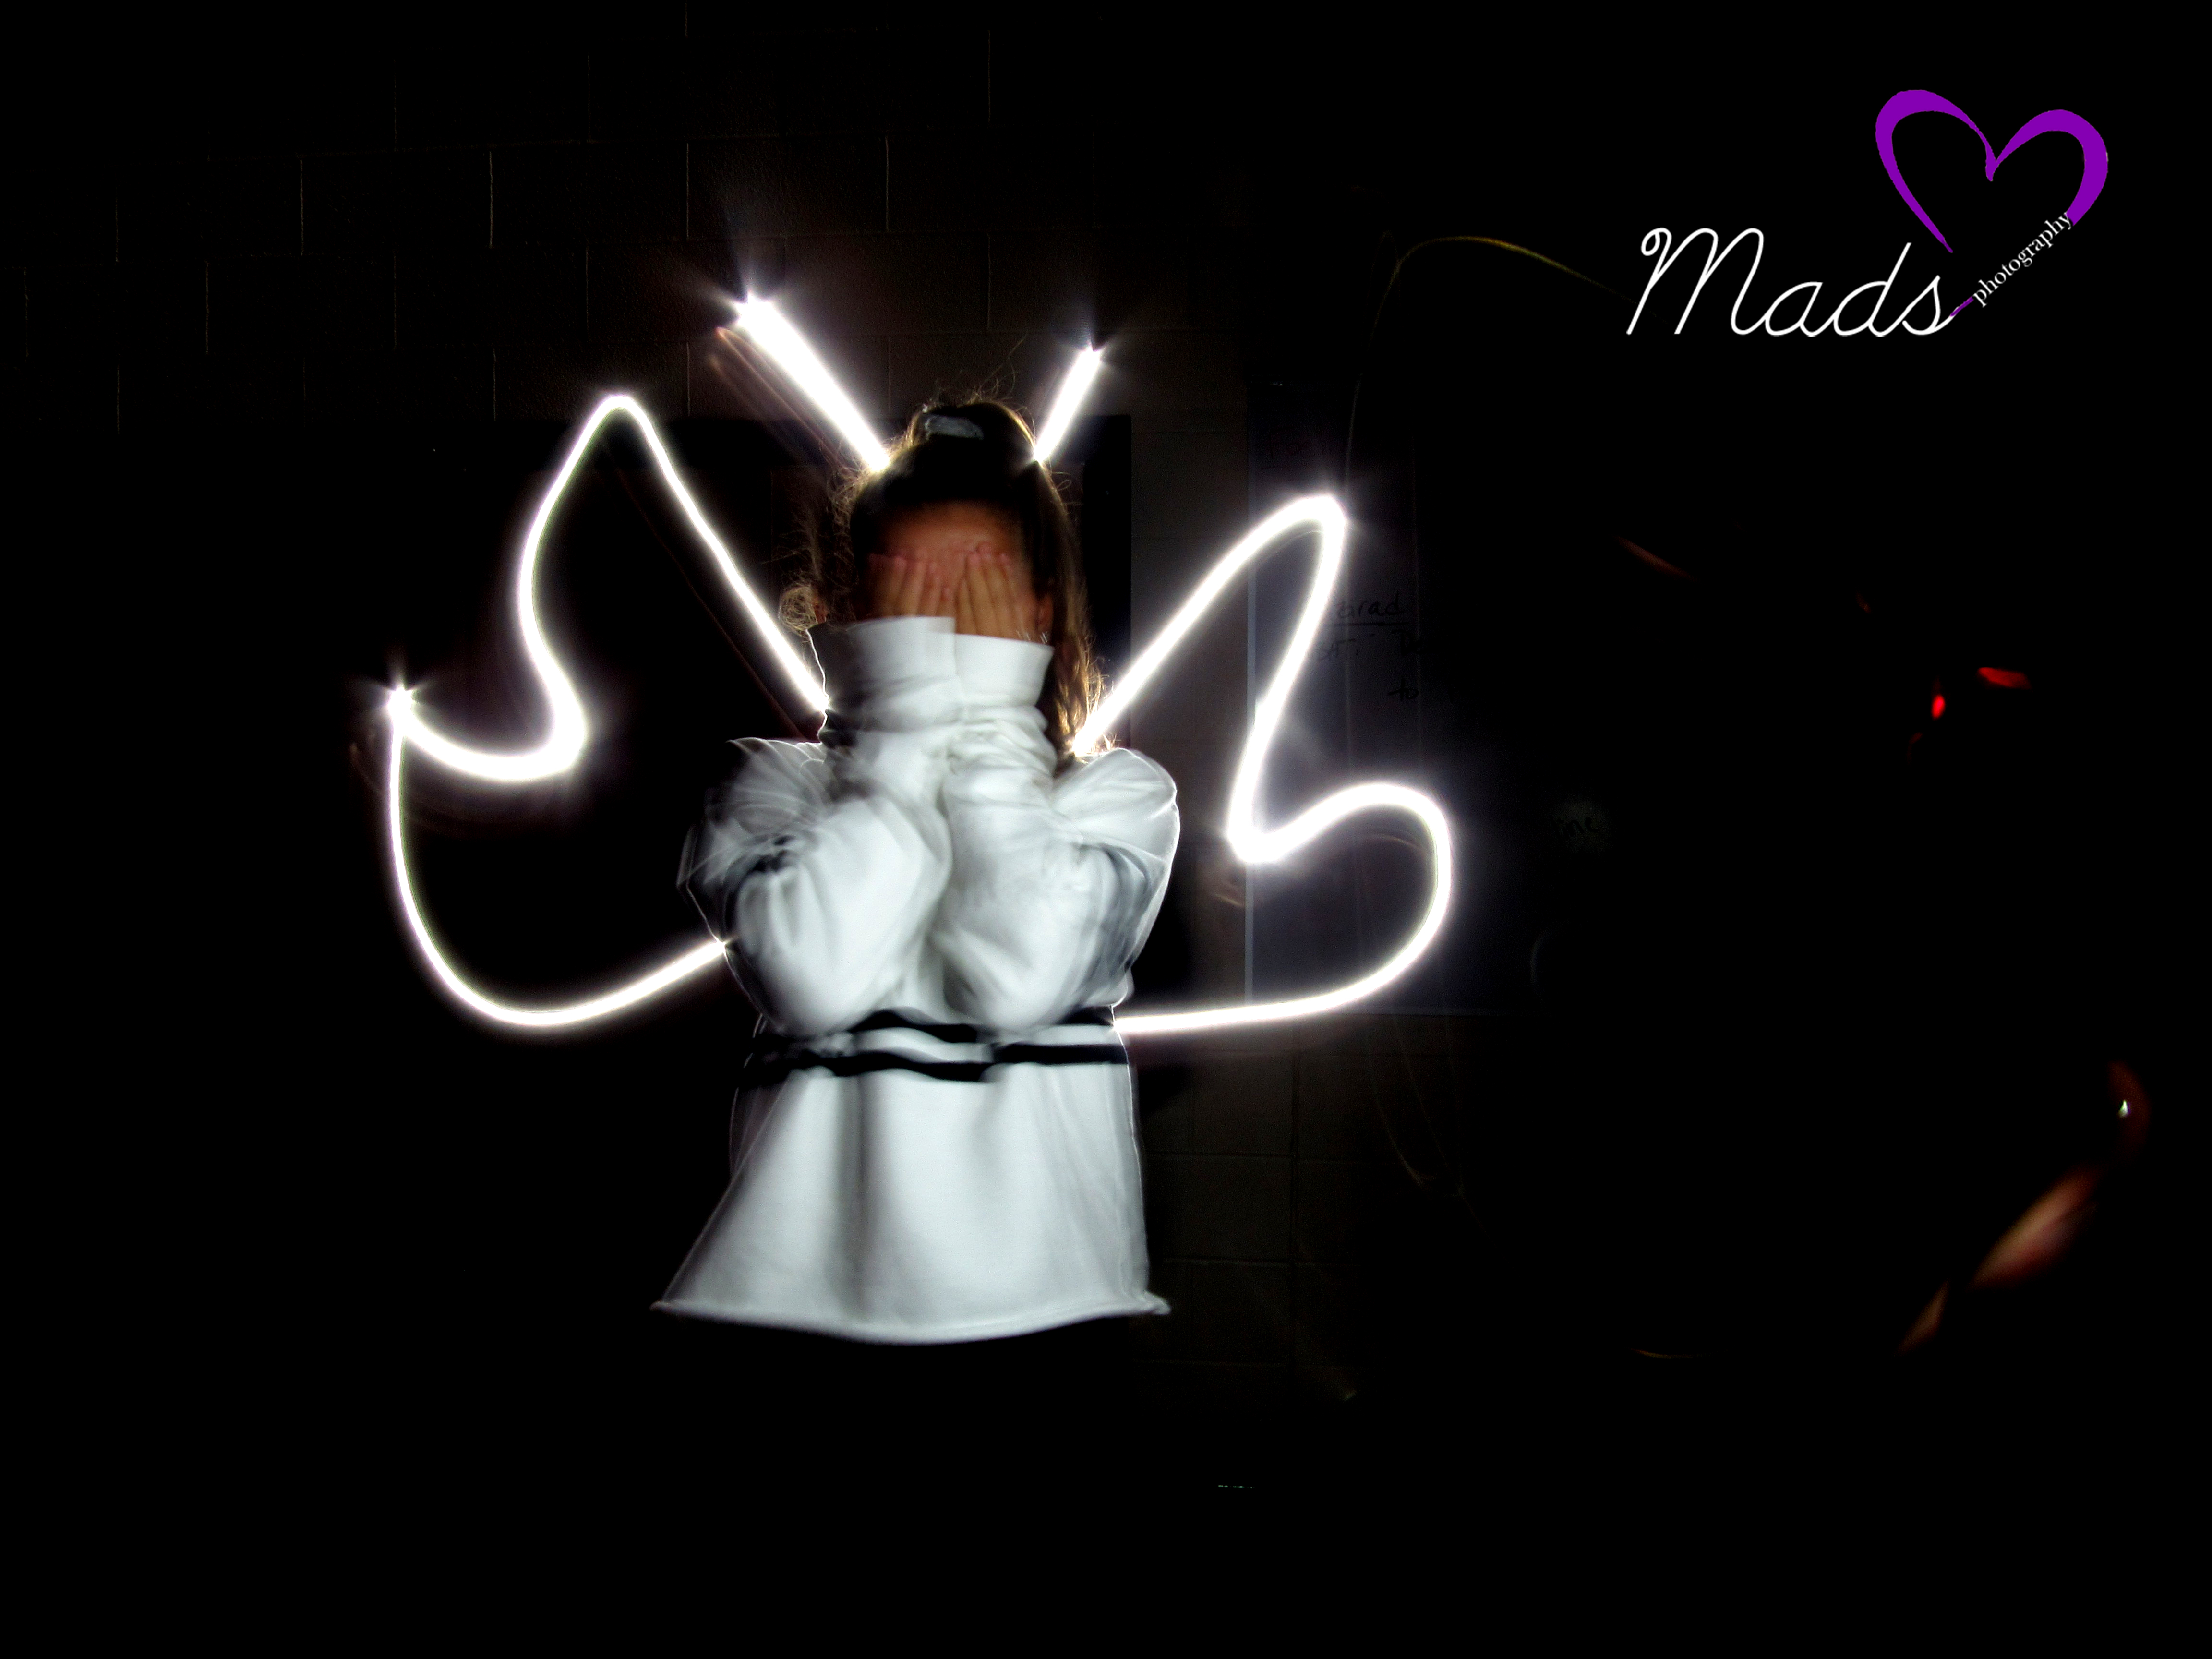
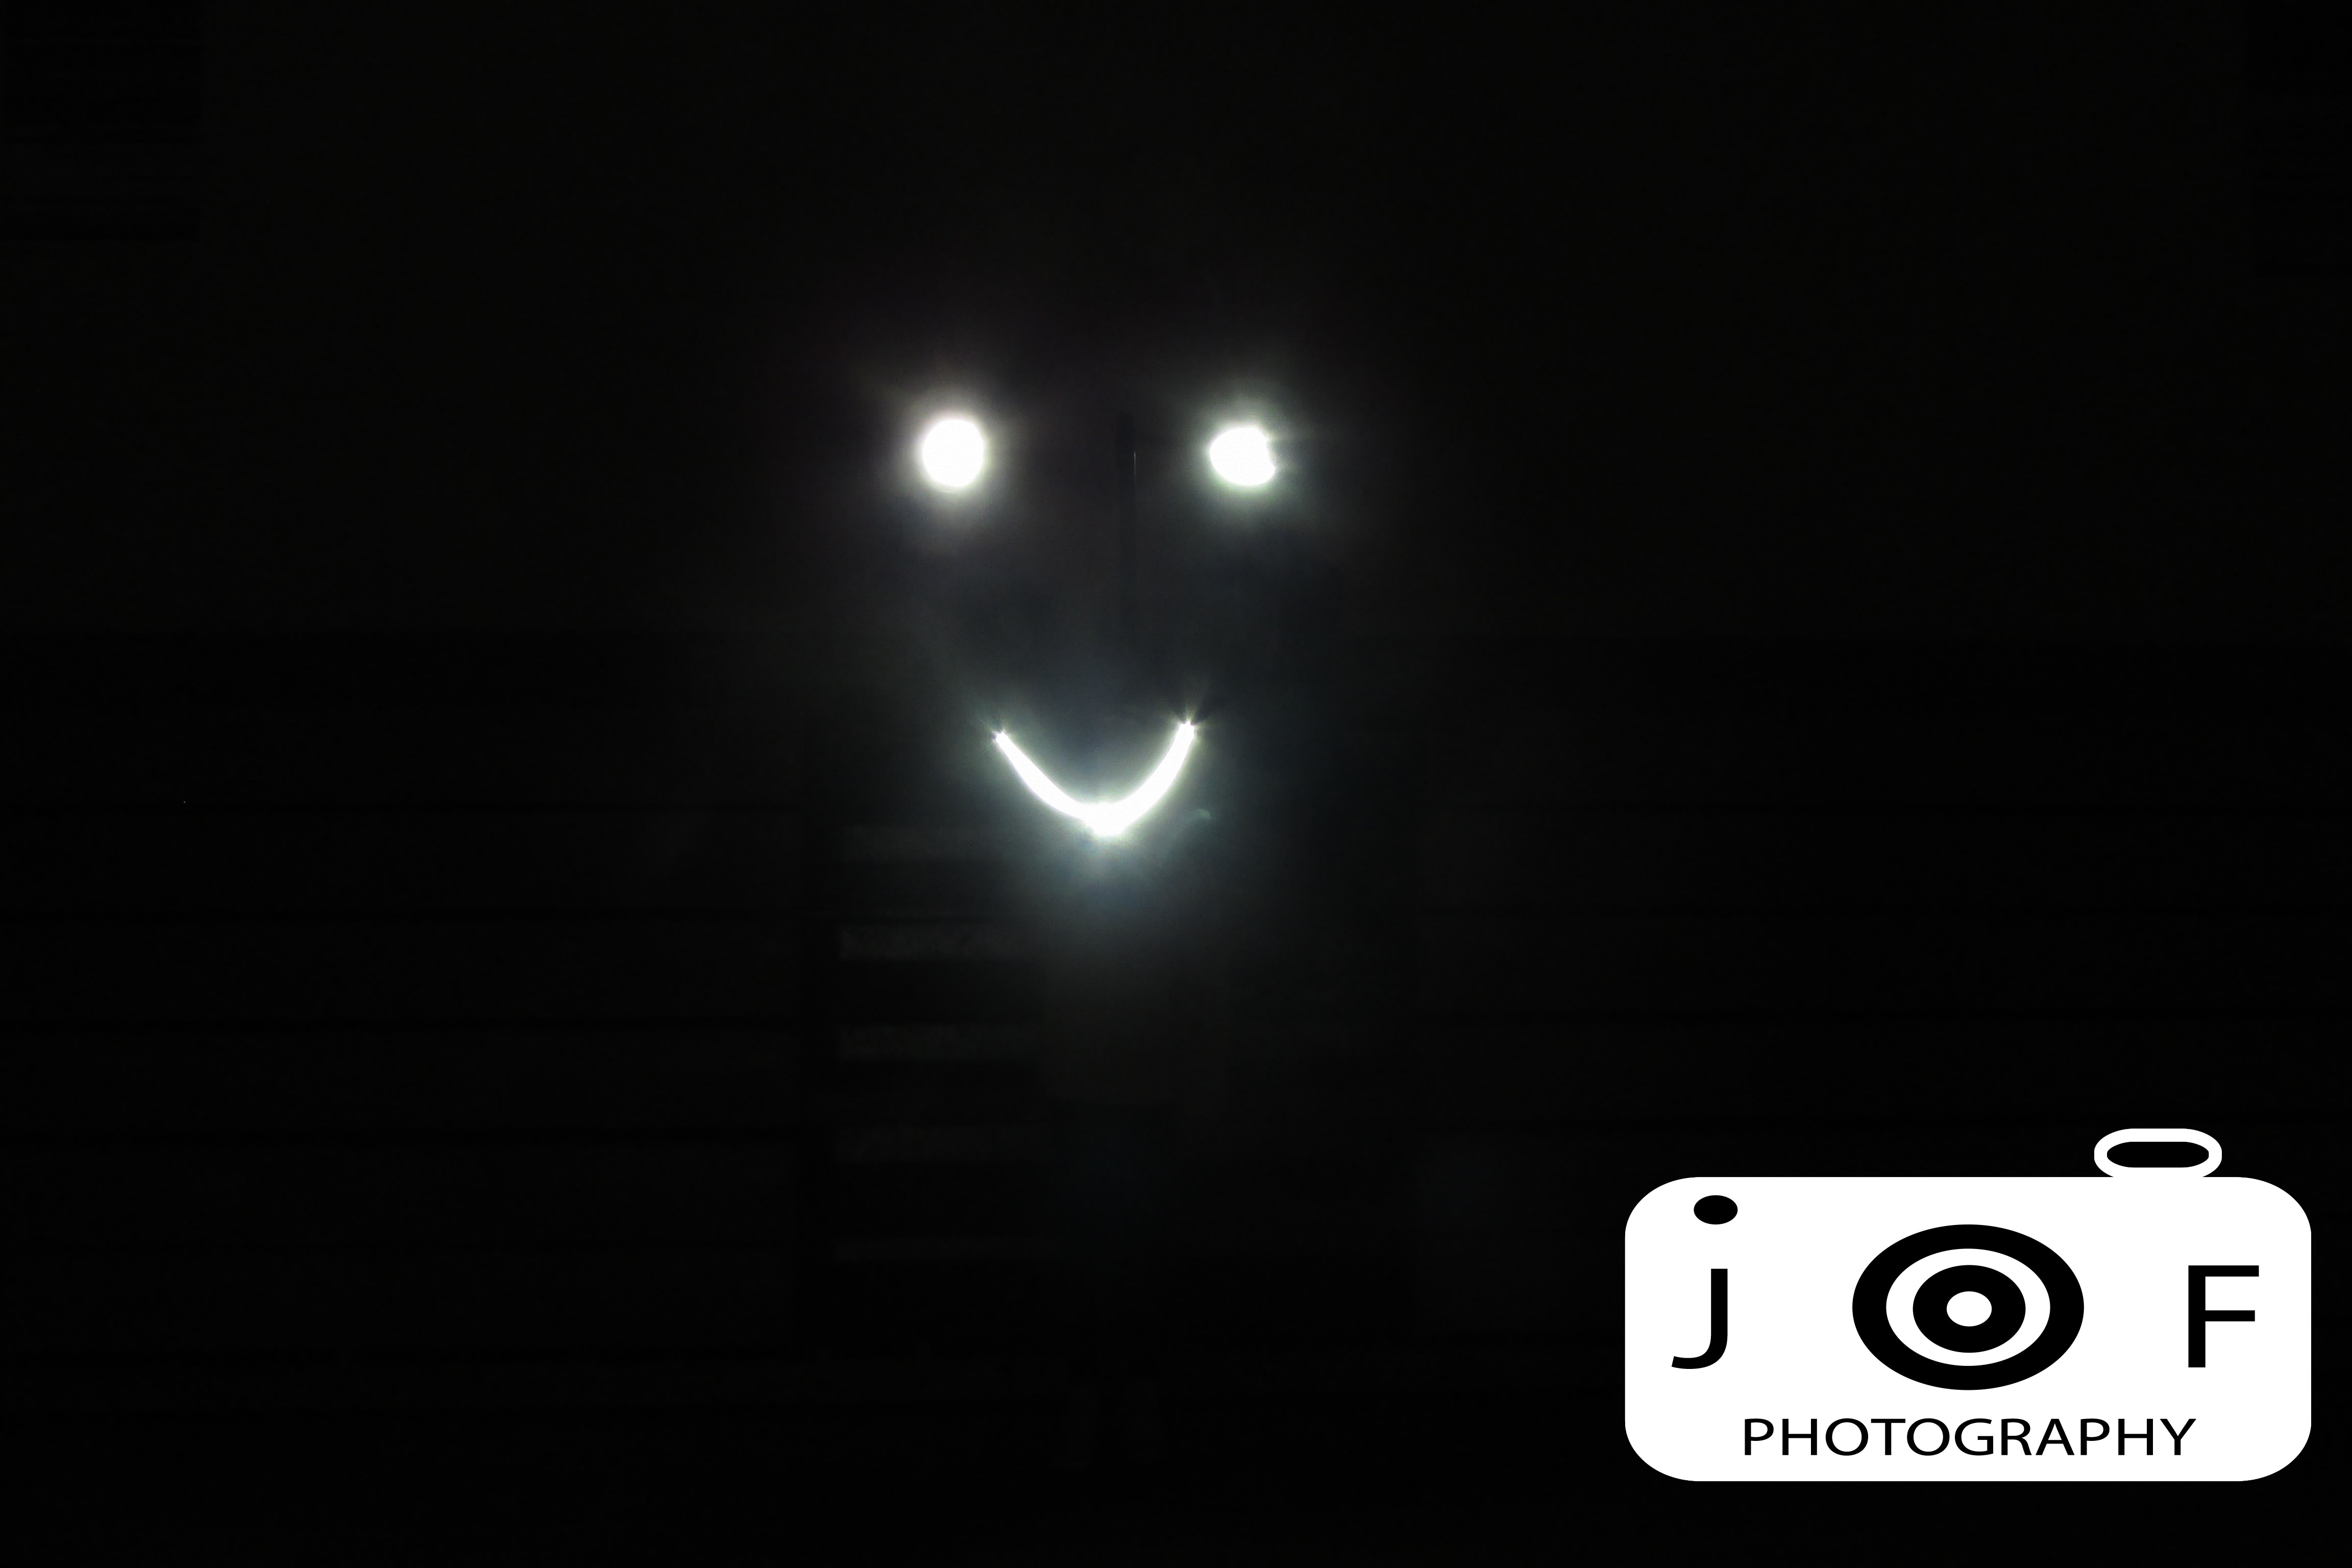
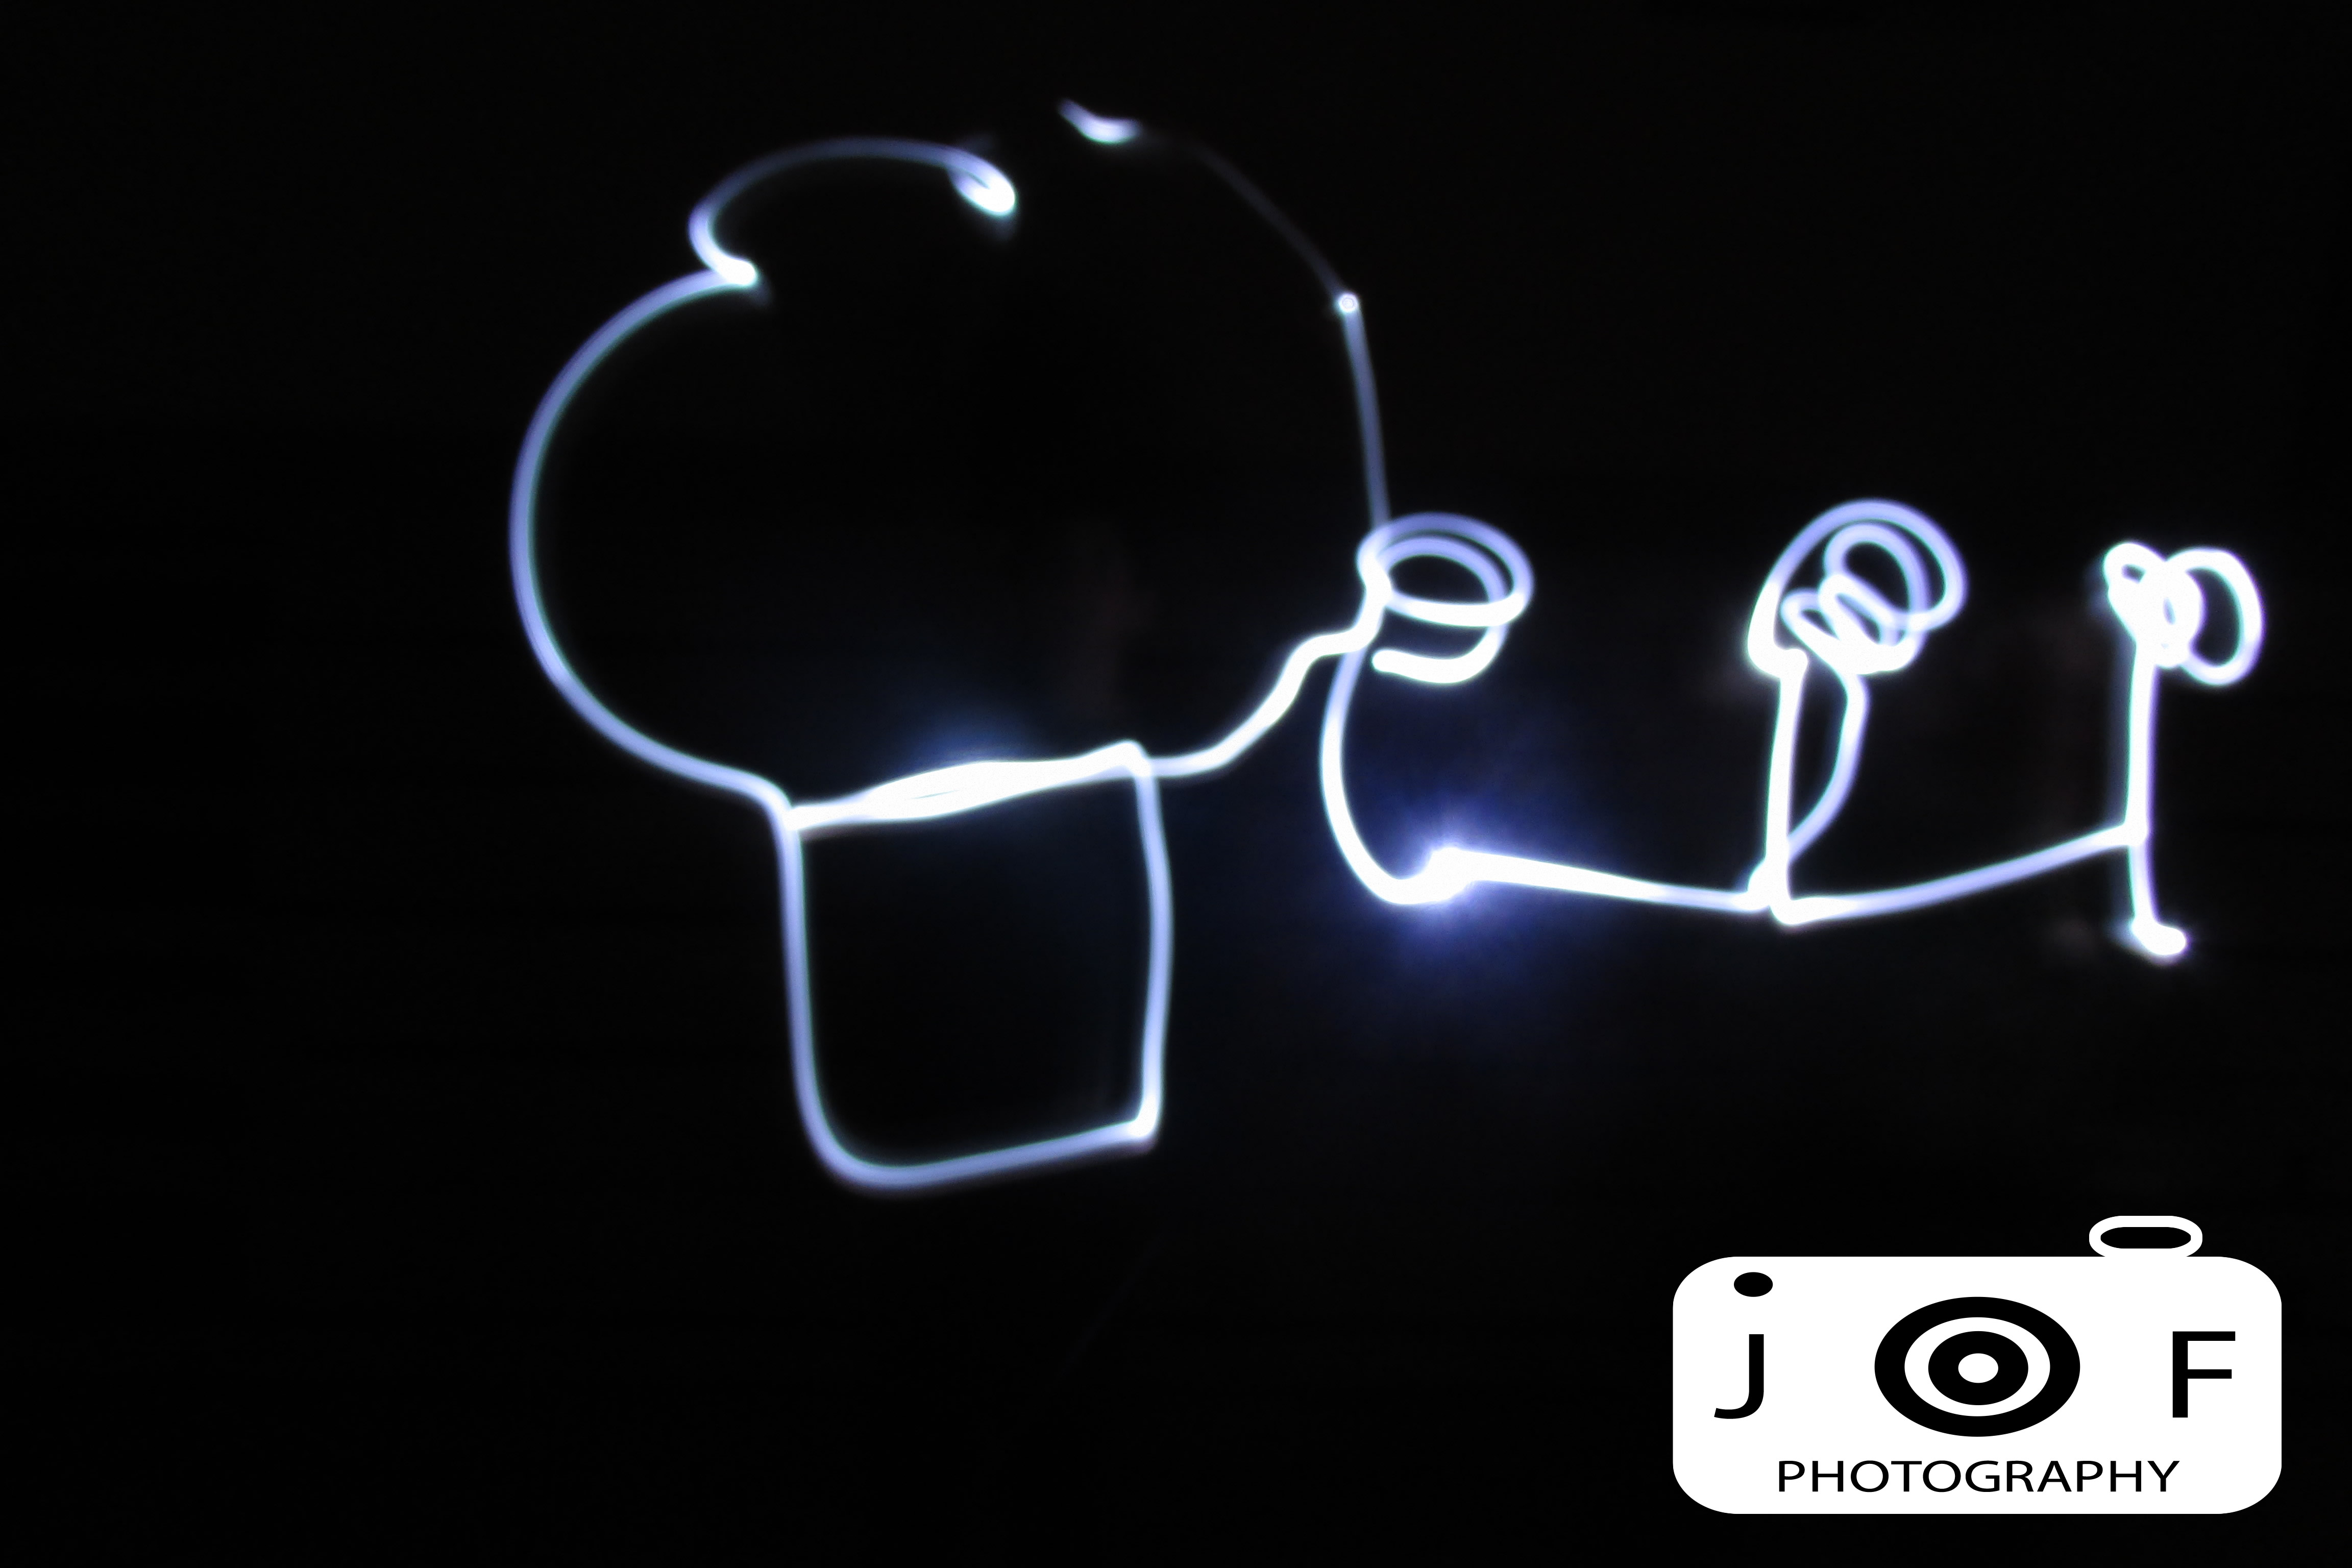
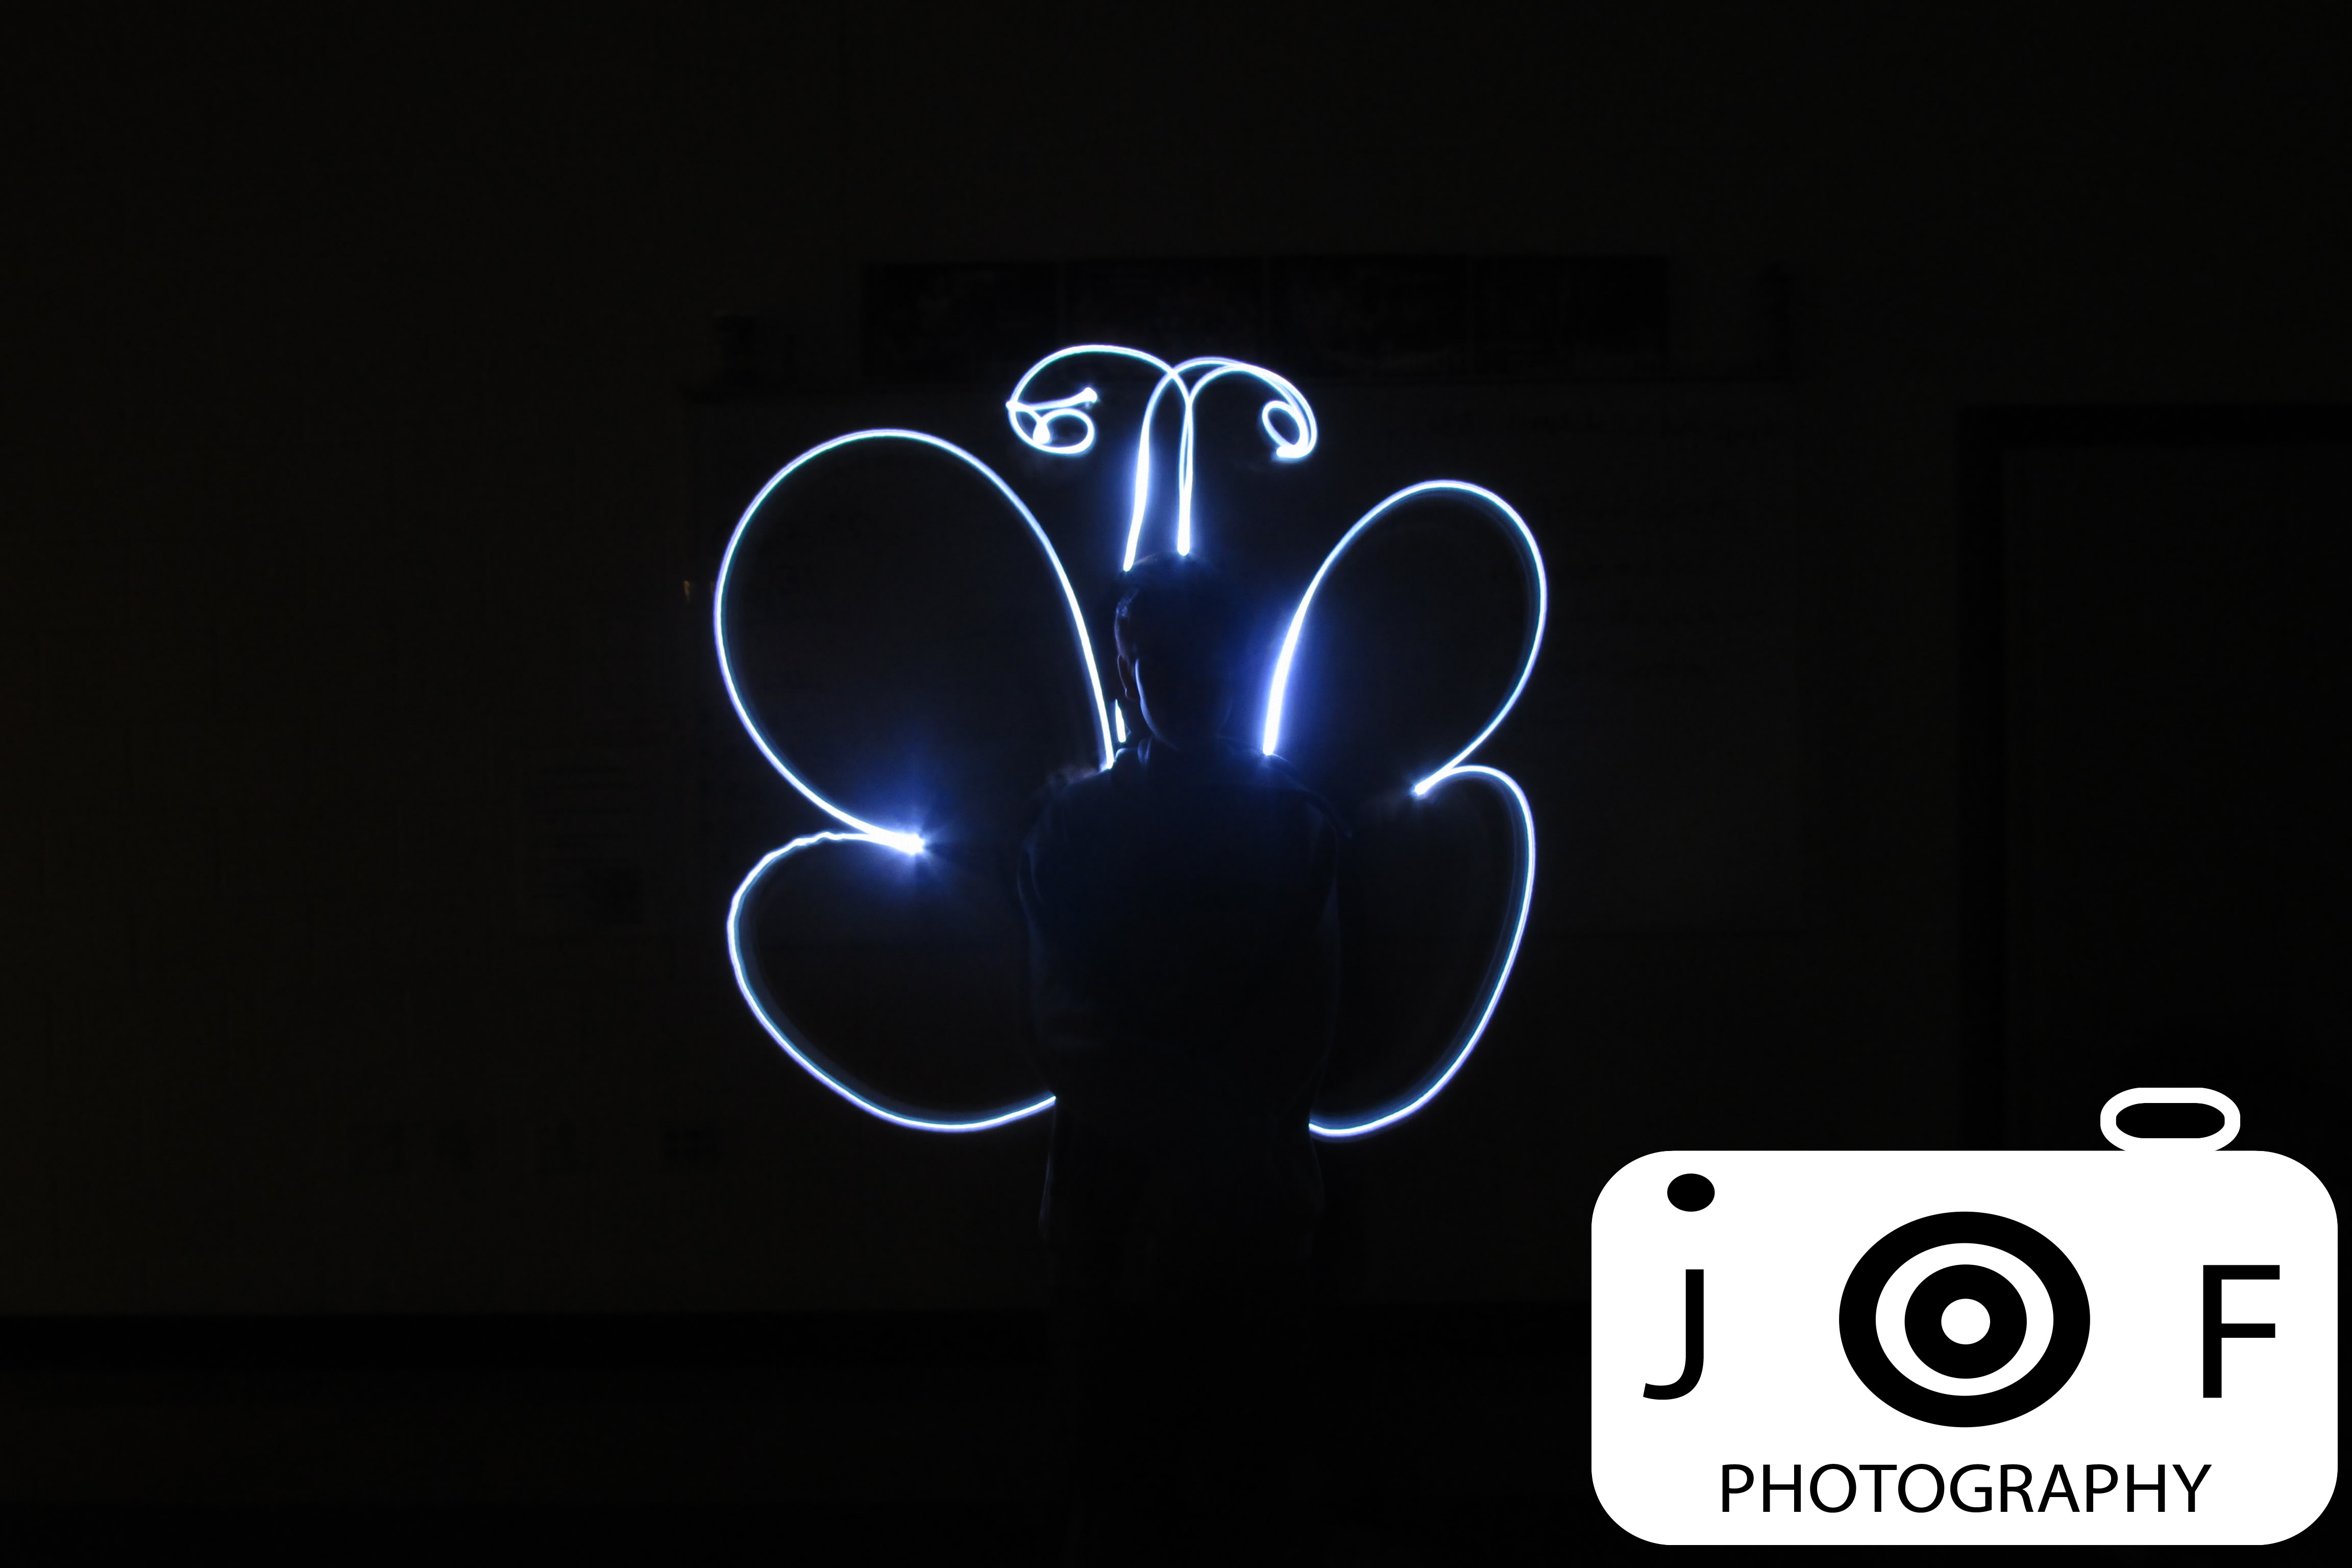
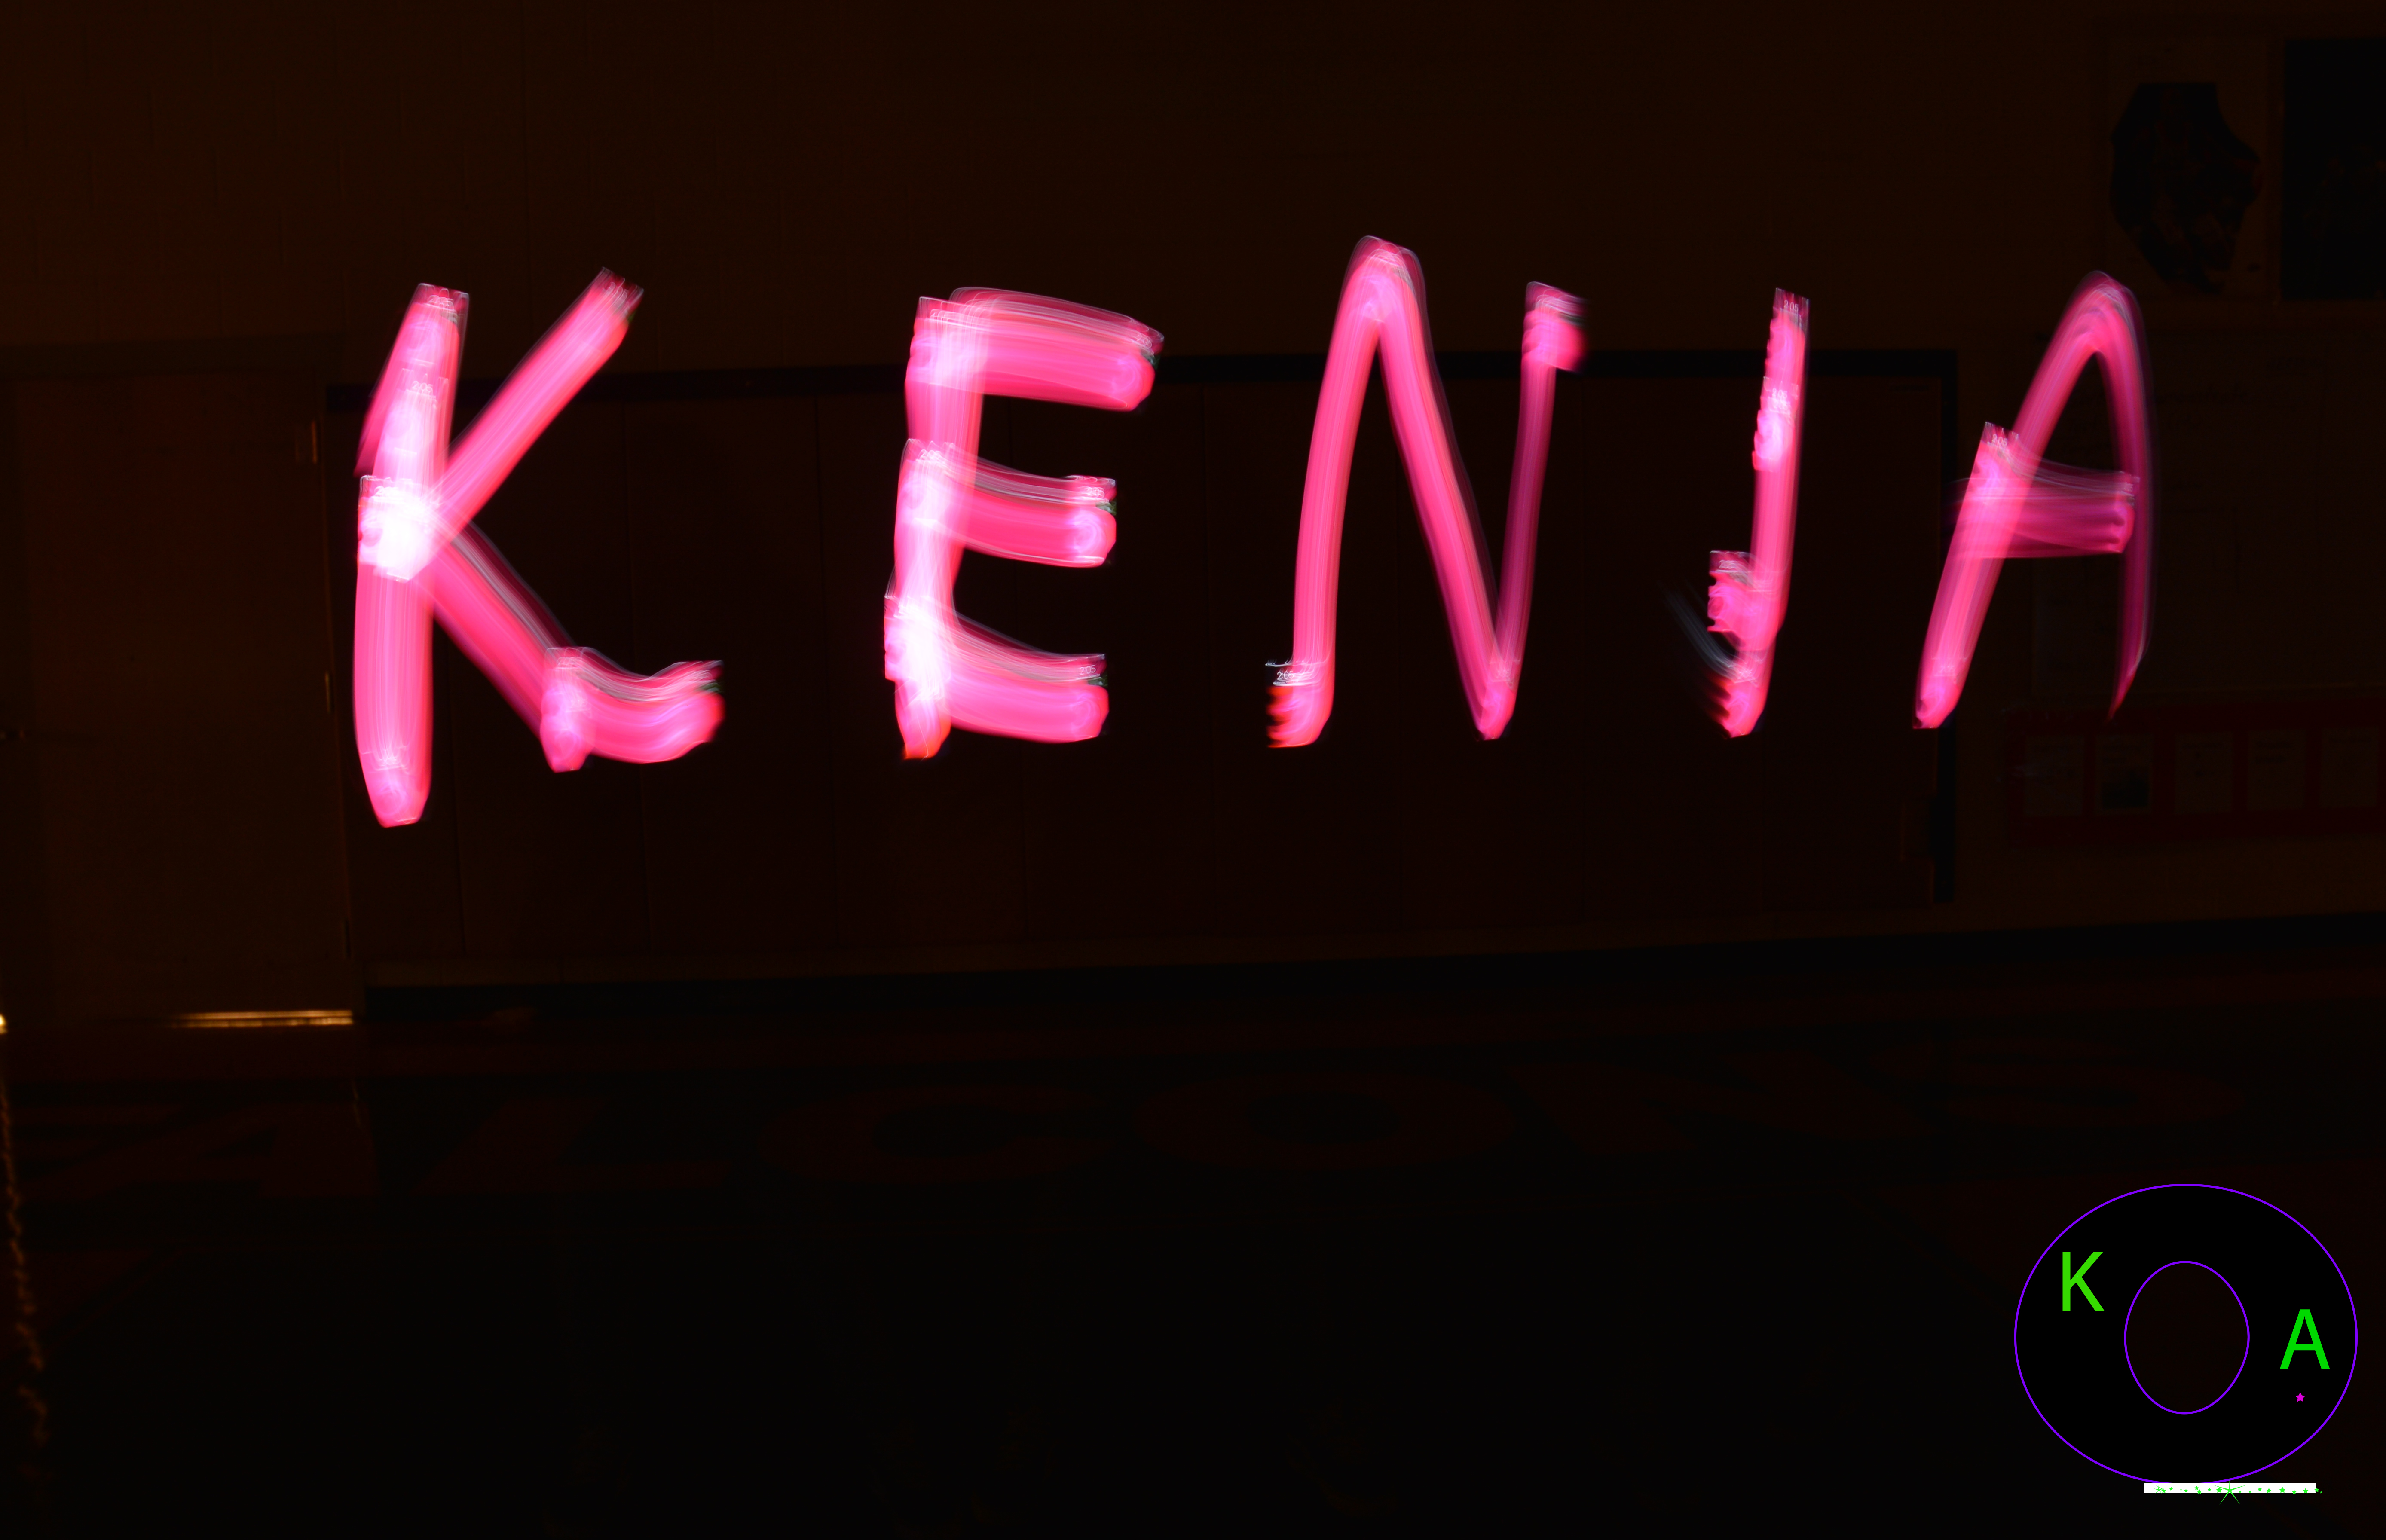
For this project we had to change the camera settings so that the camera could focus on the light of our flashlights in the dark. We had to change the shutter speed to 10 seconds and change the ISO to 100 so that we could draw with our flashlights for 10 seconds. This was the most stressful part of the project. We had to draw everything we wanted to draw in 10 seconds! We also had to make sure that the flashlight was directly pointed to the camera. In this project taking photos of one person worked. When we had multiple people, it didn’t really work. For example, in the tree photo we took, Lauren and Mr. Fitz had to connect the lines of their flashlights so that the leaves of the tree would connect to the stump of the tree. If we did this project in the future, I would want to use more color lights so that we can create more ideas that we had. Click here to see the rest of my photos, here
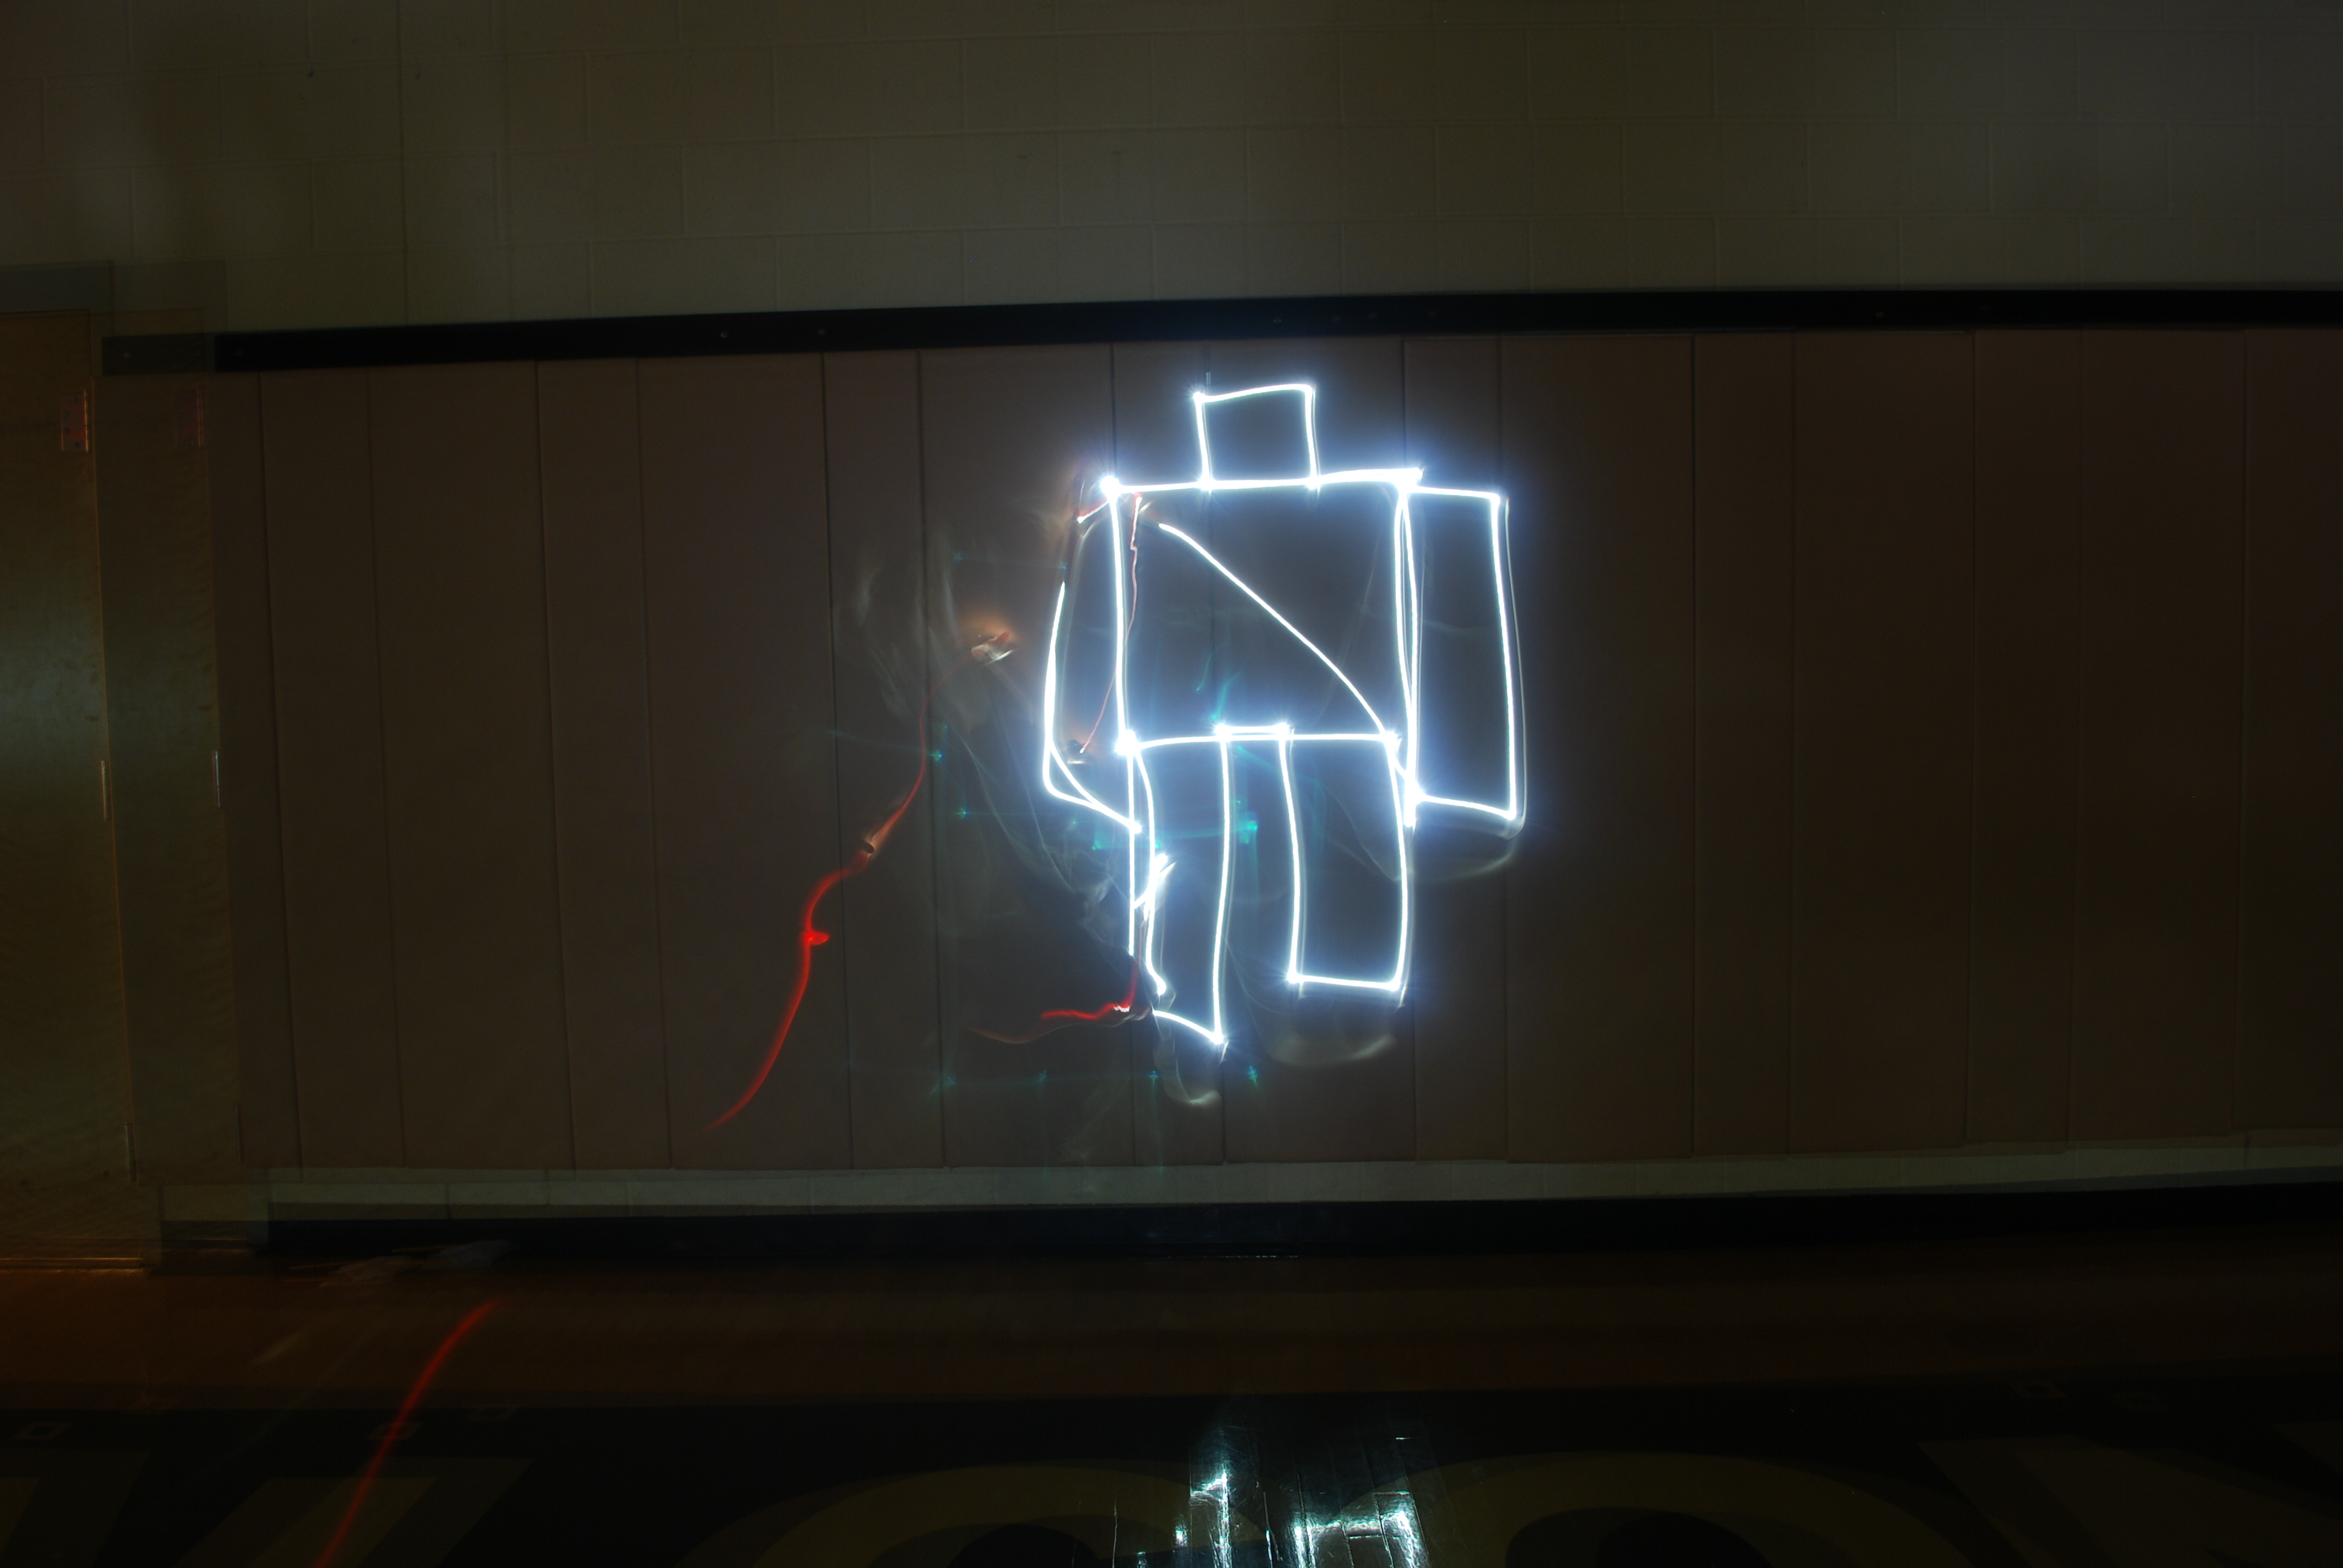
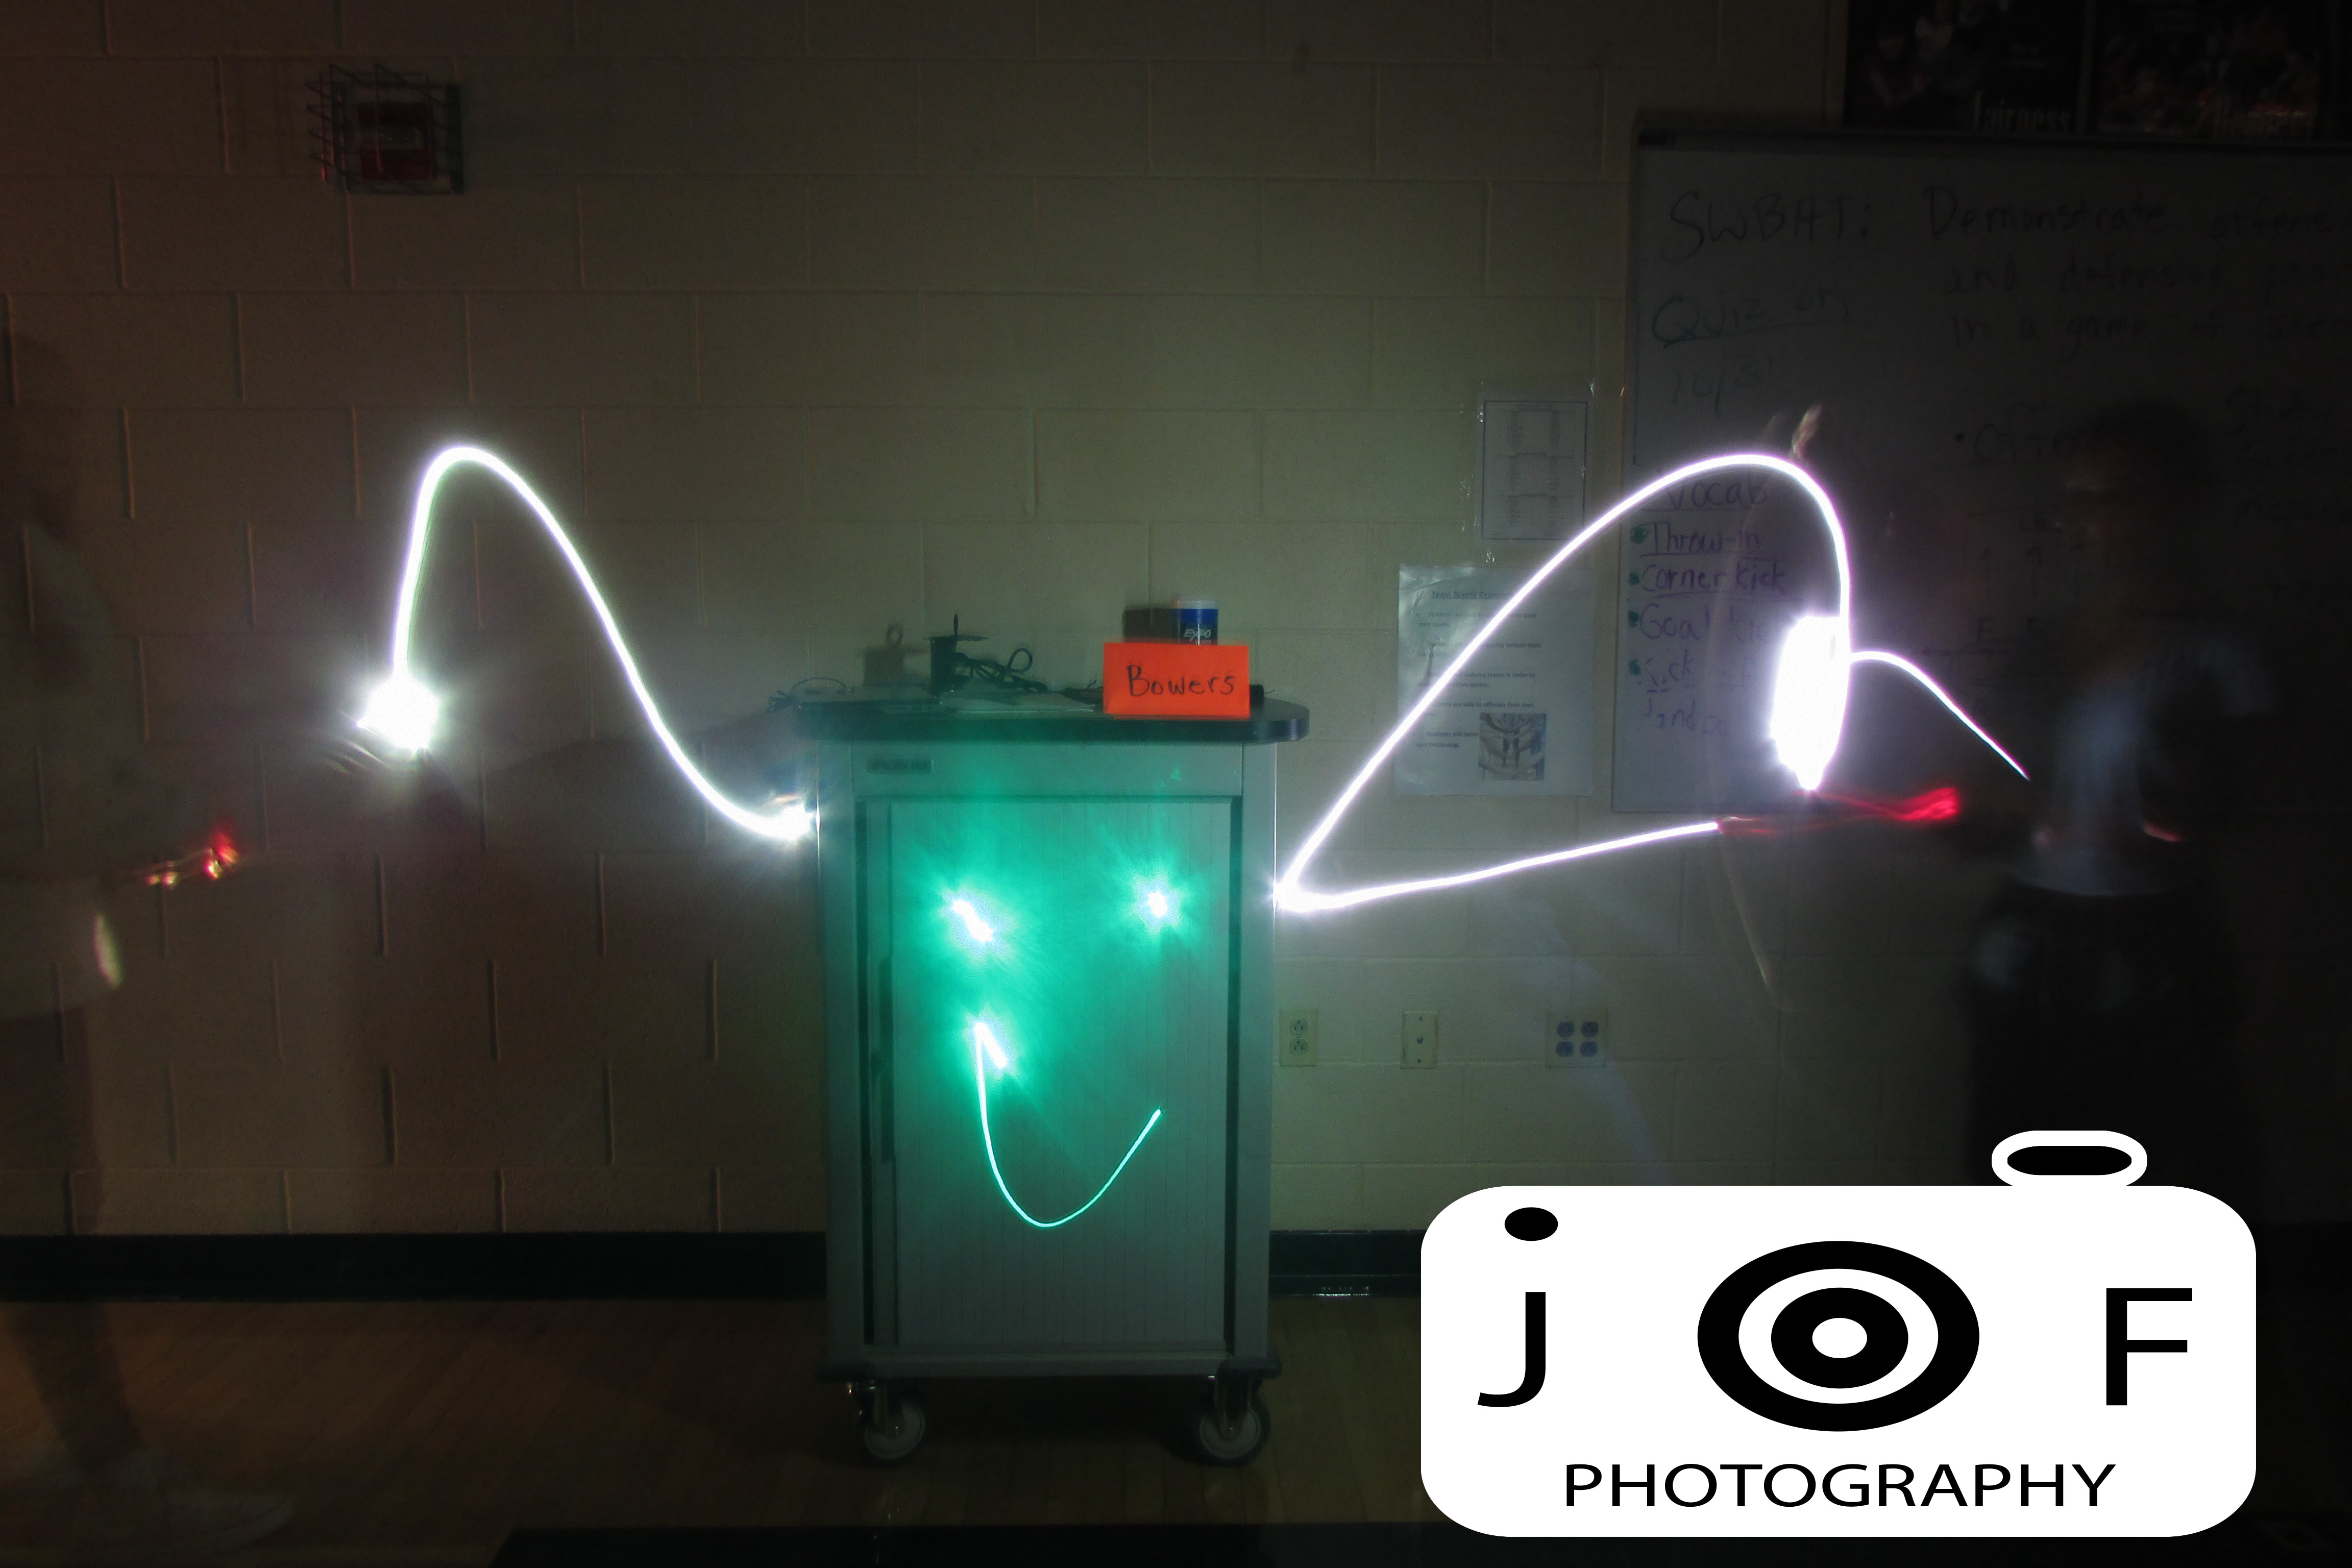
We used a tri-pod to stand the camera up, and we used the bulb setting, so the shutter didn’t close until a certain amount of seconds later, depending on how much time we needed. We tried to use as little time as possible, nut then we couldn’t get our whole design into the picture. This meant that we had to use more time, but then the light didn’t come in as good as it could be. Nothing really frustrated us except for when the light picture didn’t come out the way we wanted it to.
We took our pictures by changing some settings on the camera and had our shutter stay open for a certain amount of time. It worked when we used different colors to create something. It didn’t work when we used glow sticks or lights that weren’t very bright. It was frustrating to try and draw something but it wouldn’t come out the way we wanted it to. We can make the project better by drawing more things and using more colors. See the rest of my pictures here.
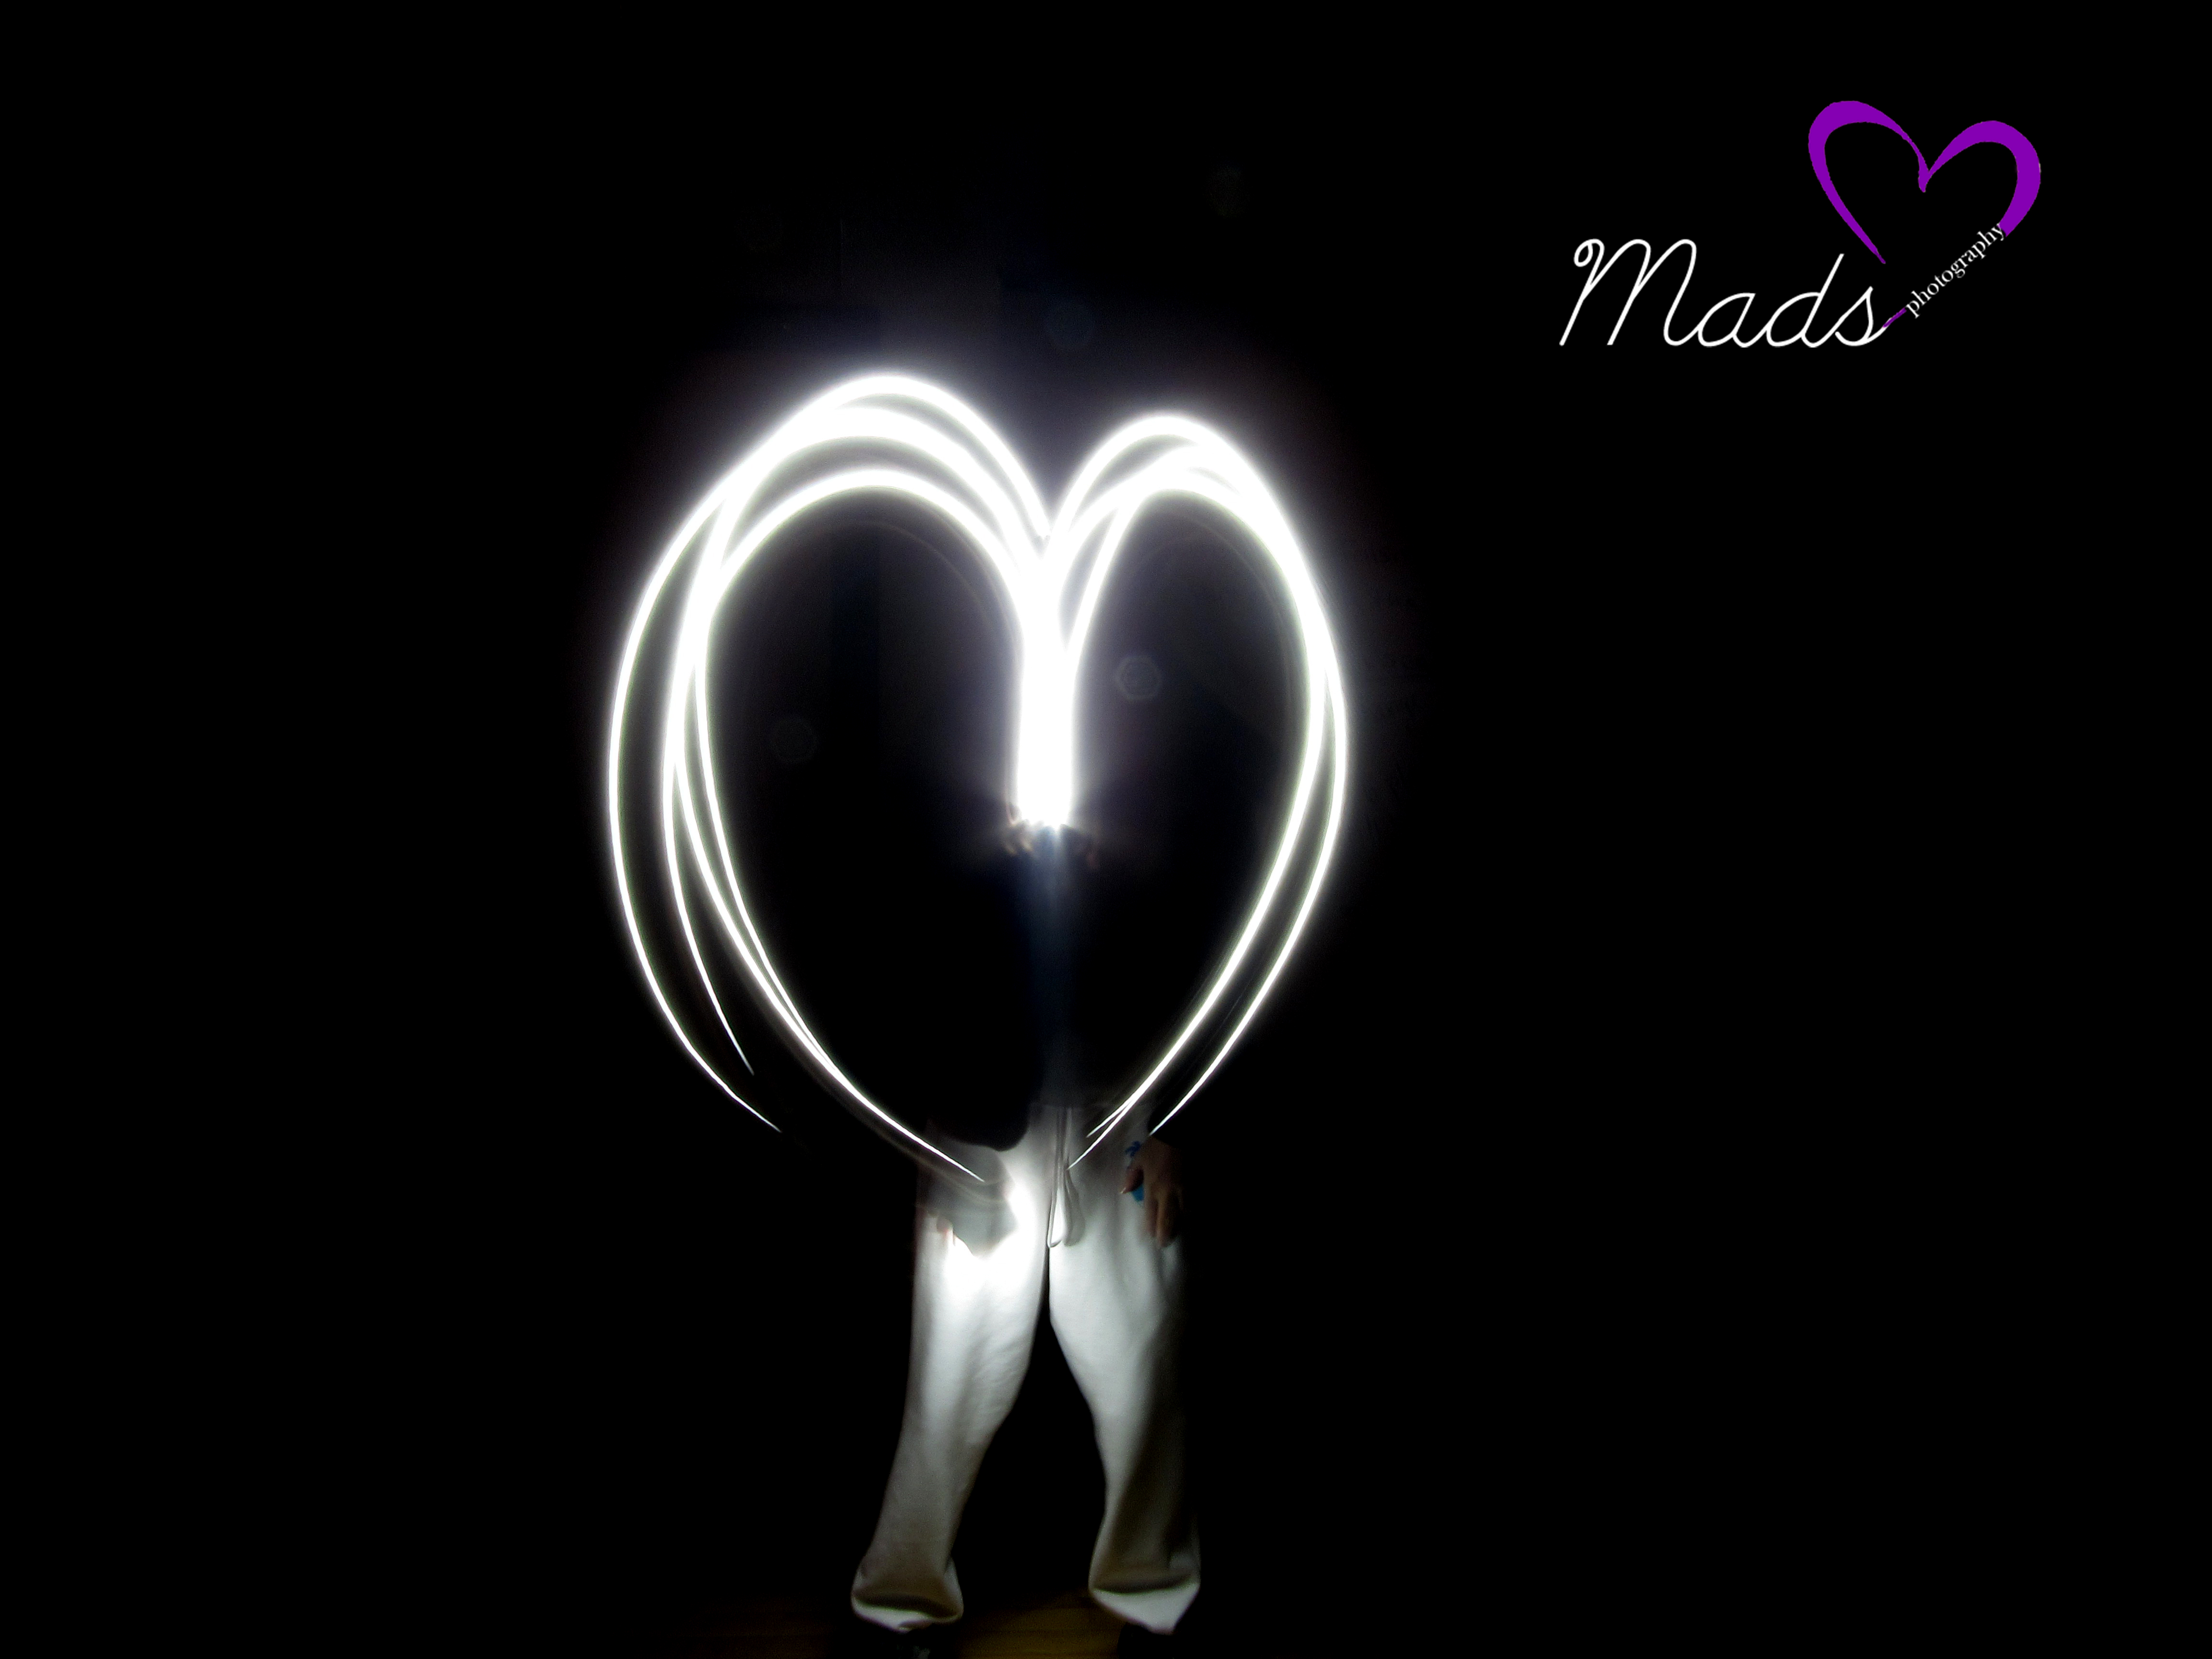
This assignment was a very cool experience for me. The purpose of this assignment was to make symbols, pictures, or words out of a light source. We used manual then set our ISO to it was lowest value to make the light graffiti. Then you set it to a certain amount of seconds for however long your picture takes to draw. A challenge I faced was getting the camera set up in order to let the camera turn the light into light graffiti. Something that was easy for me was shining the flashlight to make a symbol or shape. This was easy because wherever I moved the light would appear. Something I could improve for next time is making more complicated symbols or using multiple group members to complete it.
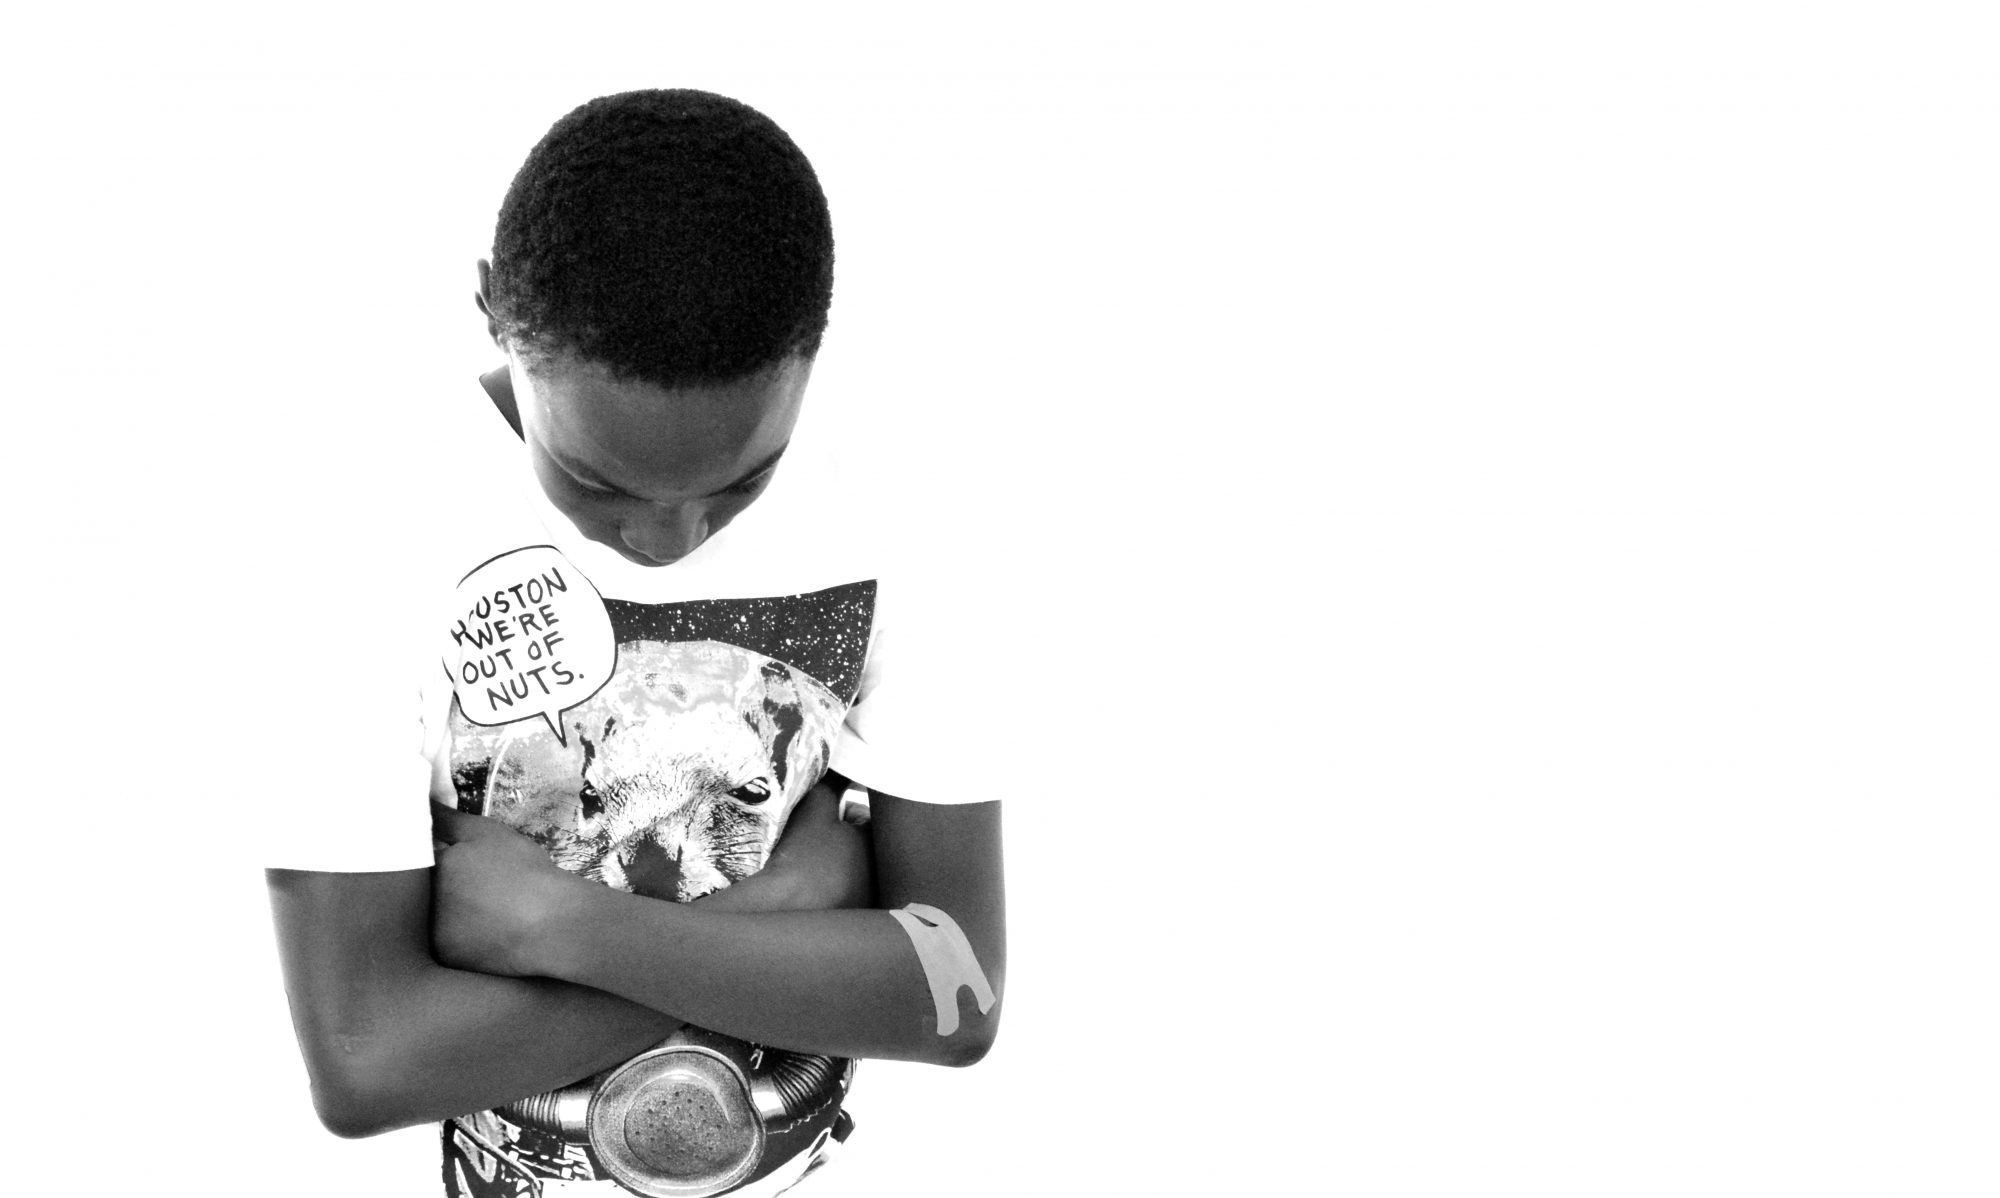
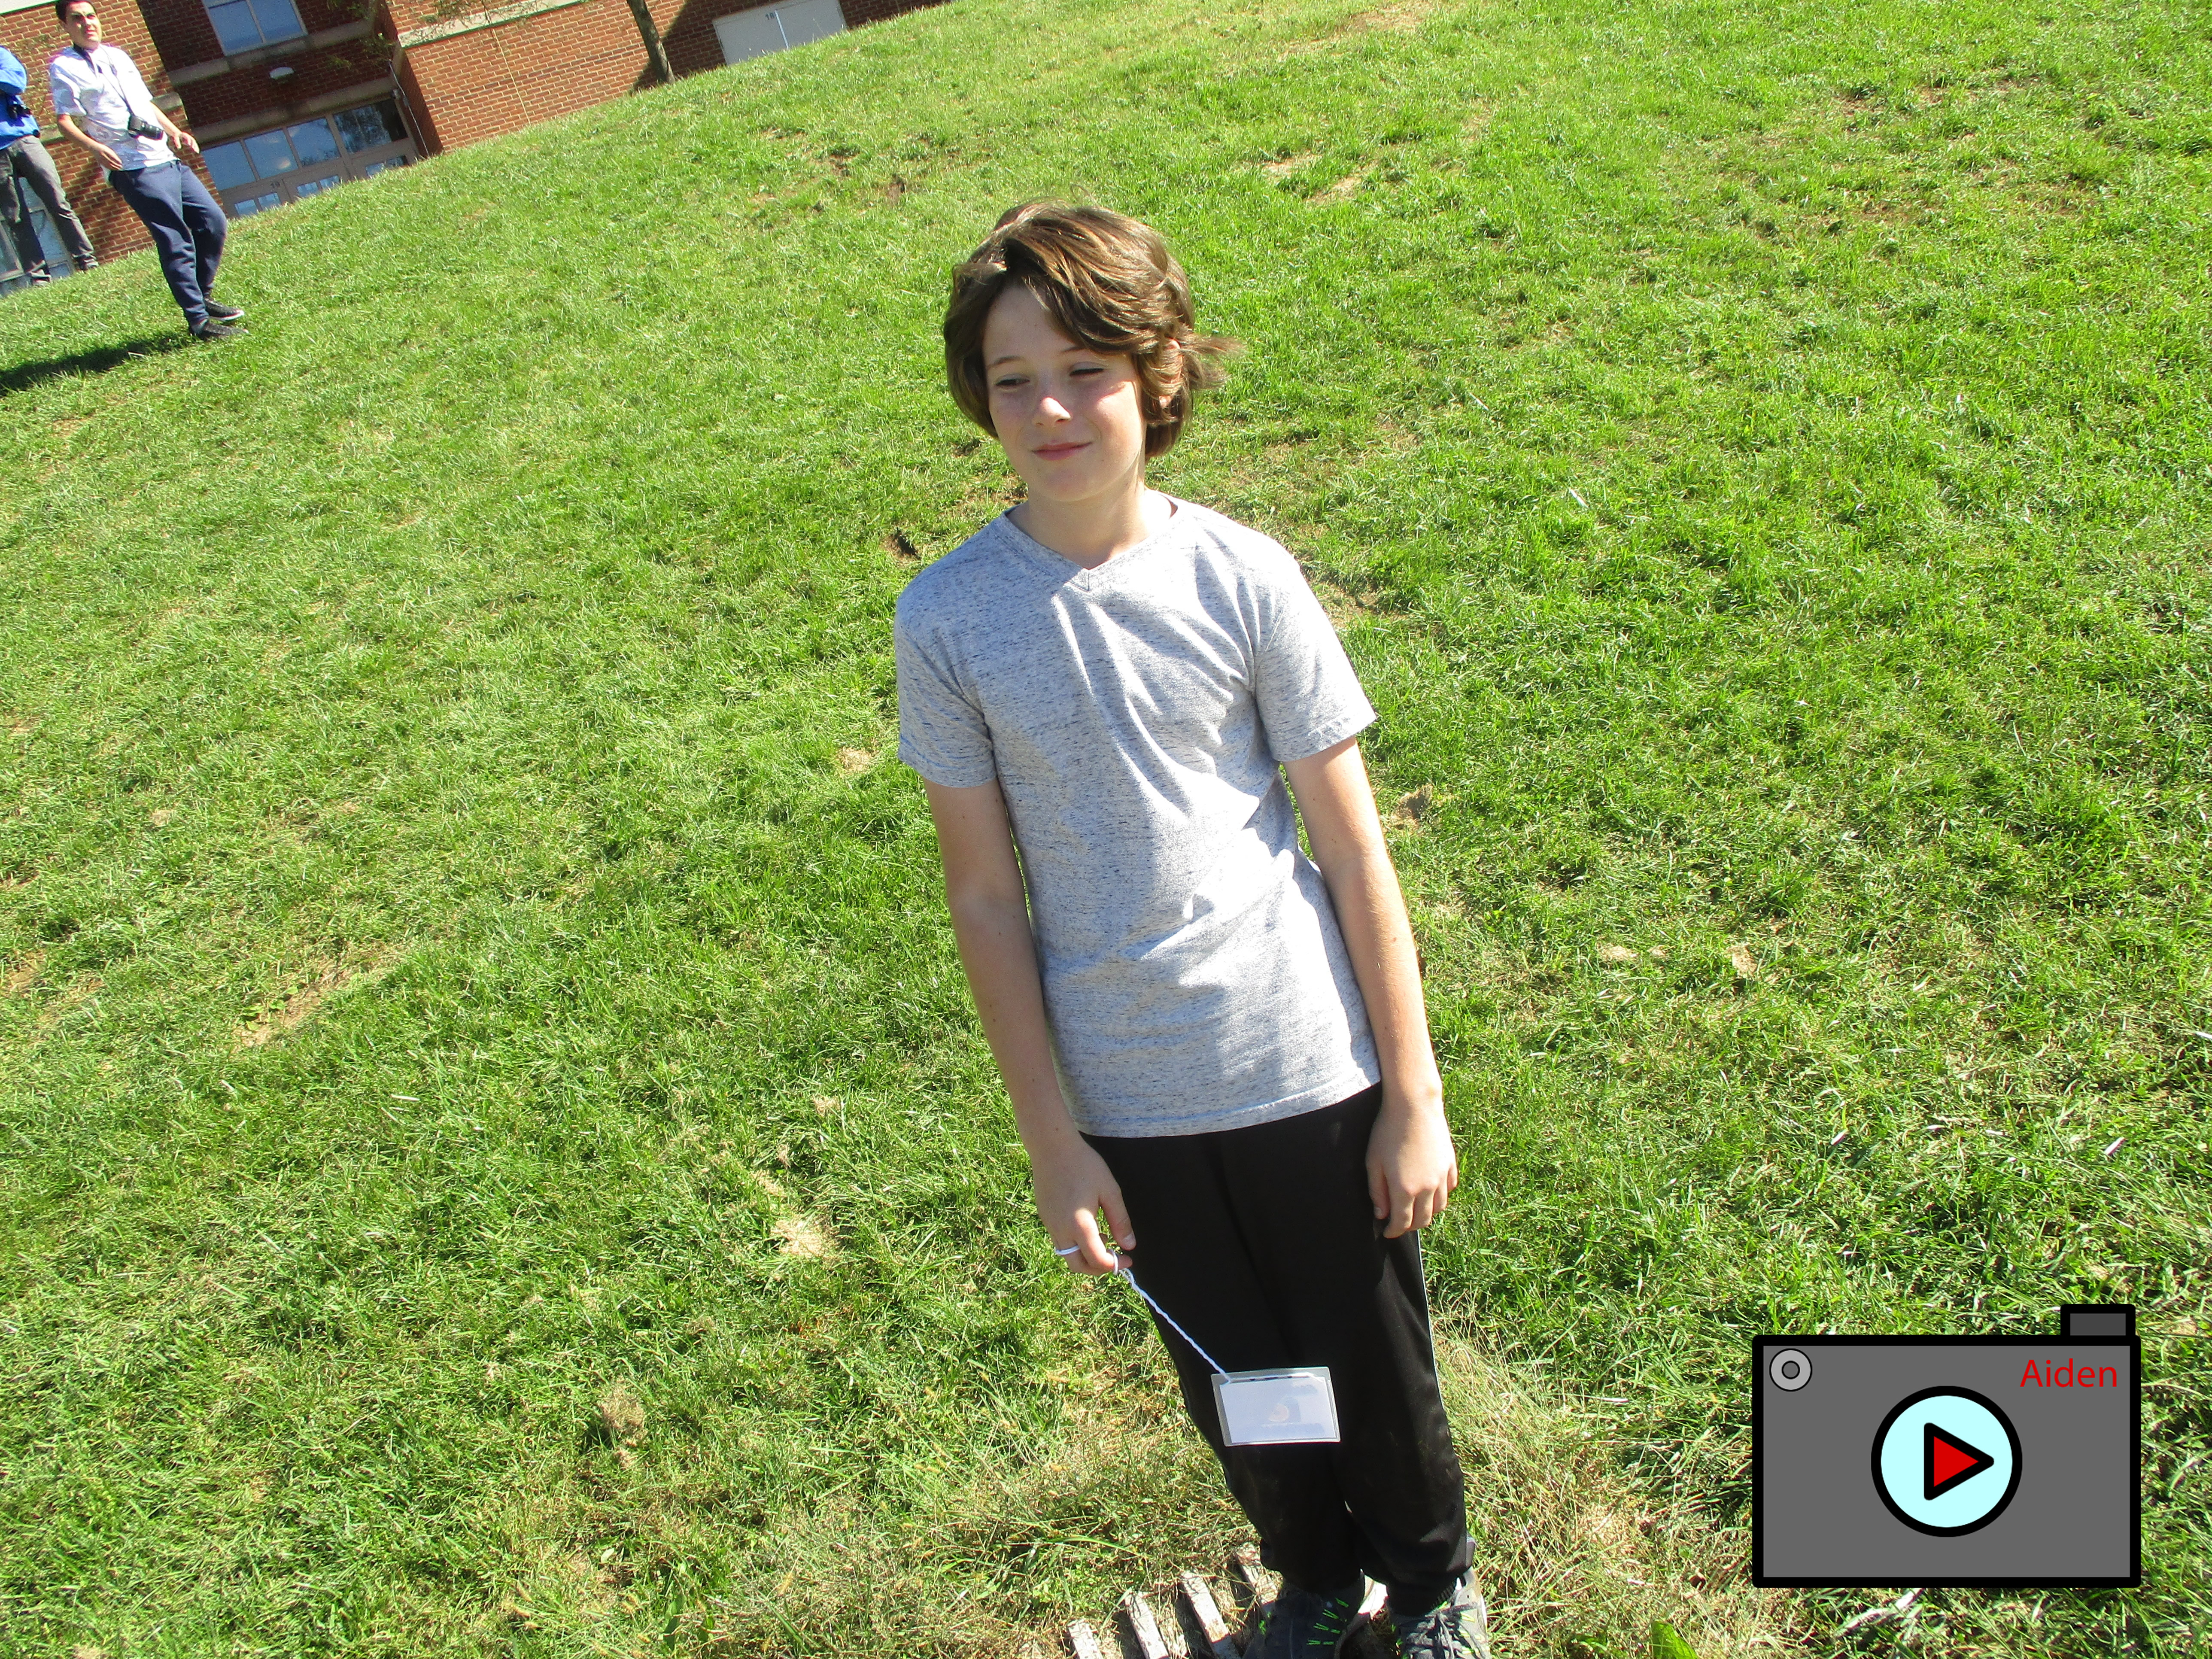
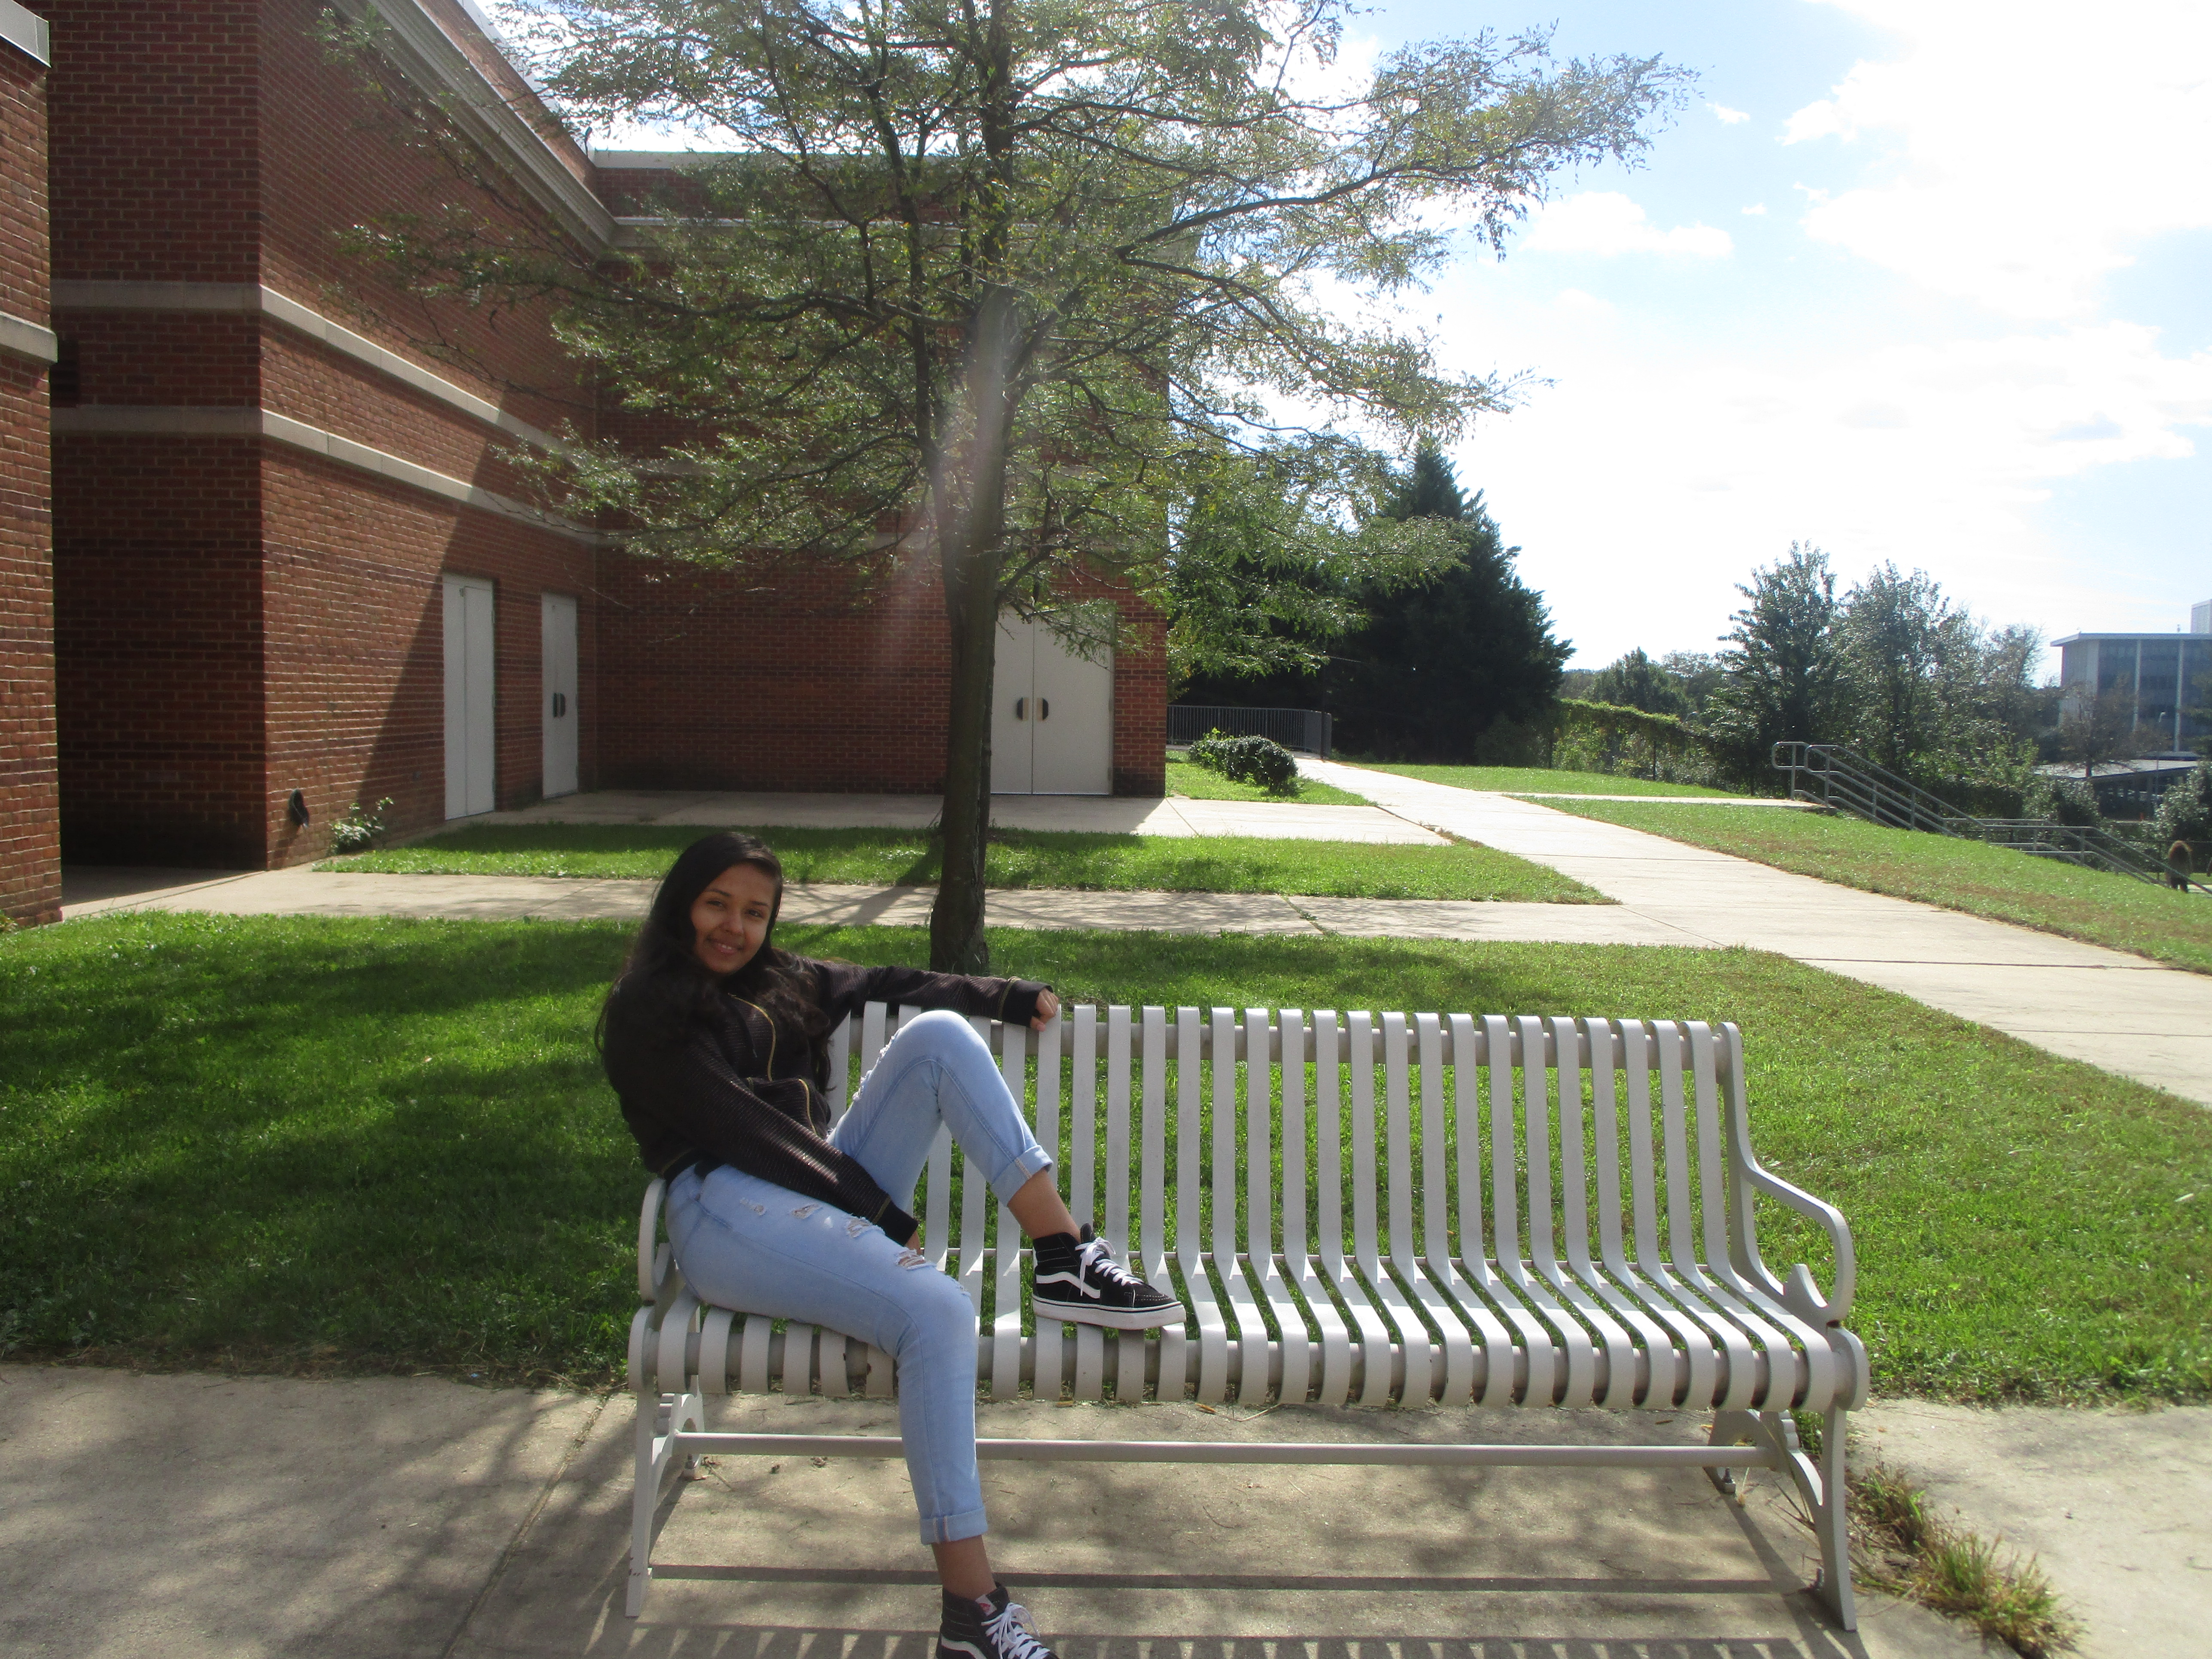
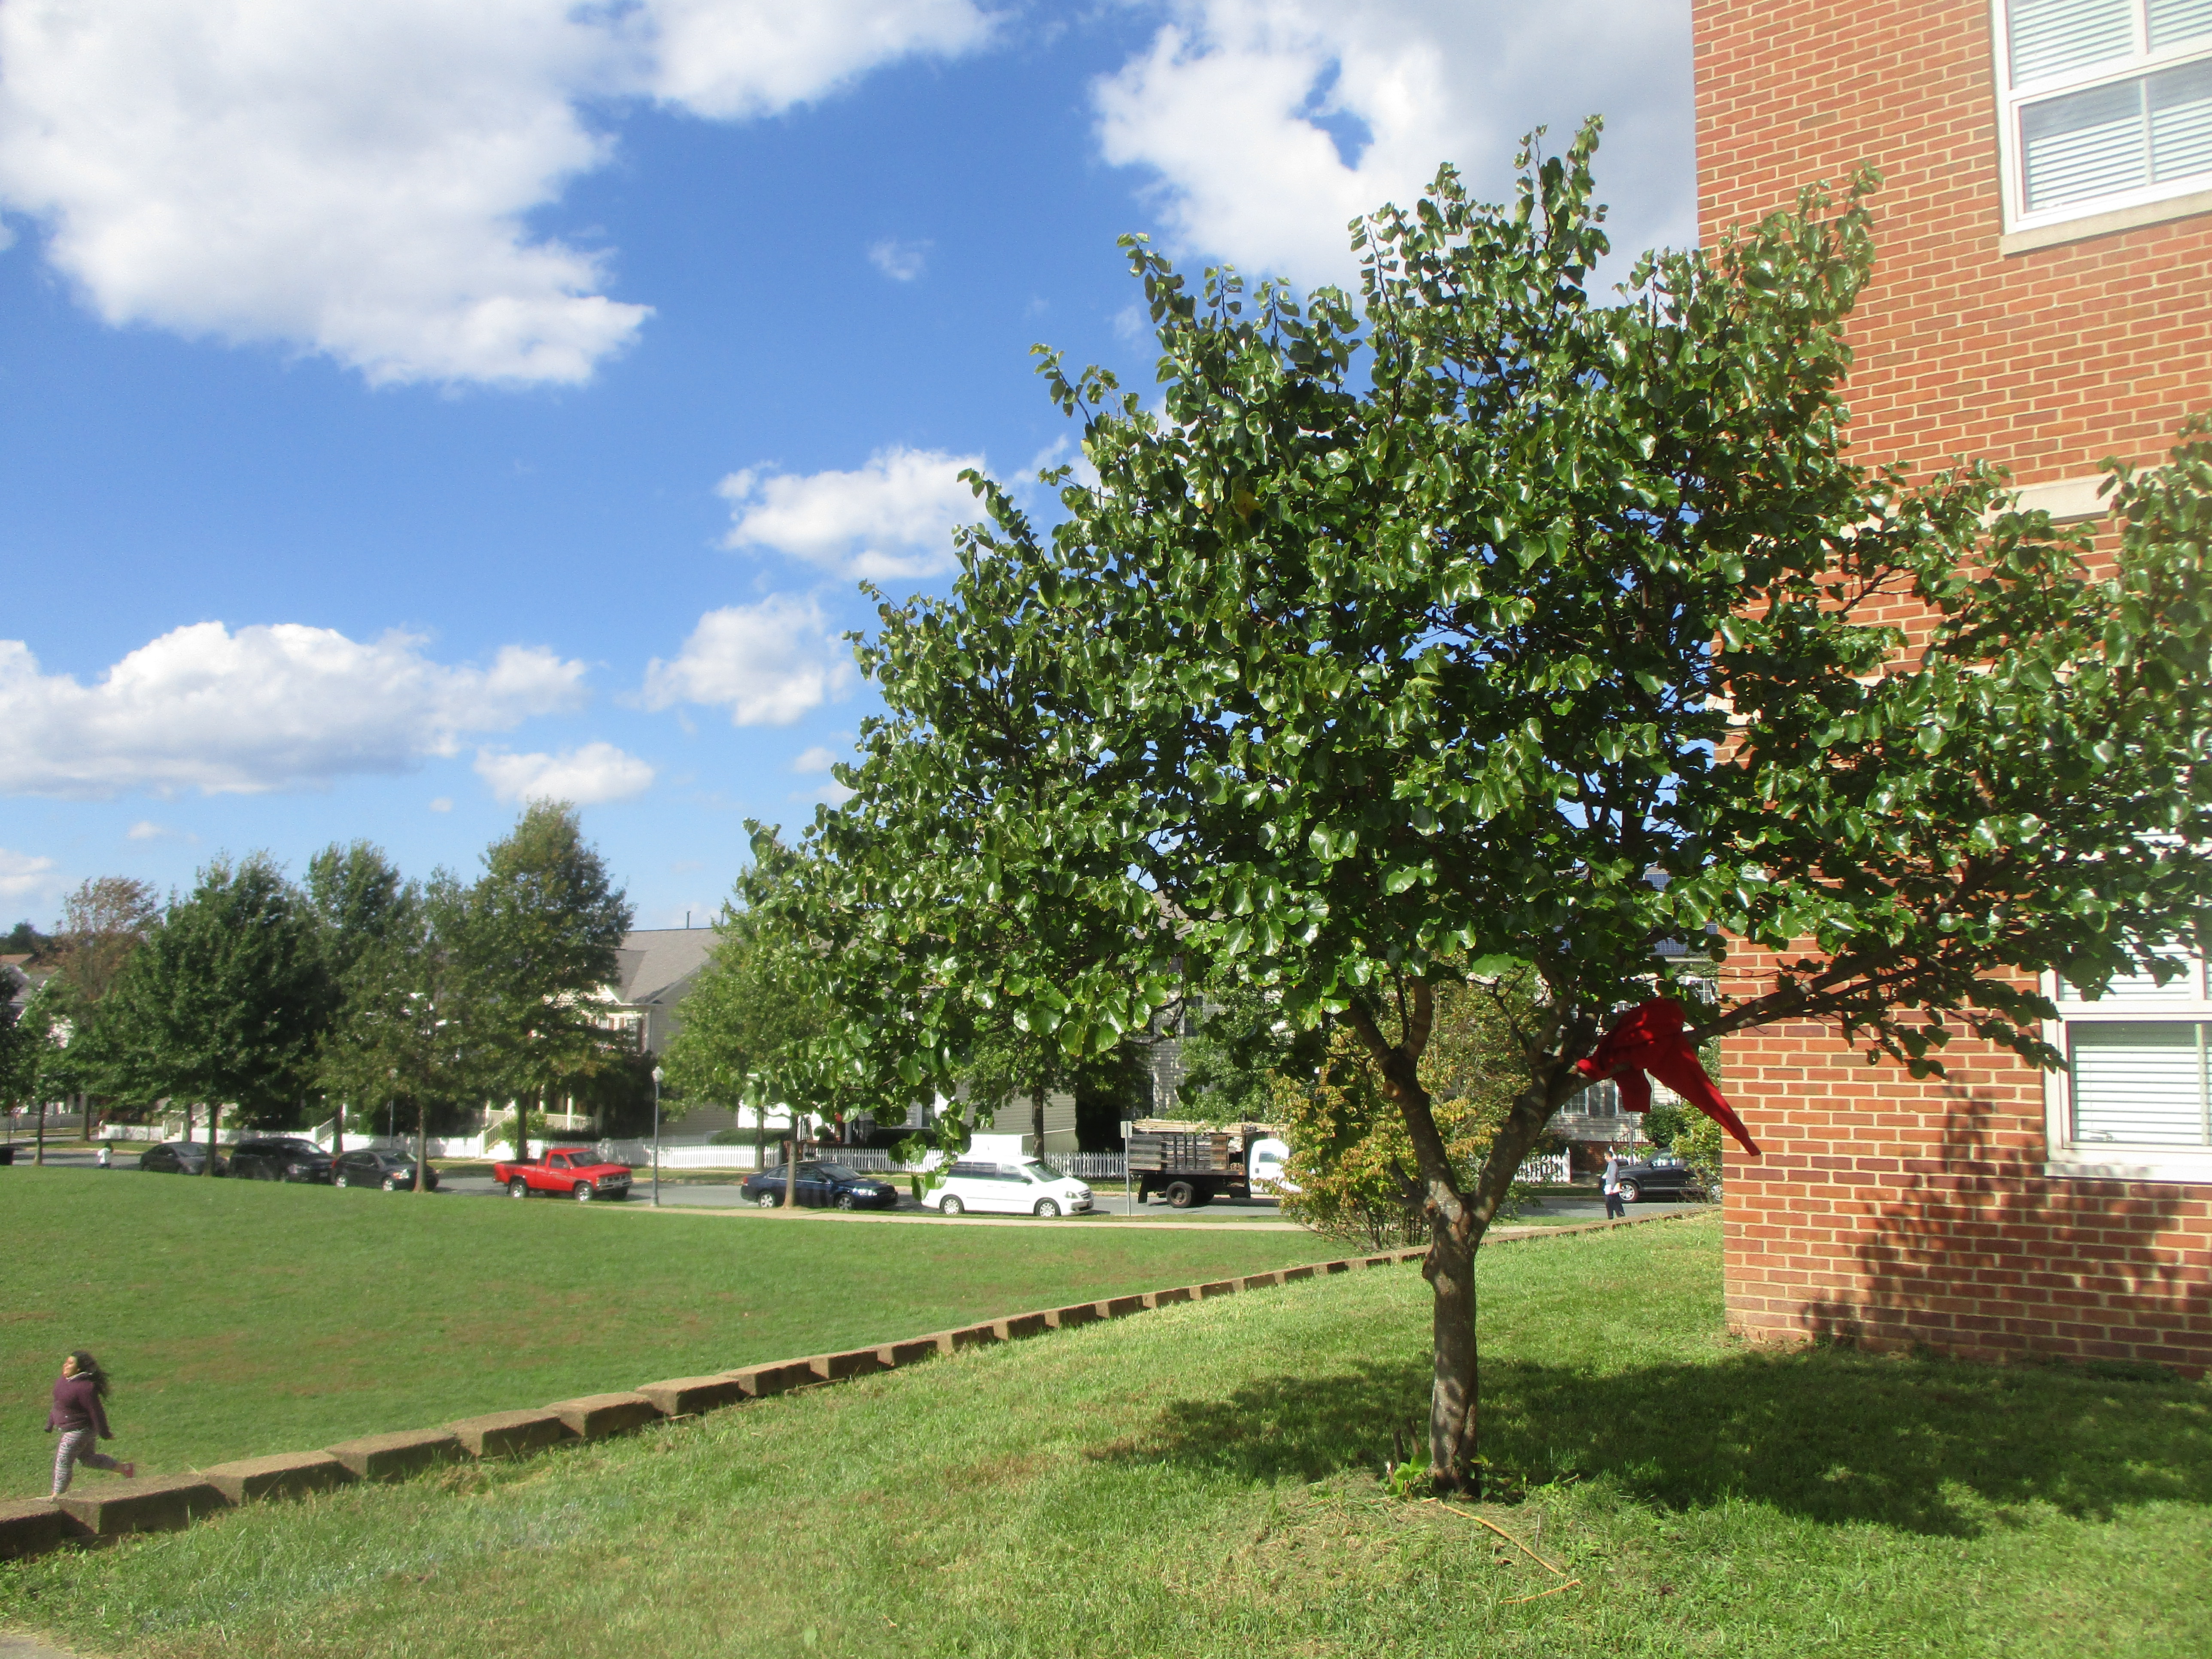
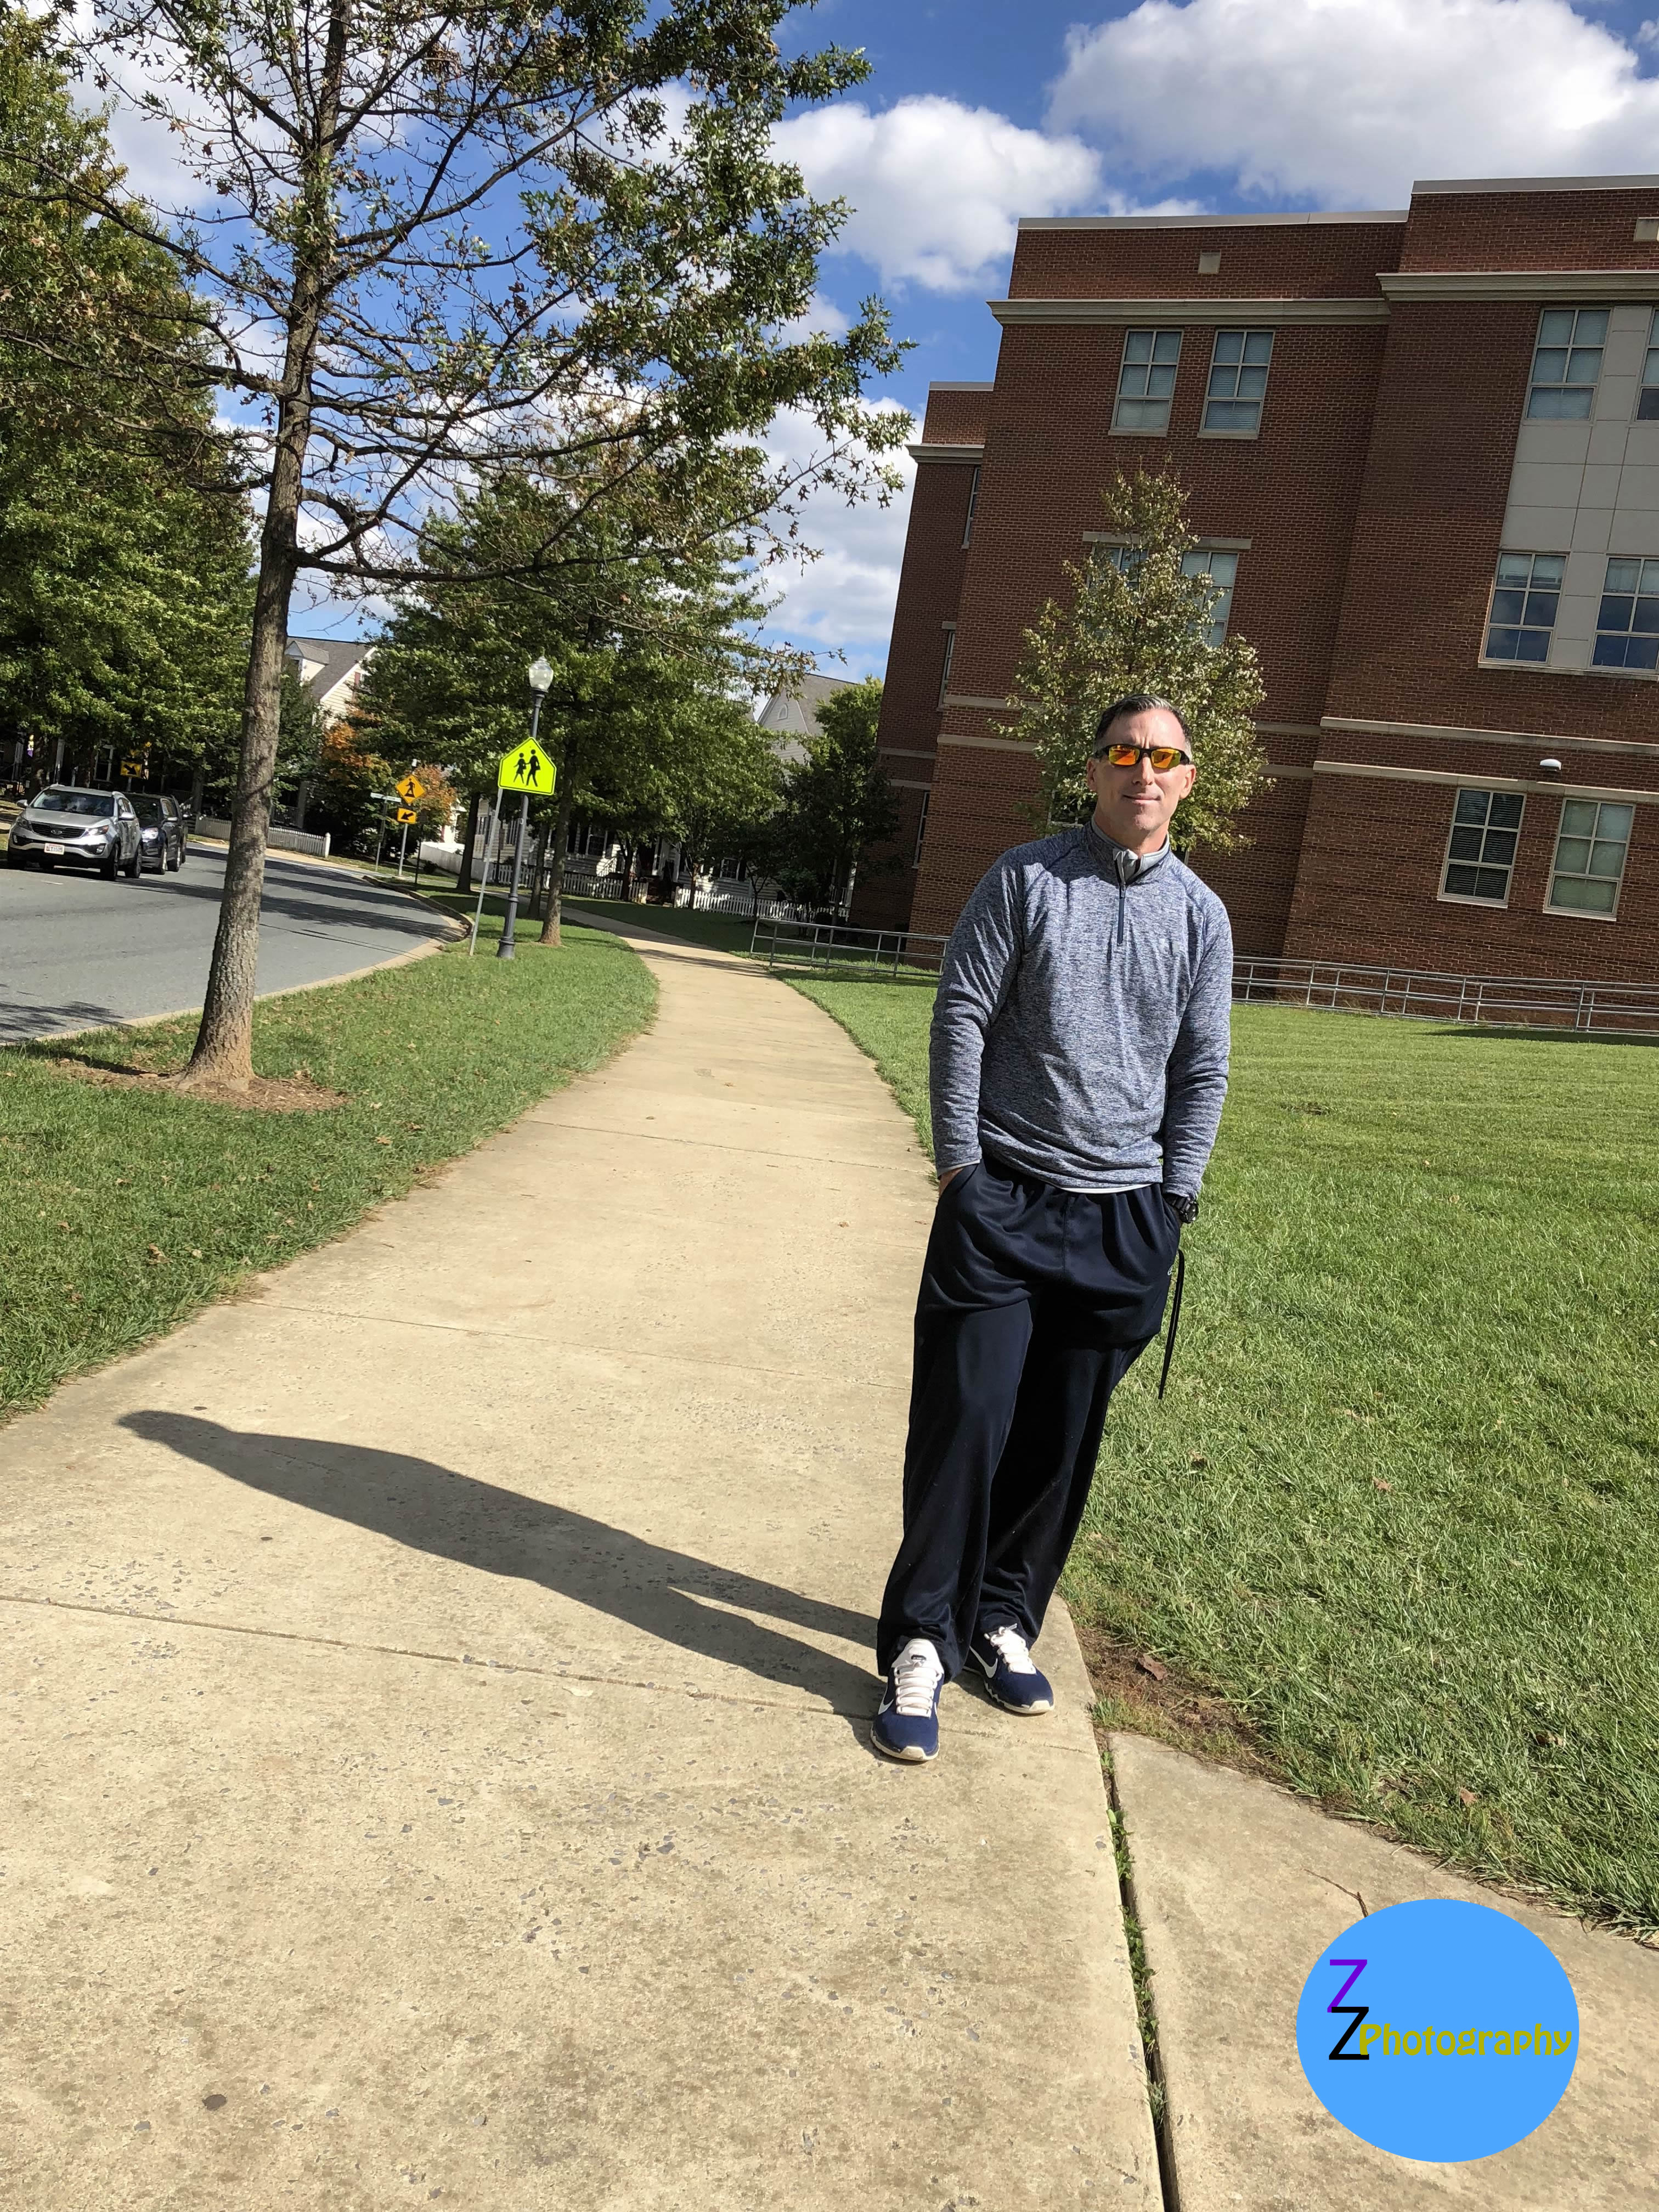
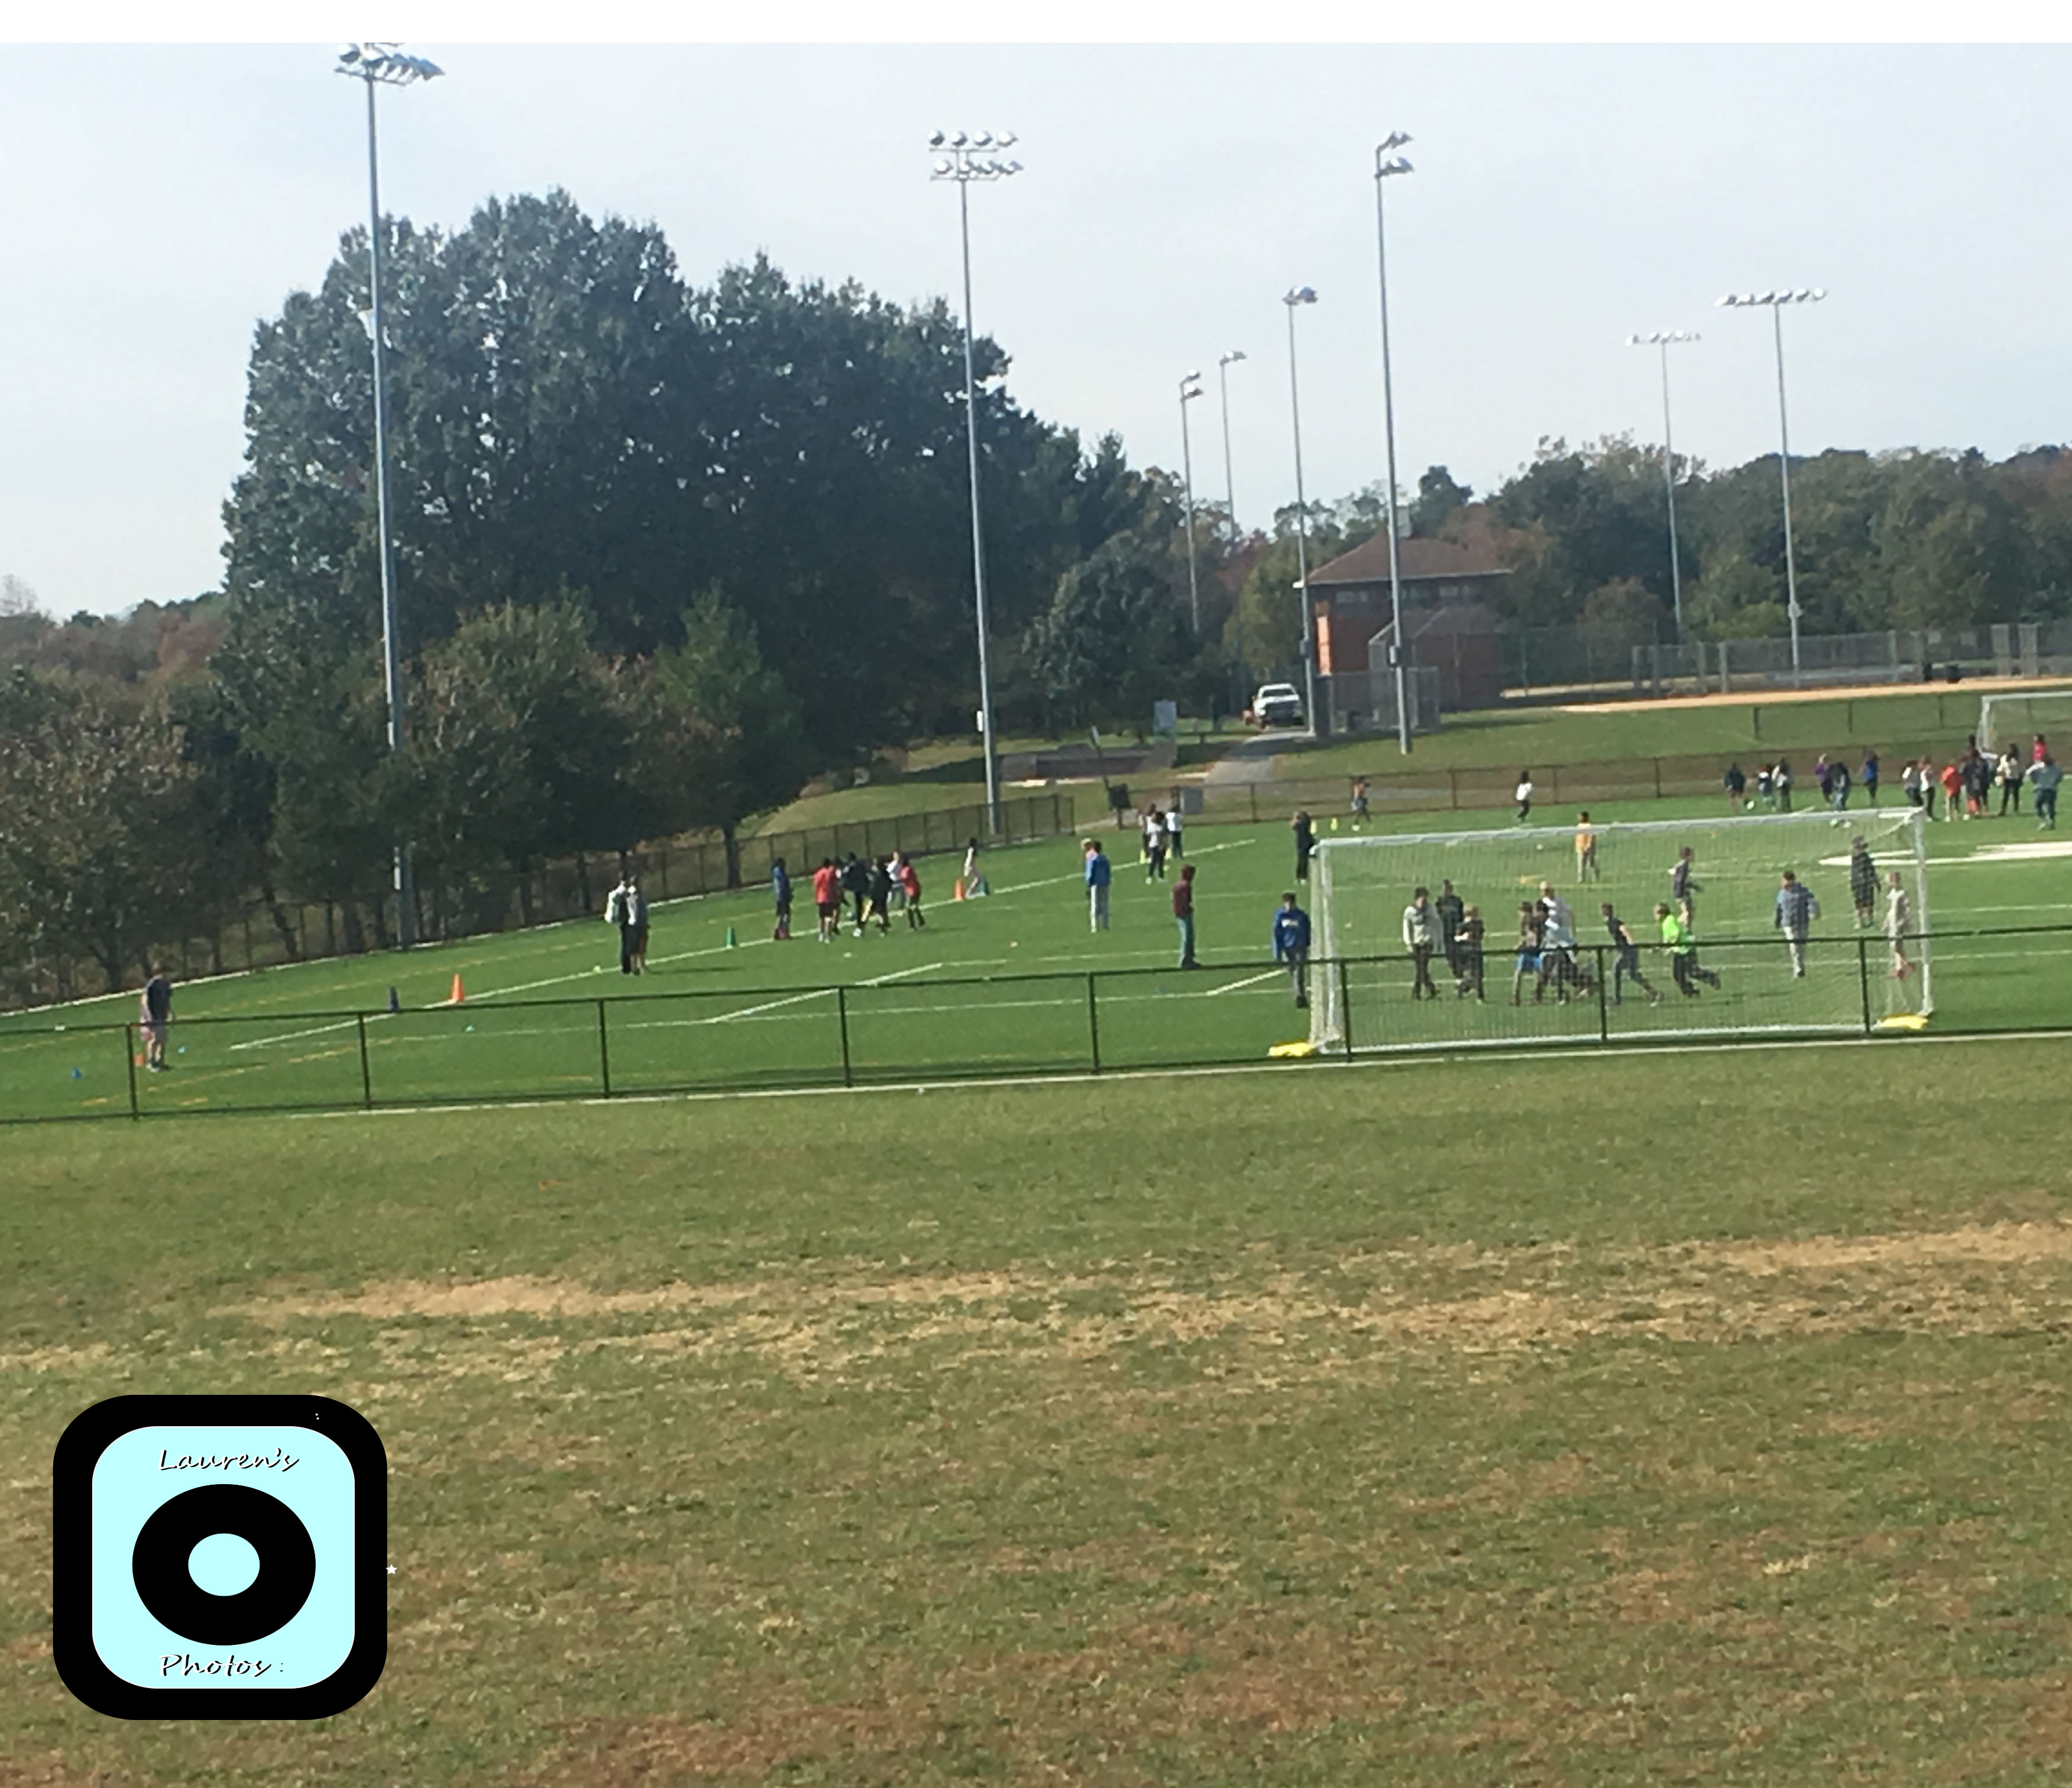
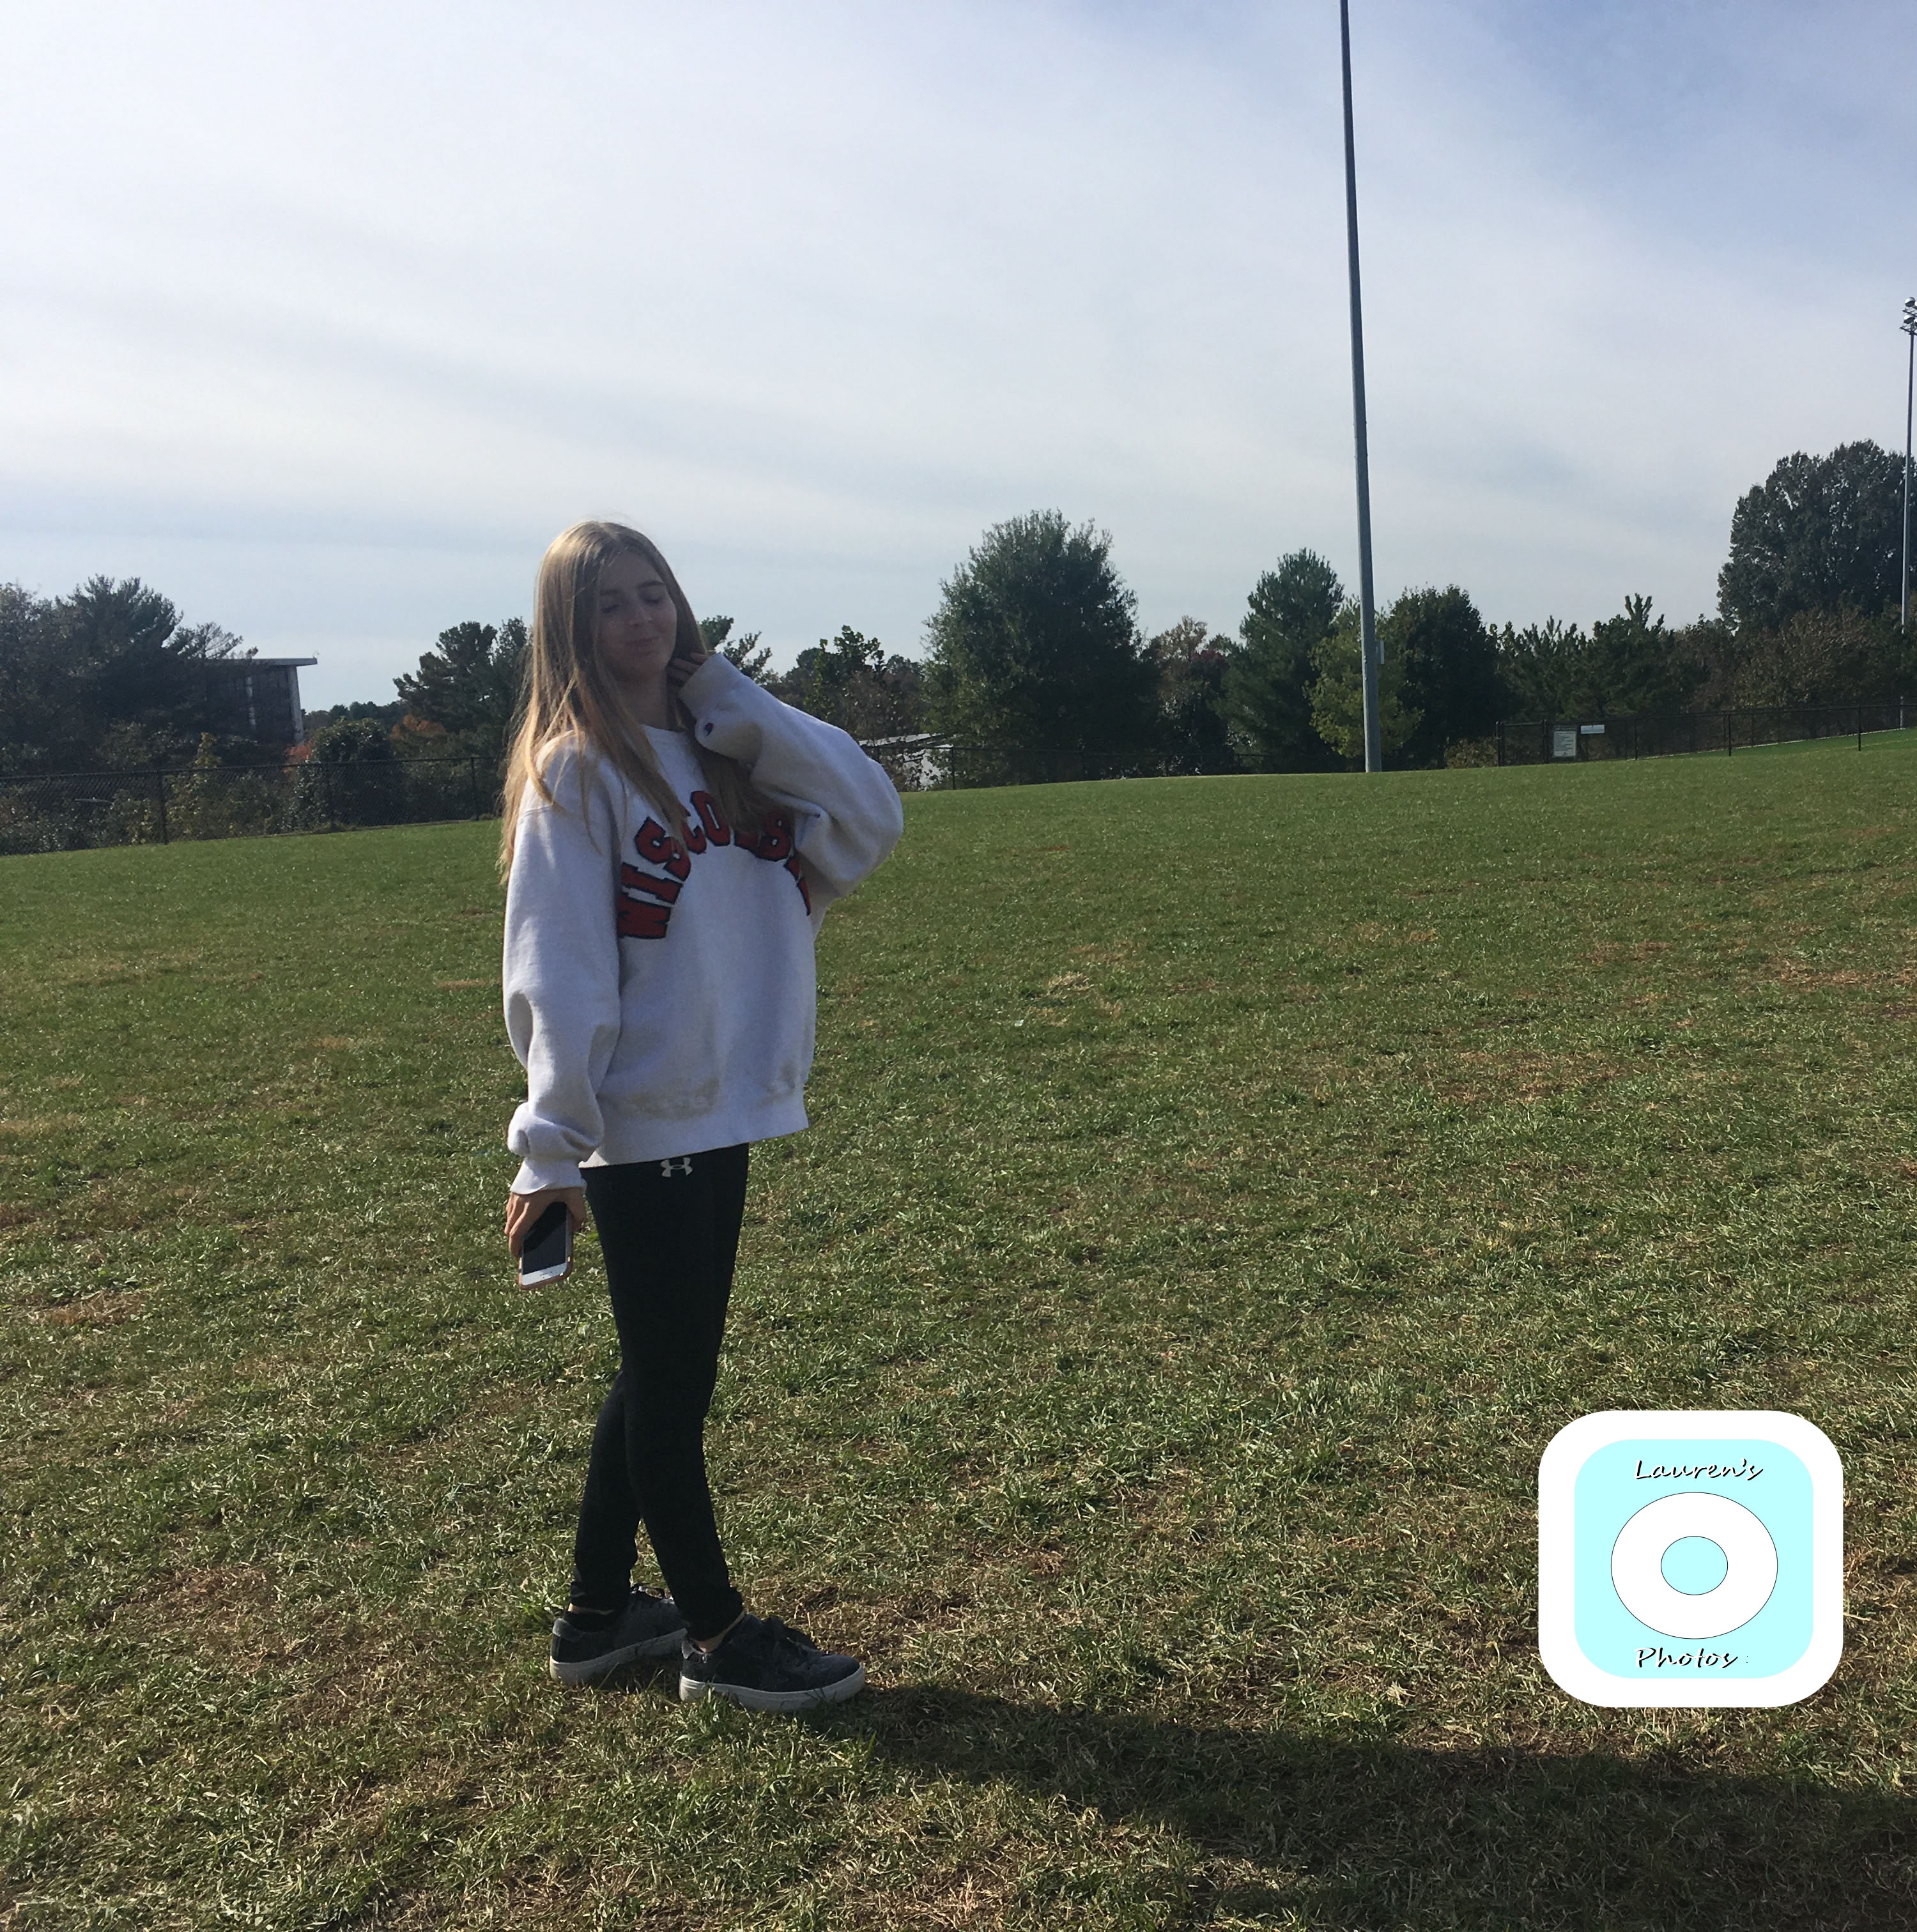
For this project we had take photos of objects and people but we needed to use the rule of thirds. The rule of thirds is imagery lines that help you take photos but the main part of your photo needs to be off to the side. In other words, Your object or person shouldn’t be in the middle. I used the rule in my pictures below because I lined up the fake line with the tree. This made the tree the main part. Then when I took the photo of a person they stood on the side so they line up with the line. To take my photos I made sure I took the pictures of objects and people off to the side and lining up with the line. My thoughts of the rule of thirds is that it really help me take a good photo that focus on a object or person. Also it help me take a photo that is not just in the middle but on the side. My thoughts change from the beginning of the project because, at first I didn’t really get how the rule of thirds work but now I do because I practice a lot, I got the hang of it. The things that work for this project was the lighting and lining up the objects and people with he lines. The hard part was finding cool and different places to take the photos. Below are examples of the rule of thirds, and if you would like to see the rest of my photos click here.
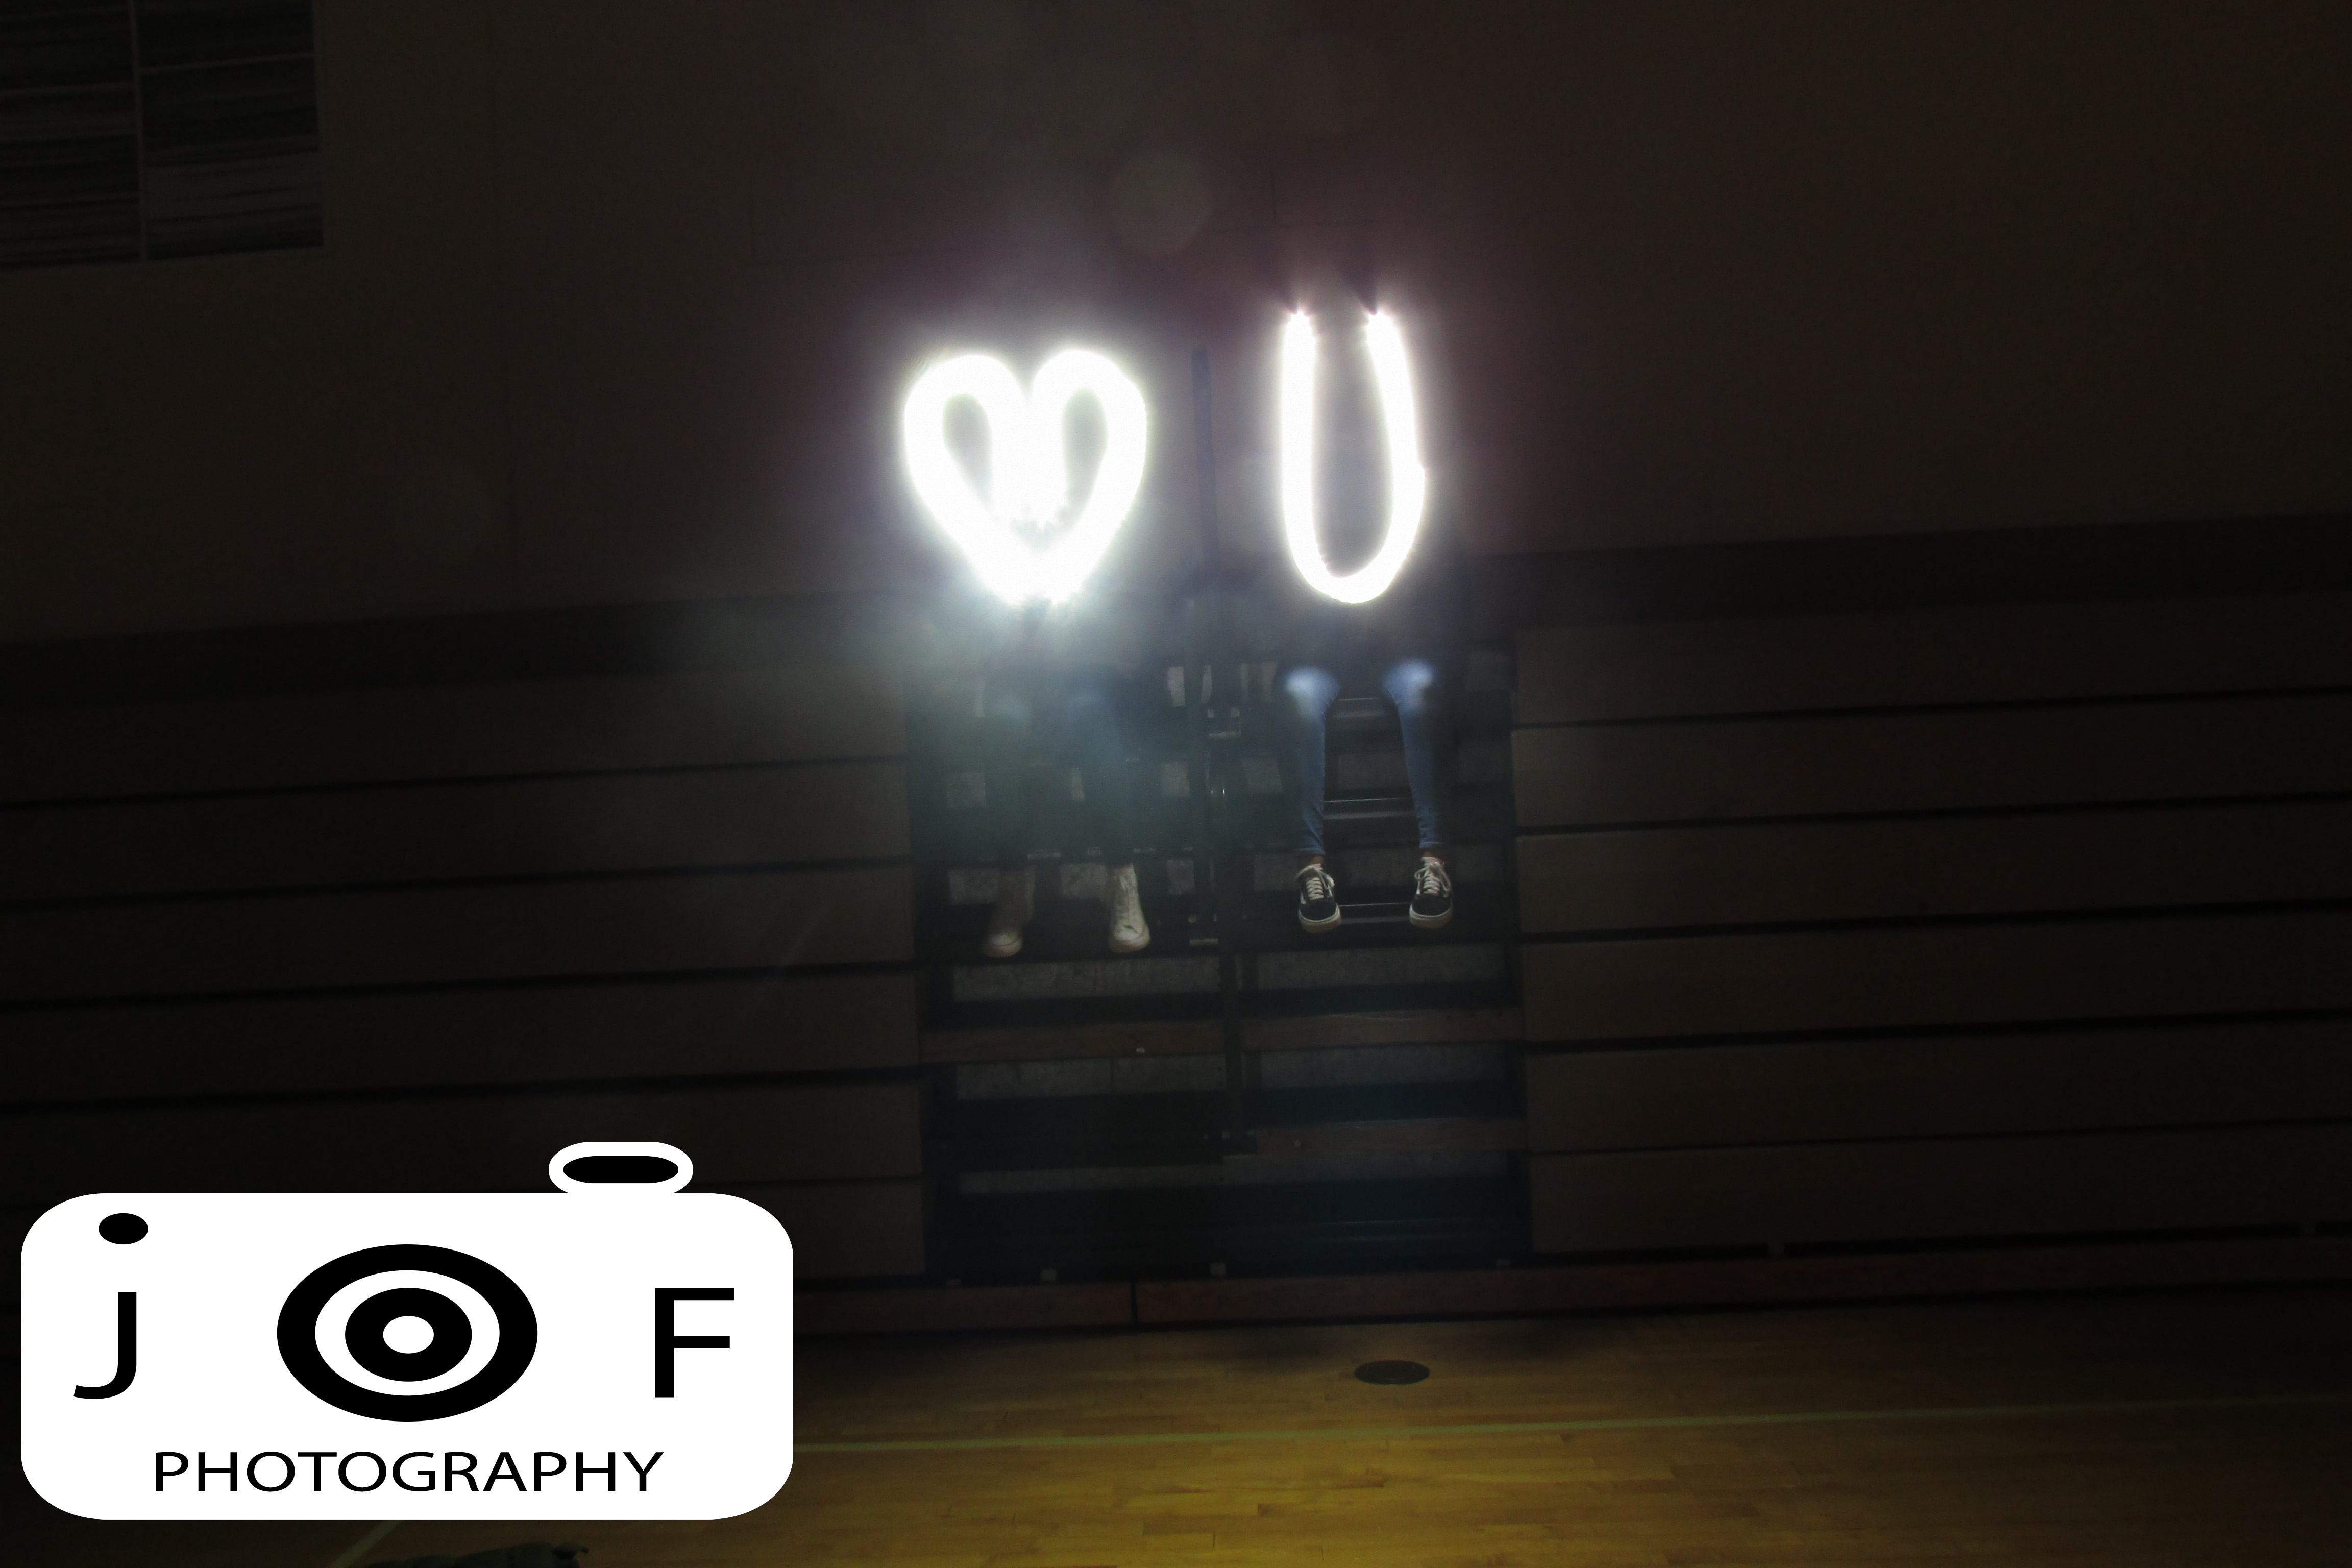
In this project we first chose a group and in our group there were 7 people. And to take the pictures like this with our name or drawings,And the one that was taking the photos kept the button pressed and when the other finished drawing or writing Name or words, then the one who was taking pictures pressed the button and leg go the picture and waited for 2 to 3 seconds and the picture came out with what we drew or wrote. Usually we use the light from our phone and turn off the light of the main gym so that it could look cool, It was very good to do this project because we learned more new things. And if you want to see our photos just click Here
In this project, finding pictures of people was very easy because all I had to have them do was stand next to a background with a little depth. The harder part was getting pictures of objects because it was hard getting a picture with only the object and background because most of the objects I used were small. When an object in your picture is moving, the rule of thirds makes the image a lot better which I didn’t know at first. The grid on my phone was used to organize the photo. When lining up my shot, I tried to line up the face of the person on the top part of the grid on where the two sides meet (Top left or top right).
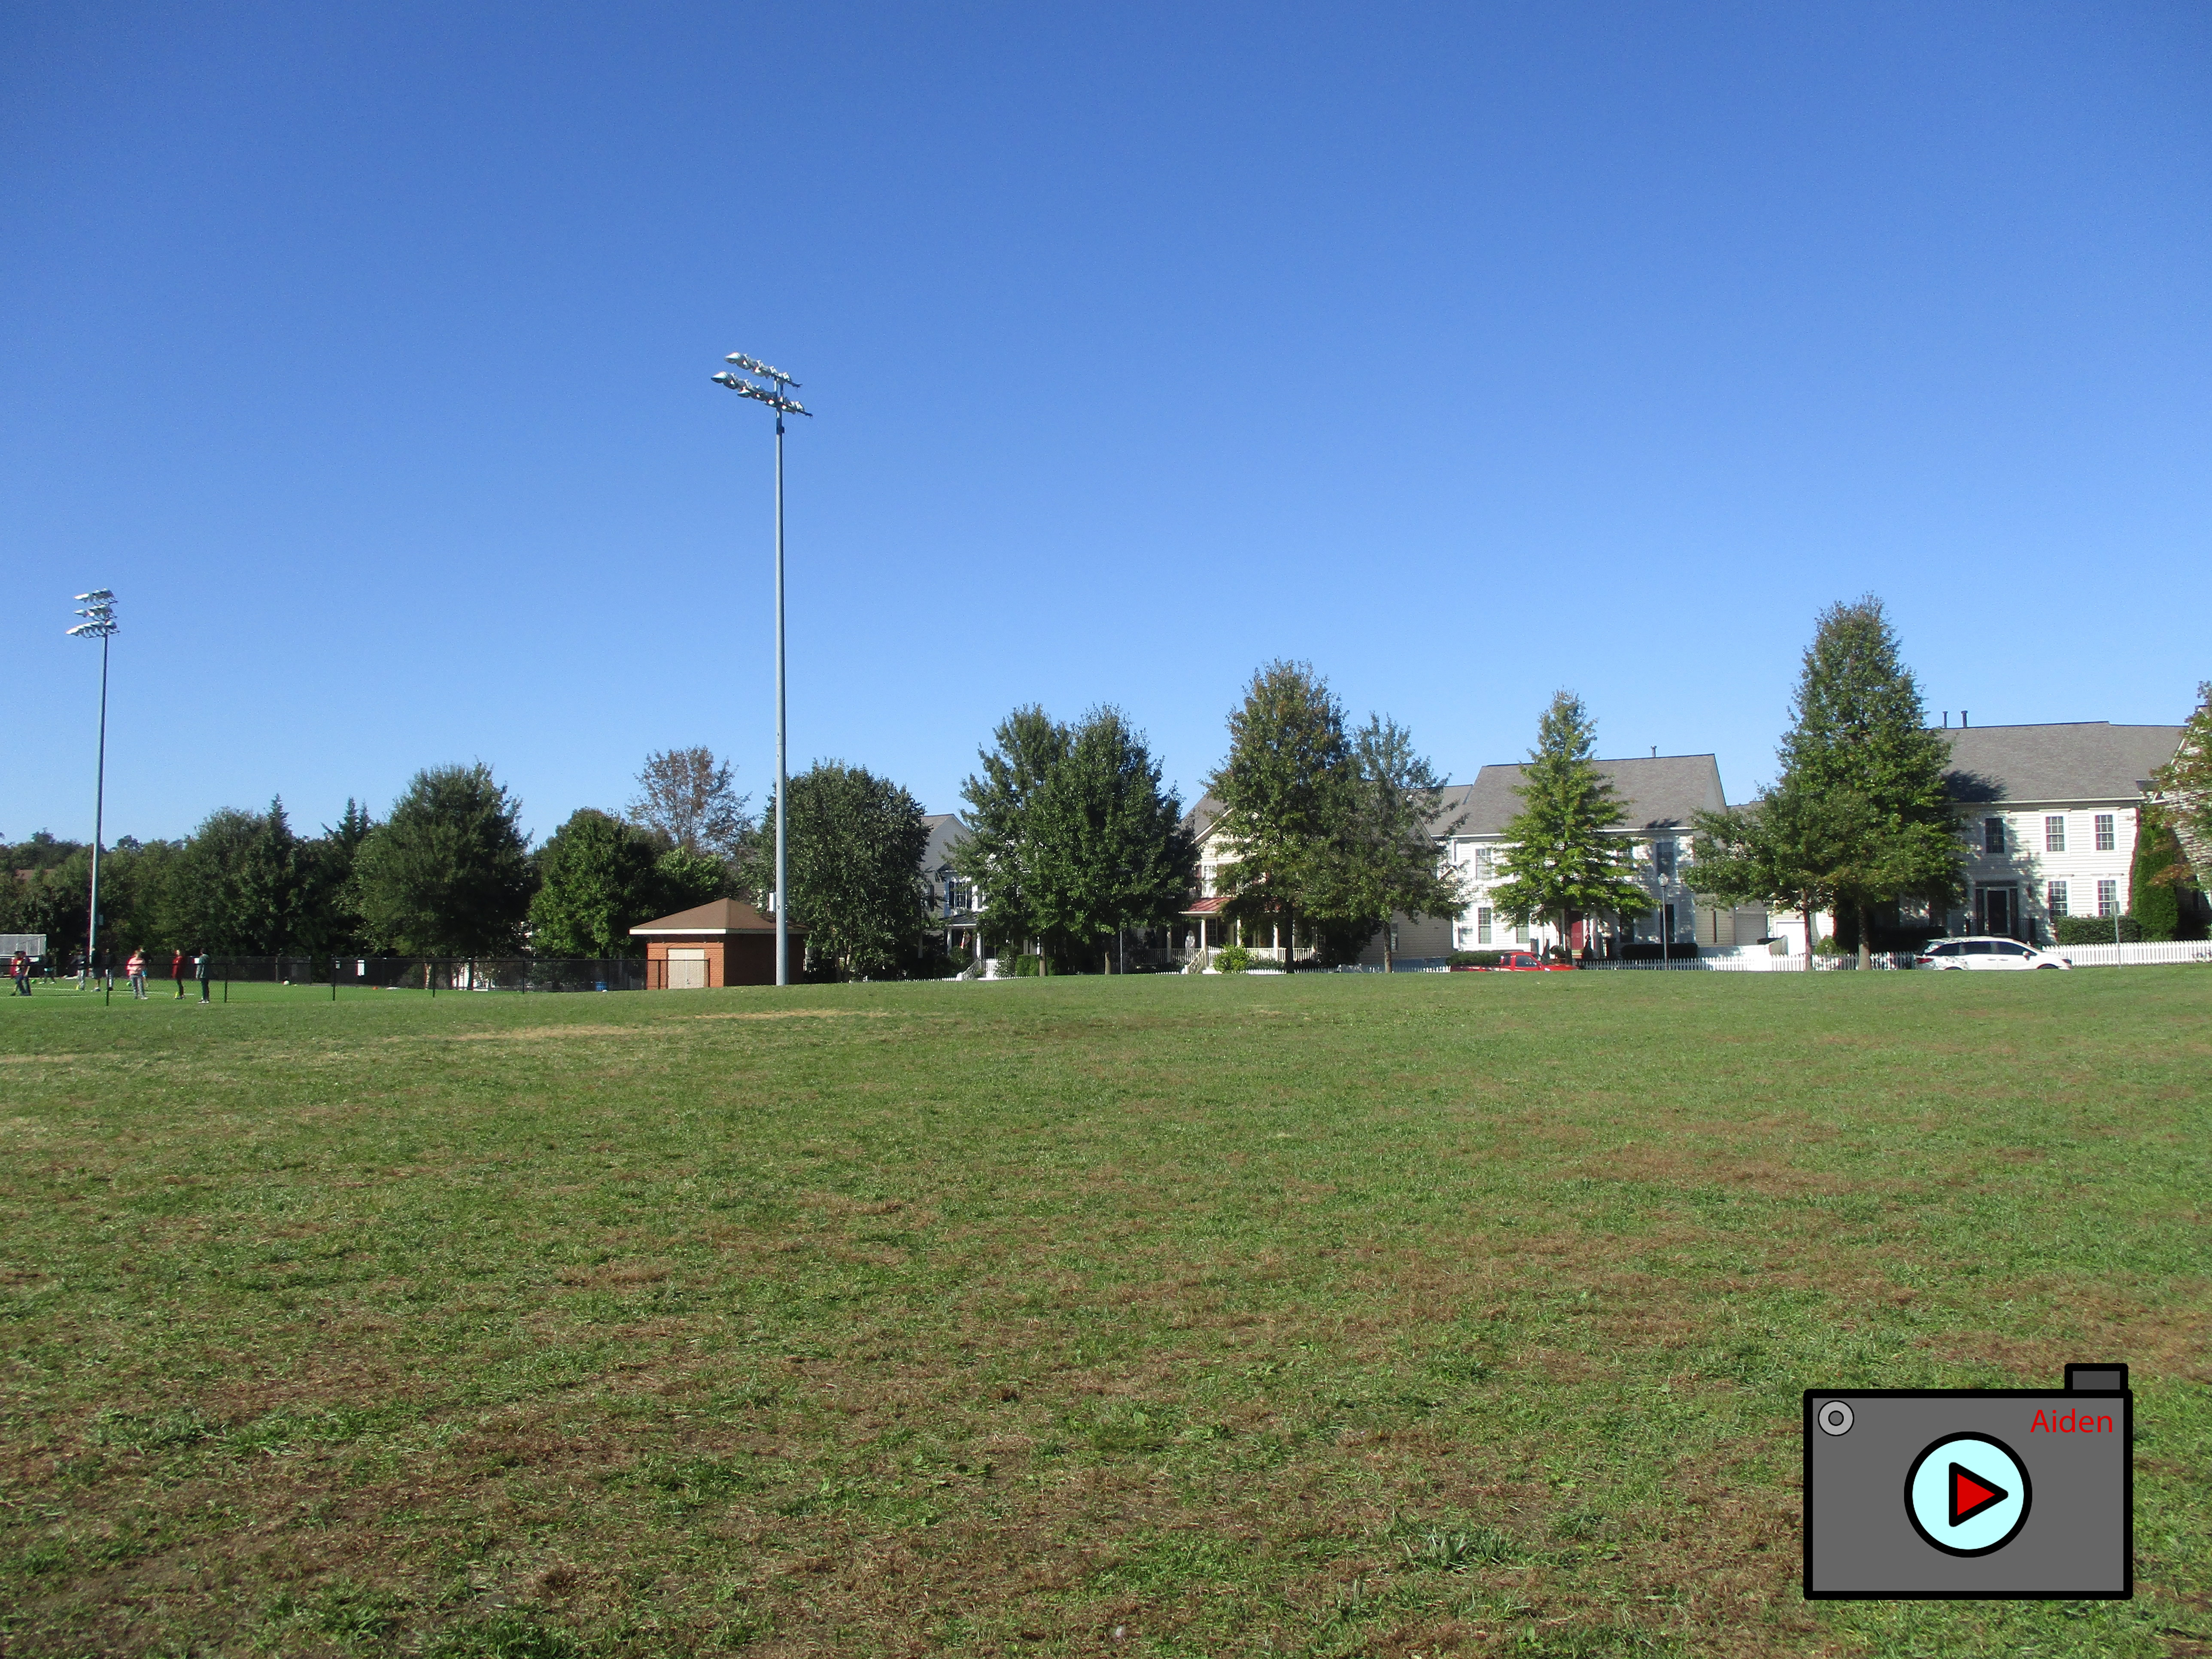
Taking landscape photos worked better for me rather than portrait because it is easier to crop, and put something eye catching on one of the lines of thirds. What did not work as well was taking portraits photos because it is harder to put something on one side rather than the middle. At first, I did not really understand the point of the rule of thirds cause I thought it looked better to have the object your focusing on in the middle. But, with rule of thirds people can see the object your focusing on. Then look at it from left to right, or right to left and find other things in the background you may not have noticed if you just looked at the thing in the middle. To line up the lines with the photo I used the grid effect on my phone. To see the rest of my photos click here.