Portraits

We messed around with the ISO and Shutter Speed to make sure it absorbed enough light so the background was black but the person in the picture could still be seen. What worked was things like Threshold, Vibrance and Curves in Photoshop to make the pictures look like comics or have very exaggerated black and white lines. What didn’t work was that, it was hard to find people and time to take the pictures.


https://photos.app.goo.gl/Nb5F2PUzpdlmW1dF2

Portraits

I used a regular camera to take pictures in color of my friends. After I finished taking the pictures, I used Adobe Photoshop to put all the photos taken in black and white and changed different parts to a lighter white, darker white, lighter black, and darker black. Having to use a light worked well because when you put the photos in black and white it wasn’t just all dark it ended up looking a lot better with the light hitting different places. Something that didn’t ended up working very well was my first round of pictures because we didn’t use a good background which is needed if you want your picture to look cleaner and less sloppy.

Here is a picture I took using everything listed above:

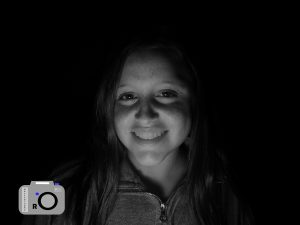
Here is a picture Sammi took of me using the same things listed above:

Here is the link to all of the pictures that i edited:

https://photos.app.goo.gl/AlLak5TOKo3ytRvK2

Black and White Photos

This project was a great learning experience. Our goal was to create photos on an  infinite background and then edit it. We used a camera that were available to us and had to mess with  ISO, Shutter Speed, and F-Stop in order to make the photo how we wanted. Finding the best possible lighting and angle for the photo was hard. You didn’t want to make the photo orange or have green in the back. I decided to make part of her face with the light and others with all of her face lit up. To get the angle and lighting I wanted with the background dark we had to play around a little bit. When editing I made the background darker using curves and what part I wanted to be lighter and made it black & white. It was a good chance for us to learn how to do all of this on a camera. Here is the link for more of my photos.

https://photos.app.goo.gl/7SBHNKuBXzbaSnaq2

Portraits

I really had fun during this project.  Our project was to take photos of other classmates with an infinite background using the three manual camera settings available to us- ISO, Shutter Speed, and F-Stop. It worked very well when the angle of the lighting was in the right stop to see the persons face without having the light in it or making it a different photo. It was hard to find that angle though and took multiple times to get the right photo and what made it harder was that we had to share the cameras, so we had limited time to take our photos.  It did not work when the light was to close so it made the persons face red or orange and it did not work when it was to far away because then you couldn’t see the persons face. Below is one of my favorite I took and edited, my link to all my photos, and my favorite photo of me taken by Bella.

https://photos.app.goo.gl/1szSNpwFcIwU7PAc2


Black Background Portraits


Last week during class our assignment was to take pictures of our classmates with black backgrounds. This is one of my favorite favorites of my friend.  The lighting is coming through the bottom of the picture making everything else stand out. In order to get the correct lighting you need to use the ISO and right shutter speed. This was edited in Adobe Photoshop, where we could adjust the curves of black and light.  One challenge of this assignment was getting the light in the right spot so the photo wasn’t to light or dark. This is the link to the rest of the photos taken. https://photos.app.goo.gl/qr12p9pCKh9OXJtd2

This is a photo of me taken by Mia using the same editing application.

Black Background

For the Black Background project I tried many things out and this was my favorite. When taking pictures we messed with the camera changing the shutter speed, ISO, and F-Stop. It worked when the ISO was at 200 and the shutter speed was less then 1/100. Because the shutter speed is how much light is let through you need a low shutter speed. It didn’t work when ever there was too much light or too little, you needed the perfect amount of light. To edit the photo’s I used Adobe Photoshop and changed the saturation and messed with the curves. The link to the rest of my photos is here:  https://photos.app.goo.gl/UlmsAdfVErwWQ9Hn1

My favorite photo taken of me was by ansh and was this :

Portaits-Ansh Patel

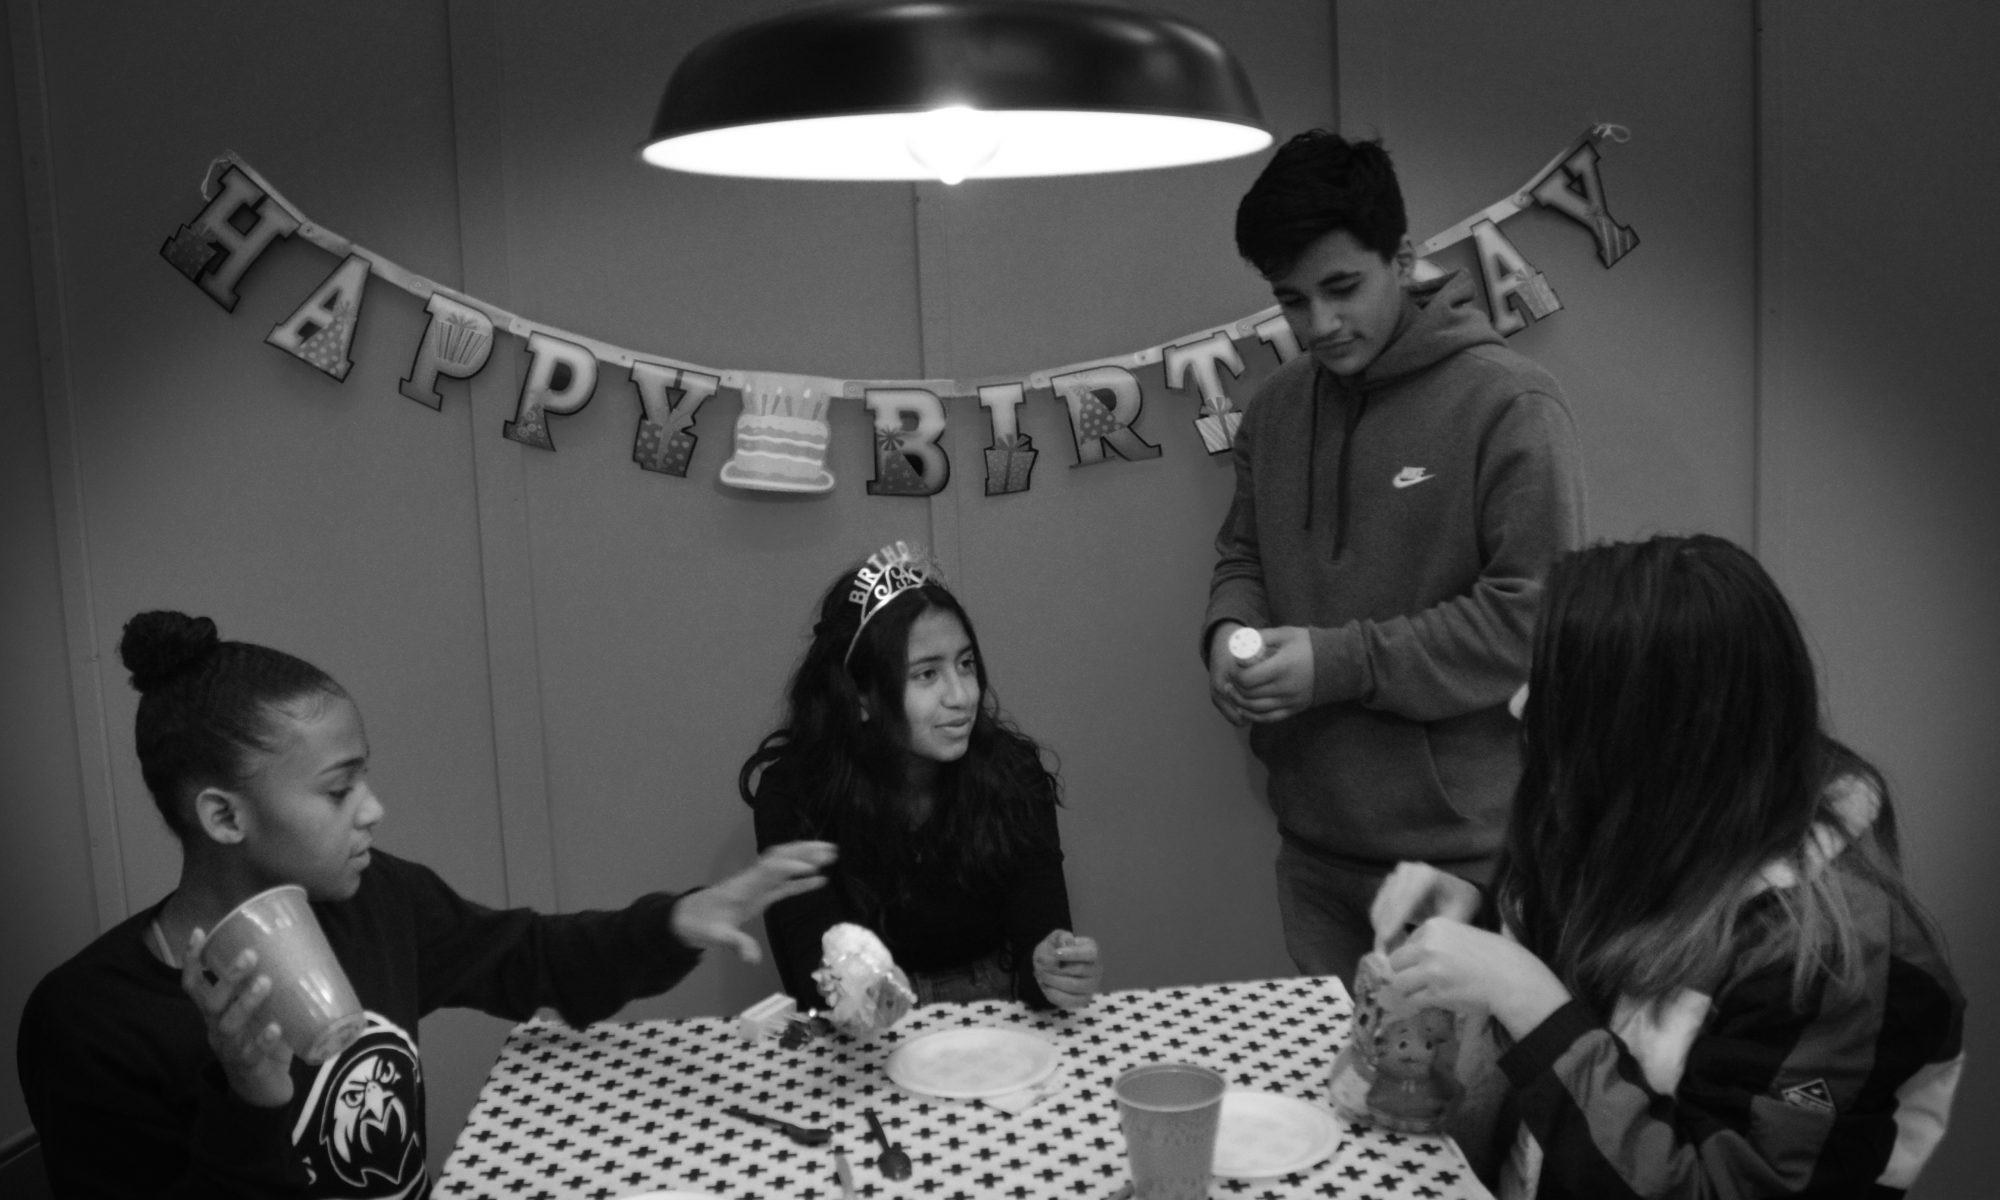
Picture taken and edited by Adam Gotkin

This week in class we took photos and edited them into black and white. We stood in front of a black background and used chairs and other items as props. On the camera we used the manual setting to make the photos dark and changed the ISO, shutter speed and f-stop. We used external lights to make the light come in from different angles. After we took the photos we used Adobe Photoshop to edit them. We messed with the curves and light levels. I also changed the hue and saturation.

The rest of my photos: https://photos.app.goo.gl/GF6bQwOdMh89cQR32

Infinite backgrounds


https://photos.app.goo.gl/fEtwmiD4PjhiIdqa2

In class this week we have been working on a project. In this project we were told to take a picture on a black background. While taking a picture we had to shine a light on the person’s face to create a shadow. We also had to adjust the ISO, shutter speed, and F-stop in order to take this kind of picture. After taking the pictures, we were told to go onto the editing software Adobe Photoshop. On Adobe Fireworks we lowered the saturation down to  -100 so the picture would be black and white. After that we adjusted the picture to make the lighting just how we wanted it. Then the final steps were to add our logo and upload it to google photos. During the process of taking pictures I figured out that it didn’t work to be in a lighted room, and that you needed to be in a dark room. I also figured out that you need to try to shine a light in different places each time until you find the best spot for that person.


This picture of me was taken by Jillian and edited by Mia.


Black Background

In order to complete this project you have to mess with the shutter speed, ISO, and the F-stop.  To make this photo look good other her choosing her pose, you have to mess with the lighting, what your background is and be able manipulate the place you are putting the camera.  With the light right below, above or pointed from the top corner to give her a side lighted face. Having no lighting would definitely not work because then she would blend in with the background and would not be visible.

My favorite picture that my friend Liza took and edited is the picture below because of the highlights that the filter added.

https://photos.app.goo.gl/exFCgJSHj1Eg1PXH2

My Portraits

In class this week, I had to take a picture of someone with an infinite background and edit the photo. This is a picture I took of my friend, Reese, and it is one of my favorites. Throughout this project there were some challenges, such as finding good lighting and making sure the pictures were clear. I had to make the the ISO and shutter speed were at the correct setting. The easier things about this project was taking the picture and editing it. I edited my pictures using Adobe Photoshop.  Click here to look at some of the other pictures I took…

https://photos.app.goo.gl/Upb2gYfU6h2zMtJx2

This is one of my favorite pictures of me. It was taken by Reese.