

The process of taking this picture took a while. First, I had to change the Shutter Speed setting to let less light into the picture. The hardest part of this process was editing the picture. Using Photoshop, first, I had to desaturated the image. Then, I had to find the perfect curves to compliant the picture. Third, I had to implant my logo on to the picture so nobody could use my picture without credit. The black and white worked better than color. The color just didn’t work so I scraped it and used black and white. I really like my pictures and I hope you like them too.

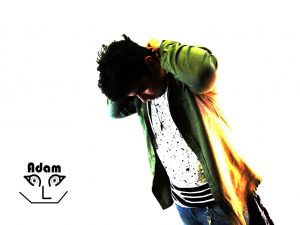 this a picture that adam gotkin took.
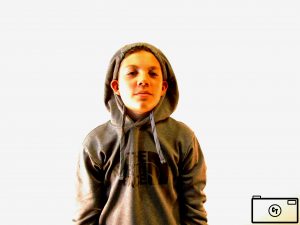
 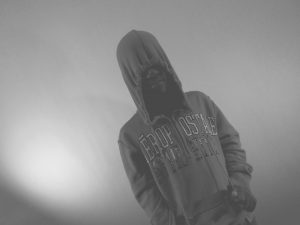 this a photo I took of Xavier with a white background.