Portraits: Yearbook, plus more

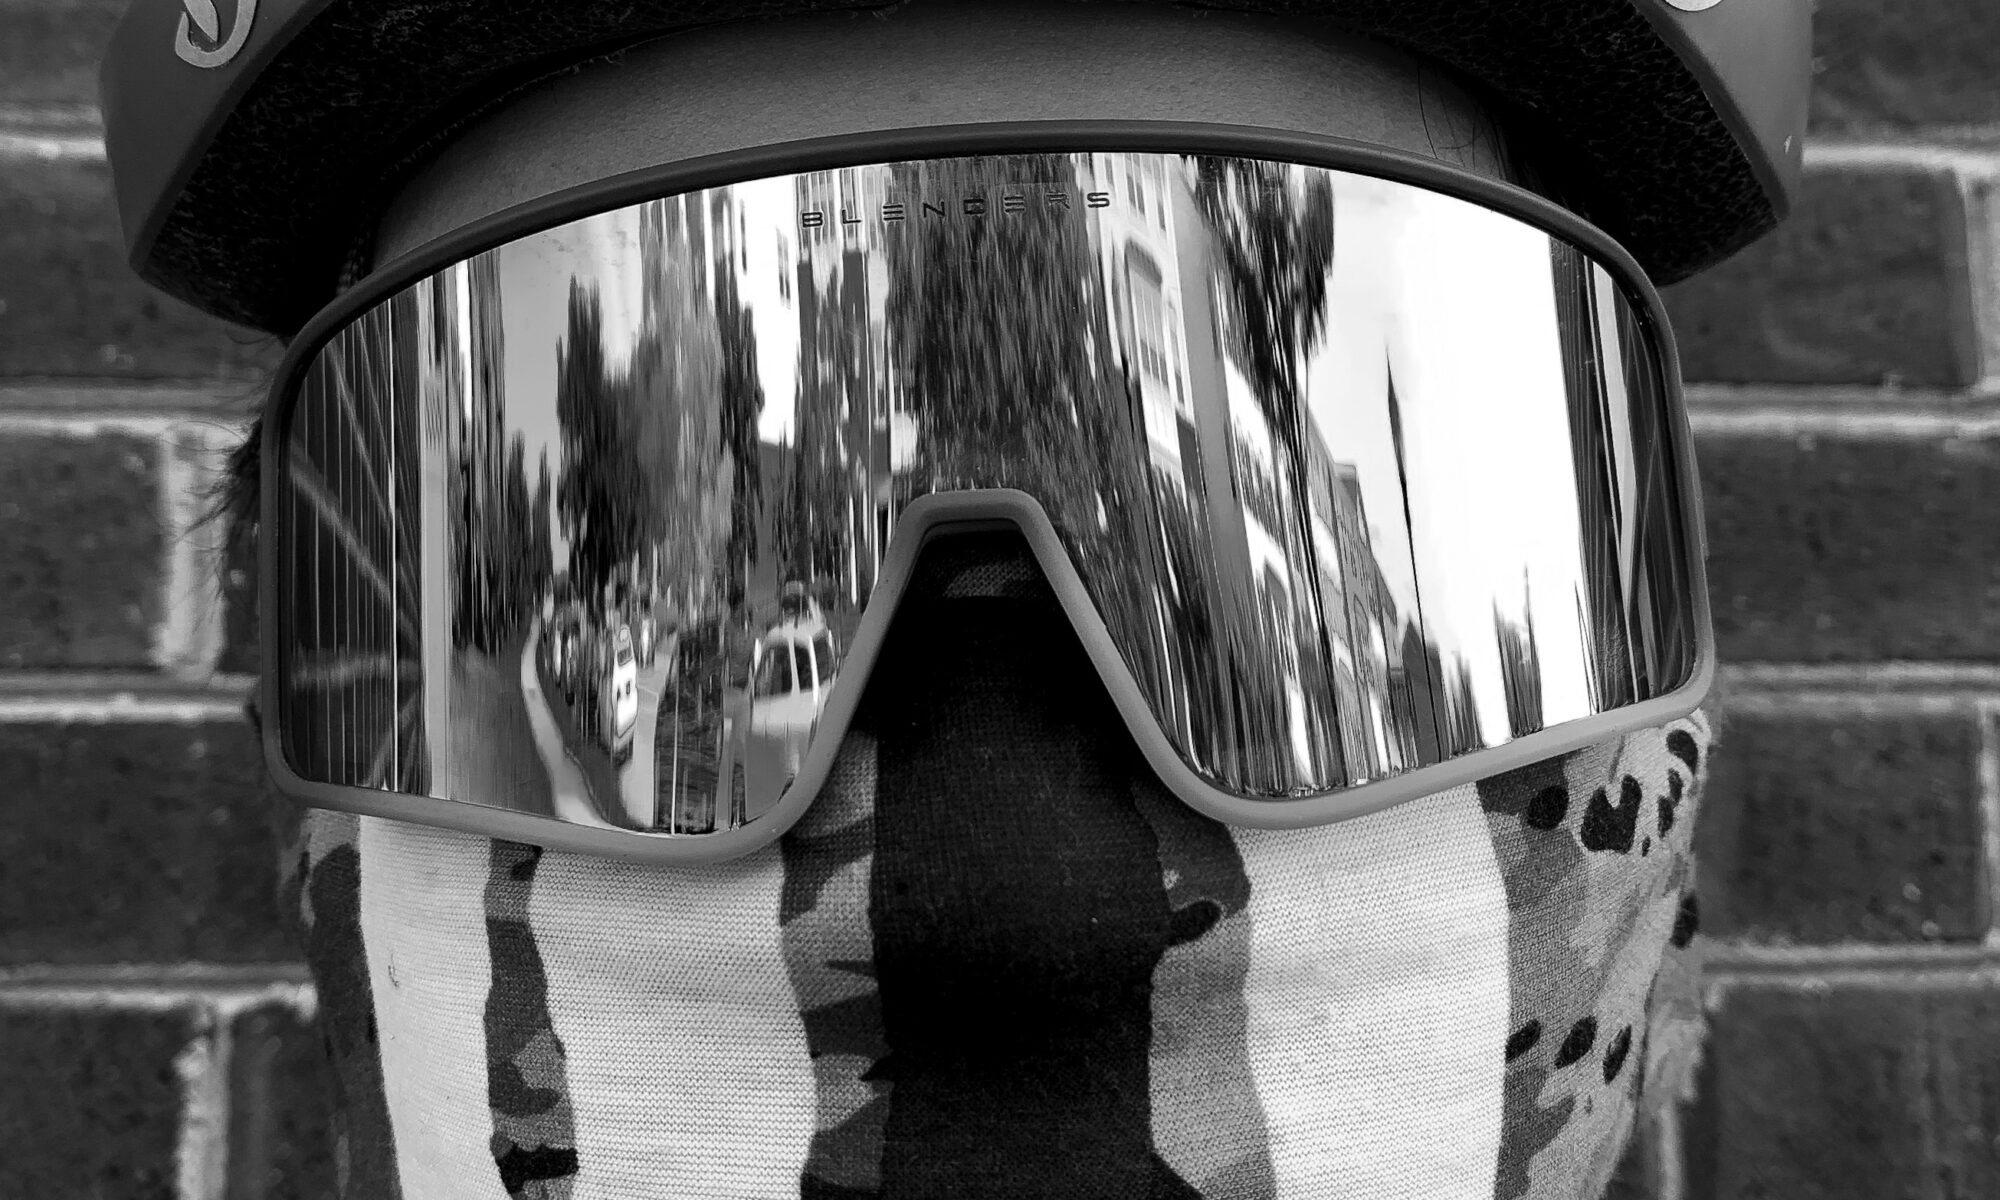
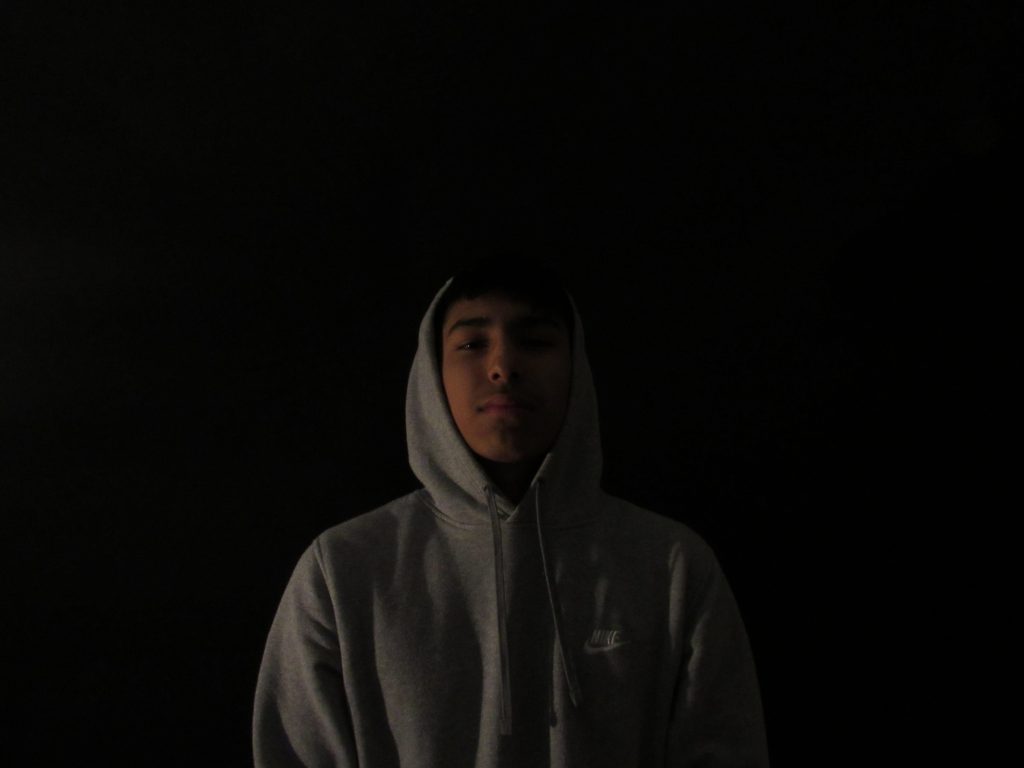
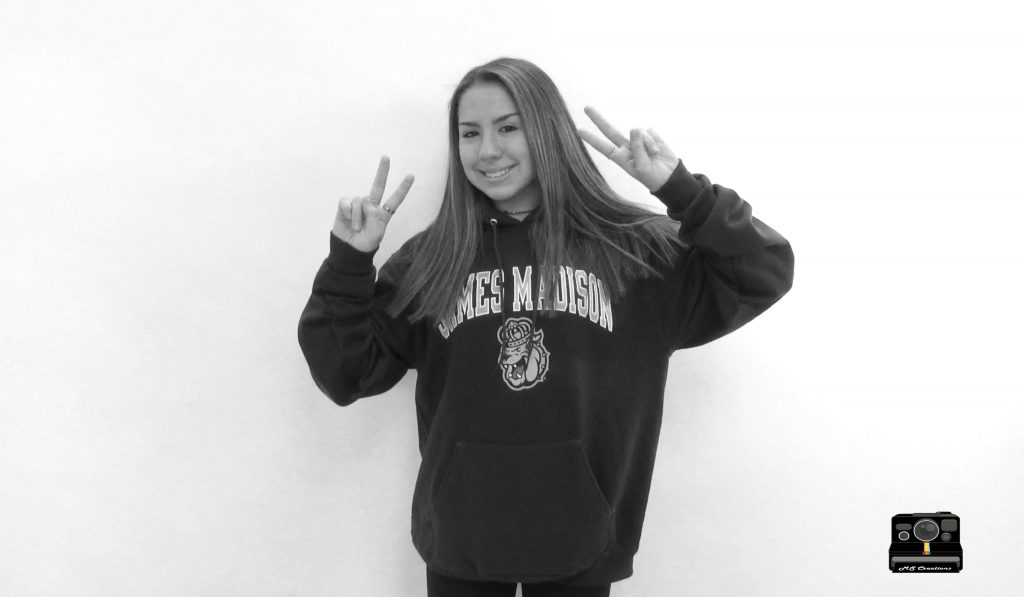
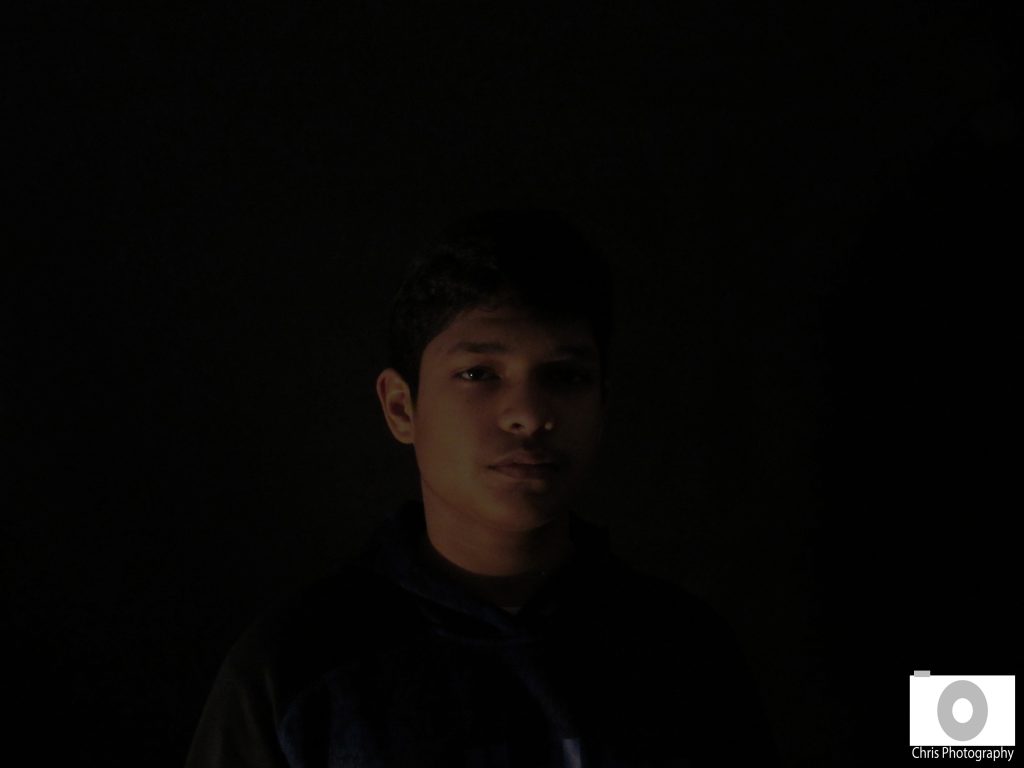
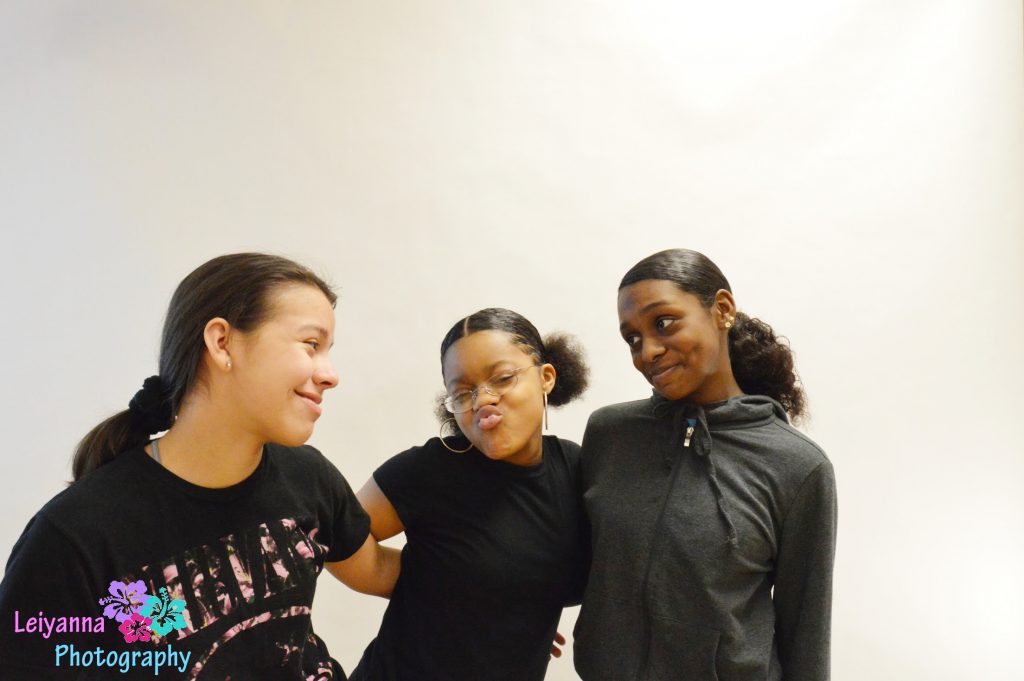
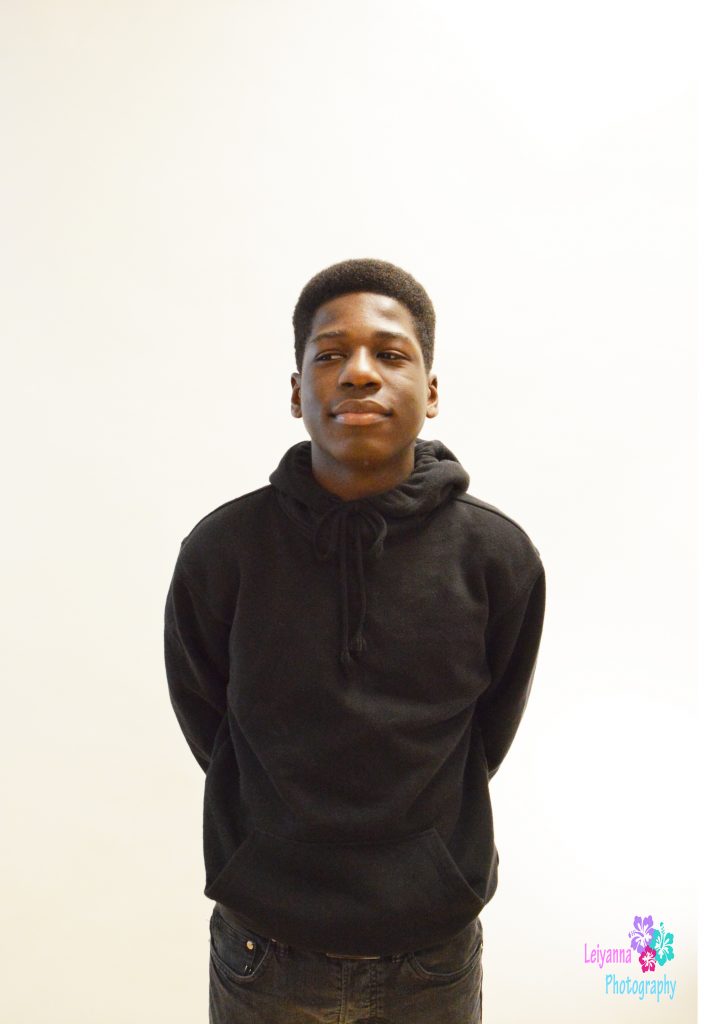
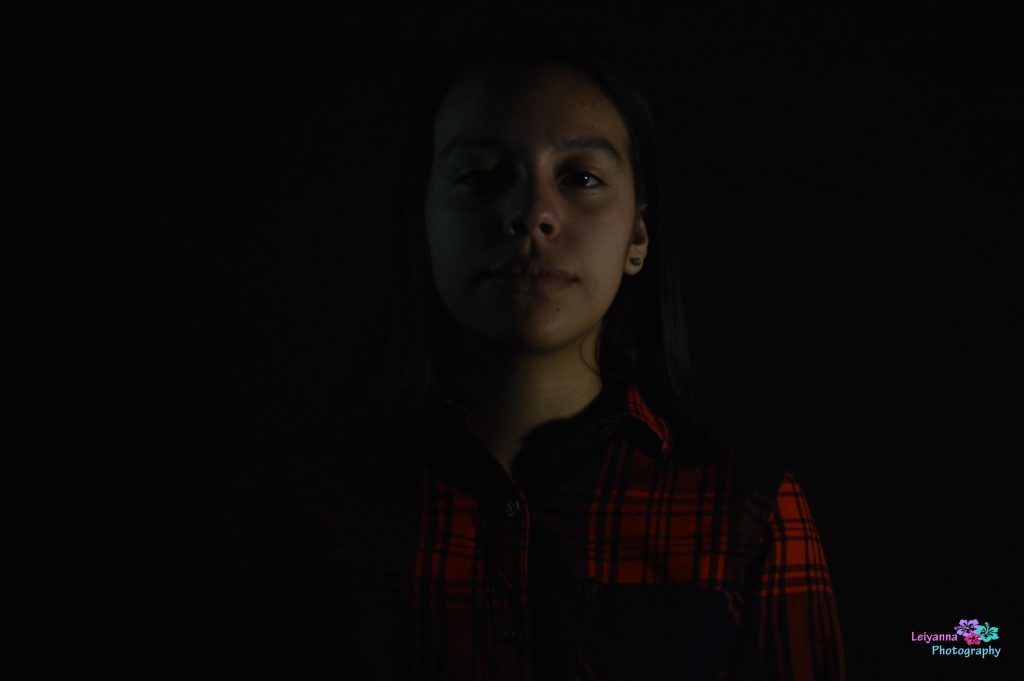
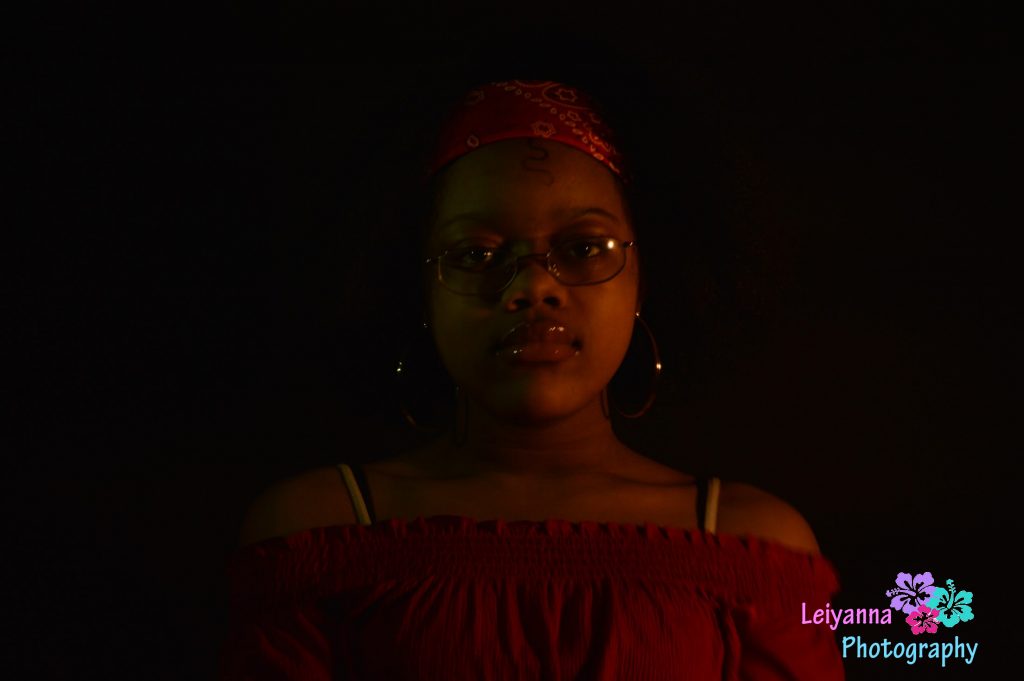
2020 has caused a lot of changes and now the yearbook is another one of these changes. We have to take our own yearbook photos. We have experimented with lighting in an earlier project, now we are going to practice using traditional lighting techniques. The goal is for you to have your yearbook photo at the end of this project.

Day 1: Learning and Prepping

Below is a video that you need to watch that show 5 of the most popular lighting techniques:

Click here if YouTube link isn’t working.

Collect materials from your home: Lights, sheet, pillow cases, foil, poster board, etc.

Here is a list of interesting ideas that can be used for this project as well. Click here for their list.

Day 2: Coming Soon!

Portraits: Masked Up!

This project will be used as an introduction to portraits. We will be focusing on headshots to help keep this simple. We have used different types of lighting in a previous project and there is an expectation that you will use some of that practice in this project as well. I will include the “9 Lighting Hacks” video below. In fact, you should use at least one of the hacks used in the video just to get some practice and have some fun.

Tips and Requirements:

  1. You will need 4 photos. Not 4 different people, although that would be better, but 4 photos. You must be one of the “models”.
  2. Think about your backgrounds. Keep them simple and not distracting.
  3. Feeling/mood/vibe. Capture your subjects personality. I know they are masked, but there’s still ways to show personality. Use the eyes, the angle, an expression. Is their mask wild and crazy, make them match their mask.
  4. Lighting. Find smooth, even lighting so your model doesn’t end up with shadows on their face. Near a window is good, but not in direct sunlight. Don’t forget to include one of the 9 lighting hacks from below.
  5. Cropping. This is a headshot. Photos should be cropped in closely to the models face. Chest up, no hands.
  6. Mix it up. This is practice. Do not shoot all 4 of your pictures in the same place. Try different places inside and outside of your home.

For more headshot tips and ideas click here.

Portraits (white background)

To take photos for this assignment, it was very similar to the process of taking the black background photos. We had to change the IOS, so a shadow wouldn’t show up on the white background. In photoshop, we also changed the brightness to help erase shadows.The white background was easier with natural lighting to erase shadows. Overall, this project was one of my favorites so far!

click here to see the rest of my photos.

Black Infinite Background

Click Here to View My Photos

This is similar to the white but the shutter of the camera had to be changed. It can’t be as sensitive to the light because it is a darker background so it does need more light unless you want the picture to look darker. We used the light on the background so that the object wouldn’t have a shadow and they looked like they were the center of attention. If we would’ve shined the light on the person it would’ve had a shadow and they would’ve looked very bright when editing. When editing there was a lot of options when editing like black and white and changing the colors up.

Infinite background (Black)

During this project, the main goal was to take a picture and make the background look like it disappeared. We made the ISO lower to make the black background even darker. As well as a lamp that someone in each group would hold. A challenge during this project was making sure we had the correct ISO. The easier part of this project was to hold the lamp at the correct angle. Below is a picture of me and a picture I took. Click here to view the rest of the black background portraits.

Infinite Backgrounds

The process I used for this project was to take a picture with someone in a unique pose, set against a completely black or white background, and slightly twerk it in Photoshop to make the person stand out from the image. The pictures originally looked pretty good, and the poses we thought up were new and bold. But many problems came up. The ISO in the photos was either too high or low at times, order for each of the member’s photos was unknown, and the Photoshop turned out to be harder than it appeared.

Click here for my white background photos

Click here for my black background photos.

Infinite Background(White)

During this project, the main goal was to take a picture and make the background look like it disappeared. We made the ISO higher to make the white background even brighter. As well as a lamp that someone in each group would hold. A challenge during this project was making sure we had the correct ISO. The easier part of this project was to hold the lamp at the correct angle. Below is a picture of me and a picture I took. Click here to view the rest of the white background portraits.

Portraits with an Infinite Background

Cynthia, Kameran and Jordyn
Mike Mevo
Cynthia Hernandez
Kameran Williams

While taking the pictures with the white background, we stood in front of a bug white piece of paper and took our pictures. When we were done we used Photoshop to make the background infinite so that the shadows wont cast on the paper. Placing the light directly on the person caused the shadows to be more visible, but placing the light on the paper didn’t. We took many more pictures, to see them click here.