Light Graffiti

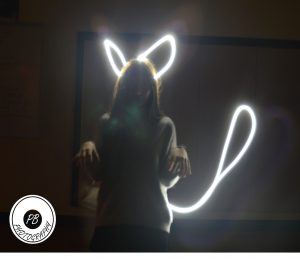
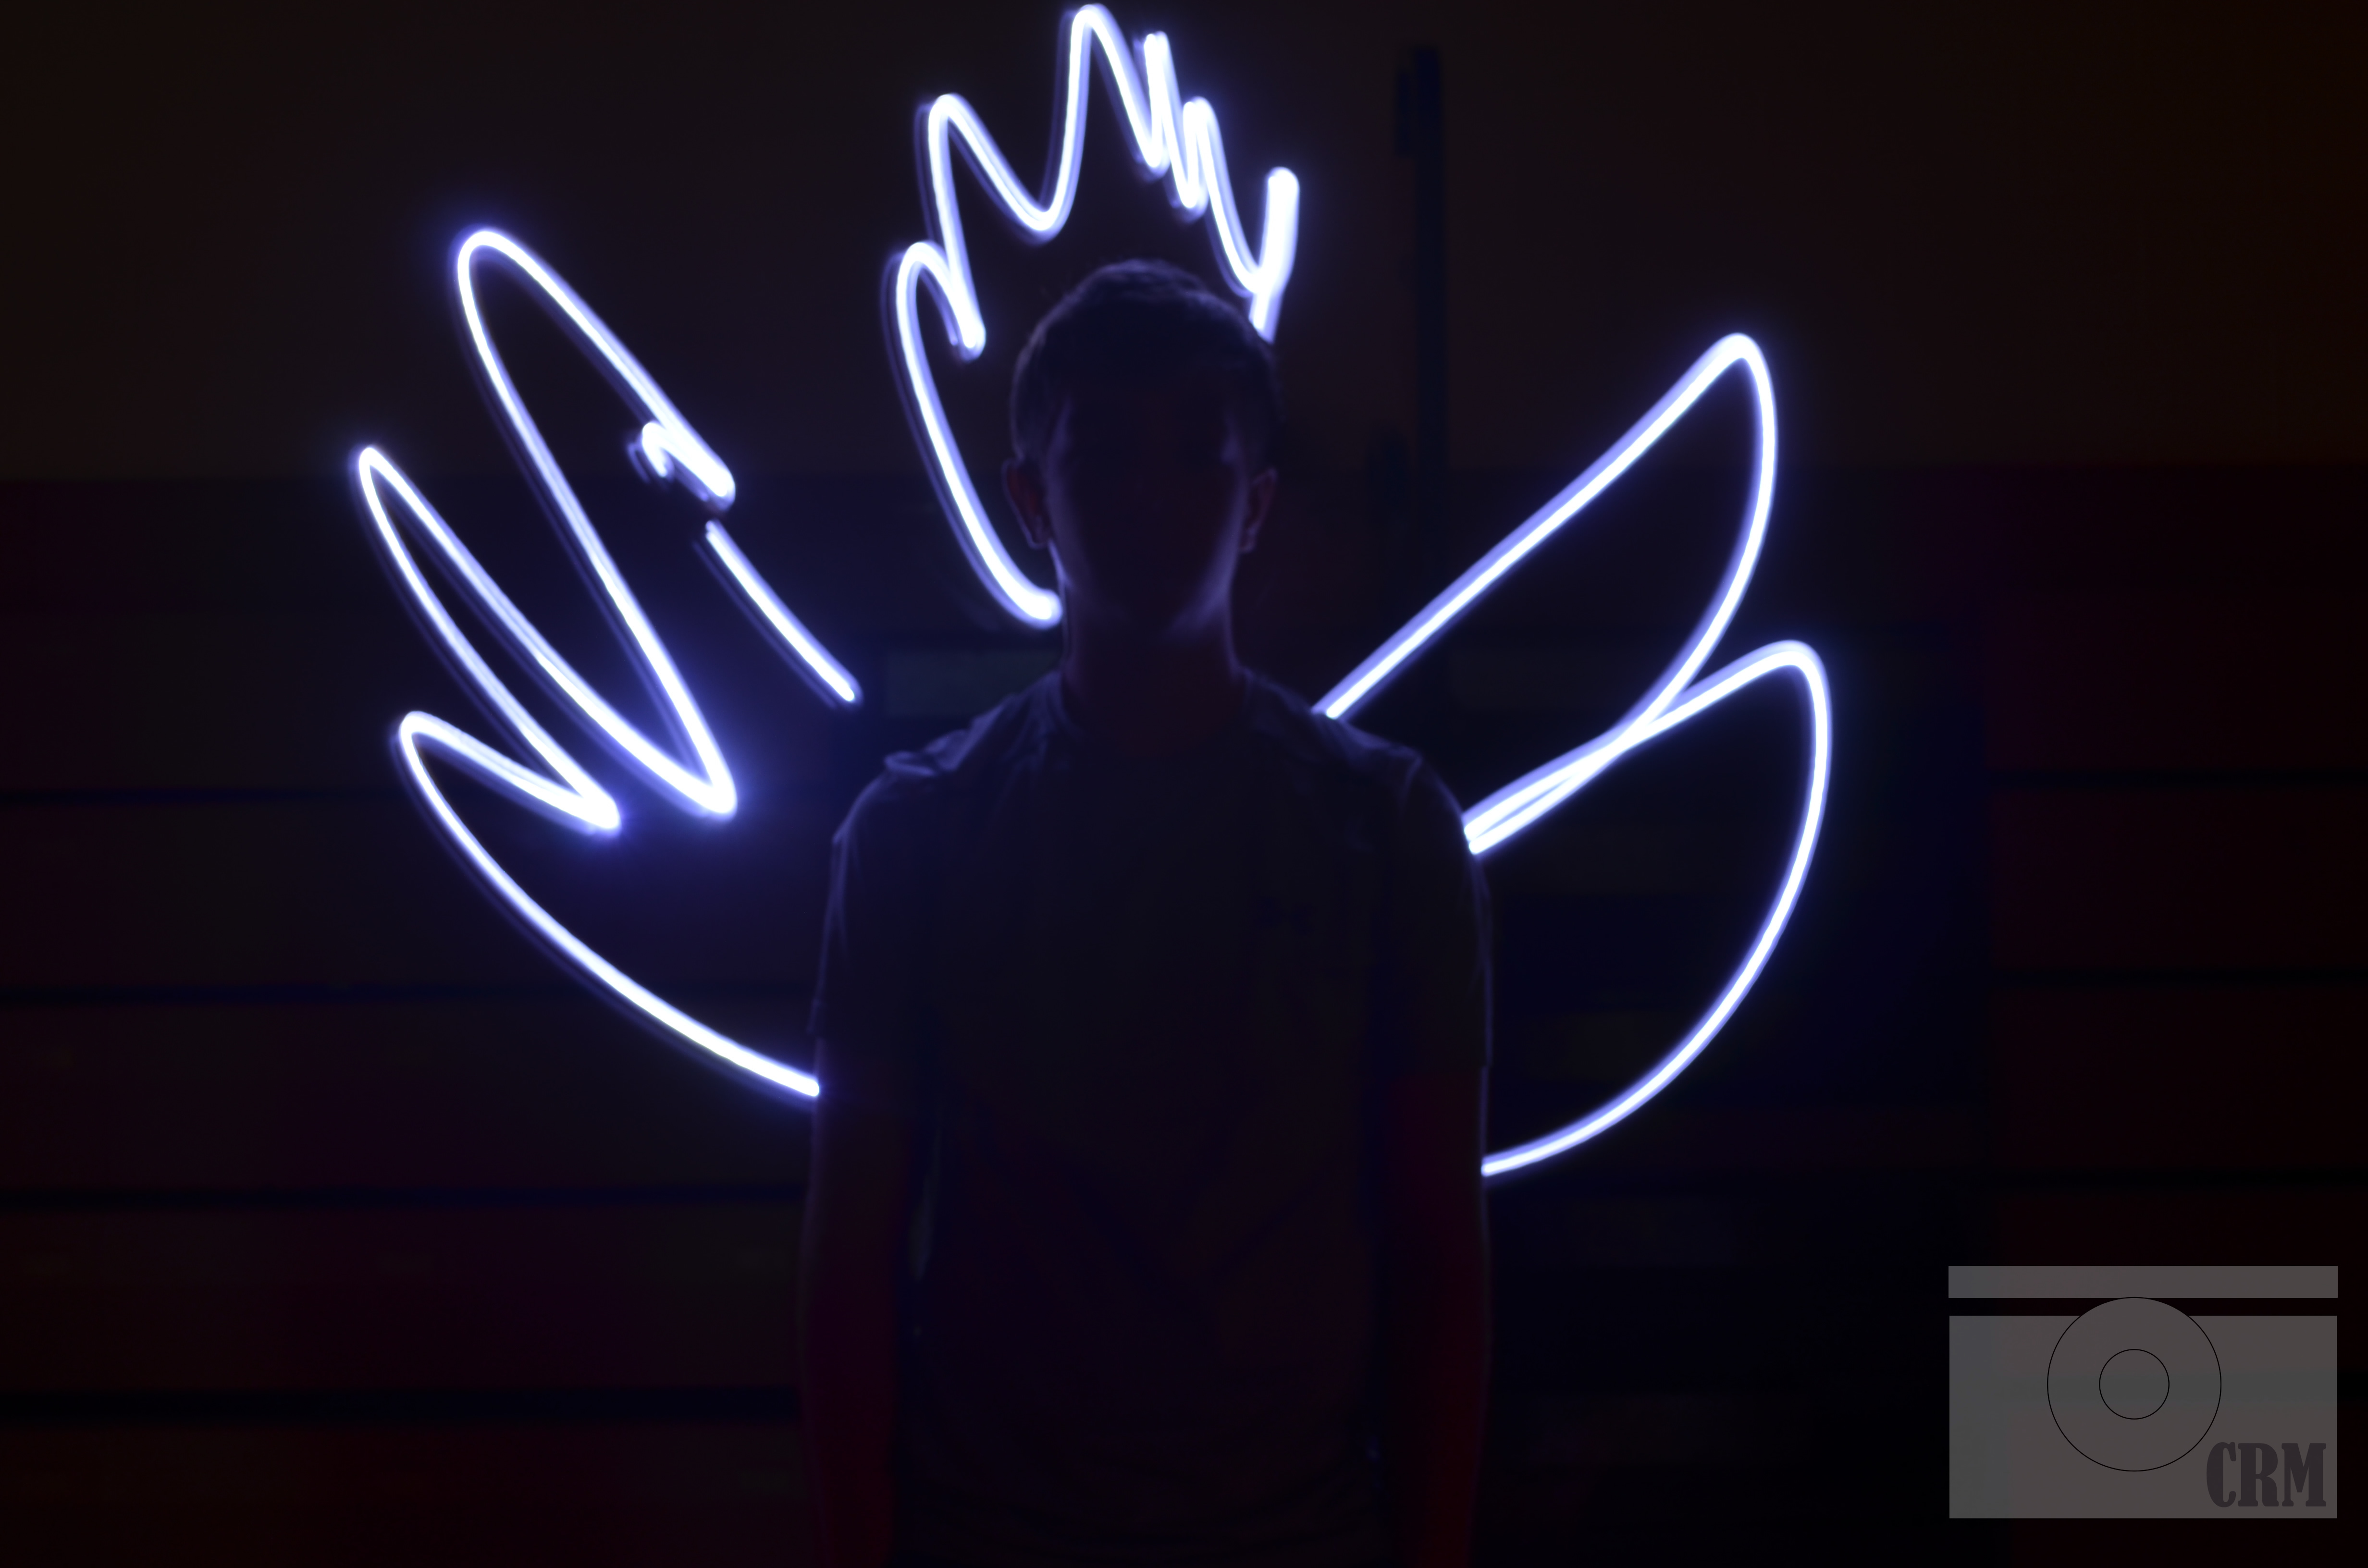
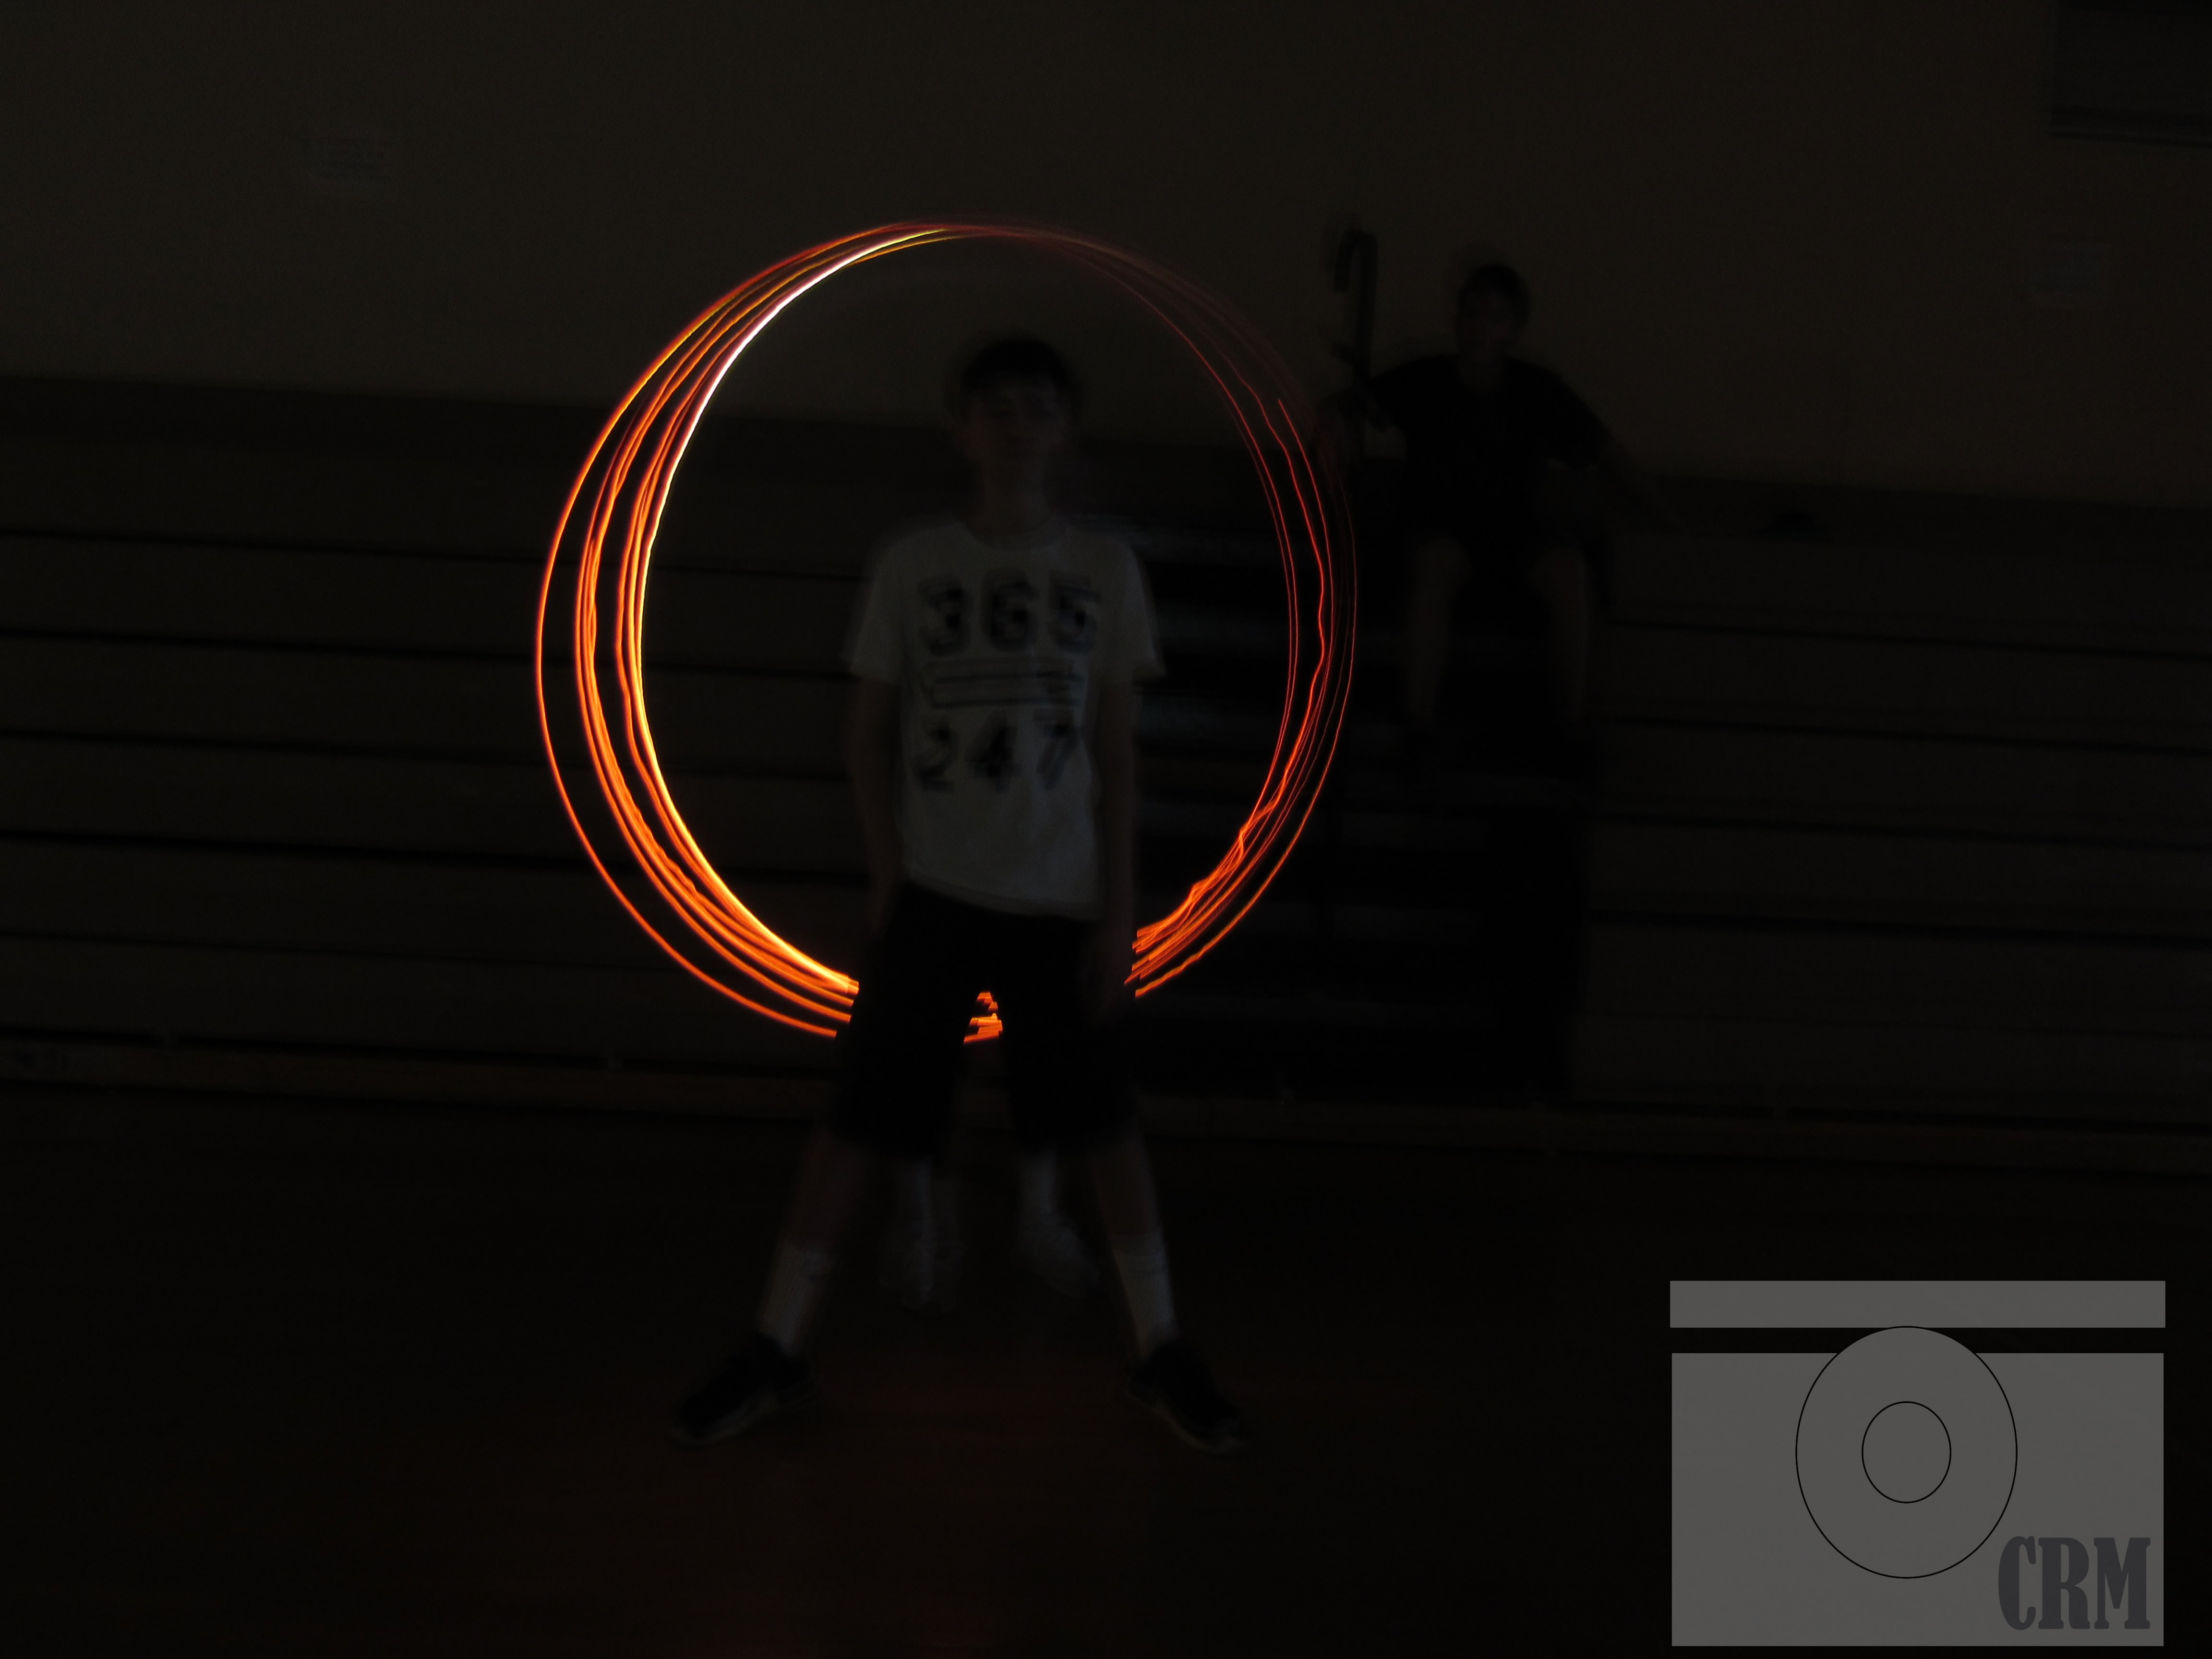
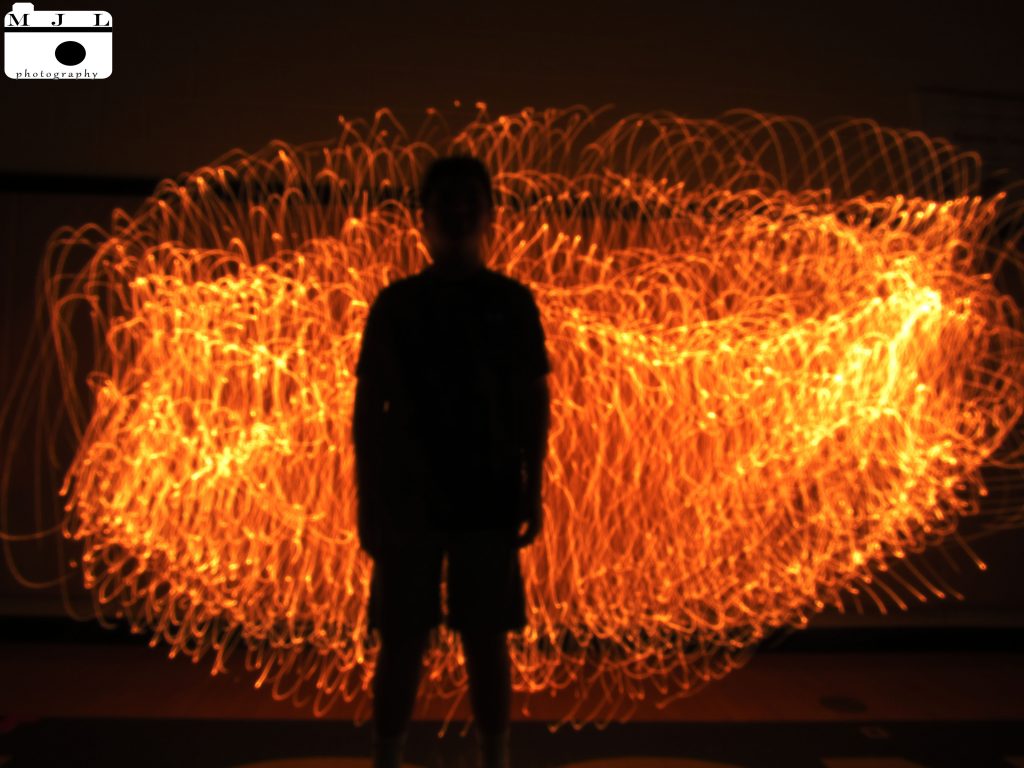
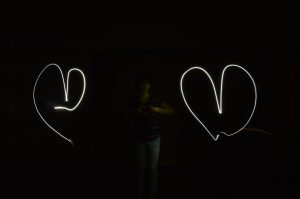
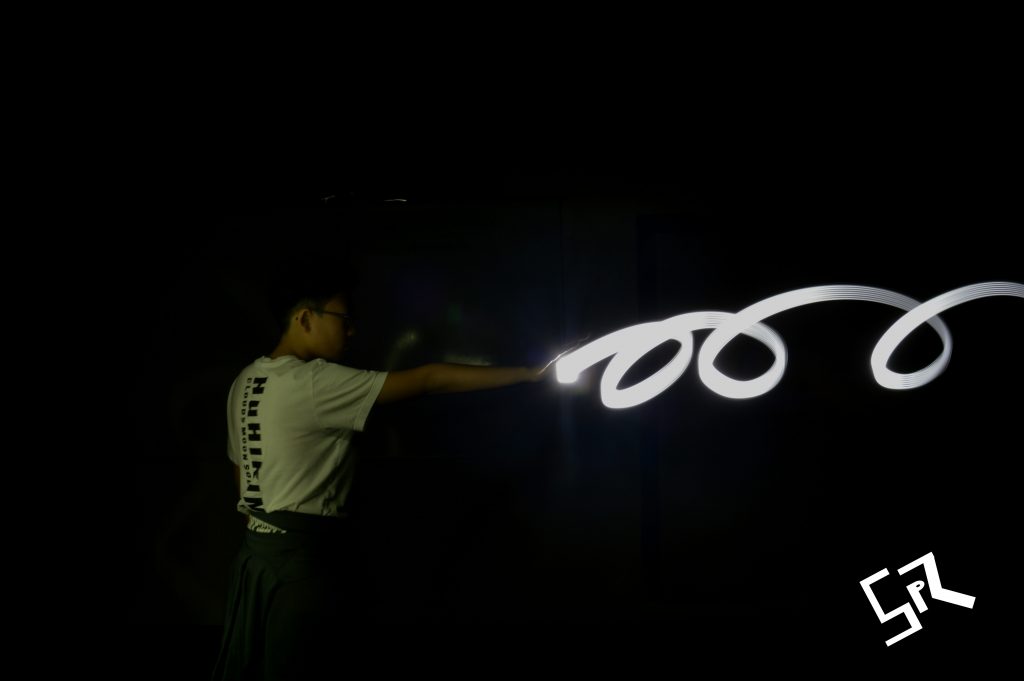
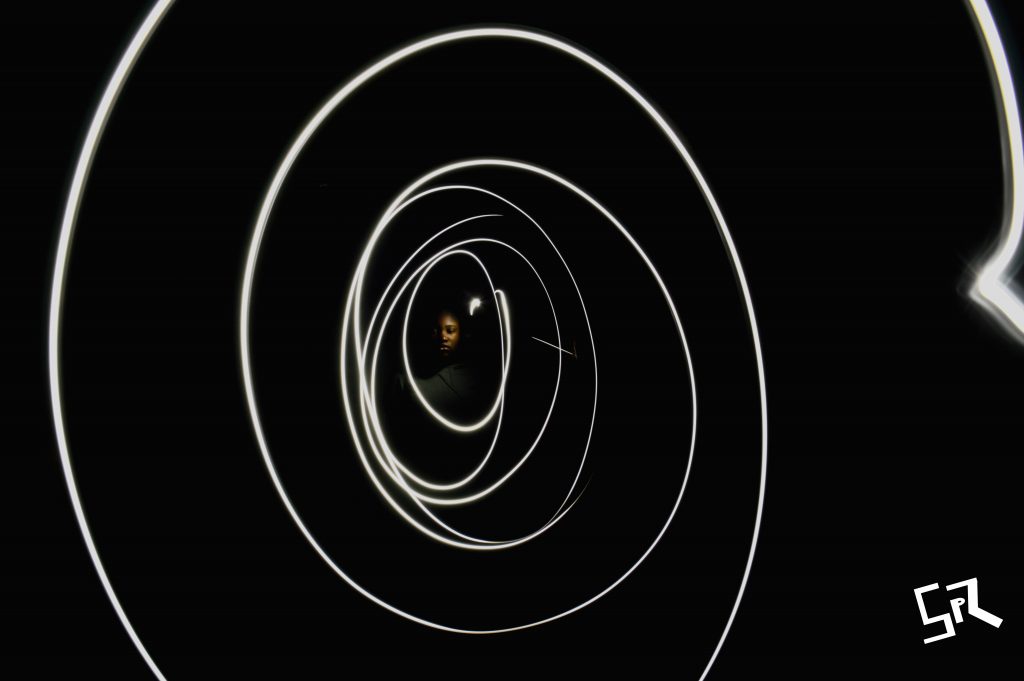
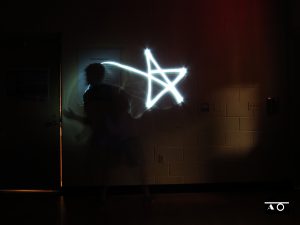
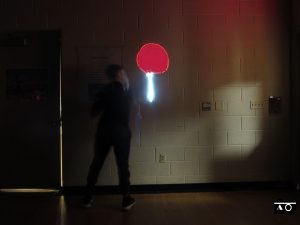
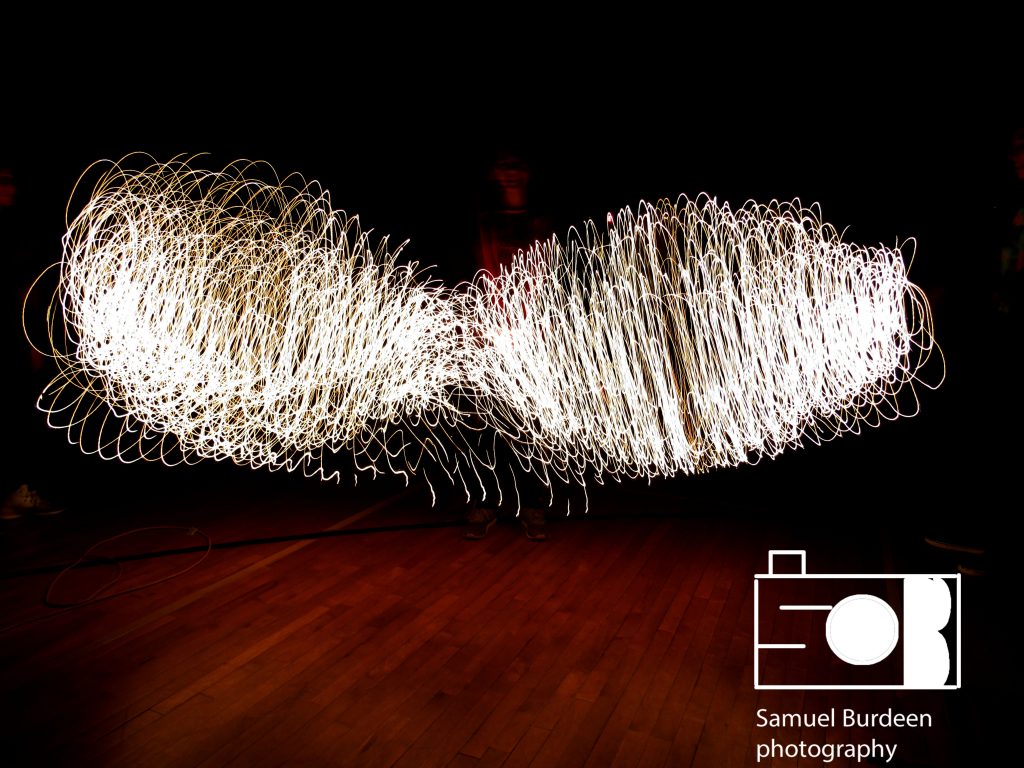
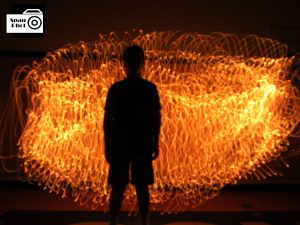
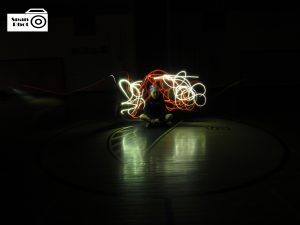
We took our pictures with Mr. Fitz camera which had the bulb setting so we didn’t really need to turn the shutter on for 8 seconds.The f stop was at 3.5, once we clicked the button we had to draw something but you had to make sure you didn’t take too long and that the light was facing the camera.What worked was being able draw what we wanted to and some of them coming out well.What didn’t work was making sure we had shadows and our feet in the picture but they came out well. Didn’t really have frustrations during this project except our feet  and shadows were getting in certain pictures.To take this project to the next level I would probably make the the drawing more “complex”, adding more swirls and designs.

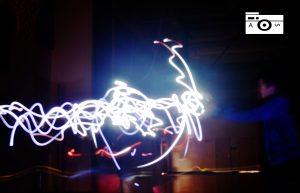
click here to see the rest of the photos


Light Graffiti

In order to keep all the light in we had to leave the shutter open for a long time. You have to move the light around quickly. When we drew on people it worked out well. It was frustrating when the light got crammed into the camera and made a blob. next time I would think more about using colors to take it to the next level. Use this link to see the rest of my photos.

https://photos.app.goo.gl/cE7ttEfEqfcFuNZx9


Light Graffiti

For this project we had our camera settings on ISO 100, and on bulb mode. First you want to turn your lights off if your indoors and go to a dark place if your outside. when you are drawing, make sure that your light is pointed towards the camera and not away. If you want the background to be visible you would take your light and point it away from the camera and flood it with light. It could be frustrating if you don’t have bulb mode because you will have to put a timer. Also, if something needs to be perfect but you mess it up will be frustrating.

https://photos.app.goo.gl/zl1PsY1y1AKCdksH2


Light Graffiti

For this project, we had to change the shutter speed to different lengths in order to add more time to the photo and change the ISO to 100. Then, we had to draw or write whatever we wanted with flashlights and the light came up in the photo. The cameras were really easy to use and they worked well. The other lights kept coming into our picture in the gym which was a frustration and we had to edit them out. To take the project to the next level, maybe backgrounds would be cool. Here are my two favorite photos and the link is to the rest of the pics!!!

link to the photos– https://photos.app.goo.gl/hmn7xrCXZprkpHqm2


Light Graffiti

In this project, I left the shutter open to capture all the light shown over a period of time that I could choose. Then I took a flashlight to “draw” different patterns and objects. The more I left the shutter open, the lighter the picture was, and the less dramatic it was. When I painted a curve, I found that the faster I moved my hand, the smoother the line was.

https://drive.google.com/drive/folders/1LY7Q-UzufQxStqWpNEvp37gOPwSssShP

Light Graffiti

In this project, we went into the main gym with a camera, atop a tripod. We turned off all the lights, and, changed the camera’s settings to bulb. When you switch a camera to bulb, you can start the photo, and it will capture all the light it sees until you press the button again. In the darkness, there was no light to capture, so, we used camera phones and flashlights (Facing towards the camera) and drew patterns in the light. We’d either simply create patterns or put ourselves in the photo, painting ourselves in light so that we’d also show up. We had to keep still, so the camera didn’t sense our movement.

We tried to make stars by turning the lights on and off, but that only turned into spots all along us. Afterwards, we simply drew the stars, and it worked much better.


I was frustrated with having to keep still for so long, as some positions are hard to keep. If we were to take this project to the next level, i think it would be cool to add stronger lights and maybe use some props.

Here is the link to my album; https://photos.google.com/album/AF1QipO66drTAHM19P0LNLkQjFRkD21oNPIOrwlz7CXN

Below are two examples of my work;

Light Graffiti

For this project we had the put the camera settings at ISO 100 and we put it on bulb mode which left the shutter open as long as you need. We had to point the light at the camera and the camera would then pick up the light. If you point it in the background, the background will show more.. Hard designs were the hardest to show up because we couldn’t see what we were drawing. the most frustrating thing was when the light would n’t be directly pointed at the camera and the picture wouldn’t turn out good. 

https://photos.app.goo.gl/XIgslFHfRfLv4fdW2


Light Graffiti

For the light graffiti photos, We used a dark room with flashlights to make streaks of light. For the camera to capture these pictures, the settings for the camera need to be Bulb Mode, ISO 400, F8 and Manual Focus. For the photo to capture the light, the shutter speed to 8 seconds so people have time to draw with the light and then exit the photo. What worked was using a dark room to take the photos and using strong flashlights. What didn’t work was putting the light too close to the camera because the you could not see anything. It was frustrating when you had to stand very still in the photo or else you would mess the photo up. To take this project to the next level, we should light up different objects that we can find.

active link to photo album: https://photos.app.goo.gl/WuT8yIJ2kpXkf8oG2


Light Graffiti

This time our project was to draw with light!  Sounds crazy, I know.  But with the right camera it’s actually possible.  The first thing you have to do is go into manual settings and change your camera into Bulb Mode.  This allows you to keep the shutter open for a long period of time and capture a bunch of light.  You also have to change the ISO’s in your camera to 100.  After you have completed these steps take a few friends with you and to go to a dark place, as dark as you can possibly find.  You should bring a flashlight or some Christmas lights if you want to spice it up.  Then set up your tripod and camera and start to draw!  The way you do this is by pointing the flashlight as the camera to create a streak of light.  If you want to “paint” some light into the photo you point the light away from the camera and at whatever you are trying to paint with light.  While this is happening have one person push down on the picture button to make sure that the shutter is still open.  Also have the subject of the photo stand still as any other people draw around them.  This can create some really cool shots!  Before taking a picture thought, you want to have a clear idea about what you are looking for.  Especially if multiple people are drawing at the same time.  When my own group tried to take a picture without being totally clear, one person did something completely different then the other and they had to re-take the shot many times.  It was hard to draw without being able to see what you are leaving behind, so don’t get discouraged if you have to re-take shots.  It is a part of the process.  You can do many things using this technique!  Take lots and lots of shots and try to think out of the box.  Whether you are drawing a light mermaid or a simple heart take your time and have fun!

Here are a few of my favorite pics I took with my group!  If you want to see more click the link. https://photos.app.goo.gl/ZOlyrPMqhMOdmiwJ3


Light Graffiti

I took the photos using specific settings on the camera. The settings that I used were ISO at 100 and shutter speed at 10 seconds. We did this so that the camera could pick up all of the light possible in that period. Some things that worked was moving the light slowly so there are no streaks. Also, you can turn the light on and off to prevent unwanted lines because all light is picked up. Some frustrations were when the person moves it becomes blury. Some ideas are having different colored lights and having a better camera. 

https://photos.app.goo.gl/IknI94bB5SLnOHpJ3