
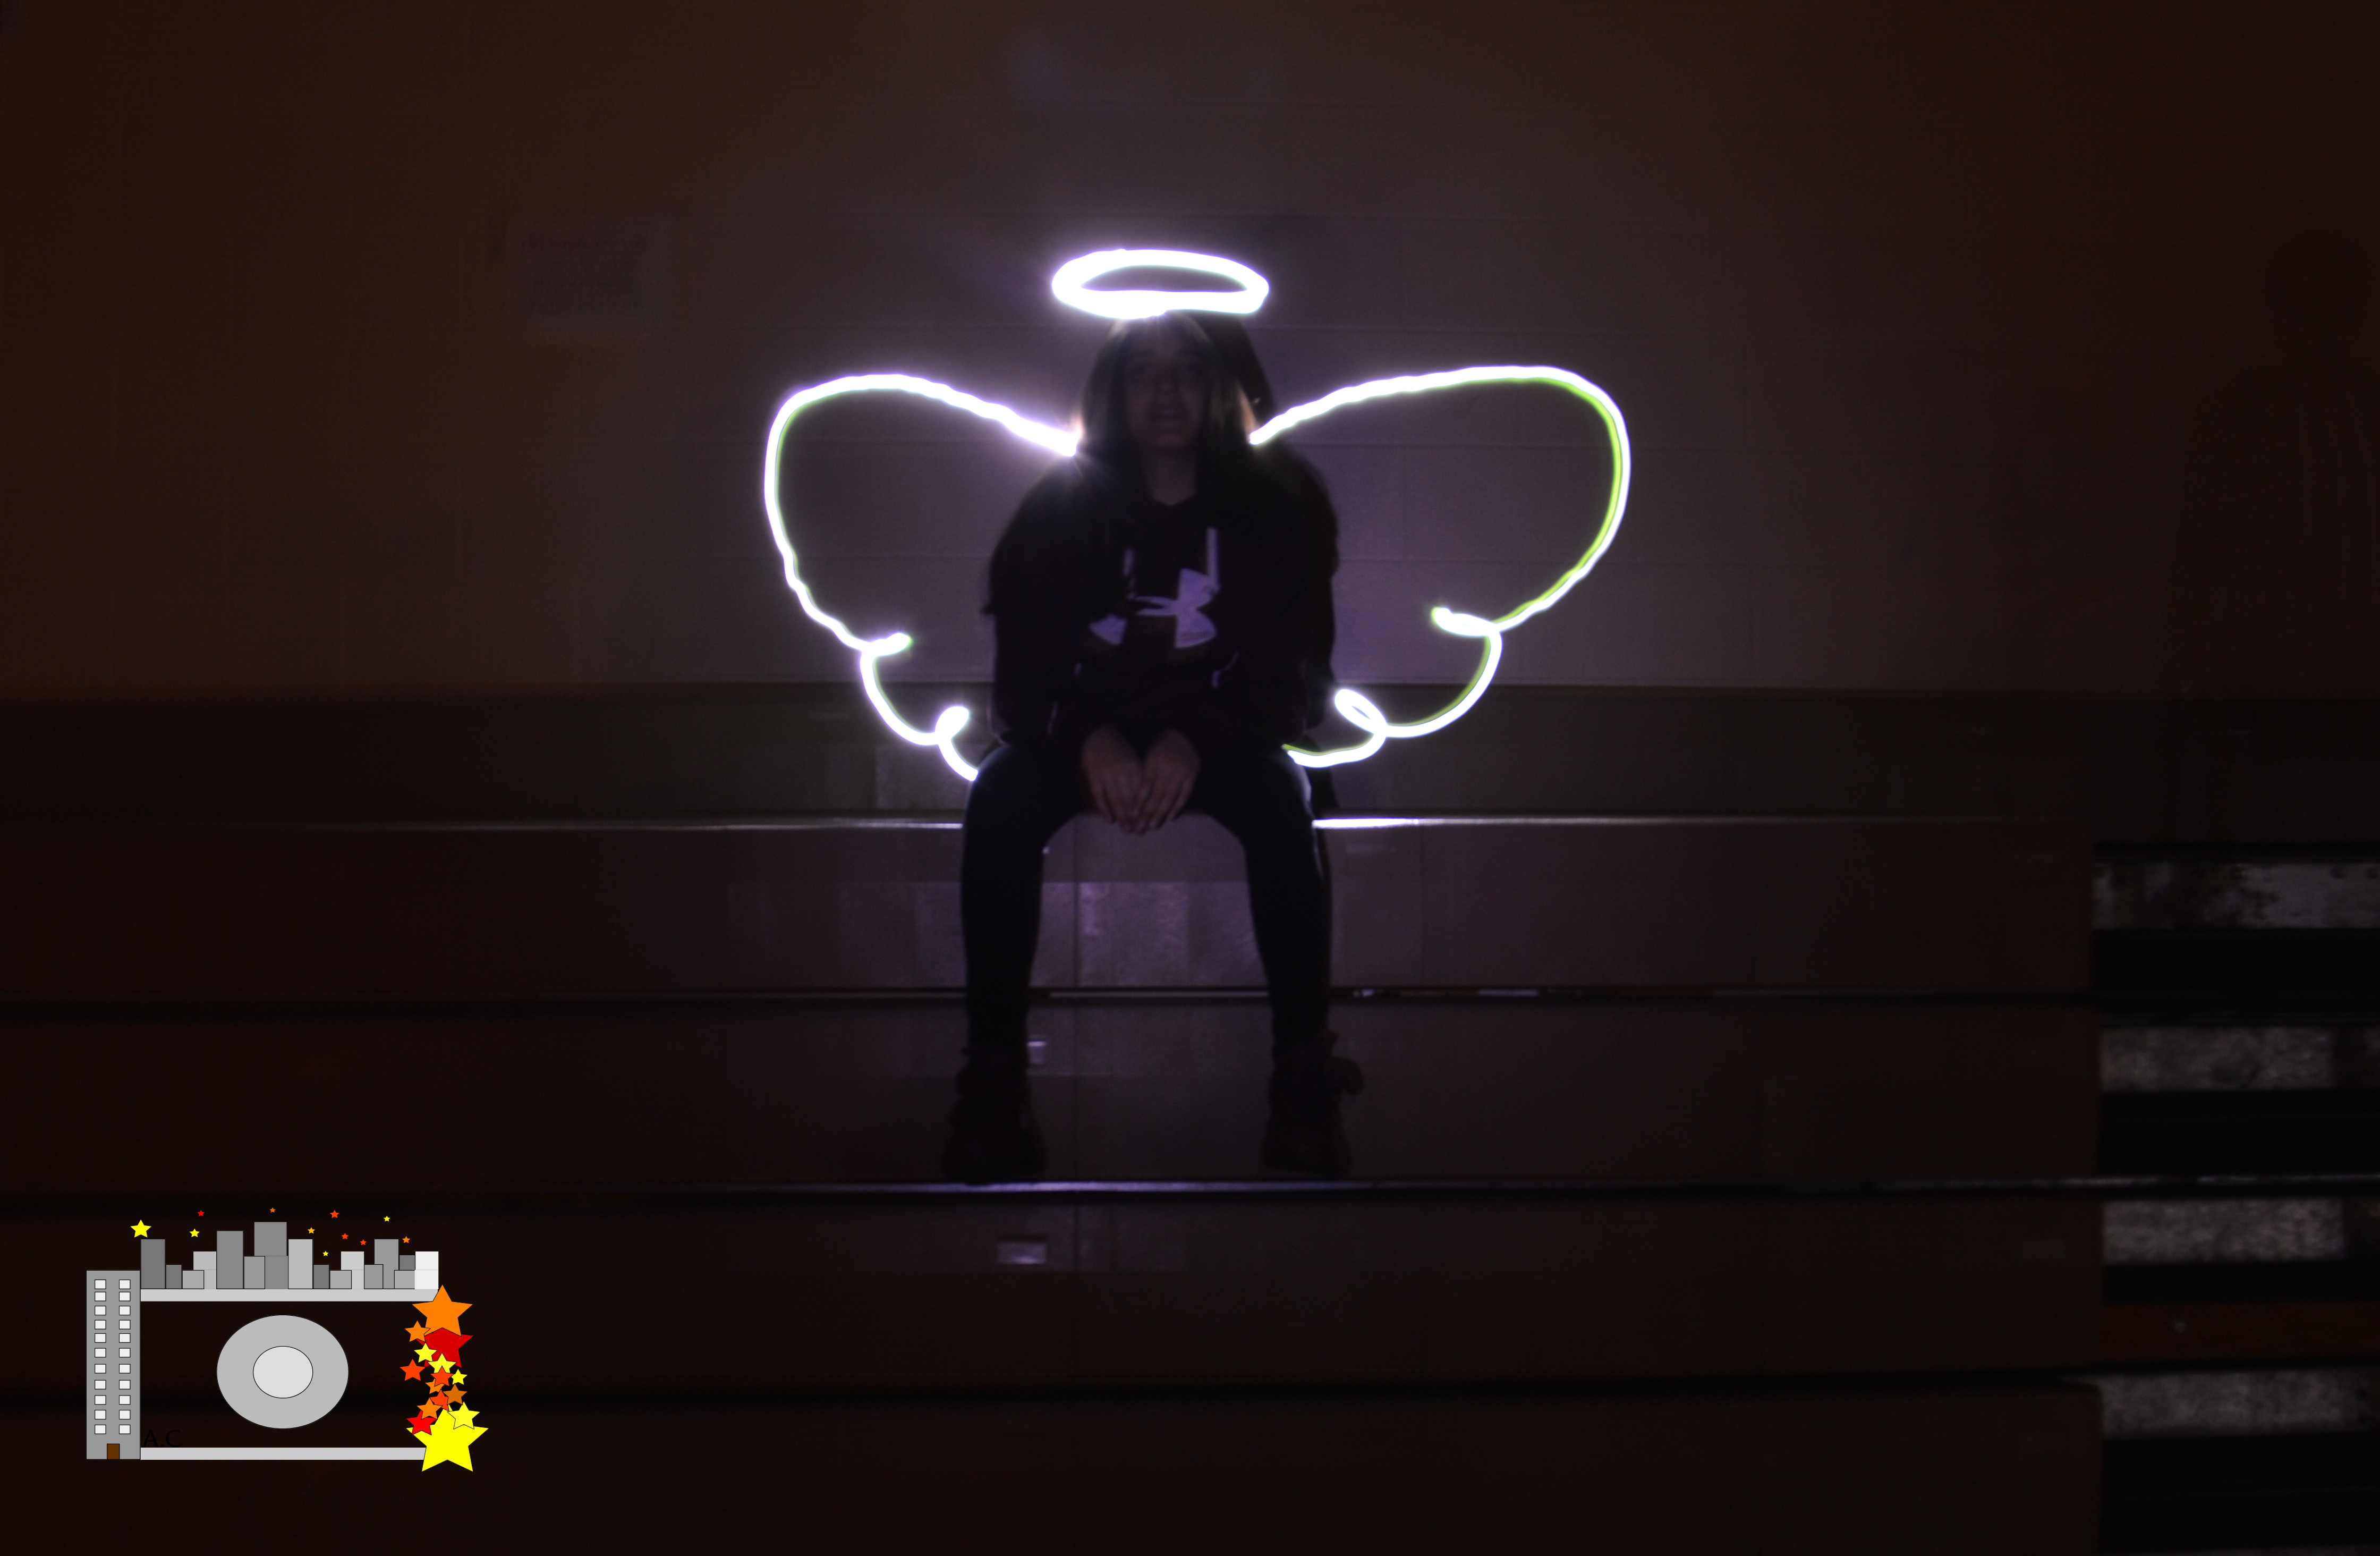
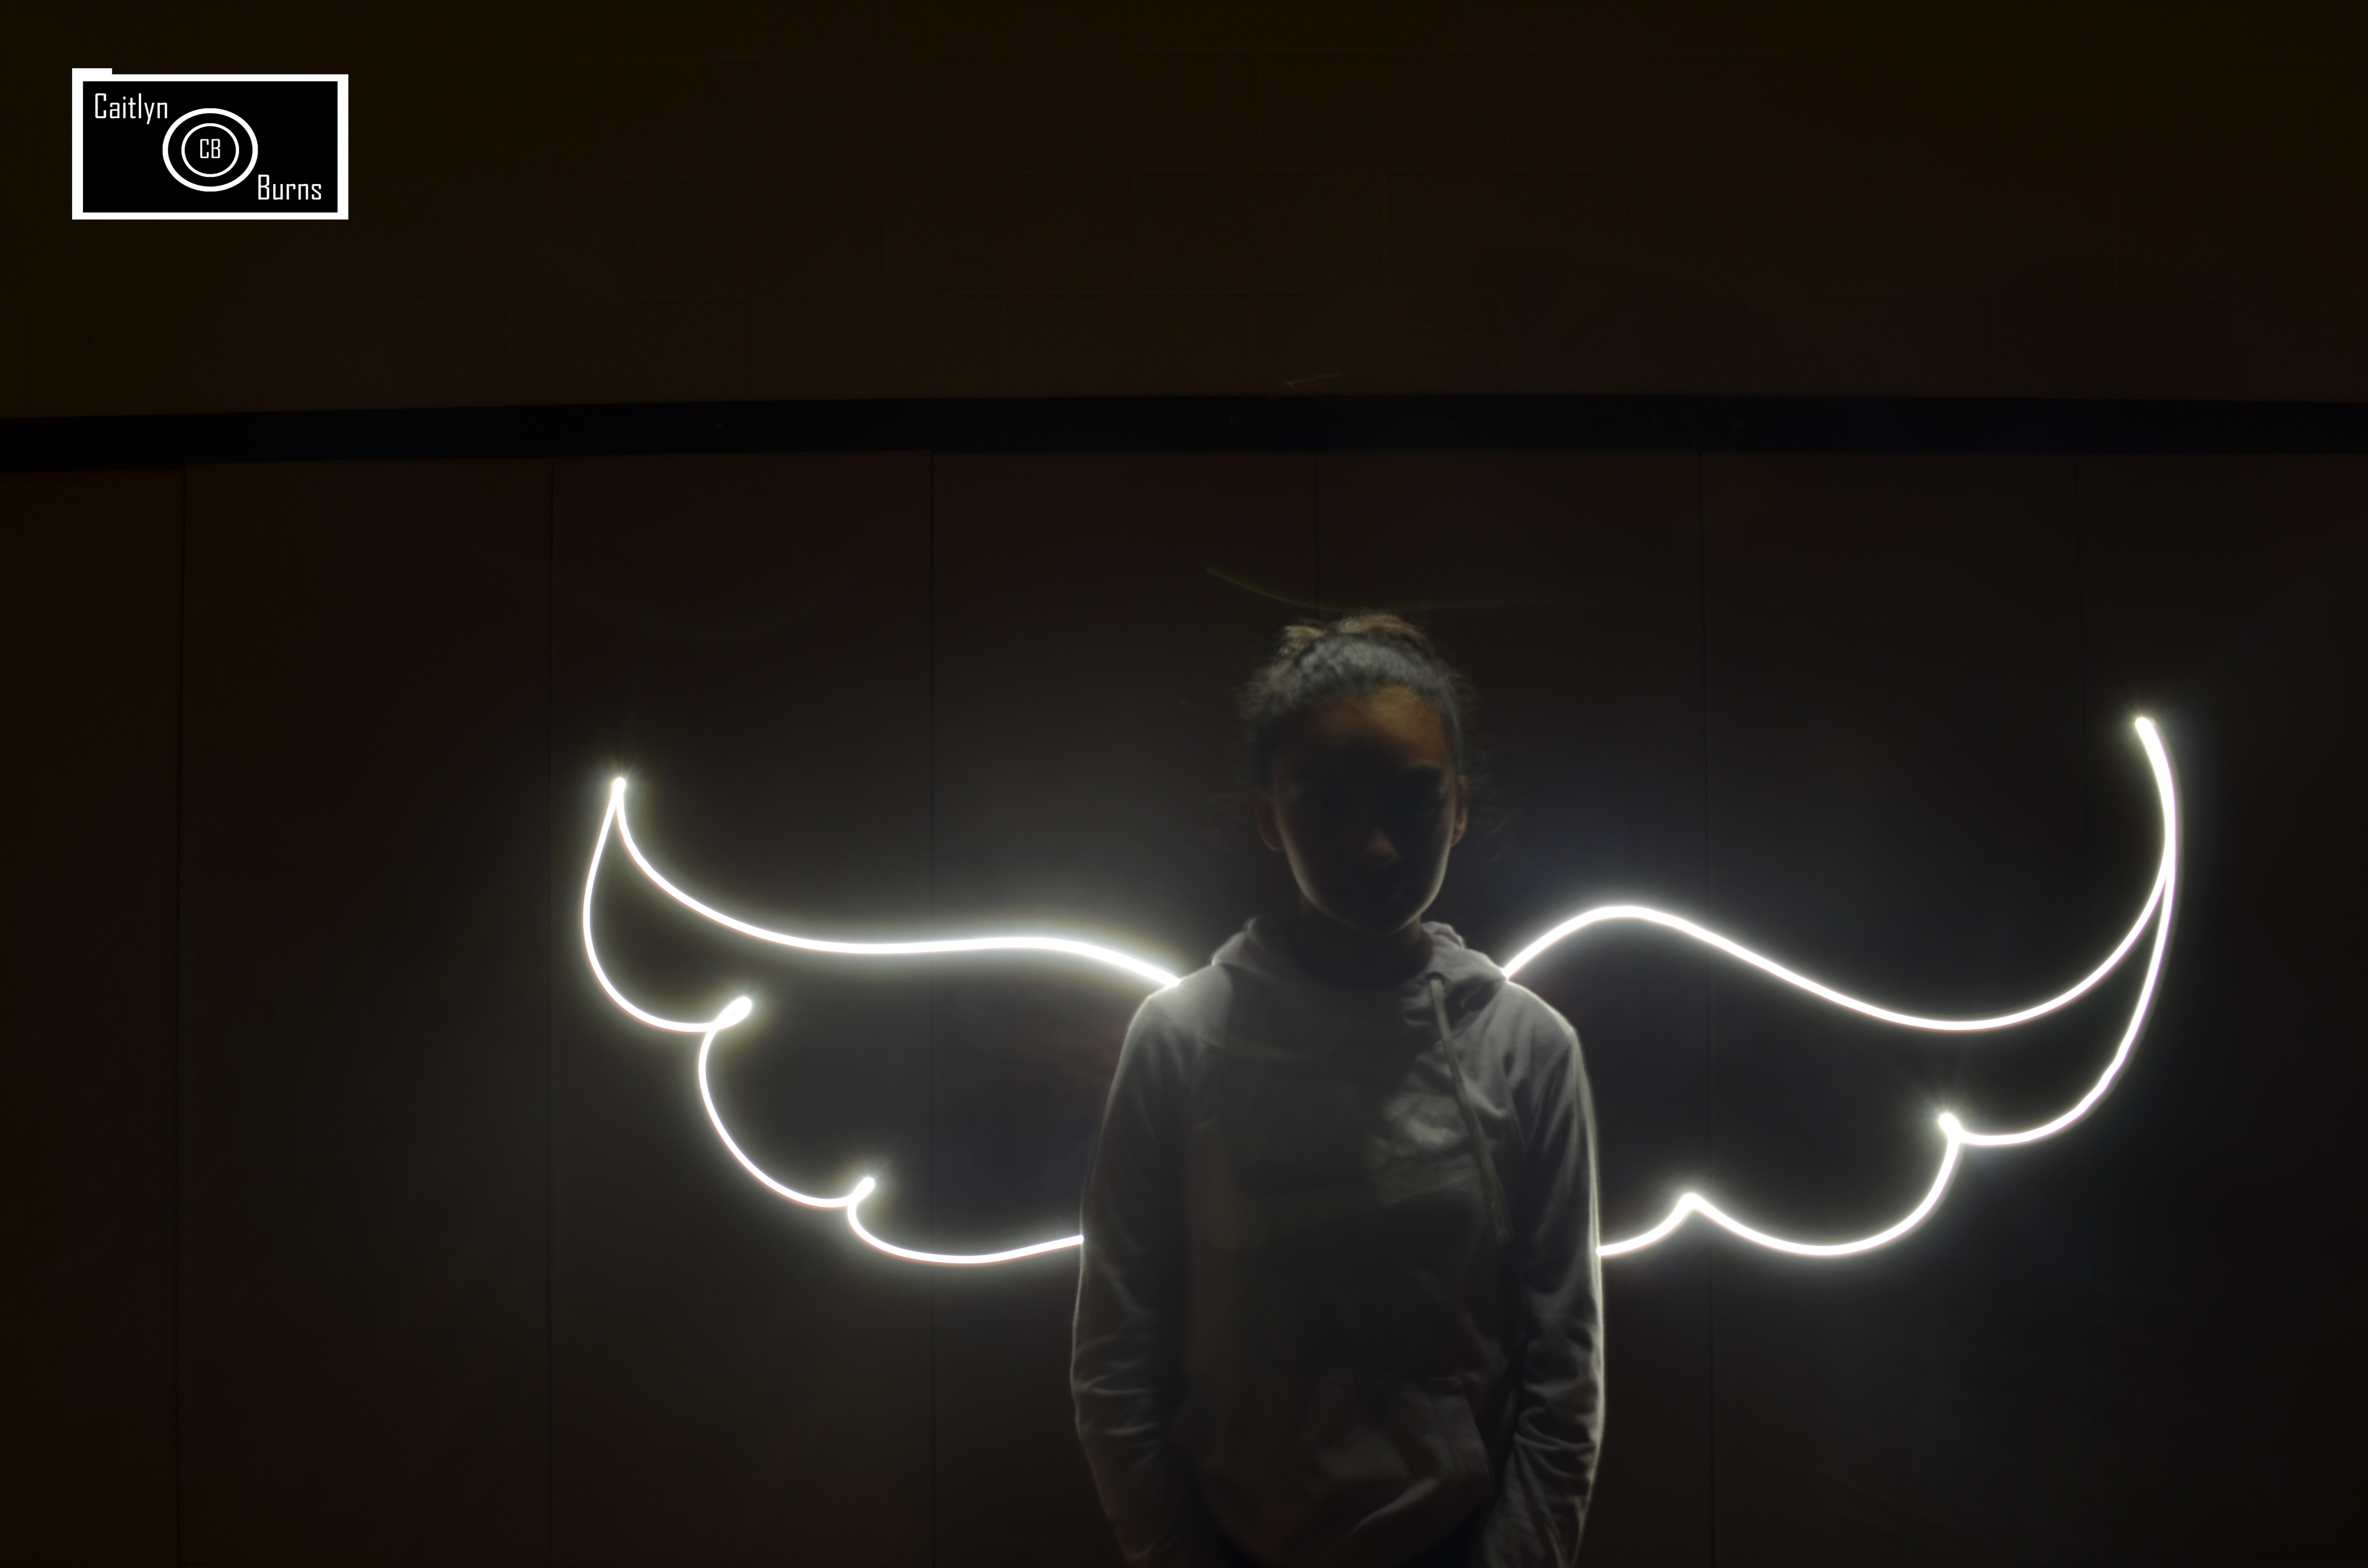
We took pictures by sometimes painting the background or the people in the image. Sometimes it wouldn’t work to take the pictures because we didn’t have enough time to do everything we wanted.A frustration for us was that we would never know exactly where we were placing the light. We had people standing on chairs so some of the light graffiti would look like its actually high up in the air (for example, a cloud). Here is the link to our photo’s.
Light Graffiti
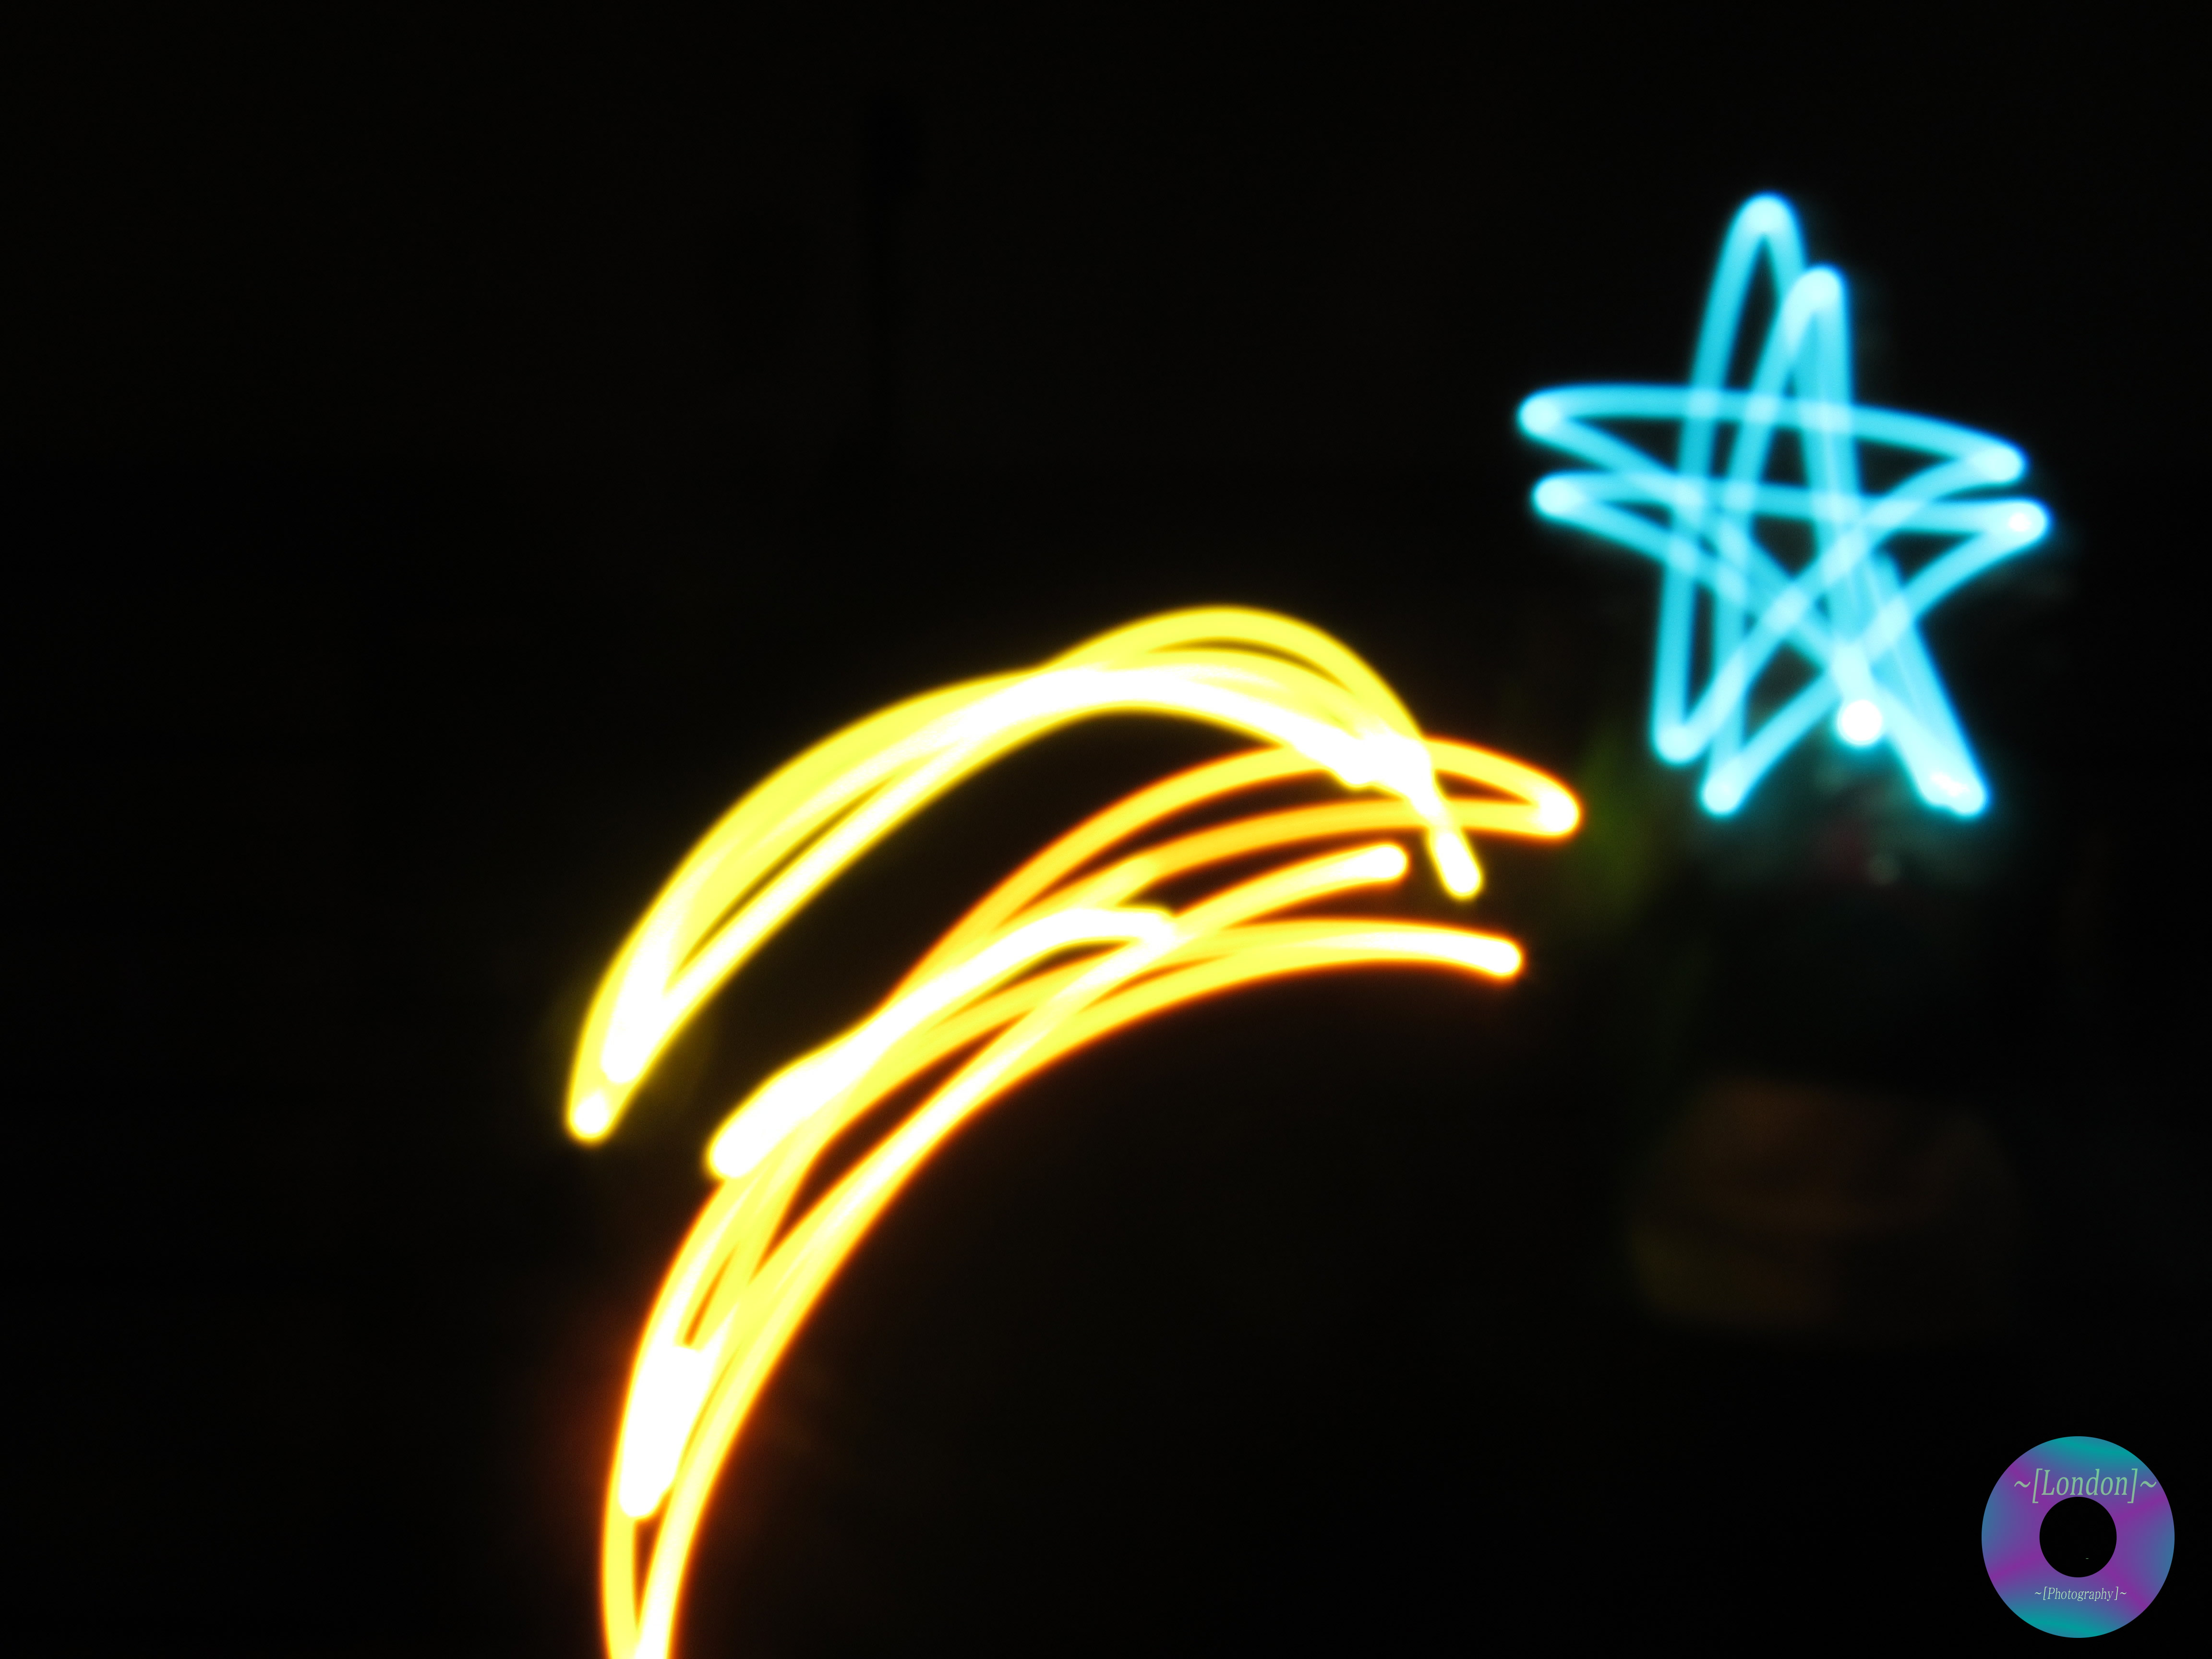
For taking these light graffiti photos we had to follow a set of tedious steps. First, we had to turn off ALL the lights in the gym. Following that, we would adjust the settings on the camera such as shutter speed and ISO. After that we would “draw” with out flashlights. After we “drew” the camera would process all the lights and give us our final photo. I found that the longer the shutter speed, the better. Even though we had to wait longer for the photos to process, it allowed us to have enough time to draw. One thing that didn’t work was over complicated pictures. My group tried to draw a beach scene with a boat, clouds, birds, the sun, and of course water. This proved too difficult and after spending a whole class period trying we gave up. One frustration we had was other groups shining their lights toward us. This would mess up our whole photo and force us to start over. Below are 2 photos our group took, click here to see the rest of our photos.
Light Graffiti
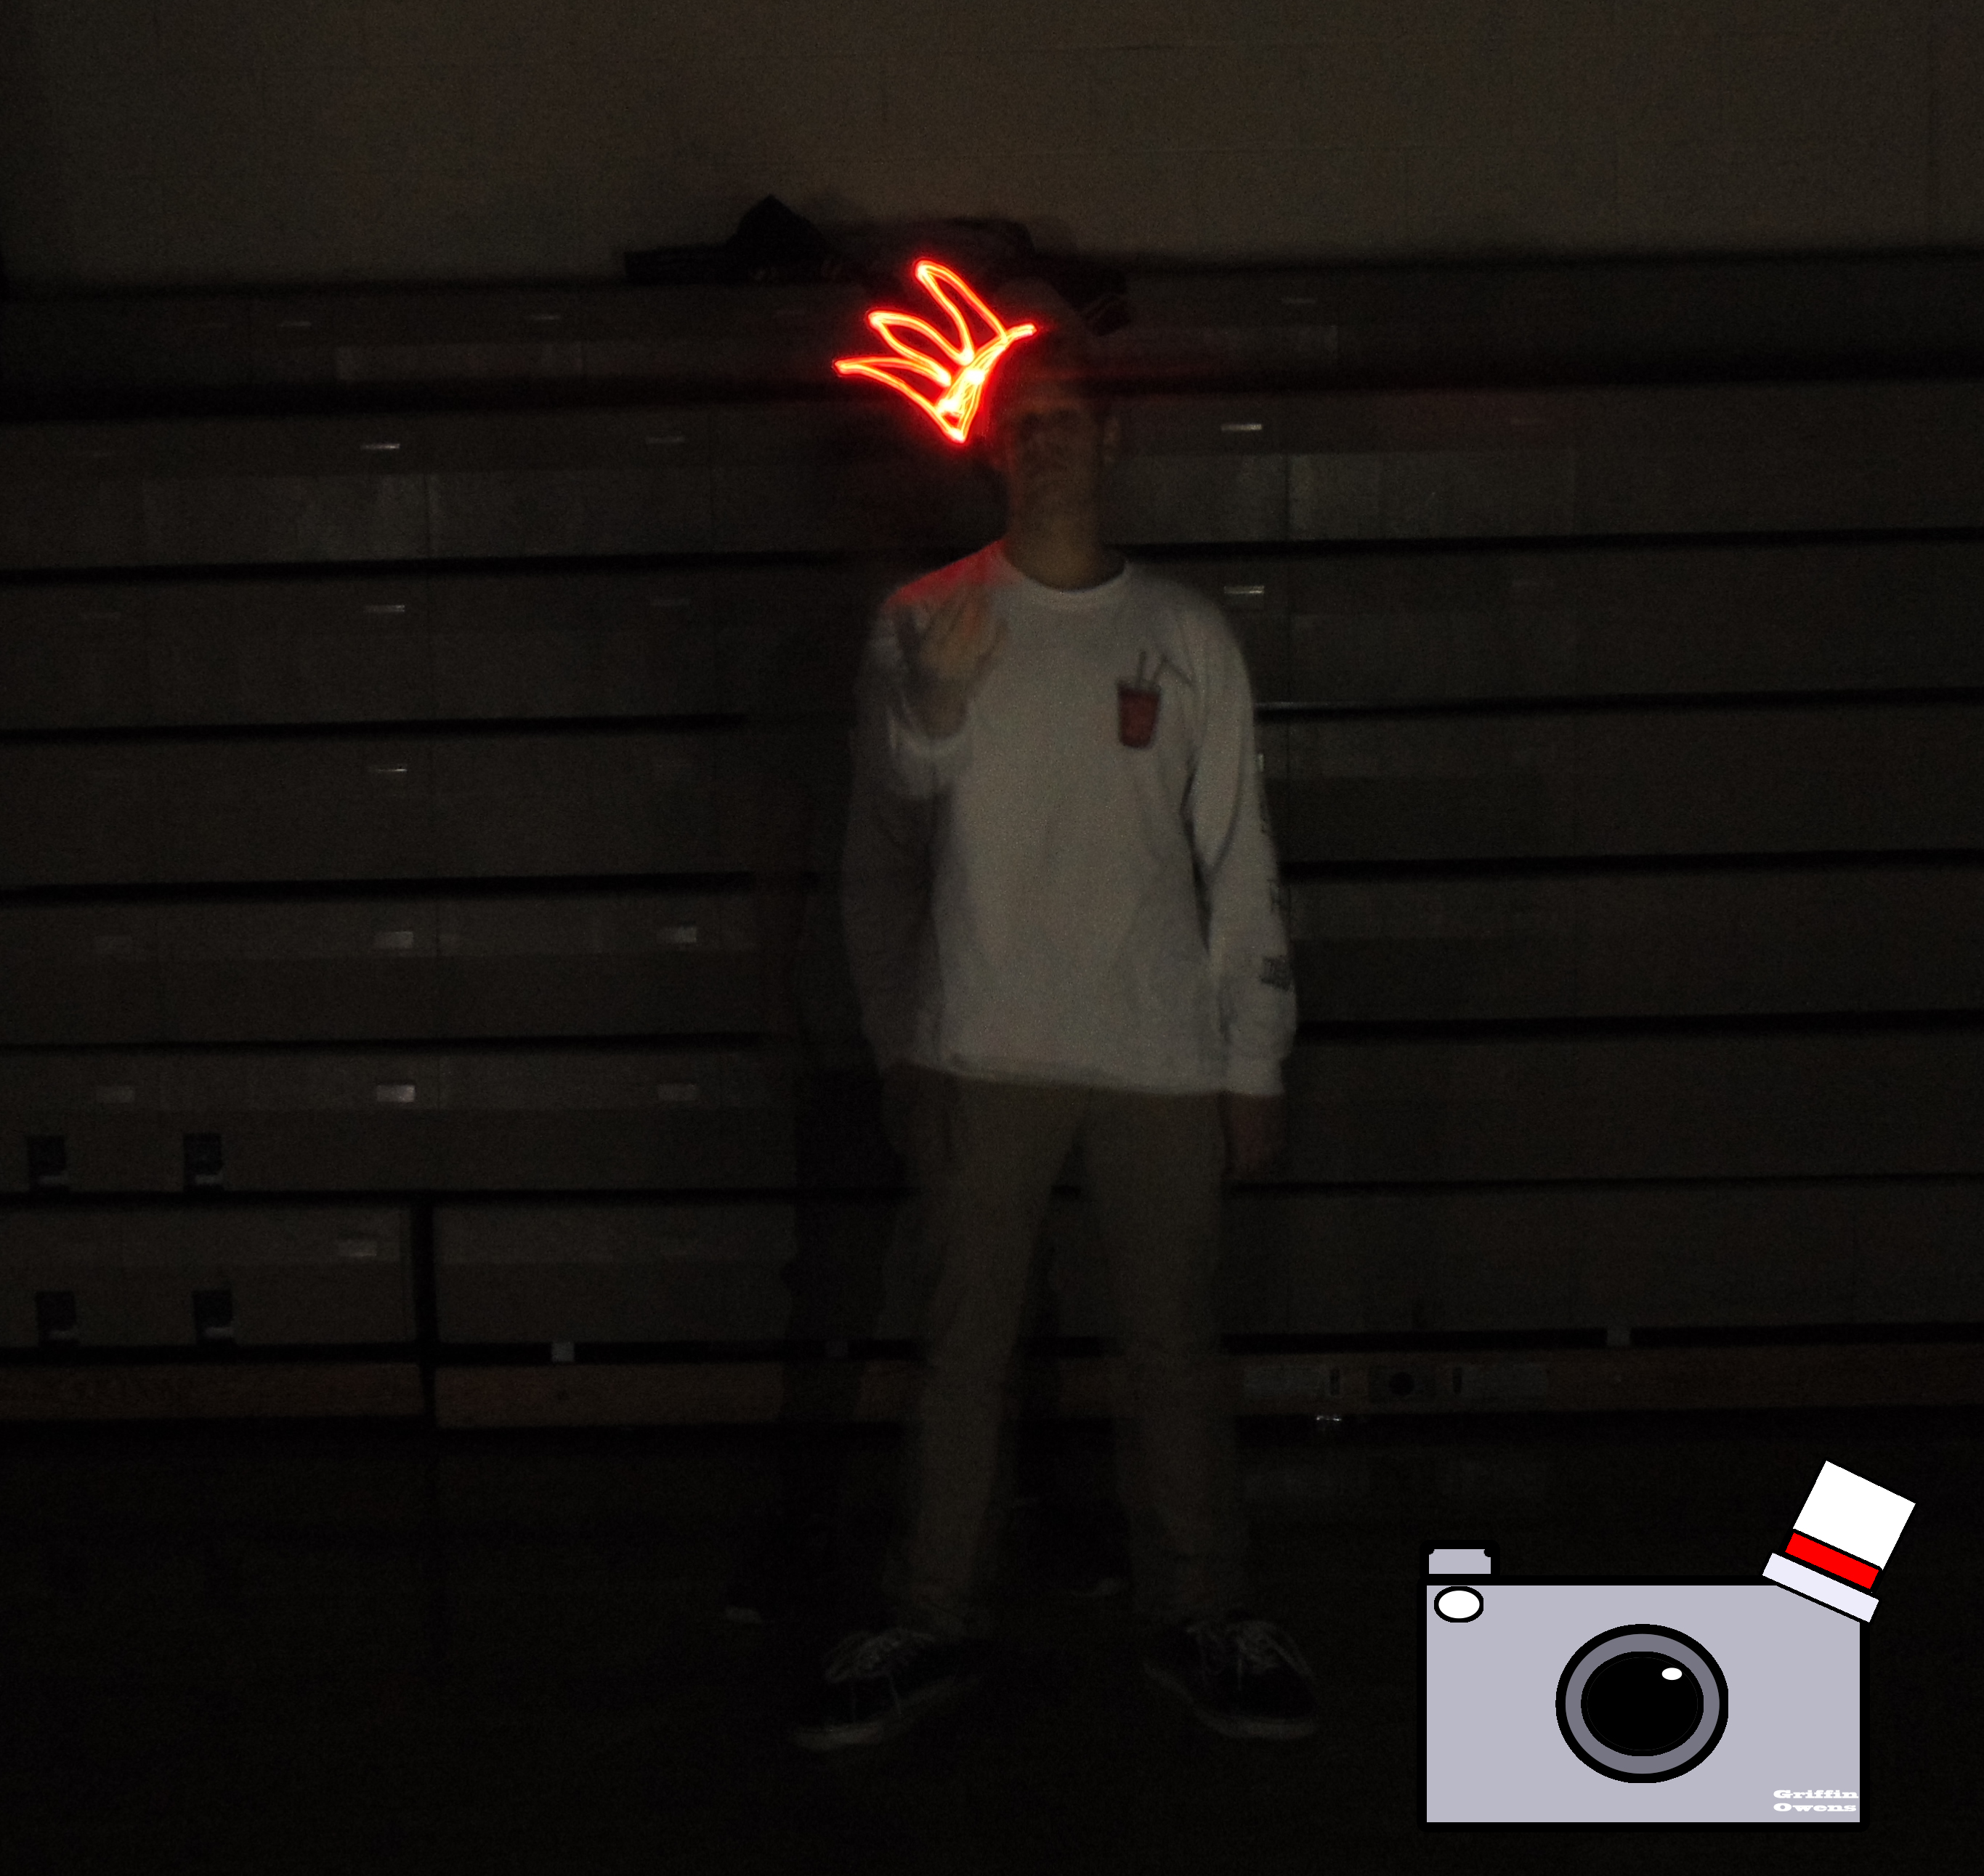
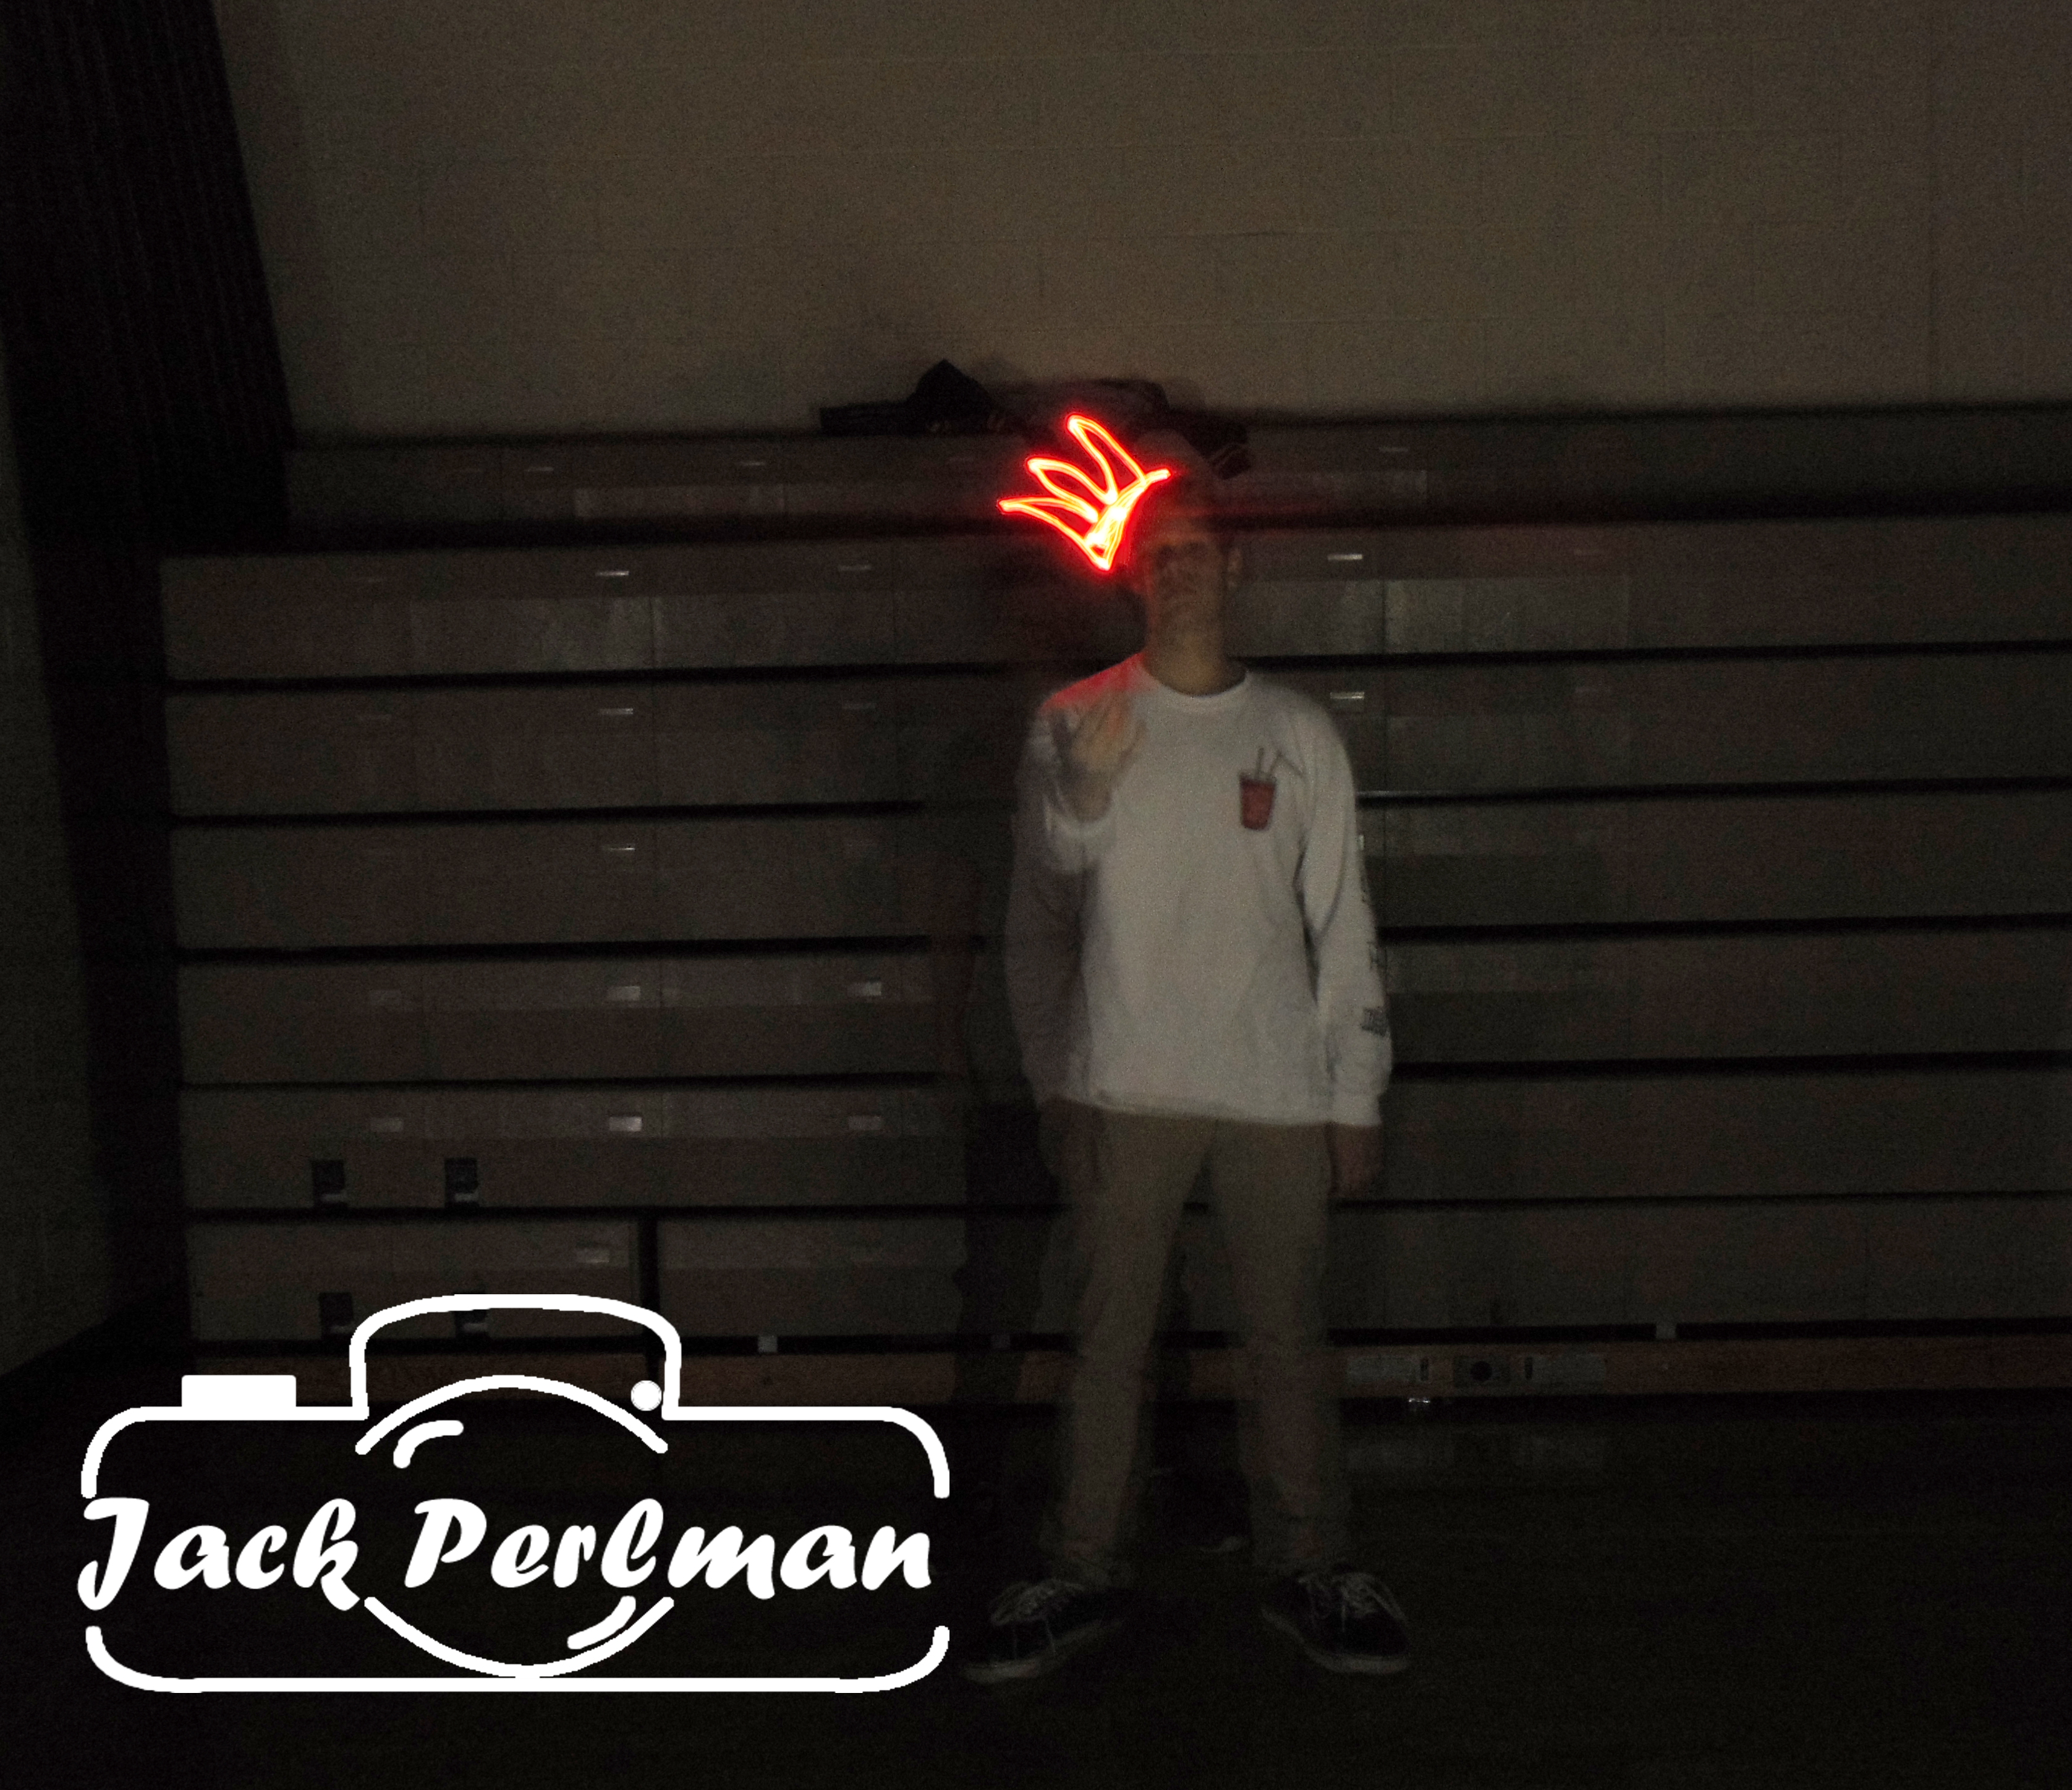
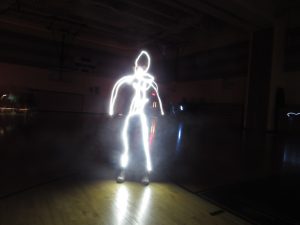
For this project we had to use lights to draw things in the dark. On the camera we used there was the bulb setting so instead of changing our shutter speed to stay on longer, we just held the button down until we were done drawing. Once we held the button down we drew things using flashlights and some LED lights. The hard part about this assignment was getting people to stay still when we “painted” them. The easy part was being able to hold down the button for however long we wanted. To take this project to the next level I would suggest taking multiple photos of the same scene and combining them to make a short stop motion film. You can see the rest of my photos Here.
Light Graffiti
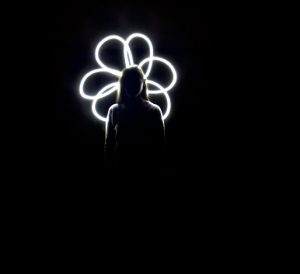
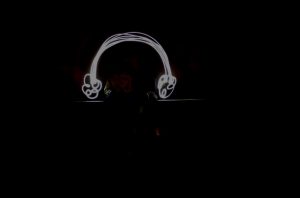
For this project we needed to take pictures, using bulb mode. We then needed to hold down the button on the camera, while someone else “drew” something with light. The other person would use some kind of flashlight and draw something (streaks of light), but they had to face the flashlight towards the camera. If you wanted to make the whole background lit up, you would face it away from the camera. Taking turns, helped us all work together, but our big group didn’t really work well, because it was too big. I was very frustrated on the last day, because I didn’t have enough time to take pictures(I was absent on the first day), but our whole group had other ideas too, so we were all stressed. We should have some kind of a field trip over night thing, and take pictures at night in the city. Here are two pictures I liked:
To see all our other photos click here.
Light Graffiti
To take these photos we made went into the gym and turned off all the lights. We also set the shutter to take longer, usually 10 seconds. We then used flashlights to draw images. What worked was usually having multiple people draw things in the picture. What didn’t look as good was painting people in. What didn’t work was when the person in the photo moved after they were painted in. Different colored lights usually made the picture even better. Everyone worked together to come up with ideas for what to draw. You can find the rest of the photos here.

Light Graffiti
My group took our photos with an ISO 80, and a shutter speed up 30 seconds.First thing we did was figure out what pose/photo we were taking, then deciding who was posing and who was drawing him.Secondly was taking the actual photo and drawing with the light.What worked in the project was after we finished drawing we shined the light on the person so you could see them in the photo, also we shined the light at the camera while we were drawing so it could see the light.However while you were drawing the light you couldn’t see it and it didn’t come out in final photo.I was frustrated while using a specific light because it was right handed however didn’t know. If you wanted to advance the project you could make a movie while using the light.
You can see the other photos here
Light Graffiti
We took our photos with a ISO of 80, usually a shutter speed from 10 seconds to 30 seconds. First, we had to come up with something to draw, the one person would take the photo while the others would draw the image with the amount of time we got and hopefully we got a good outcome. What worked was that if we used a bright light, it would show up better on the camera but, if we used a more dimmer light then it would show up as much. One of my frustrations is that when you would draw something and you think it will look good on camera but then it turns out really bad. We could take this to the next level by using more time to draw the photo and use many more different types of lights to make some cool creations.
You can find the rest of my photos here
Light Graffiti
My group took out pictures by going in to the gym (completely dark) and drawing with out phone flashlights. In order for us to make color we had to put a sticky note in front of the camera. I think the most frustrating thing was getting the picture all the way done and not halfway done. One thing that could take this picture to the next level is if we did a whole class “portrait”. You can find the rest of my photos here.

Light Graffiti
 for the lihigh and thge the
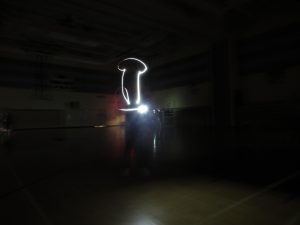
For this project I had to keep the camera lens on for a really long time so that the light could enter the lens and the iso had to be really high. the light had to face the lens or else it would just expose and shade other things. it worked when we helped each other with our ideas but it didn’t work when we didn’t help guide the person with the light. if we took this project to the next level I think we should go out in the night in dc as a class for a over night trip and do light graffiti in dc.
Light graffiti
Click here to see the rest of my pictures: https://photos.app.goo.gl/J2fWeuBUfyL3LRds2
we took our pictures on mr. Fitz’s camera with the bulb setting. We held the button until the person drawing was finished, it couldn’t stay open for long or else the picture wouldn’t turn out right. We had to make sure there were no shadows or anything else in the picture. We didn’t have many frustrations besides getting the picture to turn out right and shadows. To make this drawing more complex I would do more complicated designs with the light.