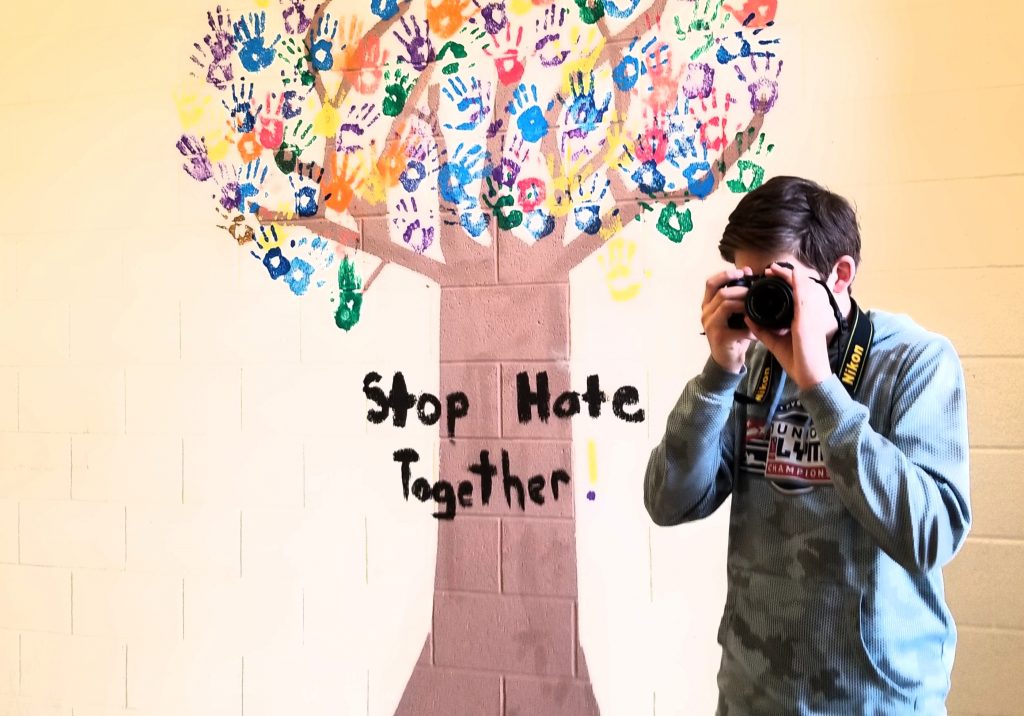
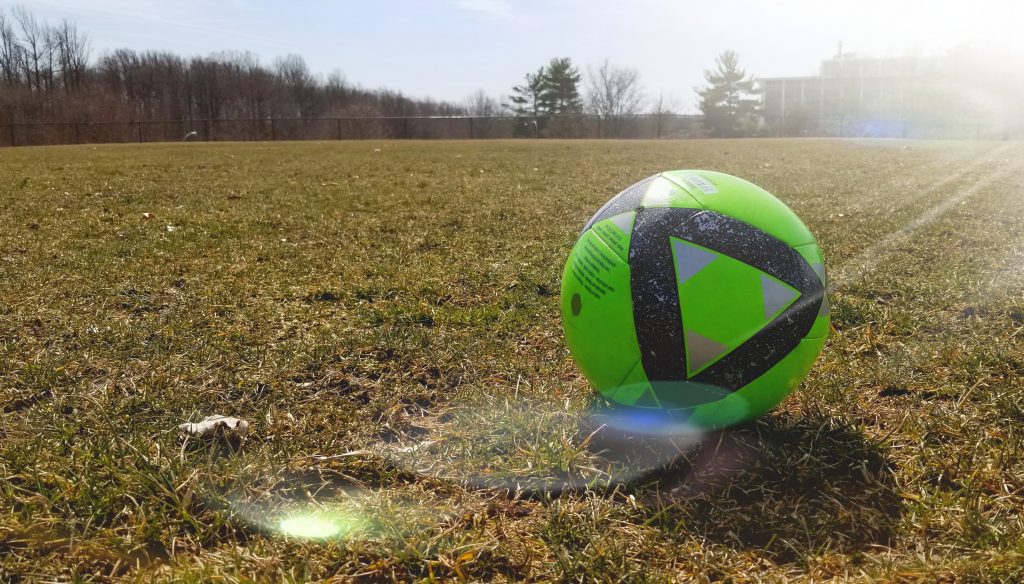
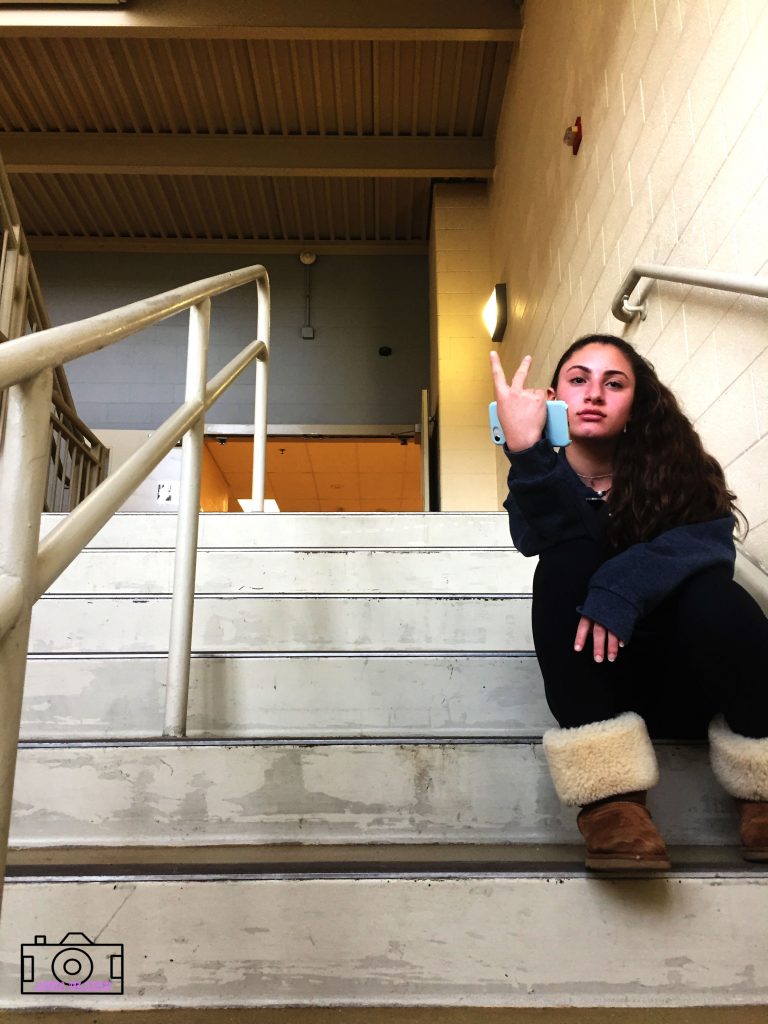
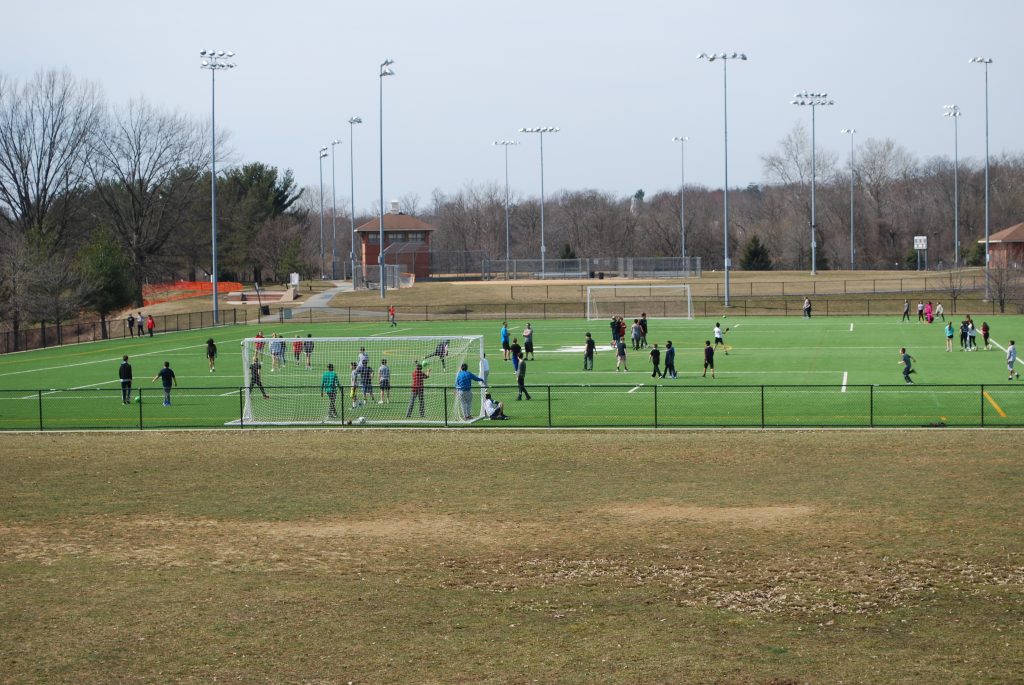
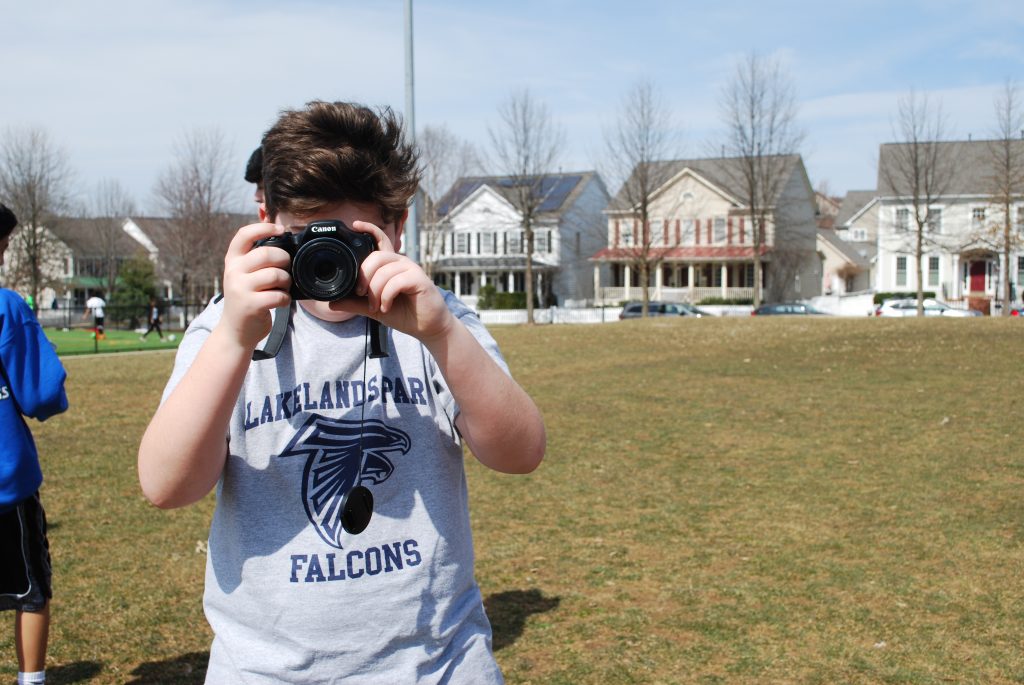
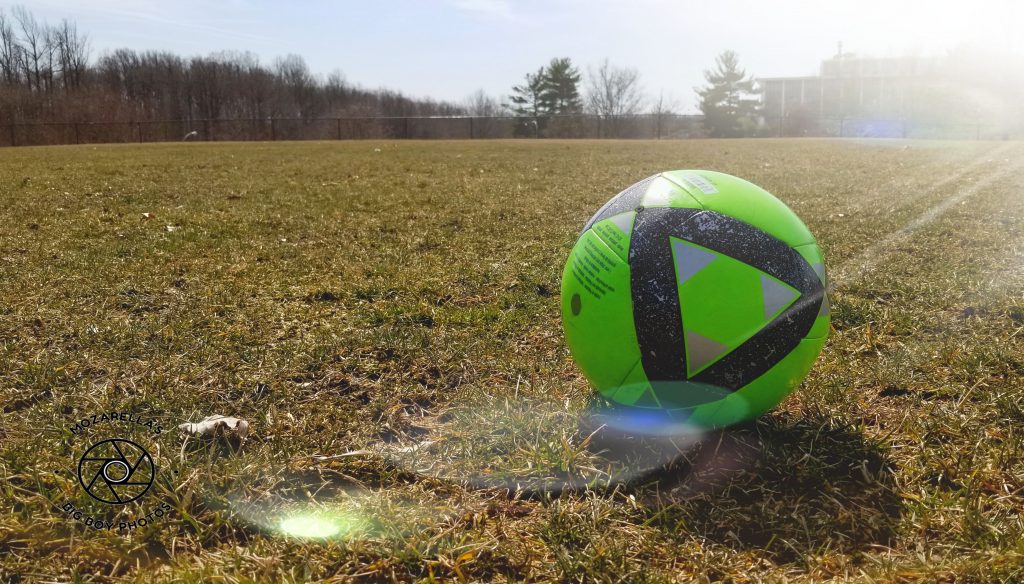
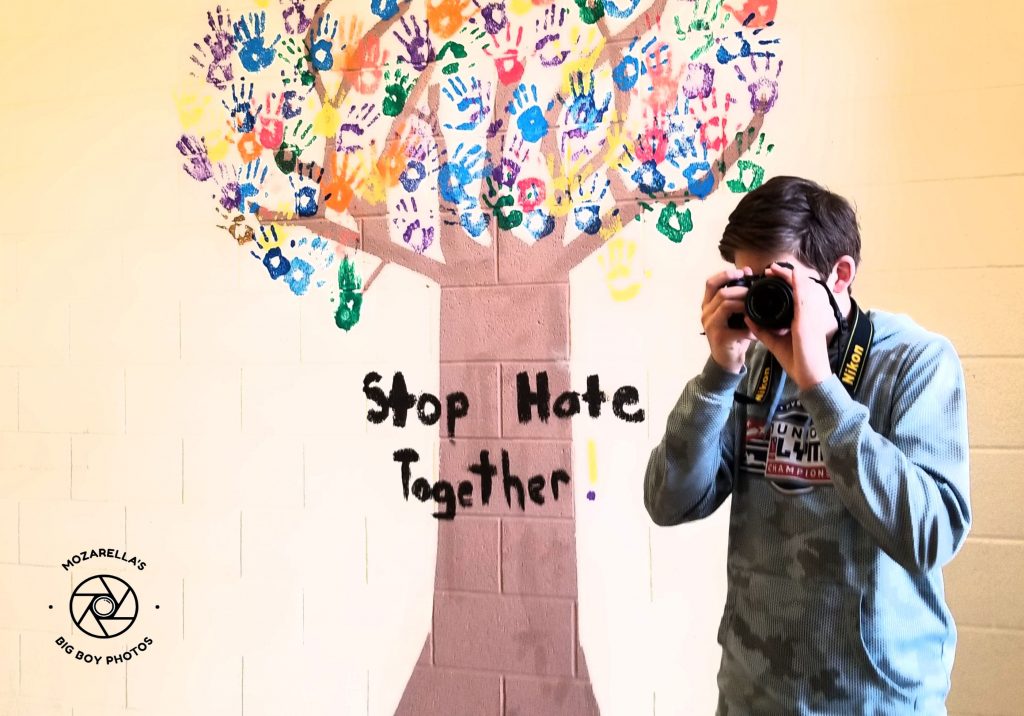
Rule of Thirds

The point of this project was to draw your eye to a certain object using the rule of thirds. When looking at the picture the point was to look at the things around your focal point that leads to the main object you are taking the picture of. One hard part of this project was lining up the objects with the lines and getting the picture to be straight up and down and not tilted. Also it didn’t work well when you stood against a wall because there was no where for your eye to travel. I thought this project would be fairly easy in the beginning, but once we started taking the pictures it was slightly harder then I thought. For example I wanted the person looking at the pictures eye to go directly to Lizzie. By using the rule of thirds I was able to put her in one third of the picture, and she stands out because she is the far right vertical line so when you are looking at the stairs it leads your eye straight to her. For the top picture I wanted your eye to go directly too the house, so I made the focus go to the house by doing the sky as two-thirds which leads your eye to the house that is at the bottom.

Click here to see more pictures

Rule of Thirds

click to view my photos

In this project we had to take picture using the rule of thirds. In the beginning of this project I thought that the rule of thirds would help the photos. By the end of this project my thoughts changed, I see how the the rule of thirds helps photos. Using the grid helped lineup the photo. The hard part was getting the picture straight and getting good angles. The grid helped line up the photos, for example in the picture below I used the grid to help line up the photos.

click to view my photos

Rule of thirds

In this project we had to take pictures with a rule, called the rule of thirds. Personally, I lined my objects up with the right line. What worked was using objects that are small and putting nothing behind them. What didn’t work was having an object but with lots of stuff behind it. At first I thought it was dumb but once I started to take pictures I realized the point. Here is the link to my rule of thirds photo folder.

Rule of thirds

When I used the rule of thirds to take photos for this project, I saw that it created flow in the picture. It didn’t work well though when there wasn’t anything around the main subject to look at. At the beginning of the project I didn’t think that the rule of thirds would work but now I know that it does. In the photos I would put the subject in the rule of thirds corners. When the photo was of the landscape and I wanted to show the land instead of the sky I would put the horizon or wherever it turned from a land feature to the sky on the top line.

Click Here to see my photos

Rule of Thirds Mattia Izzi

In this project we had to take pictures using the rule of thirds. I mainly lined the objects on my right line and sometimes on my left line. Taking pictures of people with wide backgrounds behind them worked, and taking pictures of people with walls behind them didn’t look so good. I liked doing the rule of thirds and my thoughts didn’t really change from the beginning of this class. These are my two favorite photos:

Here is a link to the full folder.

Rule Of Thirds

What worked was using the grid because then the horizon would not be straight. What did not work was doing close ups of people because there would not be a background and no place to focus on. At first, I was confused on why the rule of thirds was important, but then I eventually got the hang of it and started to understand why it was significant. The grid, or lines used to set up the shot is a 3×3 grid that helps organizes the focus of the picture. For example, if you want the focus of the picture to be the sky, then put 2/3 of the grid filled up with the sky.

Picture without person
Here is a picture of a person

Click here for more pictures!

Rule of Thirds

This project was rule of thirds. Rule of thirds is when you take a photo, the object that first catches your eye is on one of the lines on the grid or one of the points. It is not supposed to be in the center! For me, it was easy to find the line for the object to be on, but hard to make sure everything in the background was straight and lined up. I really like this project and I learned how to make my photos more interesting. At the beginning of the project, I did not like it because it was so hard to make everything in the background straight. But I eventually got it down. In the photo above, I used the bottom horizontal line and in the one below, I used the two vertical lines. To conclude, I really liked this project and in the future I will use this more!

Click here to see the rest of my photos.

Rule of Thirds

For my Rule of Thirds project, I took pictures of people and things at a distance and on a grid in which they were lined up with the lines or at a point. Some things that worked were making sure that the objects were at a distance. The challenging part of this project was making sure that nobody else was in our shot, otherwise it would’ve taken away the most important part of the picture. I enjoyed the project from the beginning. It was really fun to take photos of landscapes and people. The grid lines were used to line up our main object with a point or with one of the lines on the grid. I set up my photos by lining up the object with the lines on the grid or placing it on a point on the grid.

Click here to see the rest of my photos!

Rule of thirds

For the project we had to take 4 pictures of a people and 4 pictures of an object. The most challenging part of this project was getting the person matched up with the lines. The method asking people to see what their focus was on. From the beginning of this project I thought it was going to be really hard, but once I started taking pictures I figured it out. The lines in this project created 3 rows and columns. In addition I set up the lines on the object and the person.

Link for photo’s