Rule of Thirds

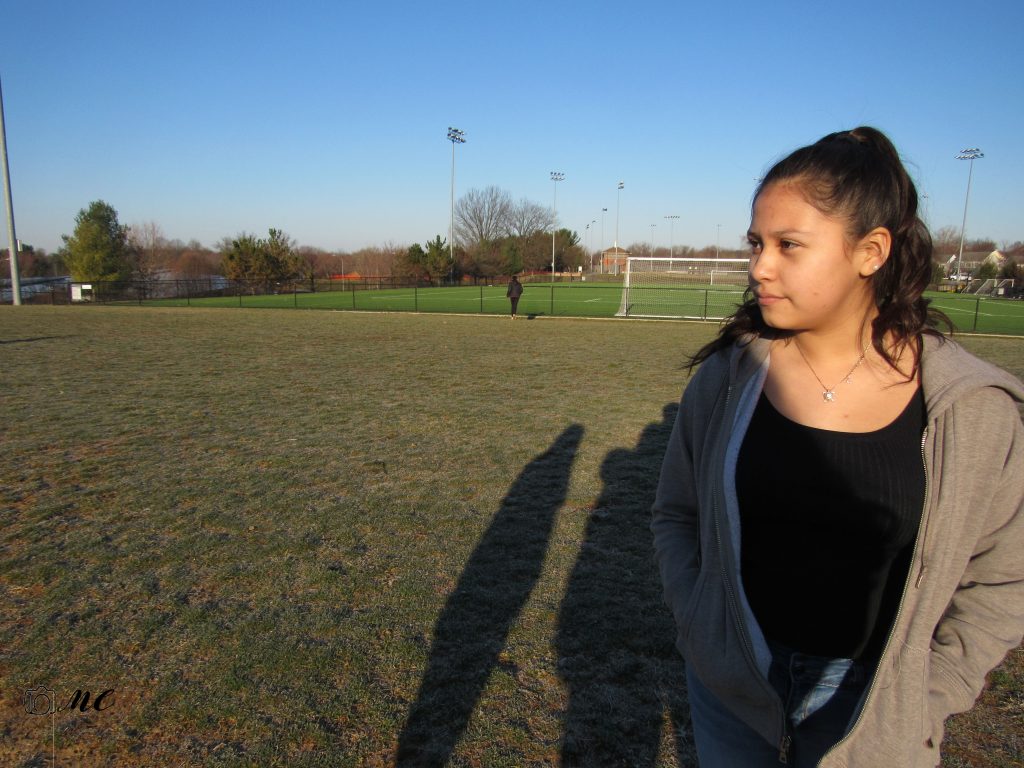
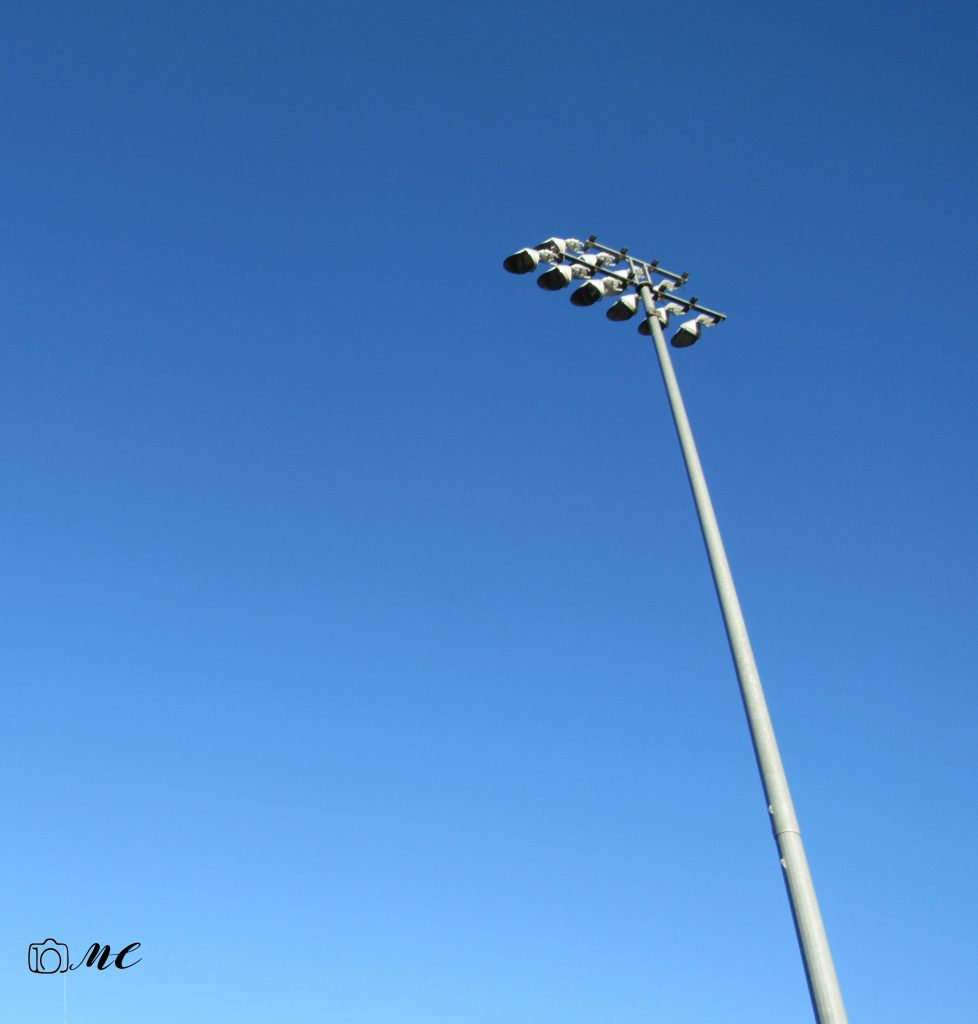
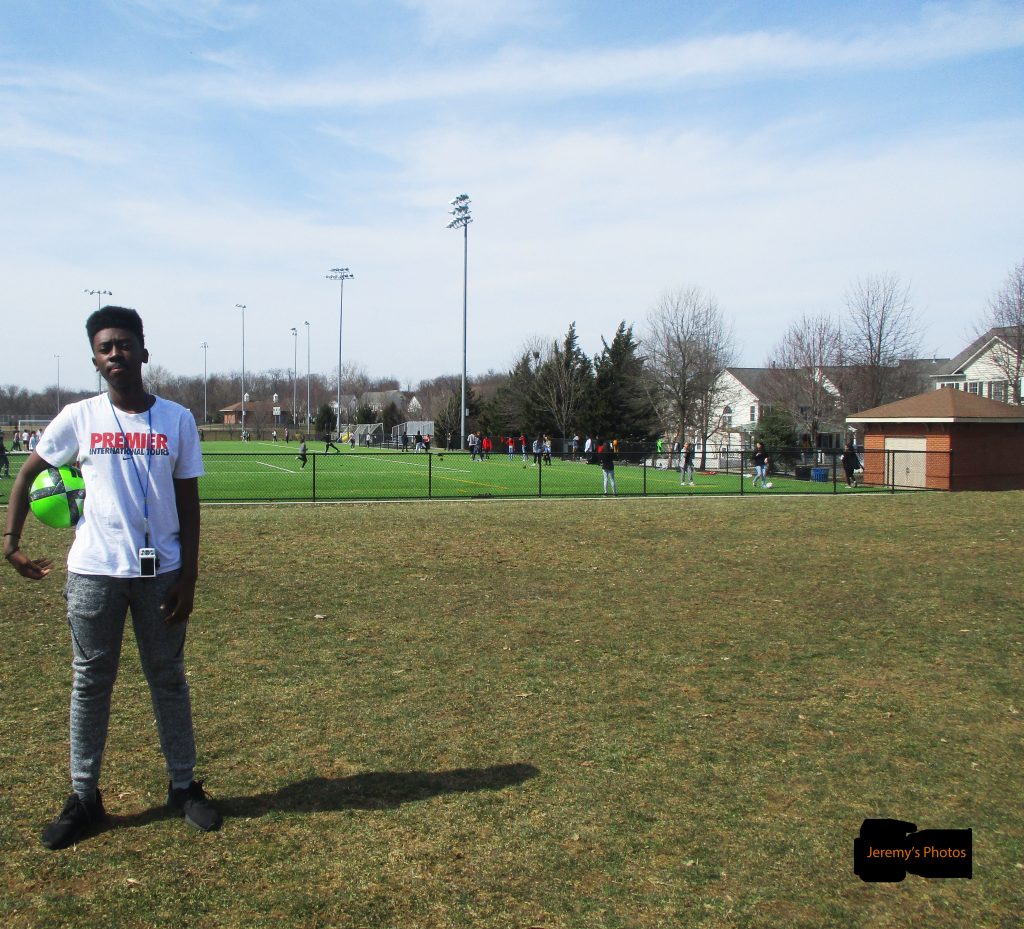
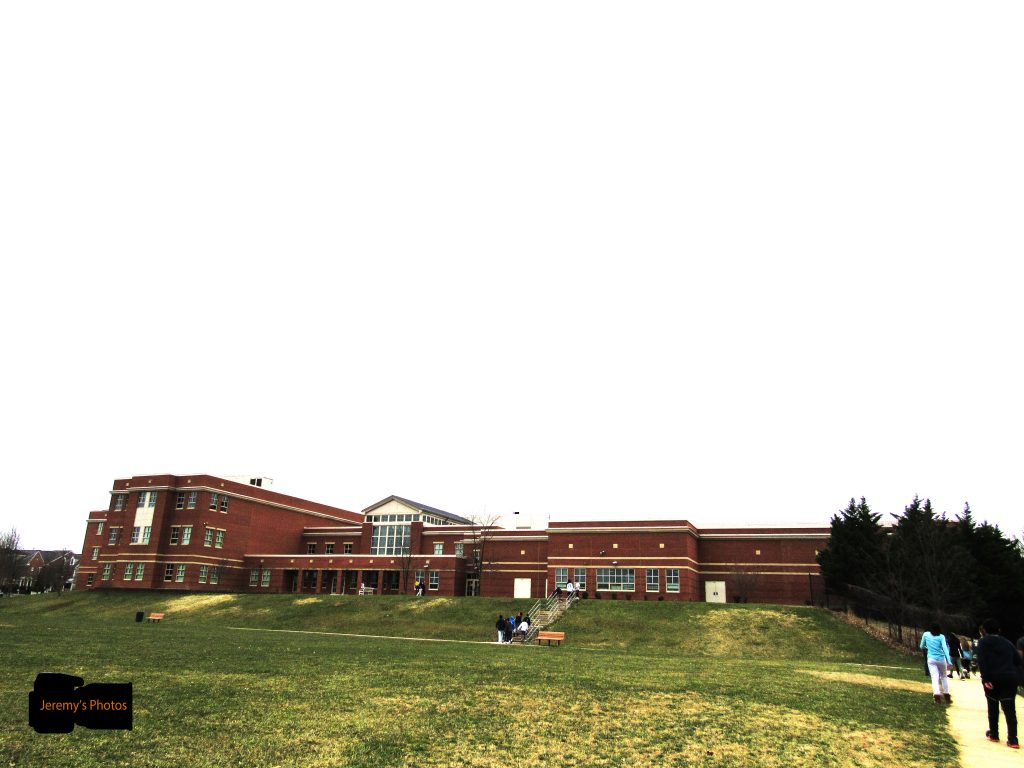
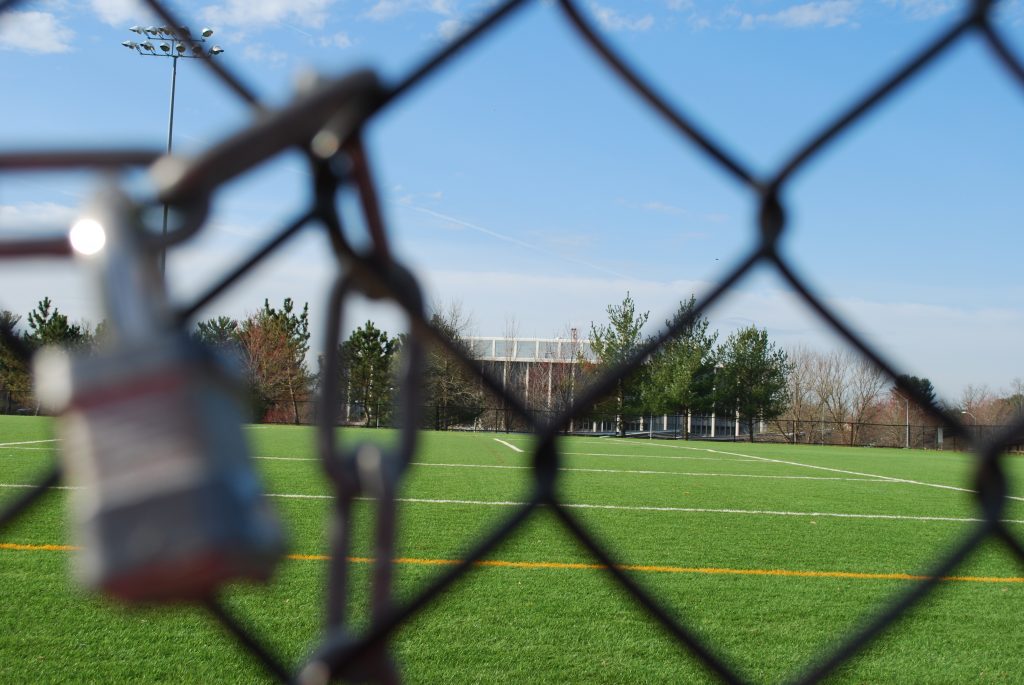
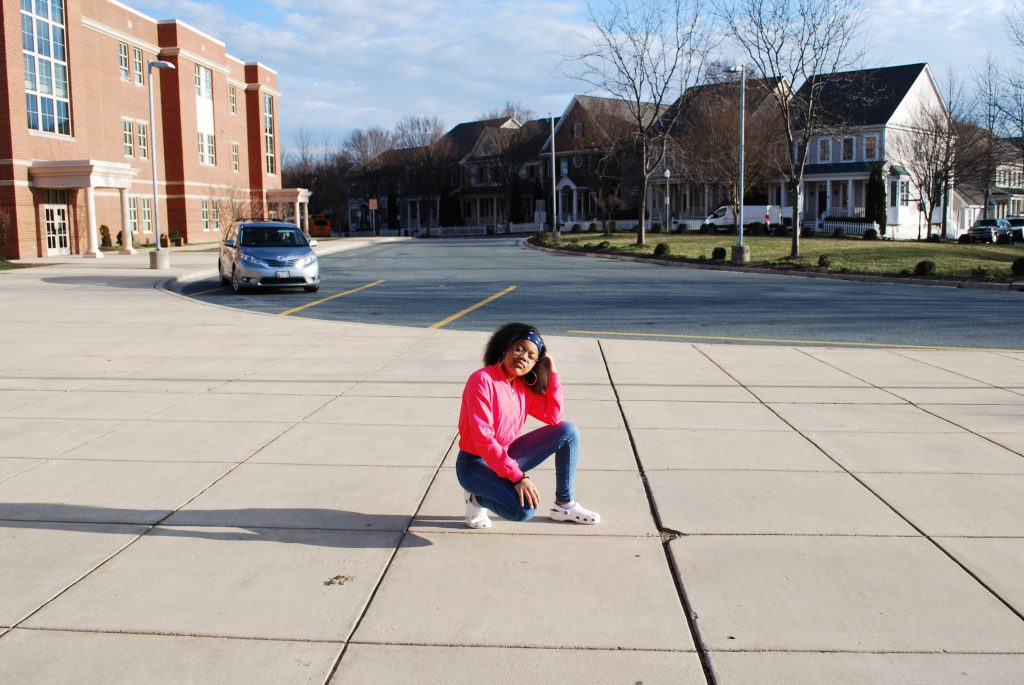
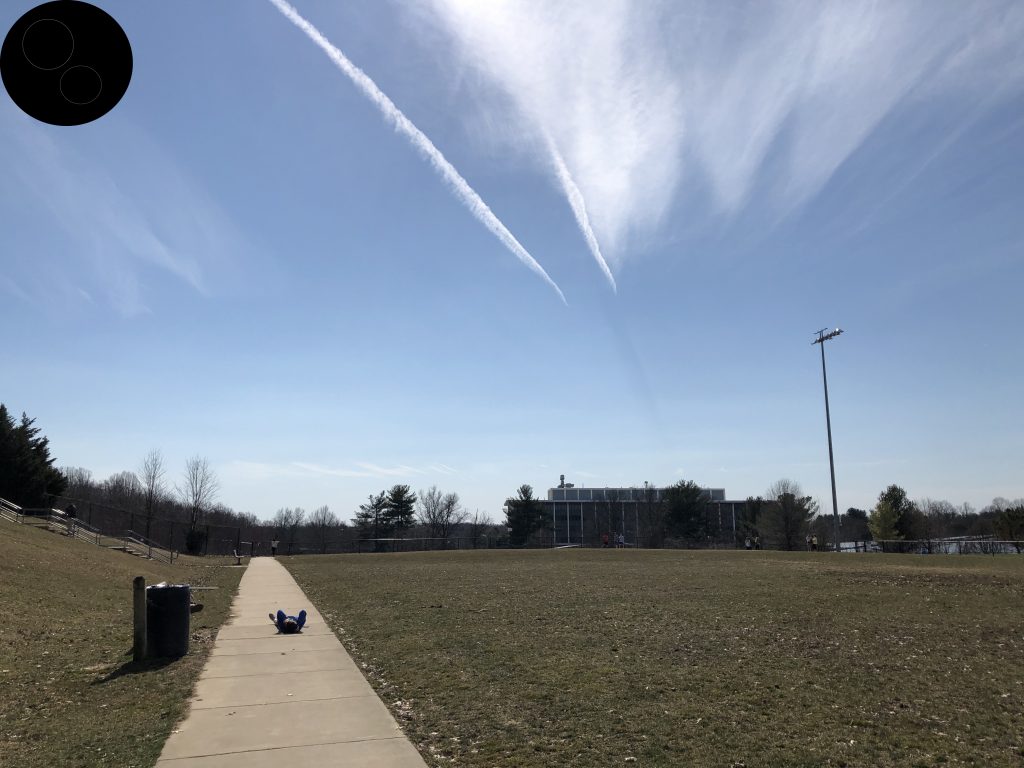
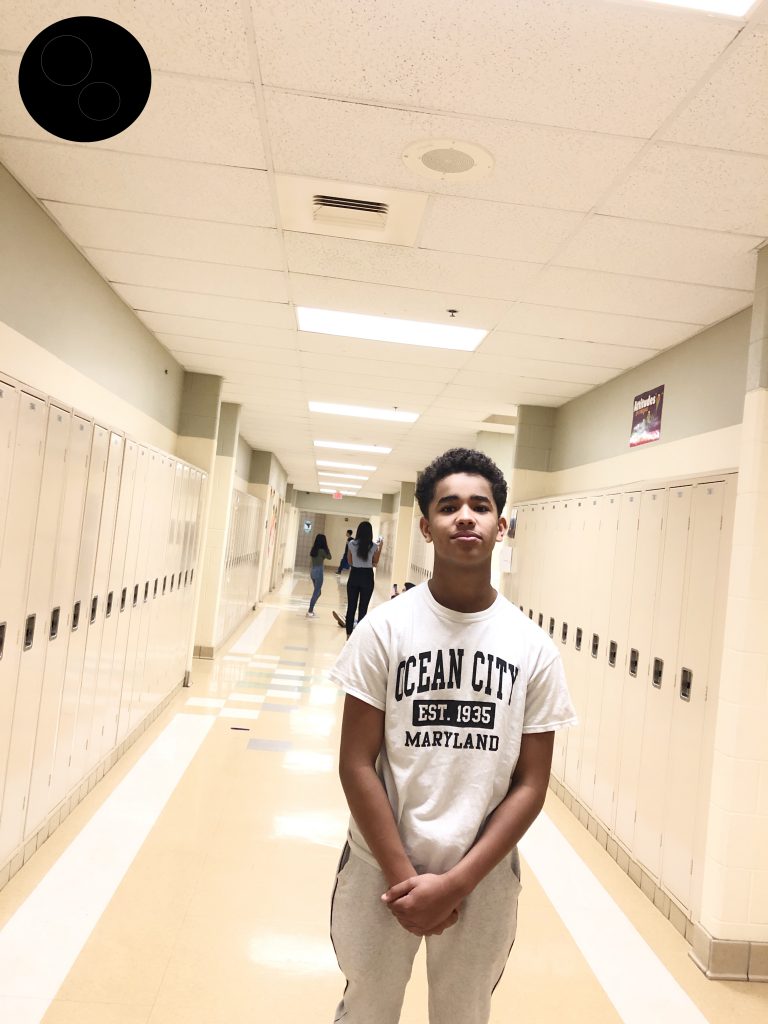
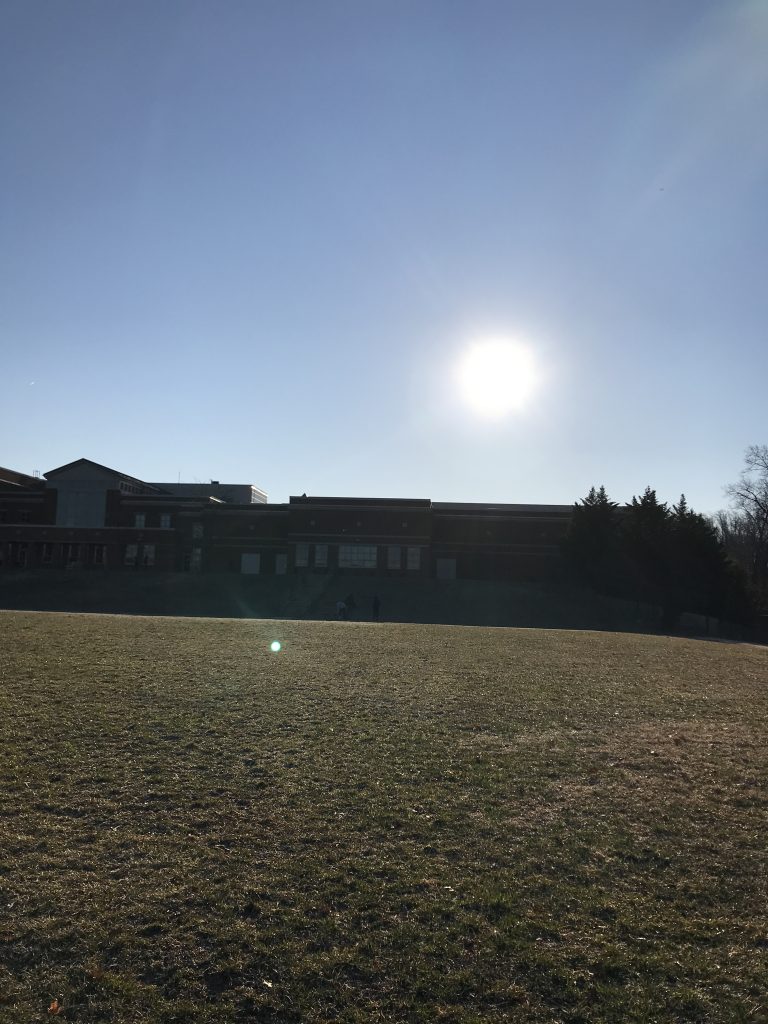
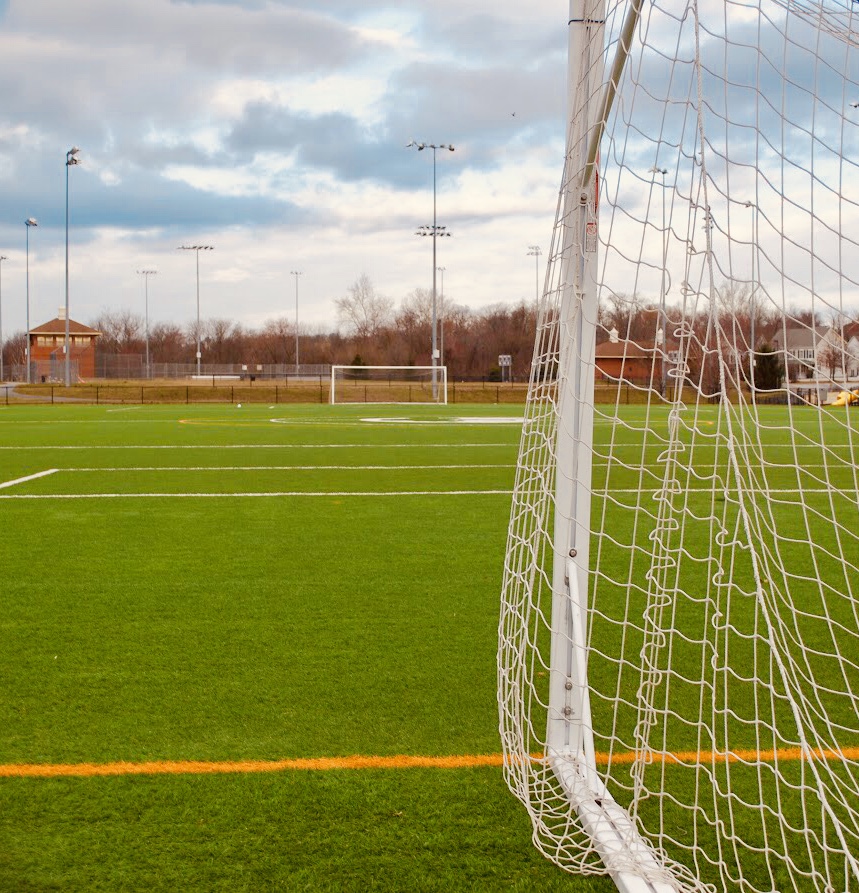
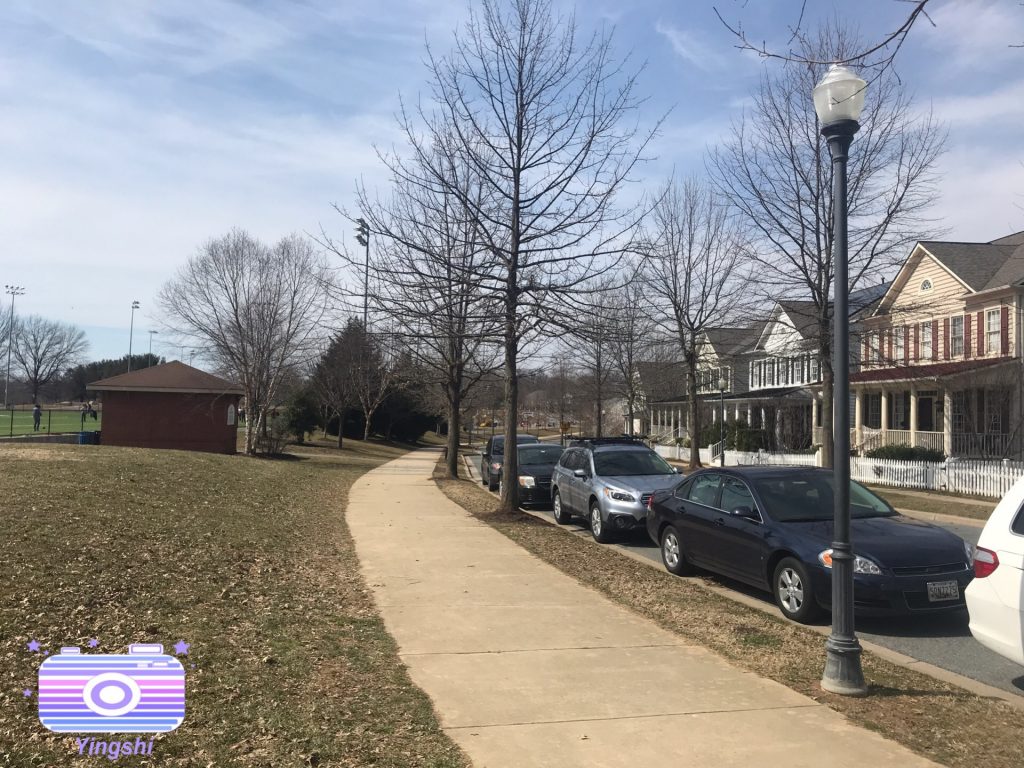
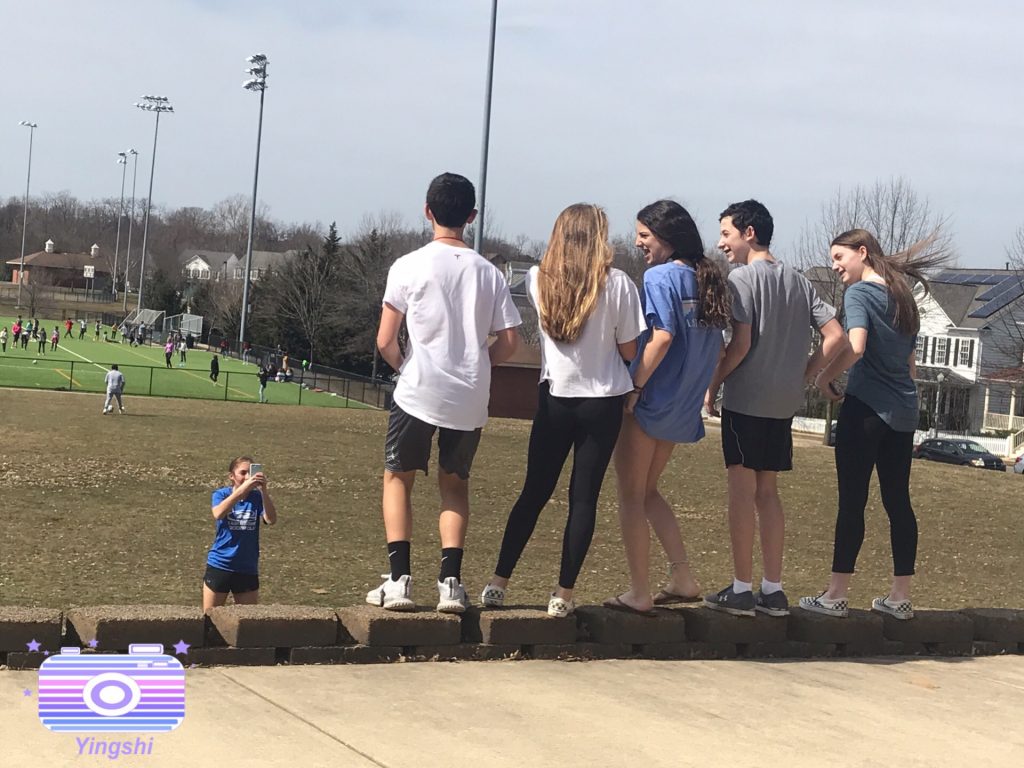
For this project, I had to use the rule of thirds using grids on the camera. What worked for this project was using other objects in the background to make sure that the main subject was in the rule of thirds. What didn’t work was just taking a picture without using grids on the camera. Before I did this project I thought this was going to be the easiest project yet but this project was hard but helpful. The grids were really helpful for this project because they helped to frame my subject on one side of the thirds in each photo. The rest of my photos are here

Rule of Thirds

The rule of thirds project taught us how to put our subjects or thing they we are taking a picture of in different thirds of the picture so that the things surrounding your subject would lead your eye straight to them. In the beginning I thought that this project may be hard, but once I started I figured out it was easier then I thought it would be. One thing that helped it to be easier is putting a 3×3 grid on the camera. This way I could line my subject up with the line. For the picture of Iverson, I lined him up to where he was in the furthest column to the left. For the picture of the school I lined up the top of the school up with the top line of the bottom row. This made it two-thirds sky and one third school.

click here for more pictures

Rule of Thirds

In this project, there were things that were hard, and things that were easy. One thing that worked was standing in the sunlight. It made the pictures more clear, and vibrant. One thing that was hard,and didn’t work was getting the camera to focus on a person or object that was far away from the camera. At the beginning, I thought that the Rule of Thirds was kind of stupid, and pointless, but as the project proceeded, I realized that the Rule of Thirds was very helpful to make all of your pictures look better, and more well put together. The lines we used to take pictures look like a grid of squares. We used them to line up the focus of the image along them so have an “even” picture. Click here to see the rest of my photos.

Framing Subject

Framing Subject is all about creating a frame around your subject essentially. What this does is create a picture of the surrounding of your subject and enhances your image and the frame around your subject. Comparing the rule of thirds to the framing project is very opposite seeing the picture expands with the background while framing creates a frame making the image smaller your focuses your attention on the on frame. And the rule of thirds goes beyond the image itself.

the link

Rule Of Thirds

Click here for my photos

With this assignment it was a struggle to find where to take to take the pictures but once you have found them it looks easy. And for rule of thirds is when a the main focus on the is not in the center and there is another thing to look at. And the lines made it easy to put a the person or place to balance the picture and put things in places. I thought this was going to be a lot eaier than what it was and once I found it out.

Rule of thirds

for this project, we took photos of random objects or people when taking the picture we had to line up our main object with one of the 4 lines or line intersections on the camera. the main focus can’t be in the middle. what worked was taking pictures in light areas but not too light because it would mess up the picture. what didn’t work was taking a picture in dark areas and areas with too much light. i used the grid for this project and it was really useful it helped to separate the main focus wasn’t in the middle. https://drive.google.com/open?id=1LiCP1VJSddUGrSrI0atO1qDH0MGYhWDS

Rule of Thirds

I used different angles made the picture more interesting and unique. When taking pictures front on they were less interesting. My thoughts changed because I thought it would be harder to take photos but it’s not very hard. On the caution sign picture, I placed the sign in the top left corner and lined it up with the top left point. When I took the picture of Mary I placed her on the top left corner. You can look at the other pictures here.

Rule Of Thirds

In this project we had to use a 3 by 3 grid in order to correctly place an object or person. I had a hard time trying to get objects lined up with the lines of the grid. When I got it lined up the picture turned out good. In the beginning of this project I wasn’t excited but now I think it has truly helped me take better photos. When I was taking these photos I was looking for an interesting background that way it wouldn’t look bad.

Click here to see the other photos

Rule of Thirds

The rule of thirds is a graph on a camera that helps you focus on an object which helps you create interesting pictures. What worked was putting the object/person where two lines crossed and what didn’t work was putting the object/person in the middle. I think that the rule of thirds is going to improve the way I take pictures of things.

Click here to see more photos!

Rule of Thirds

When I didn’t know about Rule of Thirds, I thought it was something that would make your picture more coordinated. After I touched it, it helped me better design the picture structure. I think it is a great feature. My Photos