Portraits

Click Click to see link

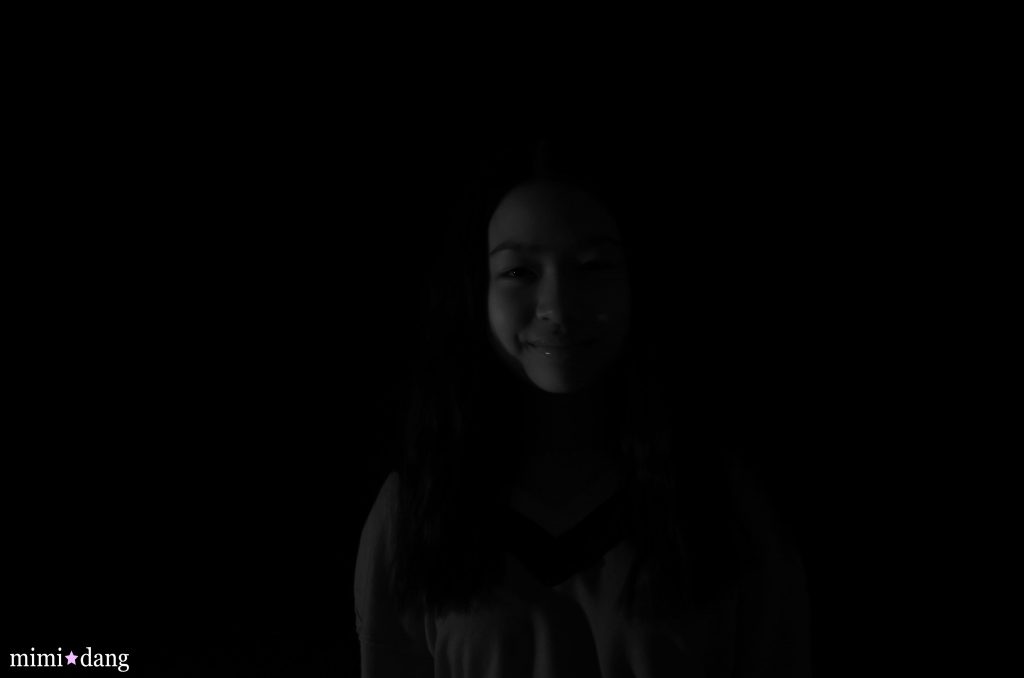
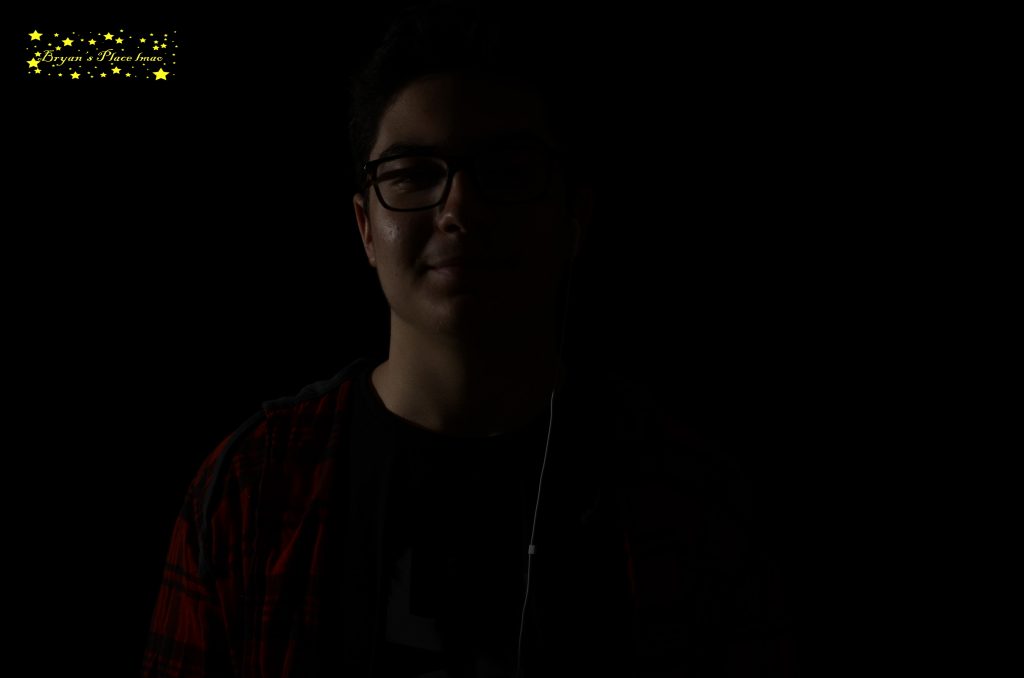
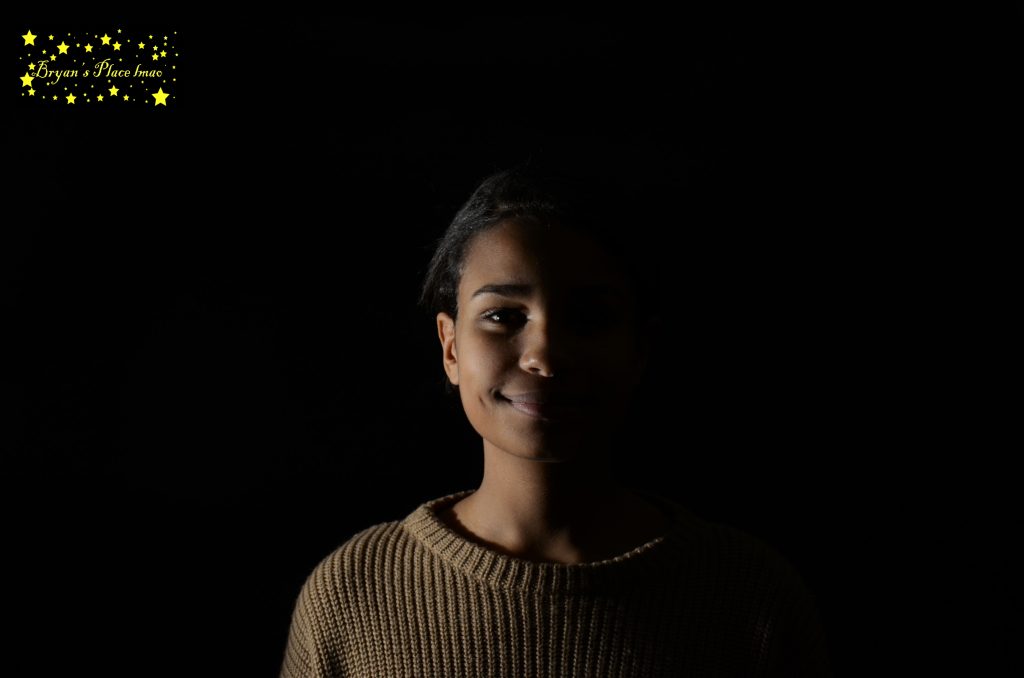
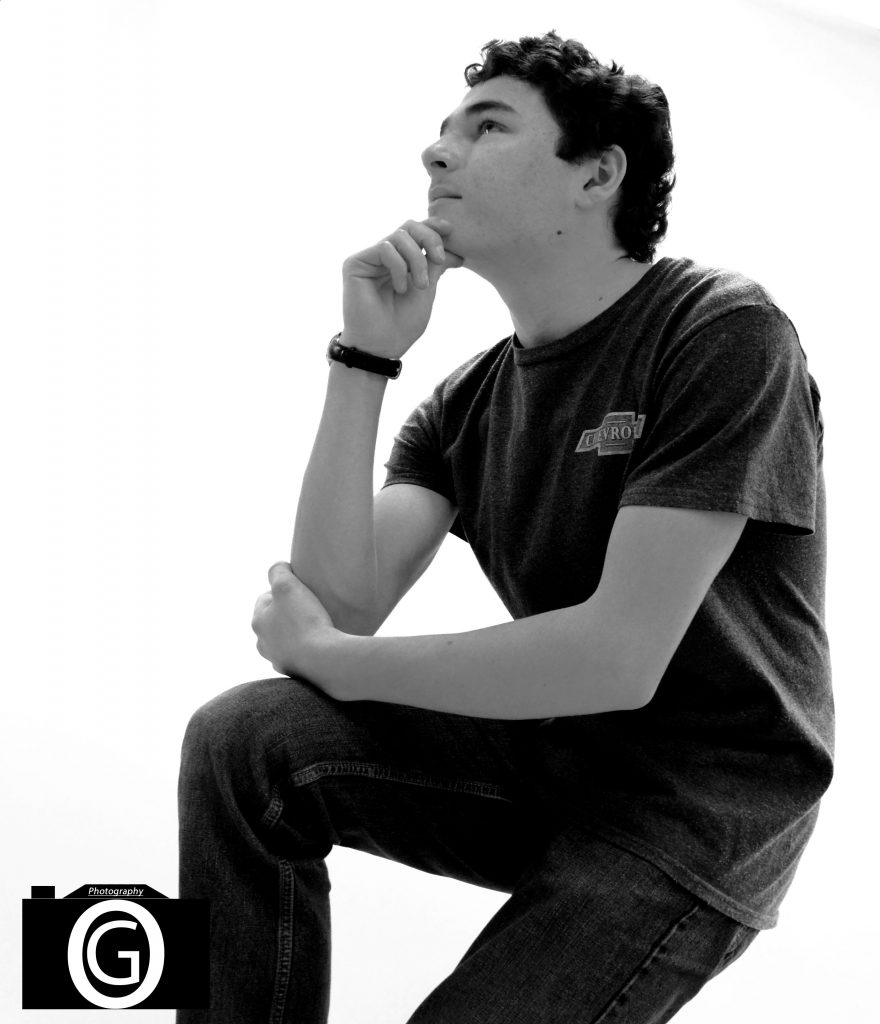
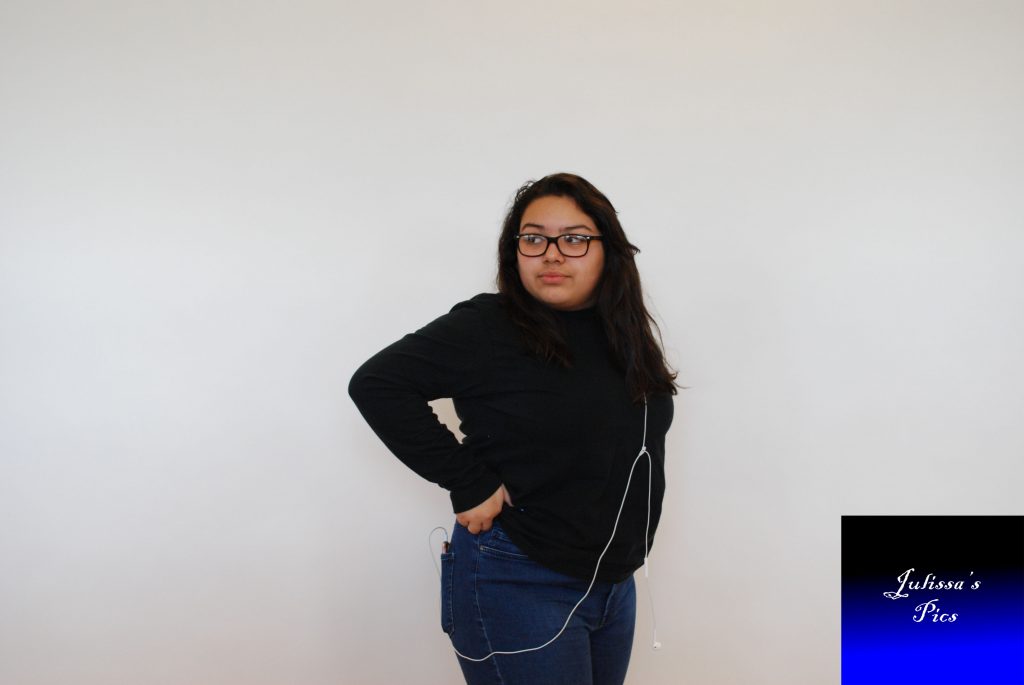
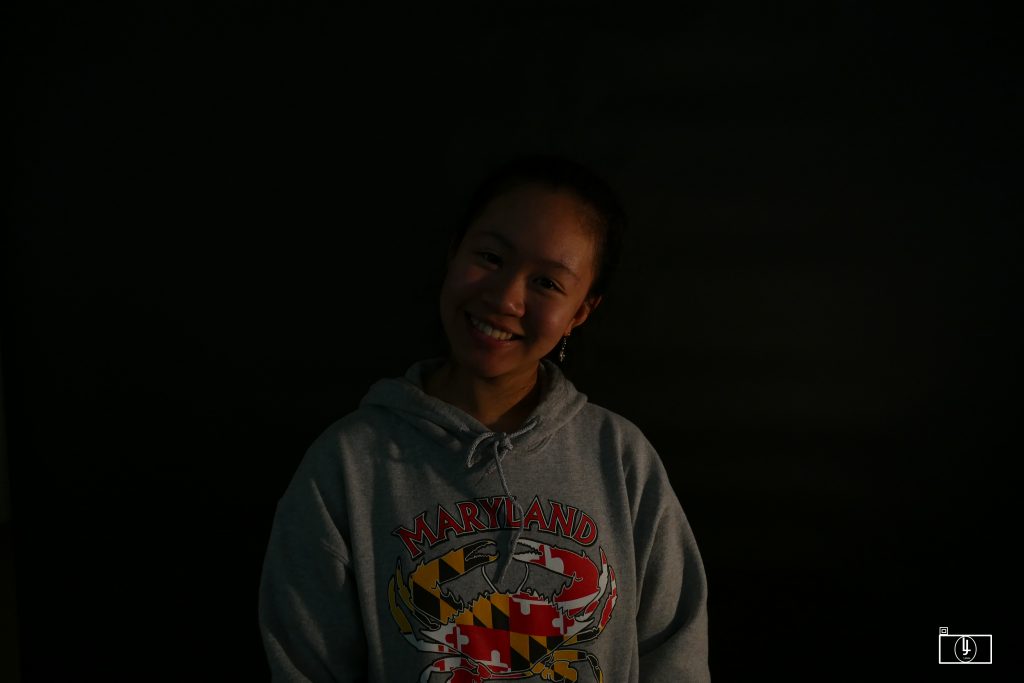
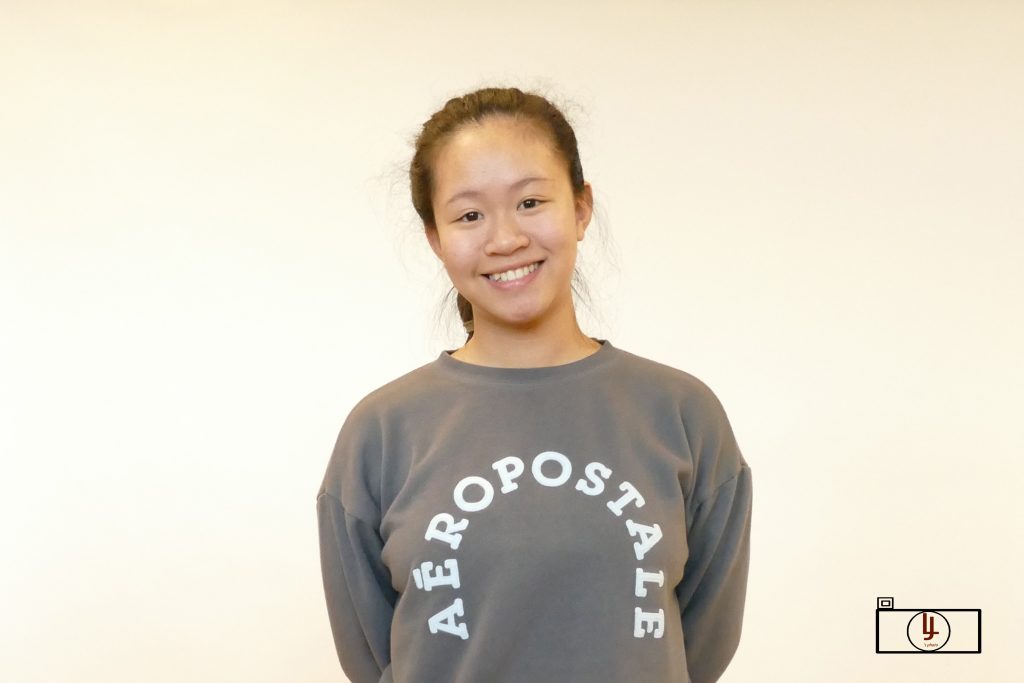
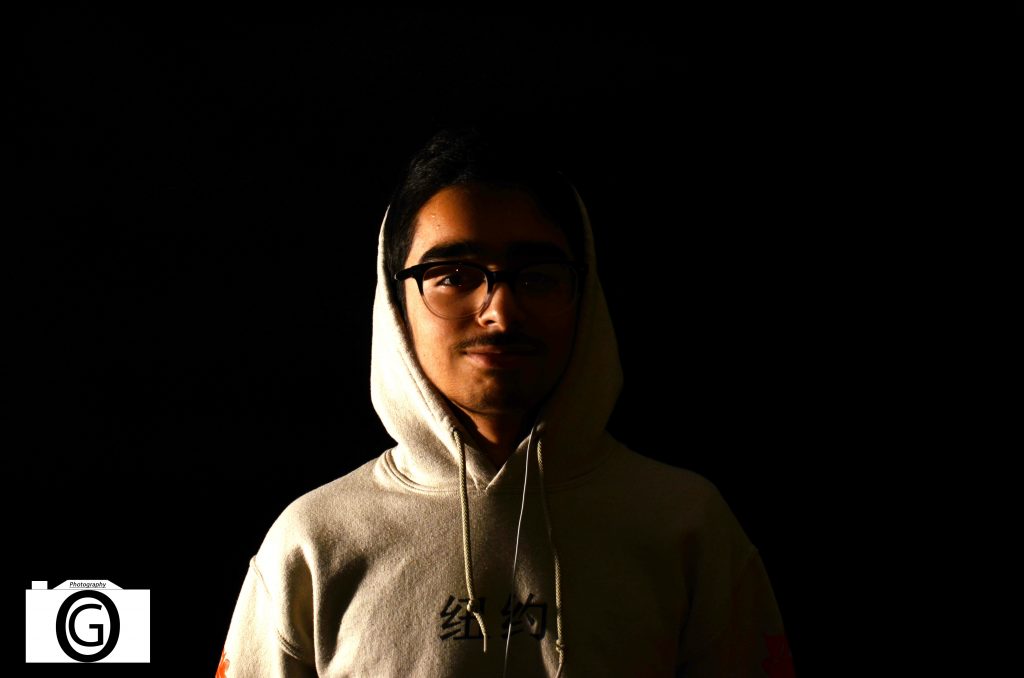
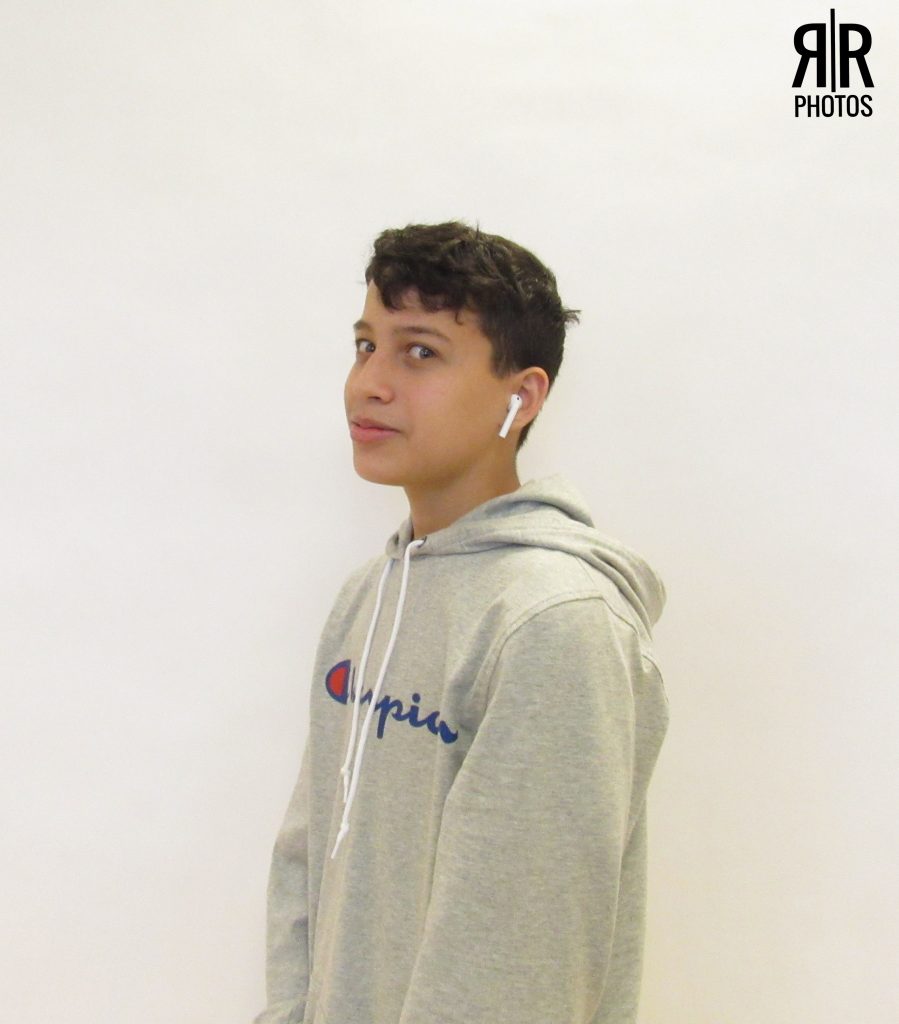
In this project we had to take portraits of other and ourselves. It was lots of fun to see the end result. Some challenges I had was the camera settings and lighting we had to find a perfect lighting and camera settings so we could get a perfect picture. We had to play with the iso camera settings and shutter speed. Some things that were easily was taking the pictures after we got all the settings. Overall the portraits we took to make it look like we had an infinite background was a fun learning assignment.

Portraits

For this project, we used a white background and a black background to take portraits of ourselves. Saige and I wanted to make the picture show only half of our faces using the light. We had to stand far away and point the light on the side of our face to make this effect, and it worked. At first we had the light too close to us so the photos didn’t look good so we had to adjust the ISO and Shutter Speed. We had to make sure that there were no shadows on the background. We also had to make sure that the photos didn’t have a lot of light. I edited my photos with Adobe Photoshop to make it black & white and to add brightness and contrast to my photos.

Click here to see the other photos ?

Portraits with an Infinite Background (Black and White)

click here to see more of my photos

click here to see my photos


When we were taking the photos, we had to make sure that the camera was still and that people were far enough away from the paper so that there was no shadow when we edited the photos. In The white photos, the shadows were more of a problem than in the black photos because they were a lot easier to see on the white back round than in the back round. everything worked with the camera angles but when we had to work in the dark, you had to make sure to put the light on your face so that you were visible.

Portraits

More photos here.

For this assignment you had to take photos of the people in your group, with a white and black background. You had to take 5 white photos and 5 black photos. Your face has to be seen in each picture. Then you would have to put your logo on each picture. This assignment overall was easy, it wasn’t so hard to do and it was really fun.

Infinite Background

In this assignment, we took photos in white background and black background. The Challenges that we faced was that we had to change our ISO setting to make the camera more sensitive. In order to do this assignment well, we had to take photos from different ways so our shadows wouldn’t show. Then we used Photoshop to edit the photos. For example, I had to make my white background photos more bright so the background look infinite. I personally think the black background turned out really well. For the white background, I think it didn’t turn out as good as I expected it to be. Because there’s too much detail and the shadow was easier to see.

Click here to see the white background photos

Click here to see the black bwackground photos

Black Infinite Background

As I said in my previous post, to create an infinite background photo you must change the setting of your camera to manual, this can’t be done with every camera. After doing this you should adjust the shutter speed and ISO. By adjusting the shutter speed, the camera can take in more or less light. This allows the photo you take to be brighter or darker. The ISO will change the sensibility of the camera. It worked very well to stand far away from the background. This created no shadow on the background which would ruin the photo. However, it was difficult to create a photo where we could clearly see our faces due to the darkness of the photo.

Click here to see my photos.

White Infinite Background

To create an infinite background photo you must change the setting of your camera to manual, this can’t be done with every camera. After doing this you should adjust the shutter speed and ISO. By adjusting the shutter speed, the camera can take in more or less light. This allows the photo you take to be brighter or darker. The ISO will change the sensibility of the camera. It worked very well to stand far away from the background. This created no shadow on the background which would ruin the photo. However, it was difficult to create a photo without shadows. The brightness of the photo when being taken allowed for many shadows.

Click here to see my photos.

Black Background

For this project, we had to take portraits of everyone with an all black background. It was challenging to find the right shutter speed for each picture. If it was too slow, the picture would be too bright. If it was too fast. you wouldn’t see anyone in the picture. It was easy to edit the photos,so the person is visible, but they were still in the dark.

Here is all of my pictures- https://drive.google.com/open?id=1O5mvzTKDpalawX3V3yrqoTQMYFPVNYC-

Below is my favorite picture.