Black Background

During this project, I got to change the settings on my camera with ISO and shutter speed to make the background black. The settings on the camera worked most of the time to create a mice picture which was good. Sometimes, it was hard to change the settings for each person to add more or less light.

https://photos.app.goo.gl/JOuHXdeIjSdTjNBq1

Black background


The first thing we need a dark place so we turned off all the light. Then we messed with the ISO and Shutter Speed to make sure  little to no light could come into the photo. Then we needed three people one for the camera one in the photo and one to hold the light. The things that worked where flashing the light far away for the people. The thing that did not work was holding the light right to his face.

Here are the photo https://photos.app.goo.gl/SYrP73zc9dI2w7iE2


Black Background

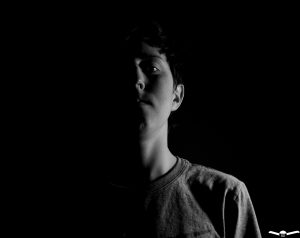
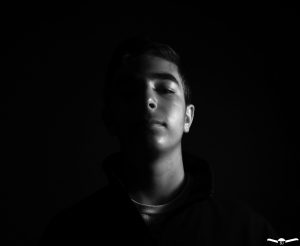
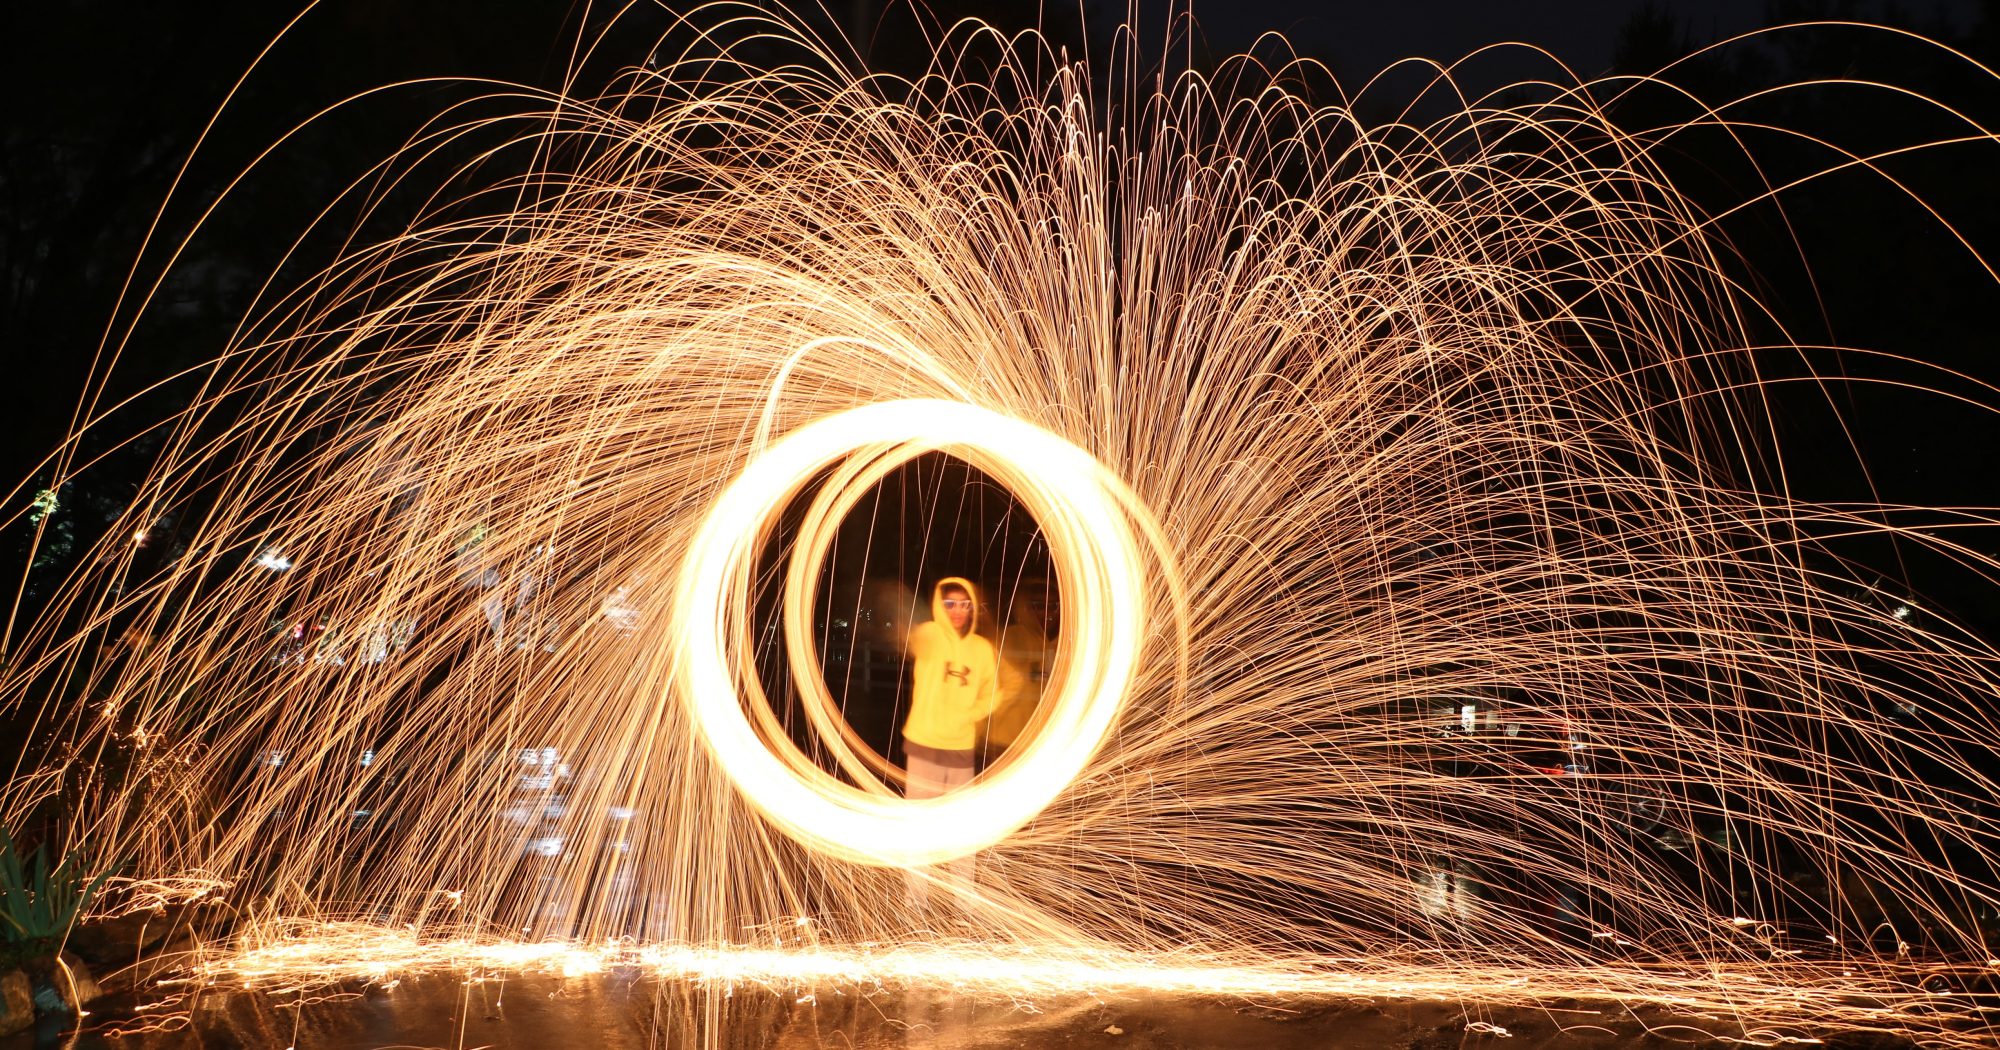
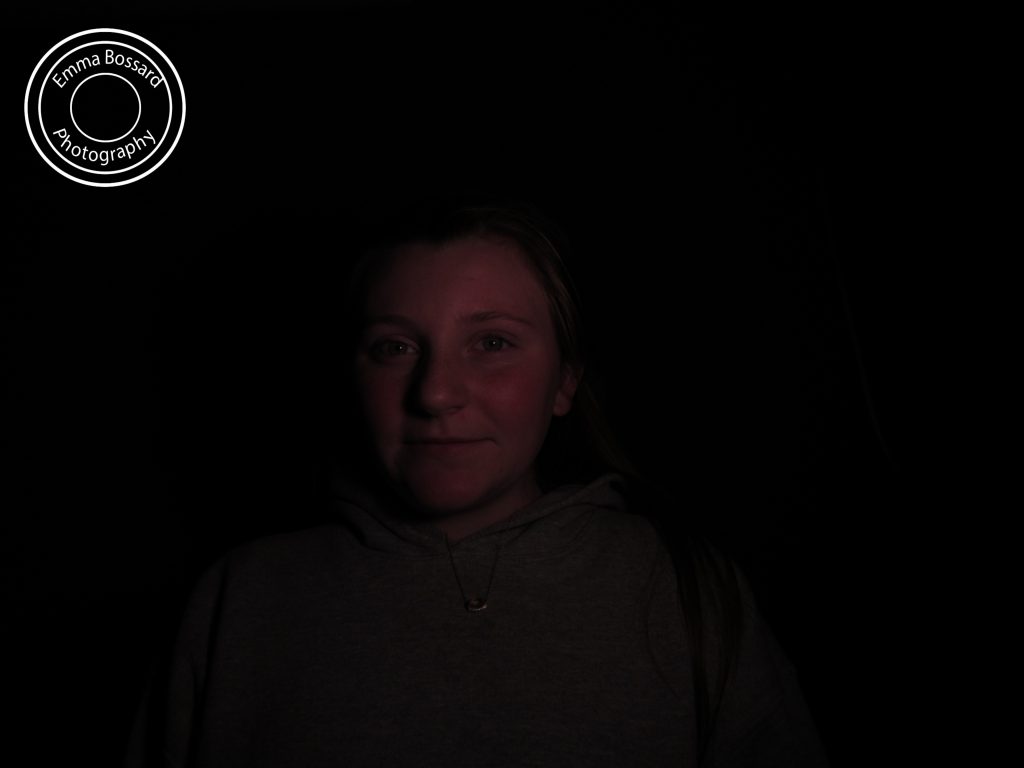
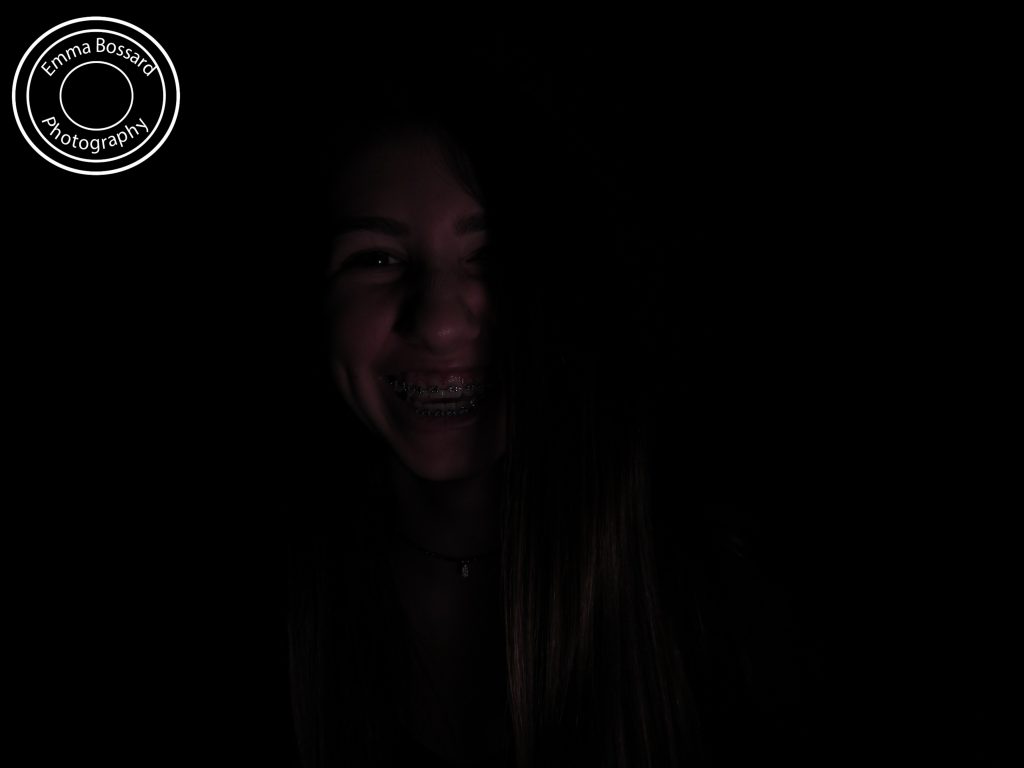
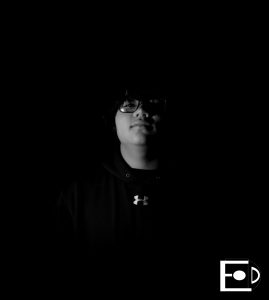
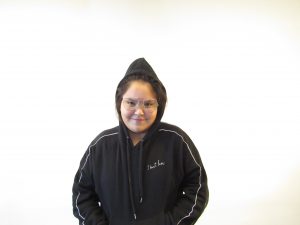
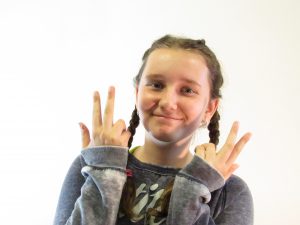
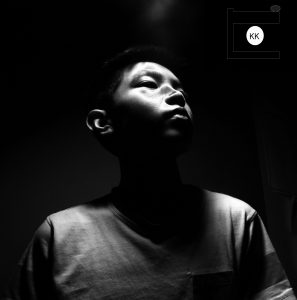
Taking these photos was a lengthy process. First, we needed to go to a place that was dark enough that the background wouldn’t be lit. To help with that  I had to set the ISO, Shutter speed, and F-stop so my camera wouldn’t let in too much light but enough for me to see the object. I had to have someone hold the light so that it lit the object as evenly as possible. Then, I had to take them into Photoshop to mess with the lights and dark so it was a full portrait.  It was pretty hard to light the object enough so that he would be clearly seen in the image. Also, it was hard getting the settings just right for the picture. The last thing that was hard was that we had to shoot most of our photos on the green background. What was easy was when we moved to the black background.

See the rest of my photos here!: https://photos.app.goo.gl/0V3sjwAOedbTffxz2


Portraits- Black Background

For this project, we posed in front of a backdrop with the lights off. One person in the group adjusted the camera, to make the ISO and shutter speed appropriate for the lighting. Then we turned out the lights, and someone in the group held a light at an angle in order to make our background seem darker. Then in Photoshop, we edited the color out of the backdrop so the background looked black and infinite. The thing that worked the best was holding a pencil case in front of the light to make it less intense. One thing that didn’t work was having the subject too far from the camera. When we did that, the photos were too dark and there were shadows. You can see my two favorites below, and an album with the others is attached to the link.

https://drive.google.com/drive/folders/1I_KNziRJ-6gEFFRCWXWuzVIDfOnIUeBw

White Background

I used Adobe Photoshop on my process to change the colors, Before that i took pictures using the shutter speed, ISO and manual too my advantage.  The poses worked because they looked good against the white background.  The white background didn’t work very well because of the shadows and took multiple pictures/times. And it was hard to find the right angle of the light.  Below is my favorite photo and link to all my photos.

https://photos.app.goo.gl/Kb7bGQX1heKjHRay1 

White Portraits

For this project, we had to take photos of people with white backgrounds. The process was easy and simple.  We had to change the camera settings and mess with the ISO so the pictures would come out with a pure white background. The people had to stand away from the walls so there would be no shadows from the lights we used. Everything worked just fine and went smoothly. Here are some photos I took;


Here is a photo of me someone else took;

Here is the link to the rest of the photos I took;

https://photos.app.goo.gl/htM3bORfLnXAws442

White background

Things that did  not work were the ISO because the background was white that it would bring out more light in the background and made the picture brighter. Things that did work was the shutter because we had made the time spanned short to like 5 seconds for the person to choose there pose for them to stand in.      

https://photos.app.goo.gl/1V9cuS22PU9E3e6g1

Black Background Portraits

In class this week we had to take pictures of other students and then edit them on Photoshop. On the cameras we used manual setting to make the photos darker and changed the ISO, shutter speed, and F-stop. It was easy to get the image black and white (all you do is click one thing). It was hard to adjust how light or dark to make my photo, because if you make it too dark you can’t see the person, and if you make it too light you can see the green-screen in the background.

The rest of my photos: https://photos.app.goo.gl/3iz3QDbkI8IZMD4A2


White Backgrounds

I used Adobe Photoshop to edit my pictures and to make the pictures look more white in the back.  I also used Adobe Firework to add my logo to the photo.  Using the white background helped work out a lot so it was less editing and making it way to white. Something that still doesn’t really work is making it look like there’s no background. Here are some examples of the pictures I took:

Here is my link:

https://photos.app.goo.gl/ao4YUKhp56Eh5Bp62