When taking the pictures, our group found it easier to use no light while taking our photos. What didn’t work in our photos, was that they were very blurry and the camera moved a lot. Here
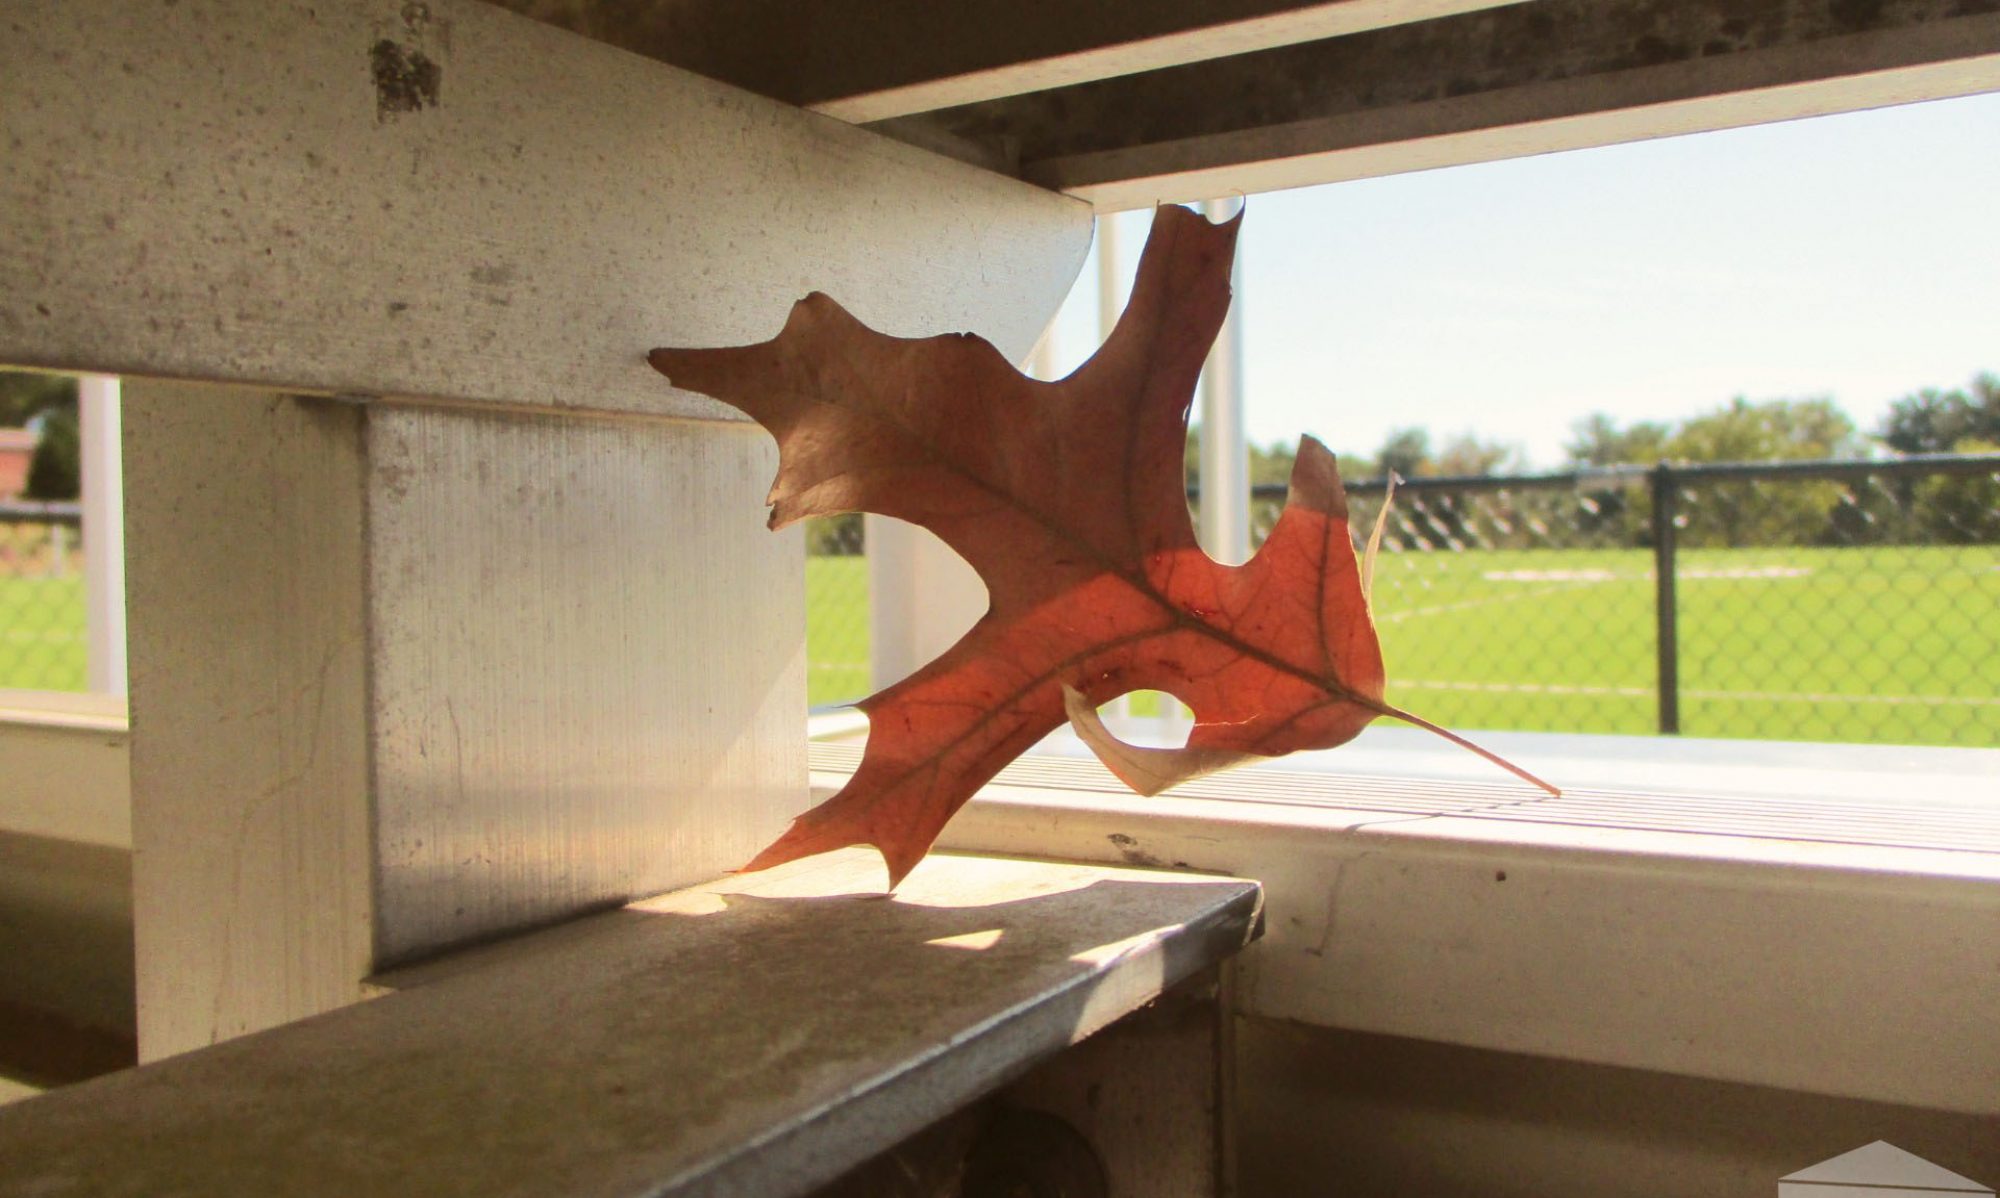
The photography home of the Lakelands Park Falcons.
When taking the pictures, our group found it easier to use no light while taking our photos. What didn’t work in our photos, was that they were very blurry and the camera moved a lot. Here
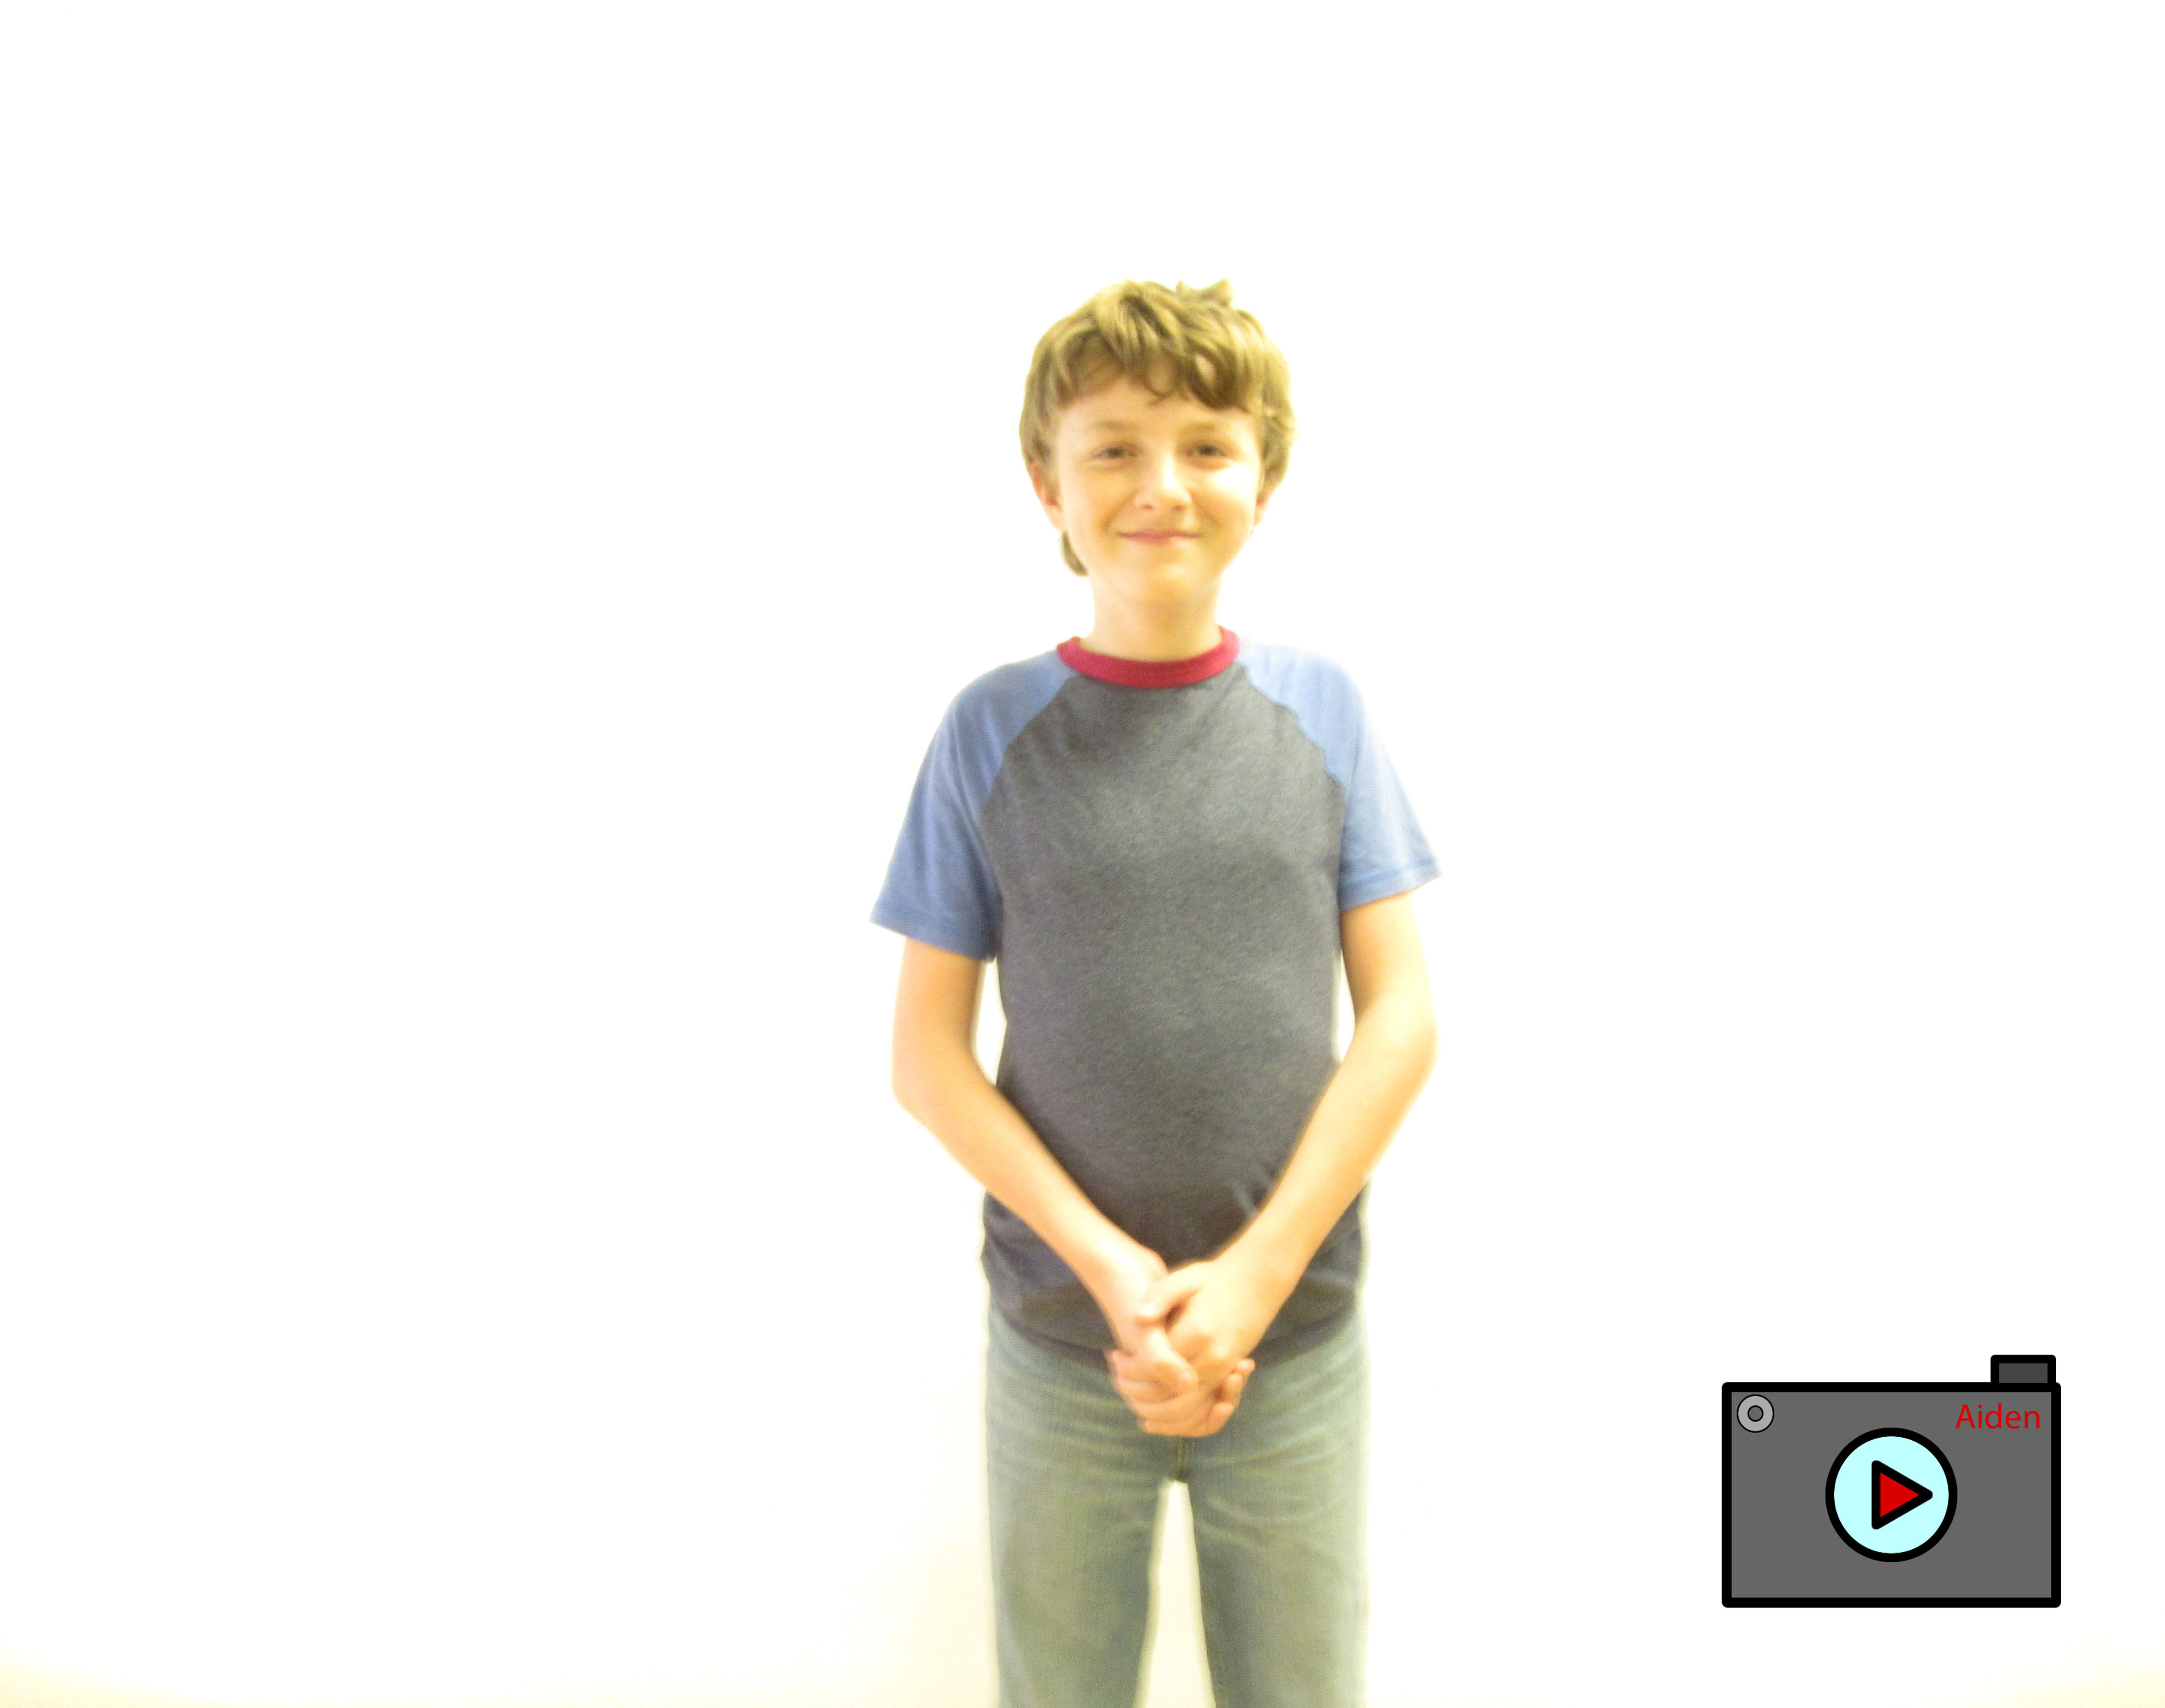
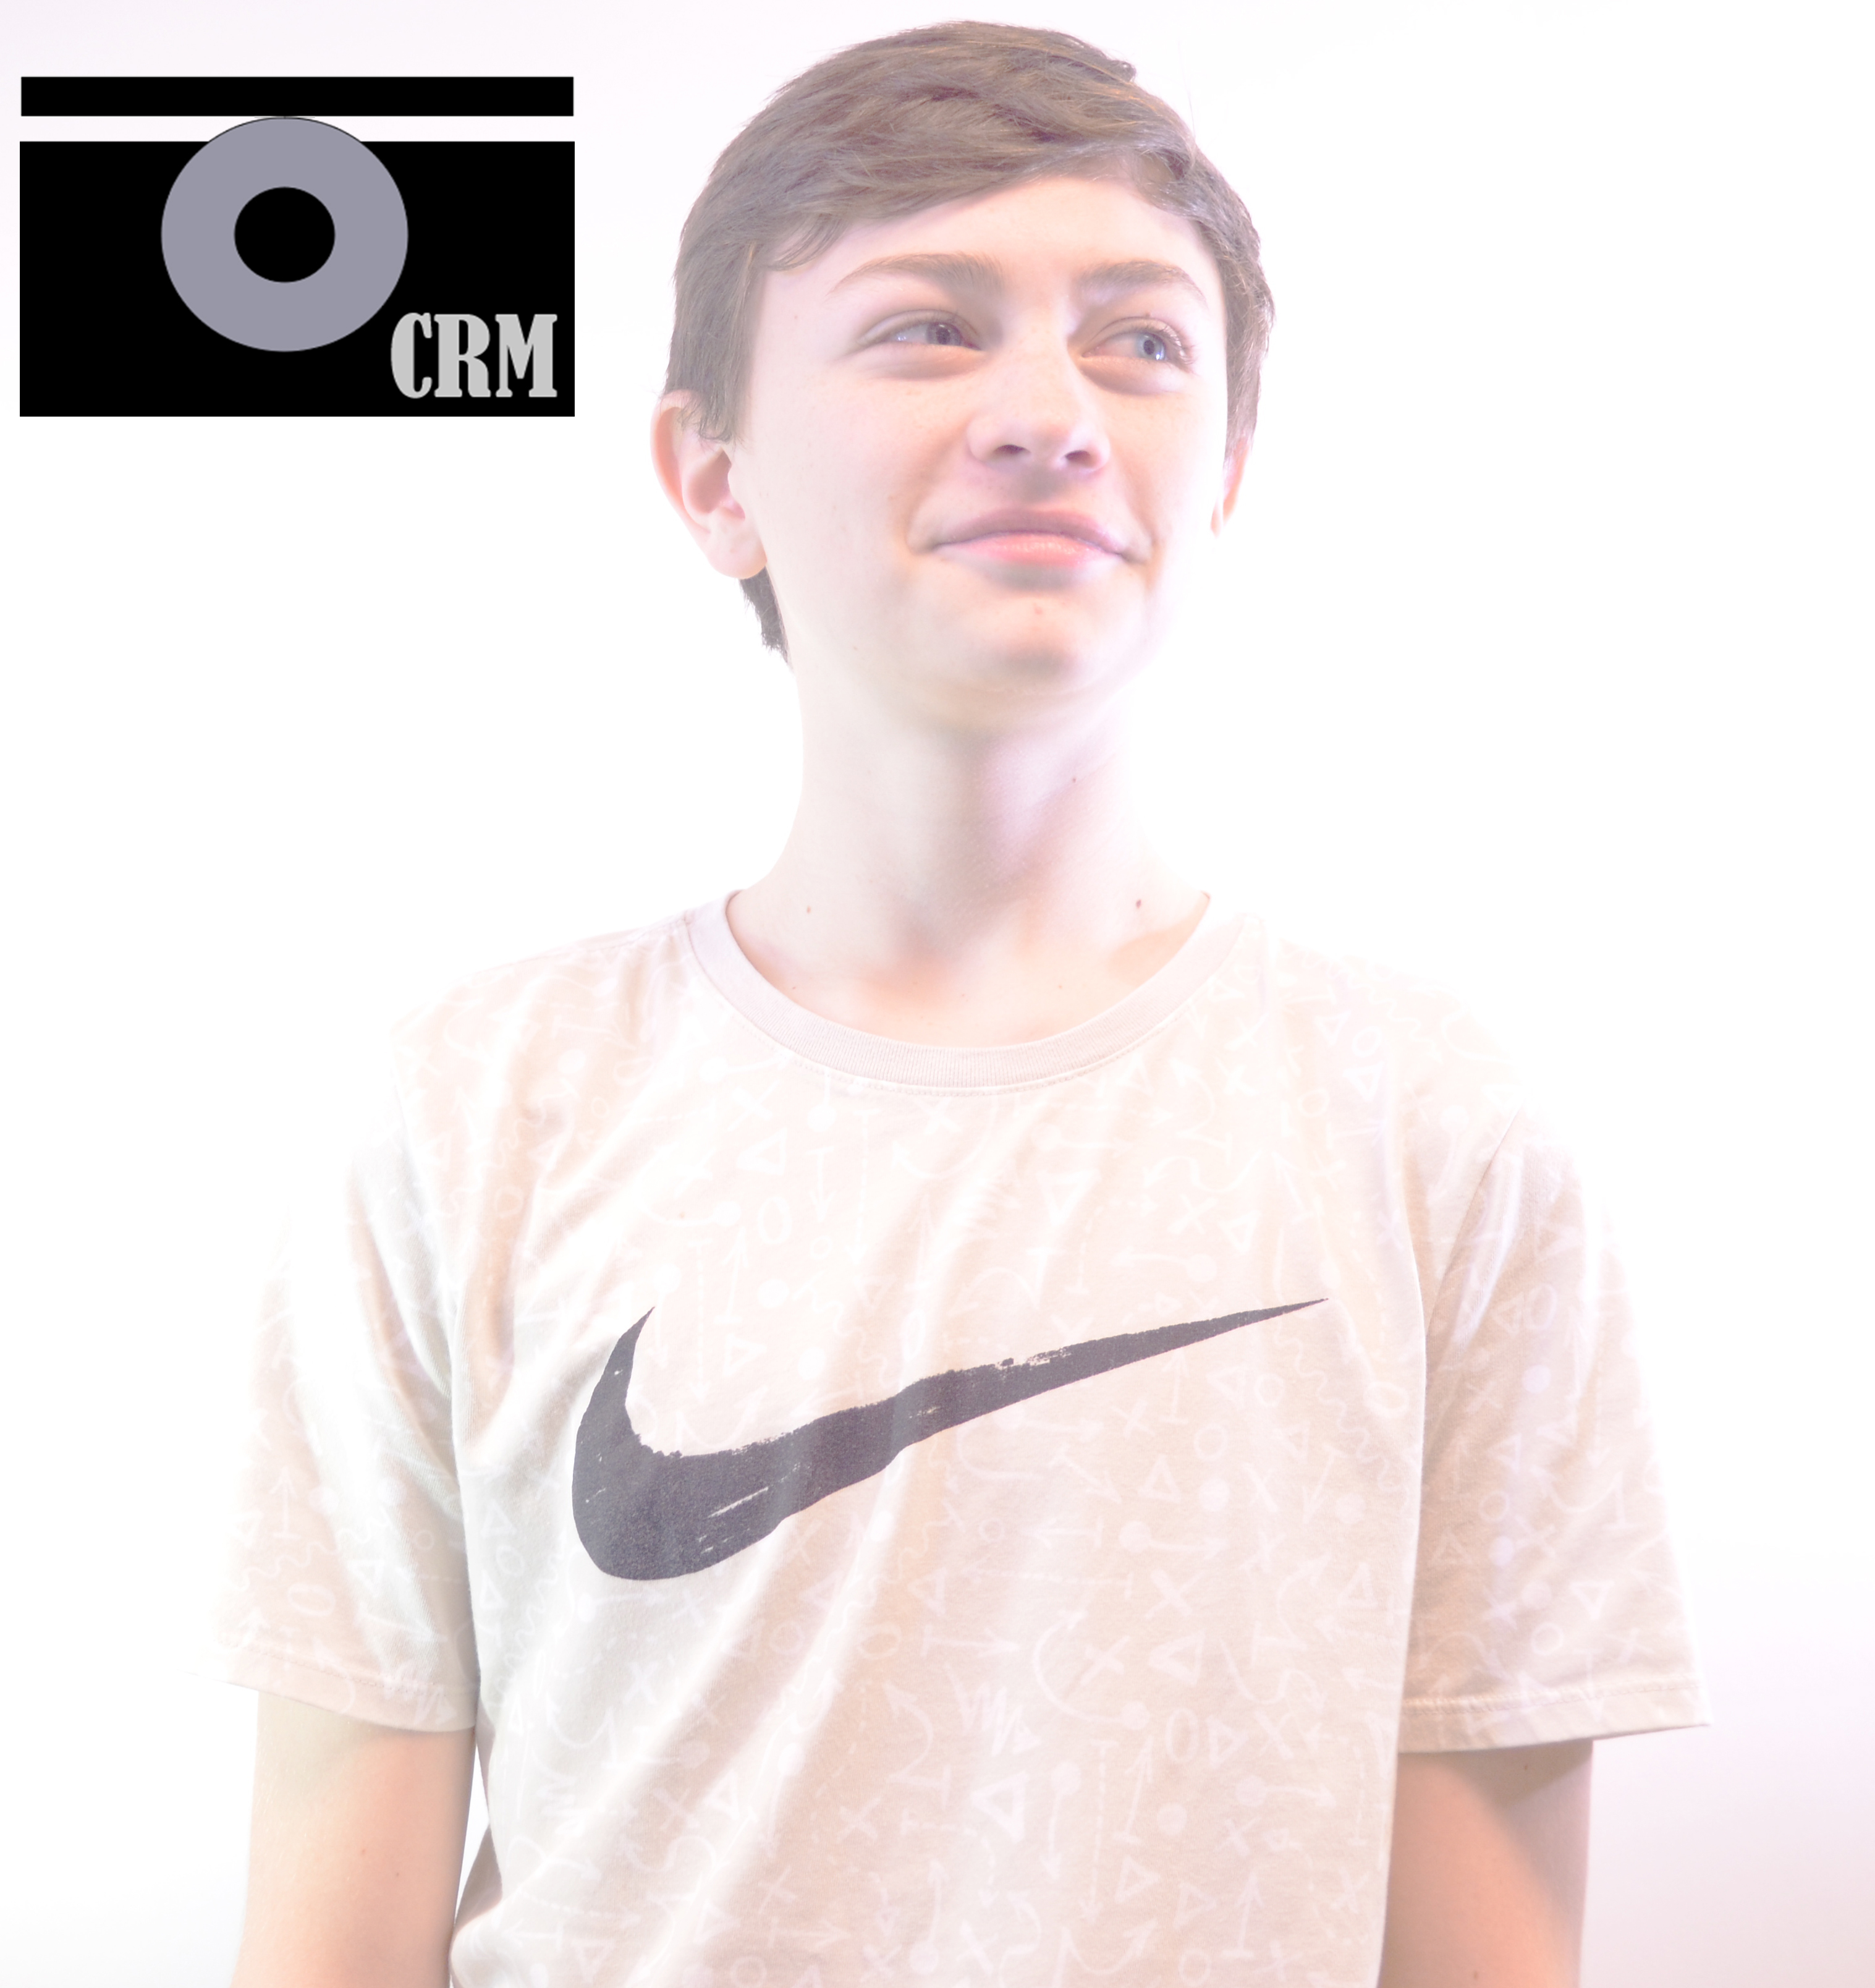
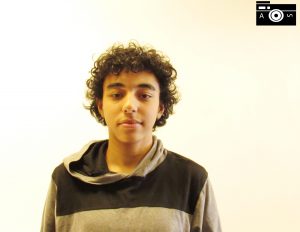
To take these photos, we had to adjust the ISO and shutter so the background of the photo will be completely white. After we took the photos, we edited them a bit in Photoshop to make sure there were no dark spots. What worked was holding the light on the background. What didn’t work was holding the light on the person or holding the light in the photo. You can find the rest of the photos here.
in this project we had to take photos using a white background making sure there weren’t any shadows. We had to change the position of the light so there were no shadows and had to change the position of the camera so it wasn’t blurry.
To see the rest of my photos click here: https://photos.app.goo.gl/4jjtGyzhBiEAxtKz1
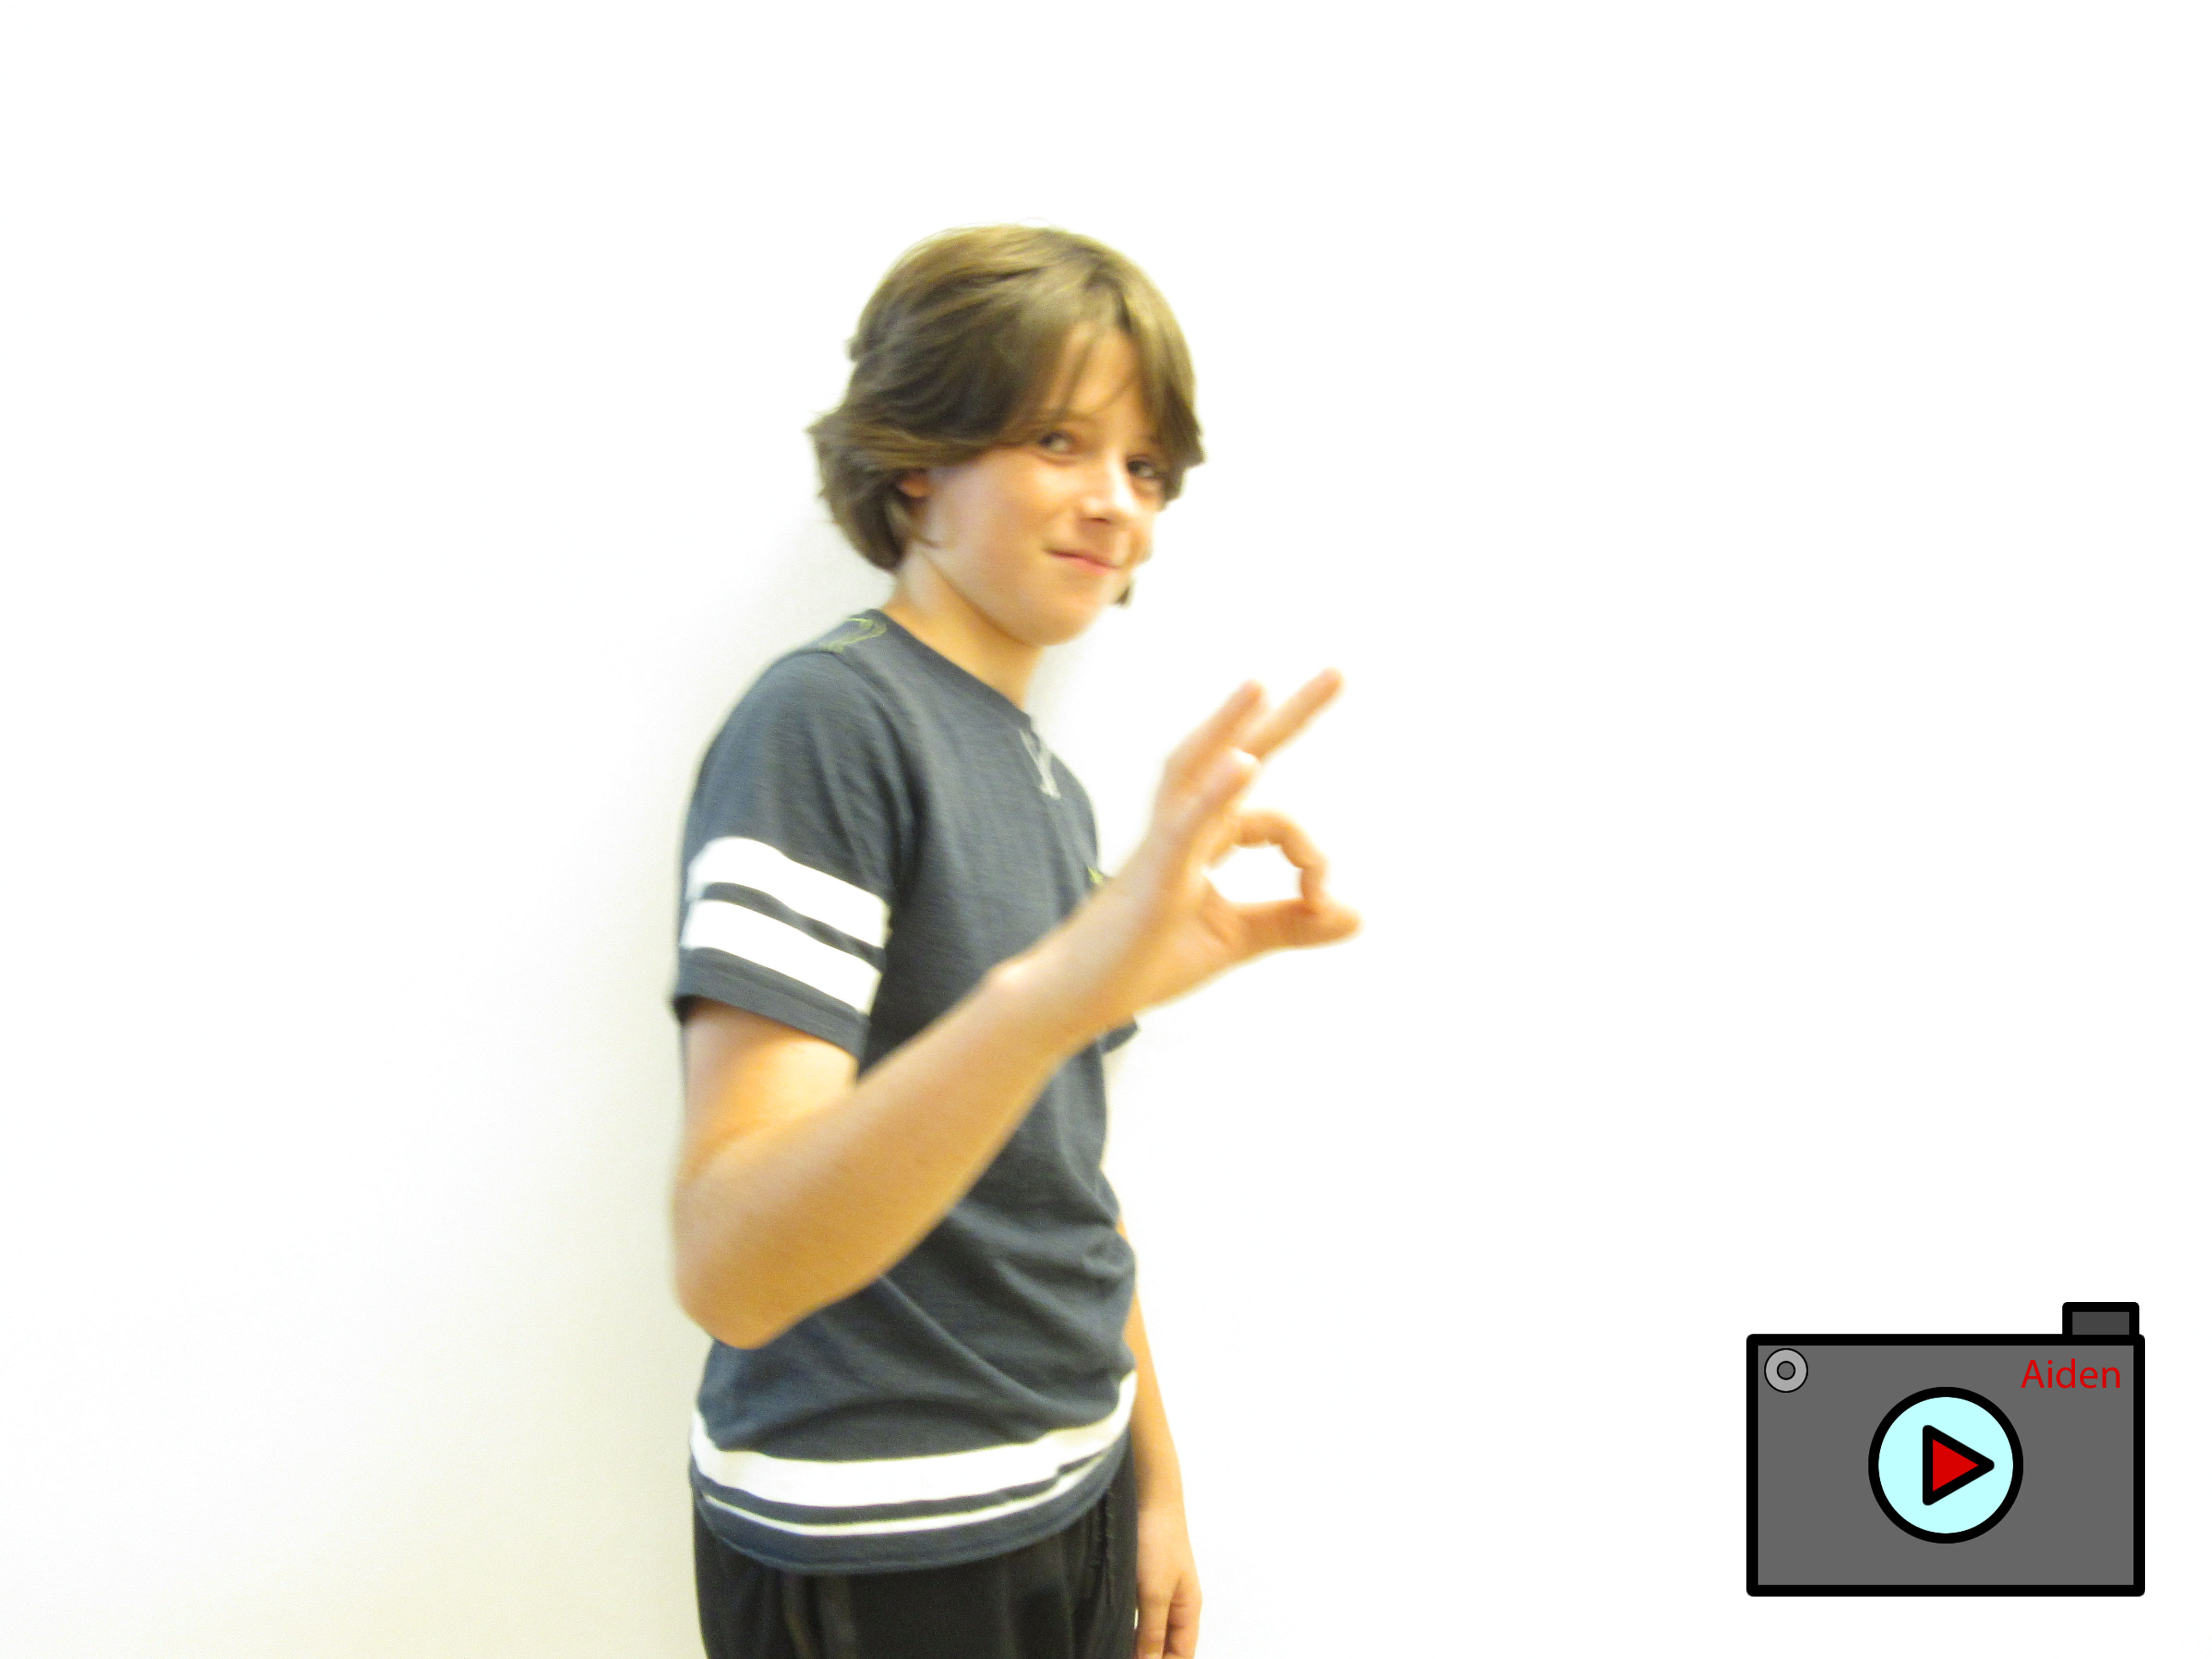
In this project my group and I took photos trying to use a white background. This assignment had a a lot of challenges, like trying try to see into a bright light to having the light being to bright. When we moved the light that seemed to work and therefore we were able to do the assignment. I liked this project a lot.

https://photos.app.goo.gl/ulVCGHT4kO8FqnAm1
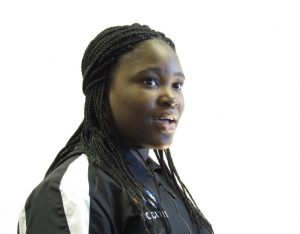
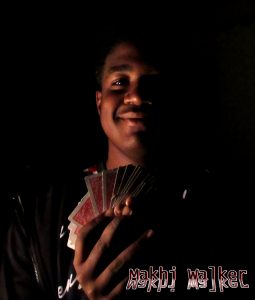
We had to take pictures with a black background, you have to put the camera on a setting and put the spotlight on the person so there face shows. When we changed our light from an orange light to a bright one it worked better. It didn’t work to be in the center of the room.
First, we went to the TV studio to take our photos. When we were done we came back to the computer lab to use Photoshop. We all worked as a group to get our photos done. It was hard without that many lights in the background. During the white background we had to let in more light compared to the black one. The black background was a lot easier.
https://photos.app.goo.gl/VKE1bLHQDCE9xlYV2
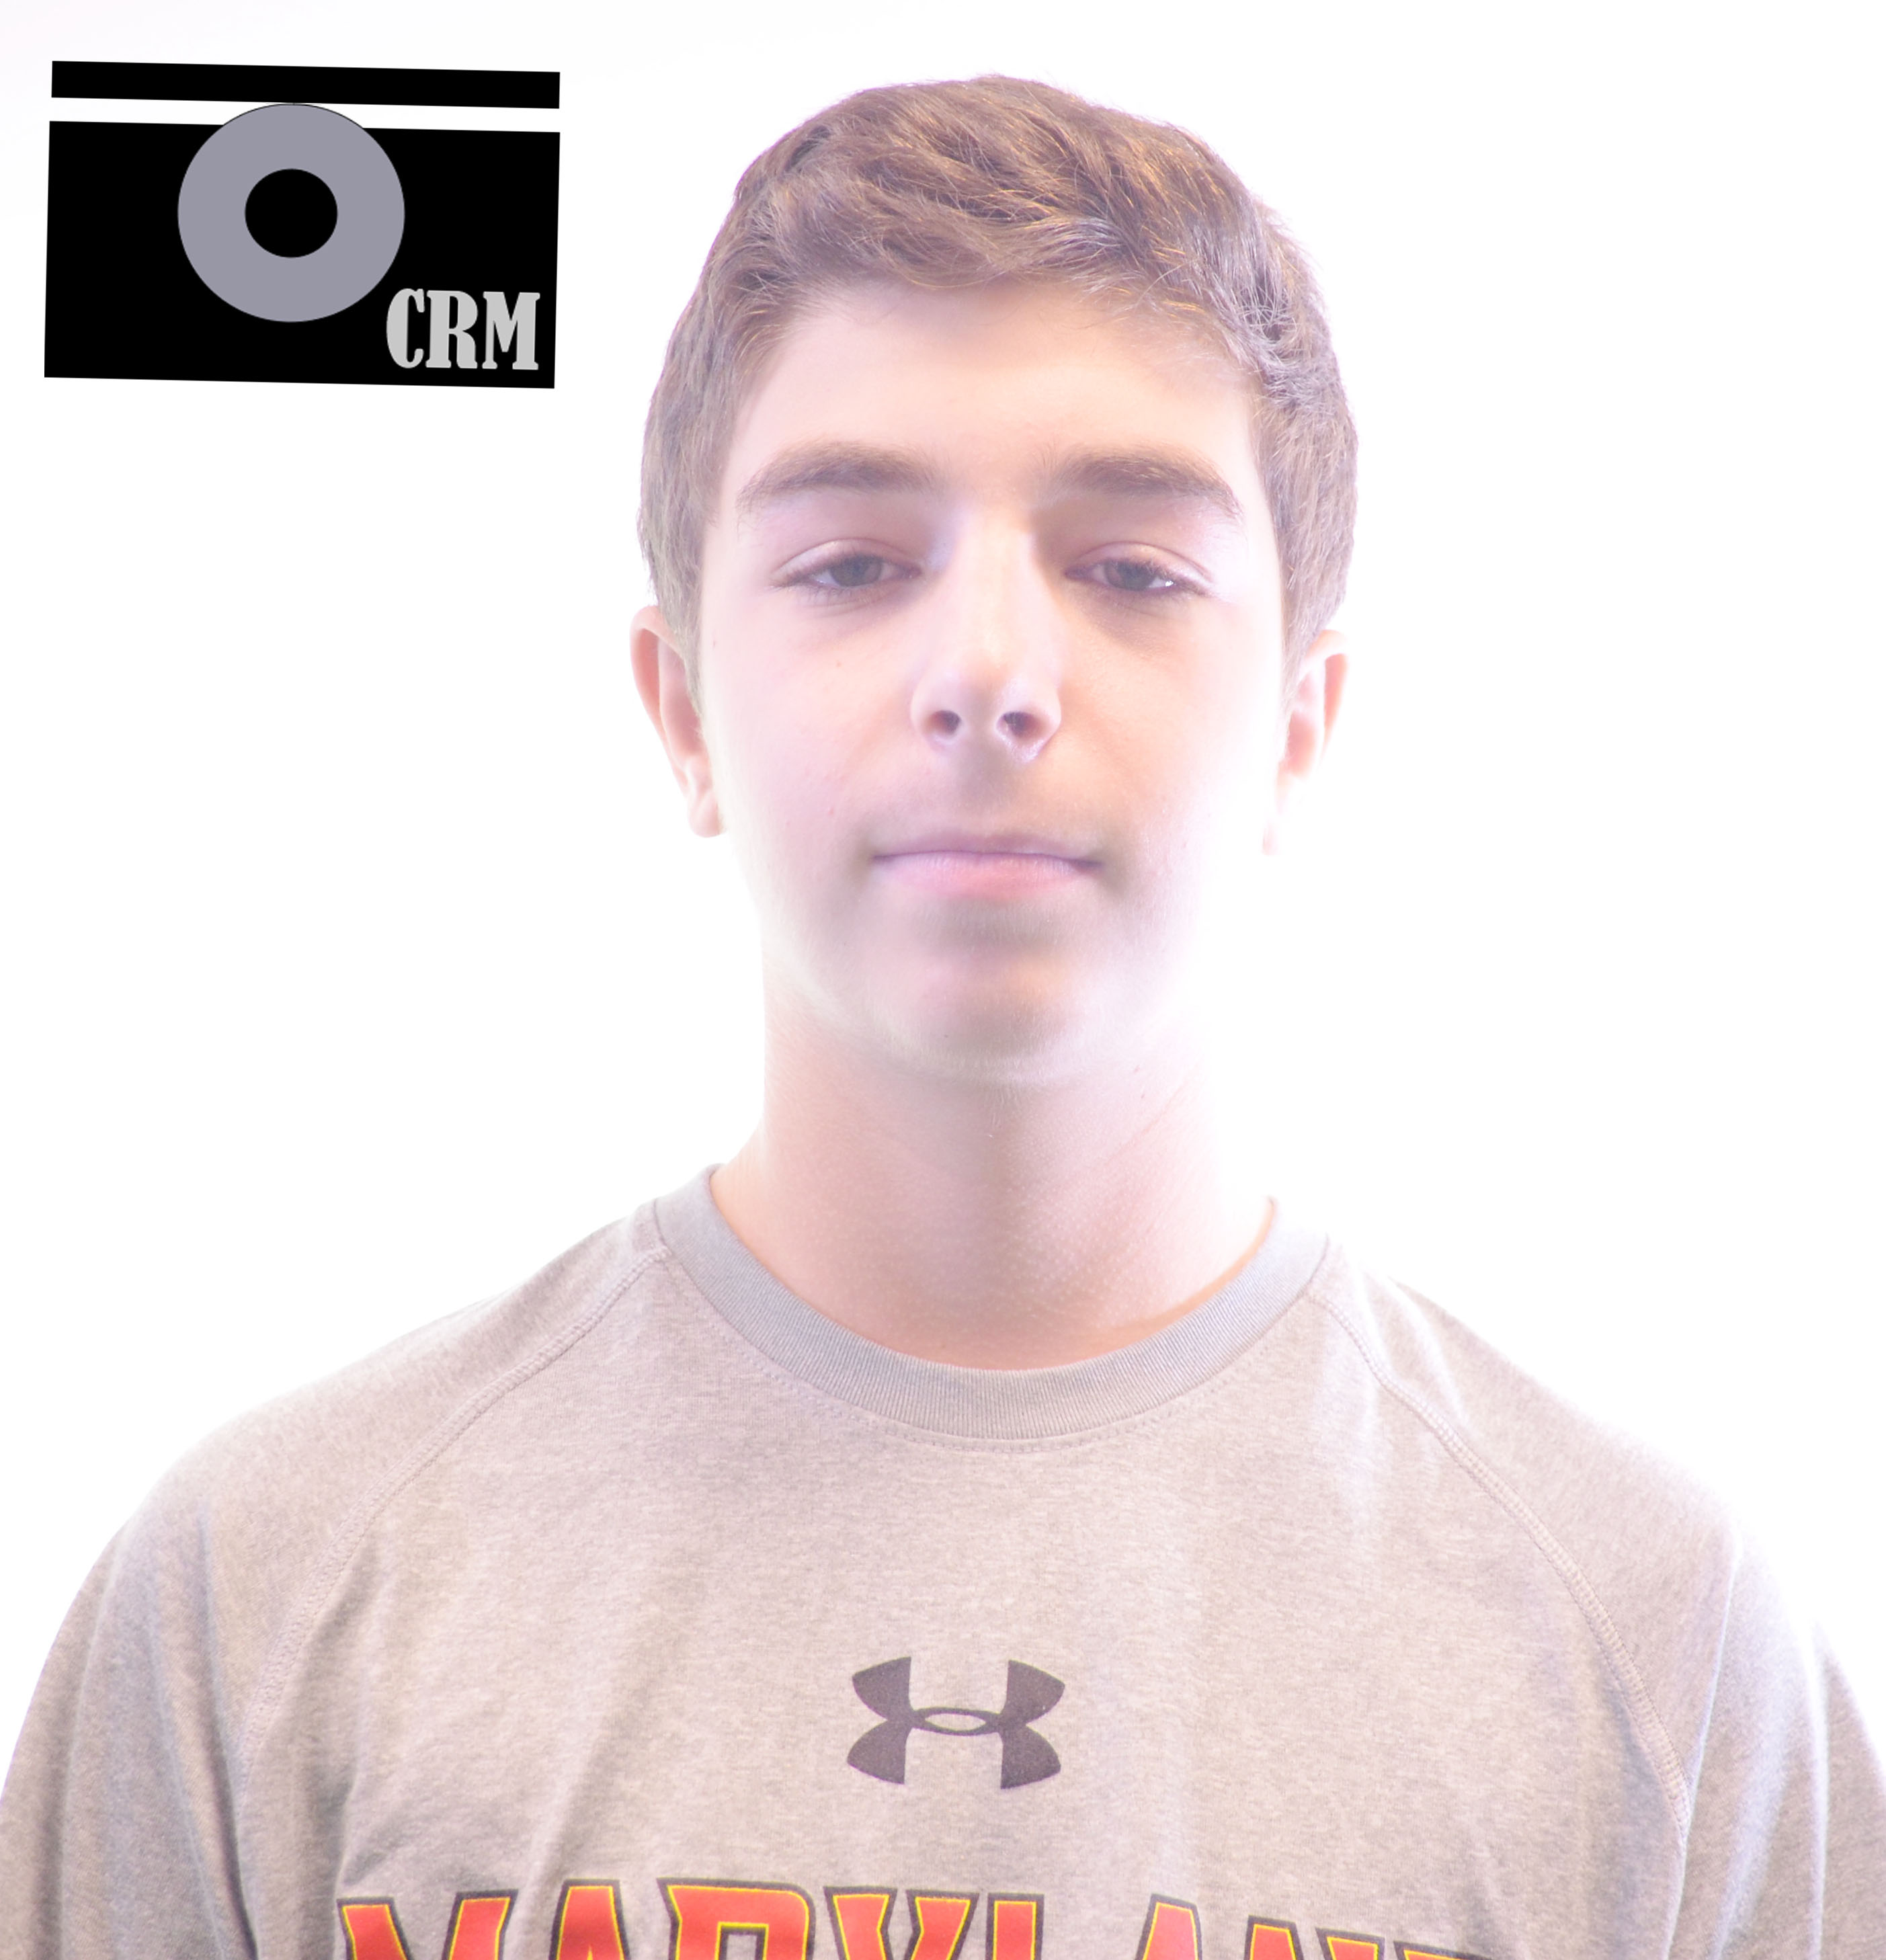
We change the ISO and the shutter speed to but more light in to 1/30 of a second and we change the ISO to 640. With the change in the camera it put a lot of light in and also with the light in. This is much easier than the black background because we did not need to use too much Photoshop. The difference between a light background and a black background is how much light the camera takes in. With higher ISO and shutter speed more light will come in.
l
https://photos.app.goo.gl/EBmu14pf4AKzmXKT2
Here are some of my photos
![]()
![]()
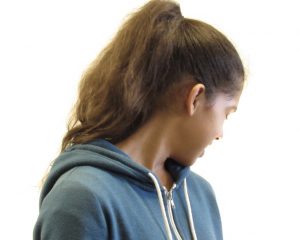
In this project my group and I had to take a photo seeing a black background without a background actually being there. This project had lots of difficulties, there were many shadows in the background, the setting’s weren’t really going how we wanted it to but we still managed to get photos. The challenges in this assignment was the shadows, most of the good photos had shadows but we found a way to get around that.
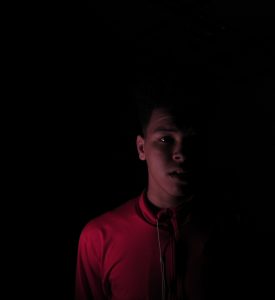
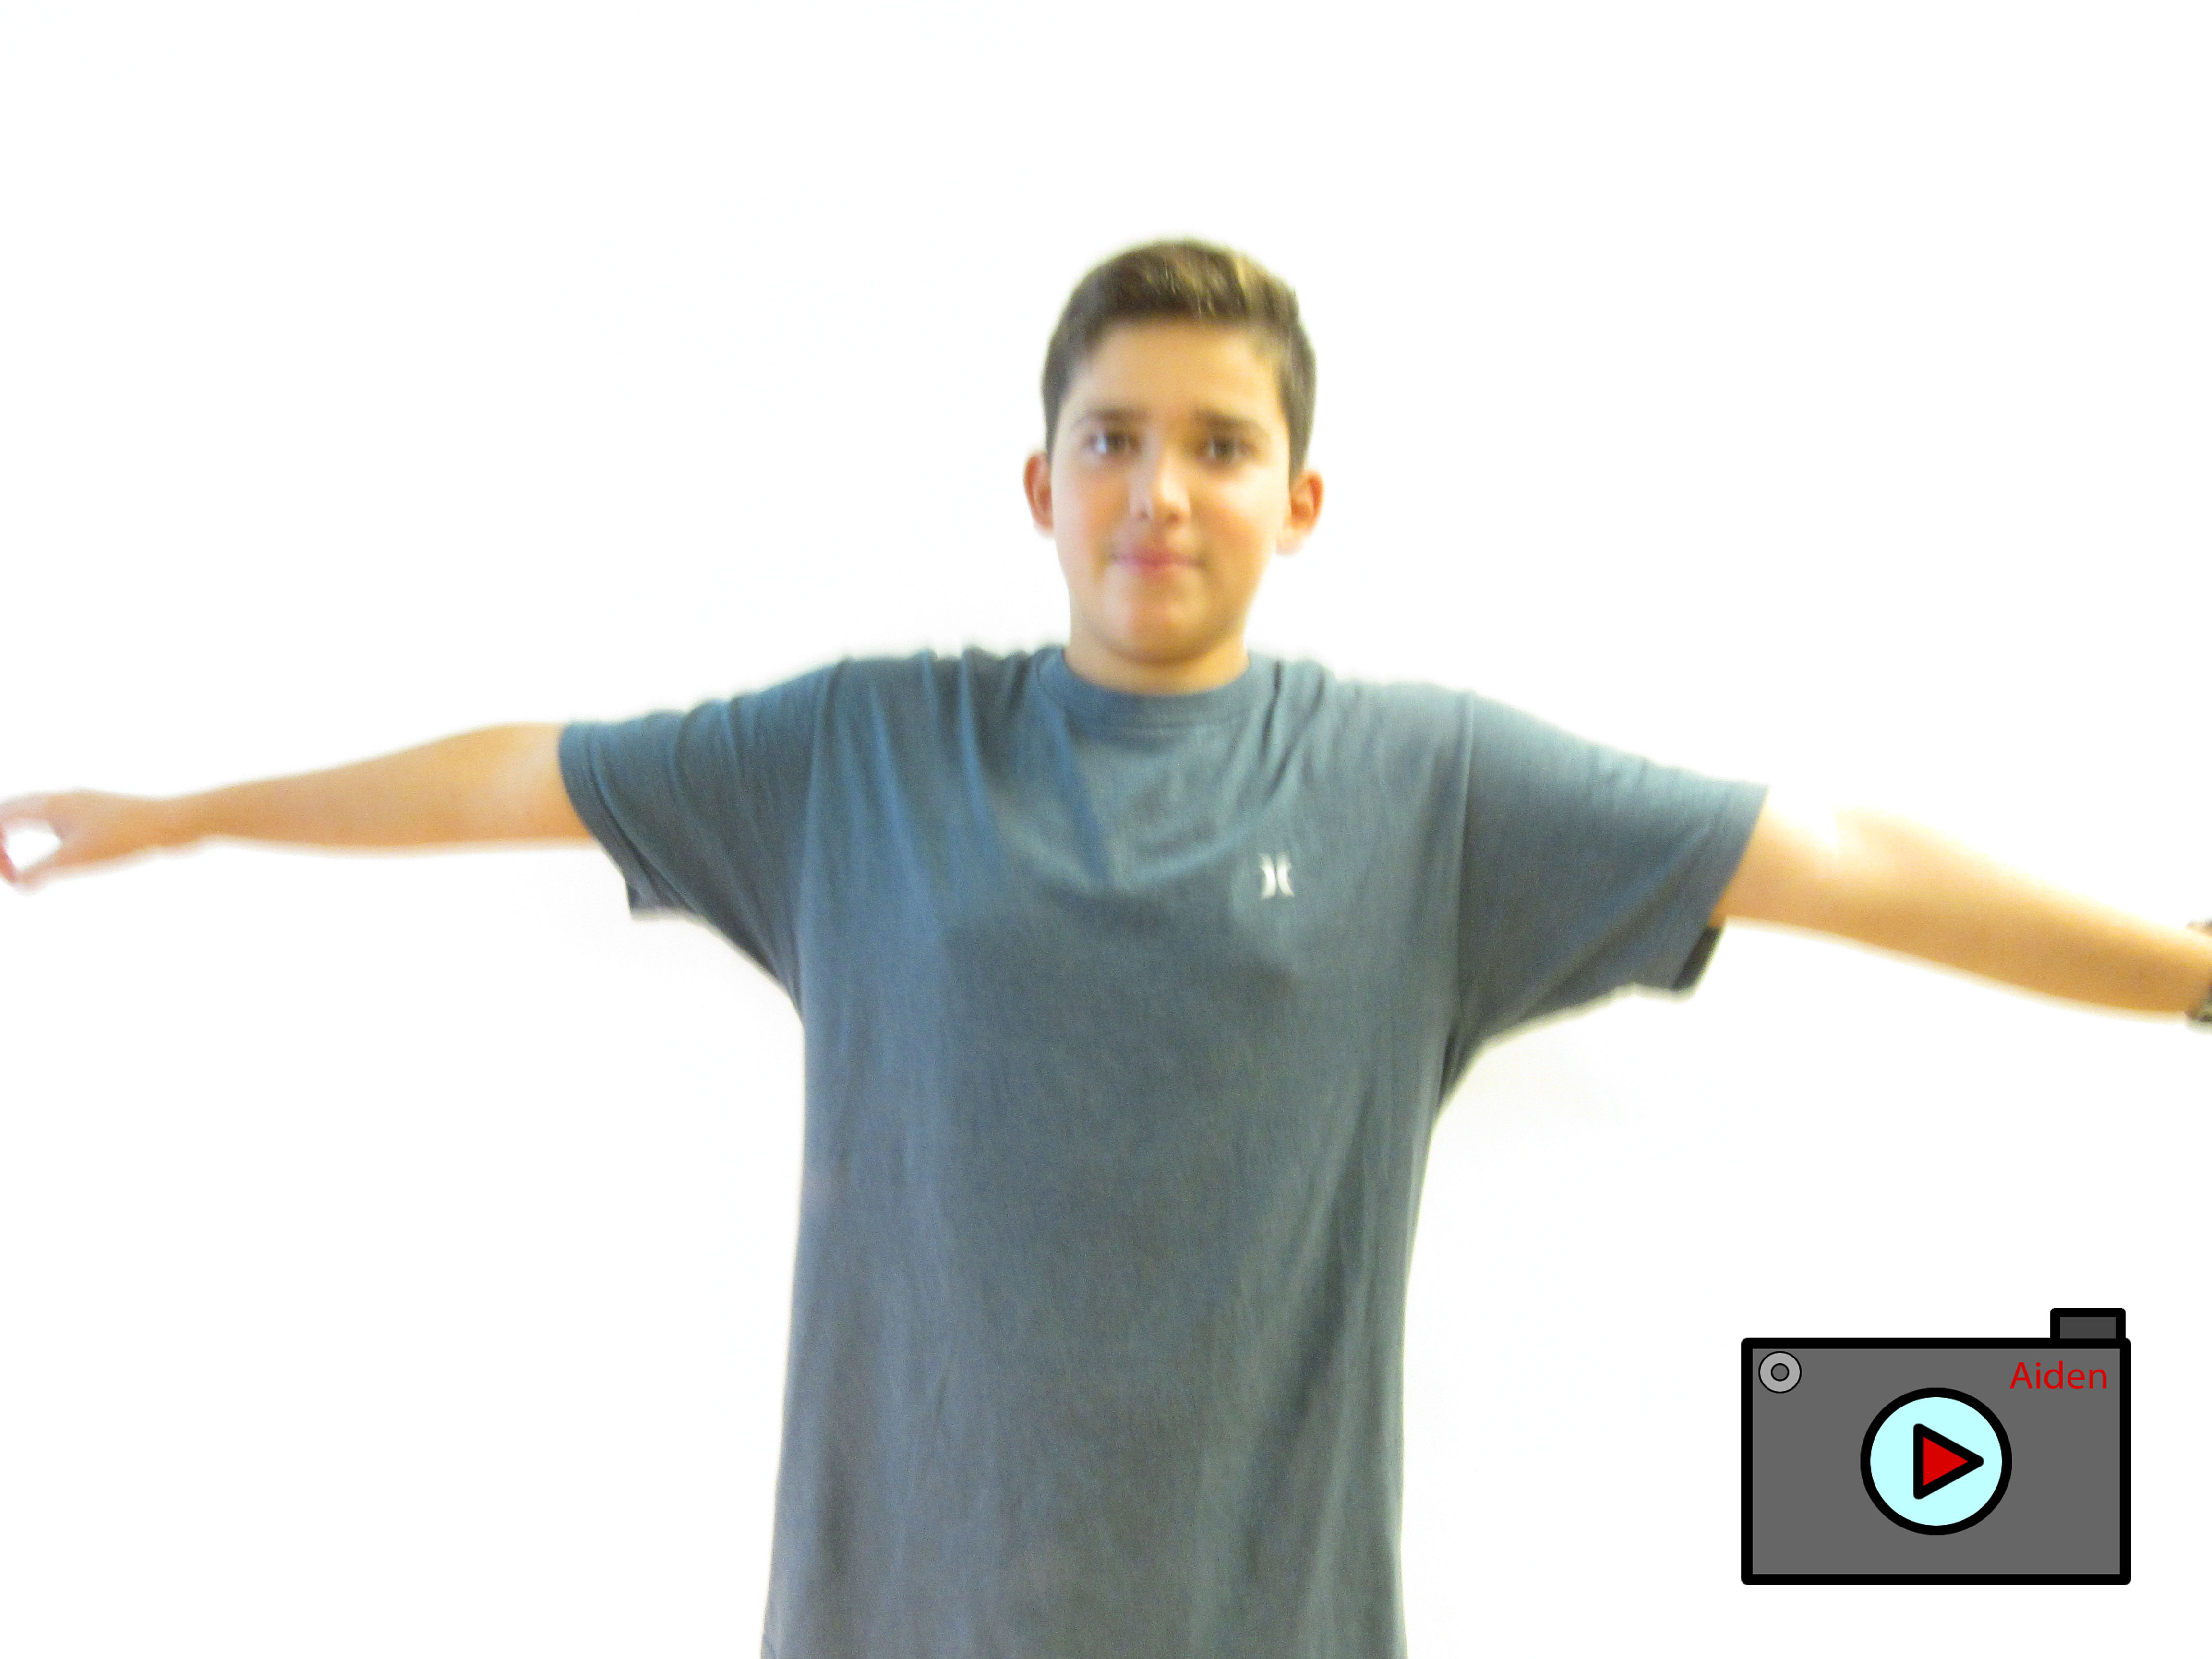
In this project we had to change the shutter speed so that the background can be more white. What worked was when we changed the shutter speed to a lower speed. What didn’t work was the lighting, we had to find the right angle for the light. the white background and black background were very different. For example, we had all the main lights off for the black background and we needed as much light as possible. we needed a slow shutter speed for the black background and an even slower shutter speed for the white. The black background was easier because of the lighting we had.

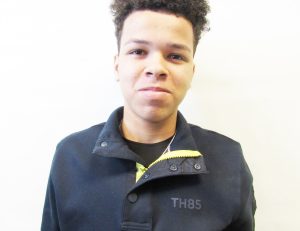
The way we took our photos was with a white background and changing the settings of the ISO, Shutter speed, and F-Stop. Some of the photos did not need to be edited since they were fine the way they were. What worked was shining a bright light at the background when we took the picture. For the white background, we used a different shutter speed than the black background. The black background was much easier than the white background. What didn’t work was standing to close to the white background because we could see the shadow of the person.
Link to the rest of the photos: https://photos.app.goo.gl/np8KGUucf1L35RXJ3