Portraits Photos

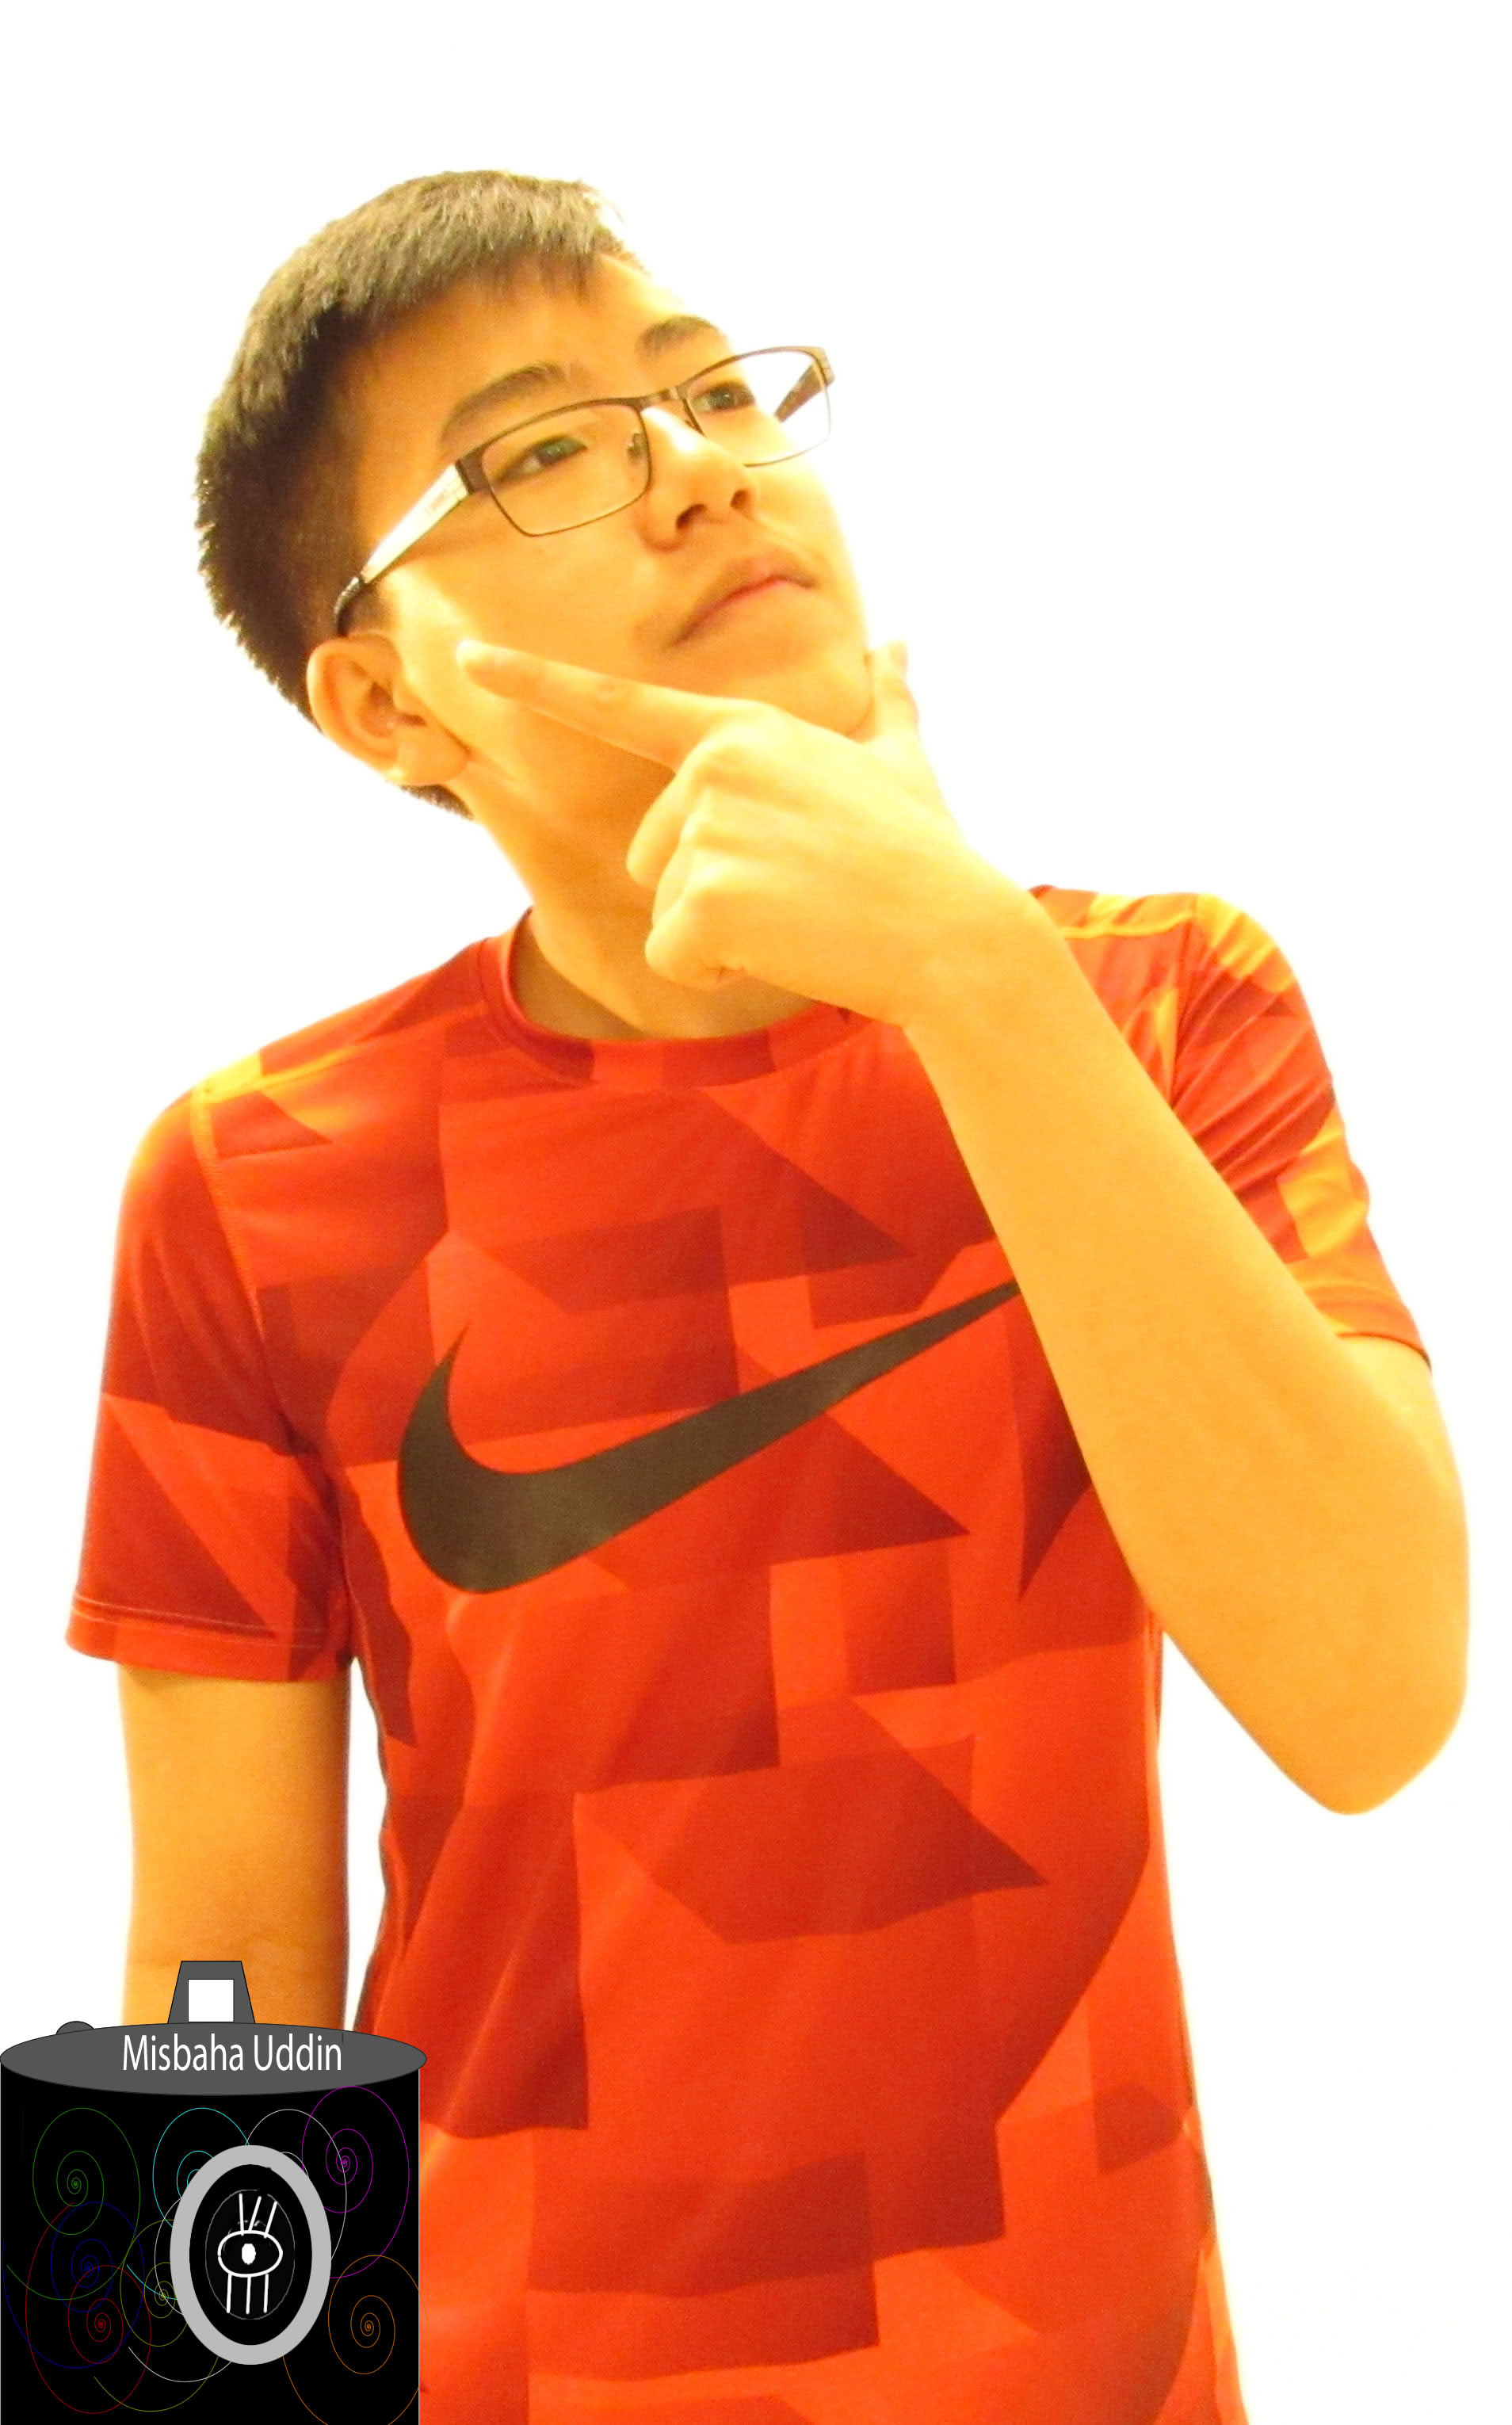
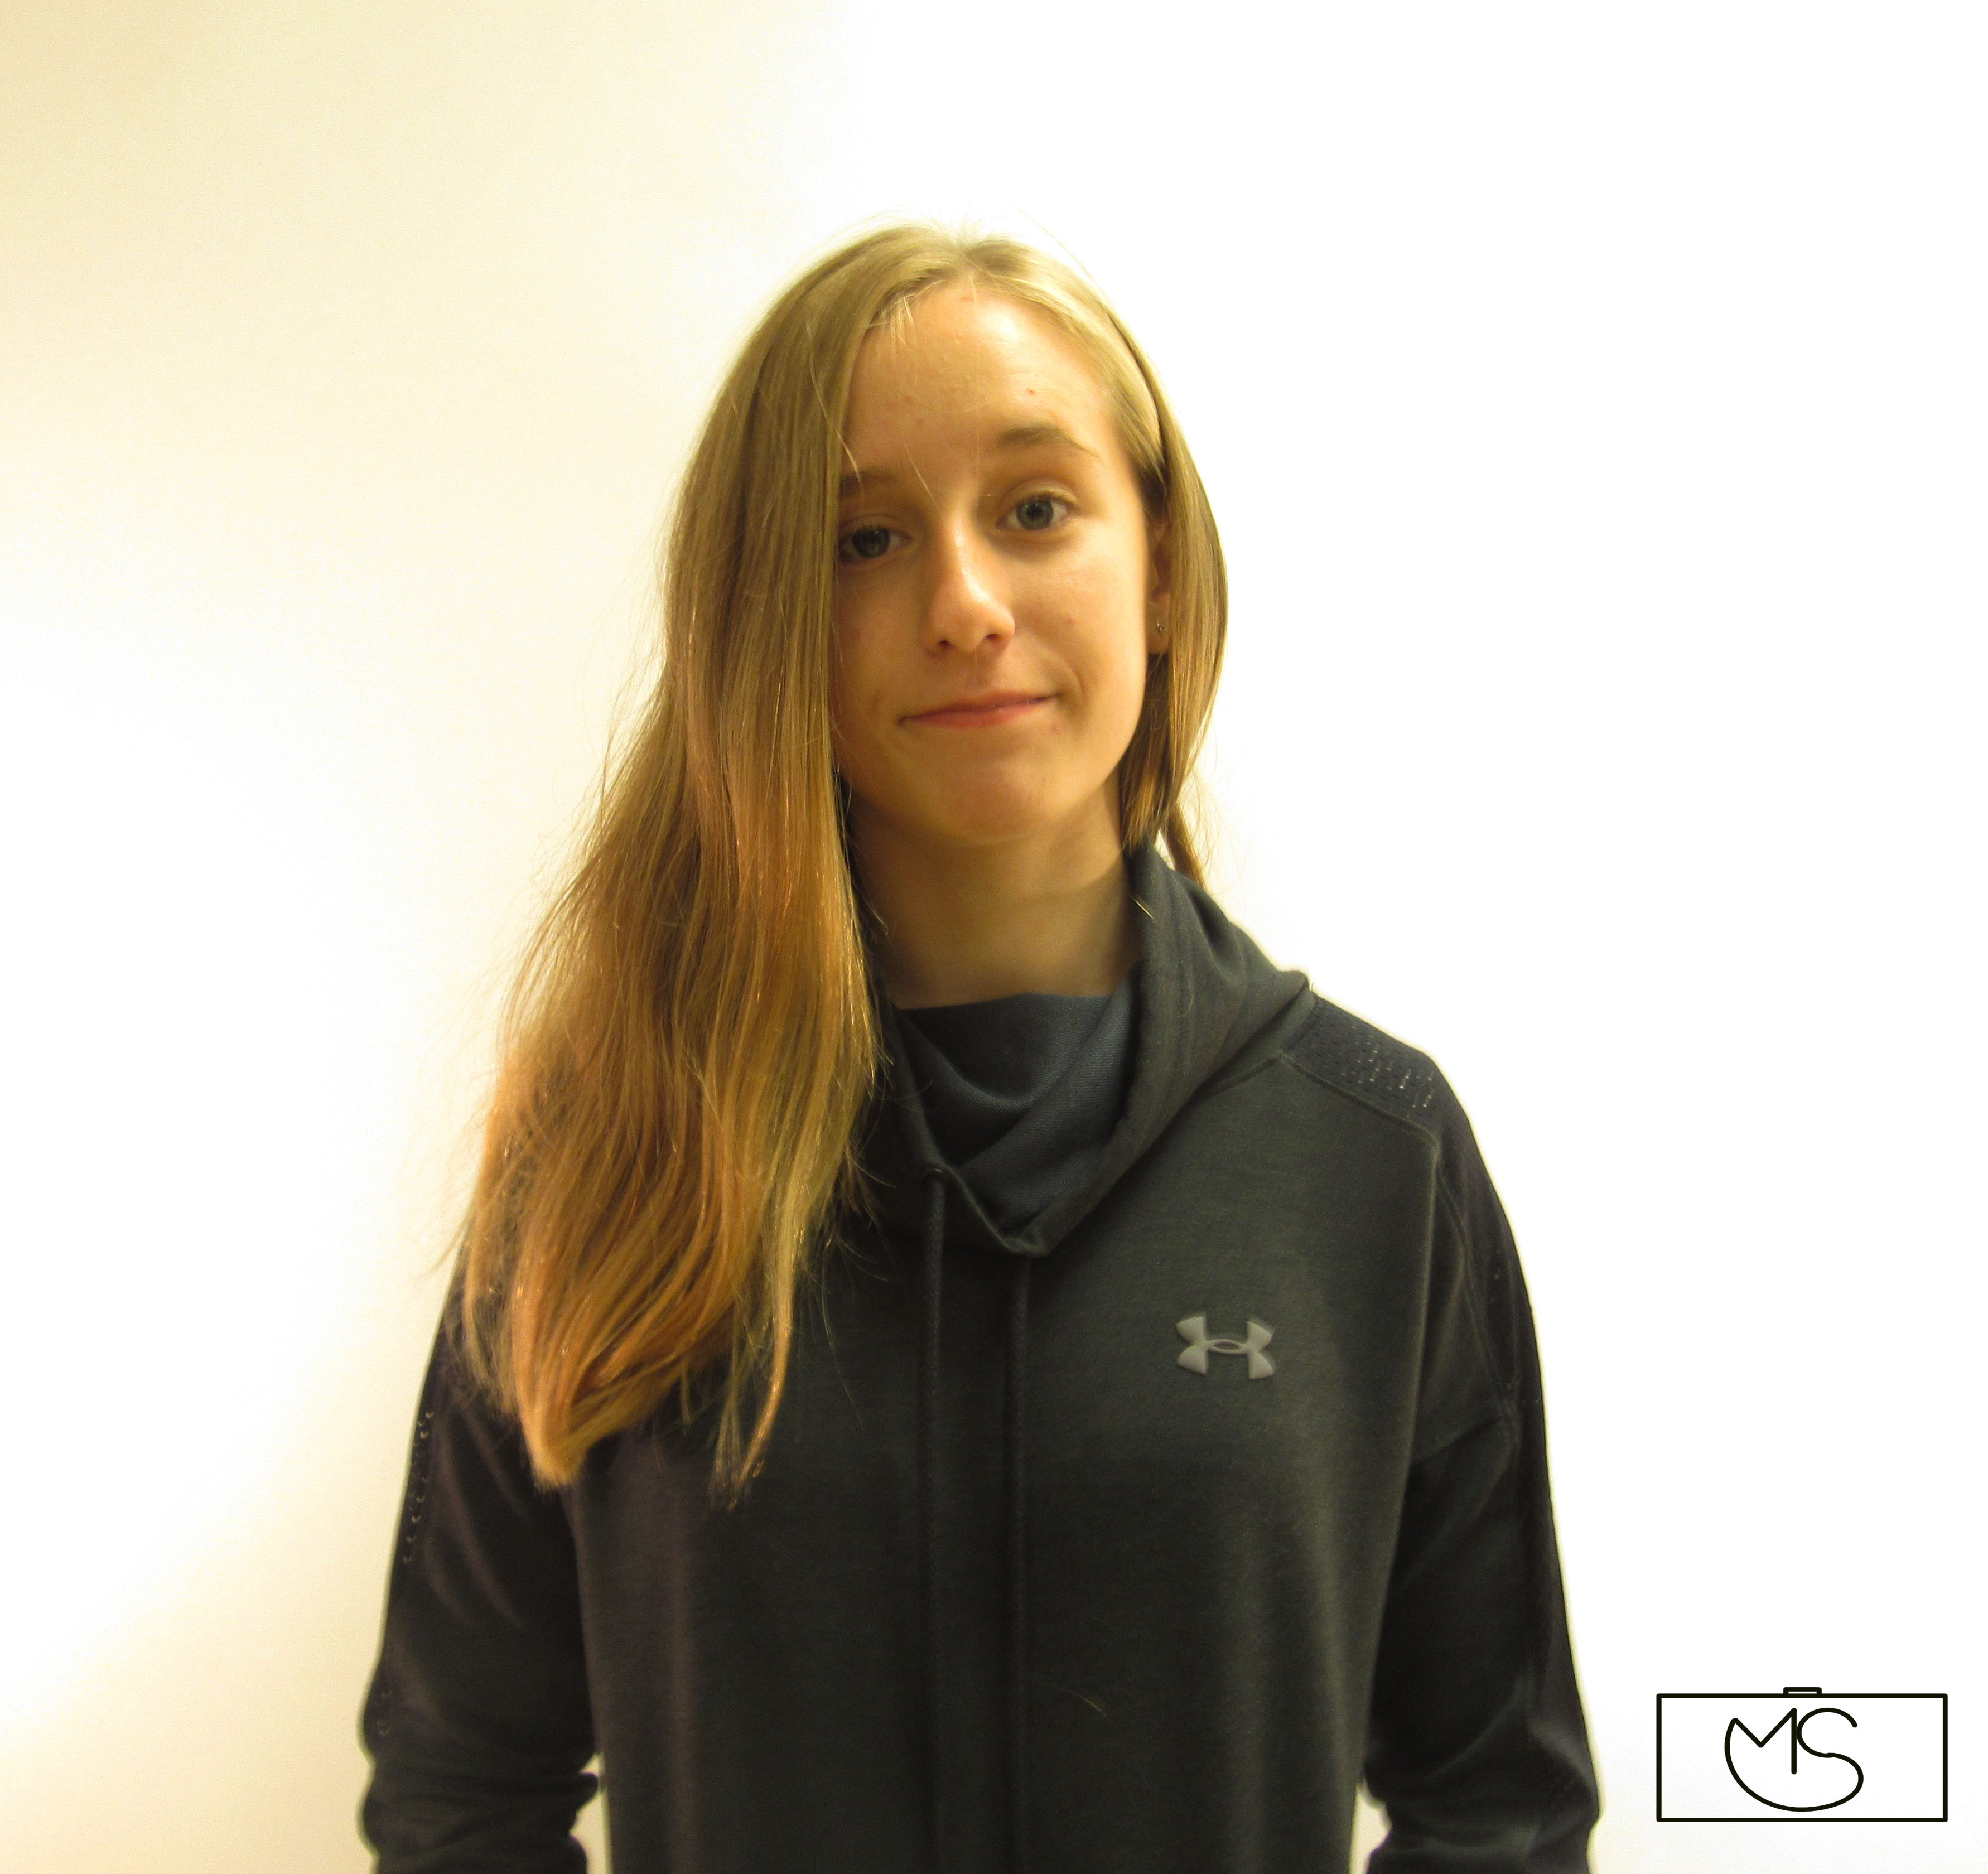
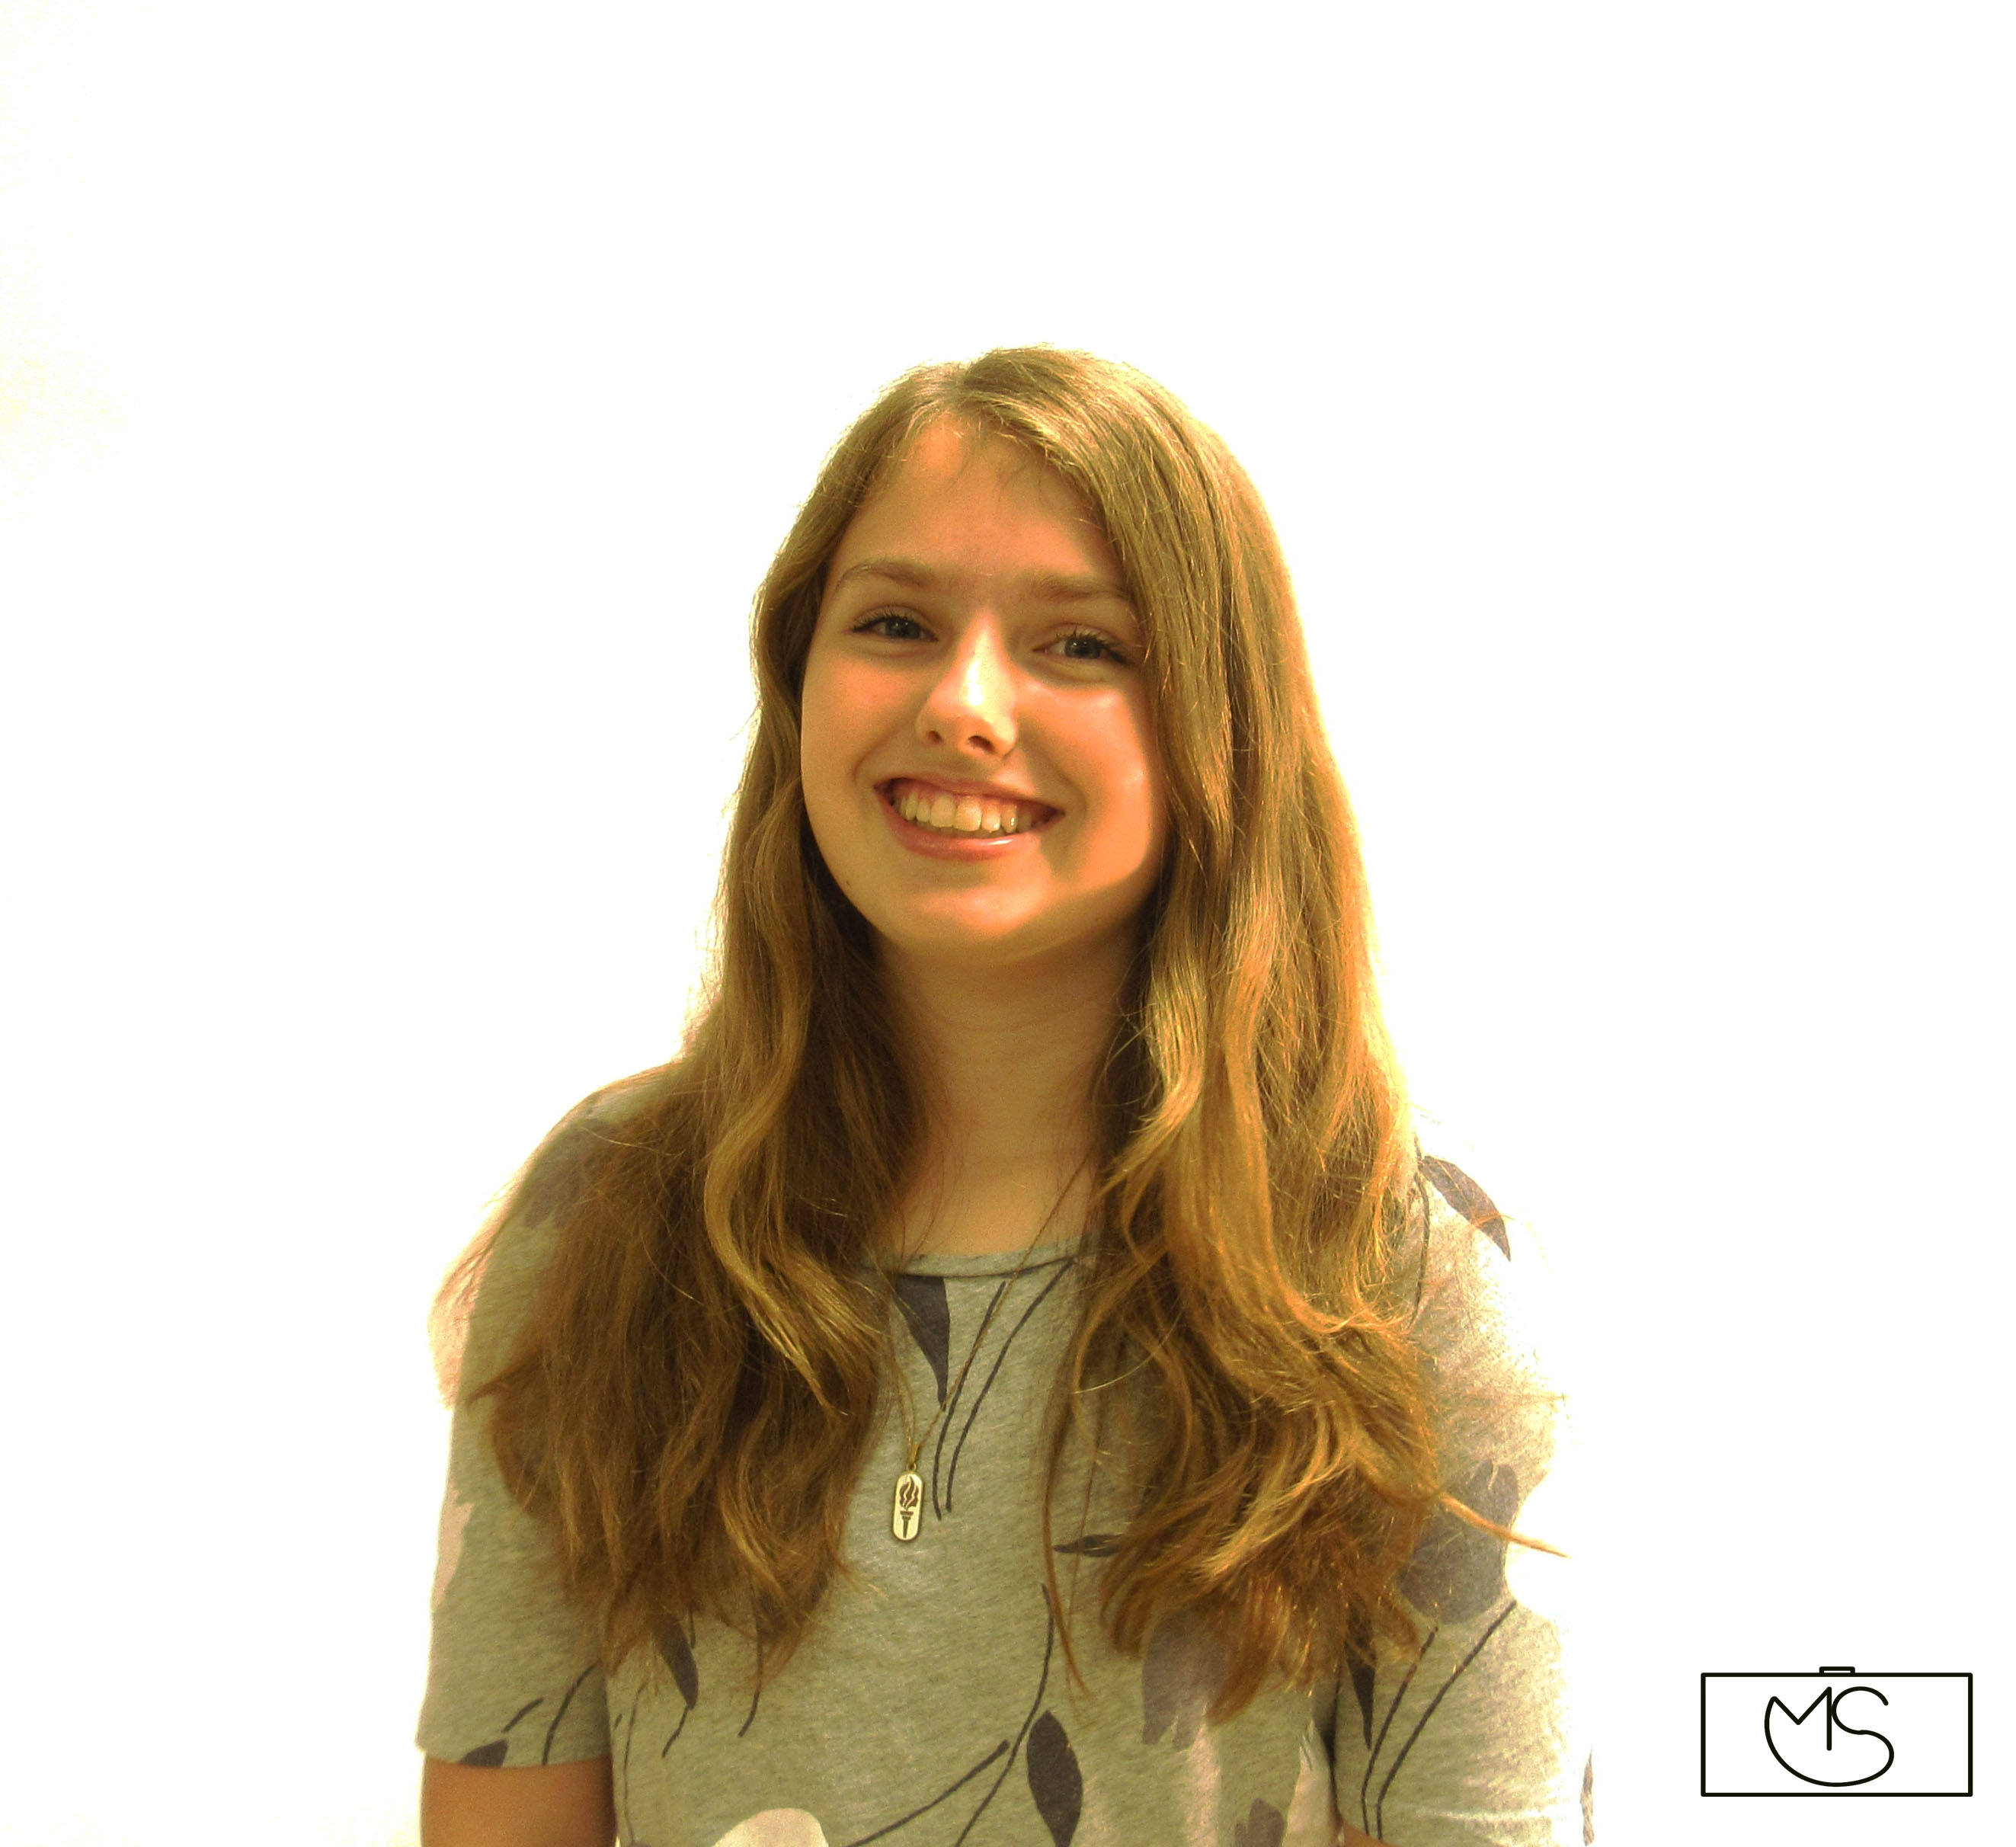
In this project each person in our group got a photo taken of them with a pure white background. This was challenging for me because we had to make sure that the people stood in front of the light so there were no shadows. Another hard part was to make the quality good so we needed to change the setting on our cameras to let more light into the lens. A very easy part of the project was editing the photos in the Photoshop app. This was easy because all we had to do was put the photo in and go to the curve feature then adjust the light so that the shadows fade into the white background. 

See the rest of my photos here

Portraits with white background

For this project we had to us a white background and use lights. We used the shutter speed to absorb the lights in the room for an amount of time so that the picture had a clear and white background. It took us a lot of time to figure out what we should use. We also had to adjust the ISO to make the camera sensitive to the light. Something that worked was having lights on each side. That contributed to making the background completely white. Something that didn’t work was when the ISO was too high or too low then the background would be either brownish or way too white. The reason the background can’t be too white is because if the background is too white the light will also block the person’s face or the person might not even be able to be seen in the picture. Down below is a photo of me and a photo that I took. You could check out the rest here.

Portraits with an Infinite Background

We tried different angles of the lighting and different poses in the process of taking photos. In editing I tried different hue saturation and tried to pop colors out , drain colors, or tried black and white. What worked is different poses and changing the colors in editing. What didn’t work is the regular black and white so I had to turn it up.  If you want to see the rest of my photos, click here.

Portraits:White

In this project we had to take a picture of someone else. We also needed a photo of our self. We took the photos against different backgrounds with lighting. We also fiddled with the camera settings. We made the camera accept more light.    We also edited it in photo shop to make the lighting look better.  It was hard to make the lighting look good. The easy part was editing the photo’s. If you would like to see more of our photos click here

Portrait

in this project, we had to take pictures of ourselves behind a white background to make it look like in infinite background. the hard part was the the editing and making the logo transparent

sorry i cant change the opacity of the logo

Portraits with an Infinity Background?

To take my photos I used a light, white background and a camera. I had three people in my group, one person to take the pictures, one person to hold the light against the background, and one person to get photos taken of them to edit. All three of us took turns doing each job and did each job more than once. When I was the camera person I had to adjust the shutter speed to take more or less light in. It was hard to find the right shutter speed to take the photo with. When holding the light my job seemed easier than it was. U might think it is easy to hold the light against the background, but you have to hold it so the light shines perfectly on the person so you don’t create a shadow. Getting your photo taken, is getting your photo taken. The hardest part for that was finding a good pose.  Adjusting the shutter speed on the camera to about 1/25 made our photos the least shadowy and shining the light more on the person than the background did not work out so well. All in all, this project was challenging but fun! You can see the rest of my photos here.

Portraits White Background

For this project I had to use a camera and learn how to change the ISO to make it look like there wasn’t a white background behind the person I was taking pictures of.Also I had to change the shutter speed so it can stay open for a longer amount of time so as you can let in as much light as possible.The thing that worked for me was the position that the person was in and the color of the clothes the person was wearing.Also putting the pictures in black an white worked as well.What didn’t work was in some pictures the light way to bright and you couldn’t see the person.Also when the light was facing the white background helped seem as if the person was cropped into the picture.You can see the rest of my photos here.

Portraits

I took the pictures by using a white background and pointing a light at the person. I made sure there wasn’t a shadow outlining the person. Using the light worked but some of the pictures turned out too light. Over all this project was easy and fun. The rest of my pictures are here.

Infinite Background

For this project I had to take pictures of myself and people in my group. I had to mess with the ISO, Shutter speed and F-stop. I had to make the camera settings so that the background is completely white. A iso of 800, A shutter speed of 80 and a f-stop of 7.7 seemed to work the best  A low shutter speed and a low f-stop seemed to work but not as good as the other set of settings.

You can find my pictures Below.

Portraits With An Infinite Background

For the photos we all used the plain white background and took photos of everybody, then for editing I used photo shop to crop it,change the colors,etc. and to add my logo I used Fireworks. Taking photos in front of the other side of the white background worked because you didn’t have shadows but it was clear,from the natural lighting of outside. Taking photos in front of the white background 

To see the rest of the photos click here.