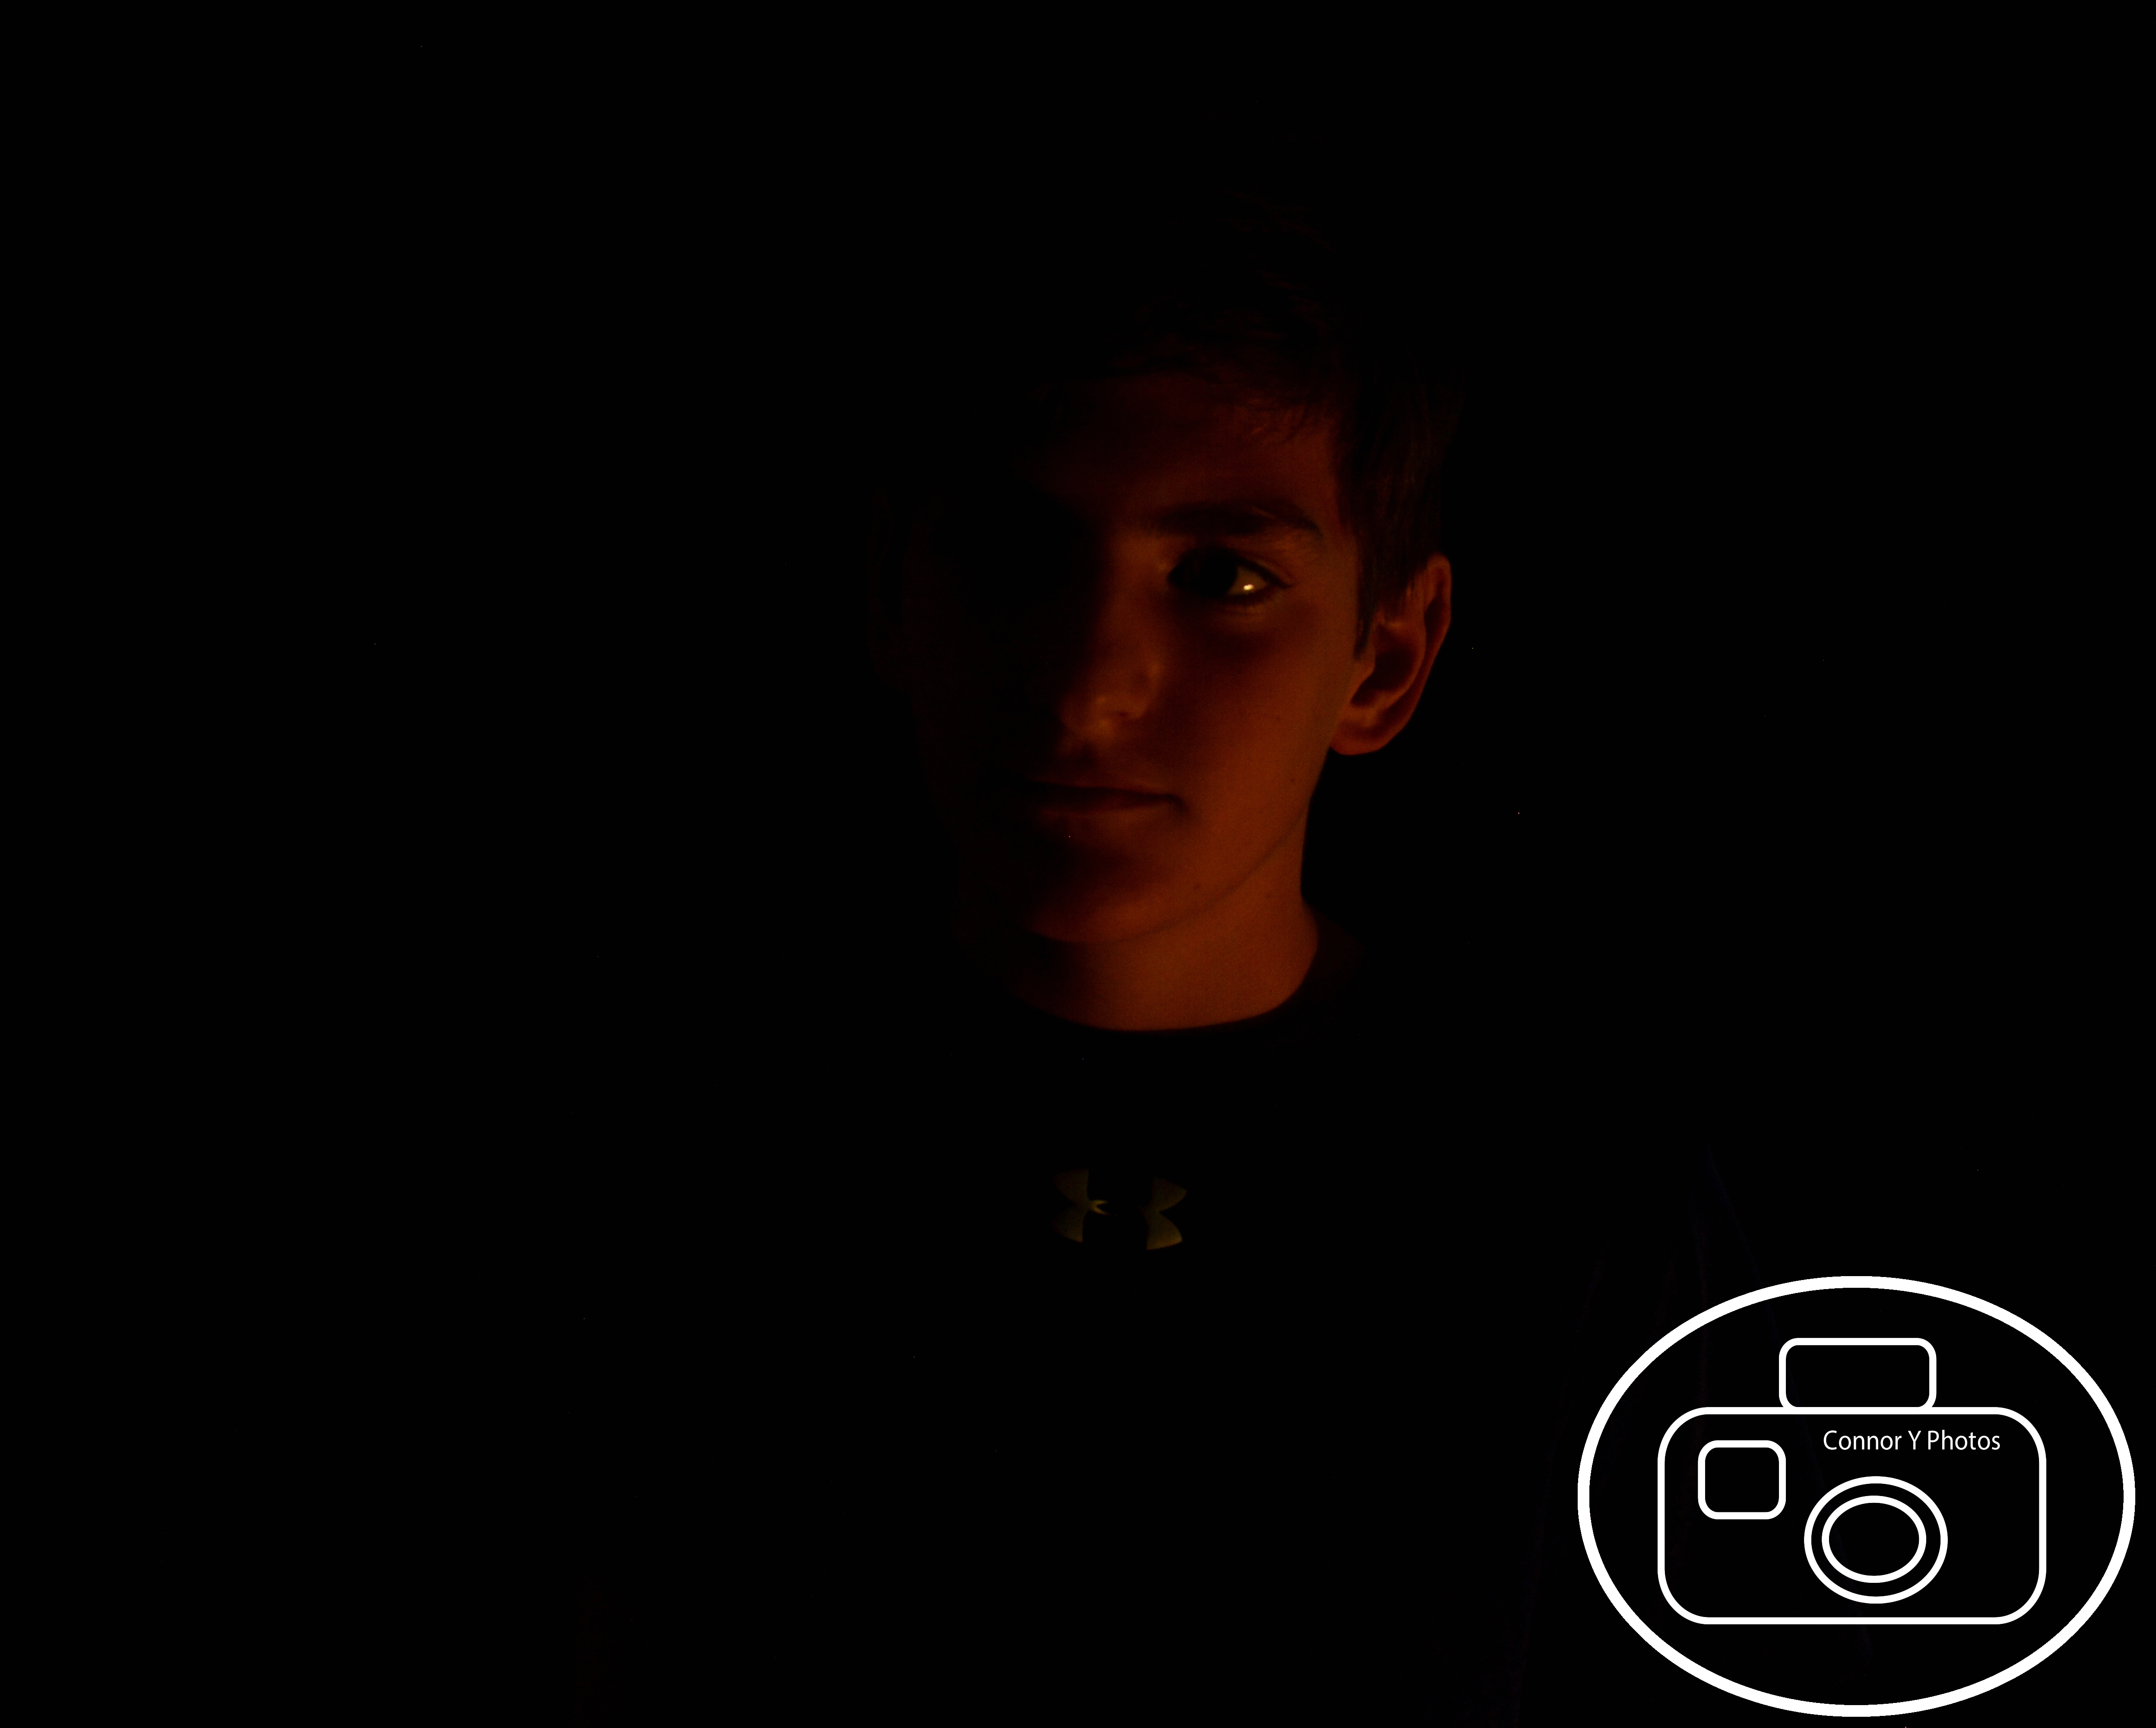
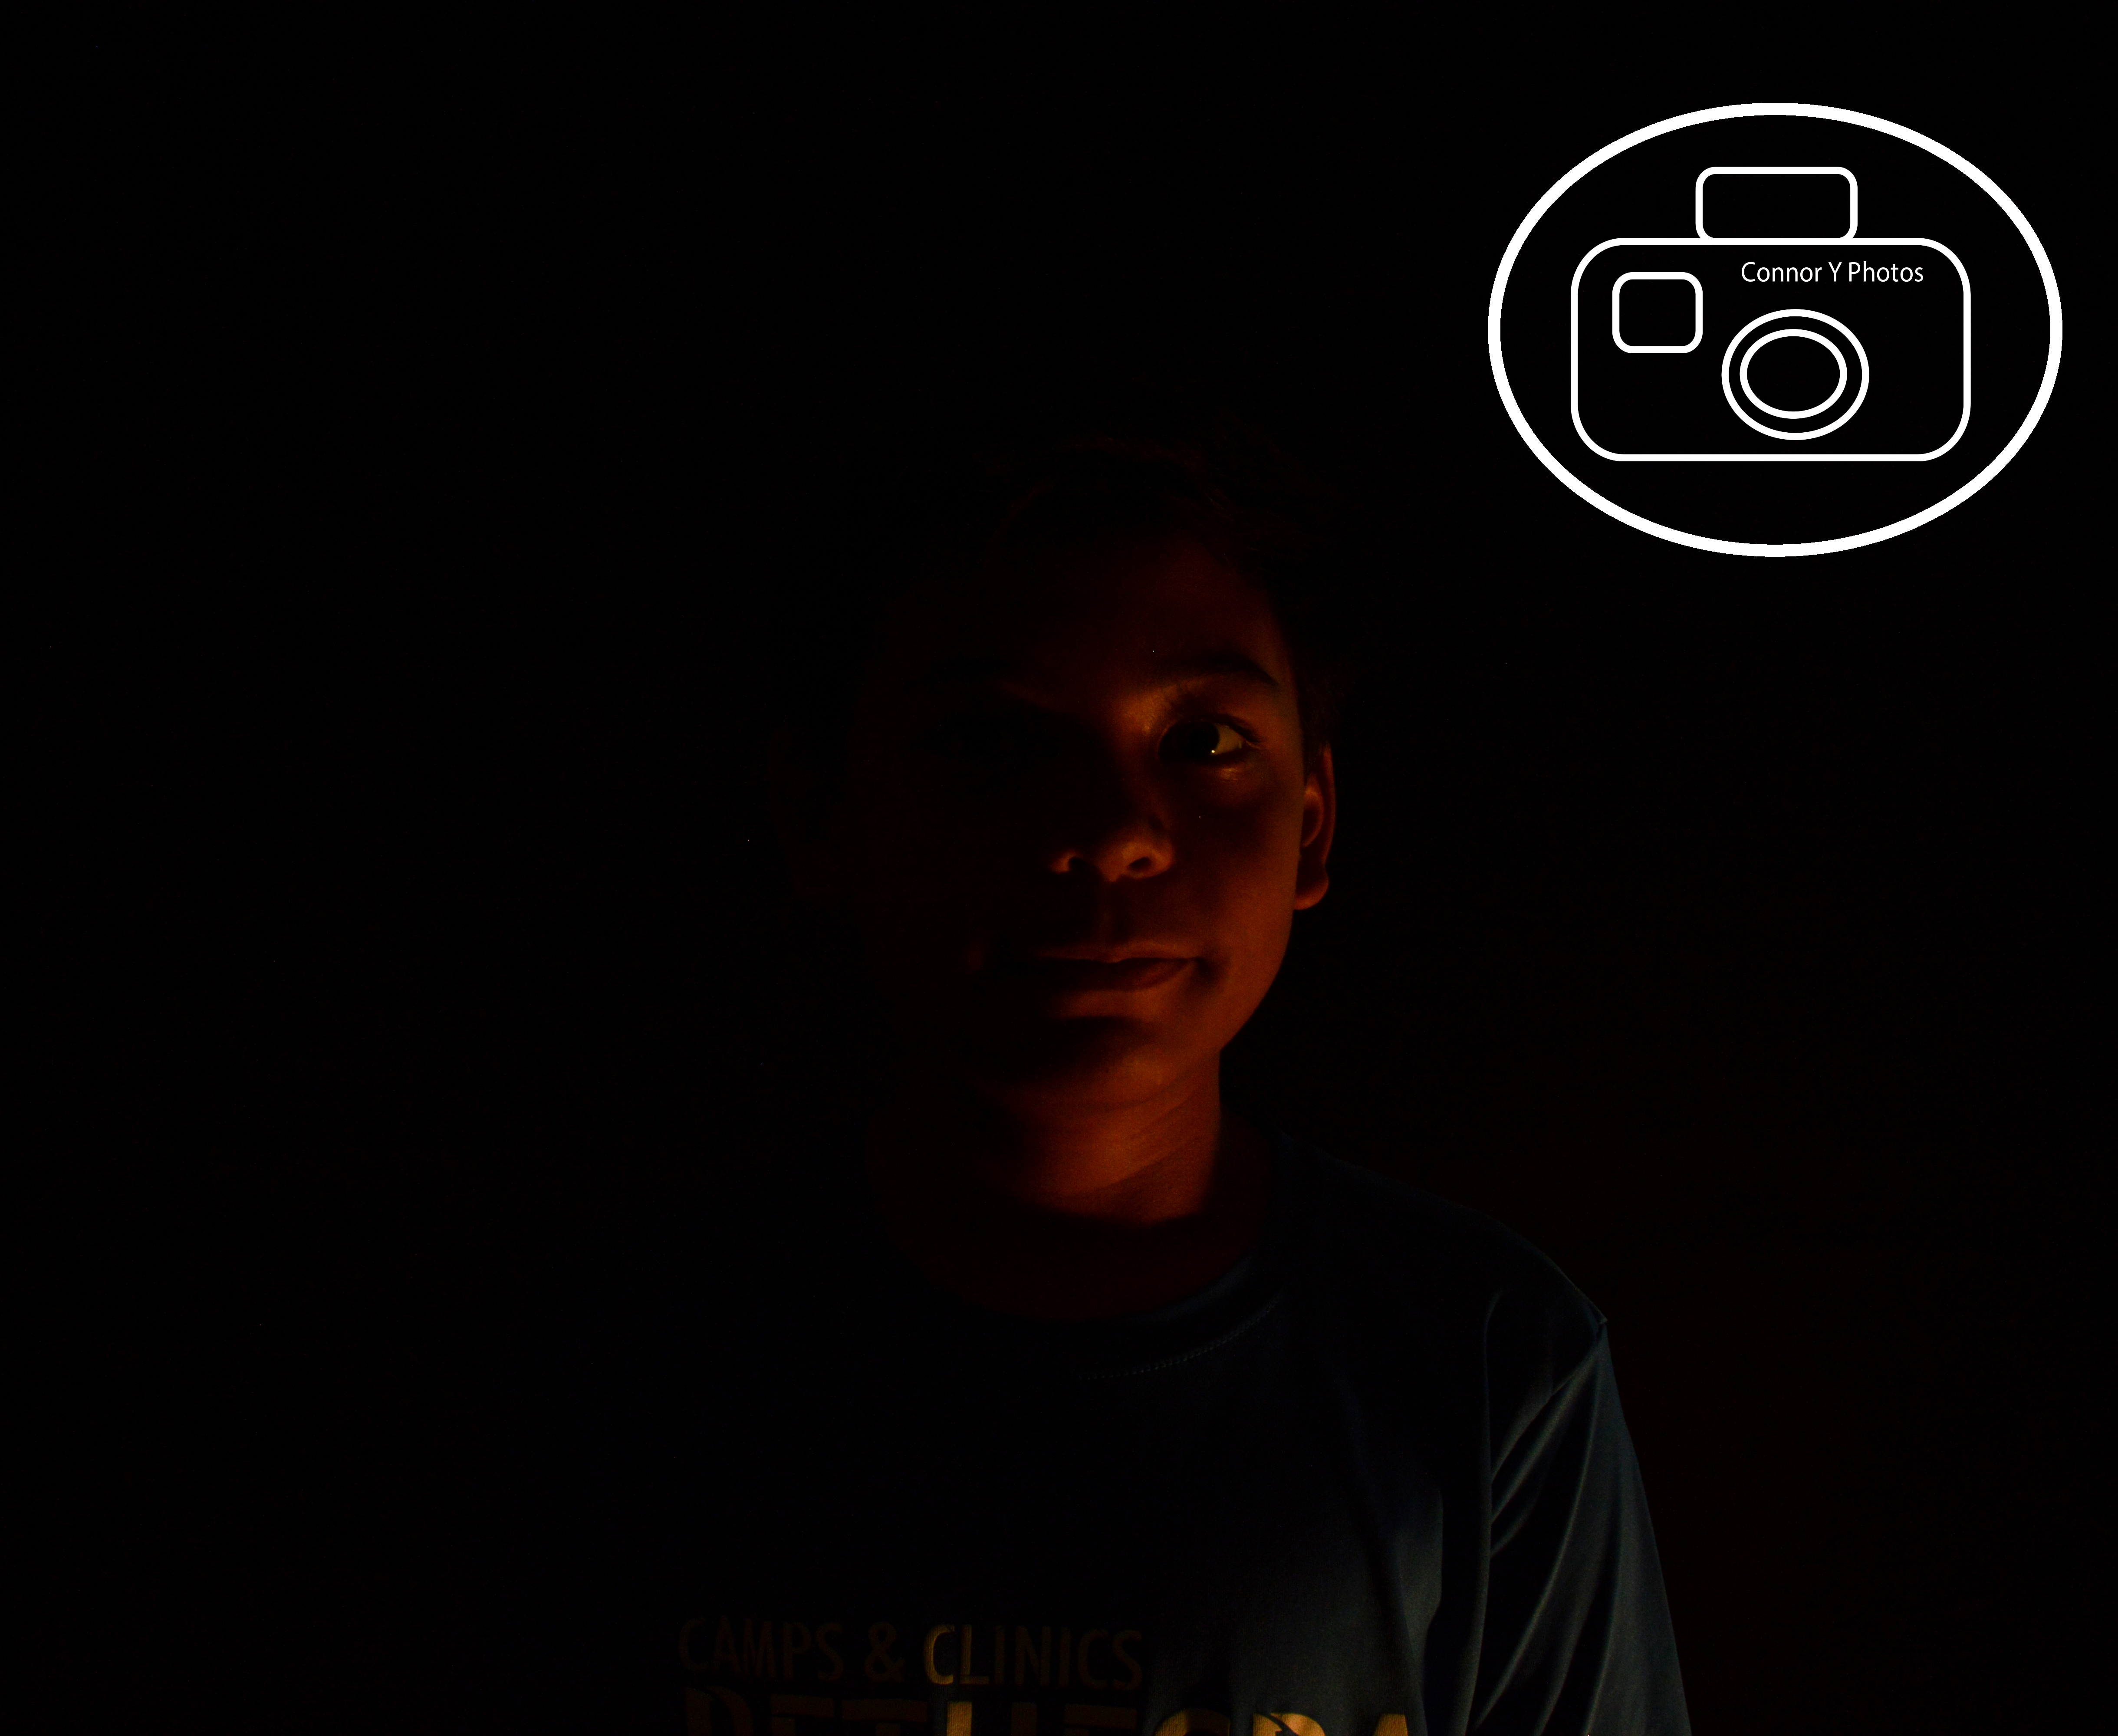
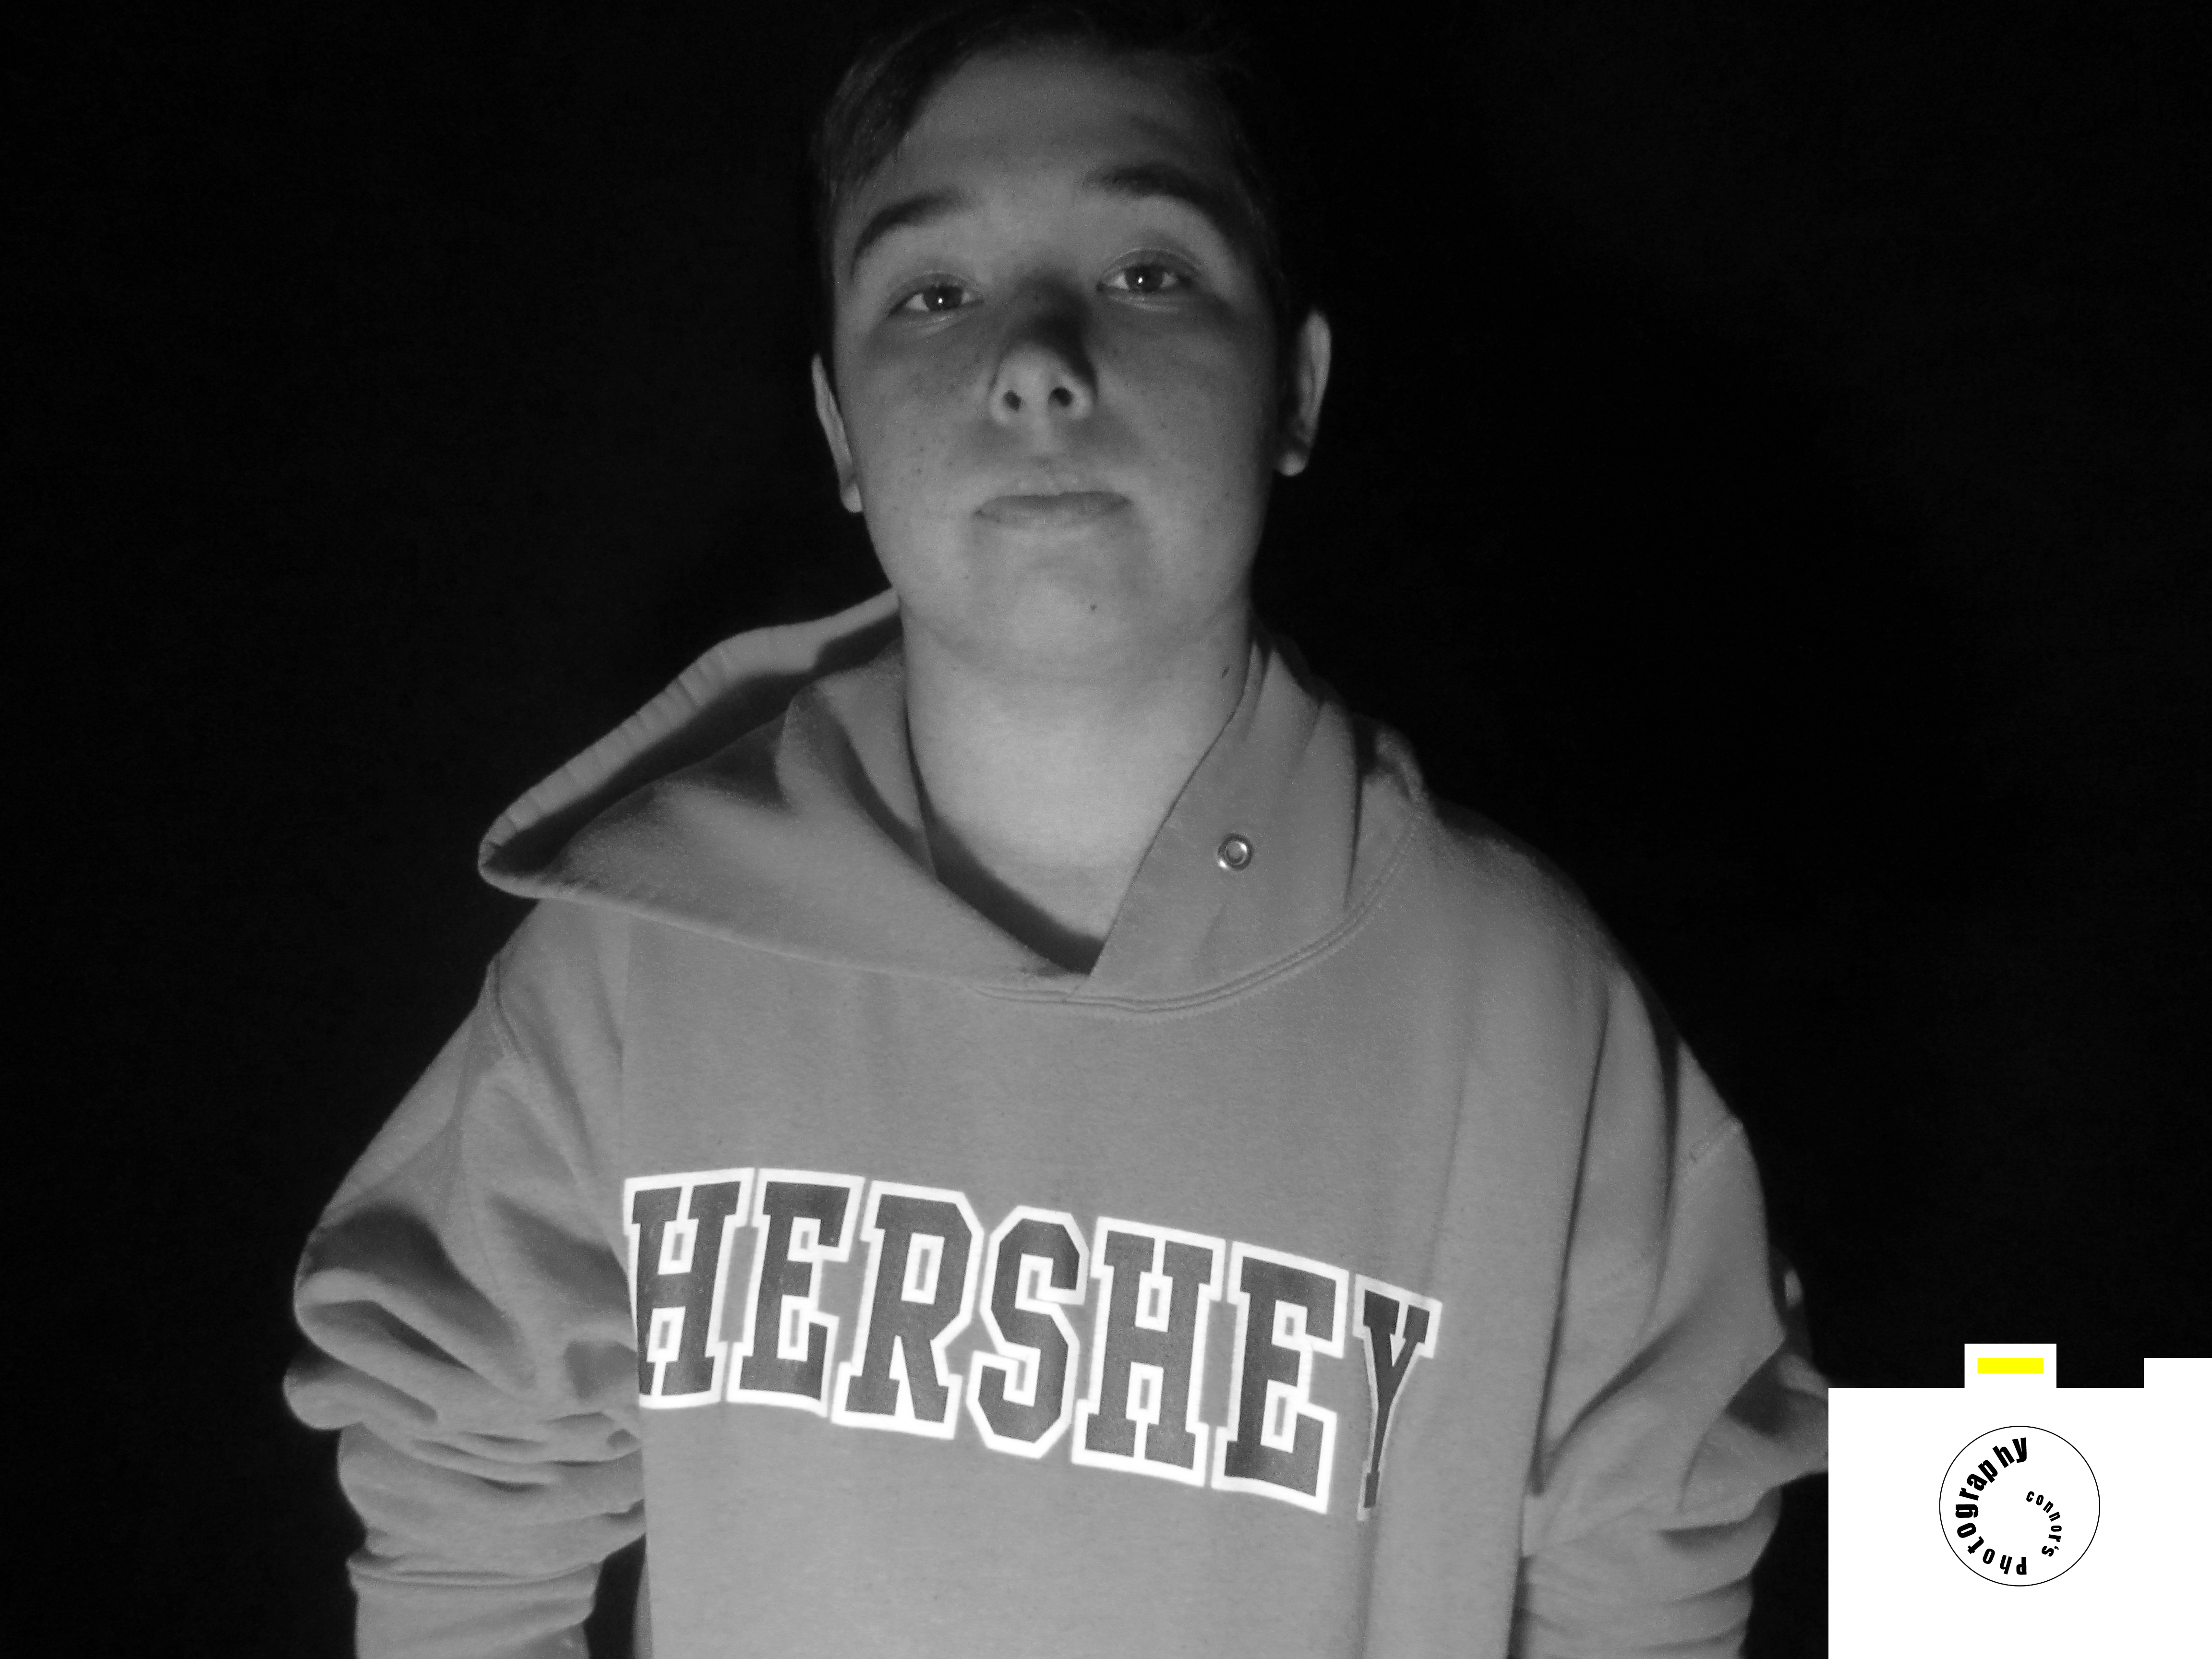
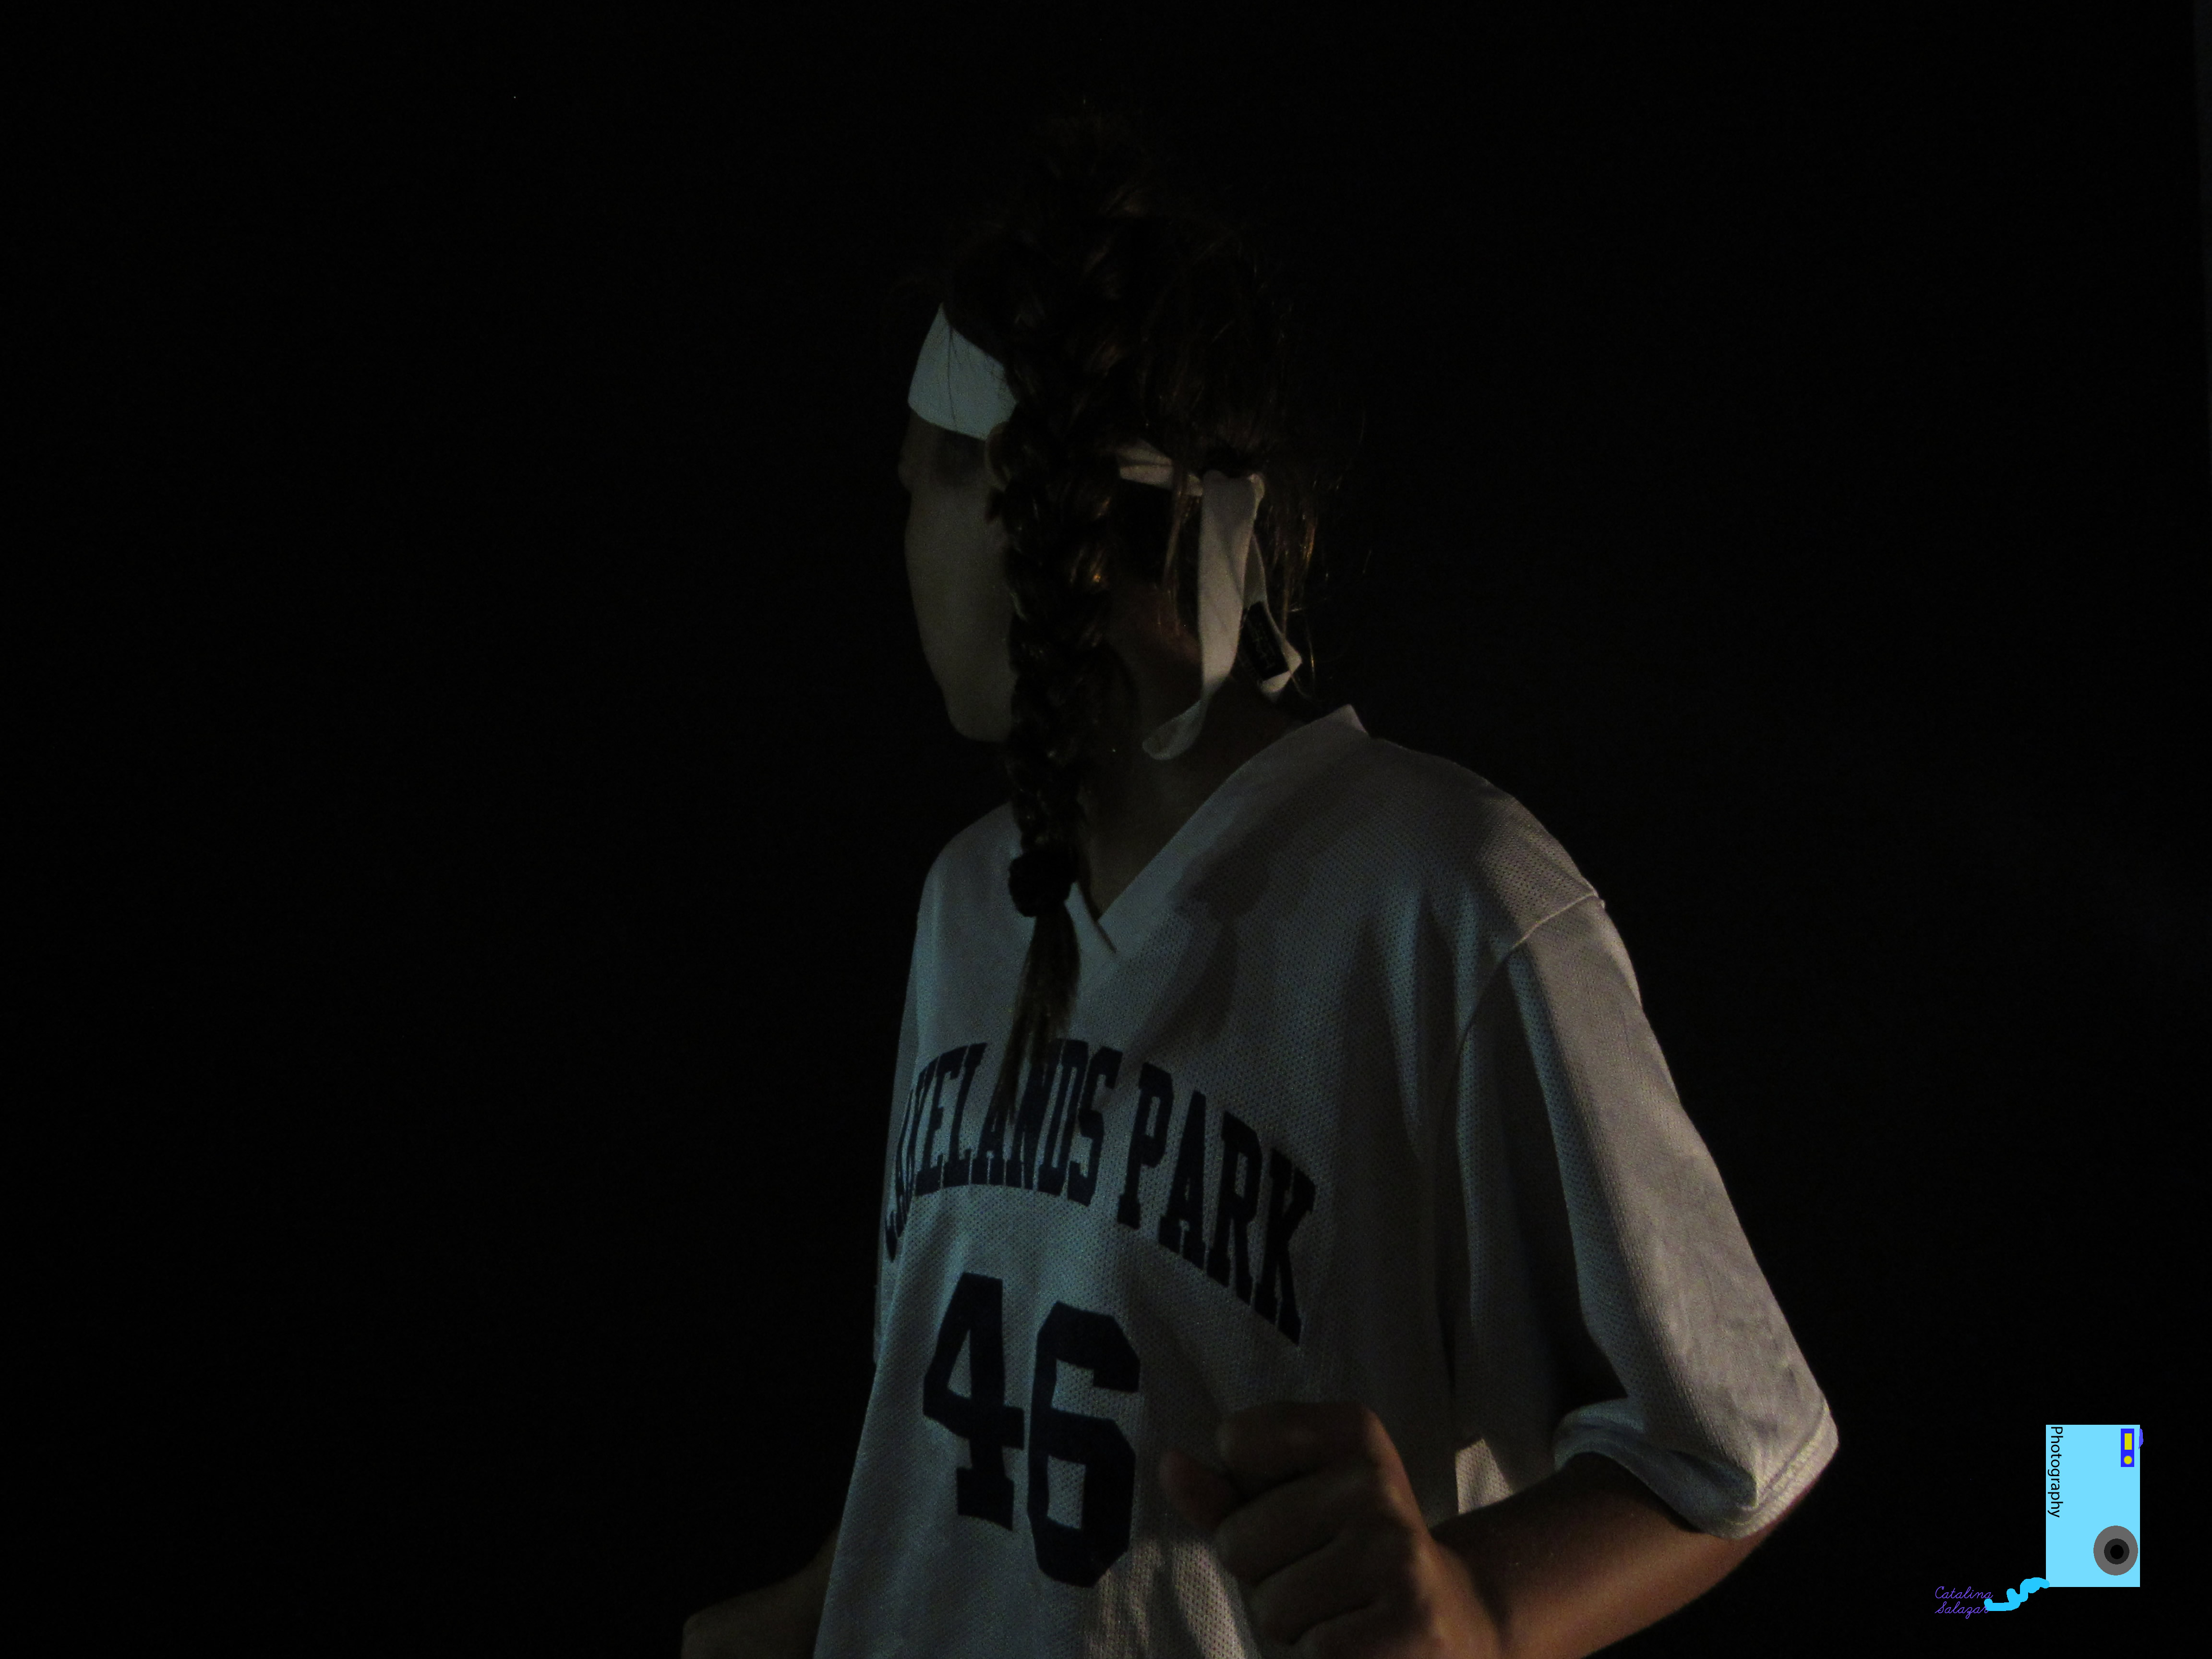
I set the settings on my camera to have a very low intake of light so that the background would be completely black. This worked very well but it took some time to figure out.
See all of the photos here

The photography home of the Lakelands Park Falcons.
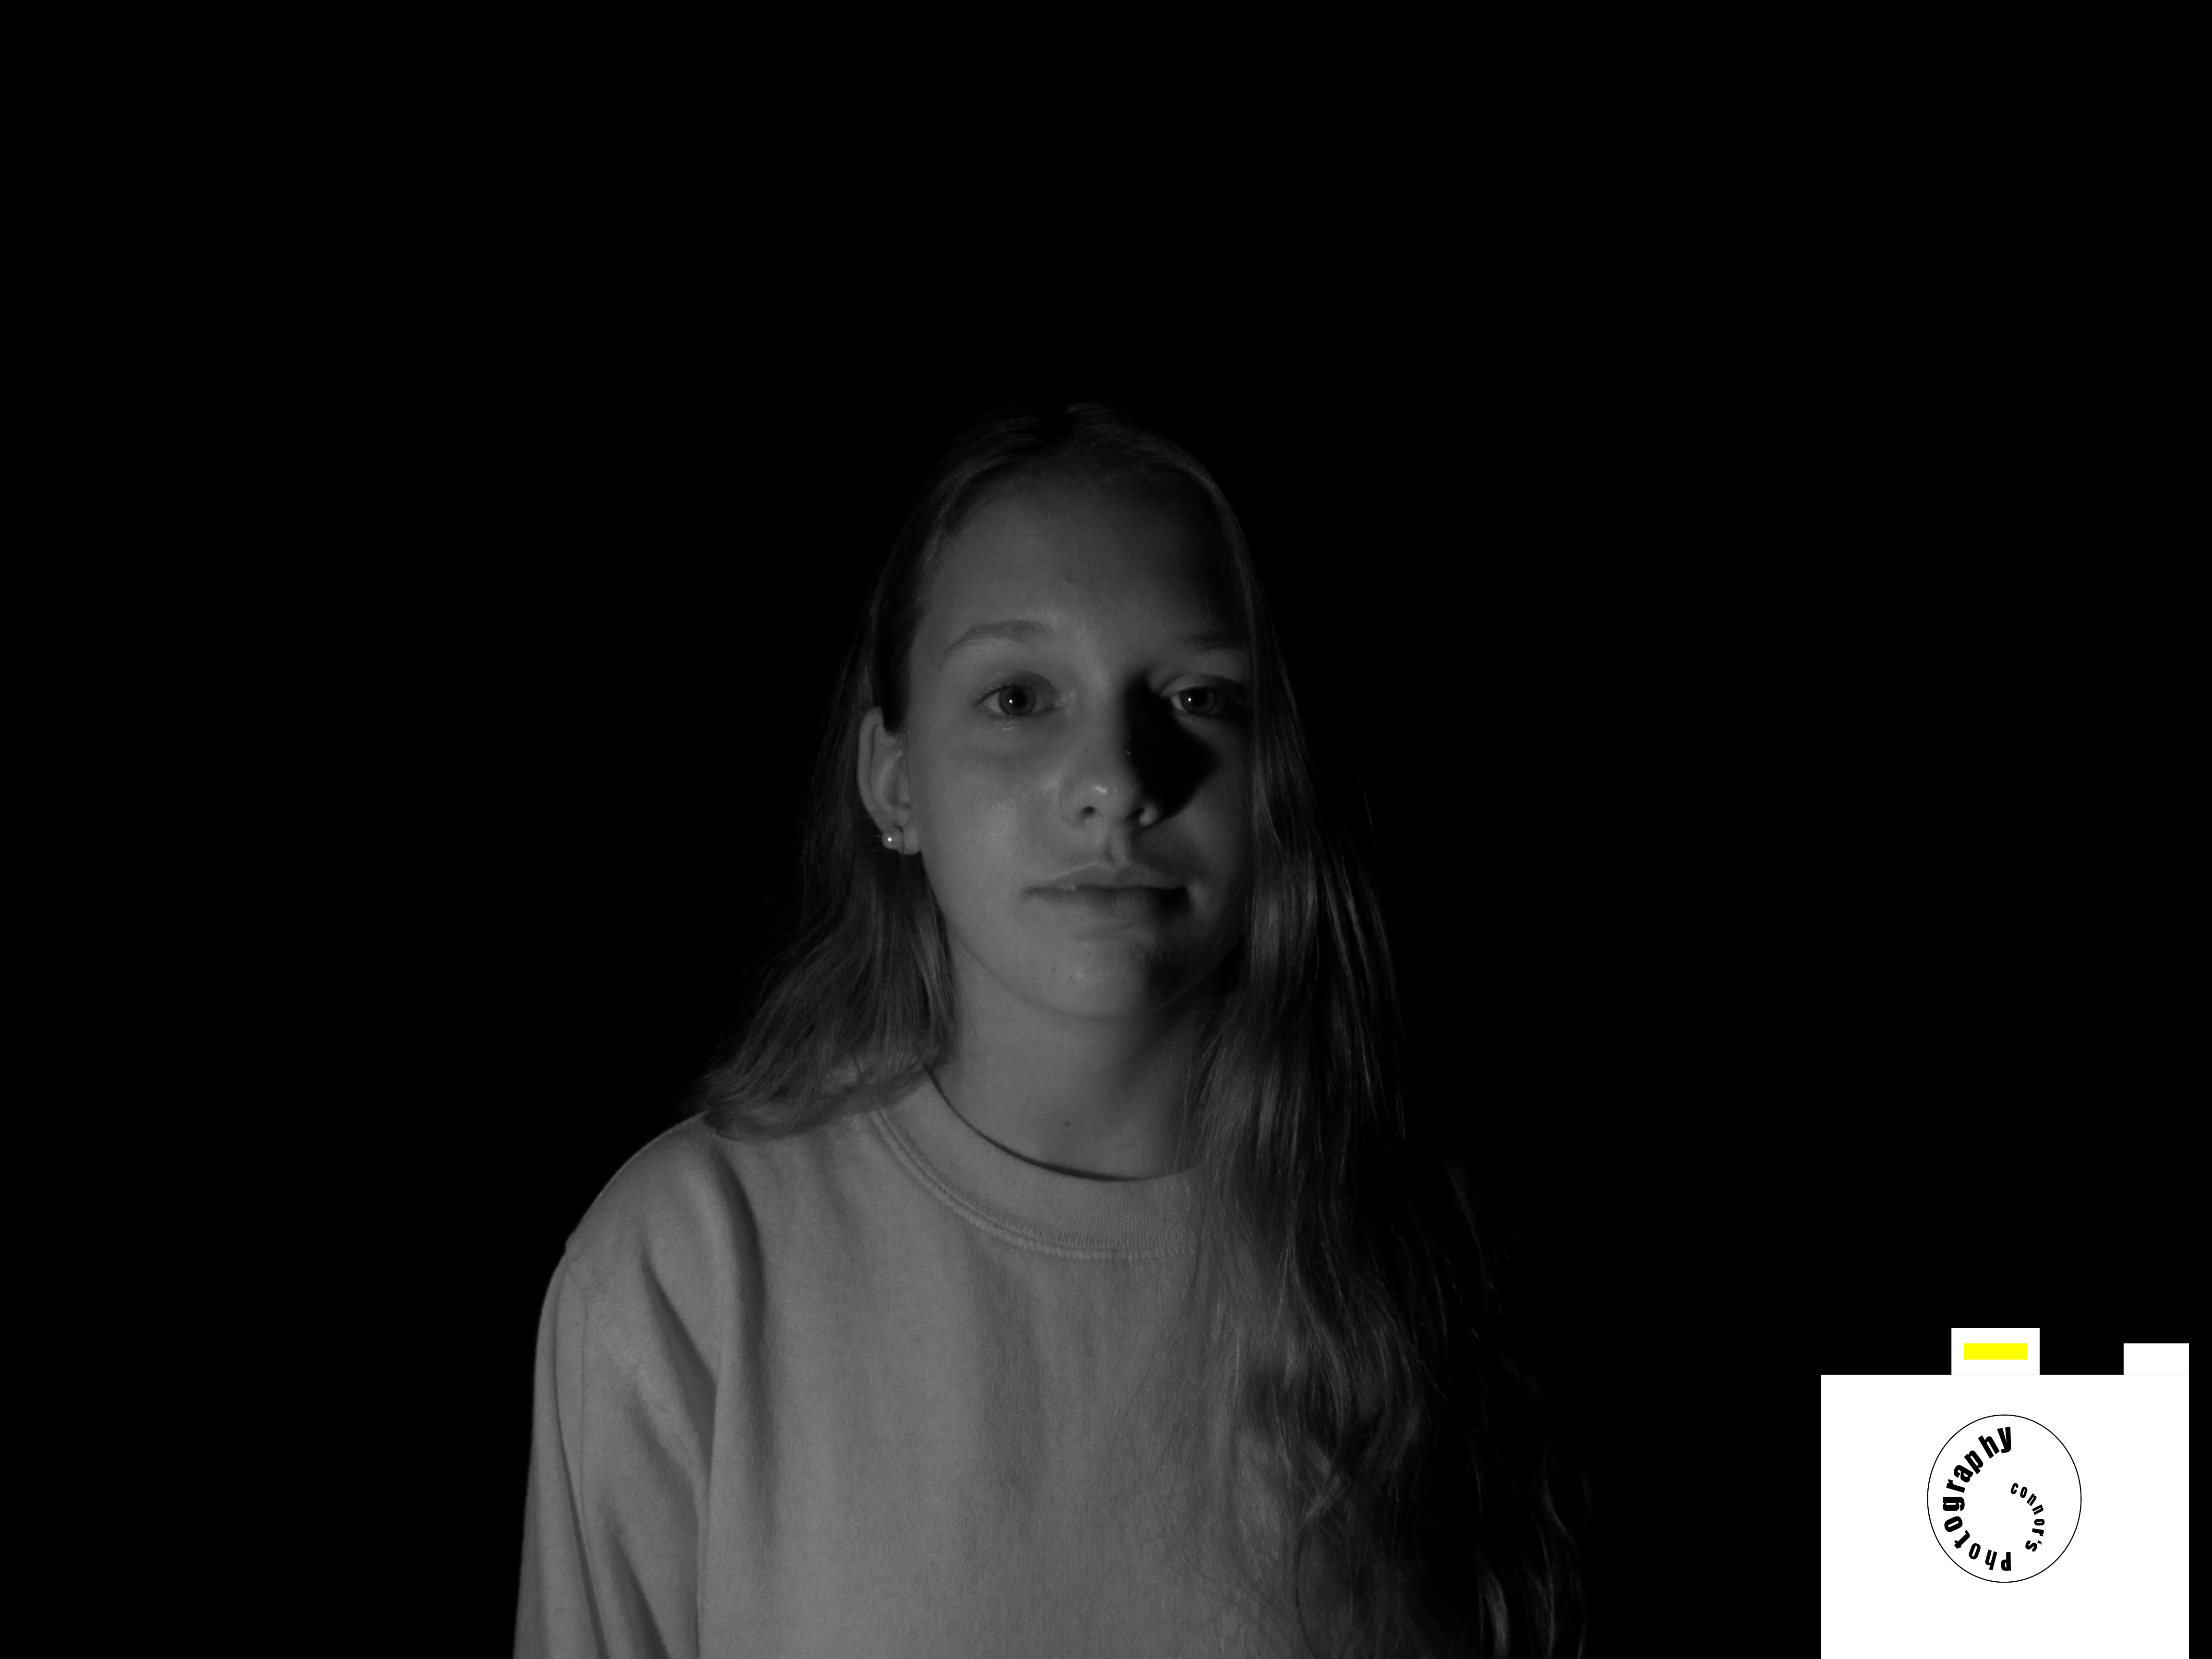
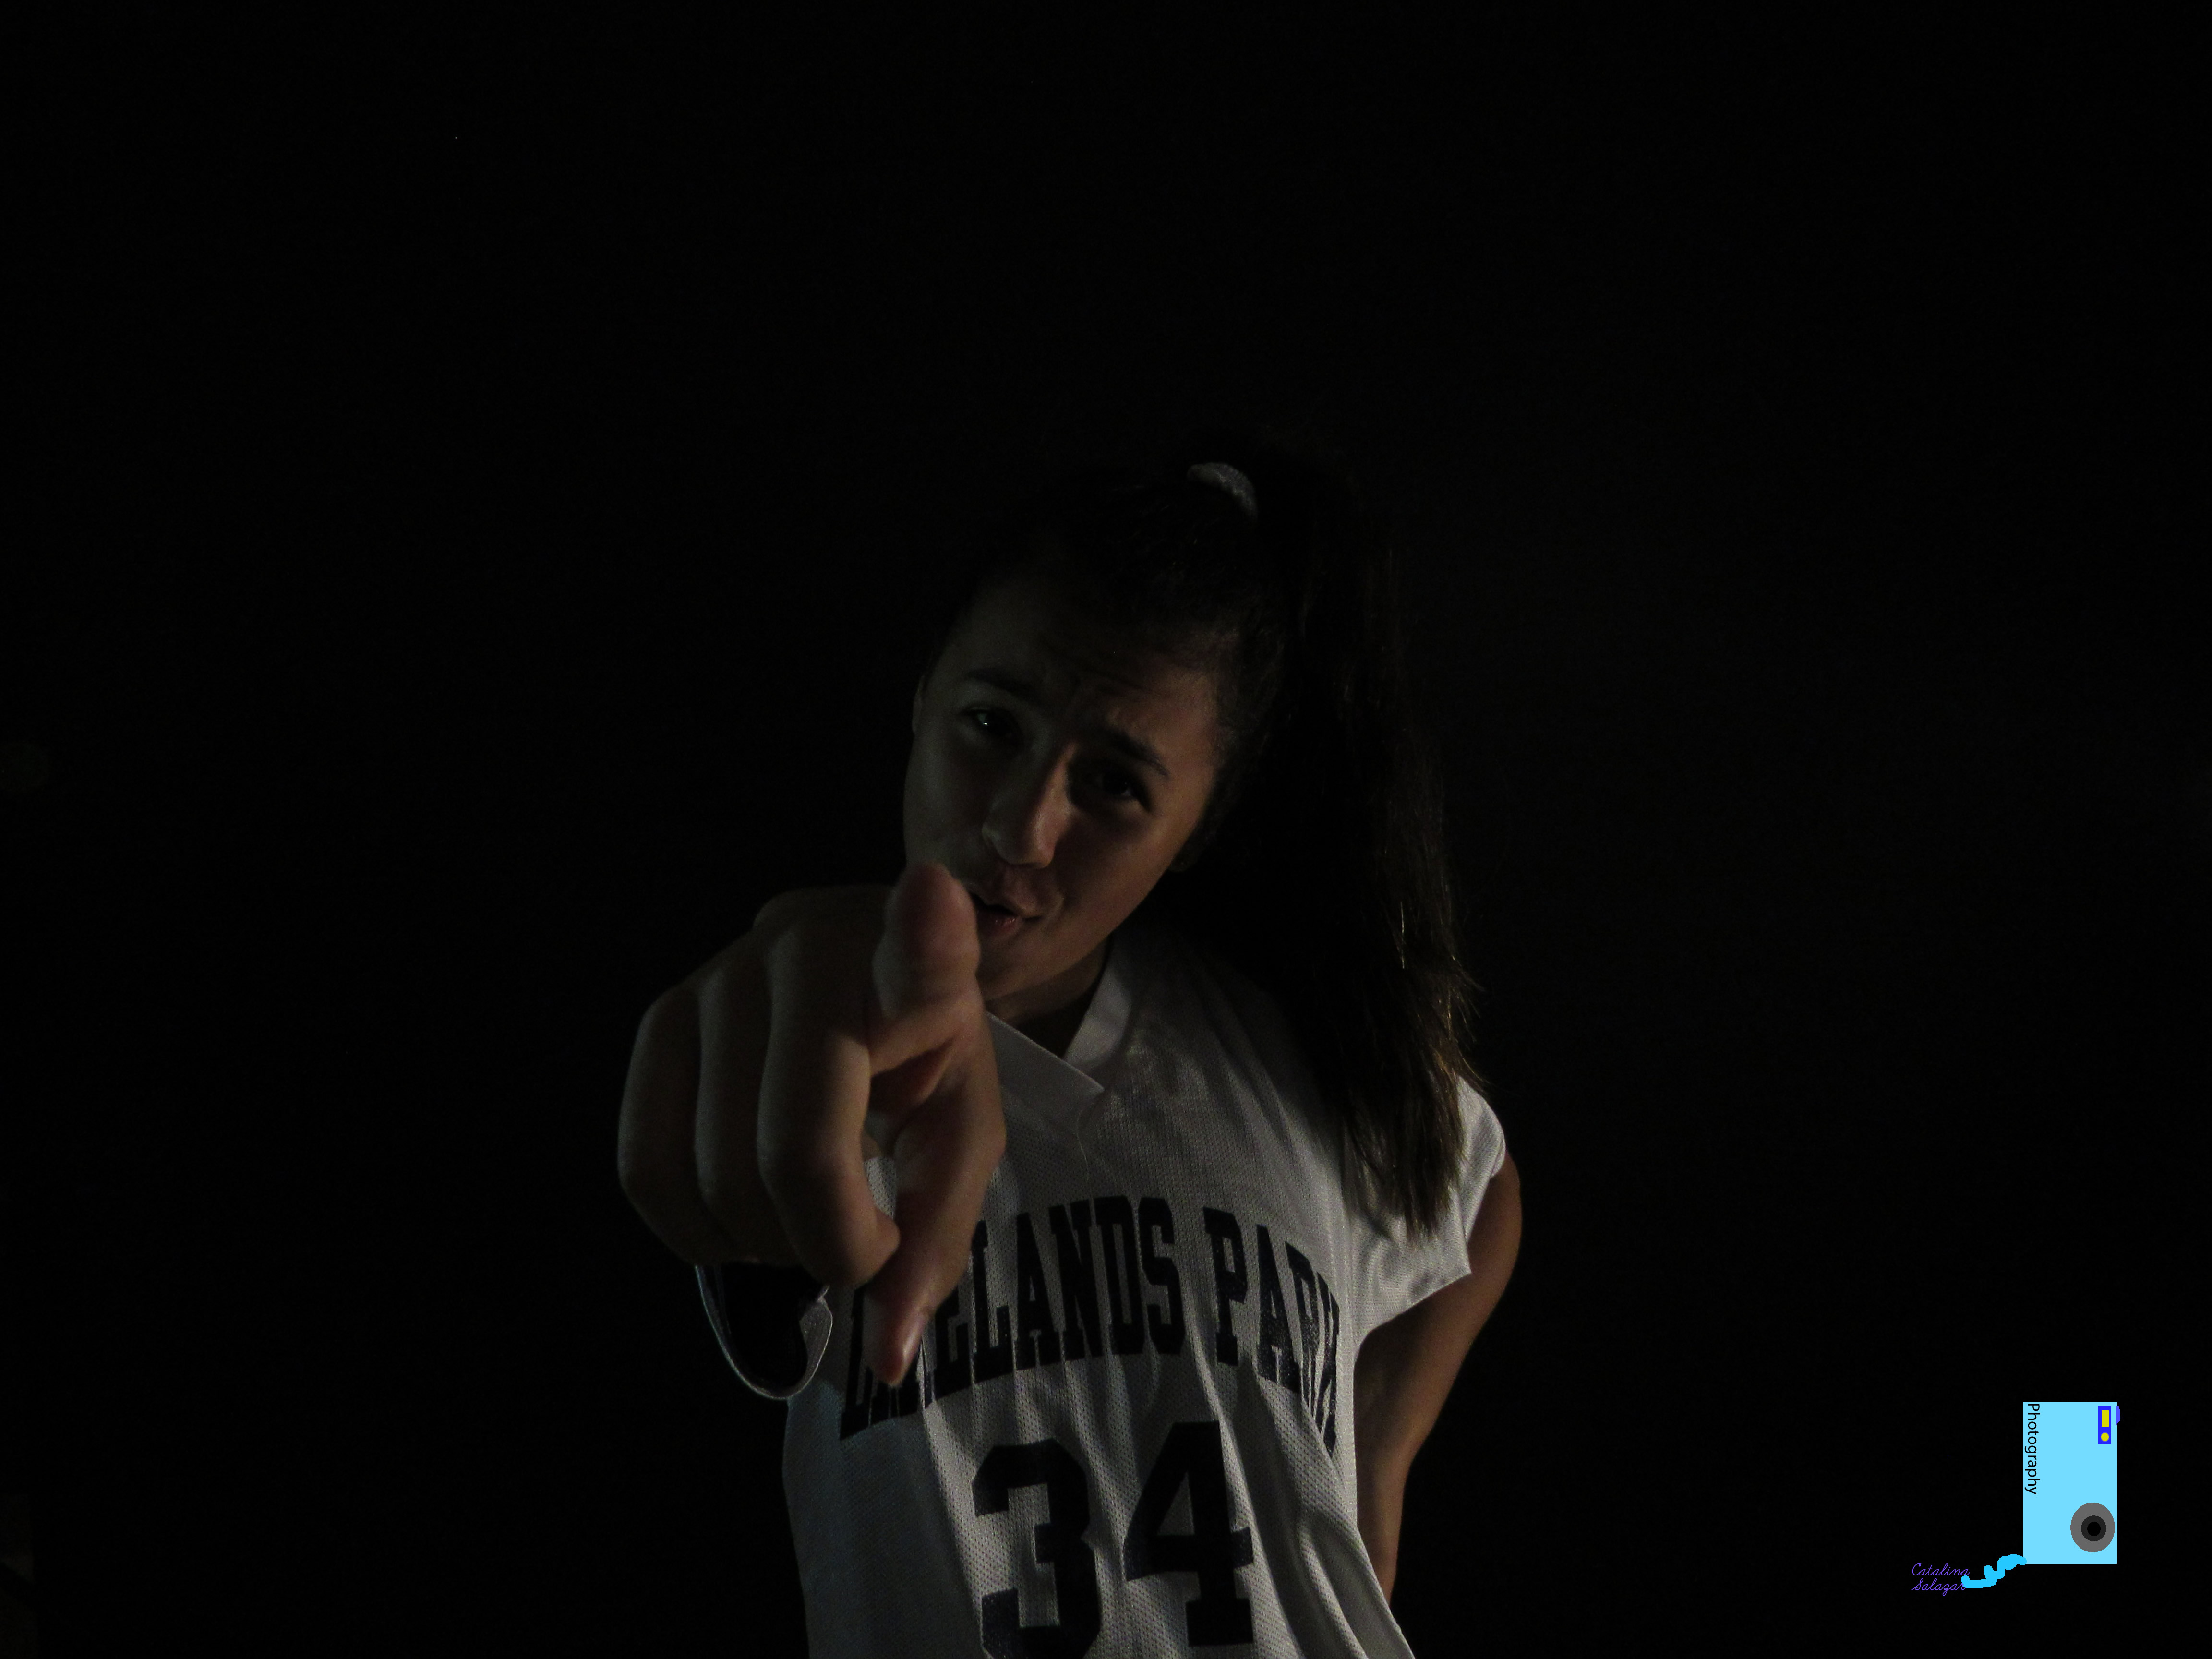
I set the settings on my camera to have a very low intake of light so that the background would be completely black. This worked very well but it took some time to figure out.
See all of the photos here
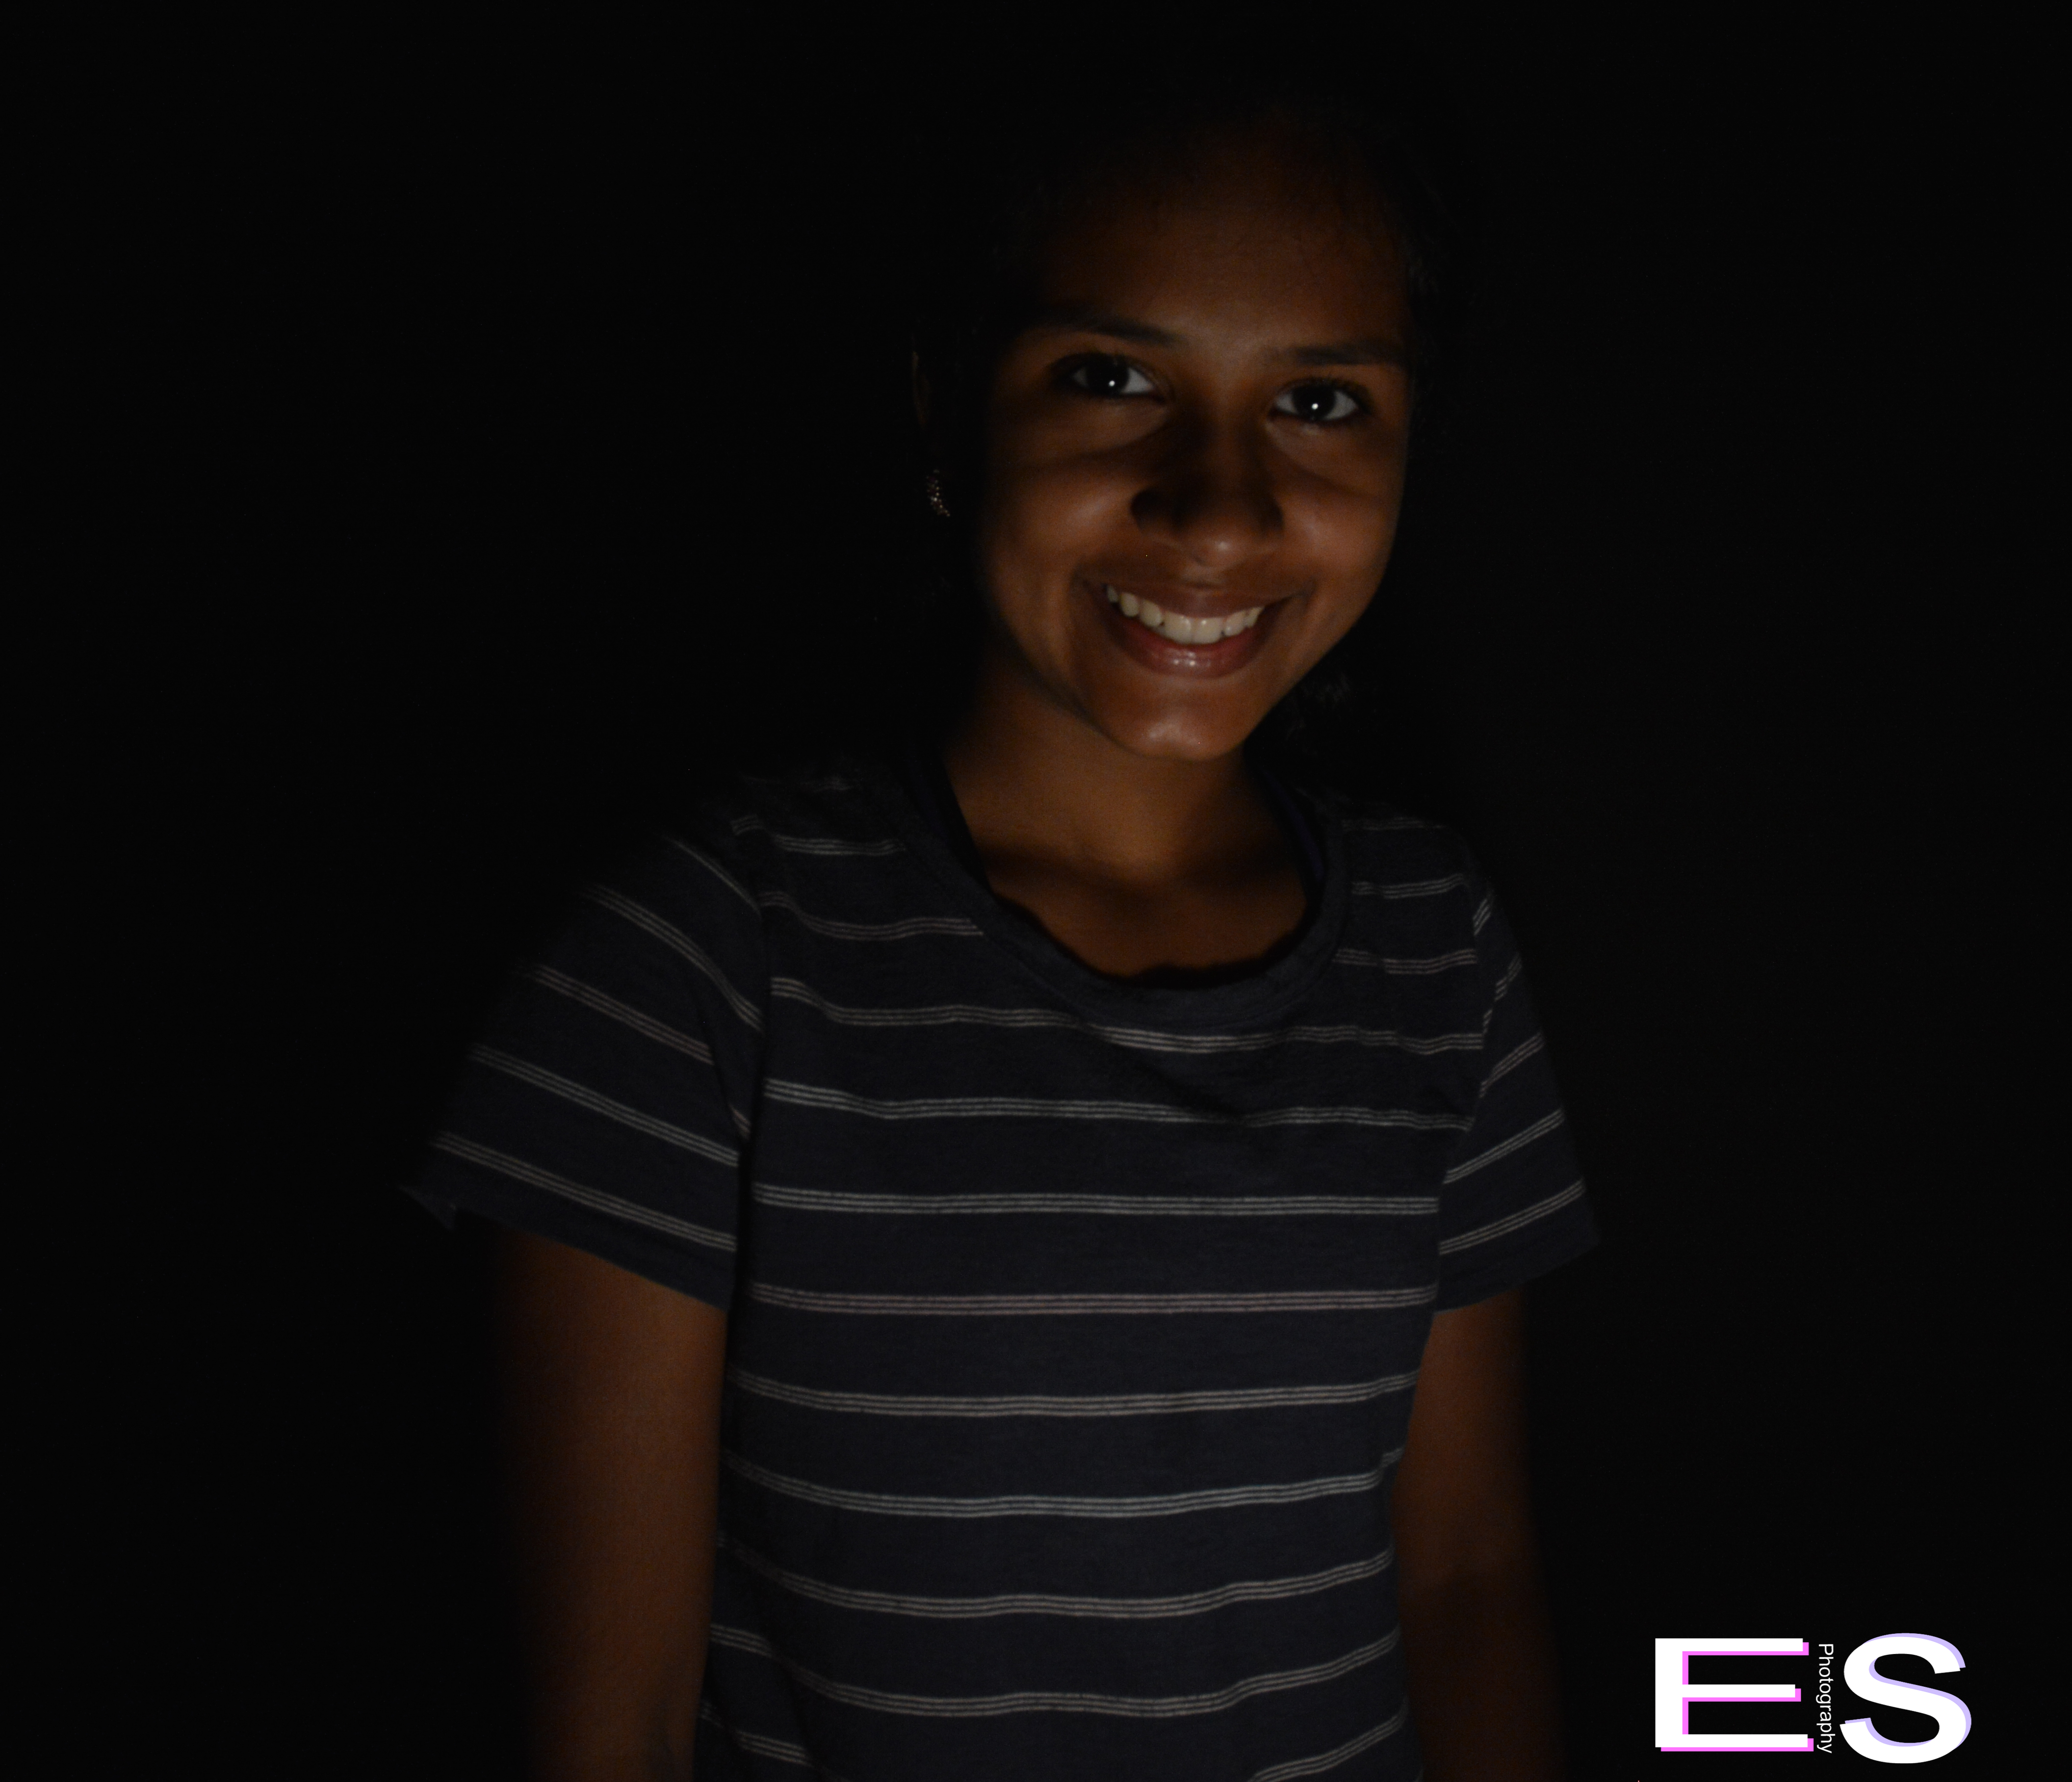
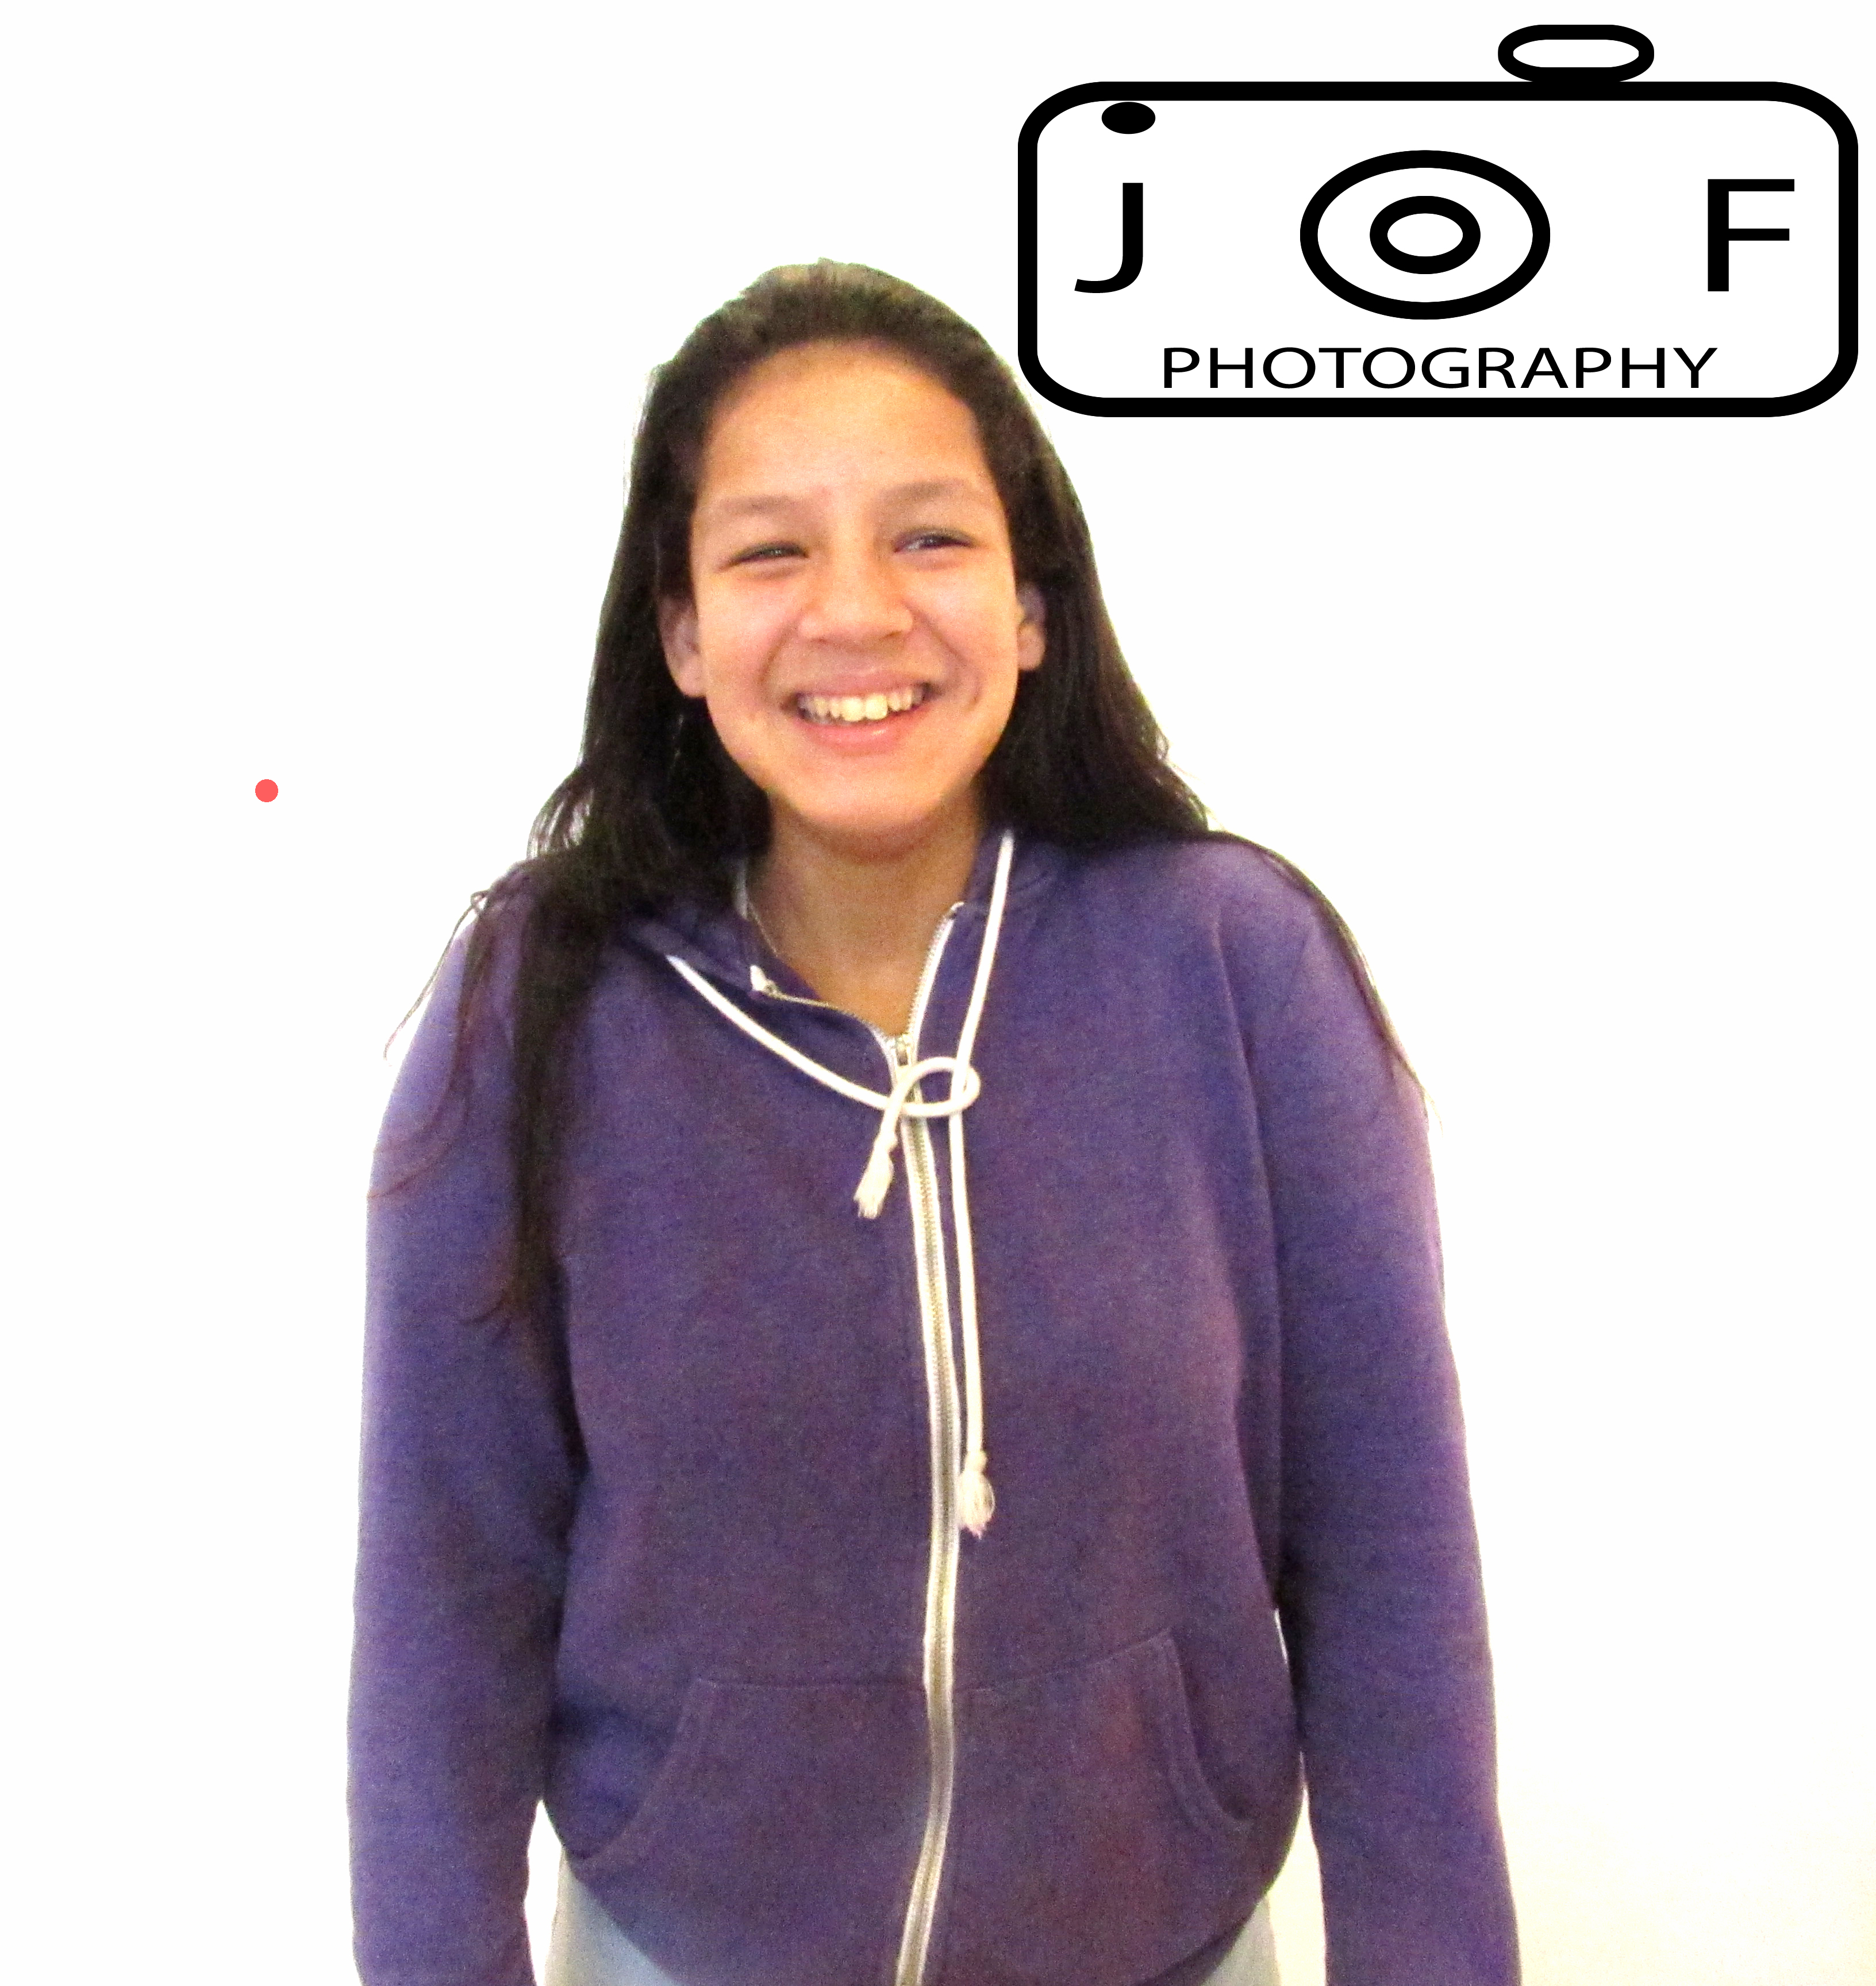
In this project, we had to take portraits of everybody in our group on a dark background. We took the photos by having the lighting just right. At first, we tried to shine the light on the background. But then we figured out that you had to shine the light on the person at an angle. As for editing, we used photo shop to make the background look more dark. We also made the people look more bright.
You can see the rest of the photos here.
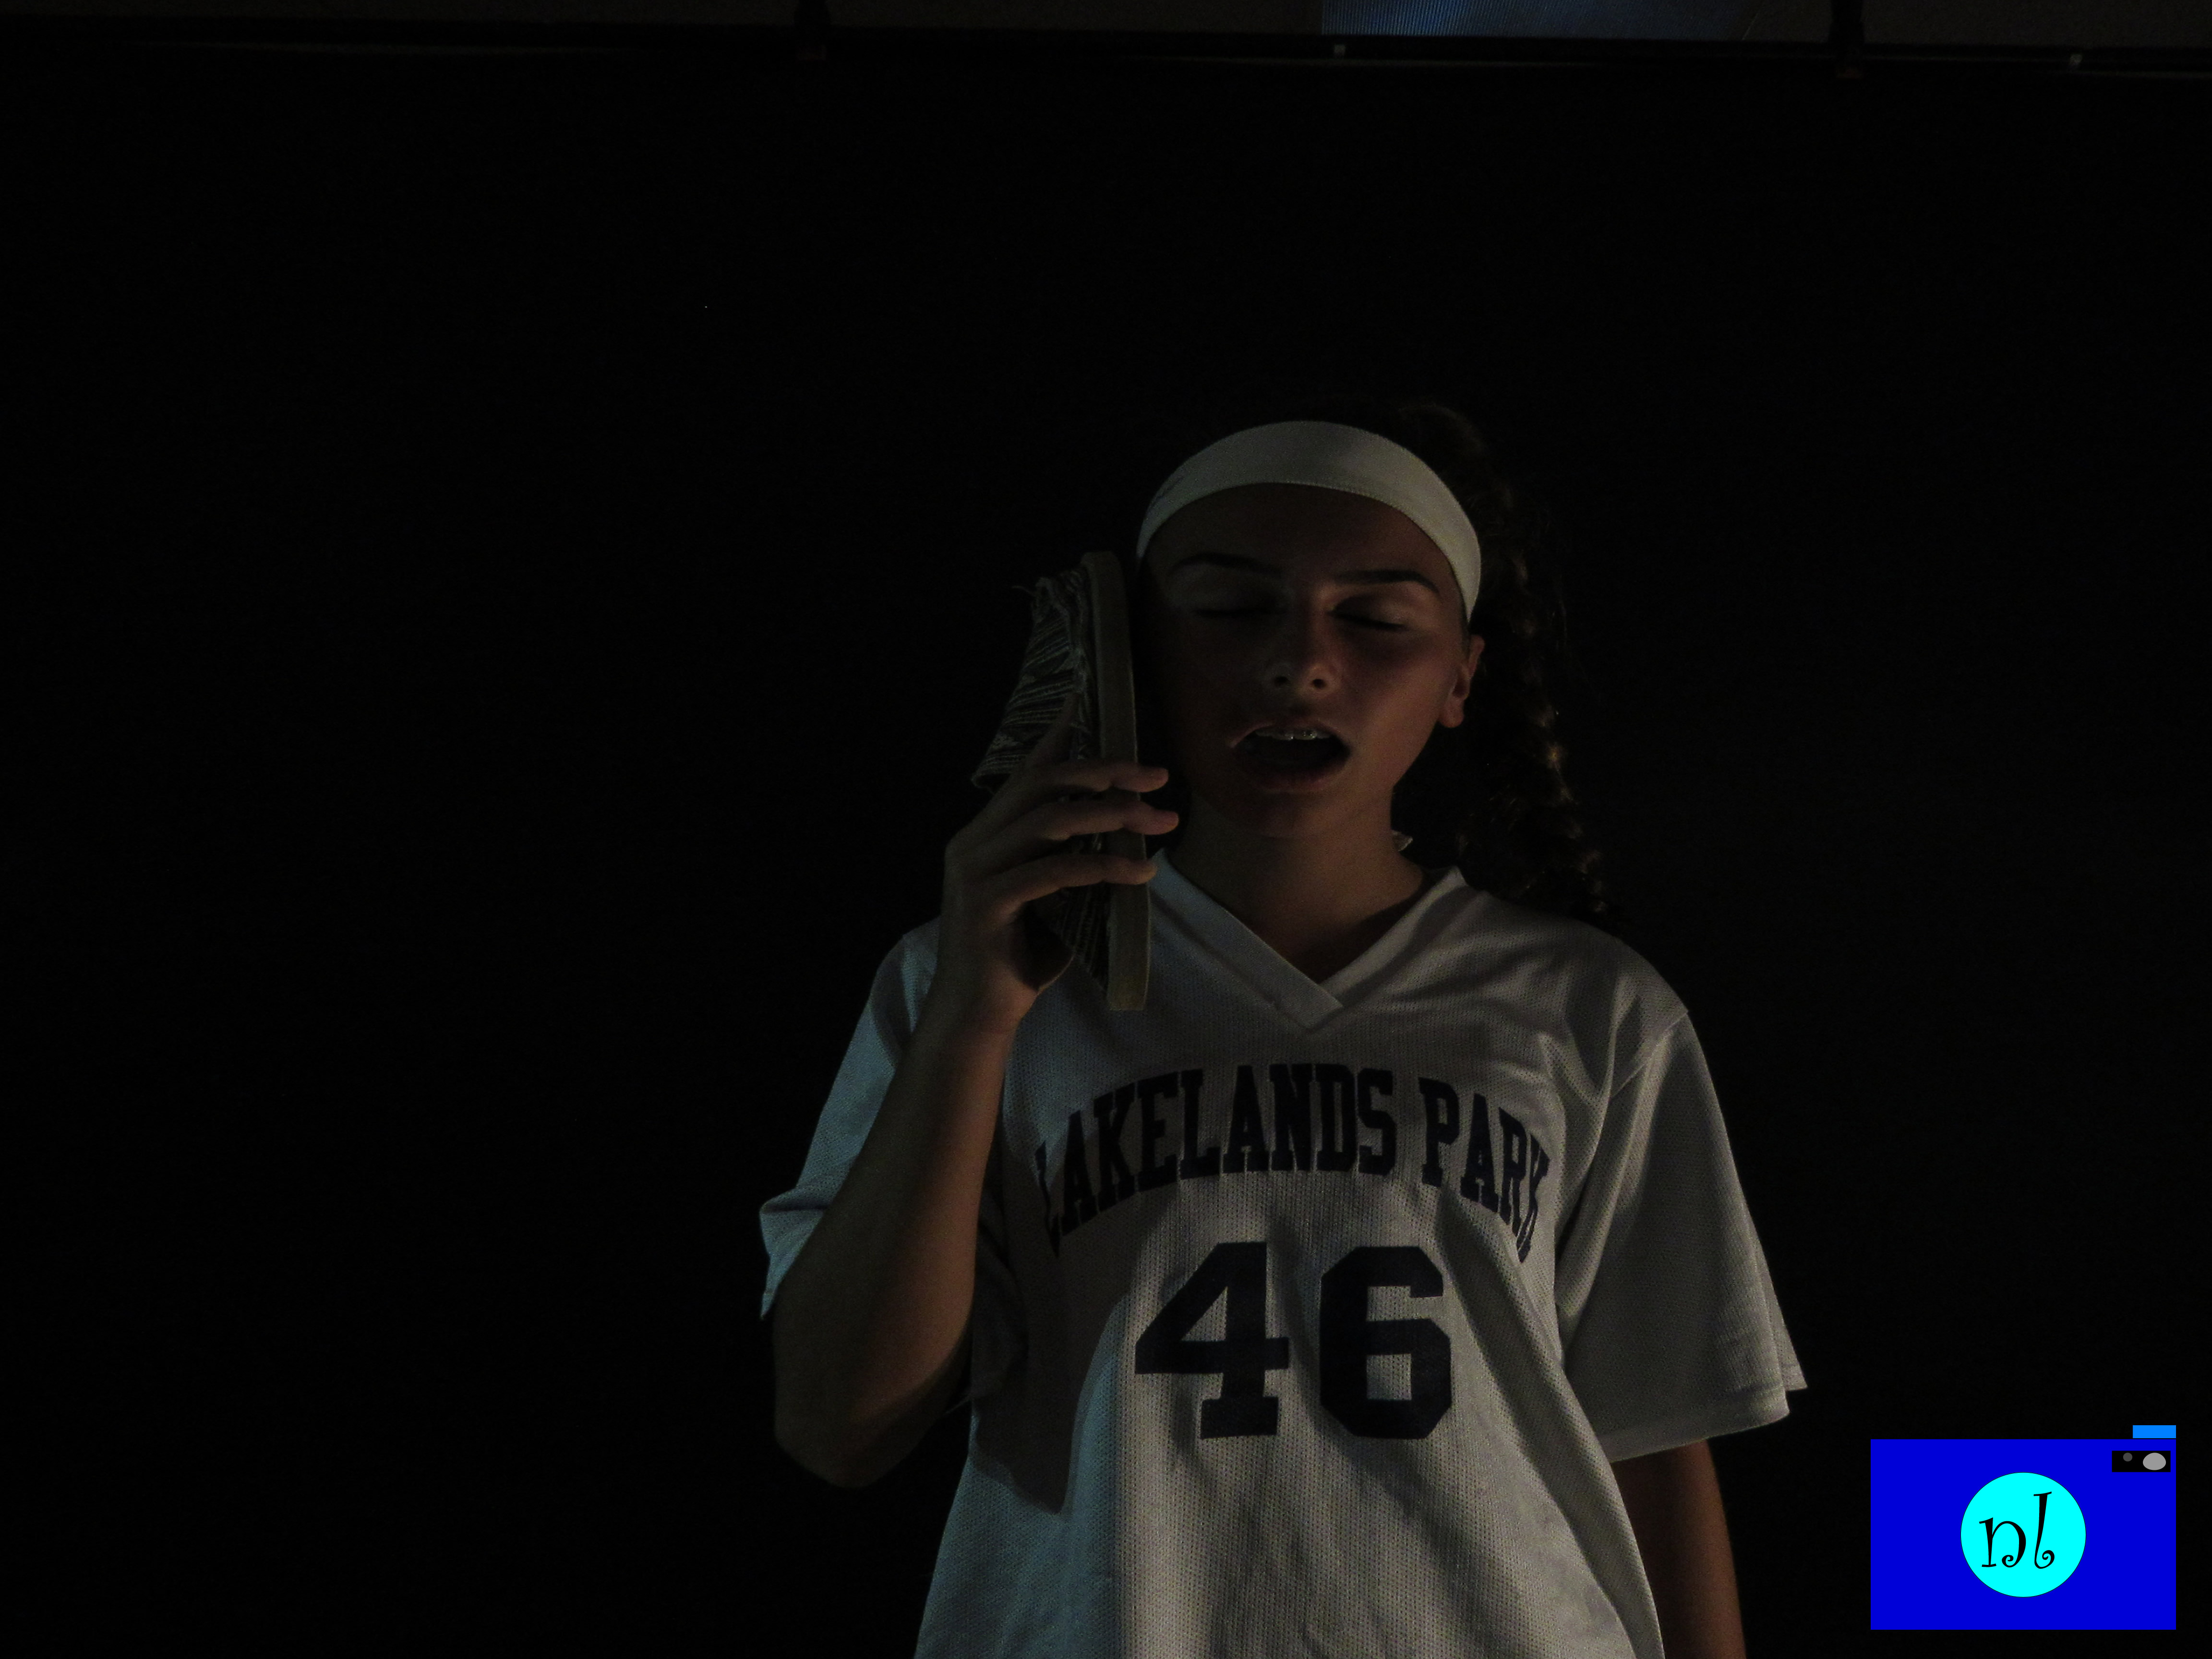
For this project I had to change the ISO, Shutter speed, and the F-stop of the camera to create a background that looks infinite(Again, but with a black background). One thing that was difficult was the lighting and how we had to make it so there were no shadows. One thing that was easy was the placement of the camera and changing the settings. In the end we had to change the contrast in photoshop so the back looked darker. For the rest of the portraits come here
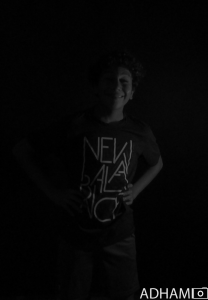
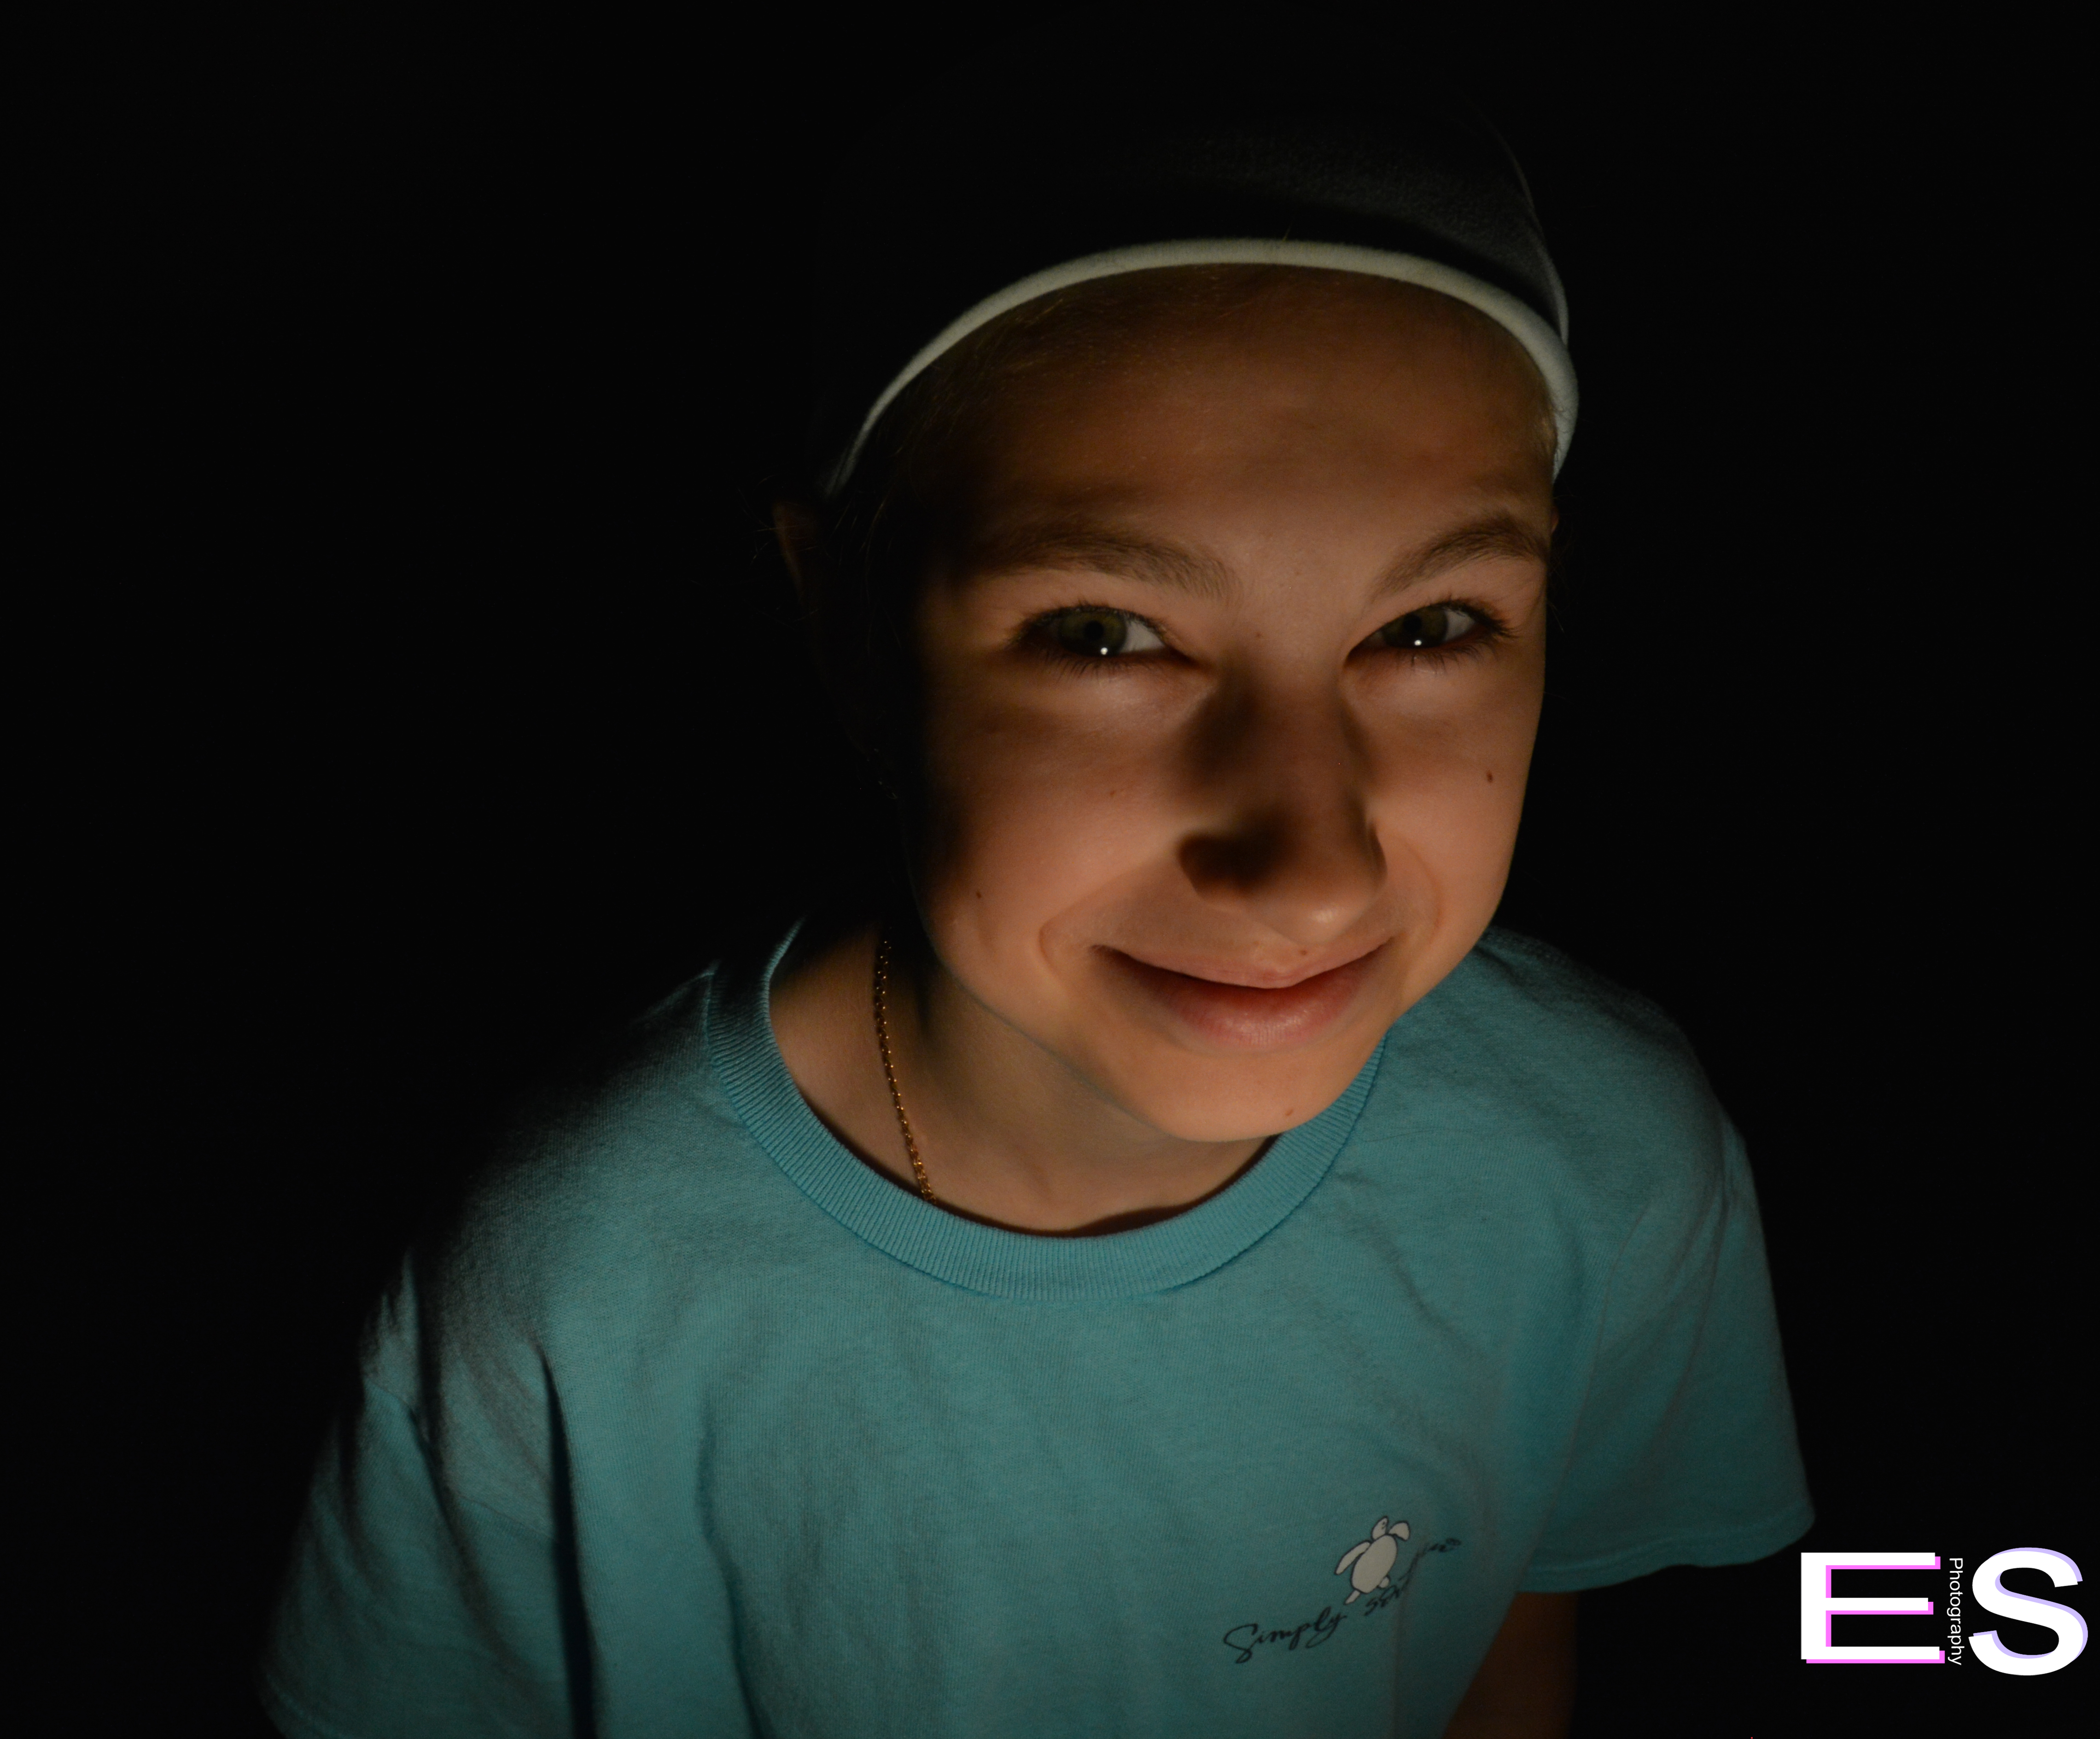
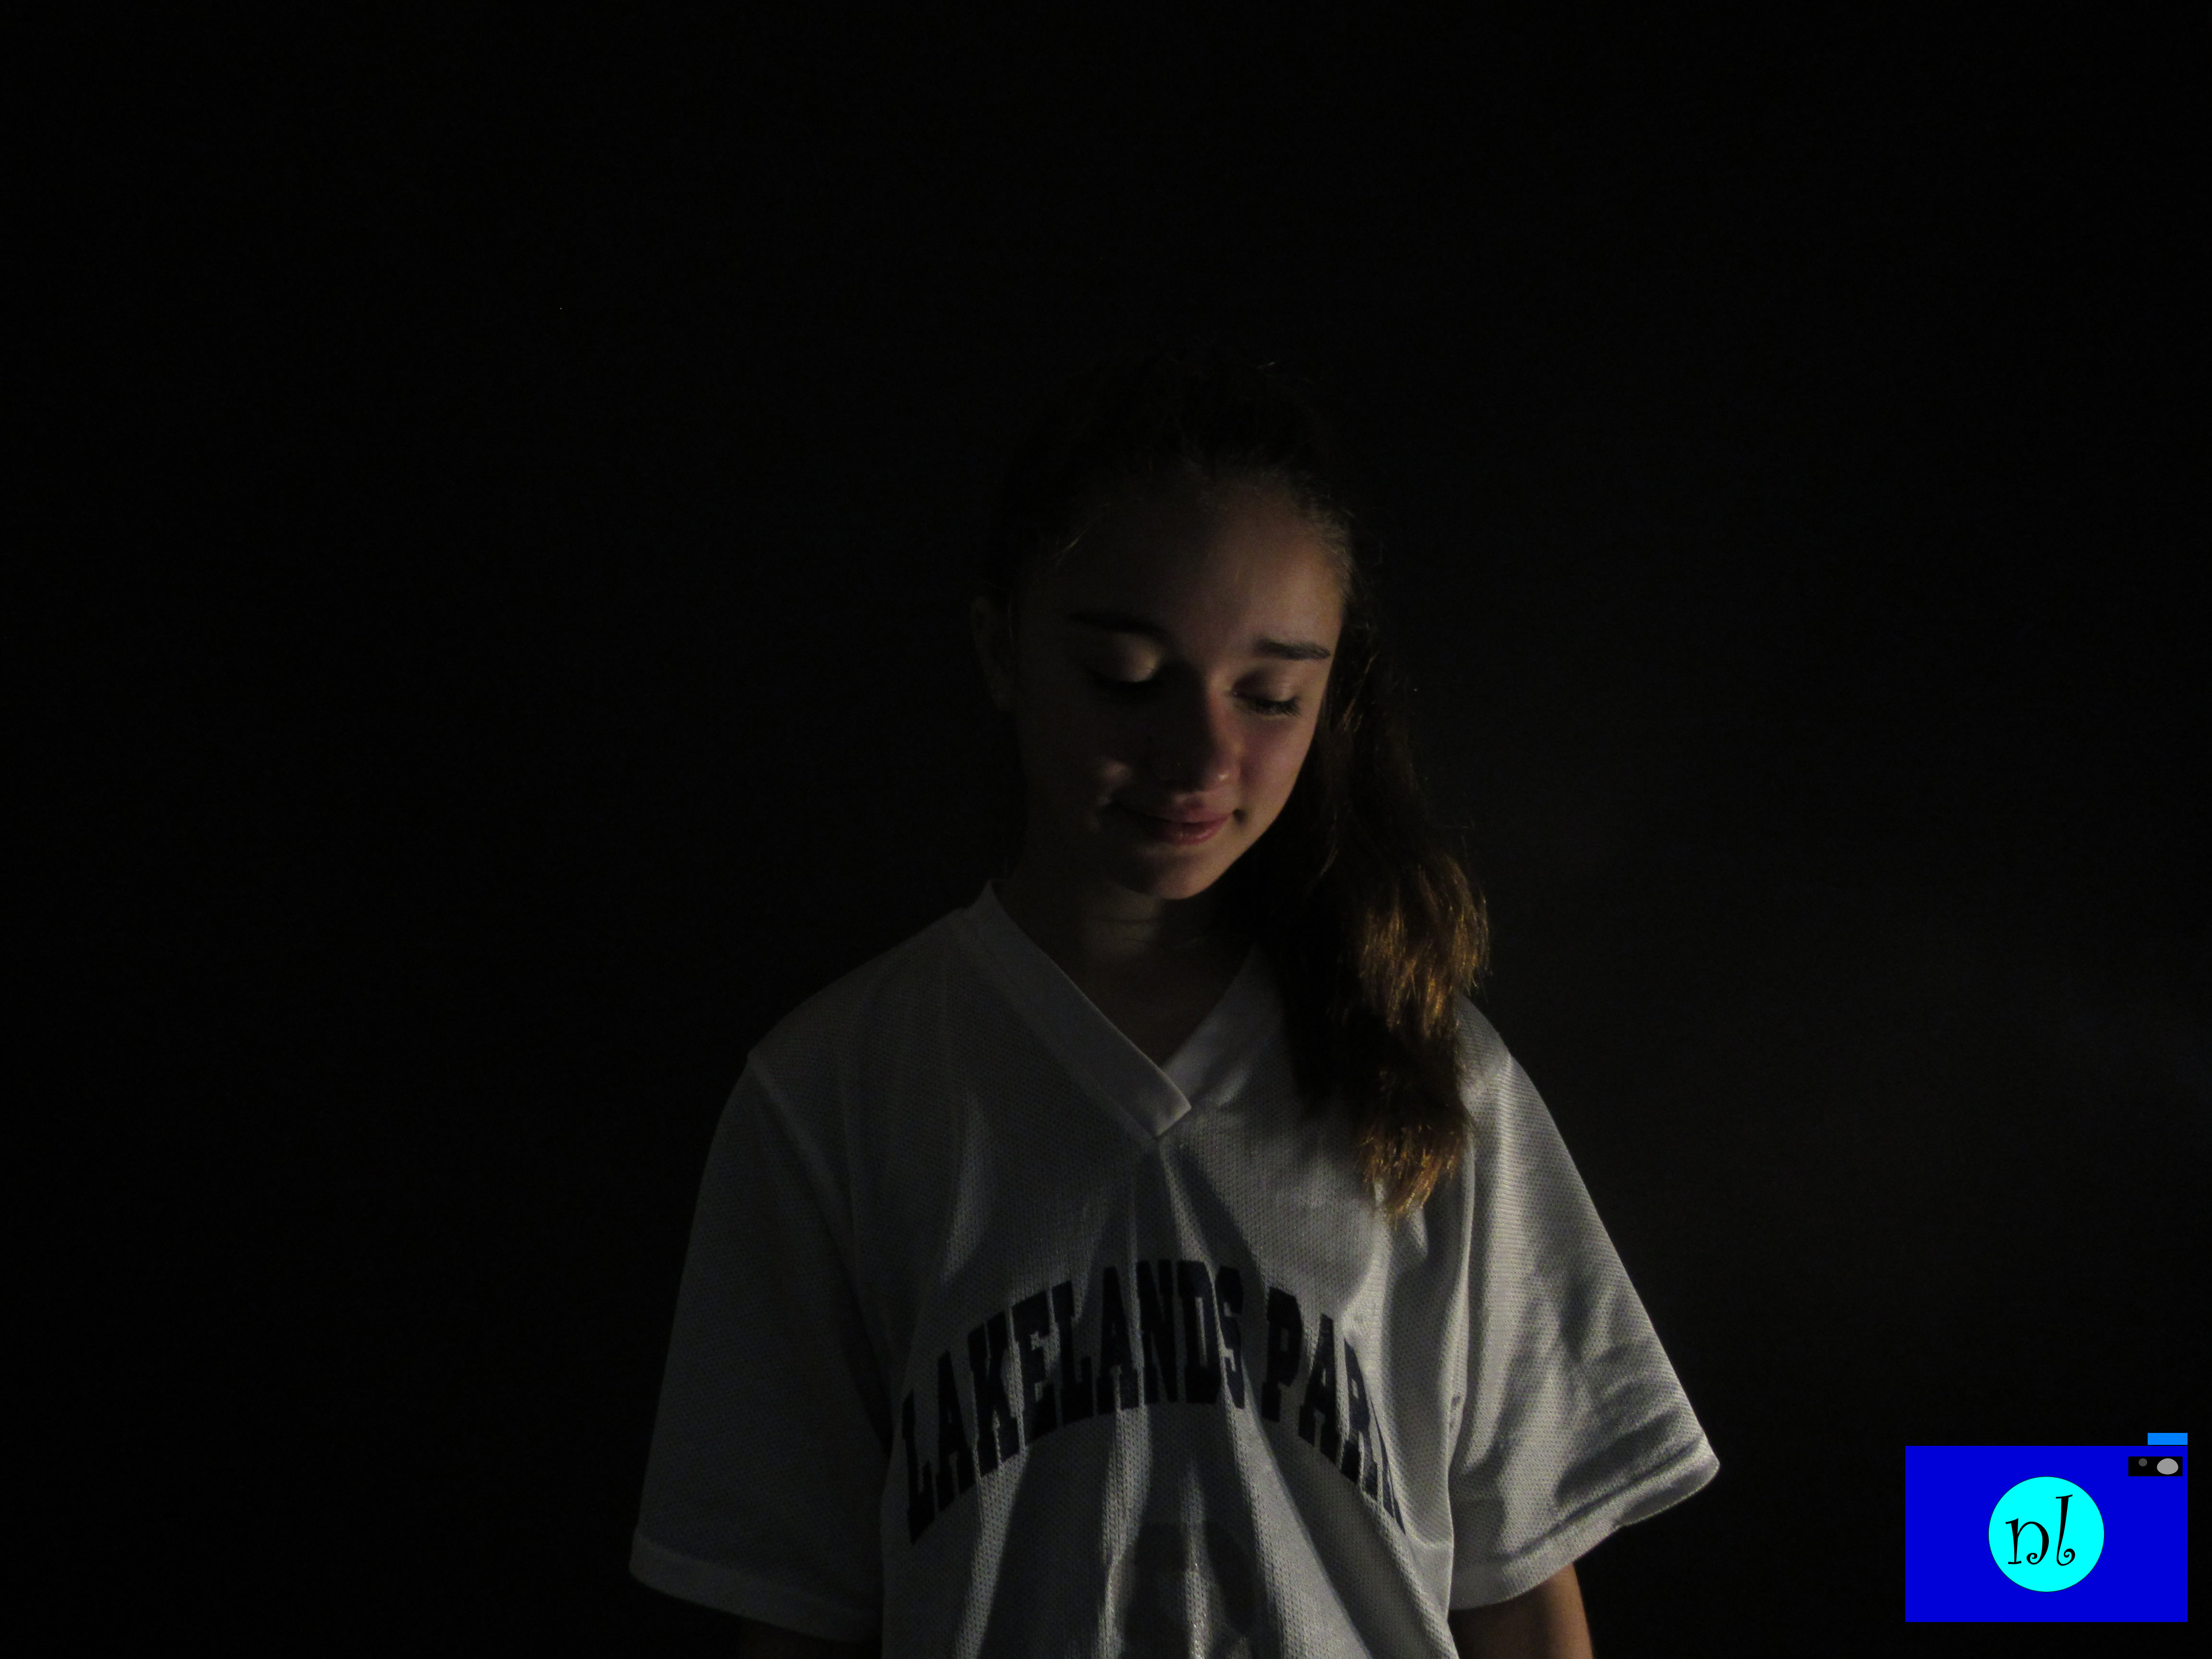
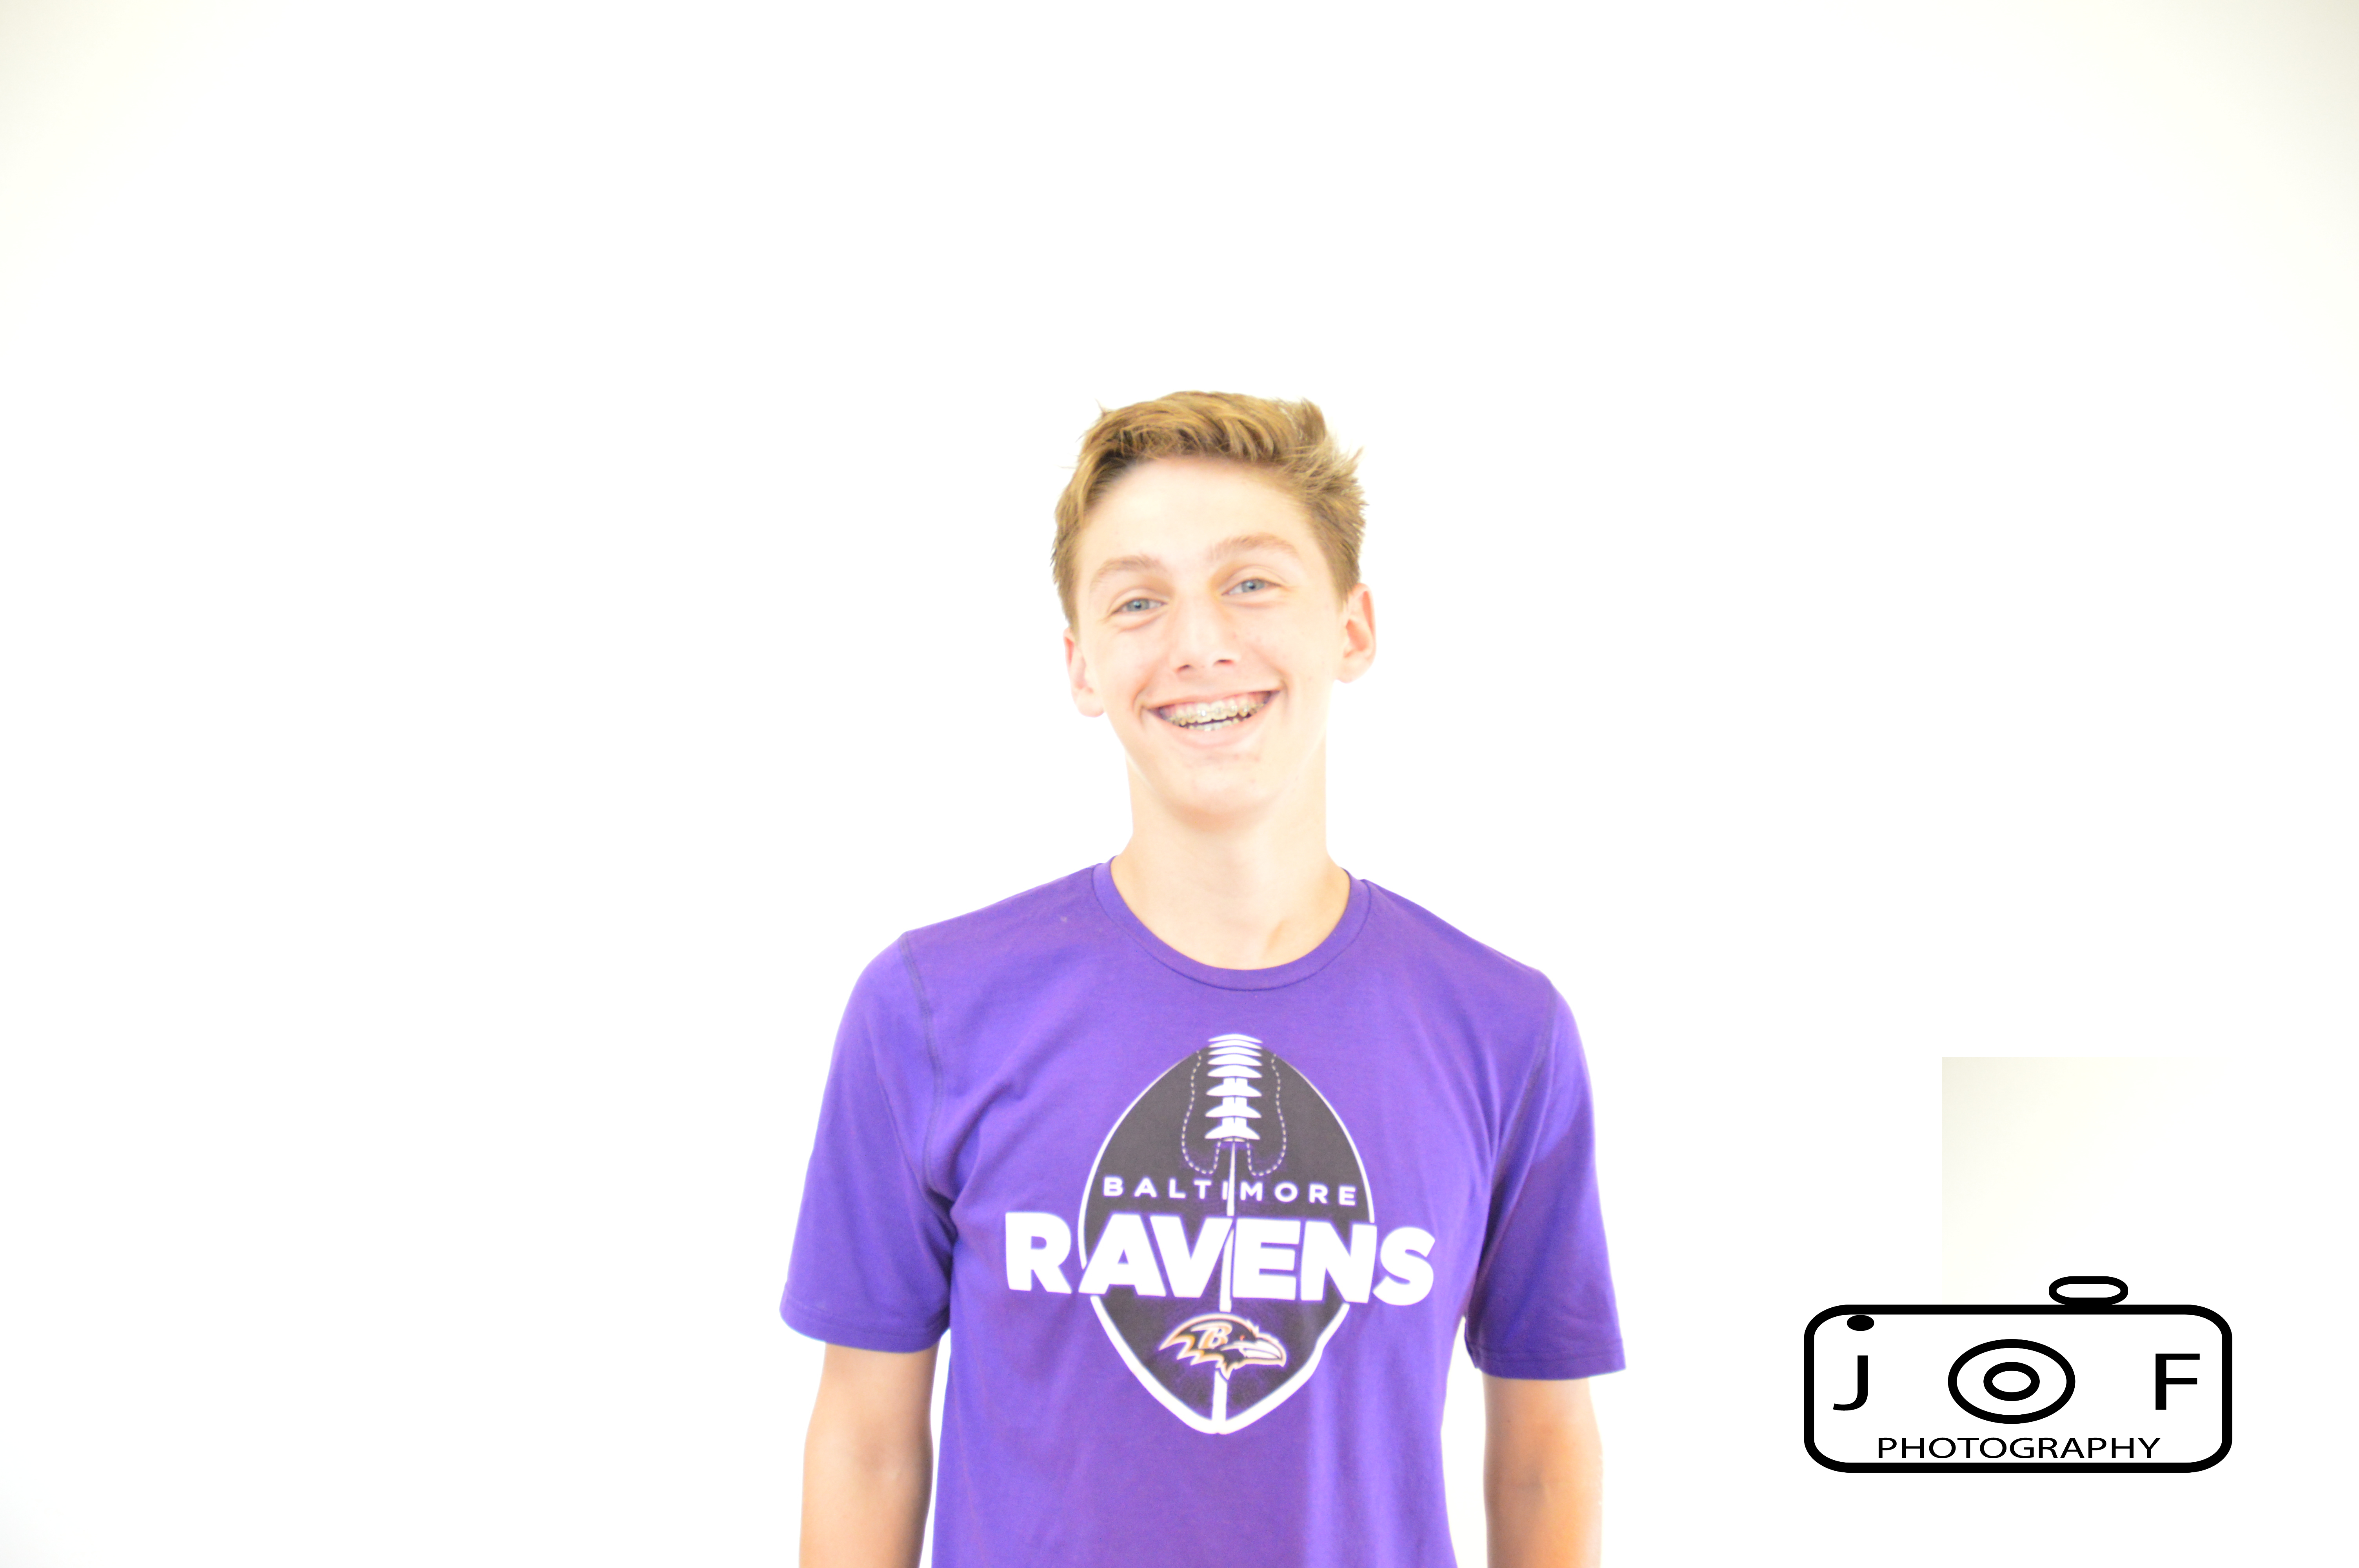
In this project we had to make the background of the pictures we took pitch black. We had to keep changing the ISO so enough light would shine on our faces, but not on the background because that would give a shadow. Once, we figured out the correct way to hold the light and the correct ISO, it made the project just a little bit easier. The most challenging thing was finding a good way to hold the light so it would shine on our faces, but not on the background. This project was probably one of the hardest project because there was so many things that you had to make sure where in the right place. The rest of my photos are down below.
In this project we had to take pictures of each other that had a black background with no shadows. We made the shutter speed slower in order to let more light in. The easy part was being creative when taking the pictures. The hard part was getting rid of all the shadows. You can see the rest of my photos Here.
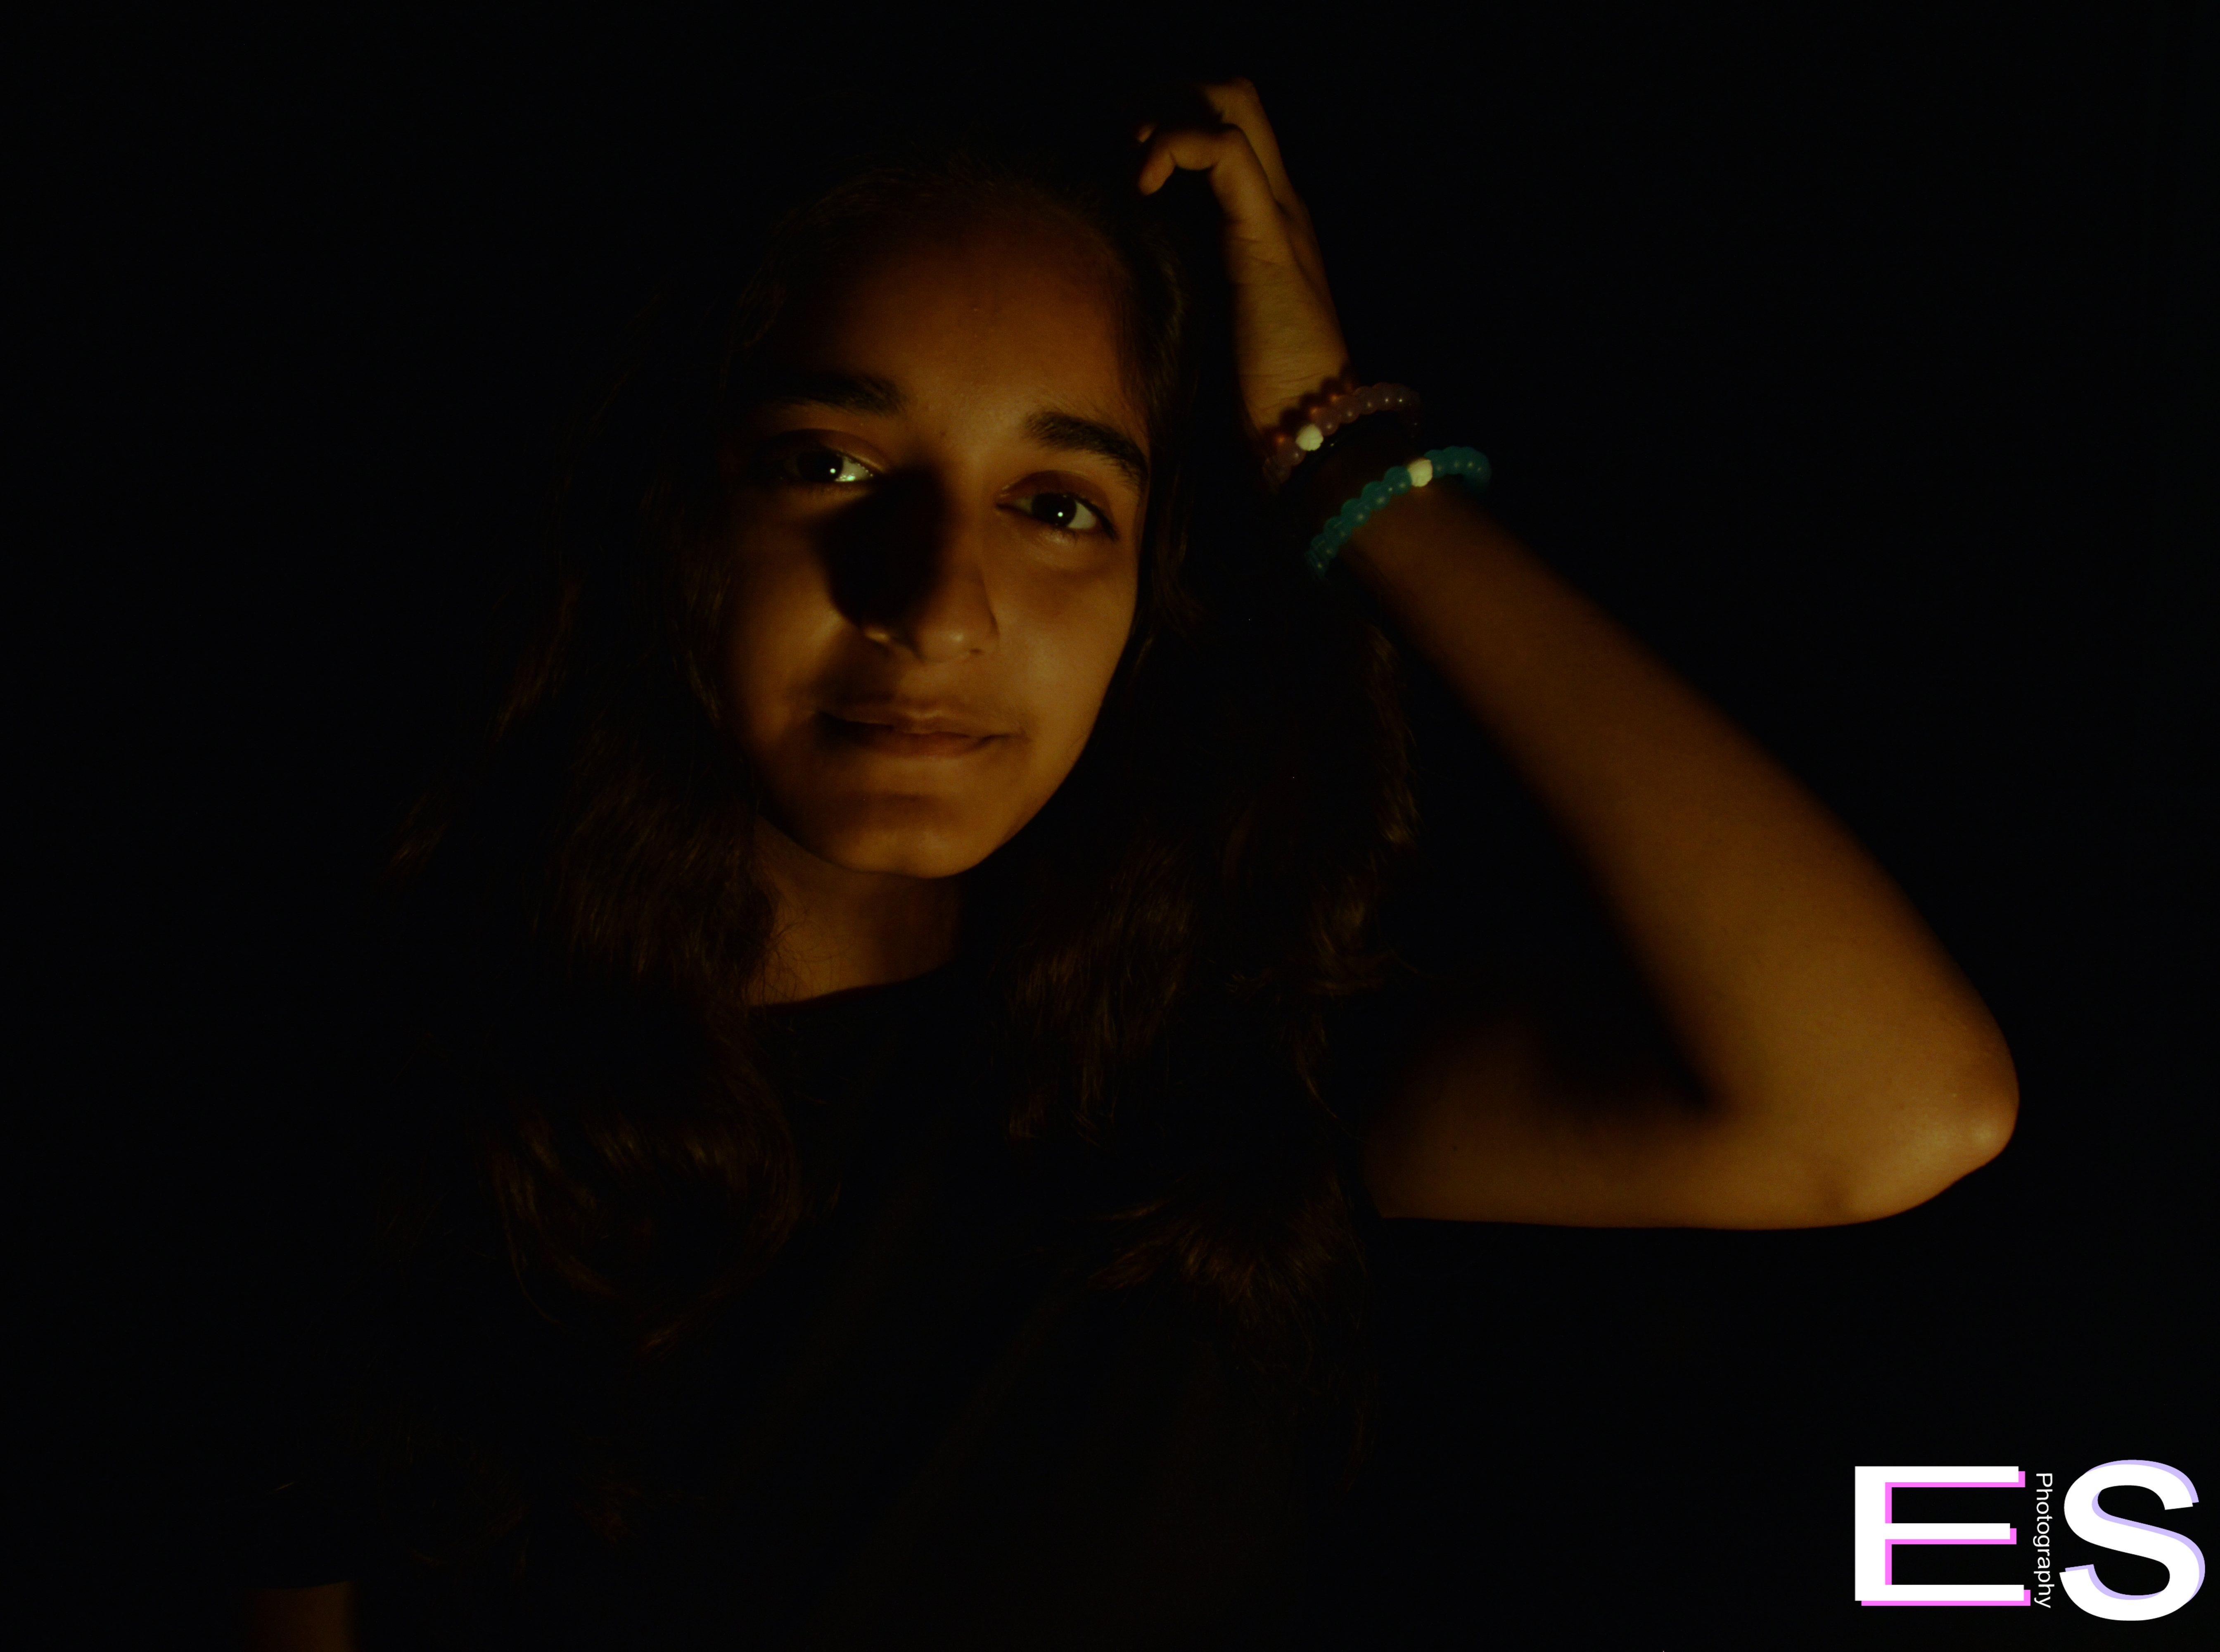
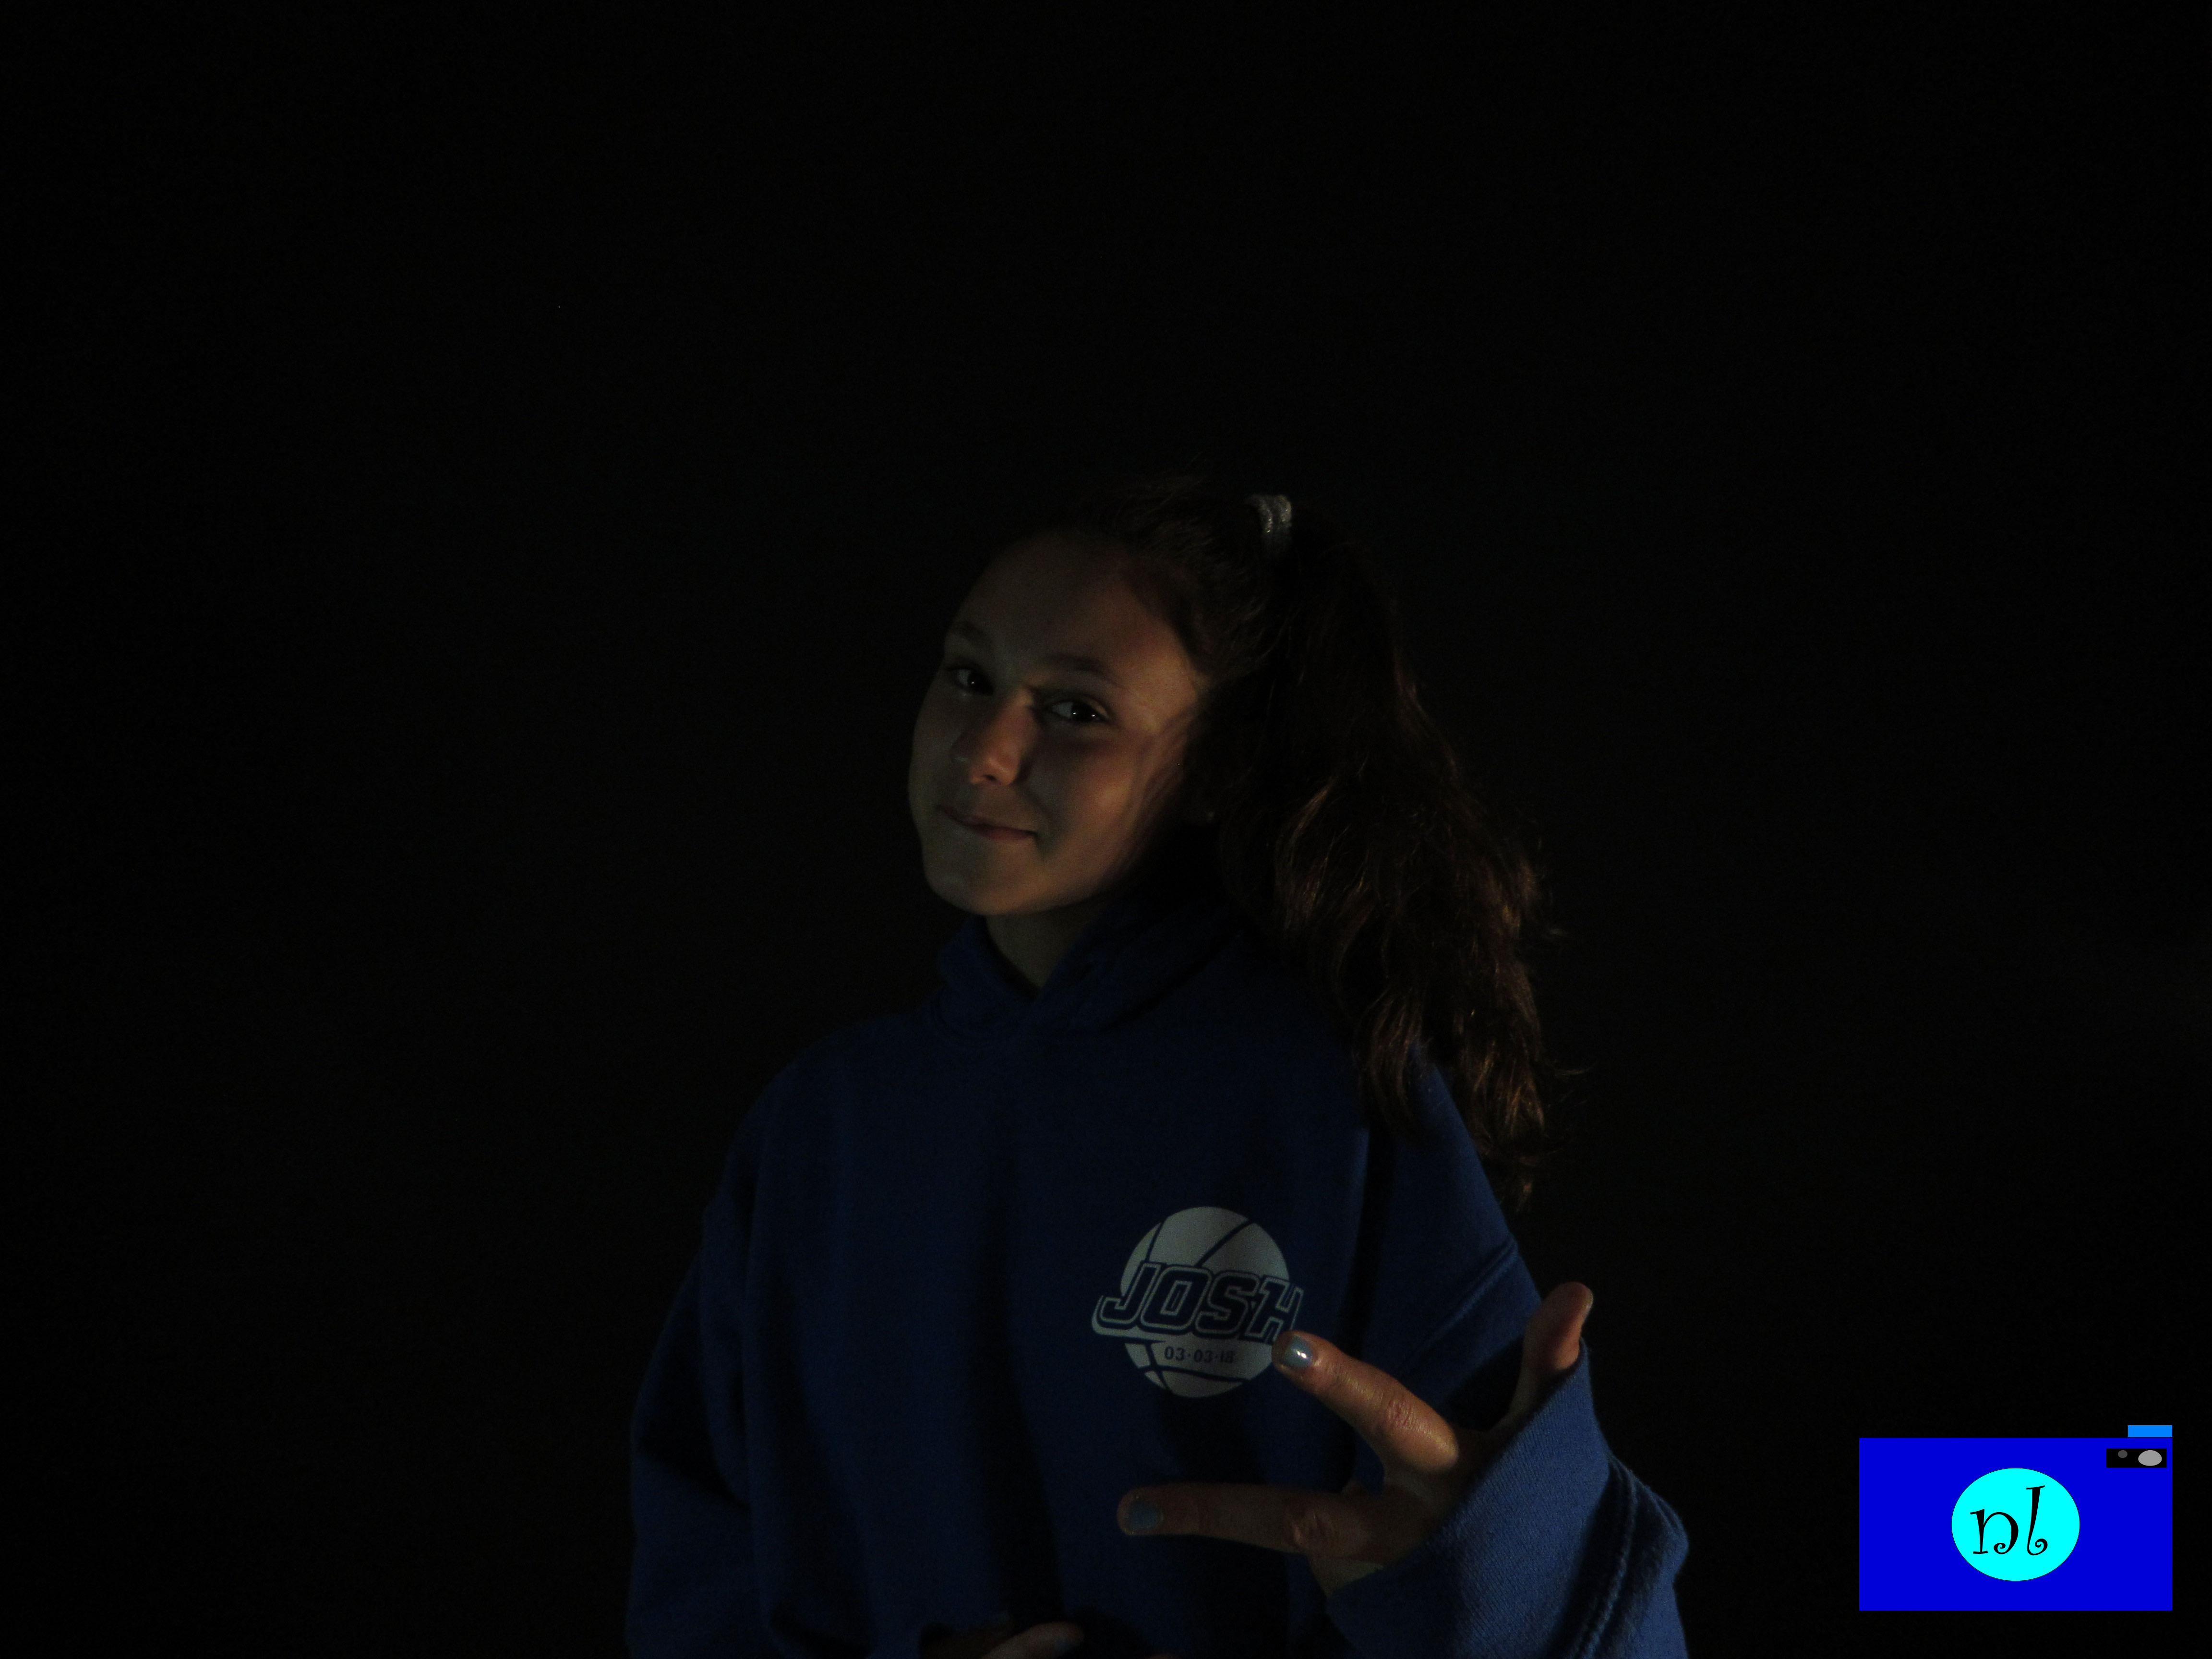
In this project, me and my group had to position the light in a special way, so that there would be no shadows, and so that the light would only be on us. We needed to set the camera settings to manual mode, and we needed to take pictures using ISO. The thing that worked for us the most was positioning the light in front of our bodies so that there would be no shadows. Placing the light in front of the person didn’t work. Here is a photo I took and a picture of me:
If you want to see all my other pictures, click here.
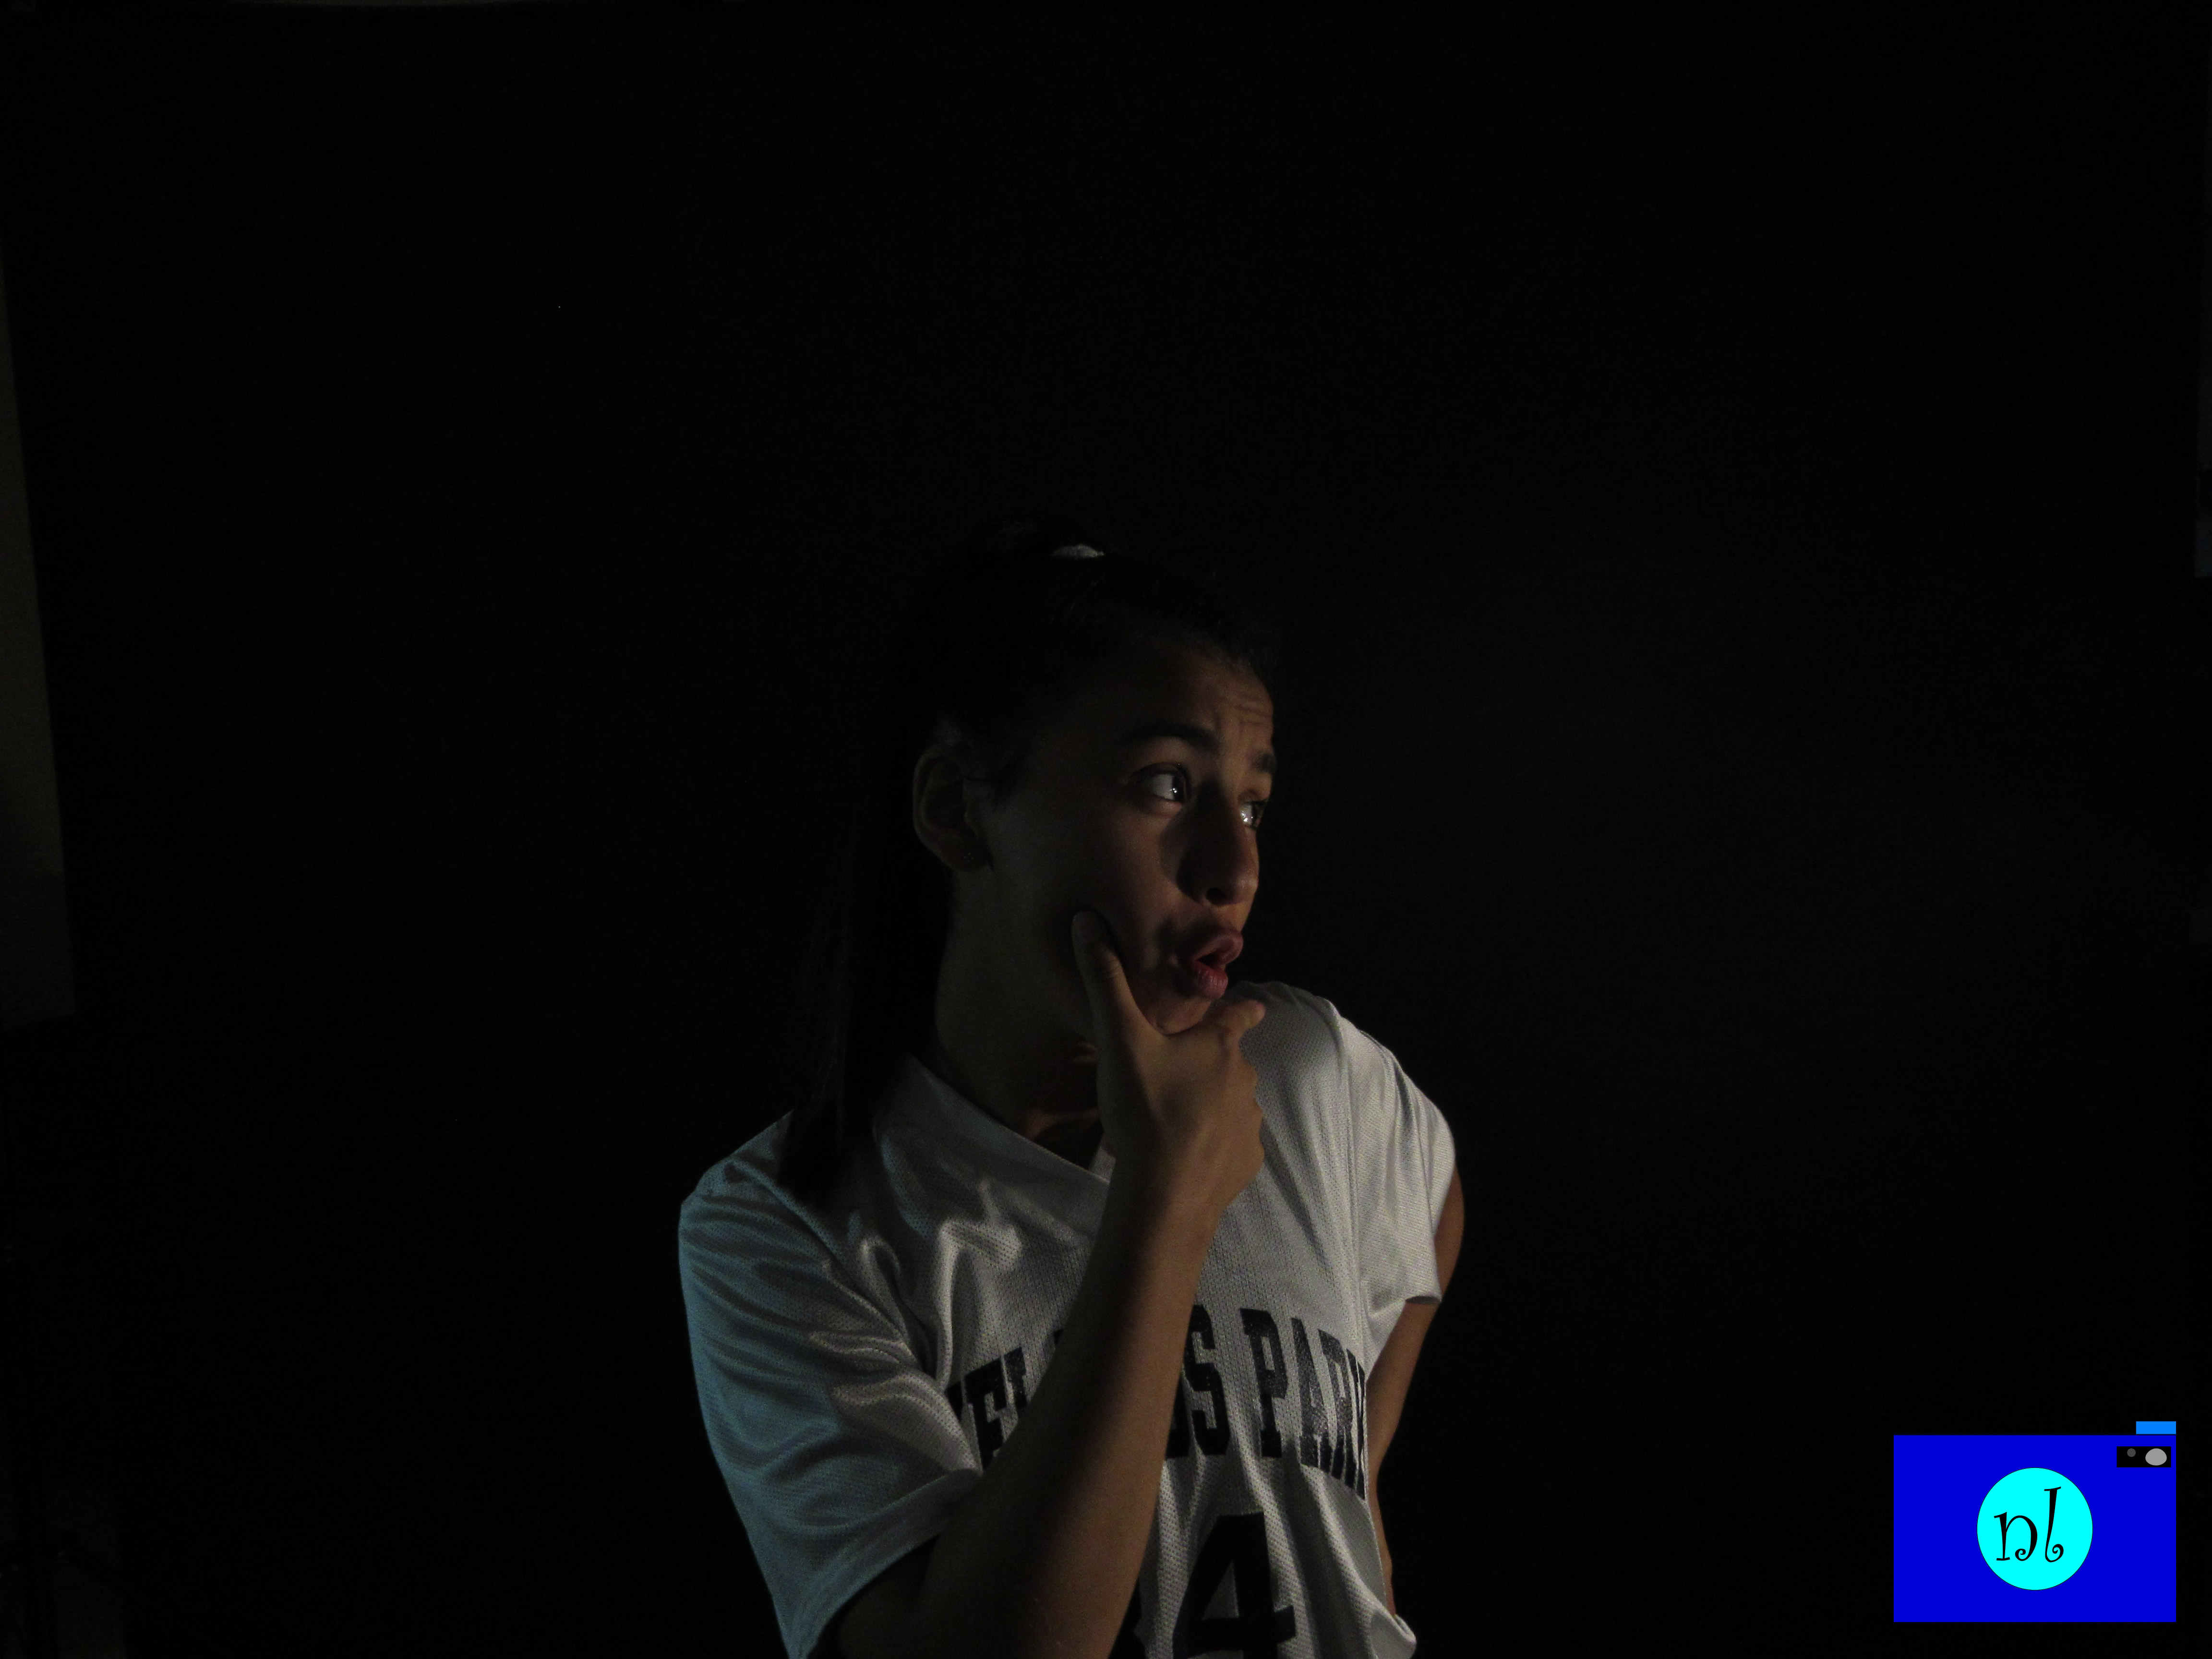
For this project we did black background. To do that we had to stand in front of a black background then position the lights a certain way to prevent shadows.It was easy to found which potions made shadows, like doing peace signs. It was hard to find where the lights would shine.
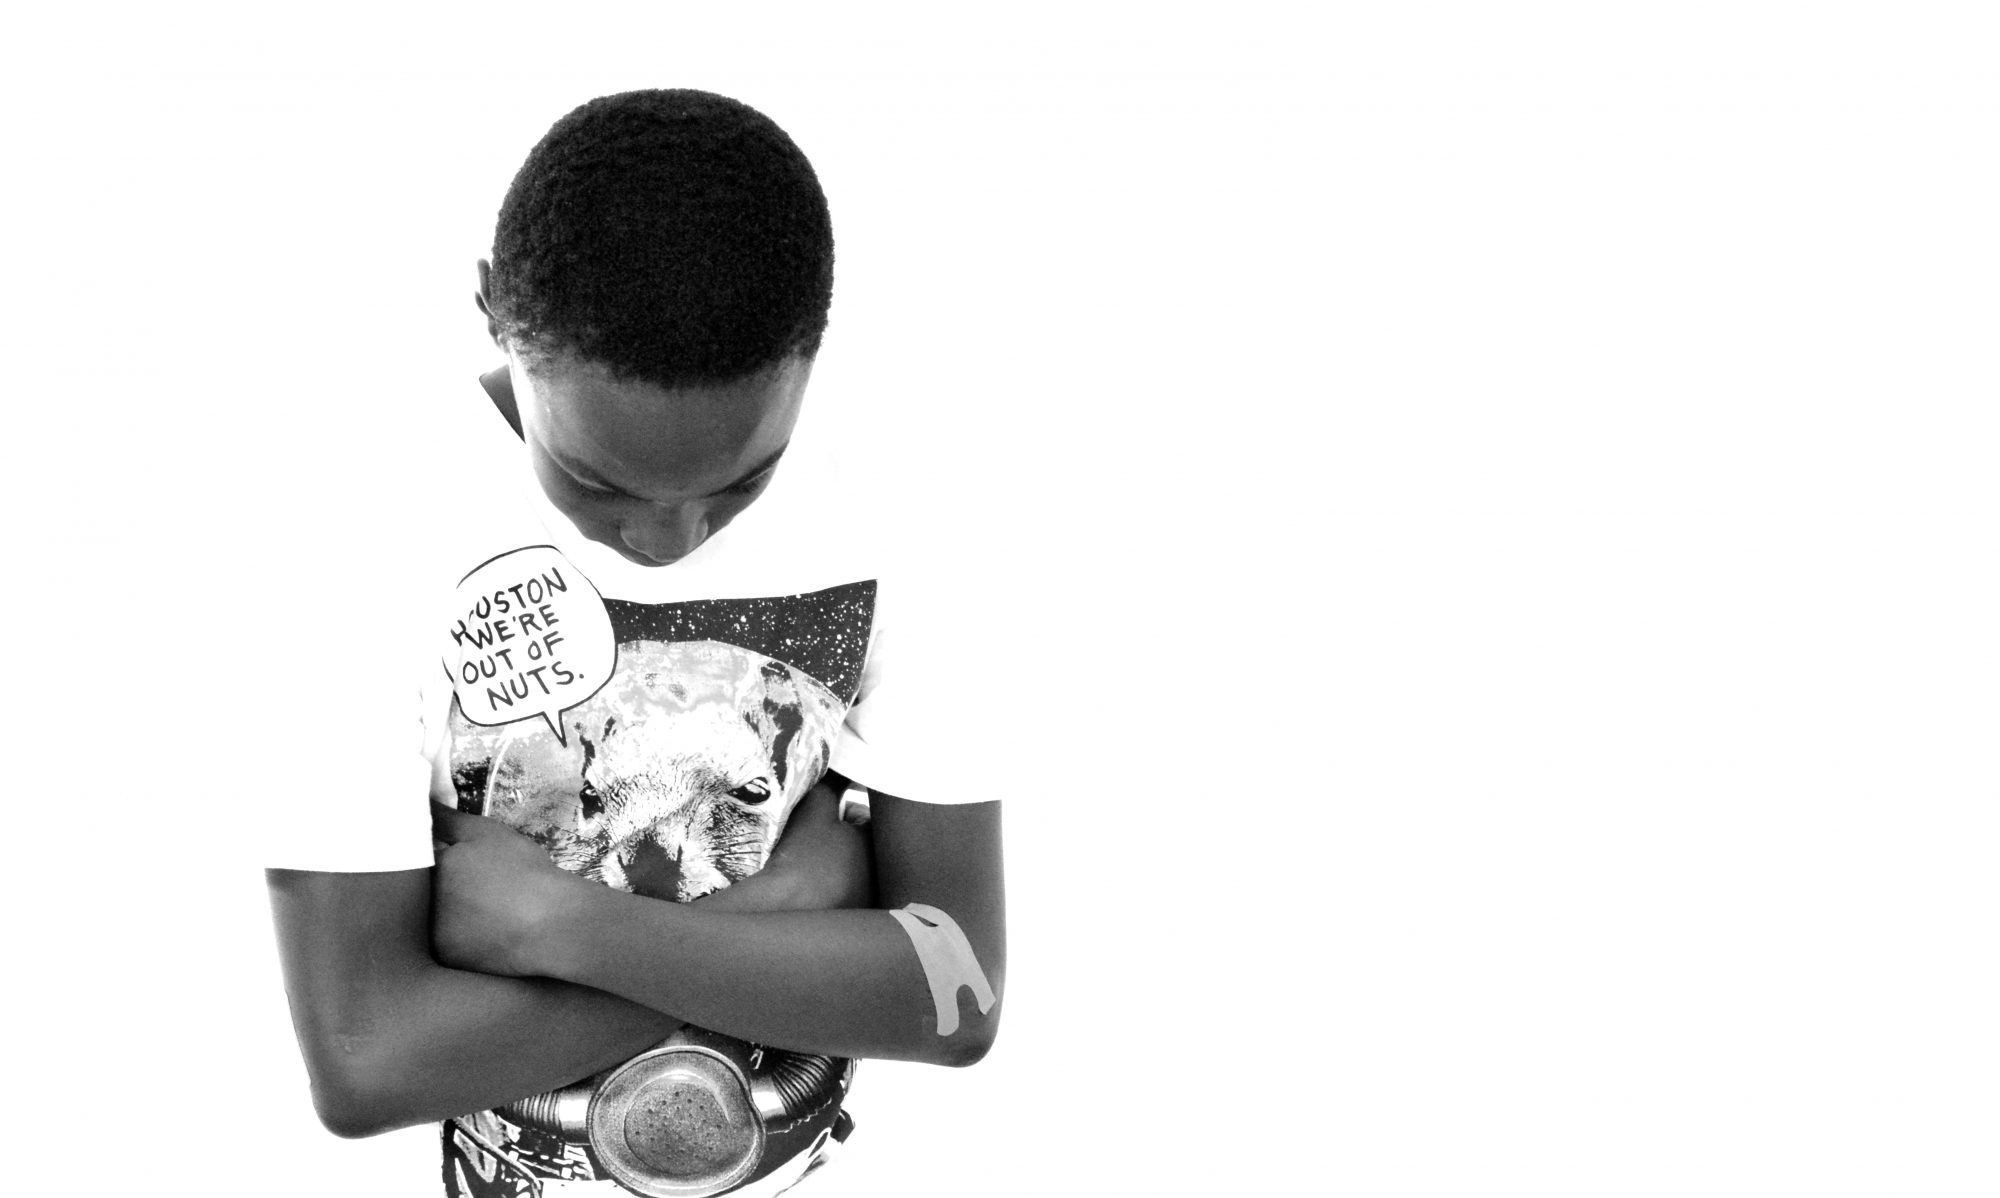
The first step was to take pictures of everyone in front of the background. This was very easy, except for where to put the lighting for the picture. next, we went to Photoshop to make the background look as light as possible, without getting rid of the person in the picture. What didn’t work was the graph. At first we didn’t know how to use it correctly, but then we figured it out and it was pretty easy from there.
You can see the rest of the pictures here.
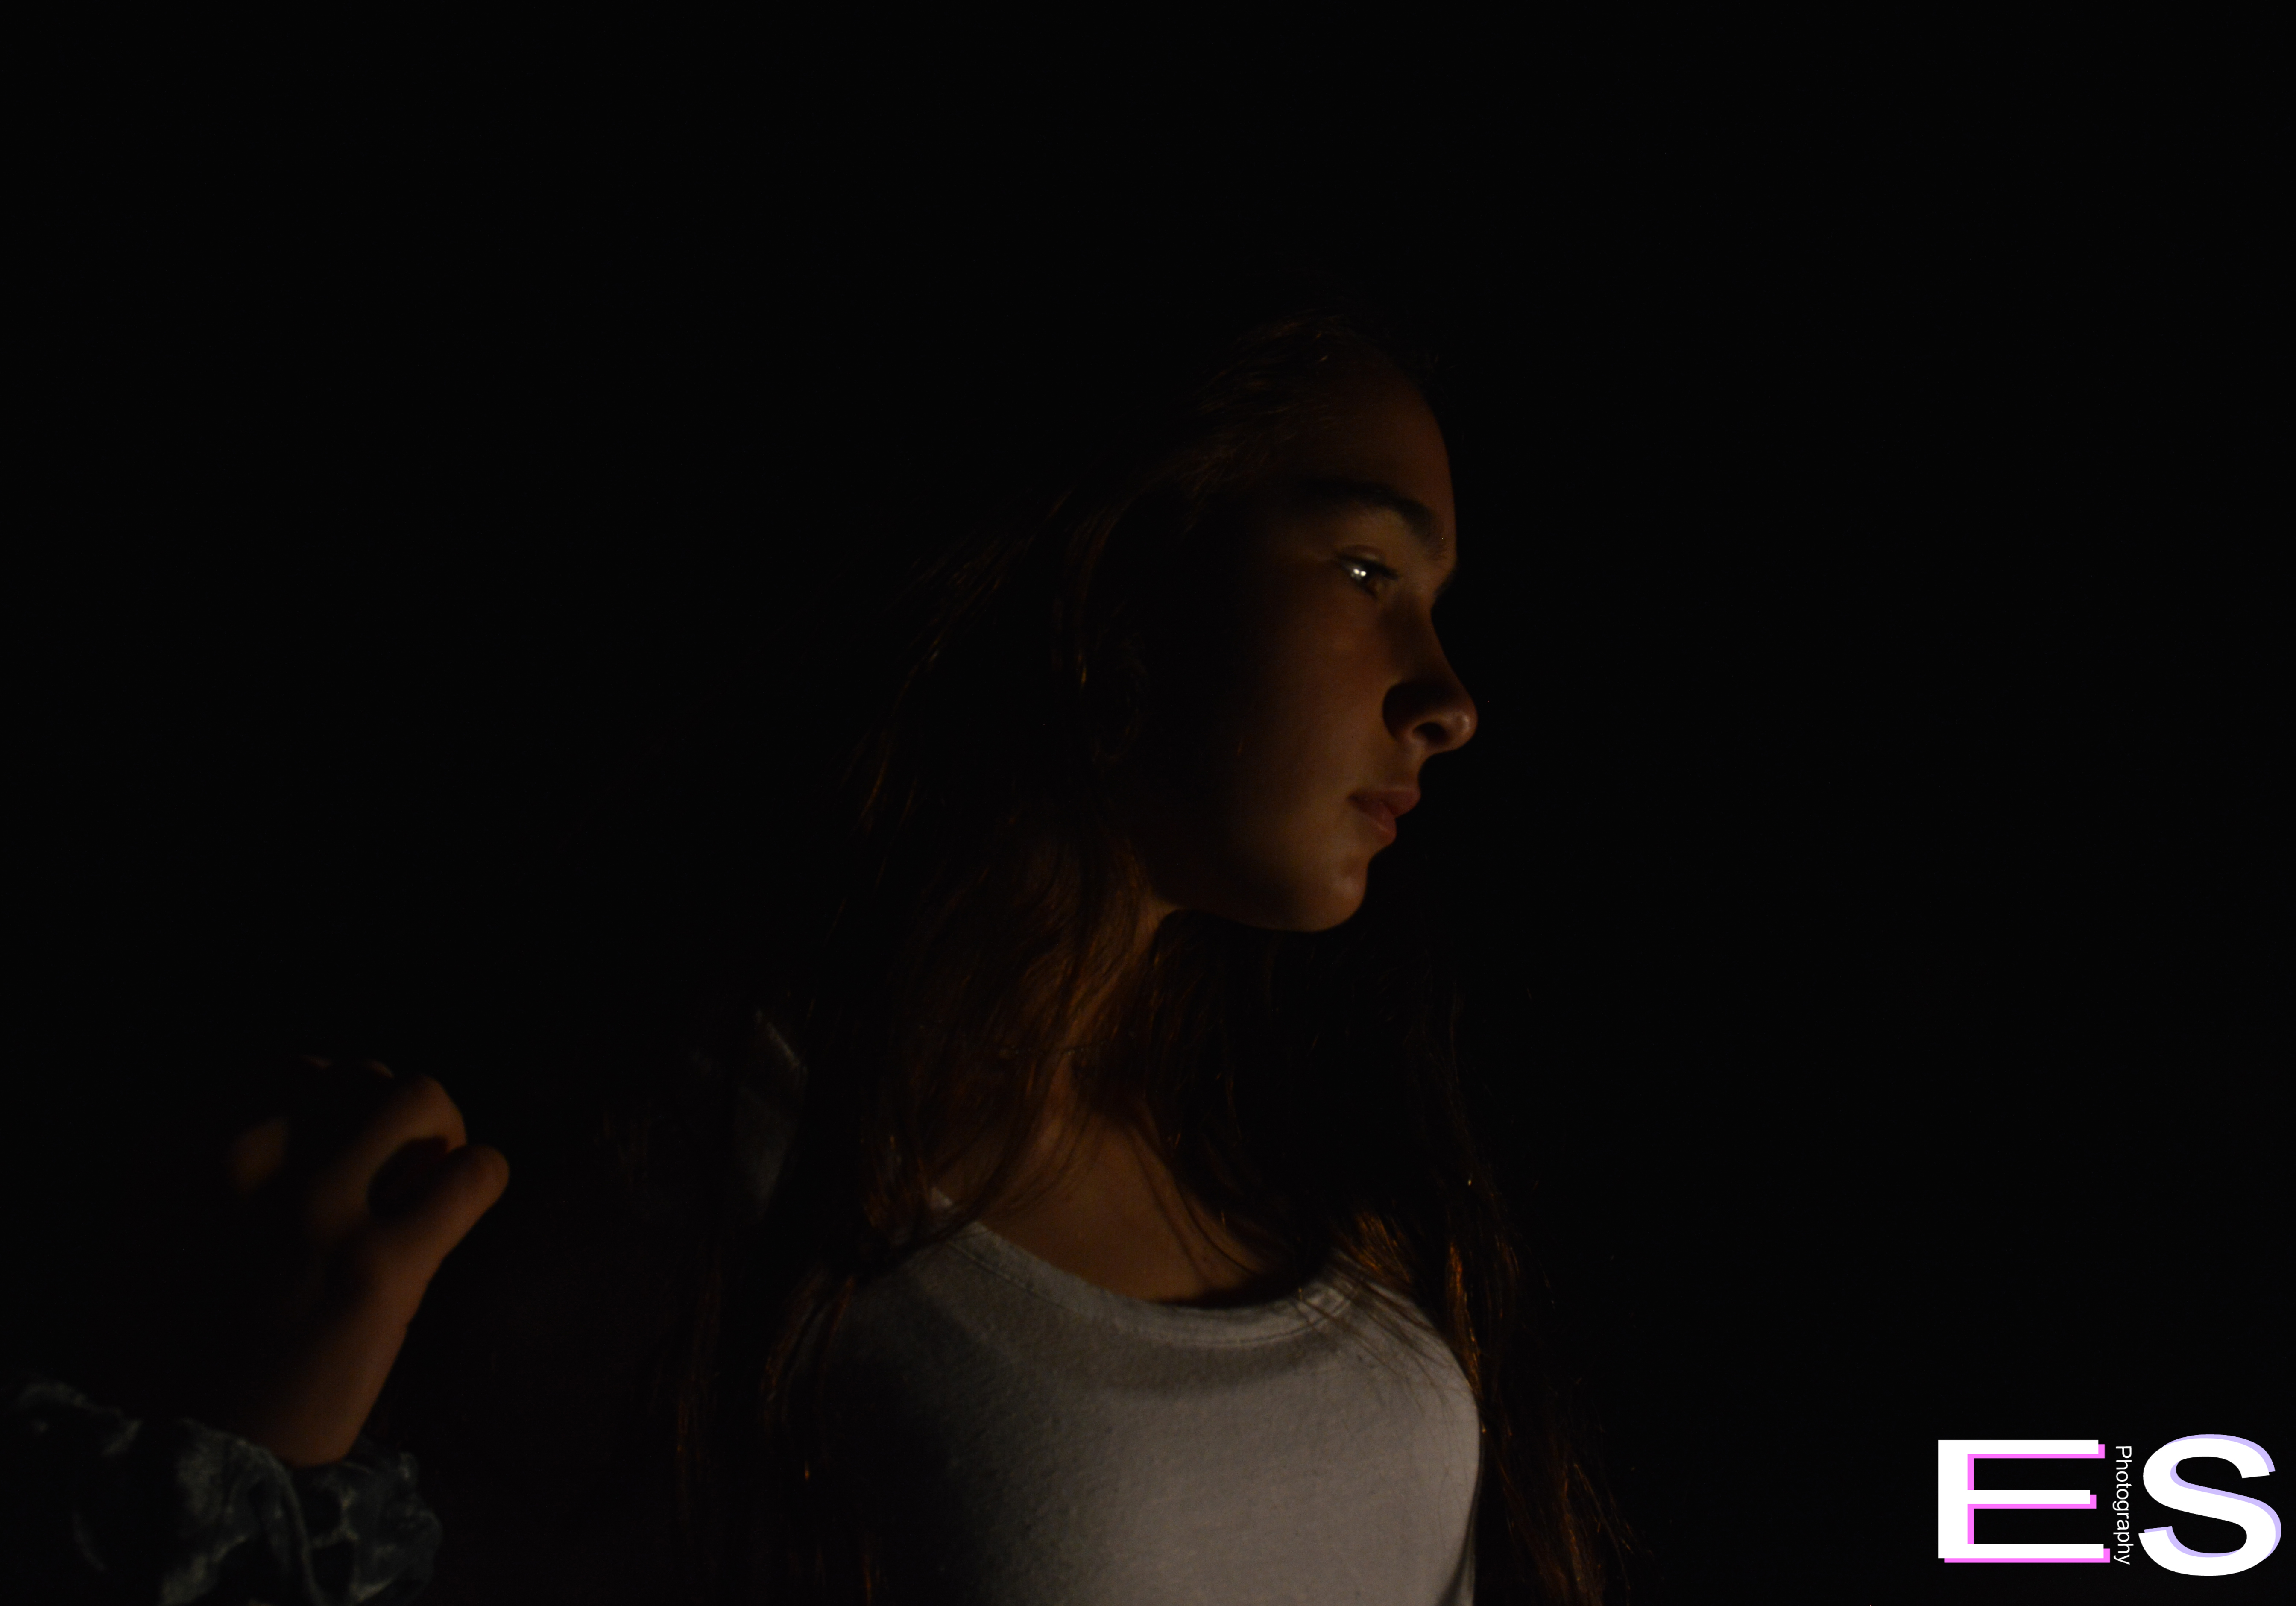
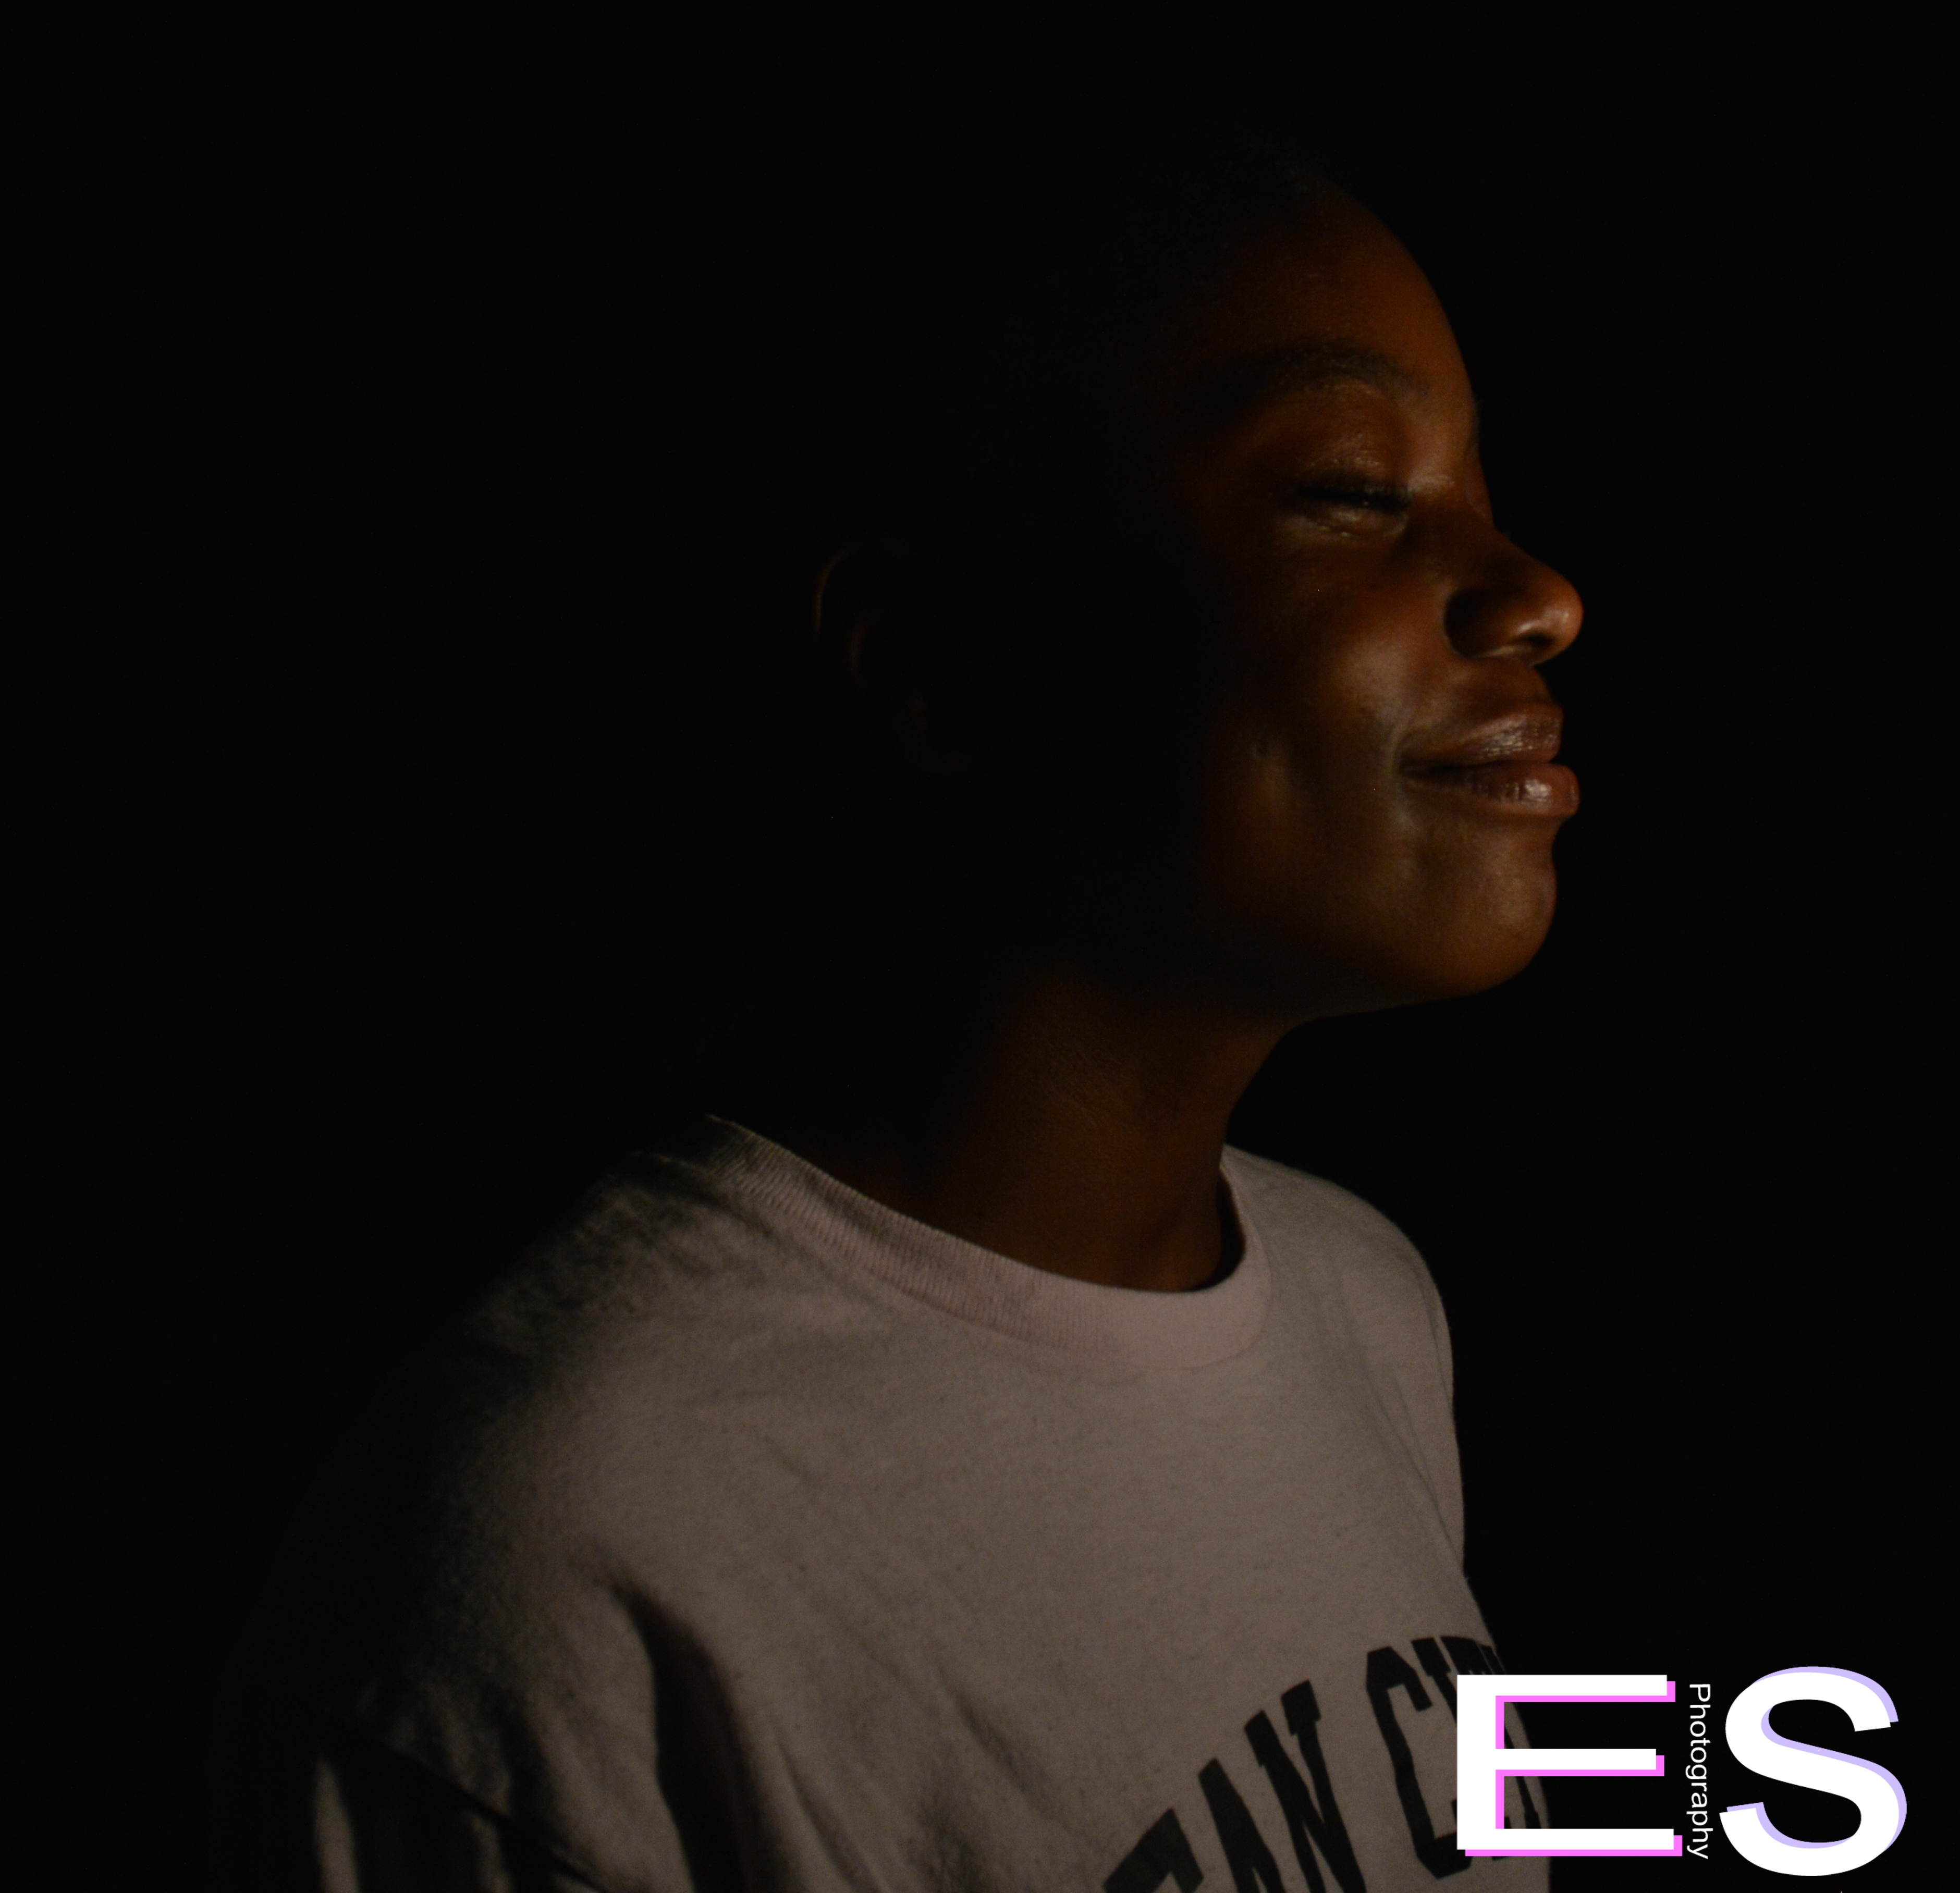
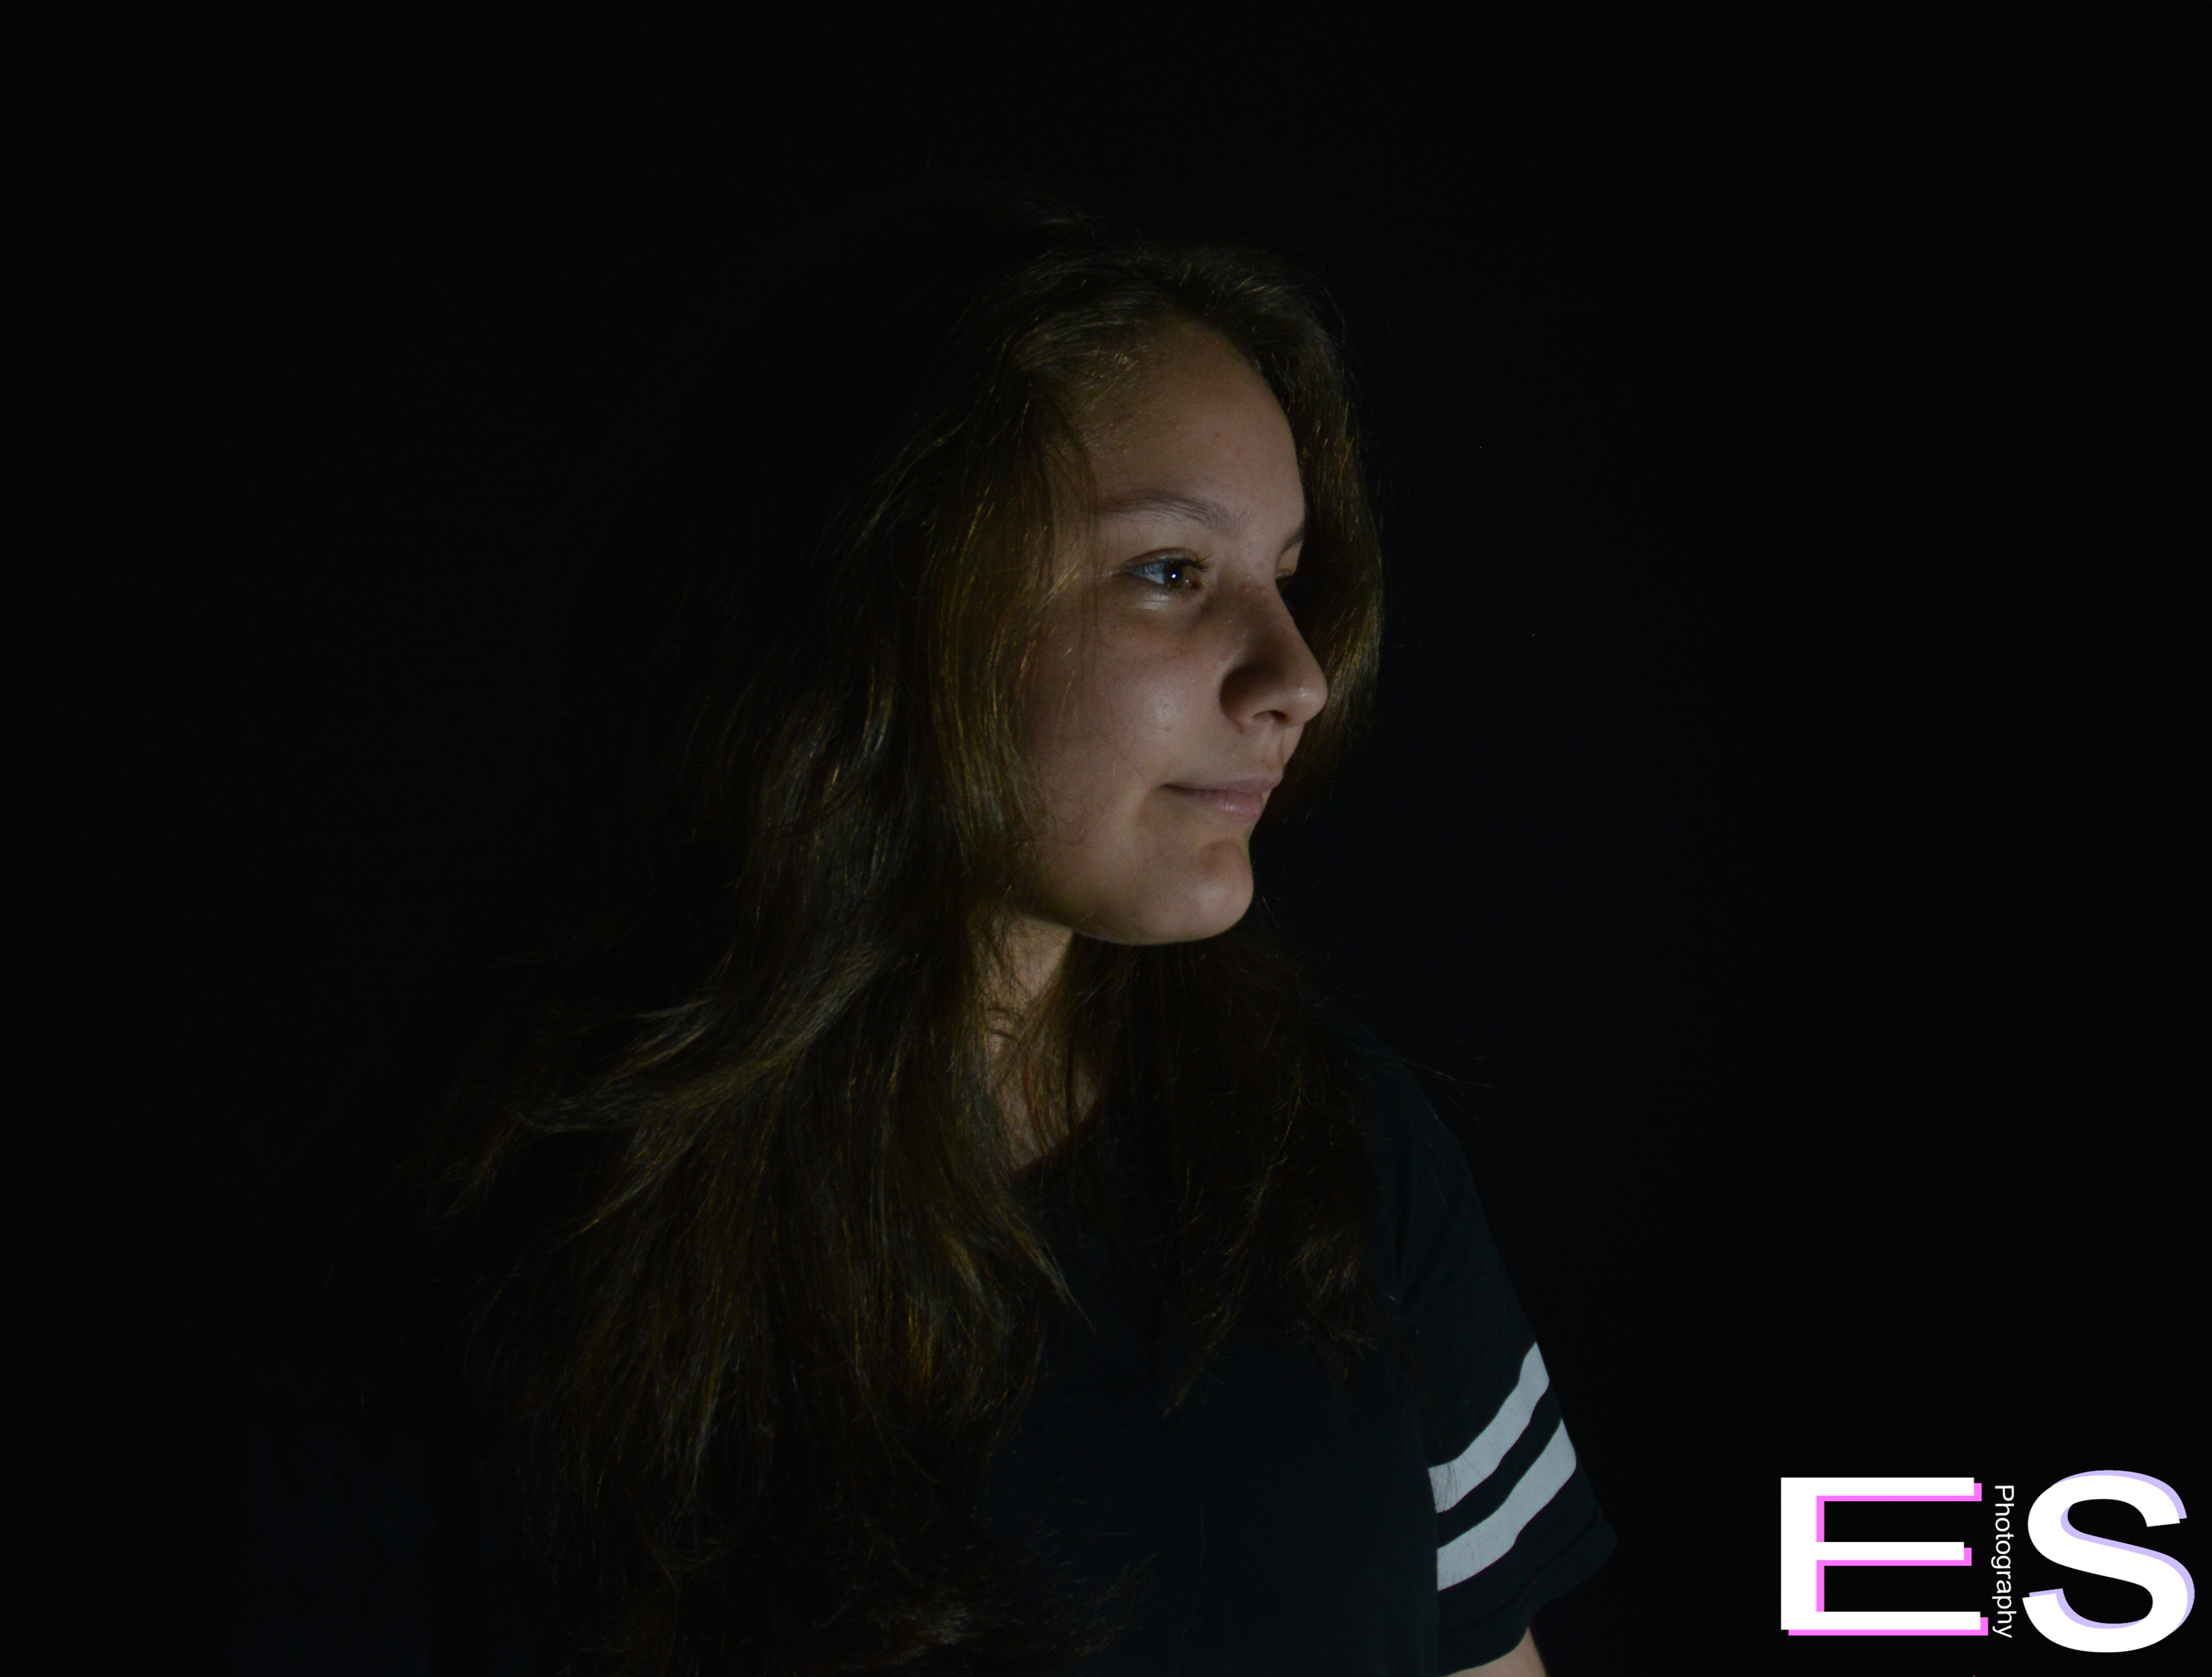
For this project, me and my group had to take a photo, so that it would like like we had no background. We needed to make sure that the lighting was perfect too. After that, we would edit the pictures on Adobe Photoshop, to make sure the pictures turned out perfect. Using two lights helped us make the background look better, and cropping the picture also helped it look better. We tried to take pictures of us jumping, but that didn’t work. Here is a picture of me, and a picture I took:
To see all my other photos, click here.