Portrait

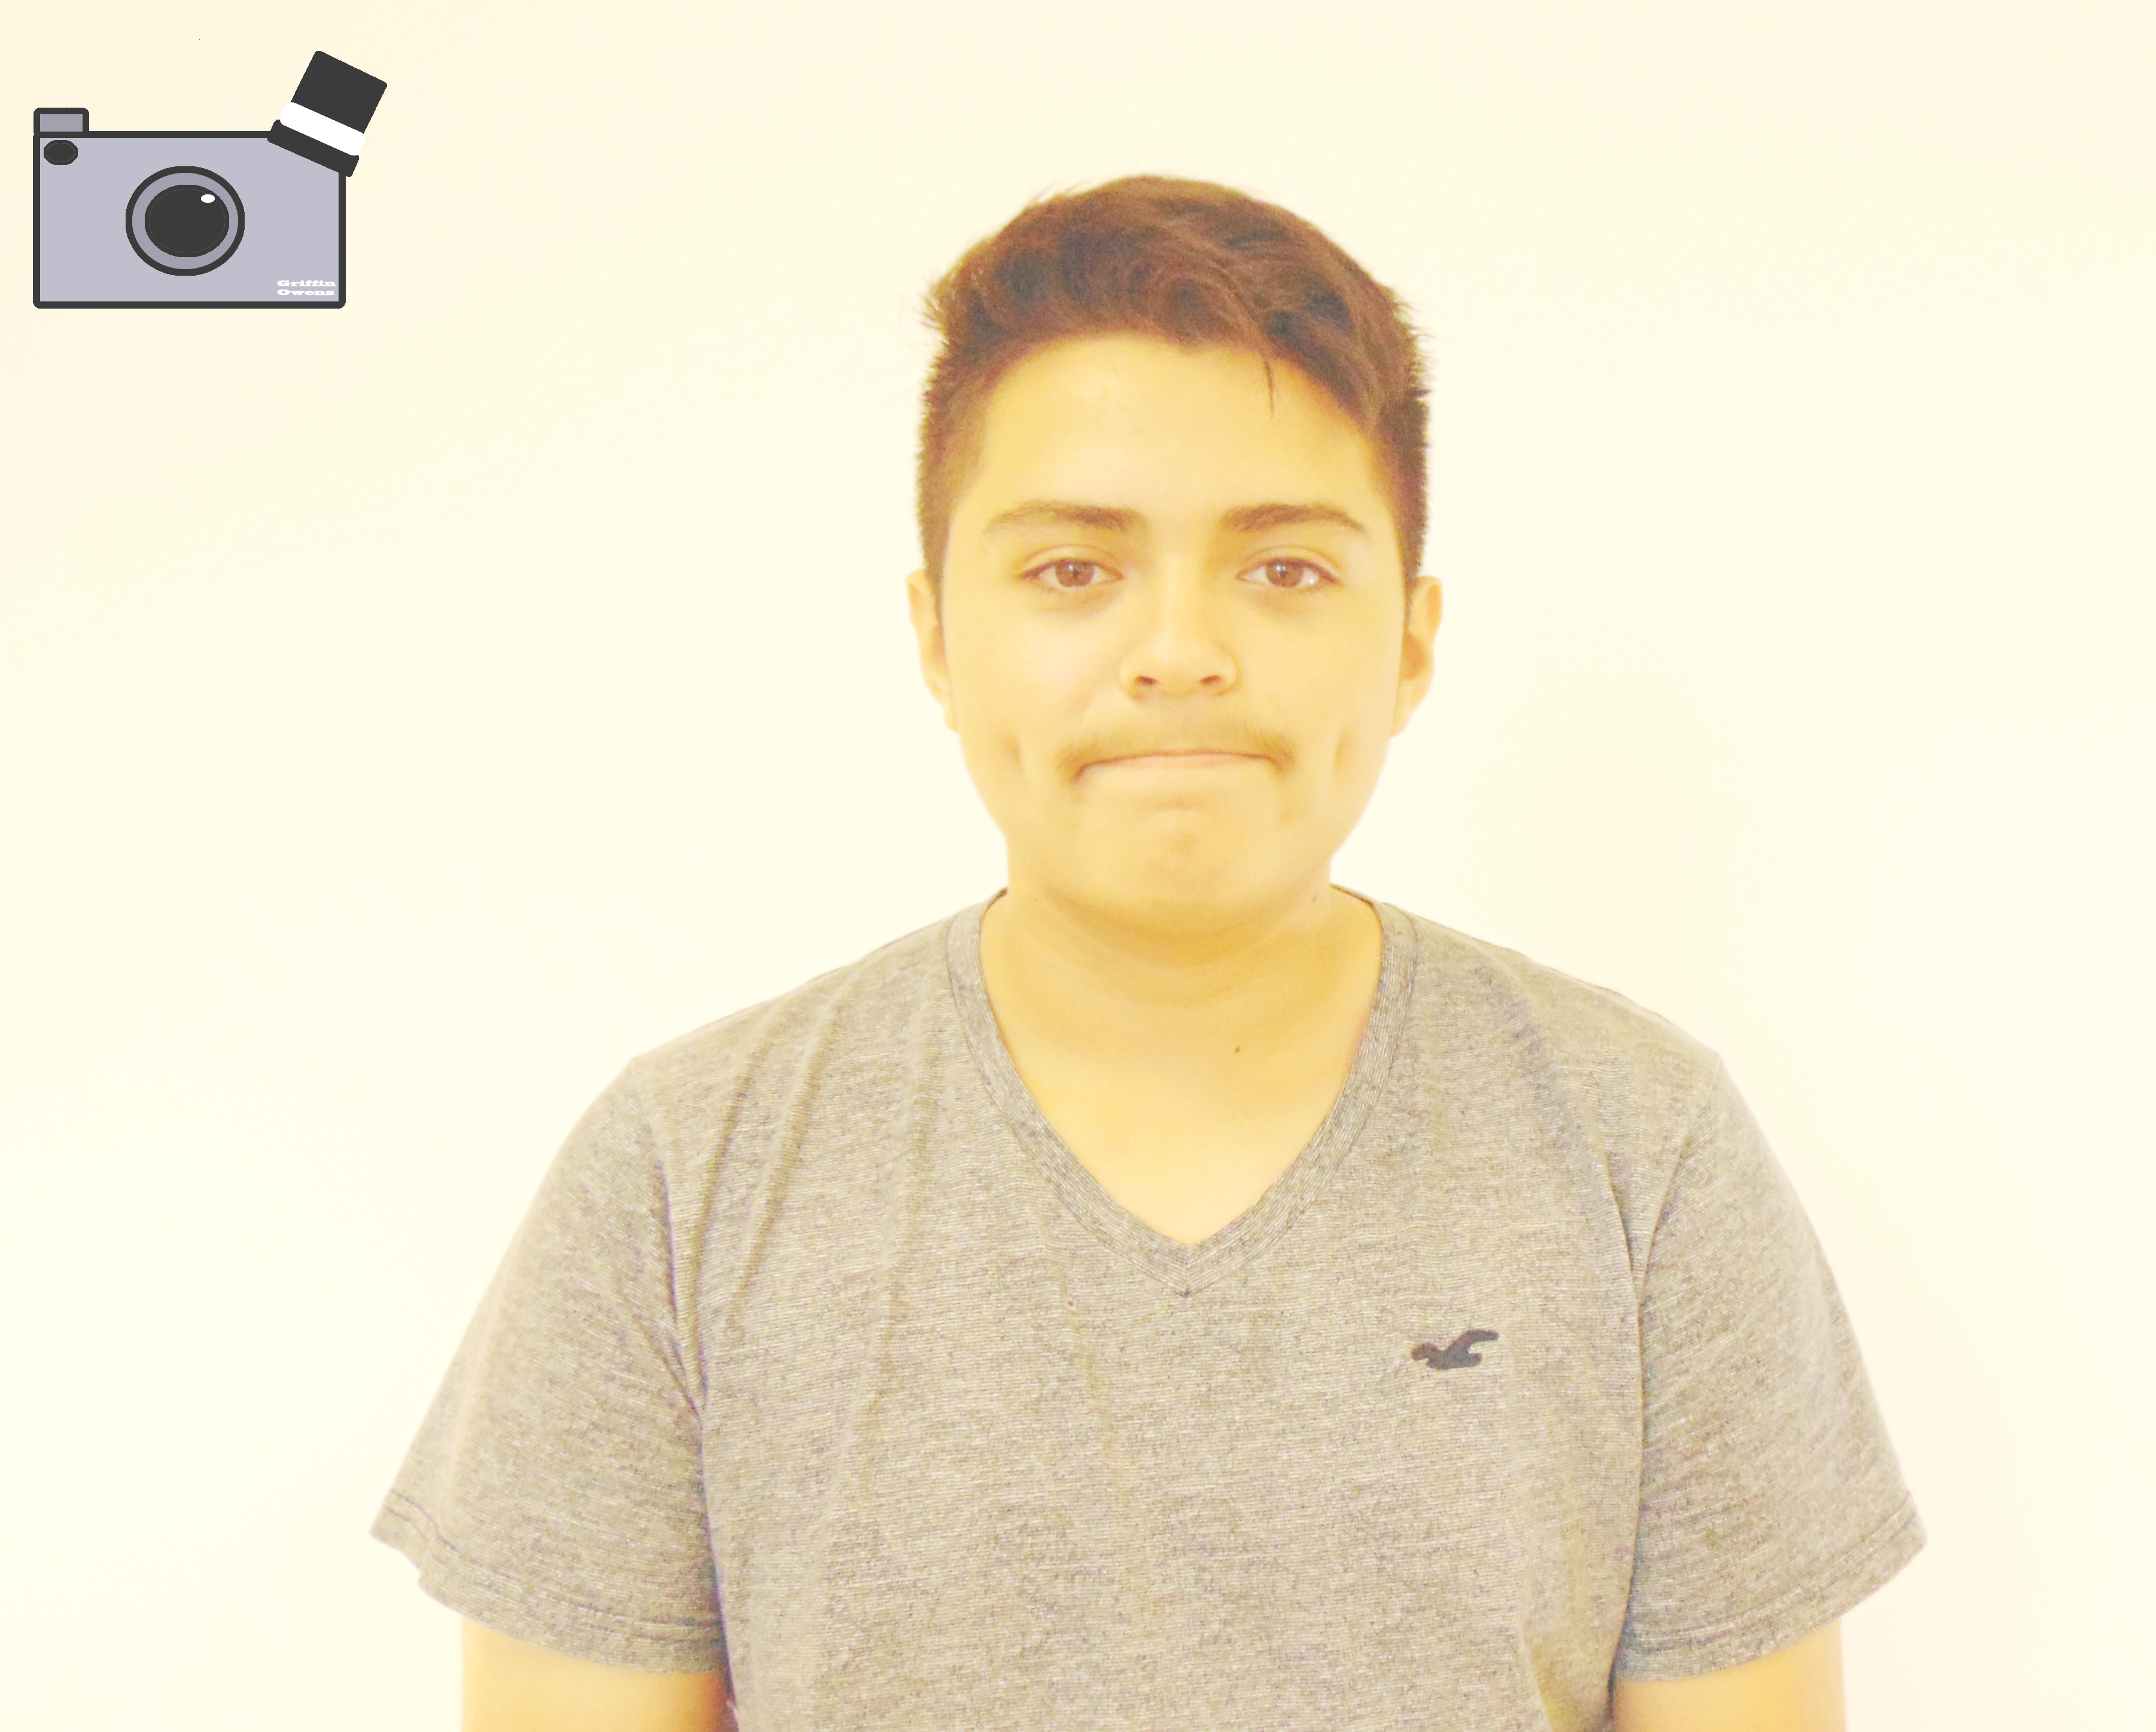
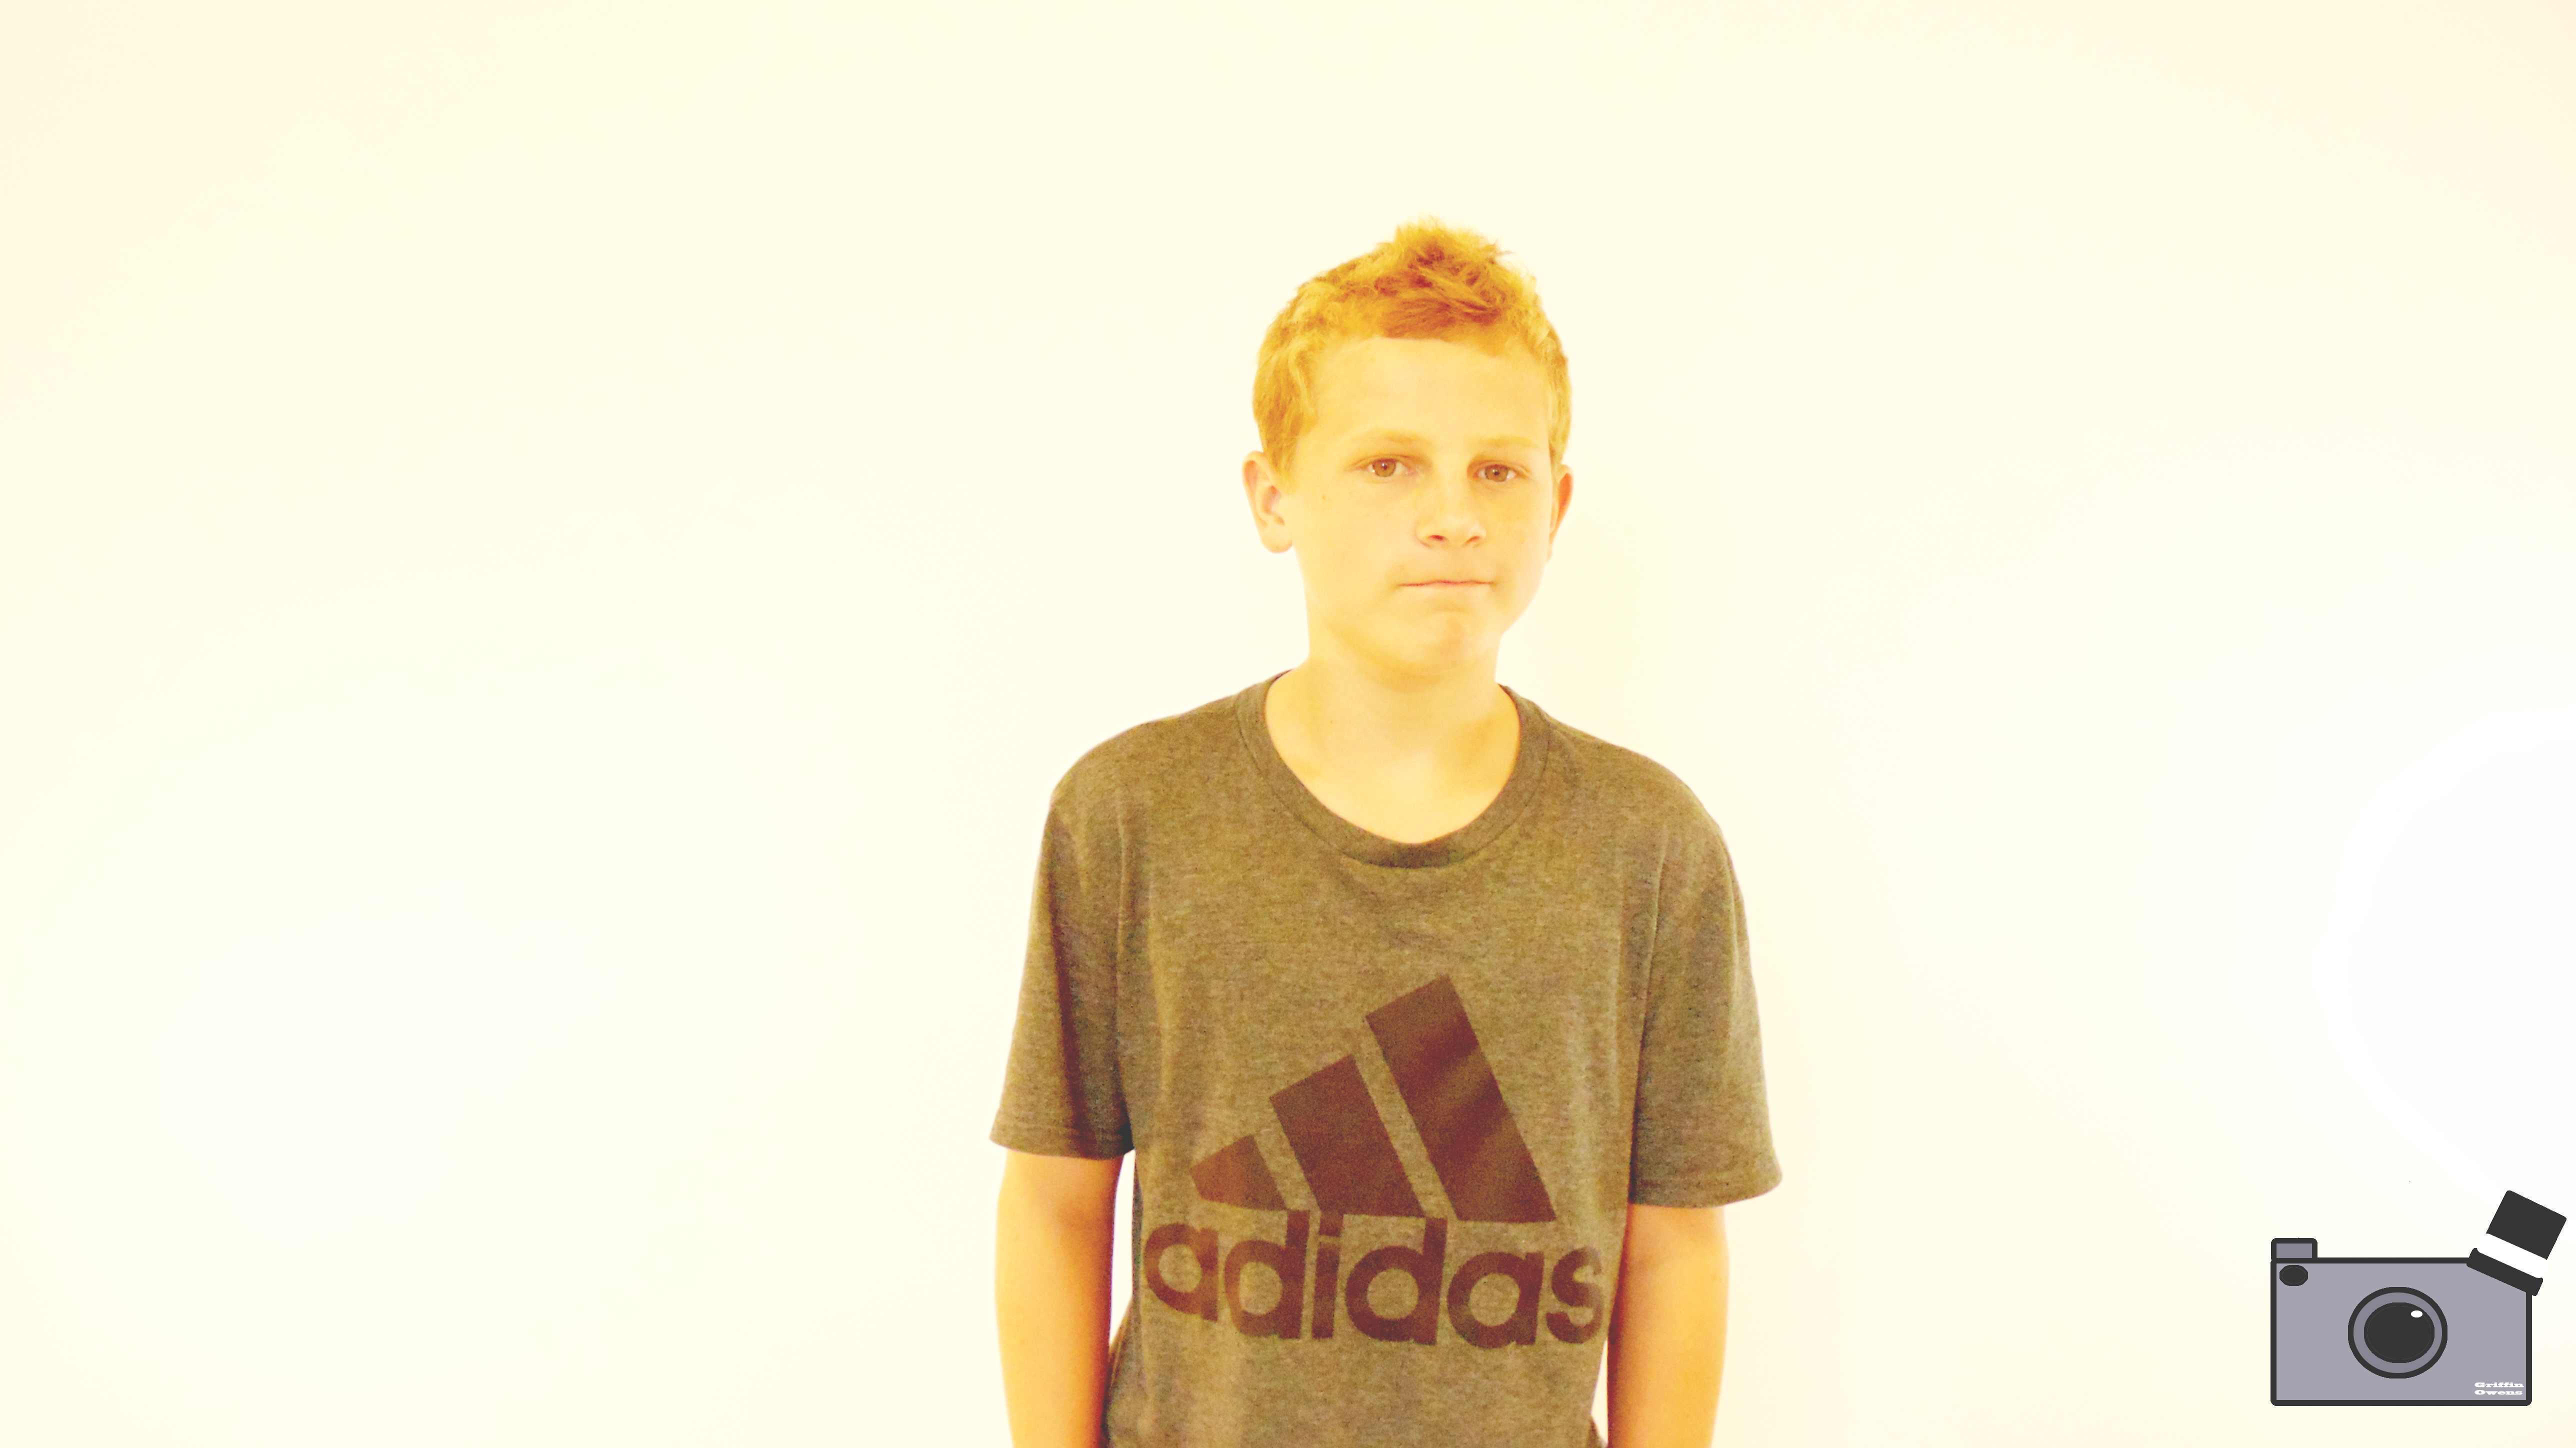
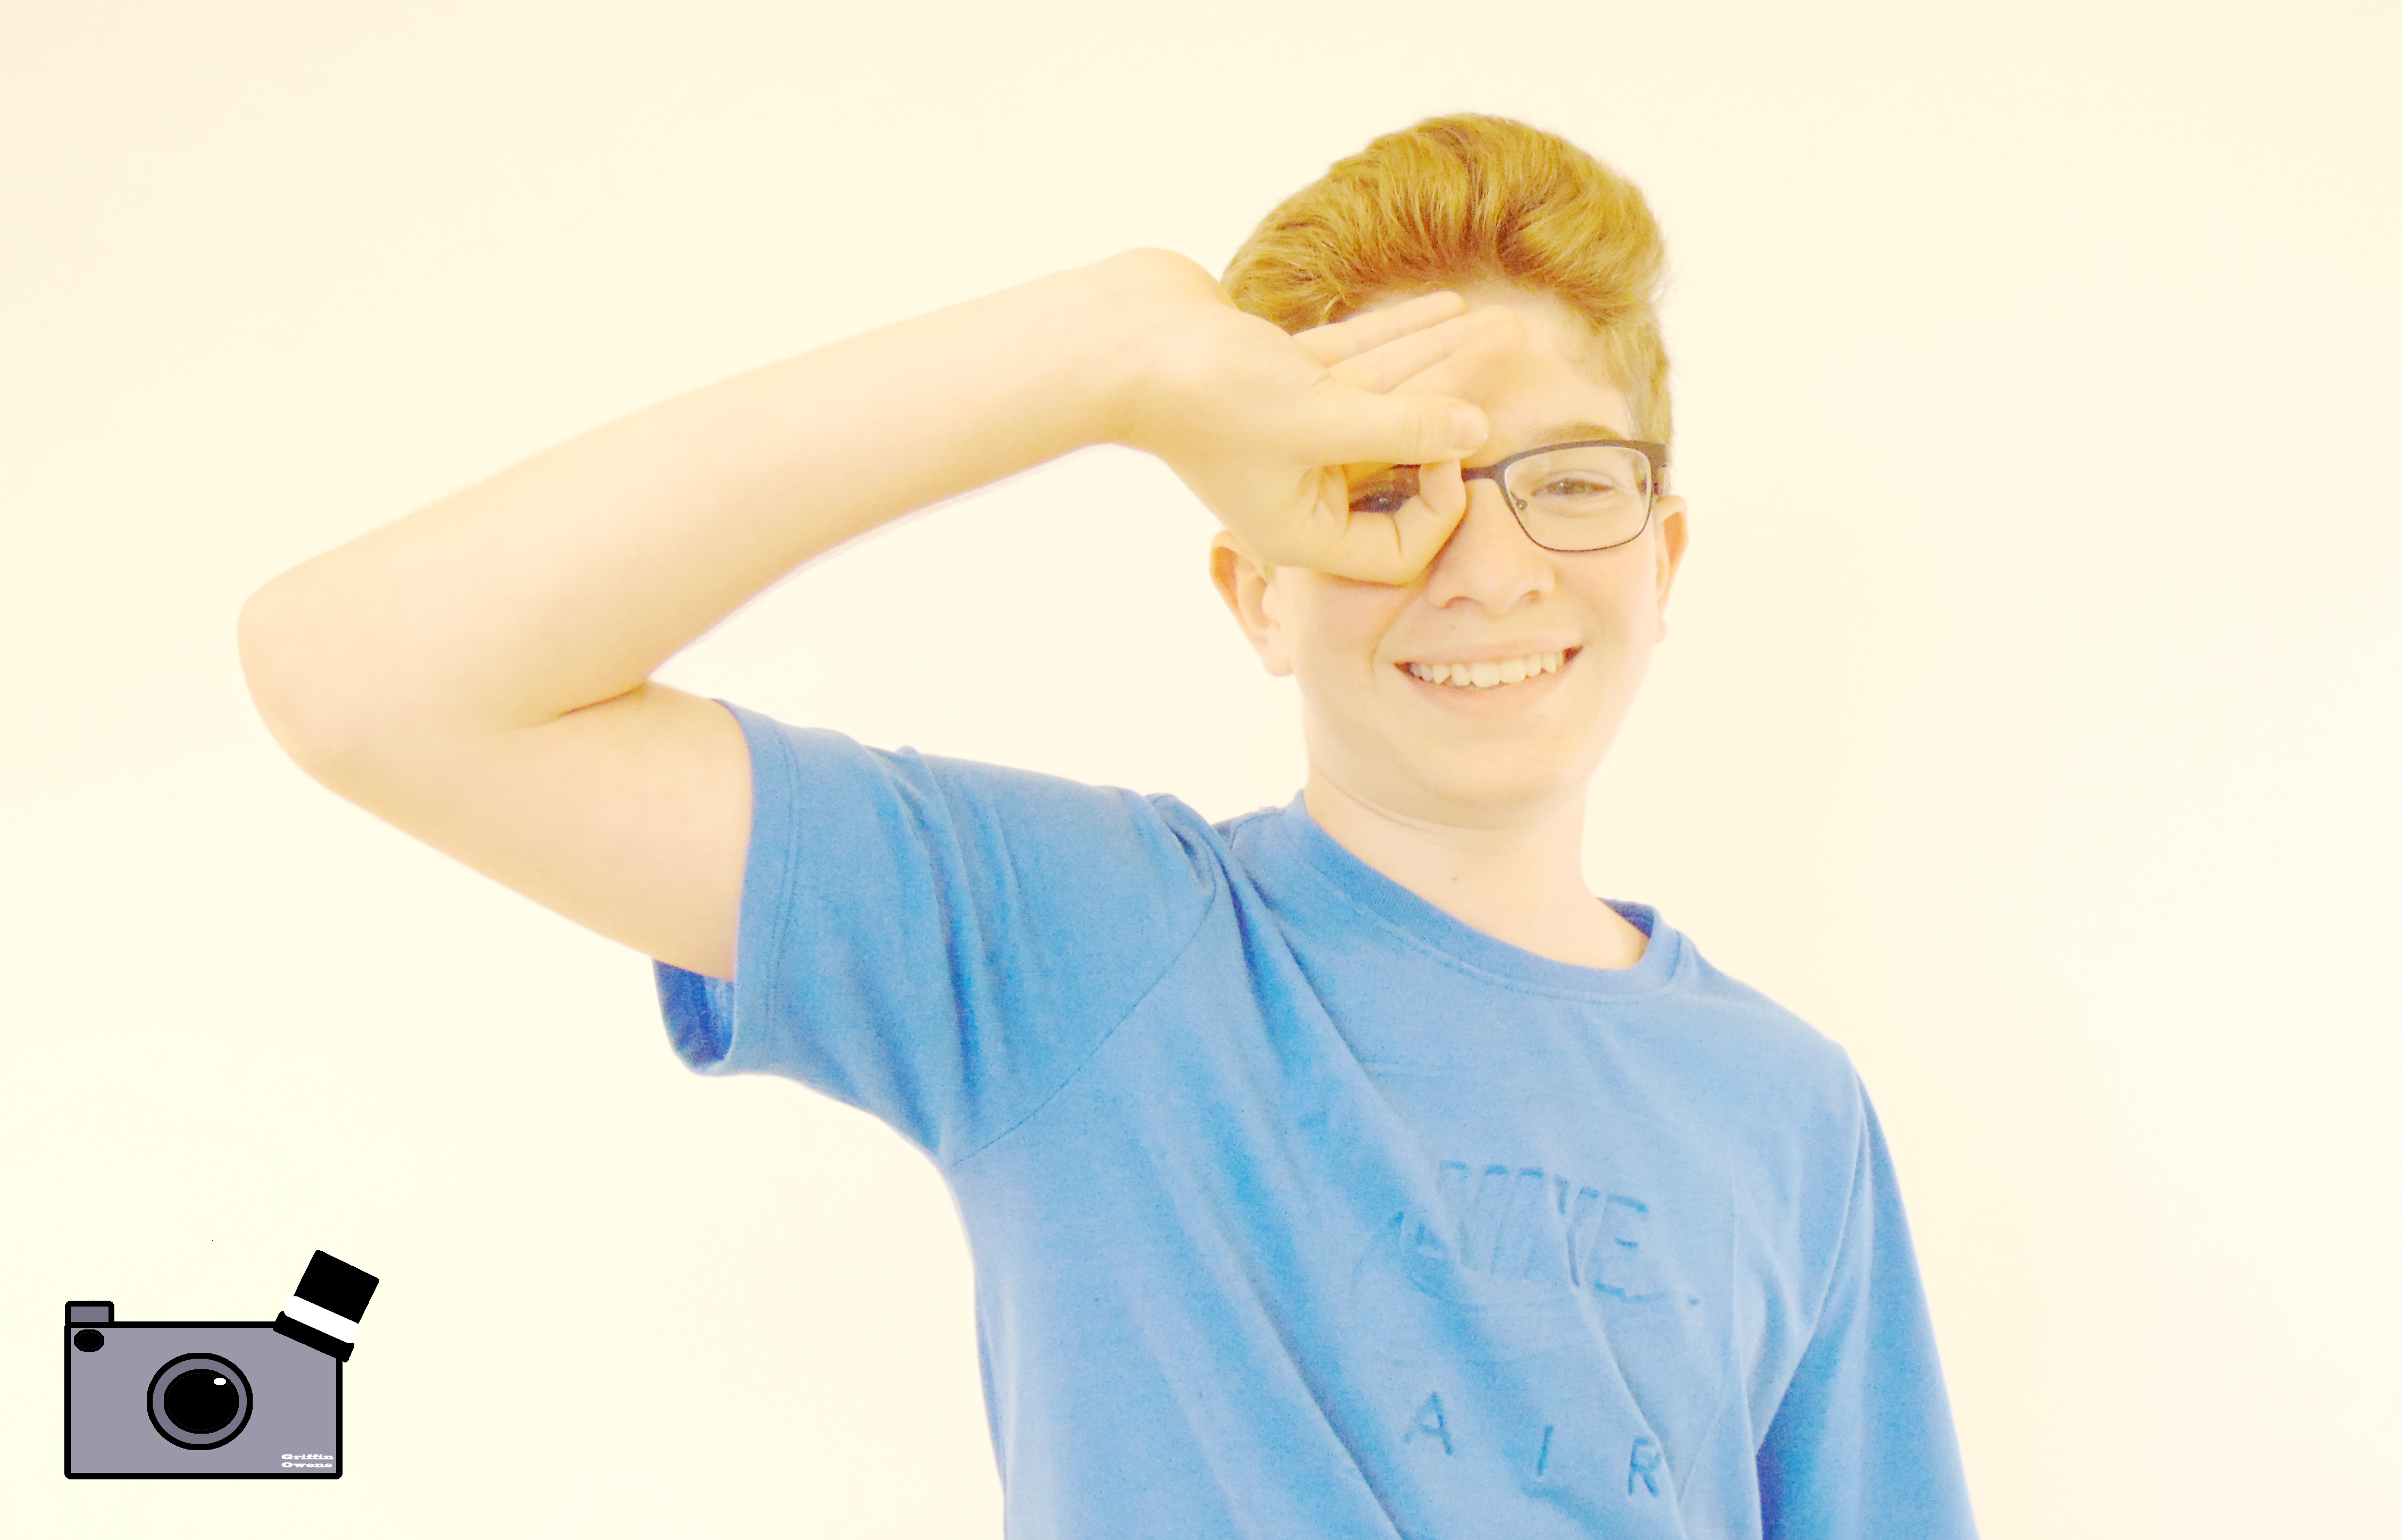
My group and I had to change the shutter speed to let  it be open for a certain amount of time. we also had to change the sensitivity of the light which is called ISO. when we took the picture we held a light and faced it on that white back ground. I used Adobe Photo shoot to edit the back ground. there wasn’t much shadow and the back screen was bright. Sometime the shadow would show  near the person. If you want to see the rest of the picture click here

Portraits

This project was very unique. We had to take pictures in front of a completely white background and adjust the camera’s shutter speed and ISO to control how fast the camera lense opened and how much light shown through to the lenses. Later on, we worked on editing the photos to give the illusion of a completely white background that didn’t even look like a background. It was a bit difficult to get the lighting perfect, but using natural light and a dim lamp, the pictures came out great. These are two of my favorite pictures, but you can see the rest of them here

Portraits

In this project, my group and I had to stand in front of a white background, and shine light at the background while somebody takes the pictures. The shutter had to be open for a longer period of time, so that it can absorb a lot of light. The ISO is the sensitivity to light. We had to put it at a higher level to take the pictures. To edit, we had to go to Photoshop and crop out some parts. We also made sure that the background could be at it’s whitest, so that it would look like we were standing in nothing. What worked was when we shined the light on the background, and not on the person. What did not work was if we only shone light on a certain part of the background, which caused the other parts to be darker and look yellow. To see the rest of my photos, click here.

Portraits

My group and I had to stand in front of a white sheet of paper, and we had to shine a light on the background. It worked when we were shining the light on the background, but it didn’t work when we were shining the light on the person. We also had to try to get the light to shine everywhere instead of just one place. Our shutter speed was open for a longer period of time, because we had to let a lot of light come in. The ISO is the sensitivity to the light. We edited our pictures in Photoshop to make sure our pictures had a background that looked like nothing. You can see the rest of my pictures HERE.

Portraits With an Infinite Background

In this project you had to make it look like there is no background by editing F-stop,IOS, and shutter speed.For this project to get a good picture you had to shine light behind the person so there wasn’t a shadow. We had to be careful because if we had too much or too little F-stop, shutter speed, and IOS there would either be too much light or too little. You can see some other photos here

Portraits

To take these photos, we had to adjust the ISO and shutter so the background of the photo will be completely white. After we took the photos, we edited them a bit in Photoshop to make sure there were no dark spots. What worked was holding the light on the background. What didn’t work was holding the light on the person or holding the light in the photo. You can find the rest of the photos here.

5 Shots

In this project I had to find an object and take 5 pictures from different angles. A challenge during this project was finding an object that actually has 5 different angles, and not having your arms or legs in the photo. The hardest object to photograph was the “vine” because for one of the photos I  needed to move the “vine” so that it would look like the raindrops were just sitting there. This project helped me realize that one object can be seen from so many perspectives. You can find the rest of my photos here.

1 object, 5 shots

Our next assignment was taking 5 different photos with different angles of 3 objects. One challenge was figuring out what angles to do and how the lighter was. The hardest object to take photos of was my sister. She had to stay perfectly still and in the same pose for a long period of time. It helped me become a better photographer by opening me to more angles to take photos. Click here for more photos.

5 Shots

In this project I had to take 15 photos of 3 different objects from 5 different angles. One had to be a person and the other two had to be two different items. The most difficult thing about this project was to find the items to take a picture of there wasn’t much in the school that had inspired me to use as my photo. The hardest picture to take was the one of the book because i had to put it in one position and the pages keep moving and the book was falling and it was set up on the table so there wasn’t a lot of angles. This project challenged me in a good way and helped me explore different angles of objects.

See my photos here.