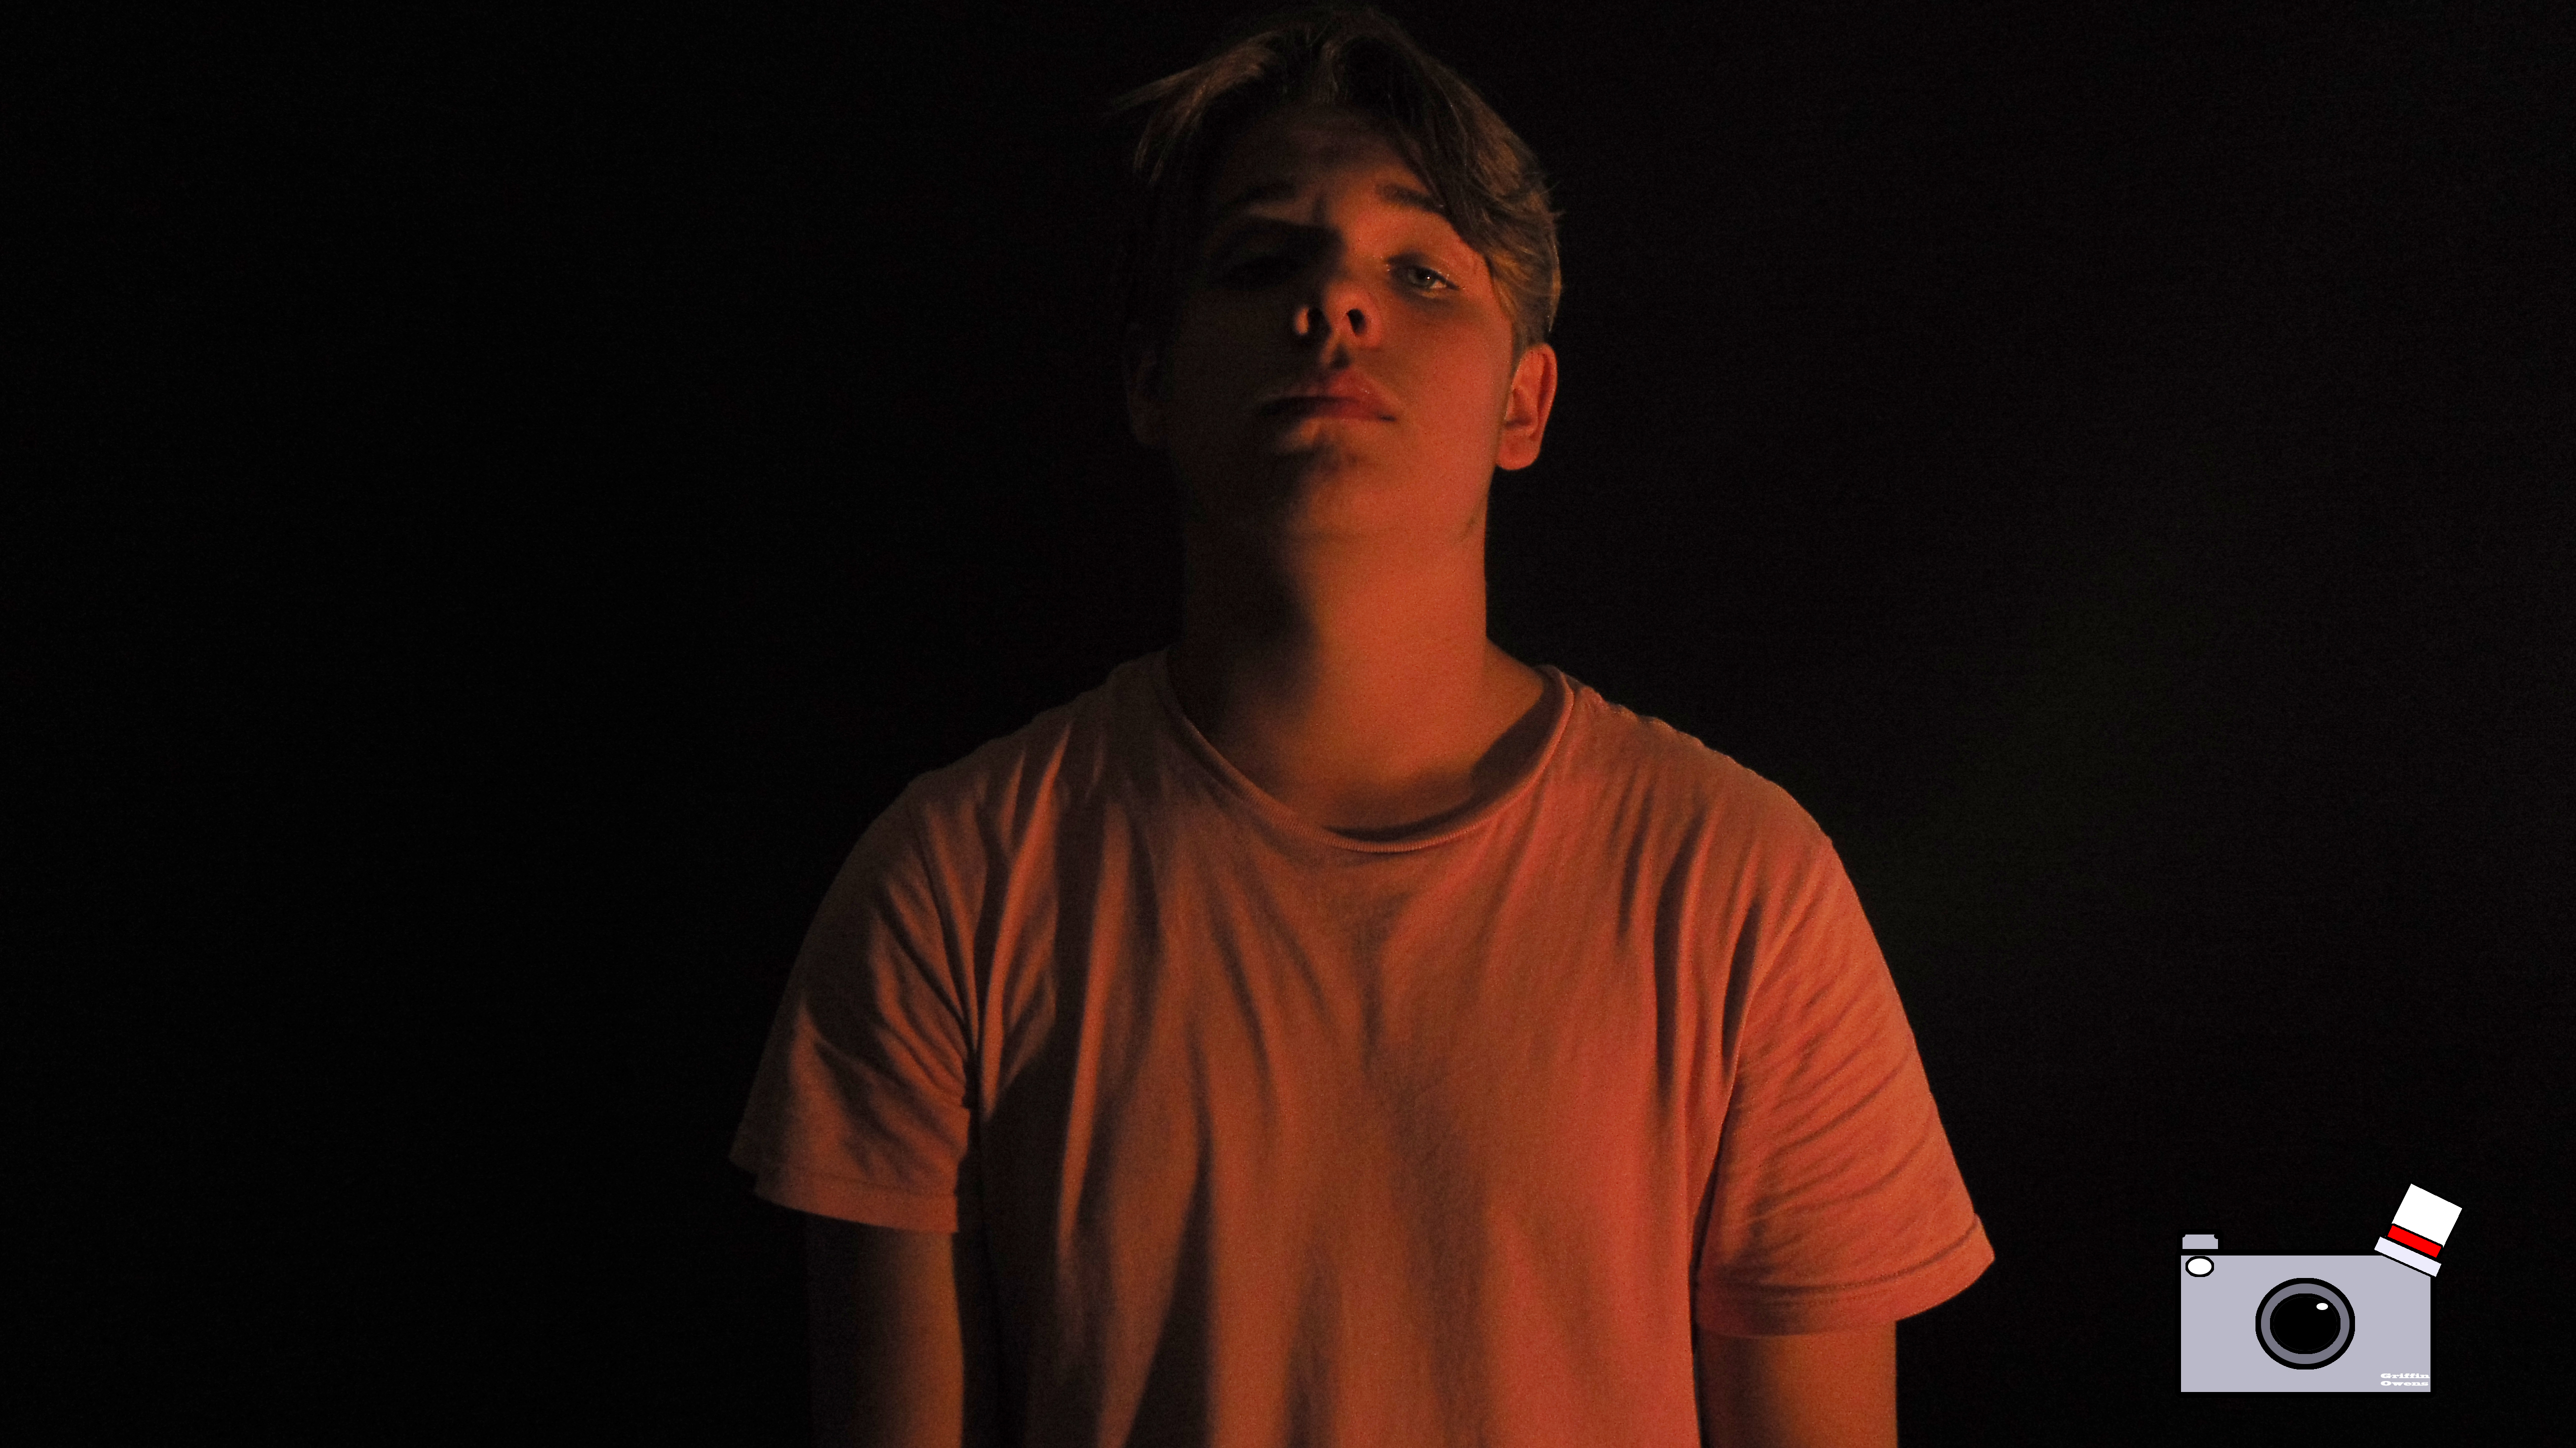
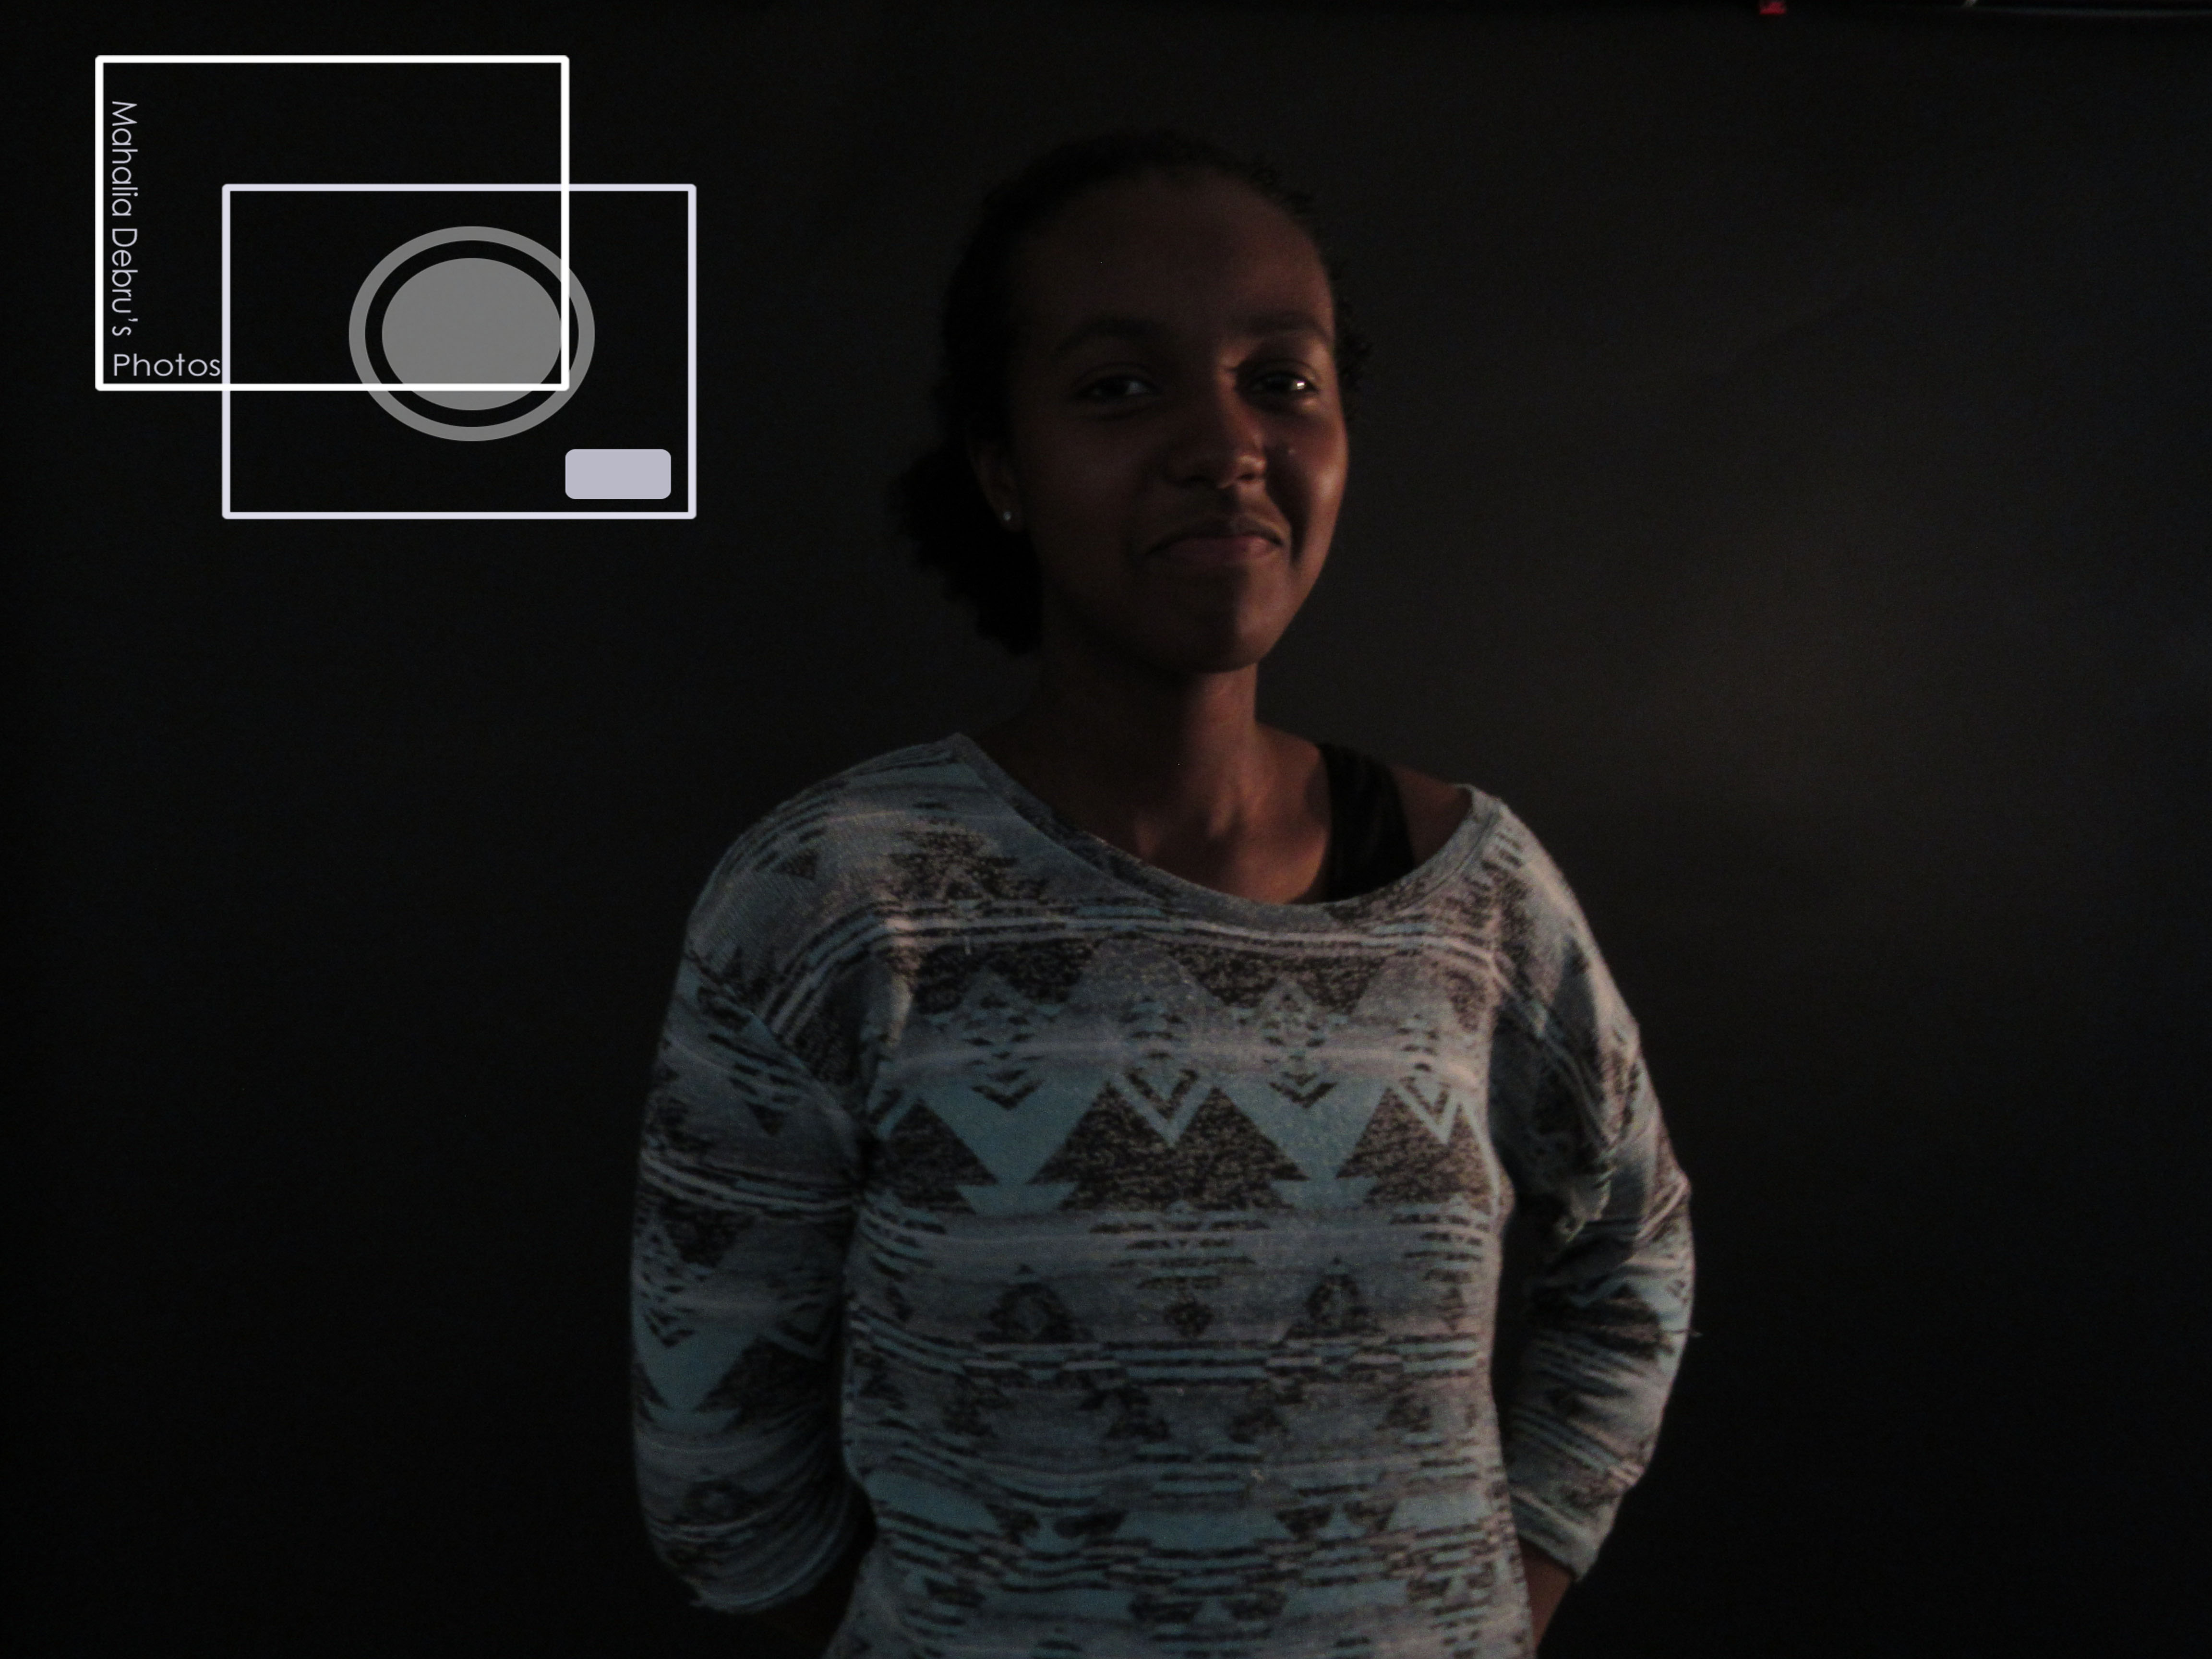
In this project I had to take a photo using the lowest ISO to make an infinite Black background behind and person. The thing that worked the most for me was the pose of the person and having the light be in the perfect spot. The thing that didn’t work was having the light be to bright or to close or to far, etc… You can find the rest of my photos here.
For this project, I had to use a camera and learn how to change the ISO to make it look like there was a black background behind the person I was taking pictures of. Also, I had to change the shutter speed so it can stay open for a longer amount of time so as you can let in more darkness from the room. The thing that worked for me was the position that the person was in and the color of the clothes the person was wearing. What didn’t work was in some pictures the light way too bright to where you couldn’t see the person. Also, the lighting had to face directly at the person you would be taking pictures of. The further and higher the light is the better the picture will turn out if you have the light to close it might make the picture too bright to where you would see shadows. You can see the rest of my group’s photos Here
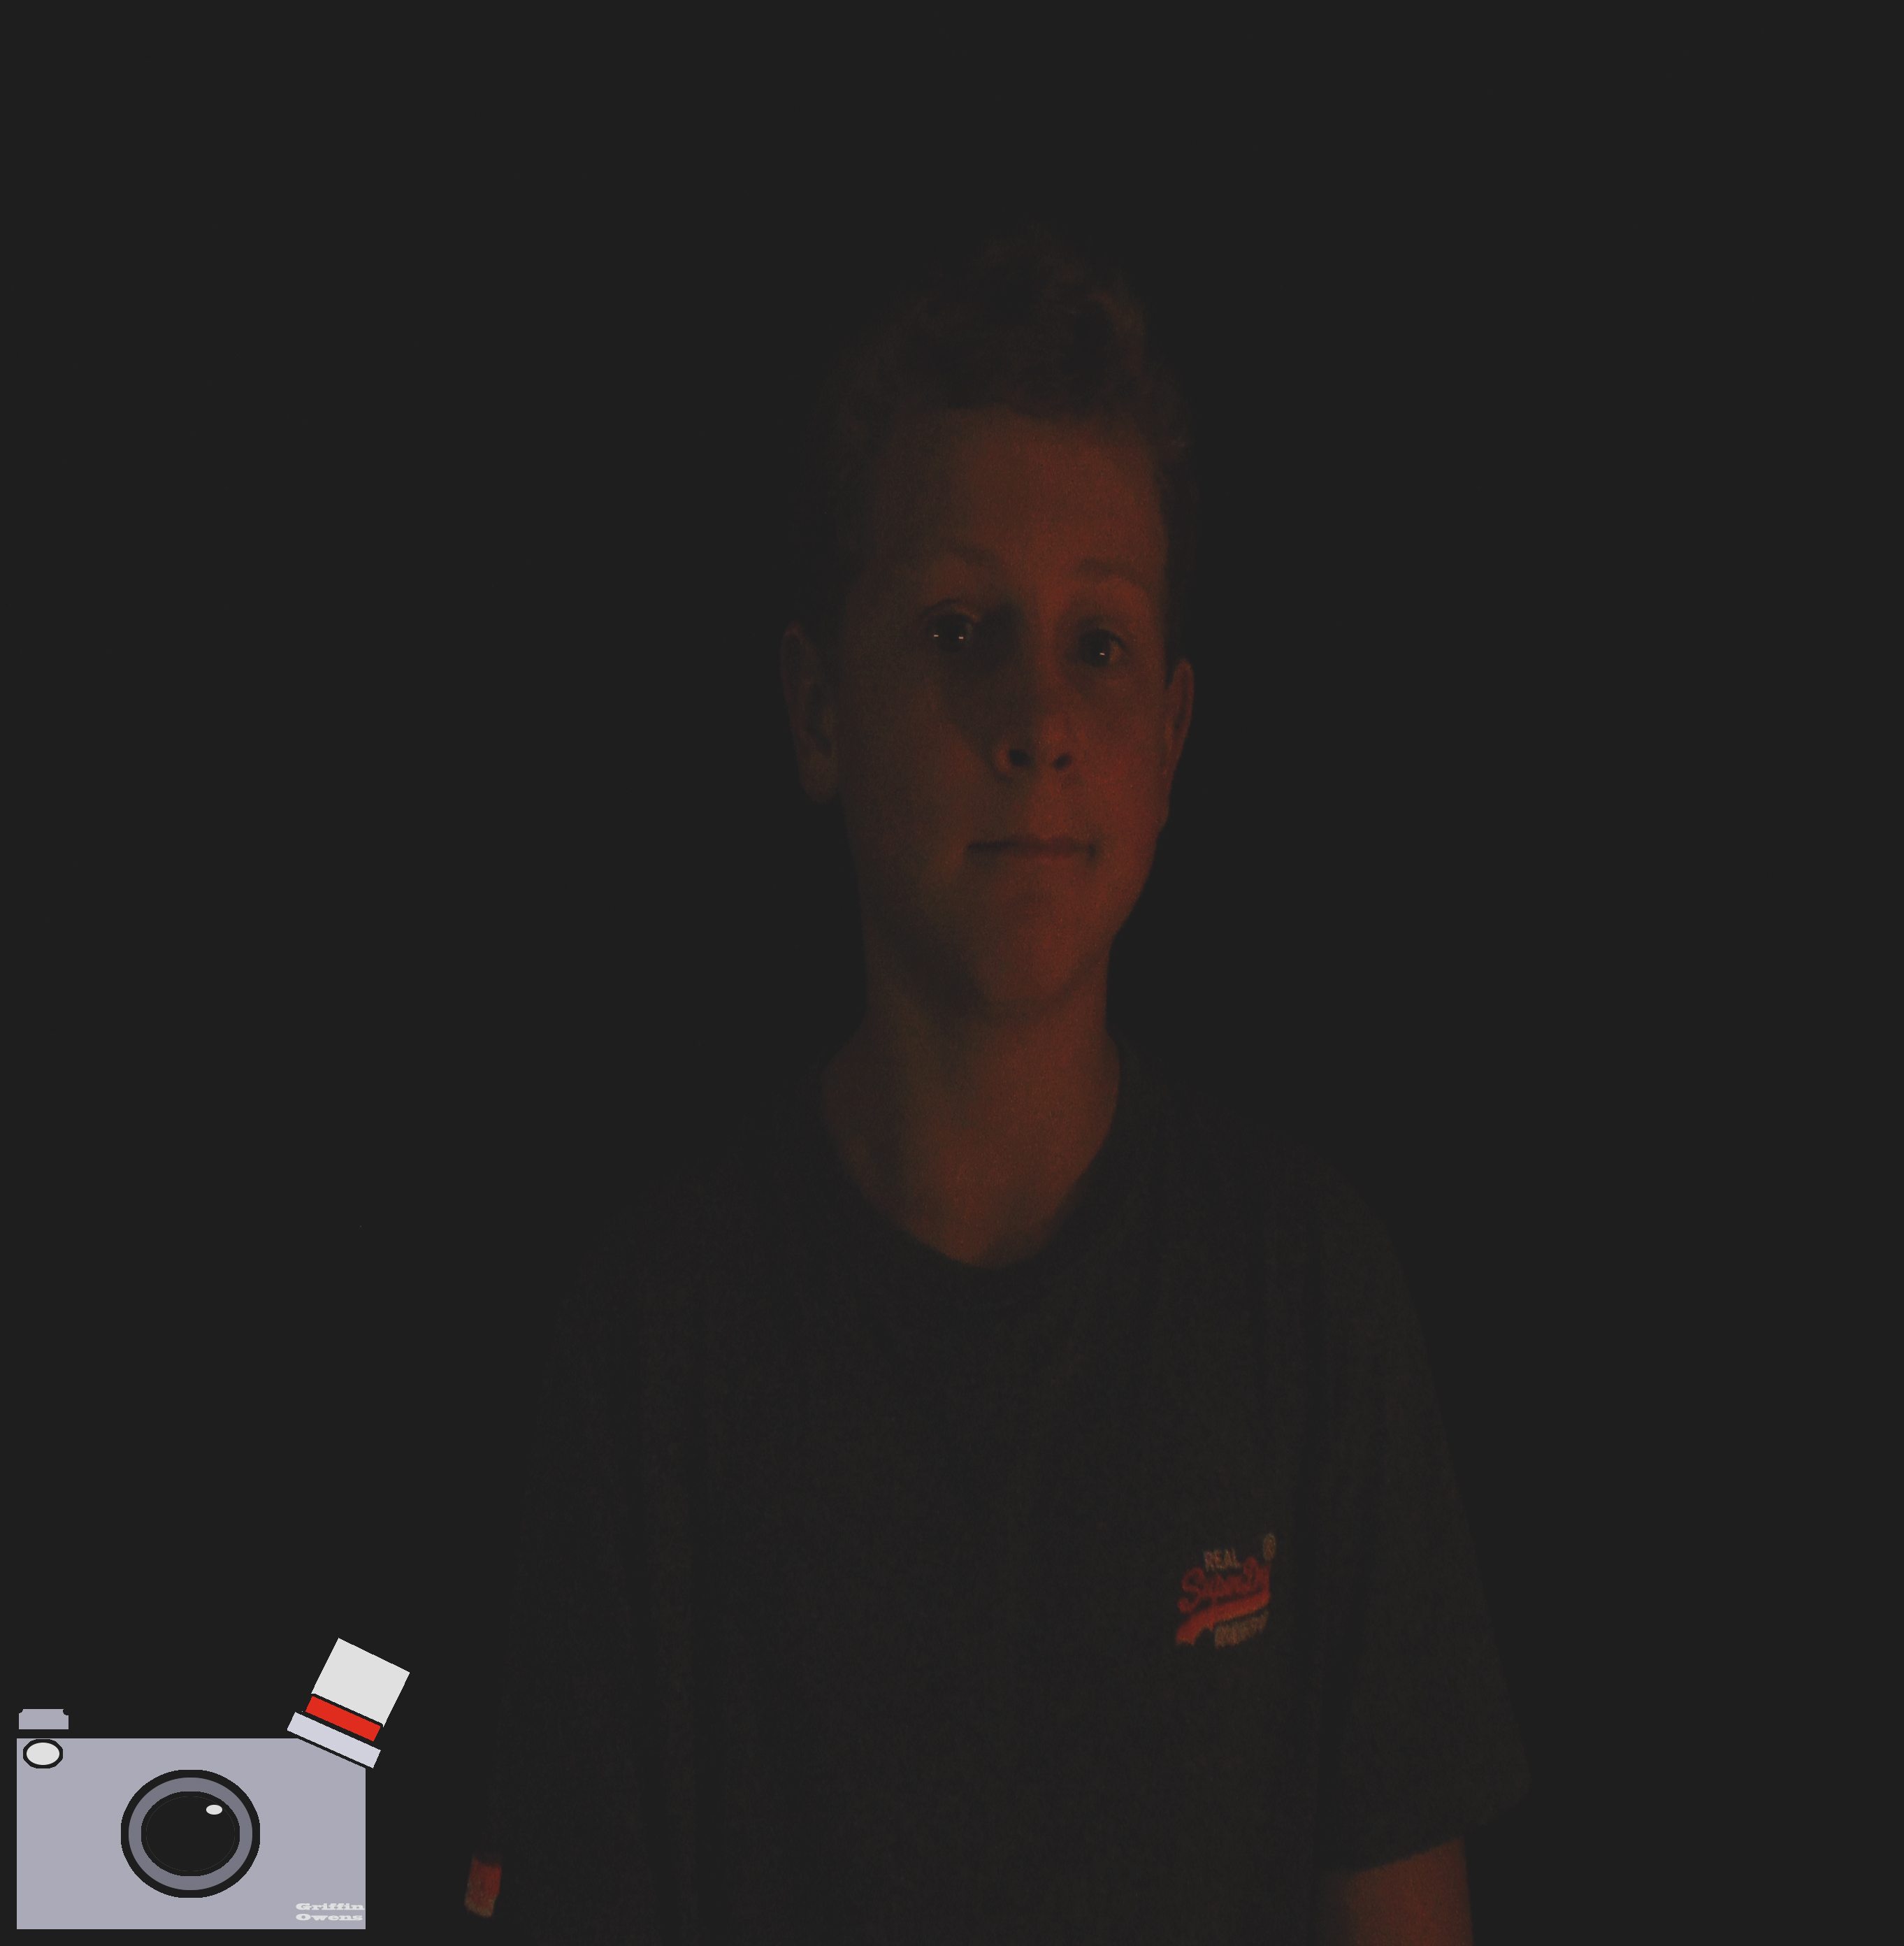
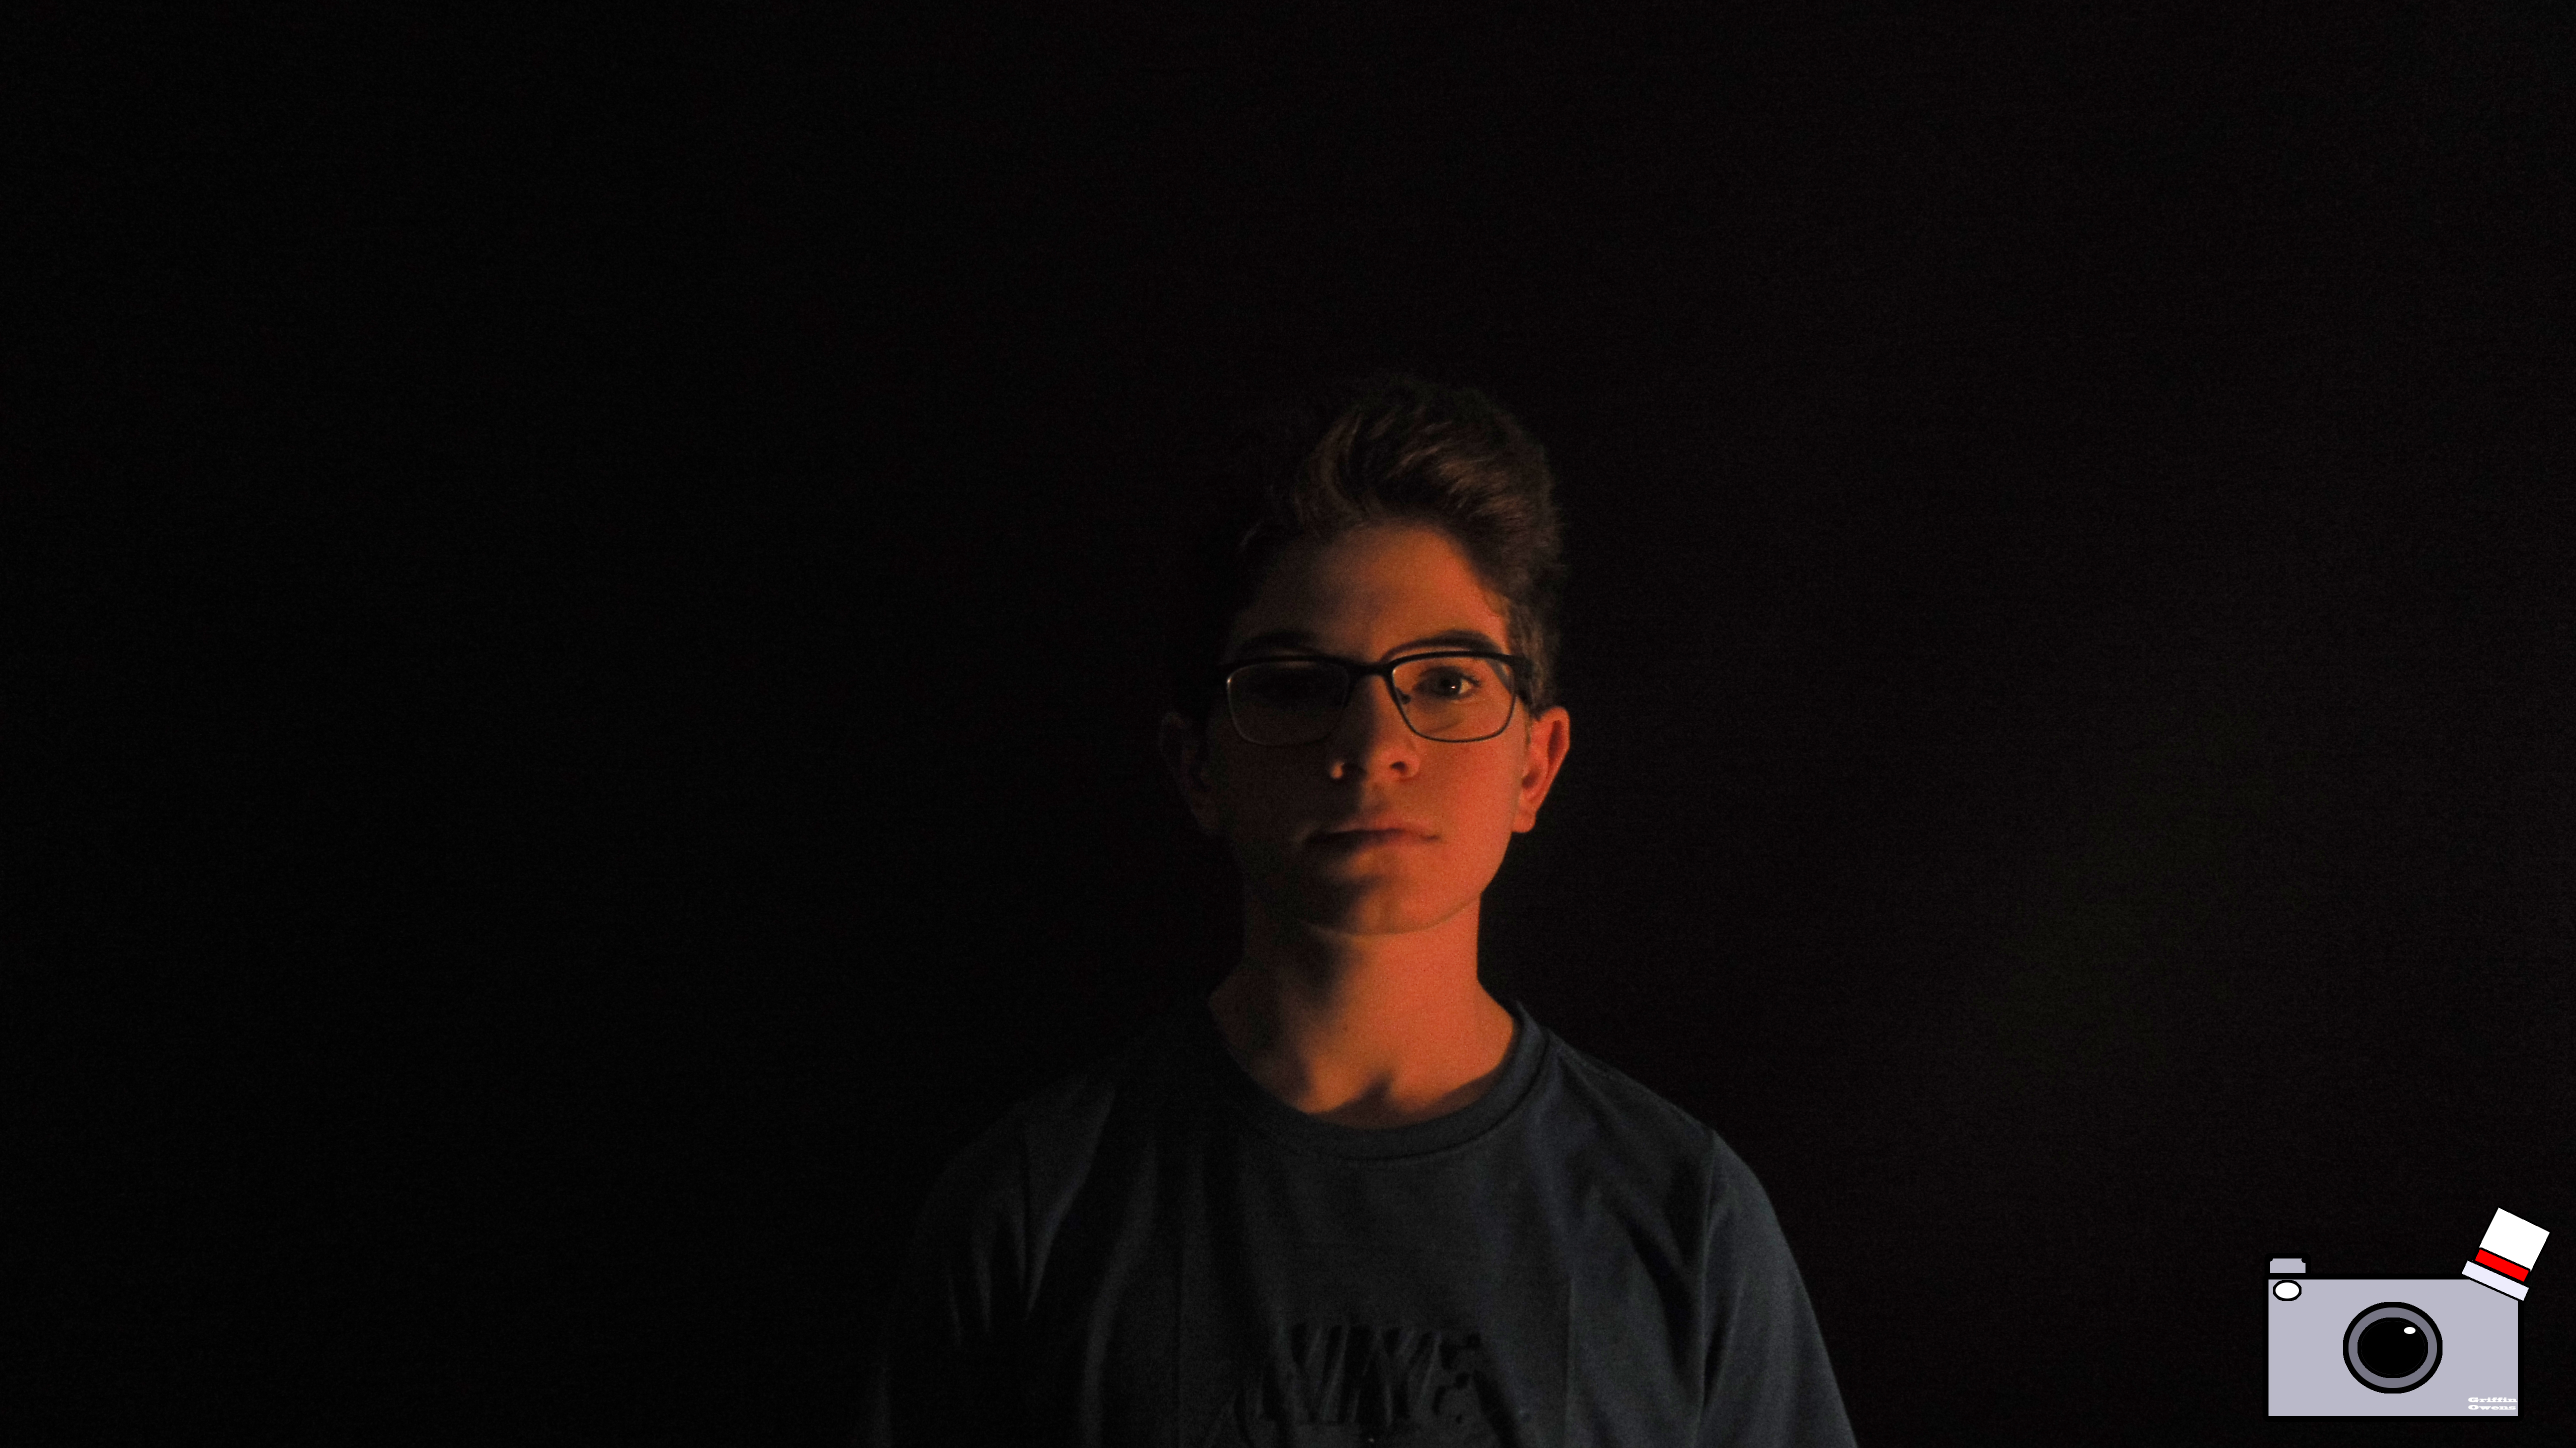
For this project we had to change the ISO,F-stop, and shutter speed in order to make it look like there was nothing behind us. To get our photos we had an ISO of 80 ,F-stop of 3, and a 30 shutter speed. Something we had trouble with was using light to help, the light made the person’s shadow more visible as my group opted not to use it at all. Check out our other attempts here
This assignment was very fun. We had to take pictures of each other to make us look like the background behind us is black, but it’s not a physical background. It wasn’t very difficult to get the lighting right, but we had to work on making the background darker by editing the pictures. Here are two of my favorite pictures, but you can see the rest of them here.
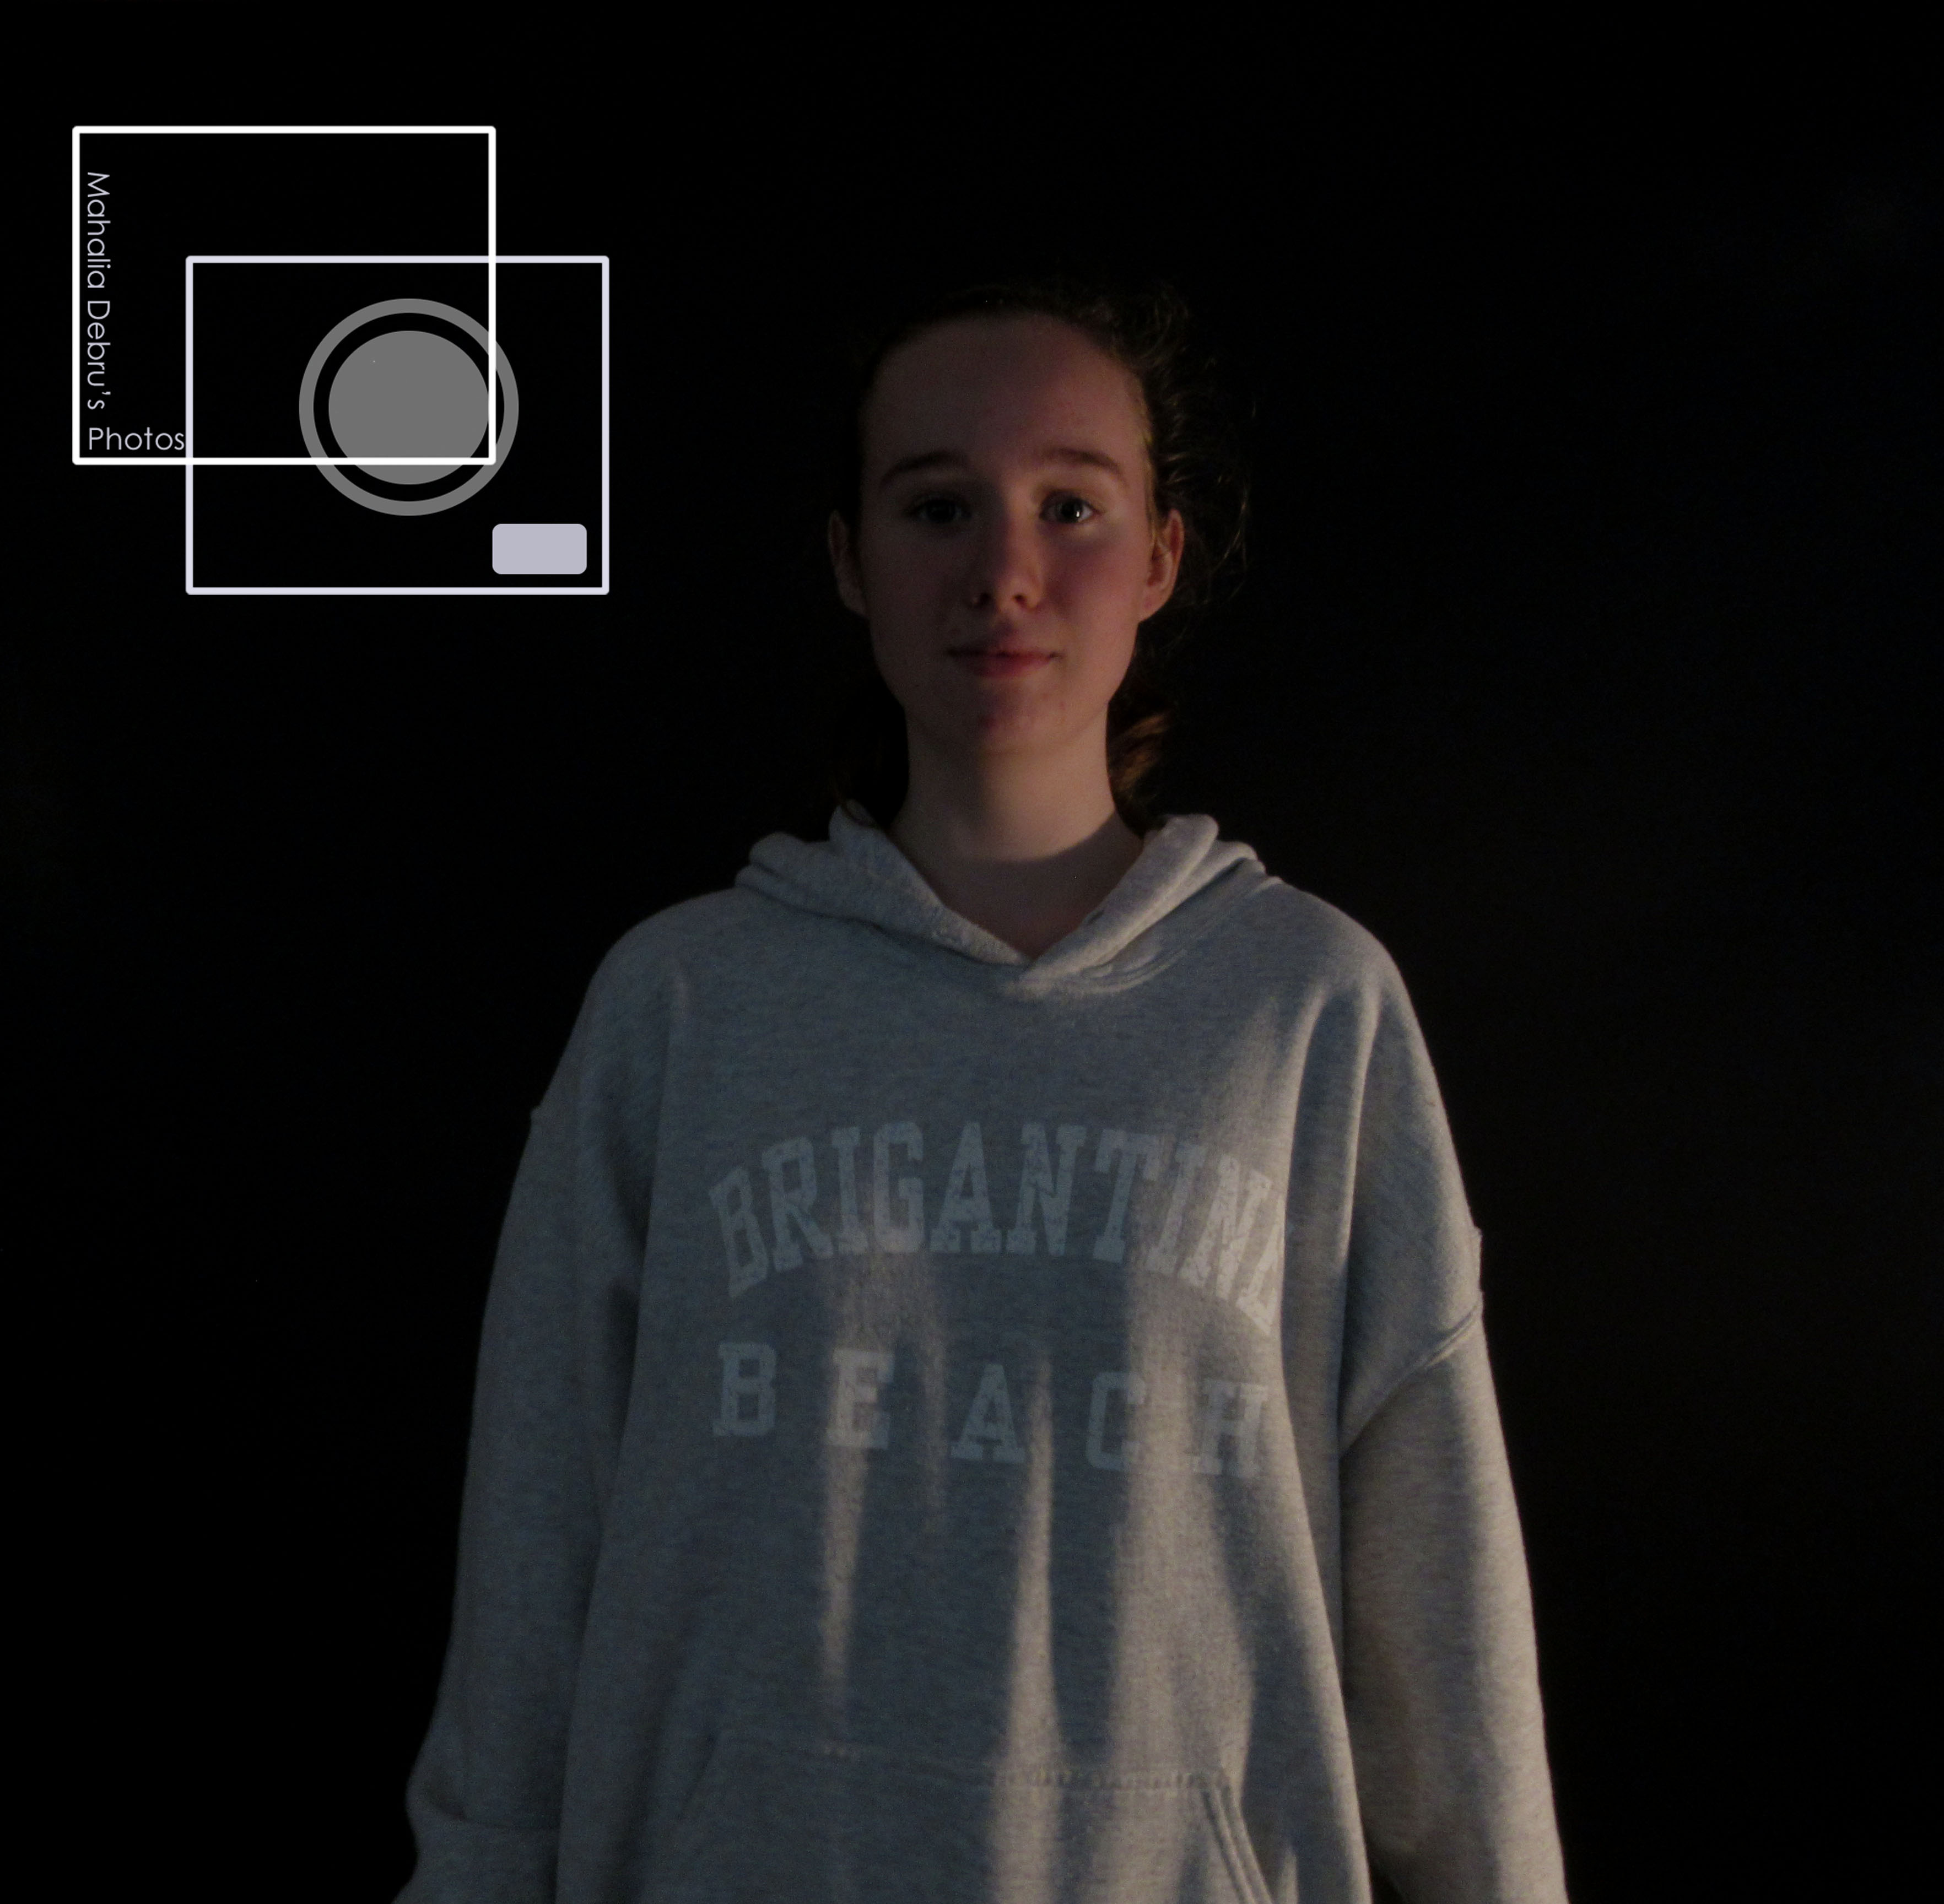
In this project, my group and I had to stand in front of a black background, and shine light on the person posing for the picture while somebody takes the pictures. The shutter had to be open for a shorter period of time, because we needed to let the minimum amount of light into the camera, to make the black background darker. To edit, we had to go to Photoshop and just tweak the picture by adjusting the darkness and lightness. We also had to make the background the darkest we could get, to make it look like we were standing in an abyss of darkness. What worked was when we shined the light on only the person, and not on the background. What did not work was if we shined light on the person, but also on the background, because that created a shadow of the person on the background. To see the rest of my photos, click here.
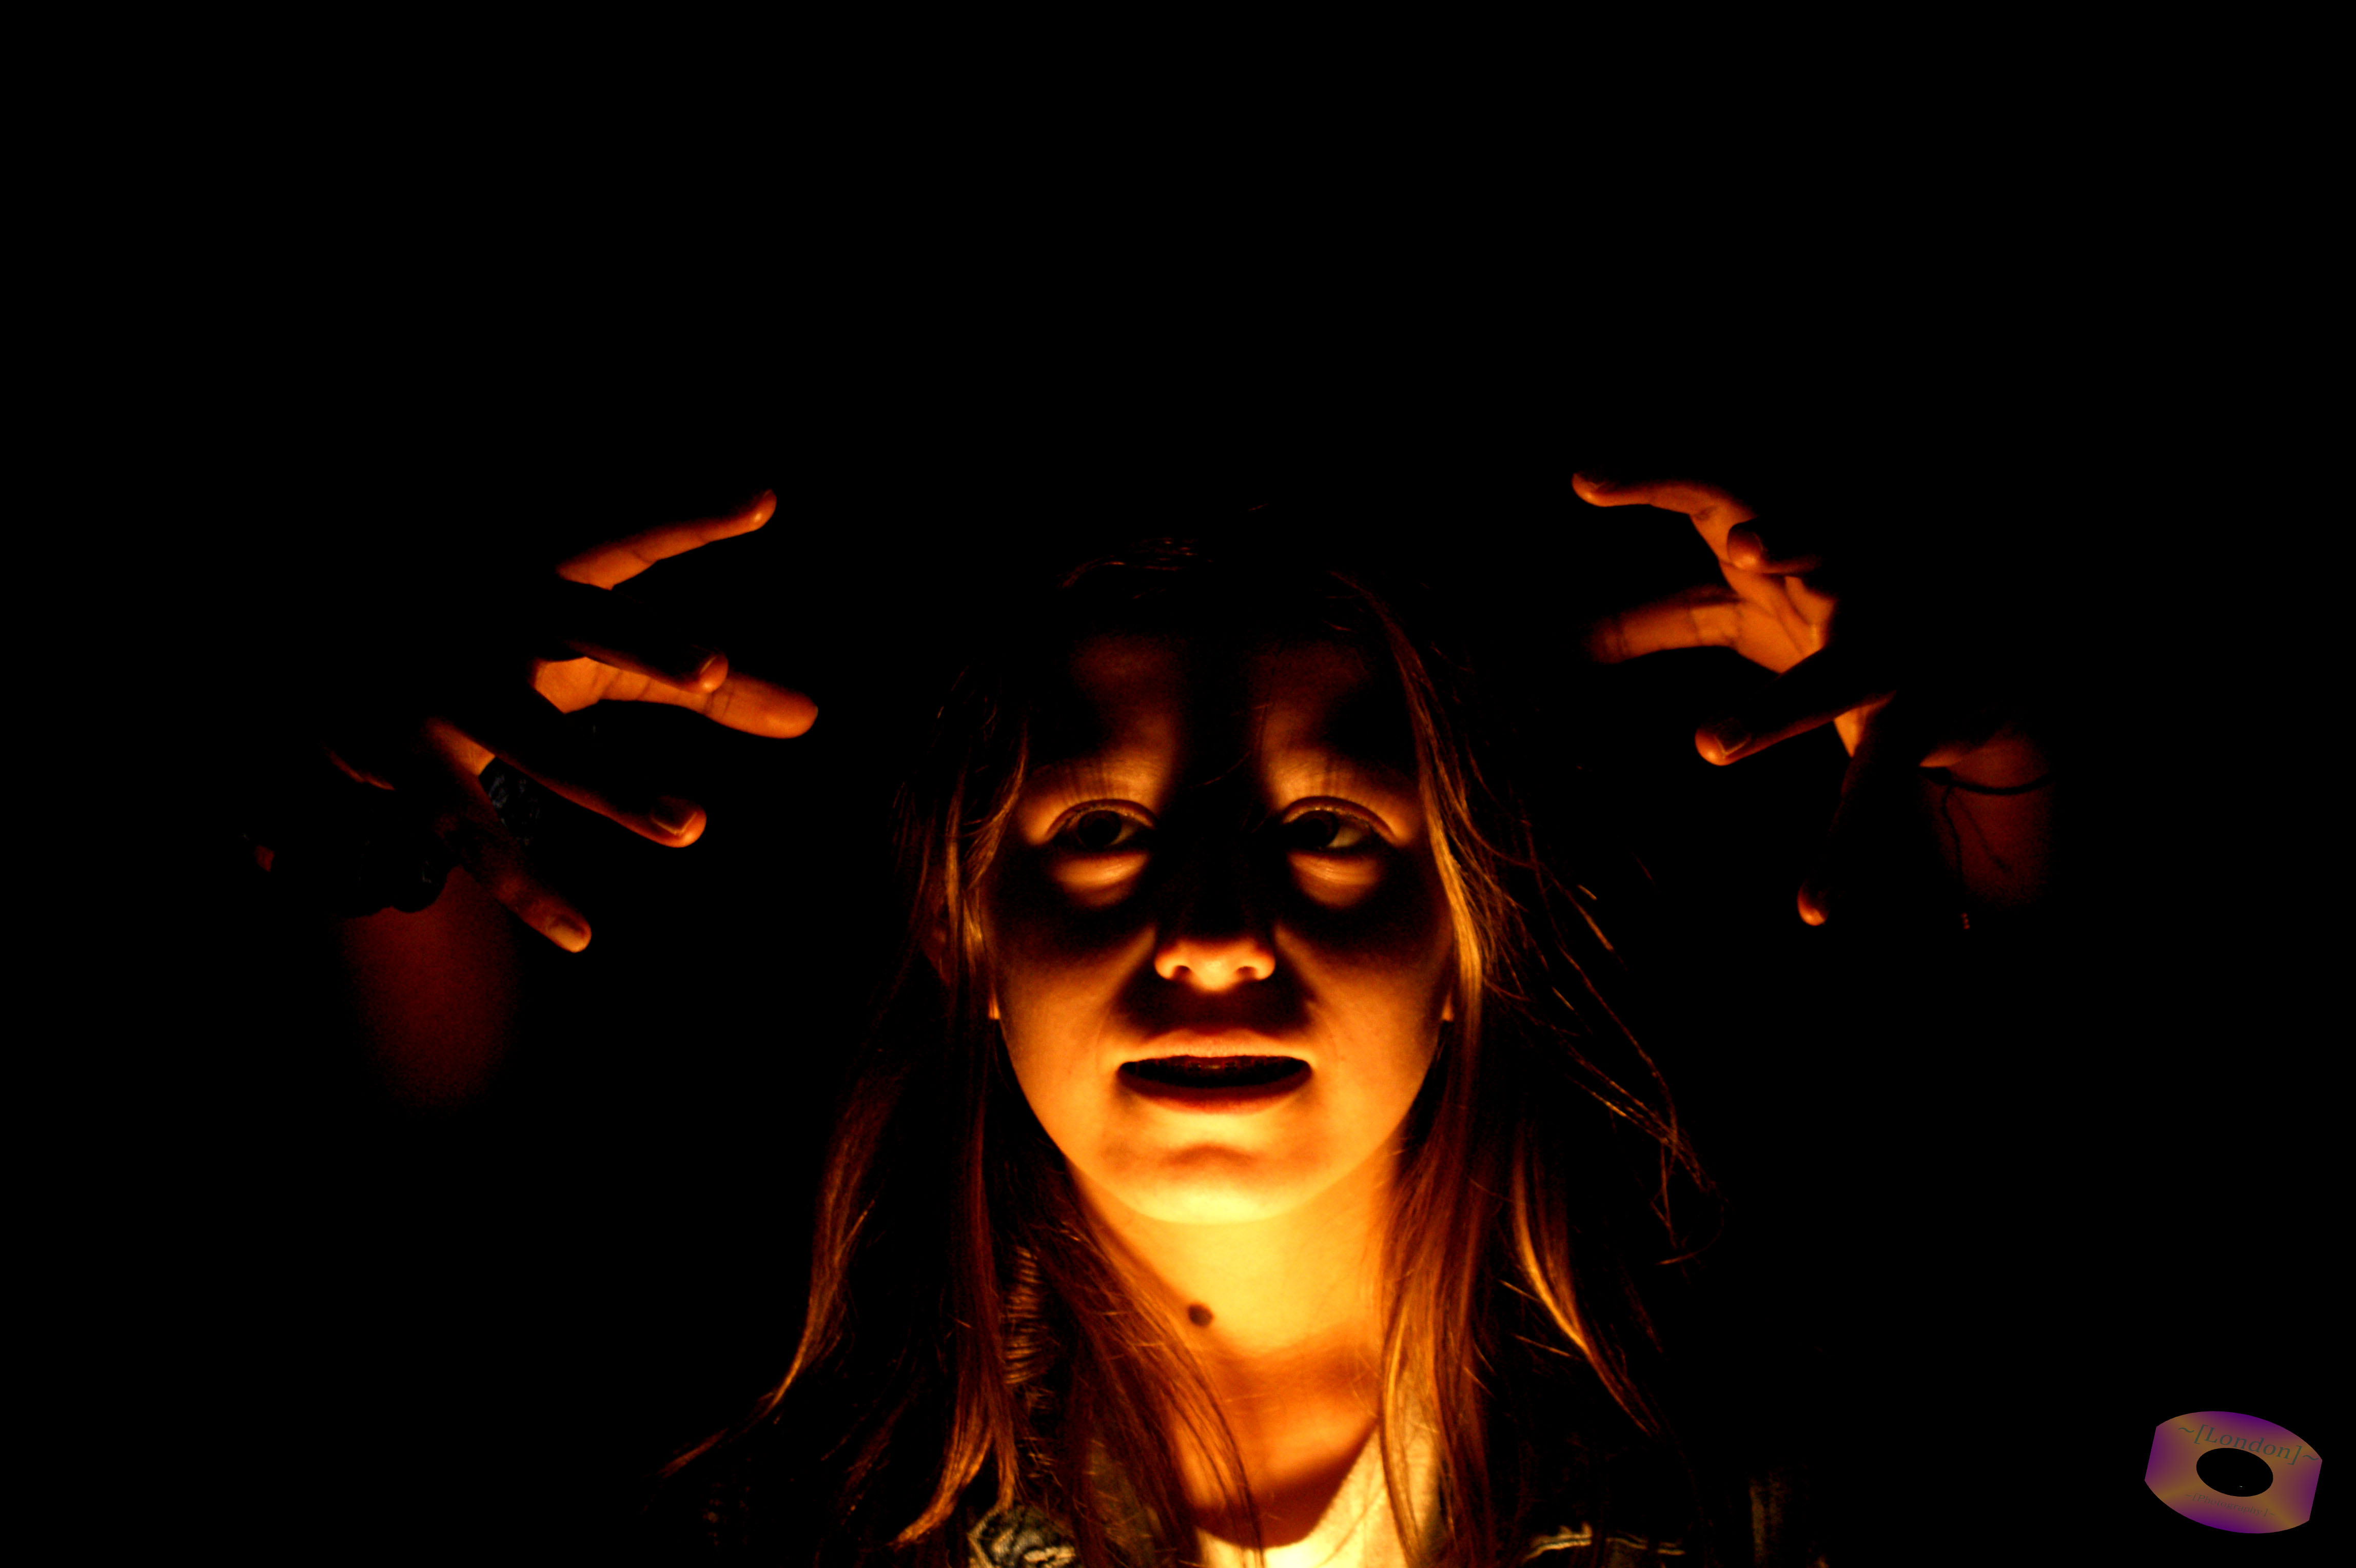
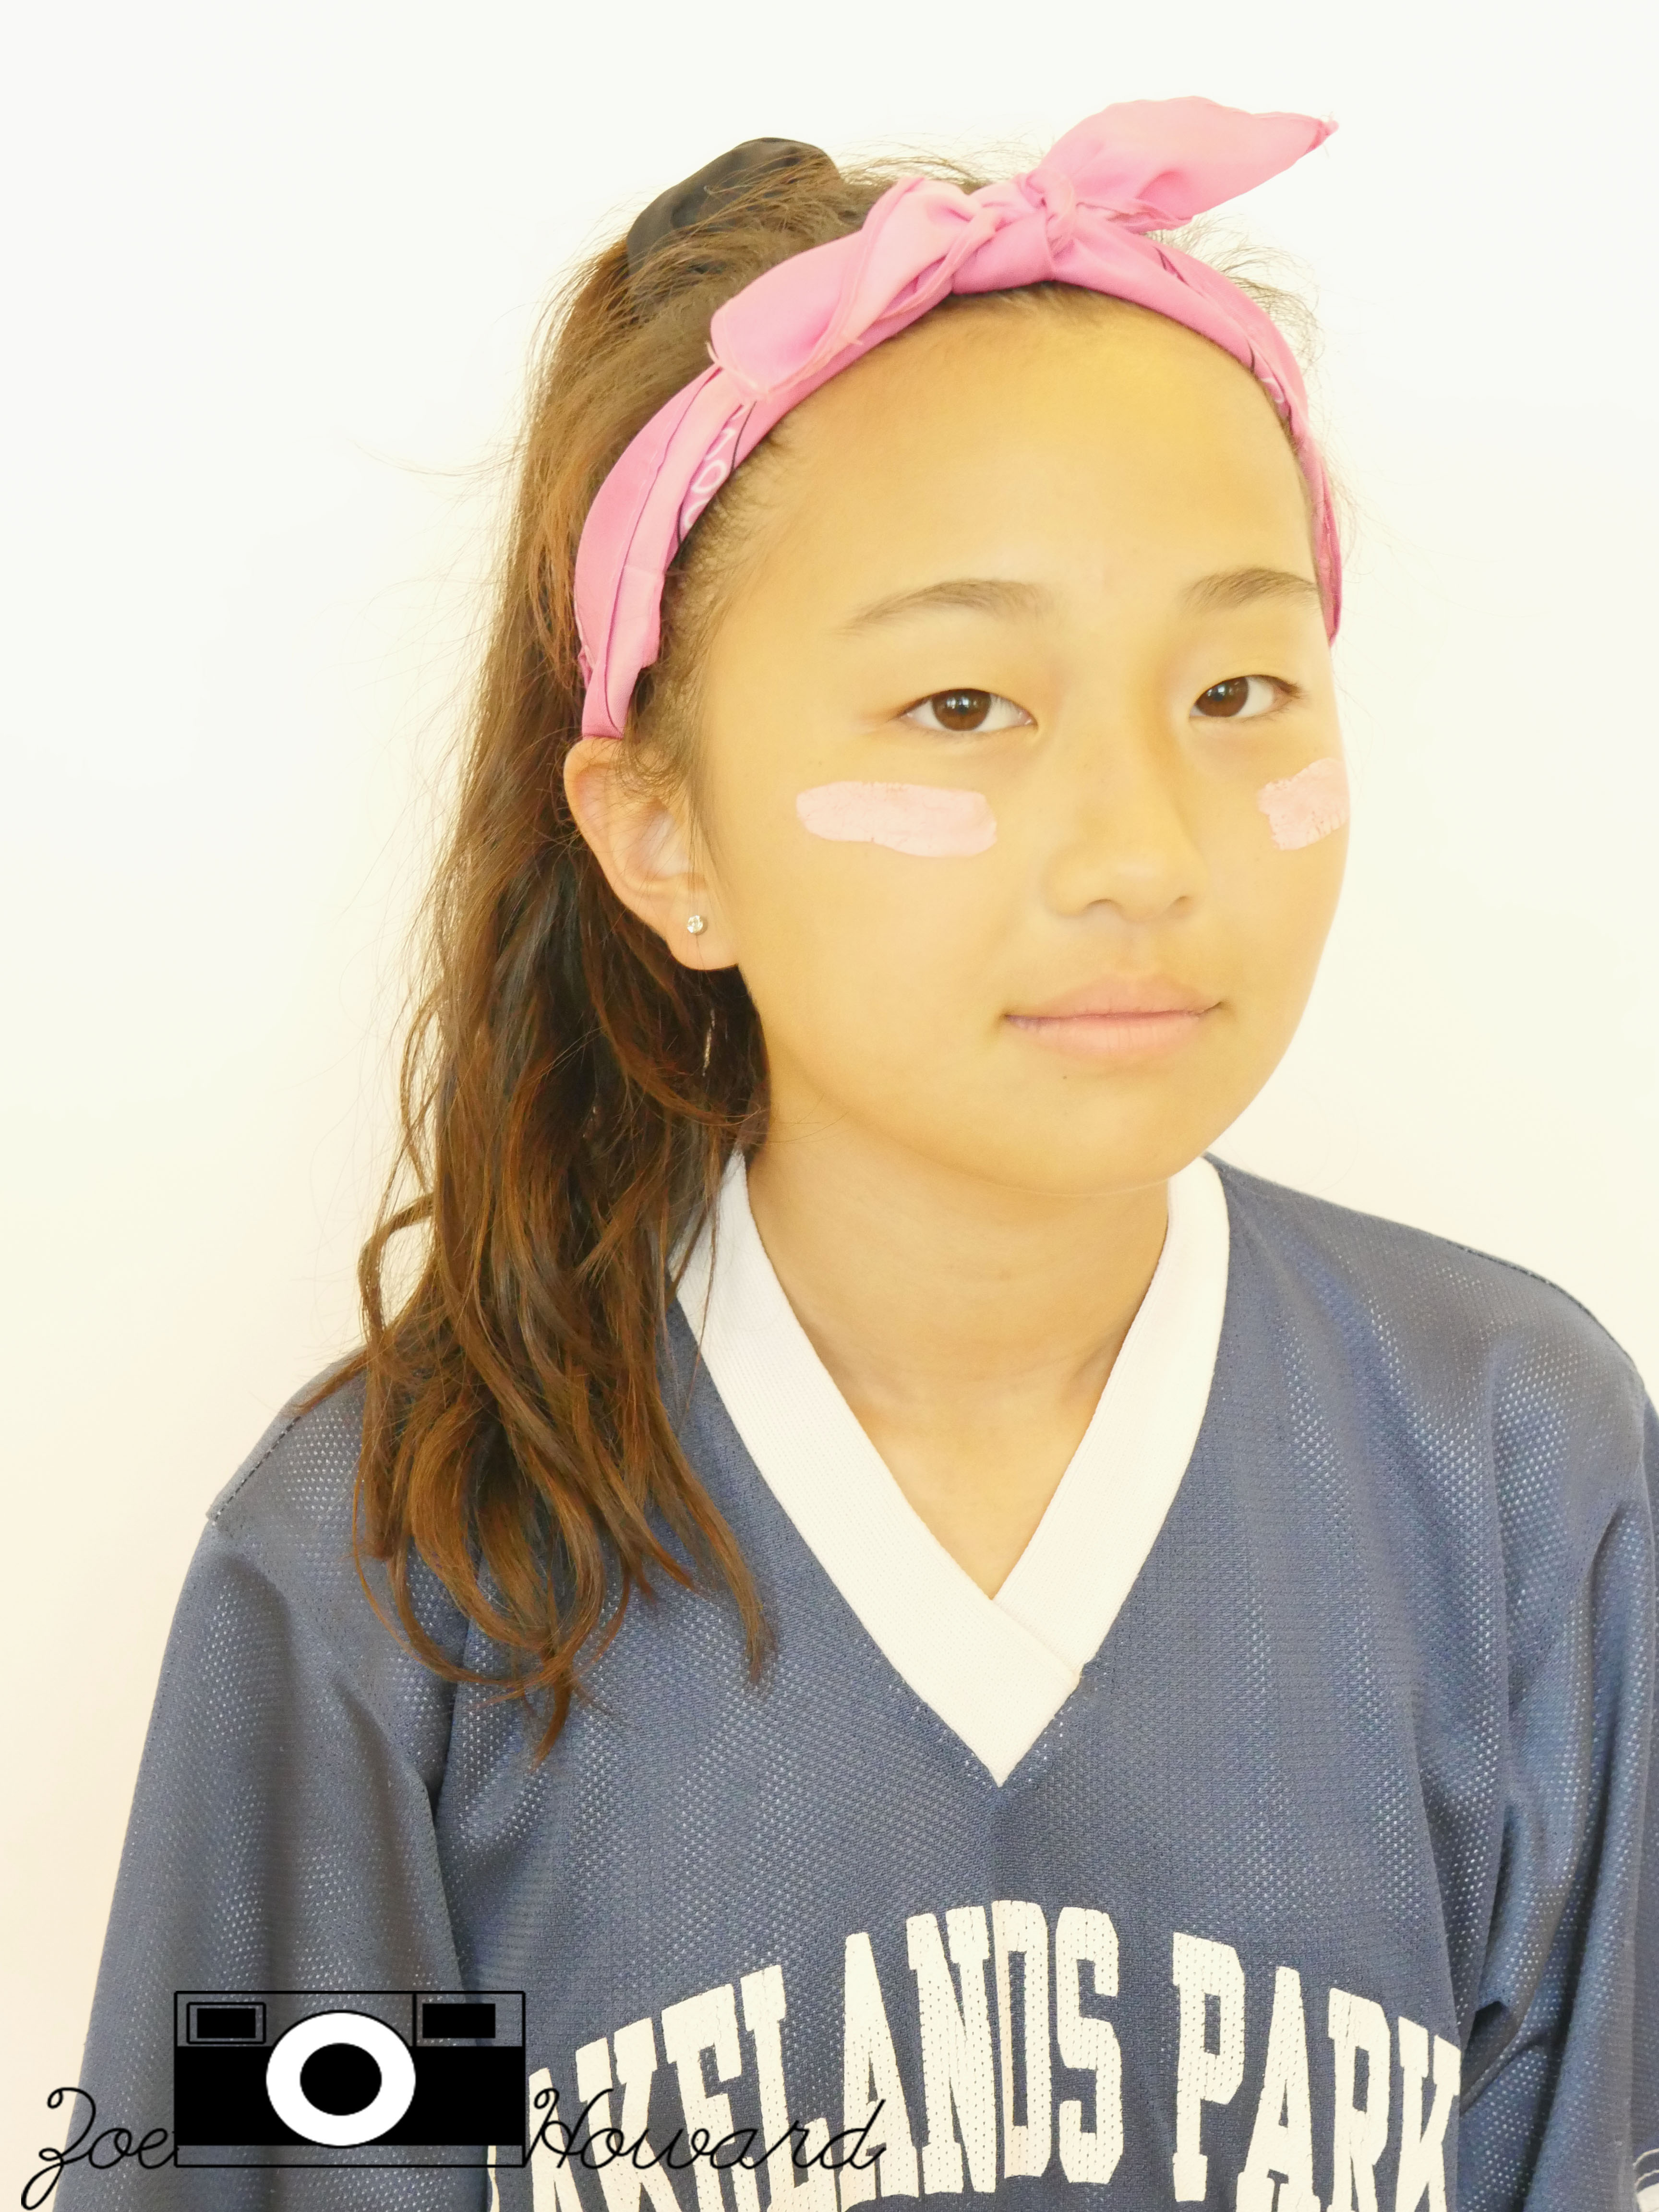
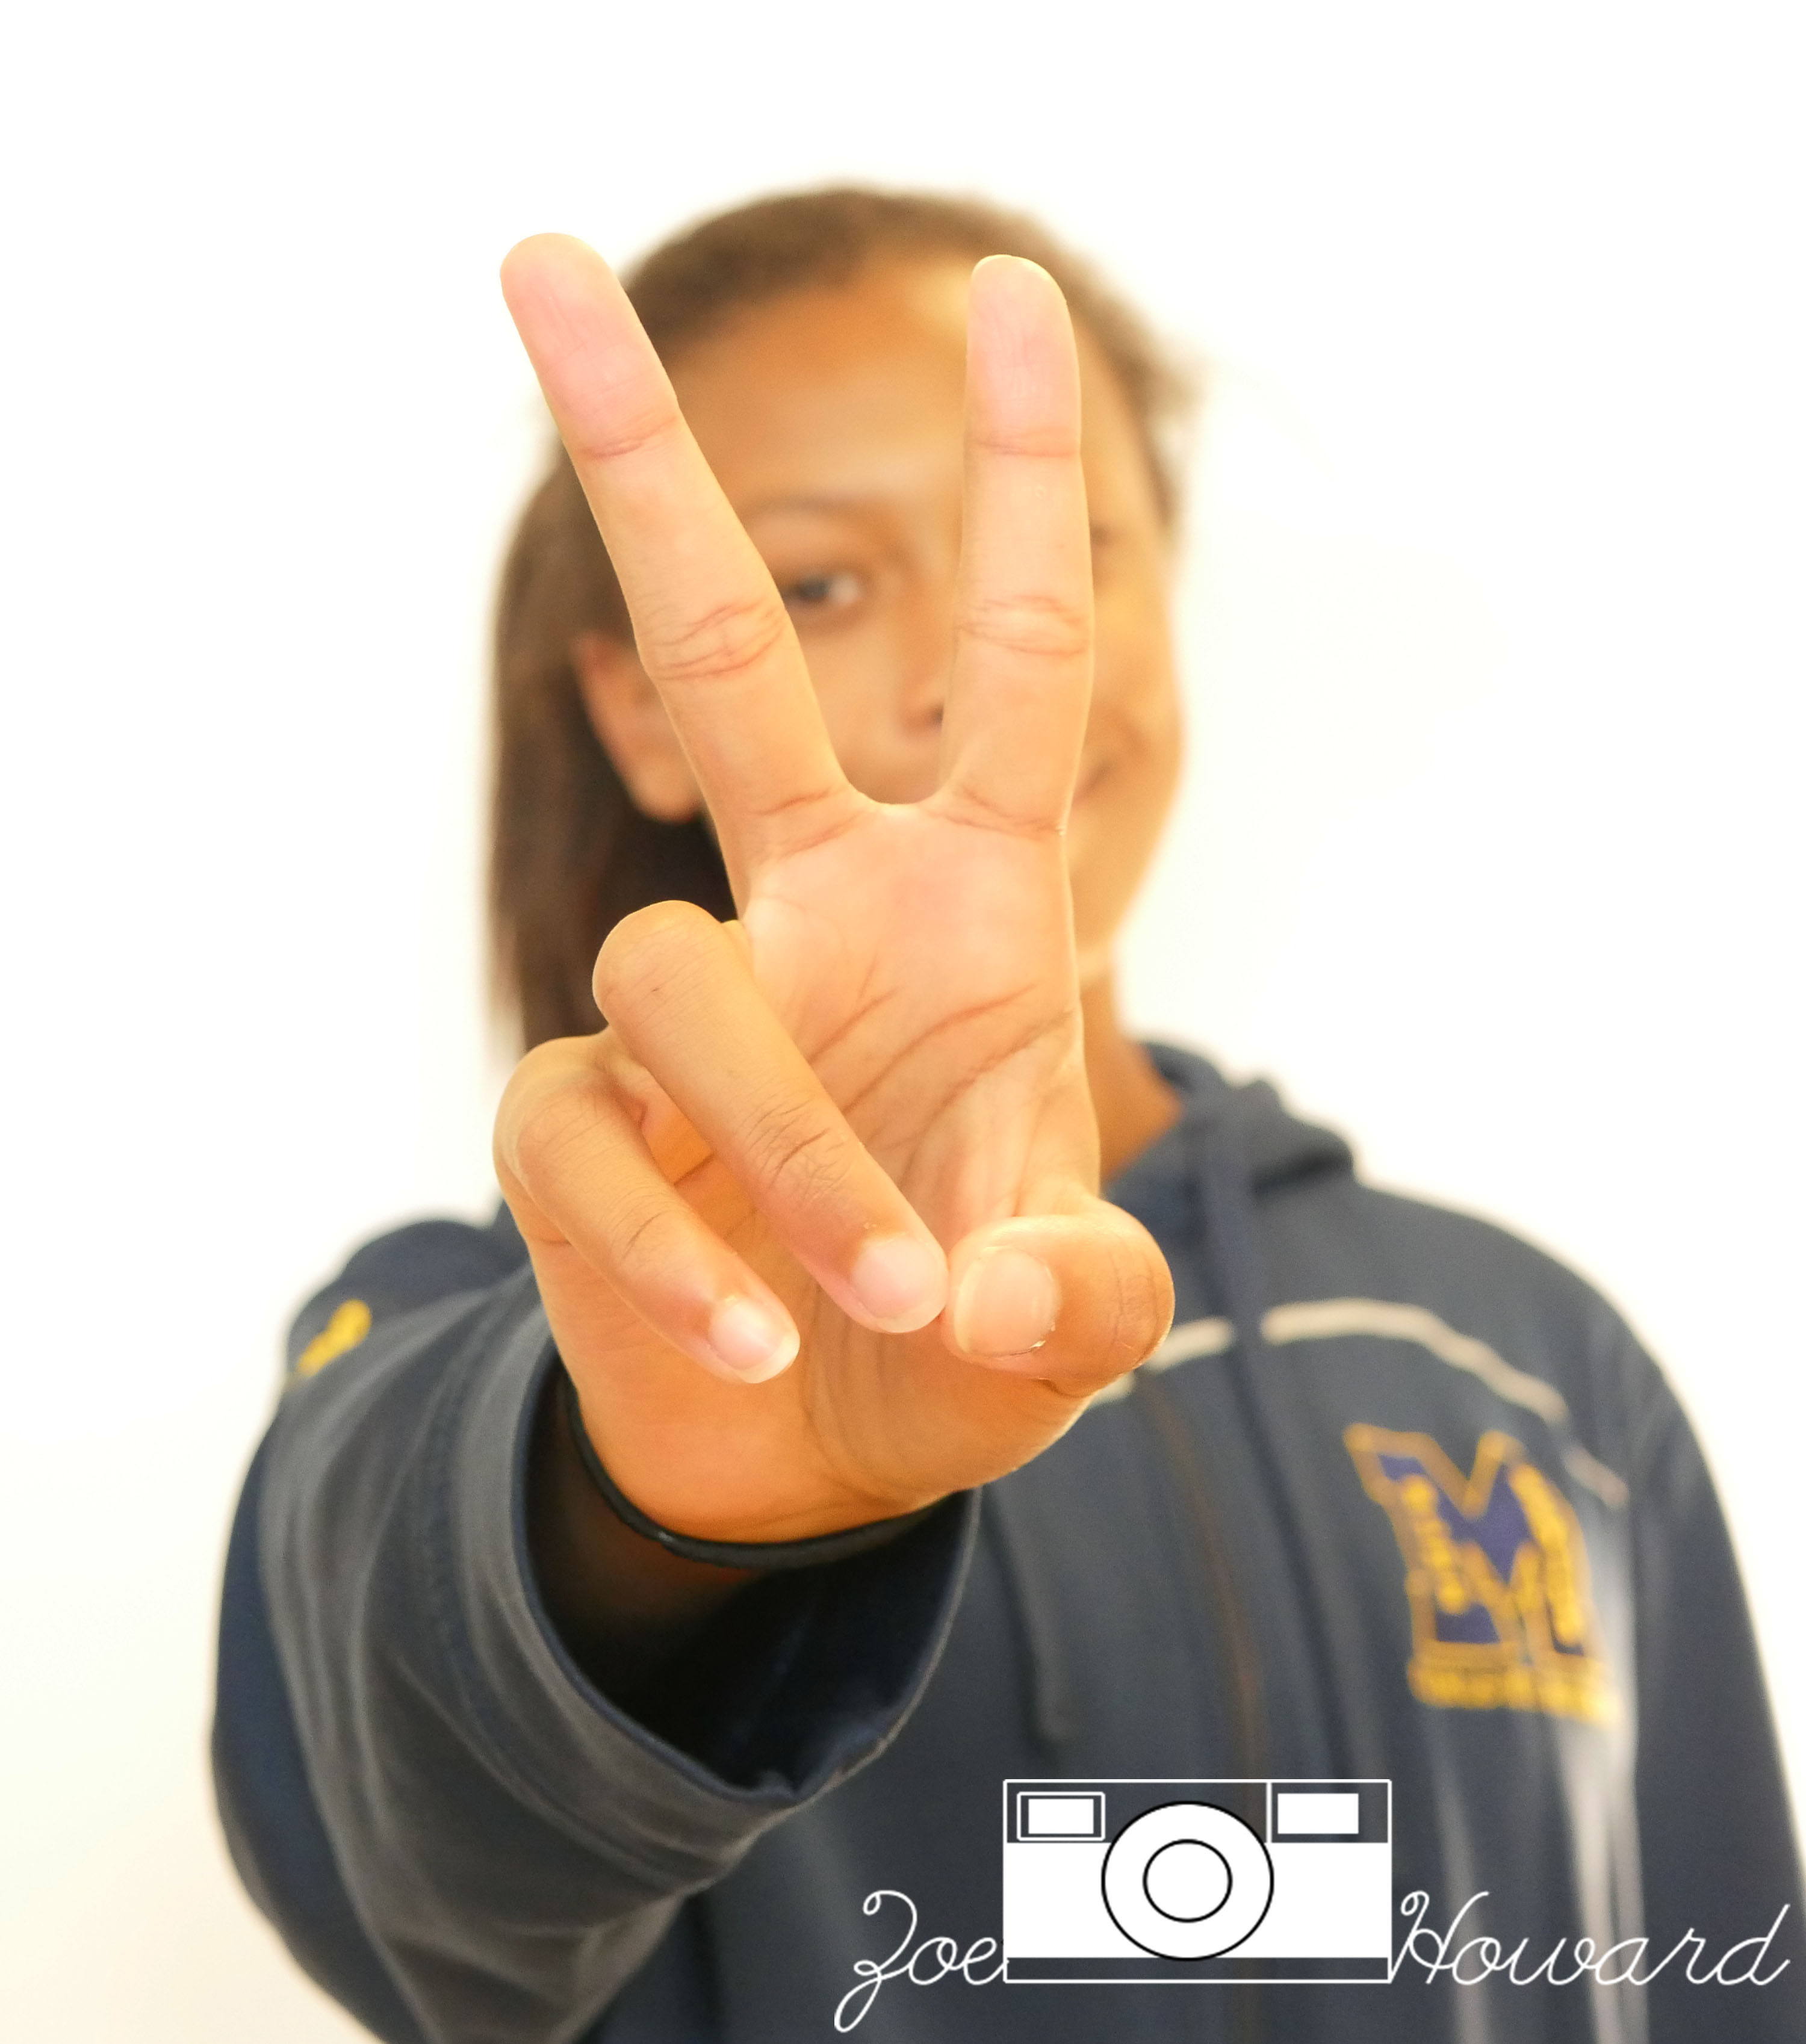
I changed the ISO and shutter speed to make the background all white. I also shined a light at the white background to take out the shadows. Making the background endless worked, but the colors on the person ended up yellowish orange. Click here to see all of my photos.
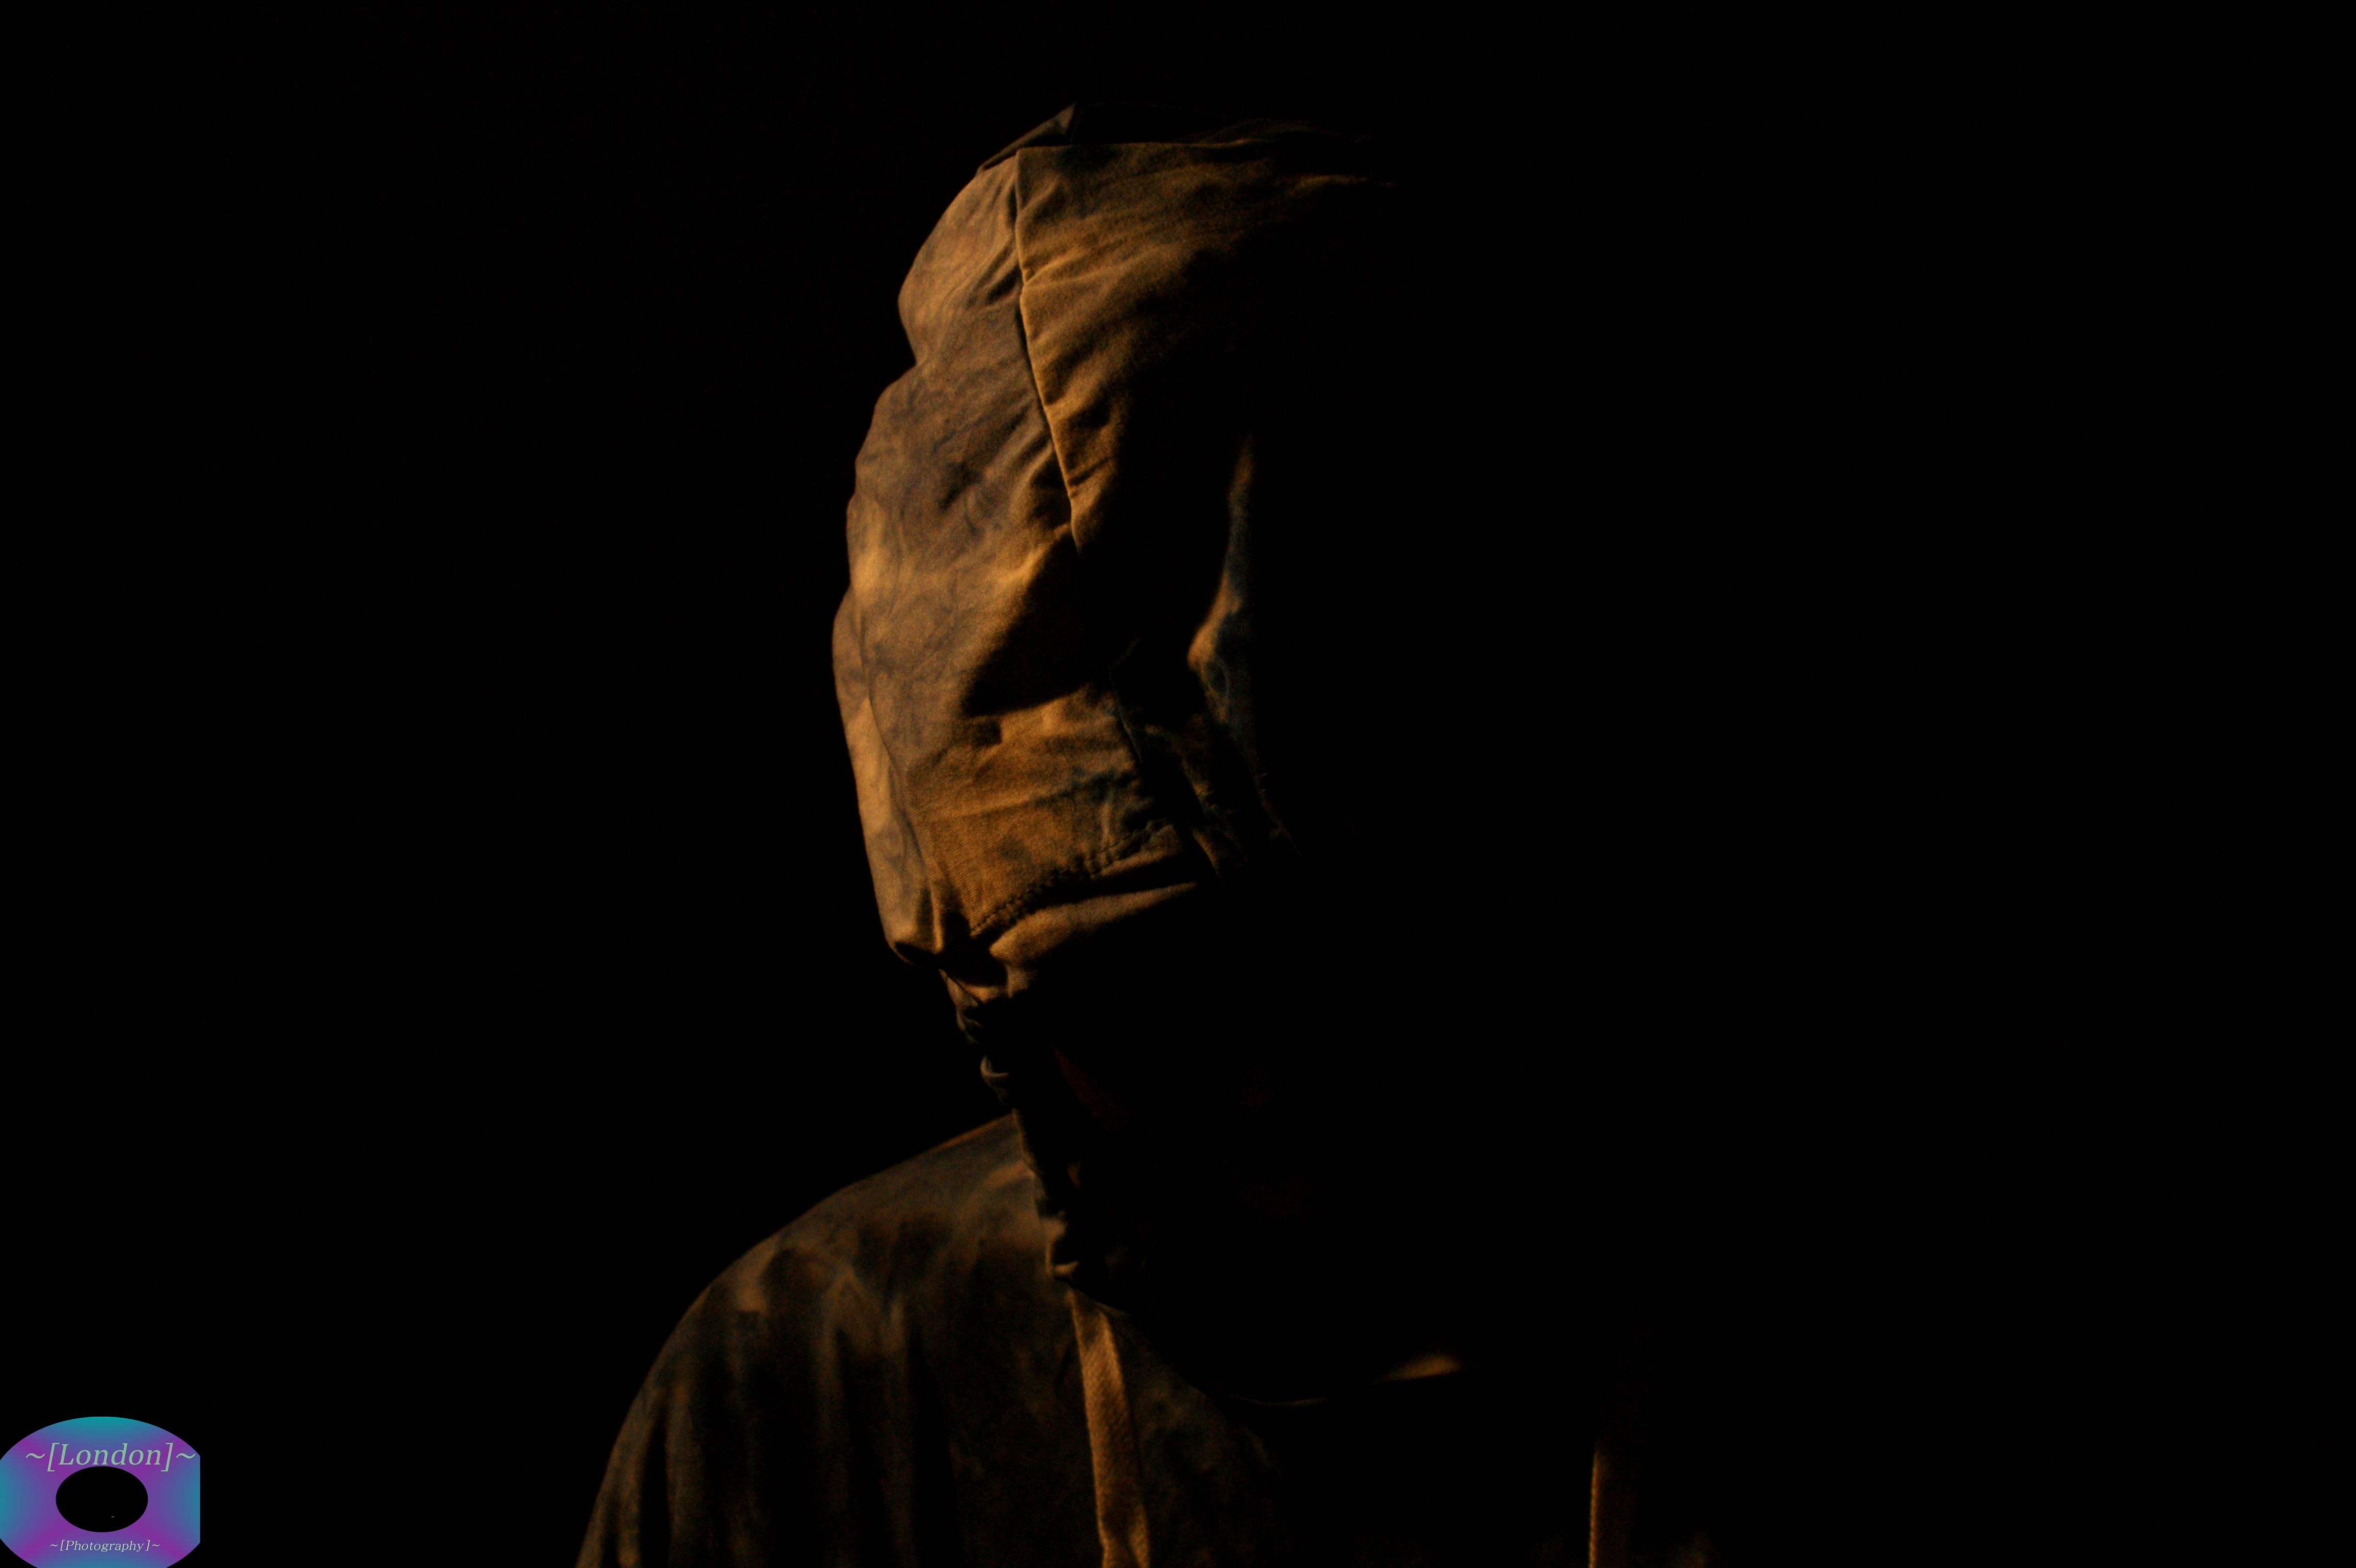
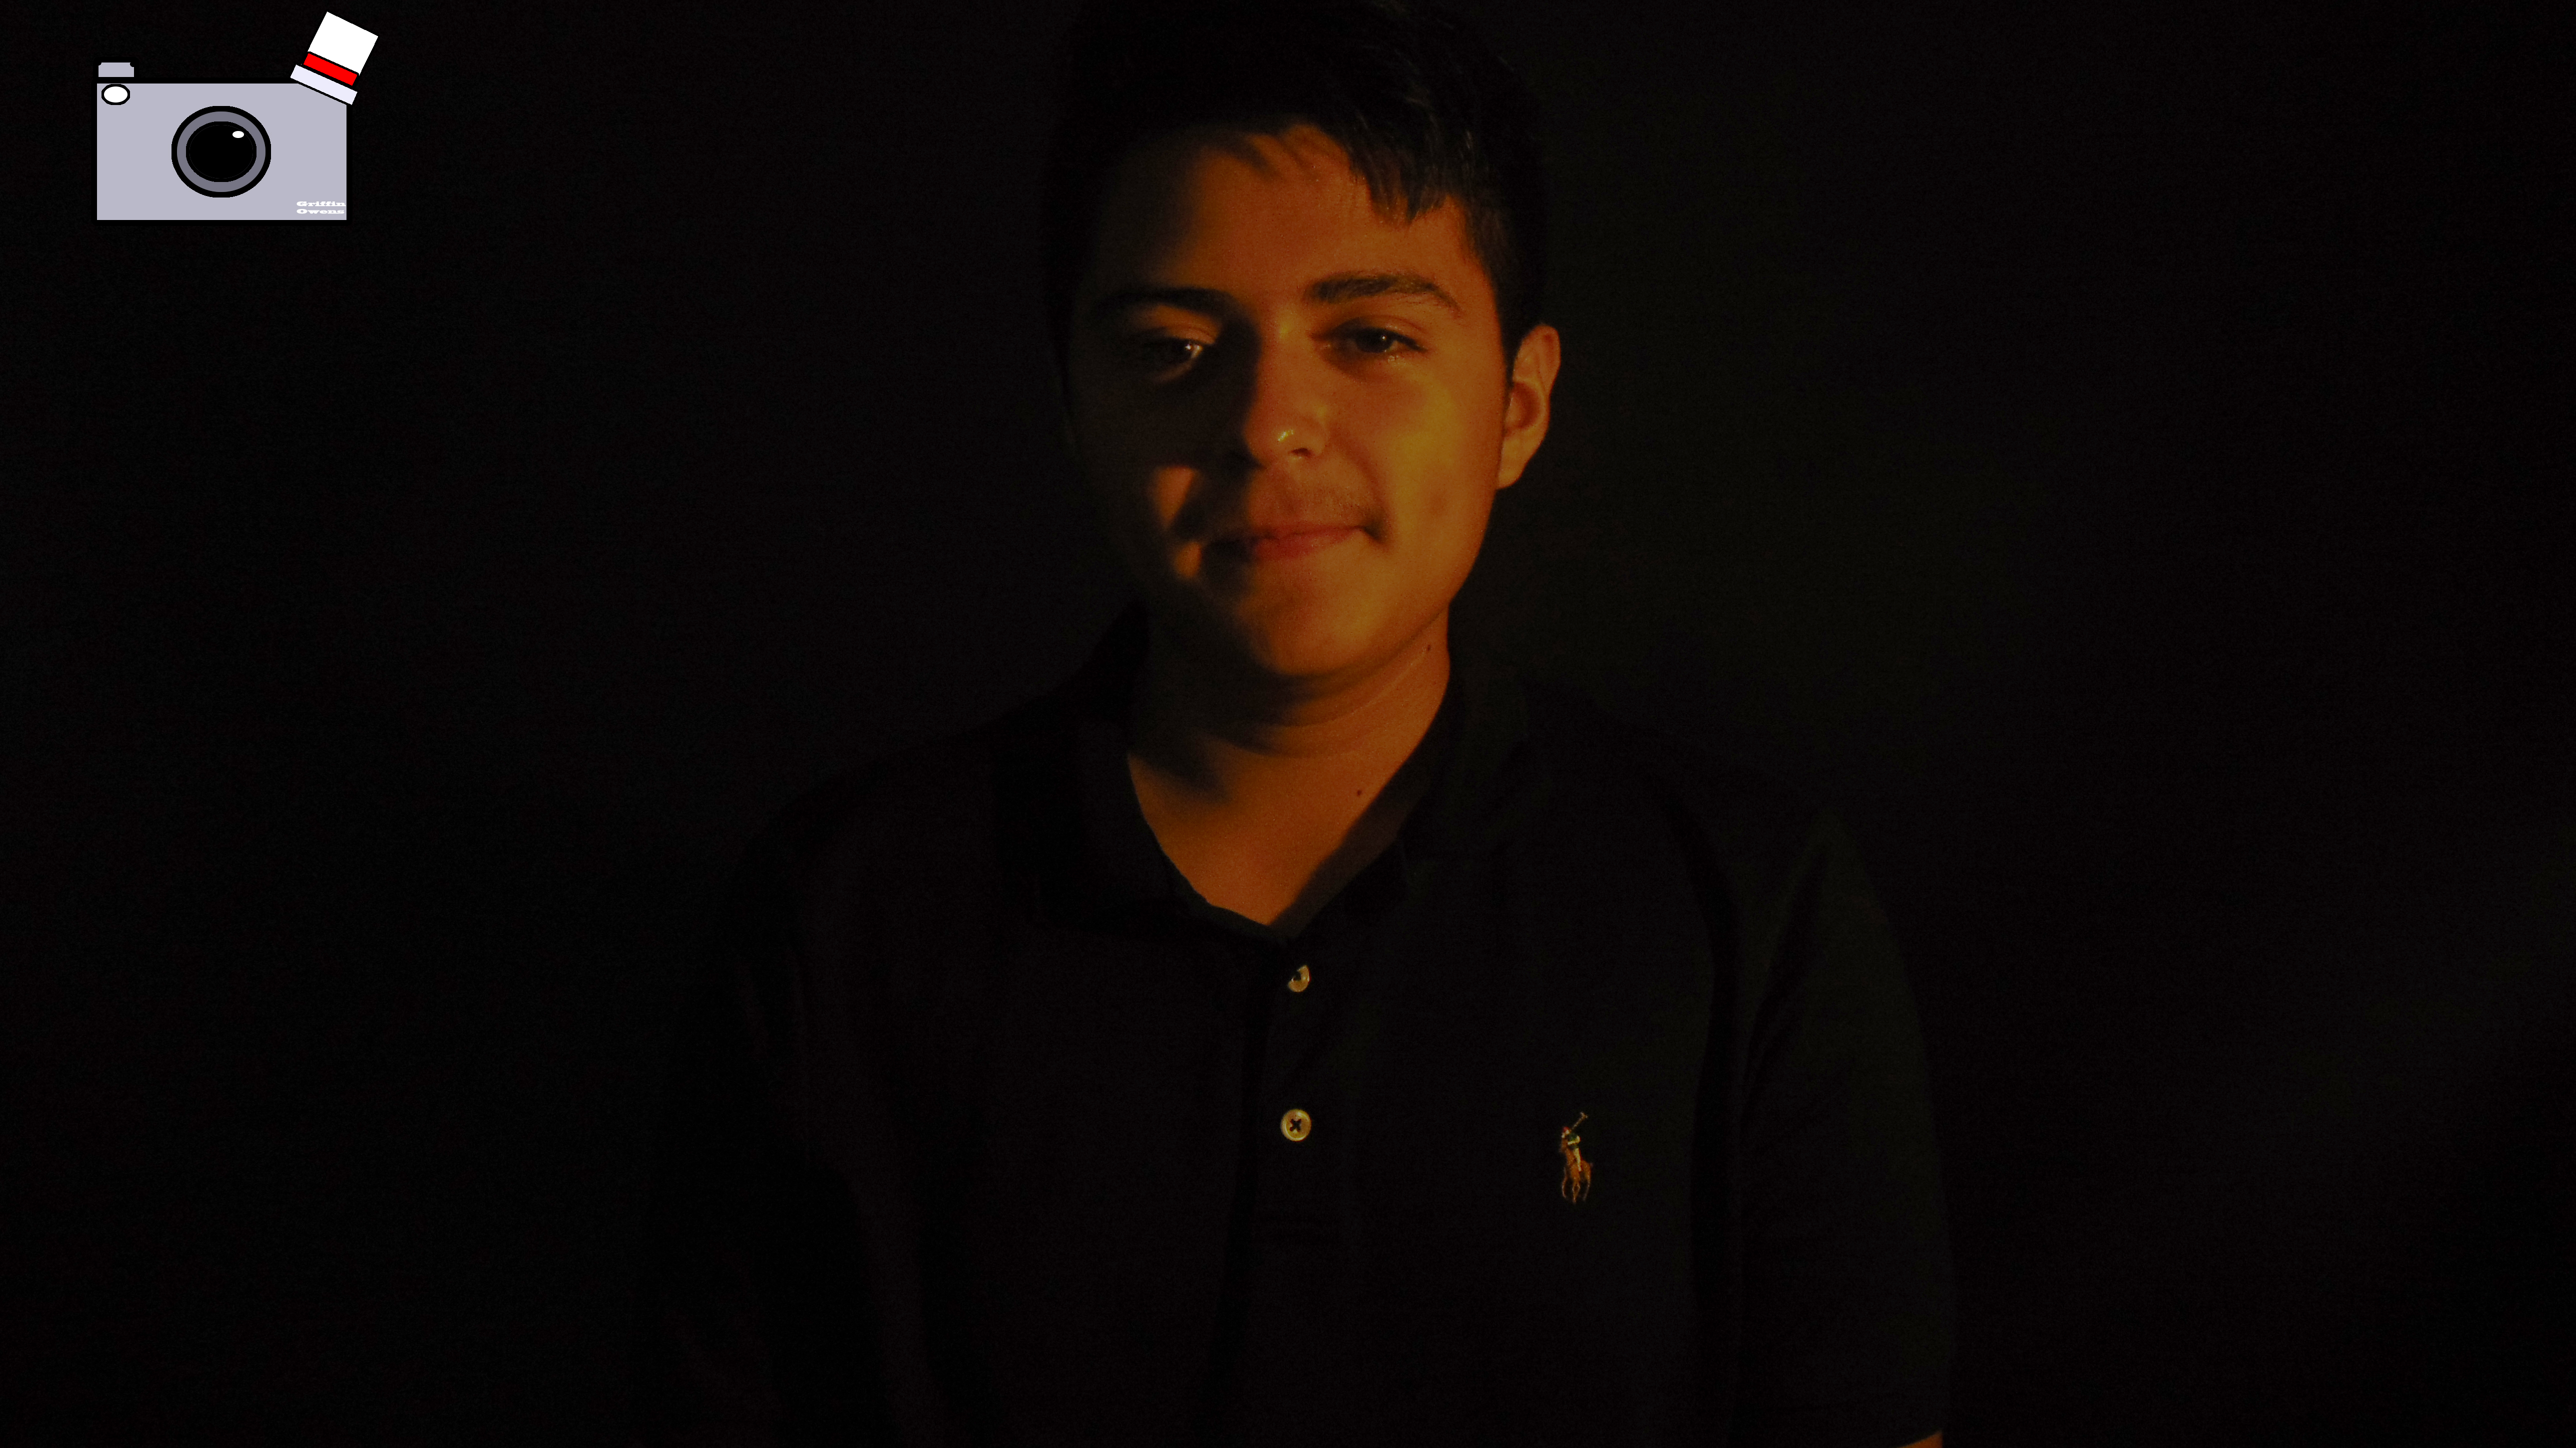
To take these photos we had to turn of all the lights and stand near a black background then have a light shining only on us (the person in the photo). What worked was having the light shining near the persons face. What didn’t work was having the light low. You can find the rest of my photos here.
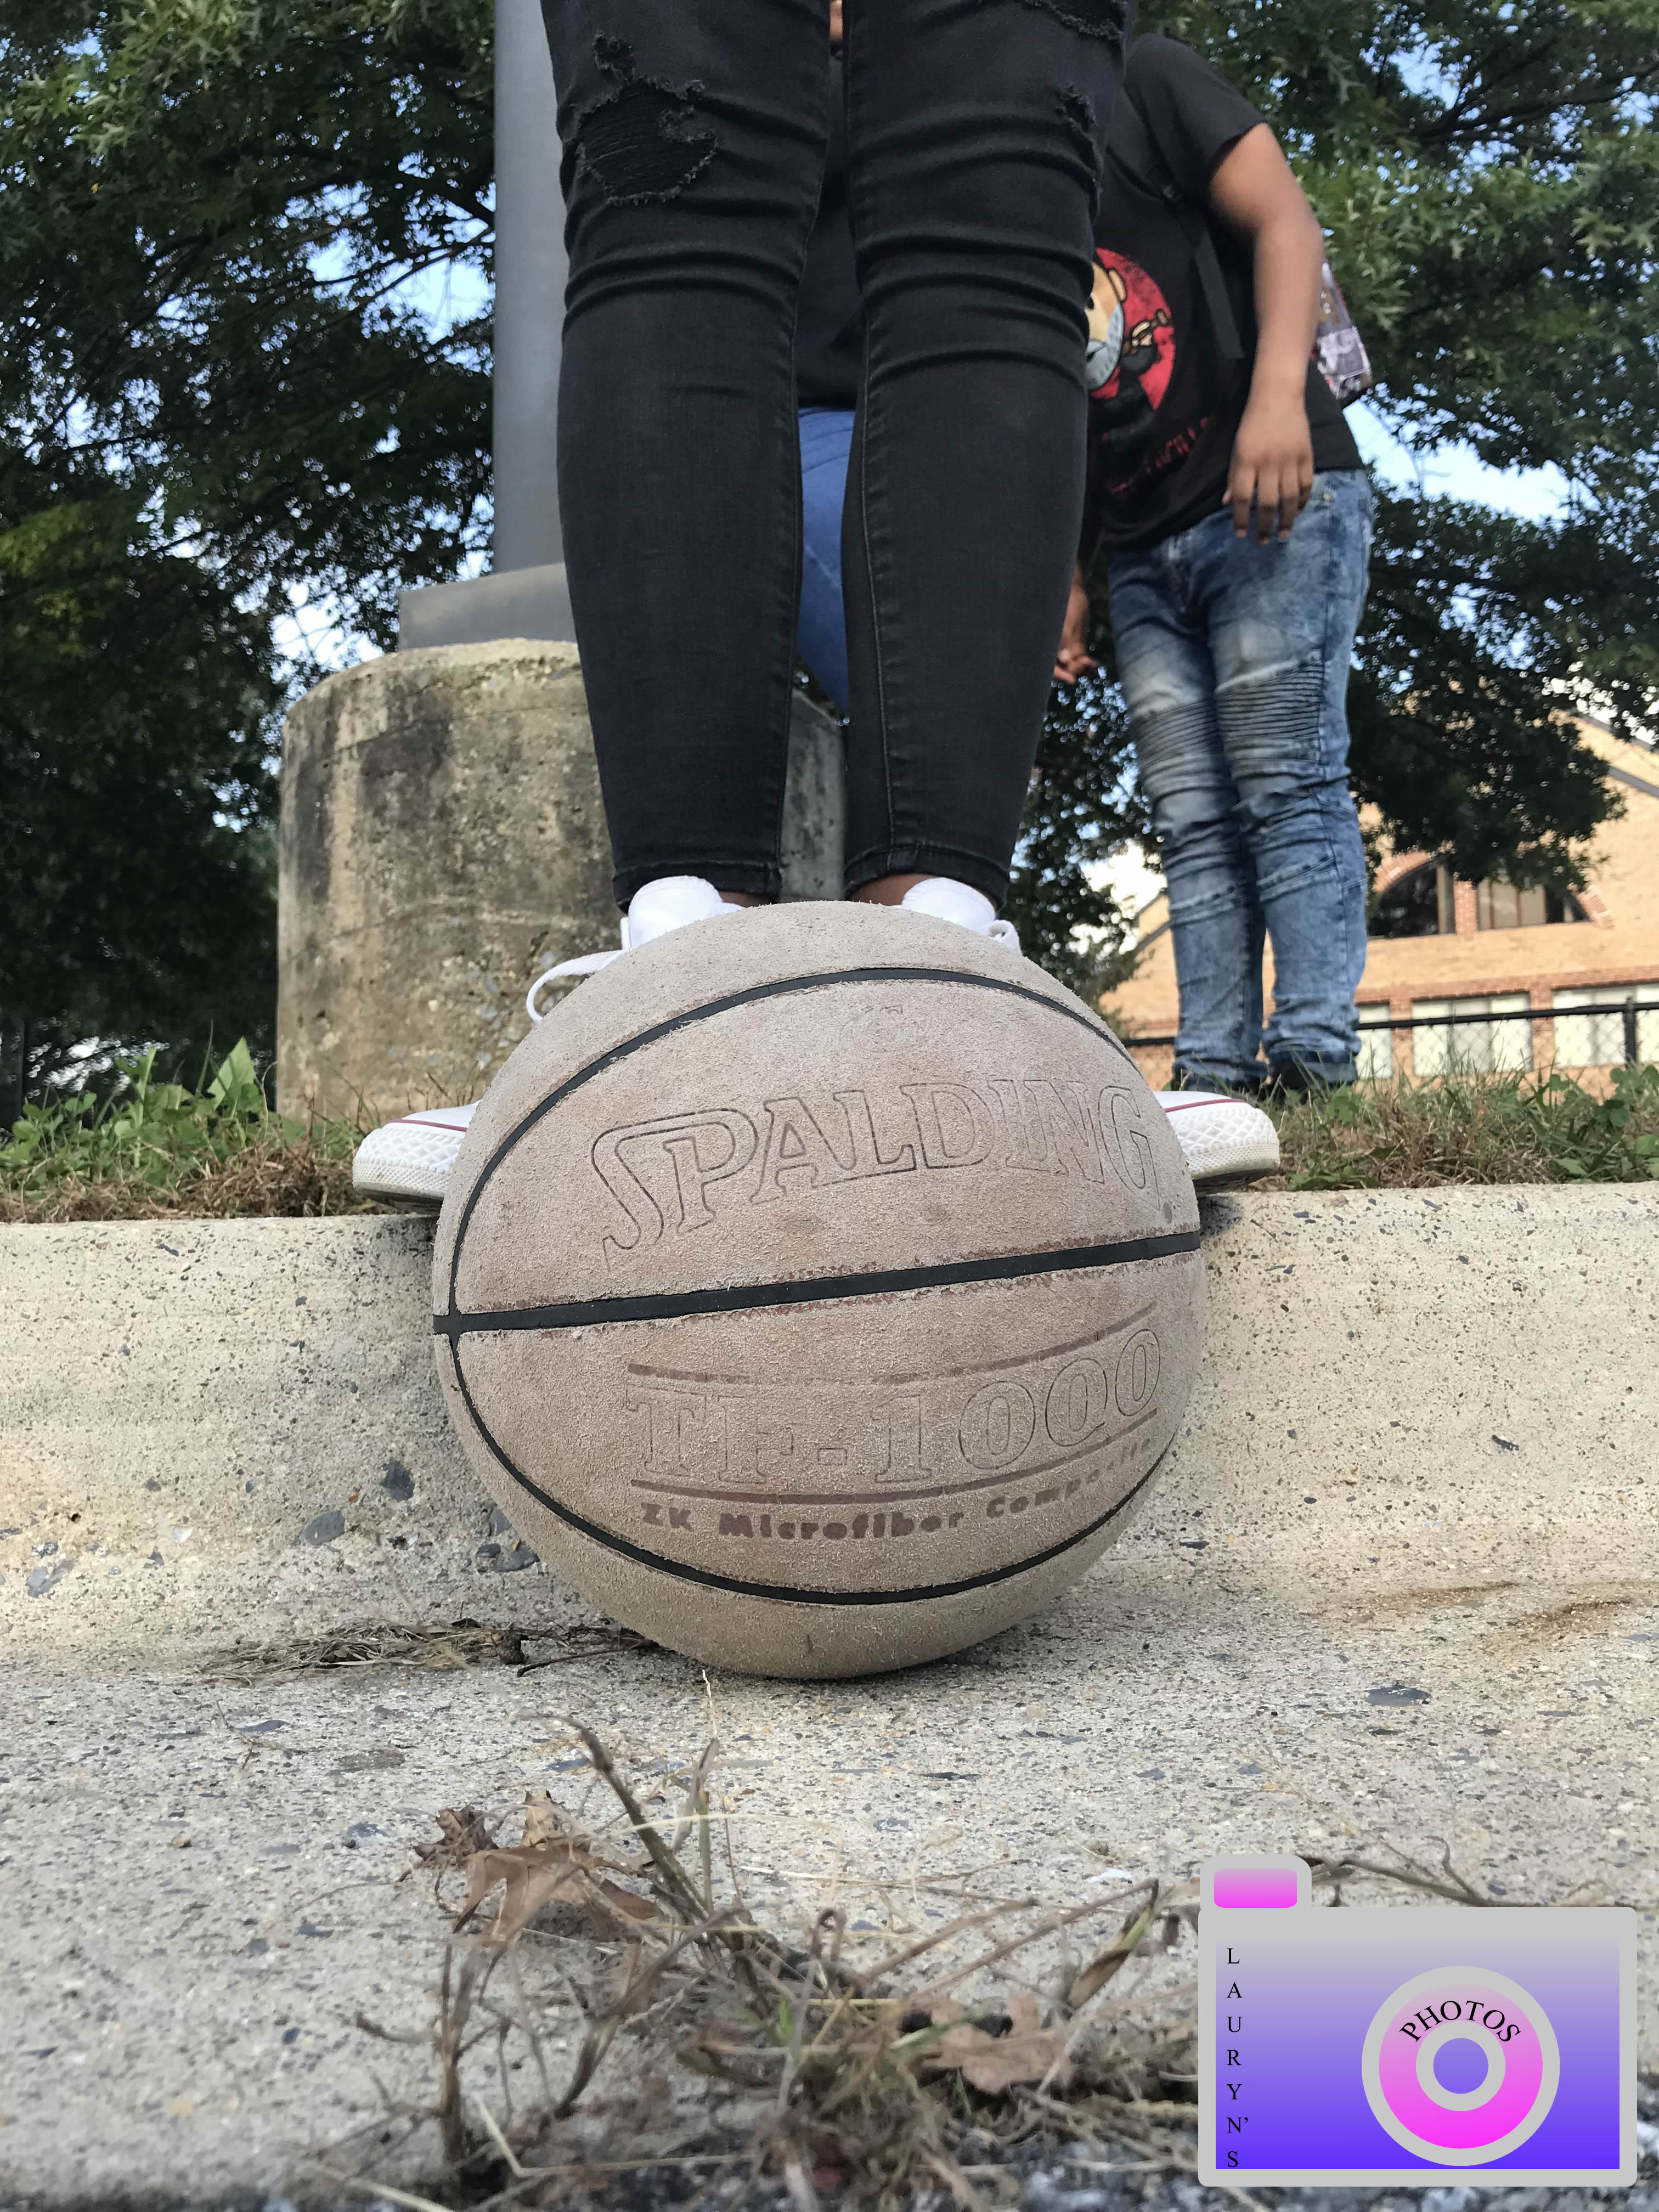
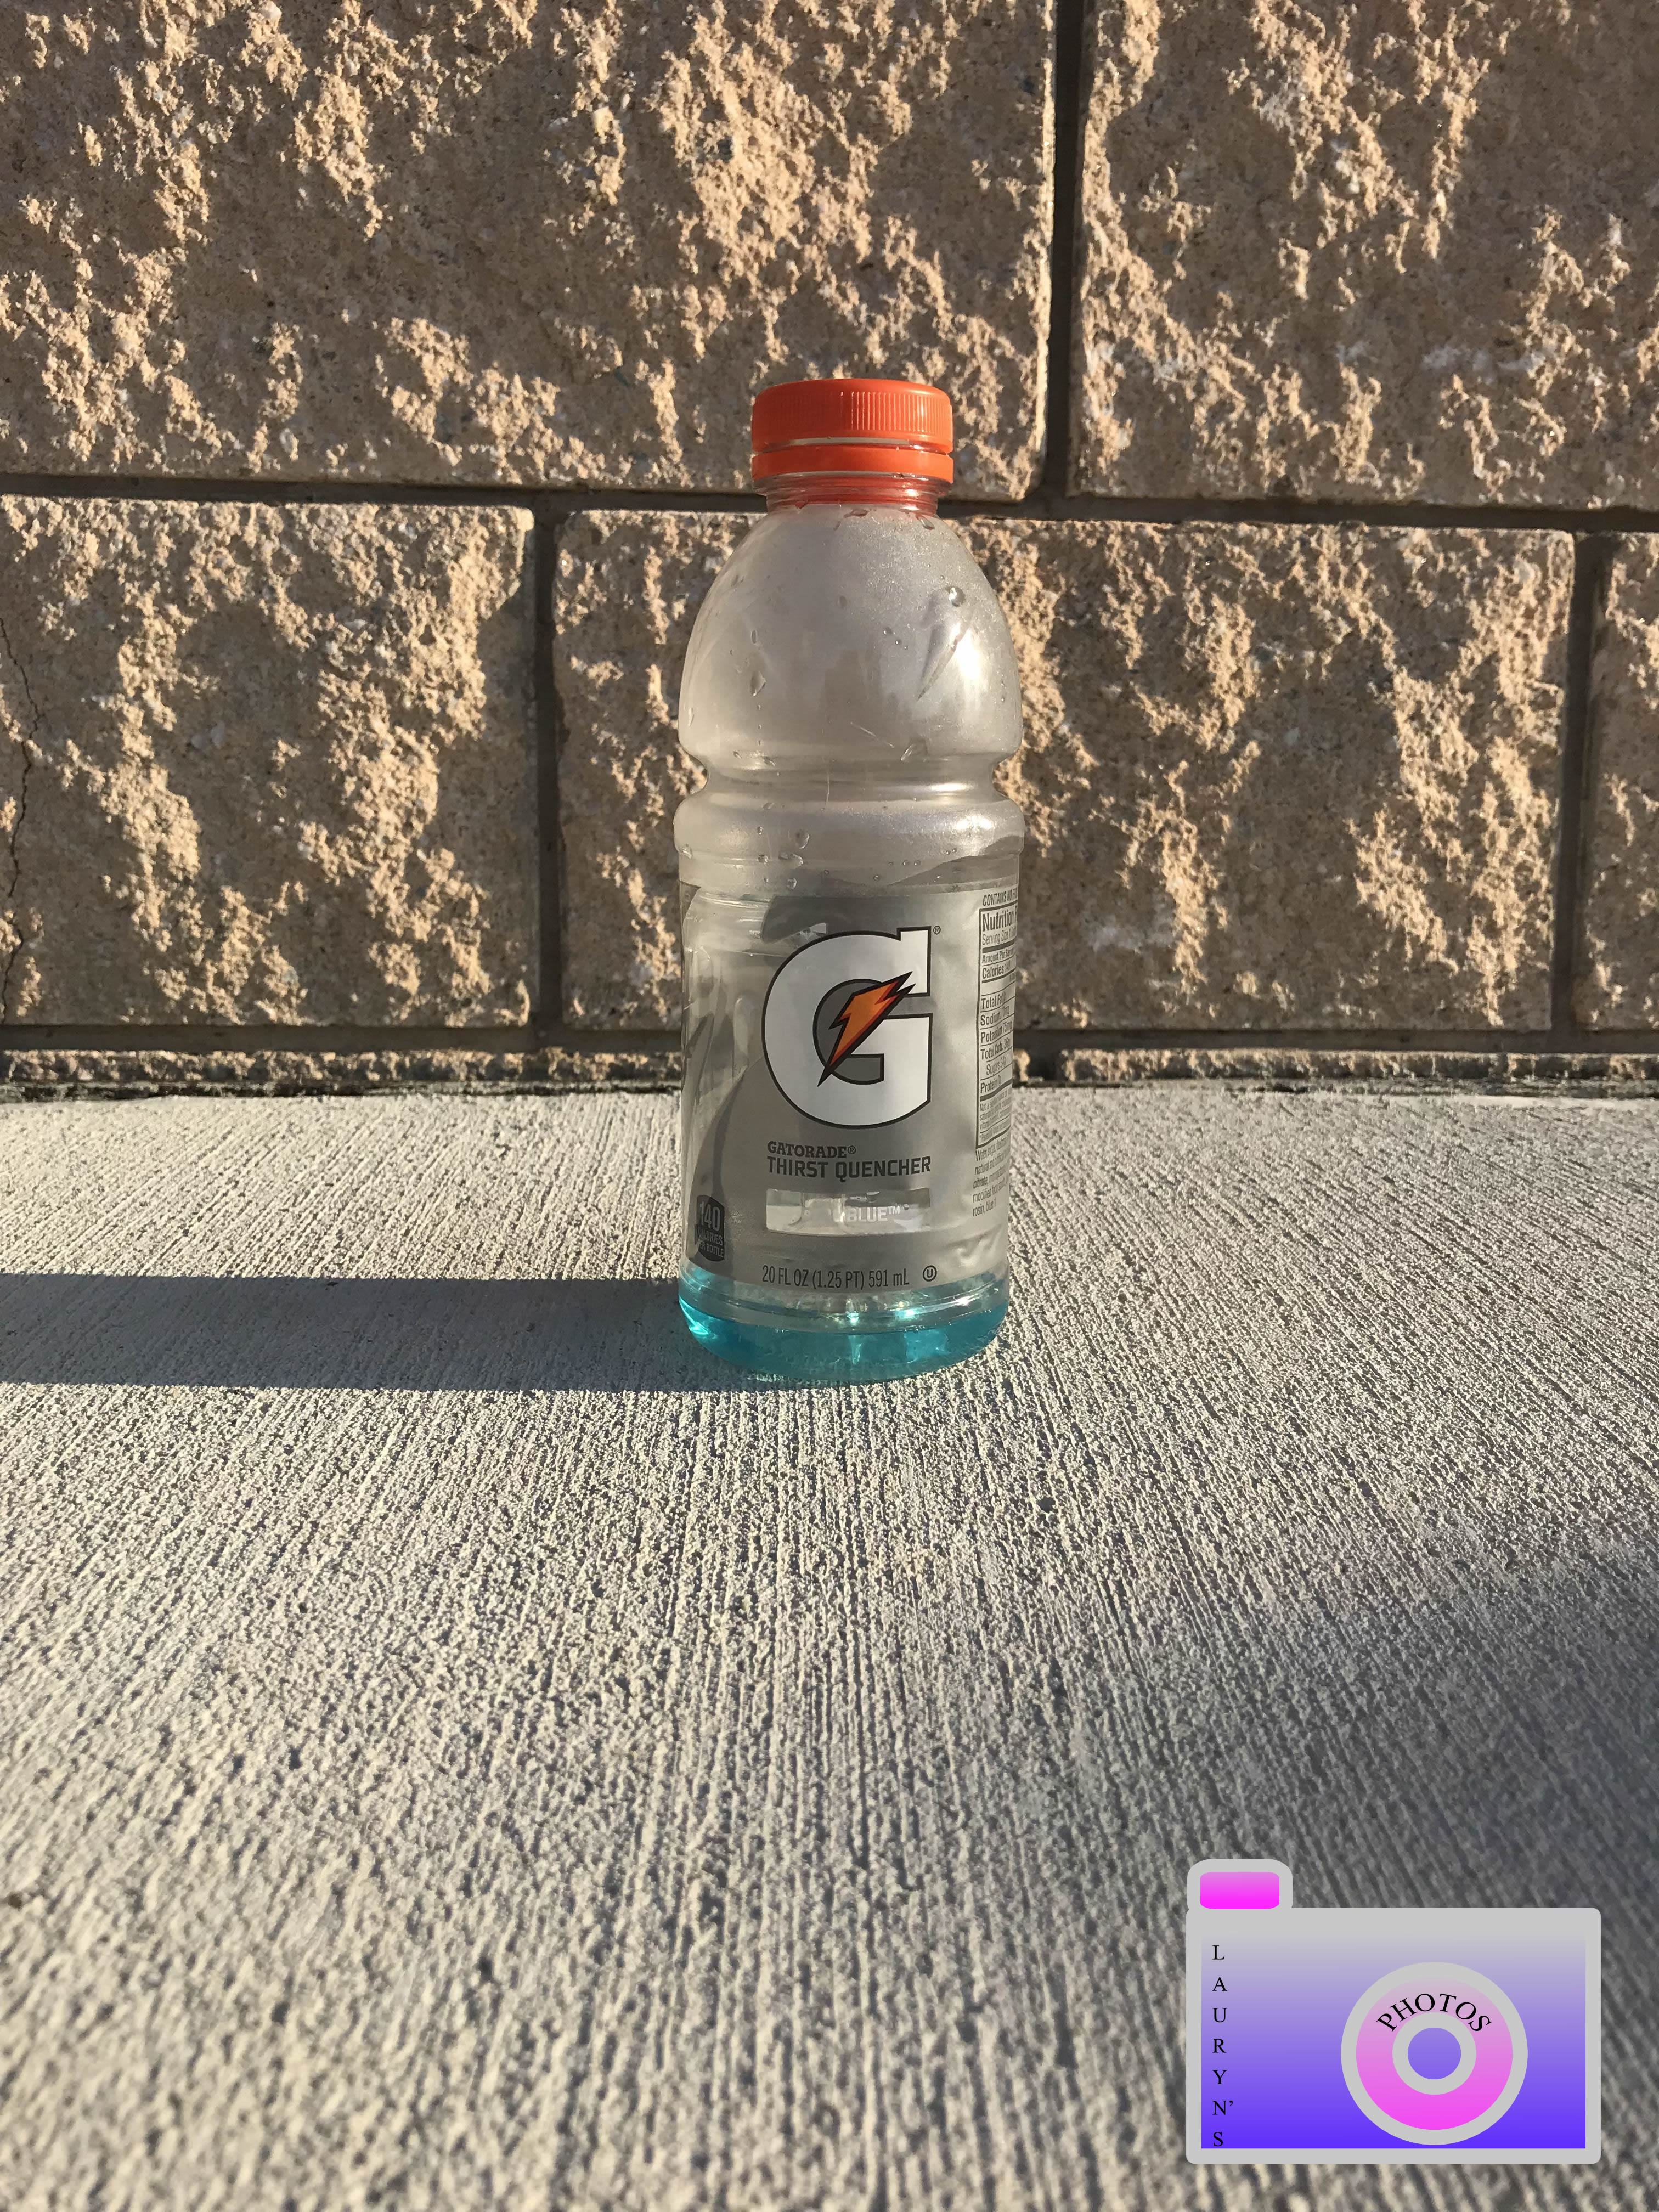
This project was to find one object and make 5 different angles of that object. A challenge to me was finding the object and looking for good angles of that object. Sometimes when you take a photograph from the top angle, you can’t really tell what it is and it looks flat so the top angle isn’t nice. This project helped me learn different angles and I learned a lot of angles that looks really cool. My favorite angled photo is below. Click here for more photos.
In this project My goal is to take pictures of the same object without moving it. My photos that I have taken have to involve different angles. The difficult part of this project is taking a photo of a person, because they would move while you would try to take a photo in multiple angles. the hardest image to take is the basketball photograph because the ball would roll away. This project helped me consider different ways and angles to take pictures. Also, to consider in on having in the background.
In this project I had to take a photo using ISO to make an infinite white background behind and person. The thing that worked the most for me was the pose of the person and the color of there shirt. The thing that didn’t work was having the light be to bright or to close or to far, etc… You can find the rest of my photos here.