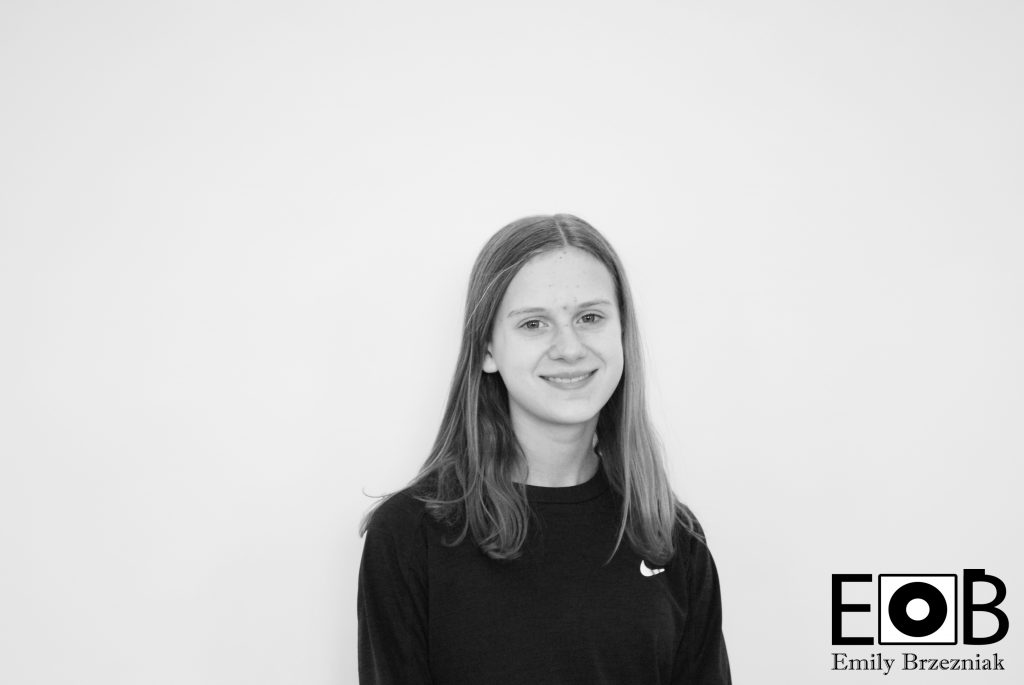
For this project, we had to make the background look infinite.One thing I did was I adjusted the camera to make it more sensitive to the light, so the background looked at bright as possible. While I was editing I found it super easy to adjust the brightness. One thing I struggled with was getting the the proper adjustments to the camera. It was challenging to get rid of yellower areas.
In this project, me and my group had to stand in front of a white backdrop and shine a light on each other. we had to make so the background would disappear or become inadvisable. I felt it was hard to get the right picture because I kept messing up and moving the camera.
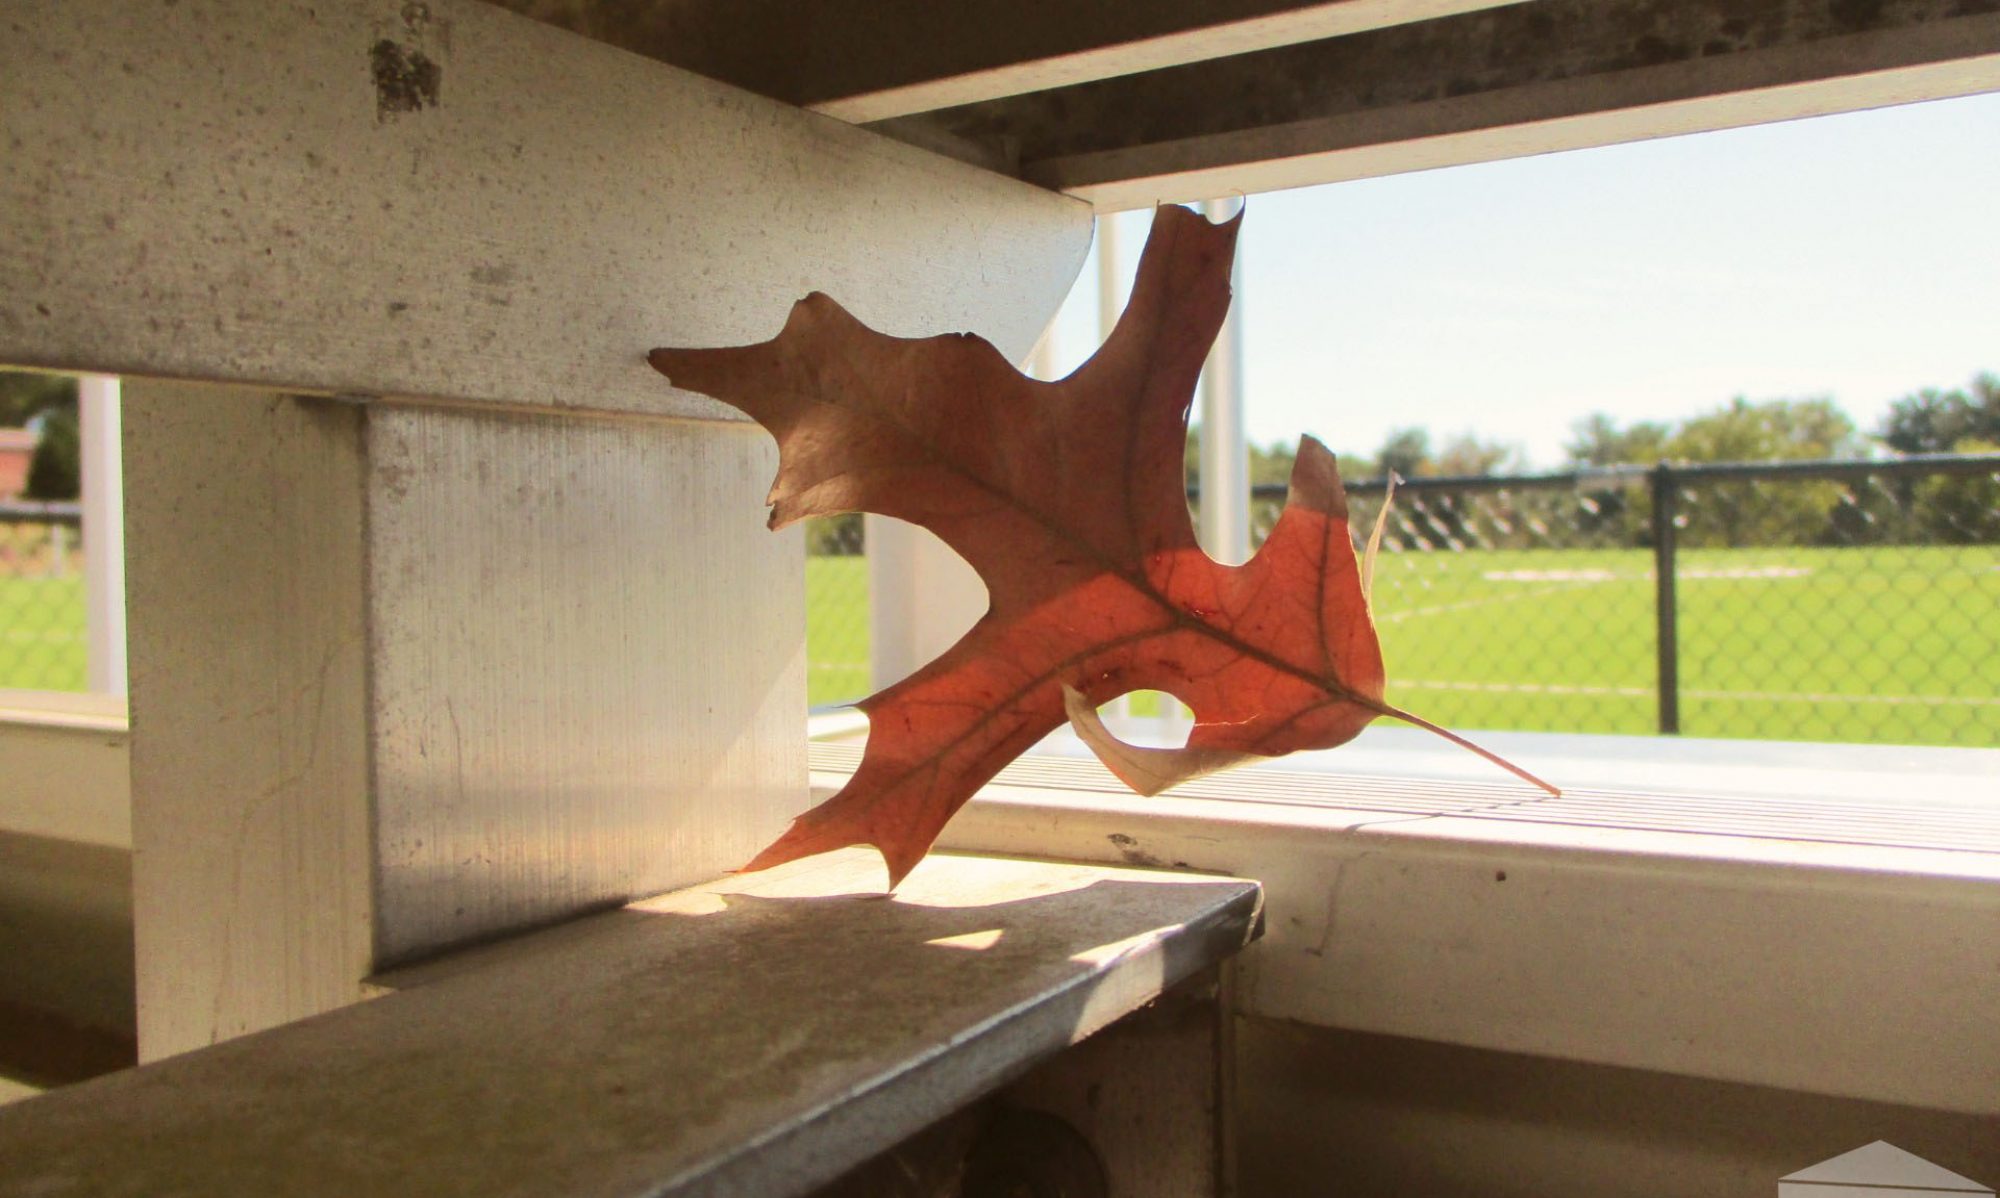
For this project the had to frame a person/object by using other objects to create a focal point in the picture. The reason I liked this project is because of how it is able to create such a magnificent picture. one of the things that I had found challenging about this project is finding a space where you are able to have good lighting and finding a good frame.
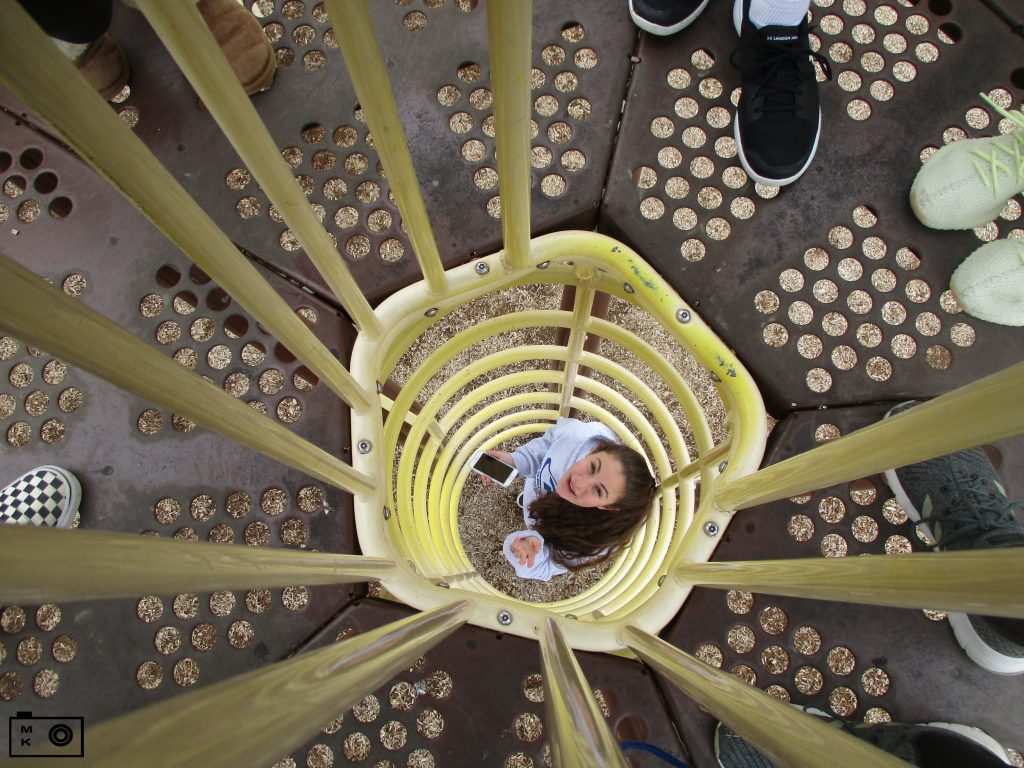
For this project we had to take pictures of a object or a subject using the view of an other object. This relates to rule of third because you would put the subject in the middle of the grid instead of the side. What was challenging about this project was trying to find object I could put my subject in.
In this project, the main goal is to frame your subject of the photo using natural objects in the area. We needed to have 5 or more photos of many different objects or subjects, and many different frames. This is a little bit similar to the rule of thirds because you needed to use a line and put the object on that line, perfectly lined up, and in this one your using the world around you to do a similar thing, accept it does not need to be lined up on a grid. Finding a perfect angle that makes it fit better.
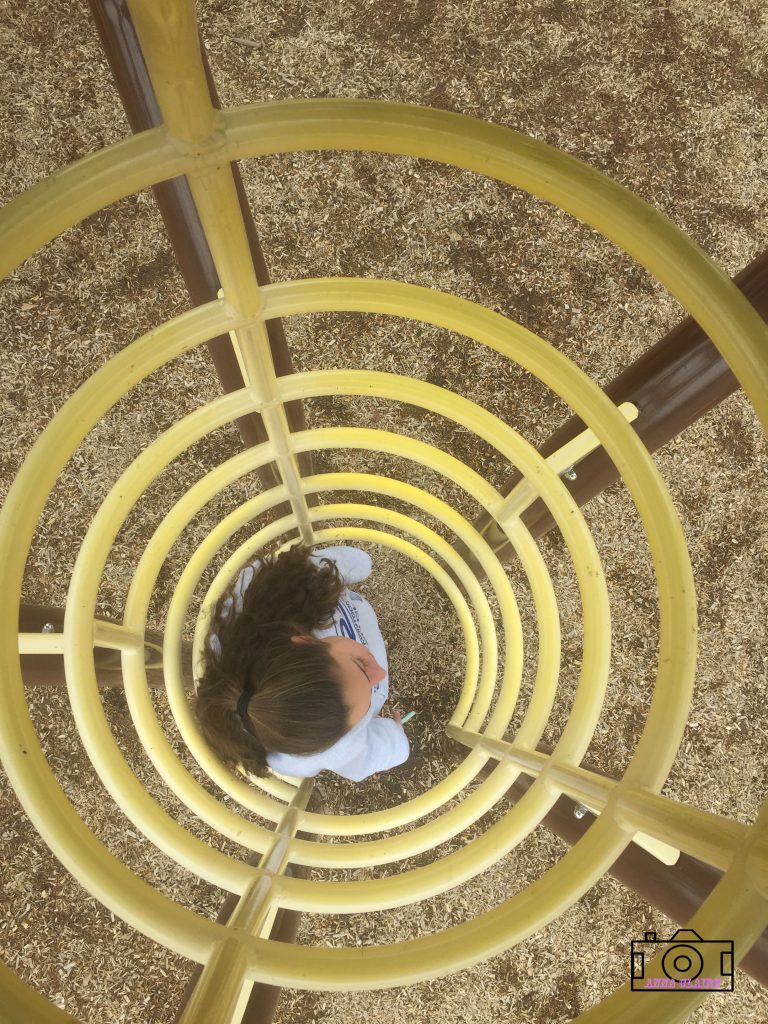
This project included students to use natural frames to frame their subject they are going to take a picture of. This project used a little of the Rule Of Thirds because you need a good picture so for that you need to adjust your subject to a side to fit the frame.
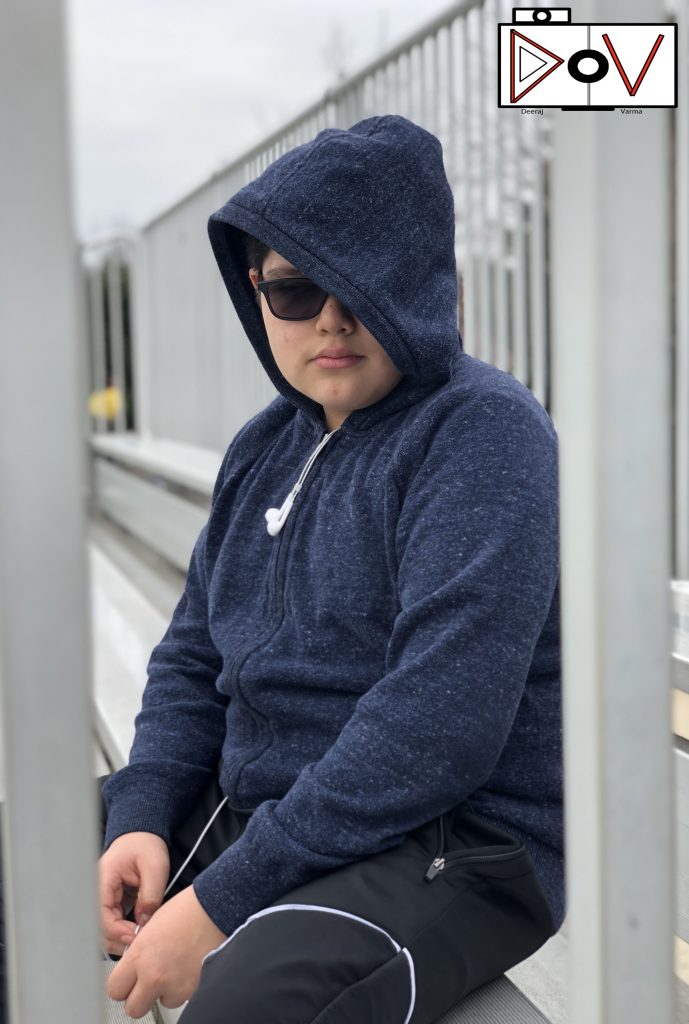
This picture was my favorite because of the overall look at it. It look so good because of how the background is blurry and Abraham is just so popped out in the picture. The hardest part of this whole project was fitting the subject in the frame to a good position so the picture could then be good.
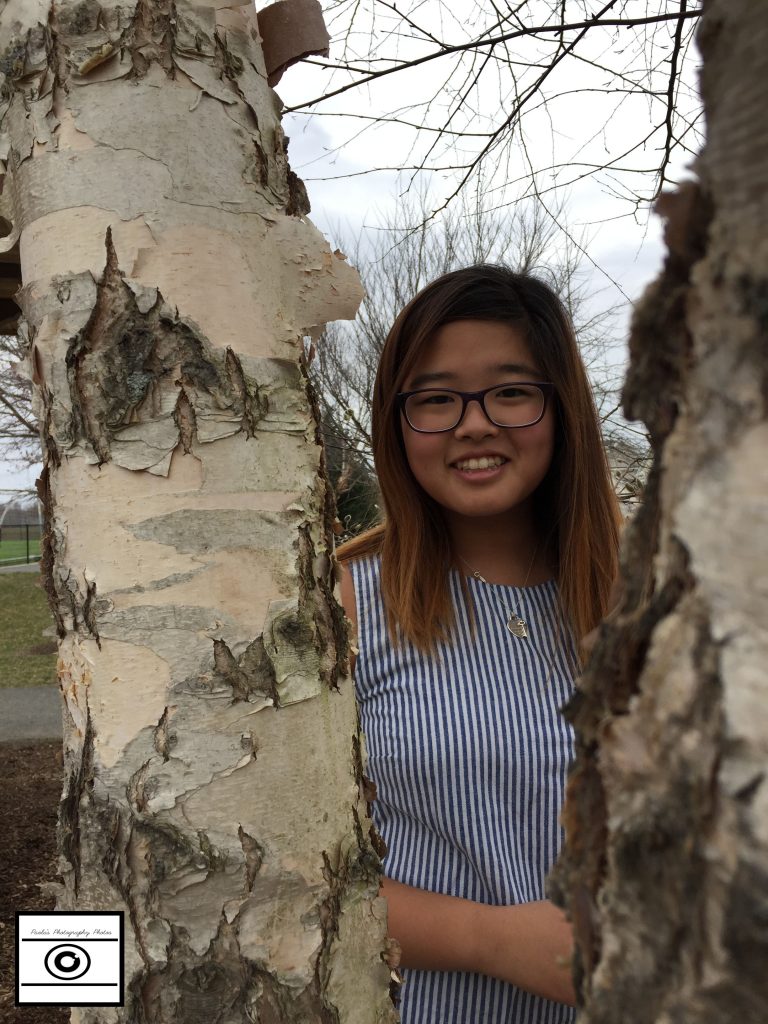
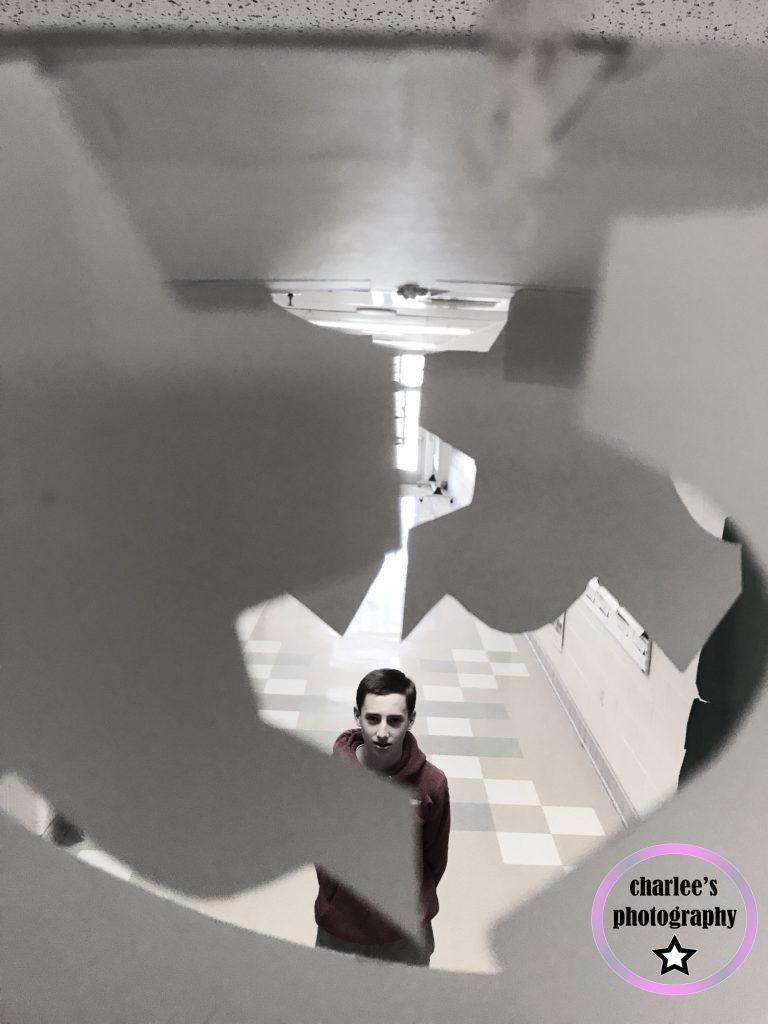
For this assignment, we had to find a subject to take pictures of, and then use the resources around us to frame them. This includes using the holes in the gates to frame the subject, the stairwell railing, and the door frames. The idea of this project was also to use things that you wouldn’t normally think would frame something and use it to frame whatever you were taking a picture of. The point of framing your subject is so your eye goes directly to where the photagrapher wants you too look.
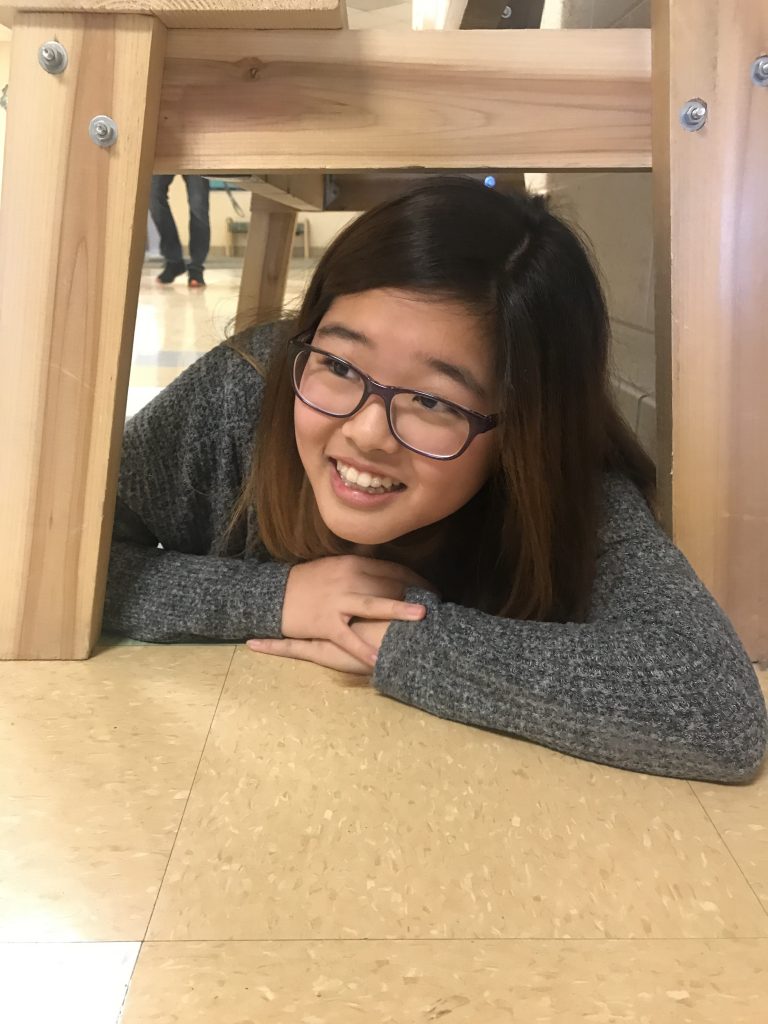
In this project, we had to take pictures of people with a natural “frame” (like a picture frame) surrounding them. This project was similar to the Rule of Thirds in the sense that both required you to focus on your subject while taking the picture. This composition was sometimes hard, as there aren’t a lot of natural frames in the school.
This is my favorite picture I took. I can’t add my logo because my computer is glitching.
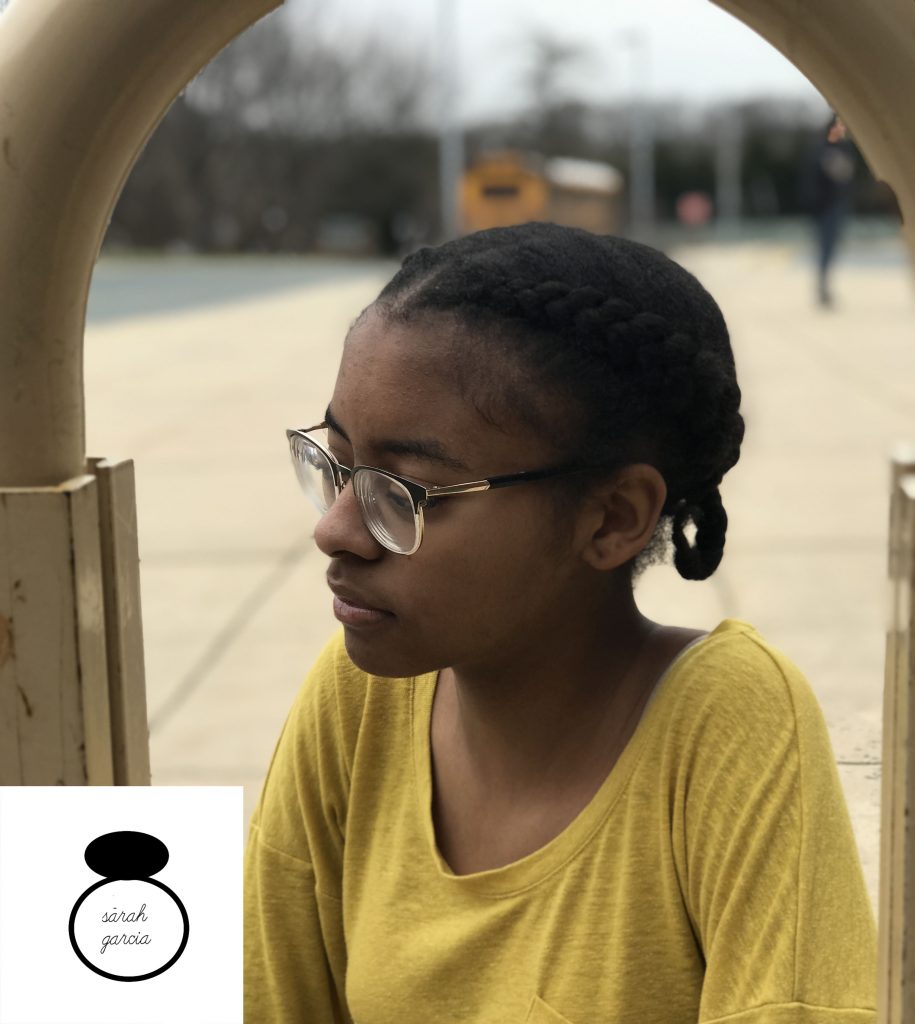
This project was pretty simple, in my opinion. My objective was to find objects to frame the border of the photo, but still have the main object visible. In the photo I provided, the railing of the stairs frames the photo, and still gives me a clear view of my friend Ela. This project is much different from my Rule of Thirds project. The Rule of Thirds project was based off of getting things to either take up one-third or two-thirds of the photo using the grid lines. This project didn’t use the grid lines, but they still could have been useful. This photo I attached is my favorite, mainly because it catches the details of the railing and my friend. The railing is in the perfect position, and so is Ela, so it was a clear shot. One major challenge I had faced within this project had to of had been making sure the photo actually had a frame, and that it wasn’t just something on two sides. To view more framed photos, visit this link. I have cropped a few so that other objects do not intercept with them.
In this project we needed to take pictures of people or objects with an outline/frame. This is kind of like rule of thirds because to take a good picture you have to use rule of thirds in the picture, however it has to have a frame. This is my favorite photo because it is very interesting and took a lot of effort to get. There were not many challenges but the main challenge was finding cool/different angles for all of the pictures.