Action Photos

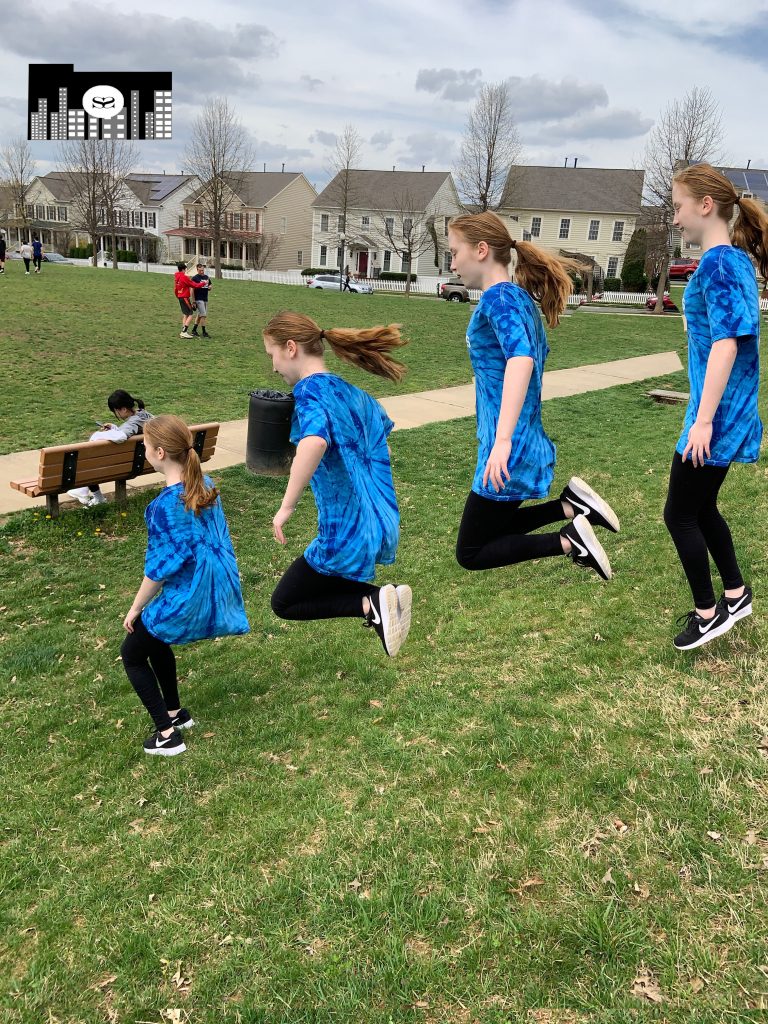
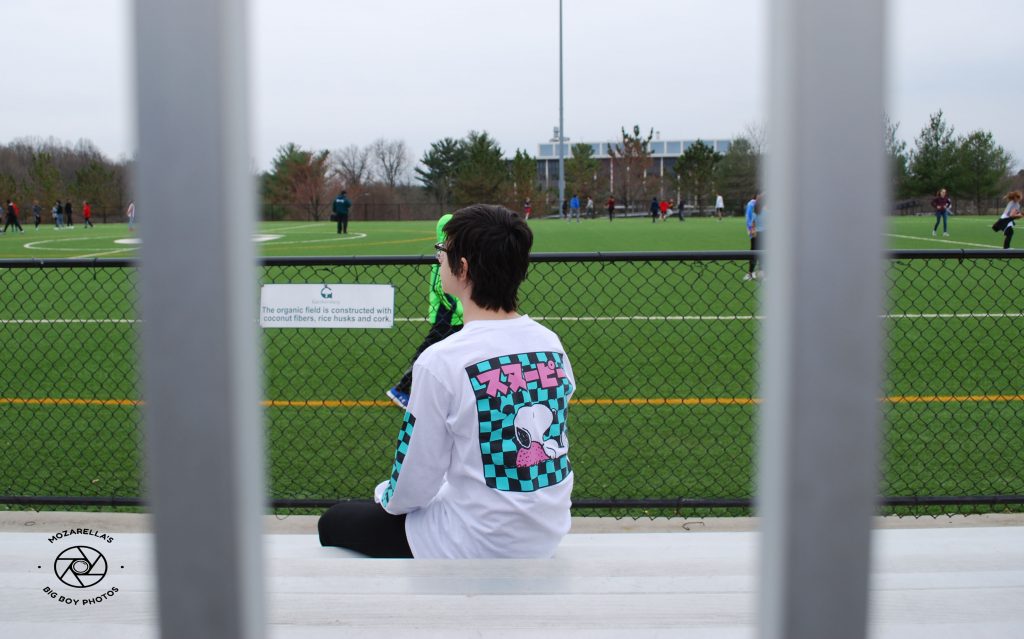
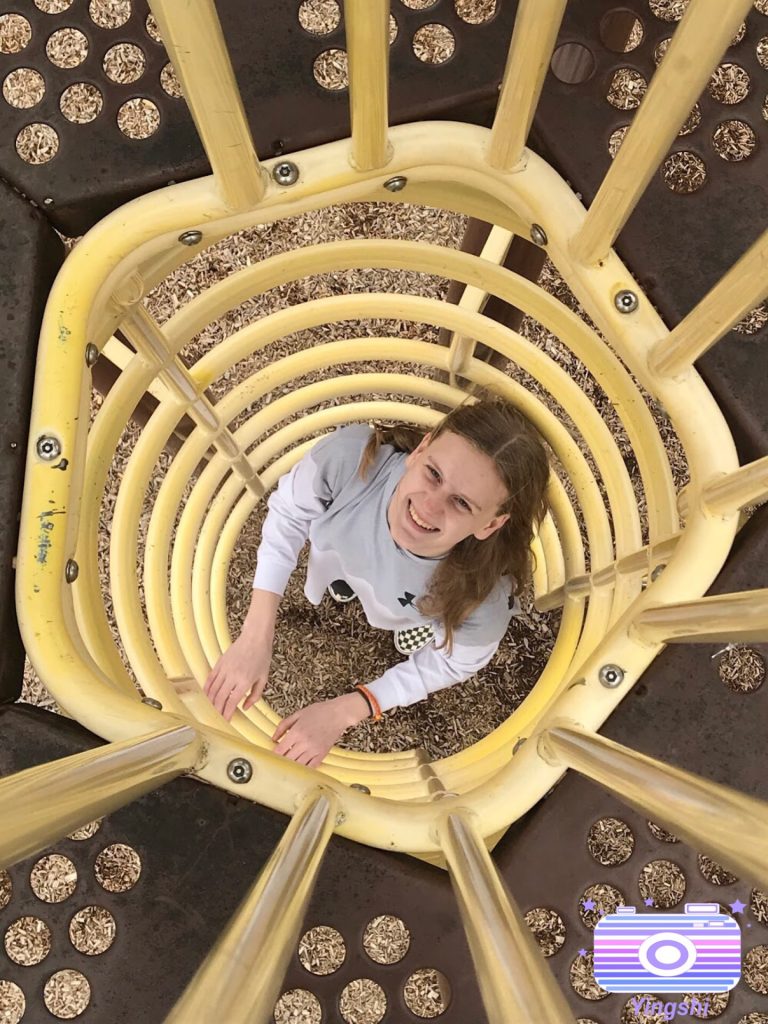
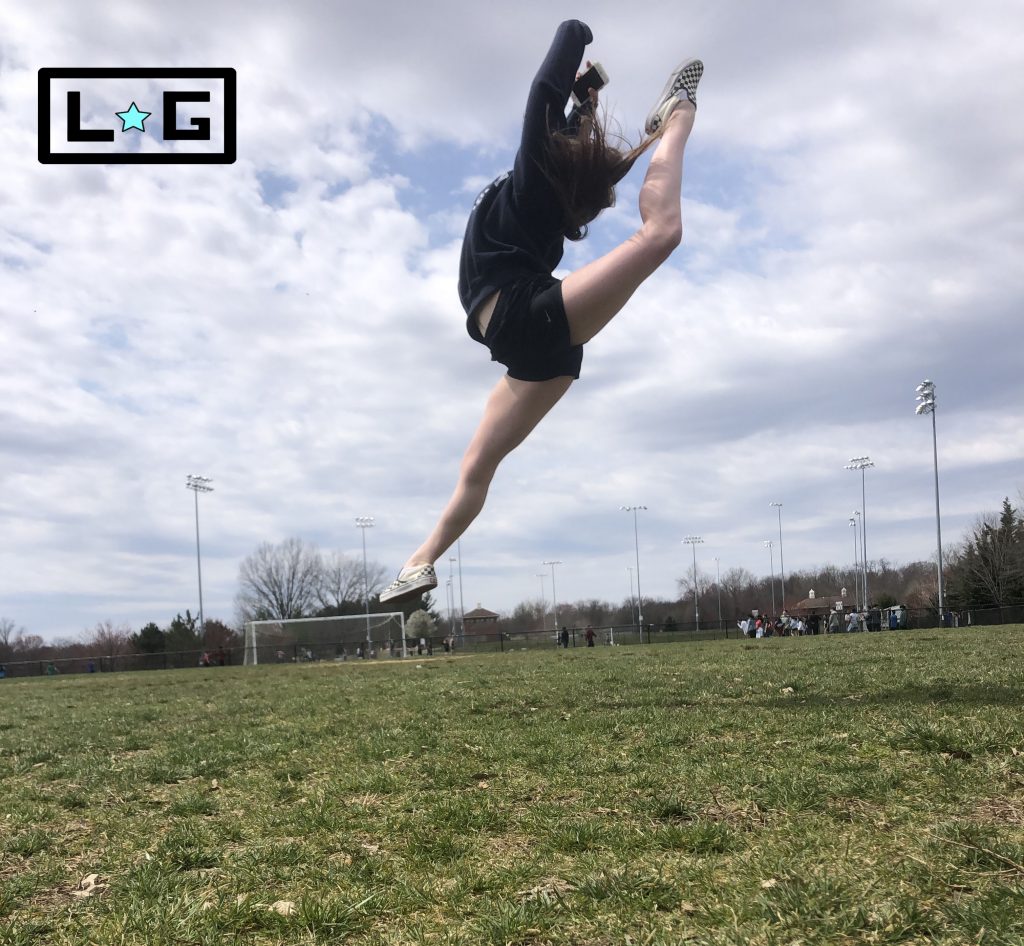
For this project, we took pictures of objects in motion, mostly people. The main point of the project was to keep the photo in focus, while the motion was being performed. The action we were doing had to be something that cannot be posed, like a person jumping through the air. To make sure the photos were not blurry and in focus, I used the burst feature on my phone to get many photos taken together in the same amount of time. I would recommend to try a variety of things when taking action photos and to be patient, because sometimes it takes a few tries to get the shot you want. If I could I would photograph soccer and take action pictures during a soccer game. I would take pictures of a soccer game because there are many different opportunities for creative photos and things that cannot be staged.

Click here to find the rest of my photos.

Action Photos

In this project, it was my duty to capture motion in a photo. For example, if someone were to be jumping, I’d have to capture them in mid-air as they go up or come down. While my phone doesn’t have specific settings to help capture the action photos, I did use the burst mode. The burst function captures a bundle of photos, compresses it into 1, and you can choose which photo(s) to keep. One tip that I have for anyone who would like to try out this project is to make sure it isn’t staged, so that it isn’t someone faking a run or doing a pose. Make sure the motion is actually happening and it will capture the motion as is. One sport that would be really good to include for this project could be soccer. From heading a soccer ball, kicking it, and punting it, this sport can demonstrate many different forms of motion. To view more photos of this project, go to this link!

Action

For this project, we needed to catch someone in action. For example, someone jumping. On an iPhone, we needed to capture the movement through the burst setting. We then chose one picture from the burst of the person in action. For someone taking action photos, I would tell them to make the picture and movement unique and different from what you normally do. We also needed to take multiple photos and stack them together in Photoshop. I would enjoy taking a picture of someone riding in a 1978, Volkswagen Beetle because I really like that car.

Here is one of my favorite photos.

Click here for more pictures.

Framing

For this project we had to take pictures of people or objects in a “frame”. The frame could have been objects such as windows, doorways, or in between tree branches, etc. This project compares to the rule of thirds because they both use lines to force you to focus on the subject. These projects are also different because the rule of thirds use imaginary lines while this project uses visible lines to focus on your subject. The biggest challenge of this project was the lighting, sometimes we had really good spots to take pictures but sometimes not.

Click here for my pictures.

Rule of Thirds

When taking my photos for the rule of thirds, I used the grid on the camera. Using the grid, I lined up my person and/ my objects on one third of the grid on my camera. Your eye automatically focuses on the rule of thirds. In this project, it was hard to edit the photos so that the object or person is exactly on the rule of thirds. Before this project, I had no clue what the rule of thirds was, but now, I can use it with any pictures I take.

Click here for my photos

Framing Your Subject

In this project we had to frame our subject in between 2 objects. We had less freedom than with the Rule of Thirds because we had to have it in between things and we couldn’t just take pictures of whatever we wanted. It was hard to find good objects to put our subjects in between but in the end we used a lot of fences and trees. This is my favorite picture because I like the contrast of the colors of the shirt with the ground and the rest of the picture.

Here is the link to the folder with all the images.

Framing Subject

I used Rule of Thirds in this protect, which played an important role in this project.  I chose a satisfactory photo and the girl worked well with the "border". But I think the most important thing is that her smile is very appealing. In this project, I think the hardest part is composition, because I am not skilled in using the three-point method.
My Photos

Black Background

In this project, we had to make it look like there was an infinite black background. In order to get the right lighting, we had to put the light on the person, instead of behind. One thing that didn’t work was taking the picture far away from the person so it wouldn’t mess the lighting up. one thing which was easy was focusing on the subject better than in the white background post. It was hard because the light was really bright.

Click here for more pics.