Portrait with White Background

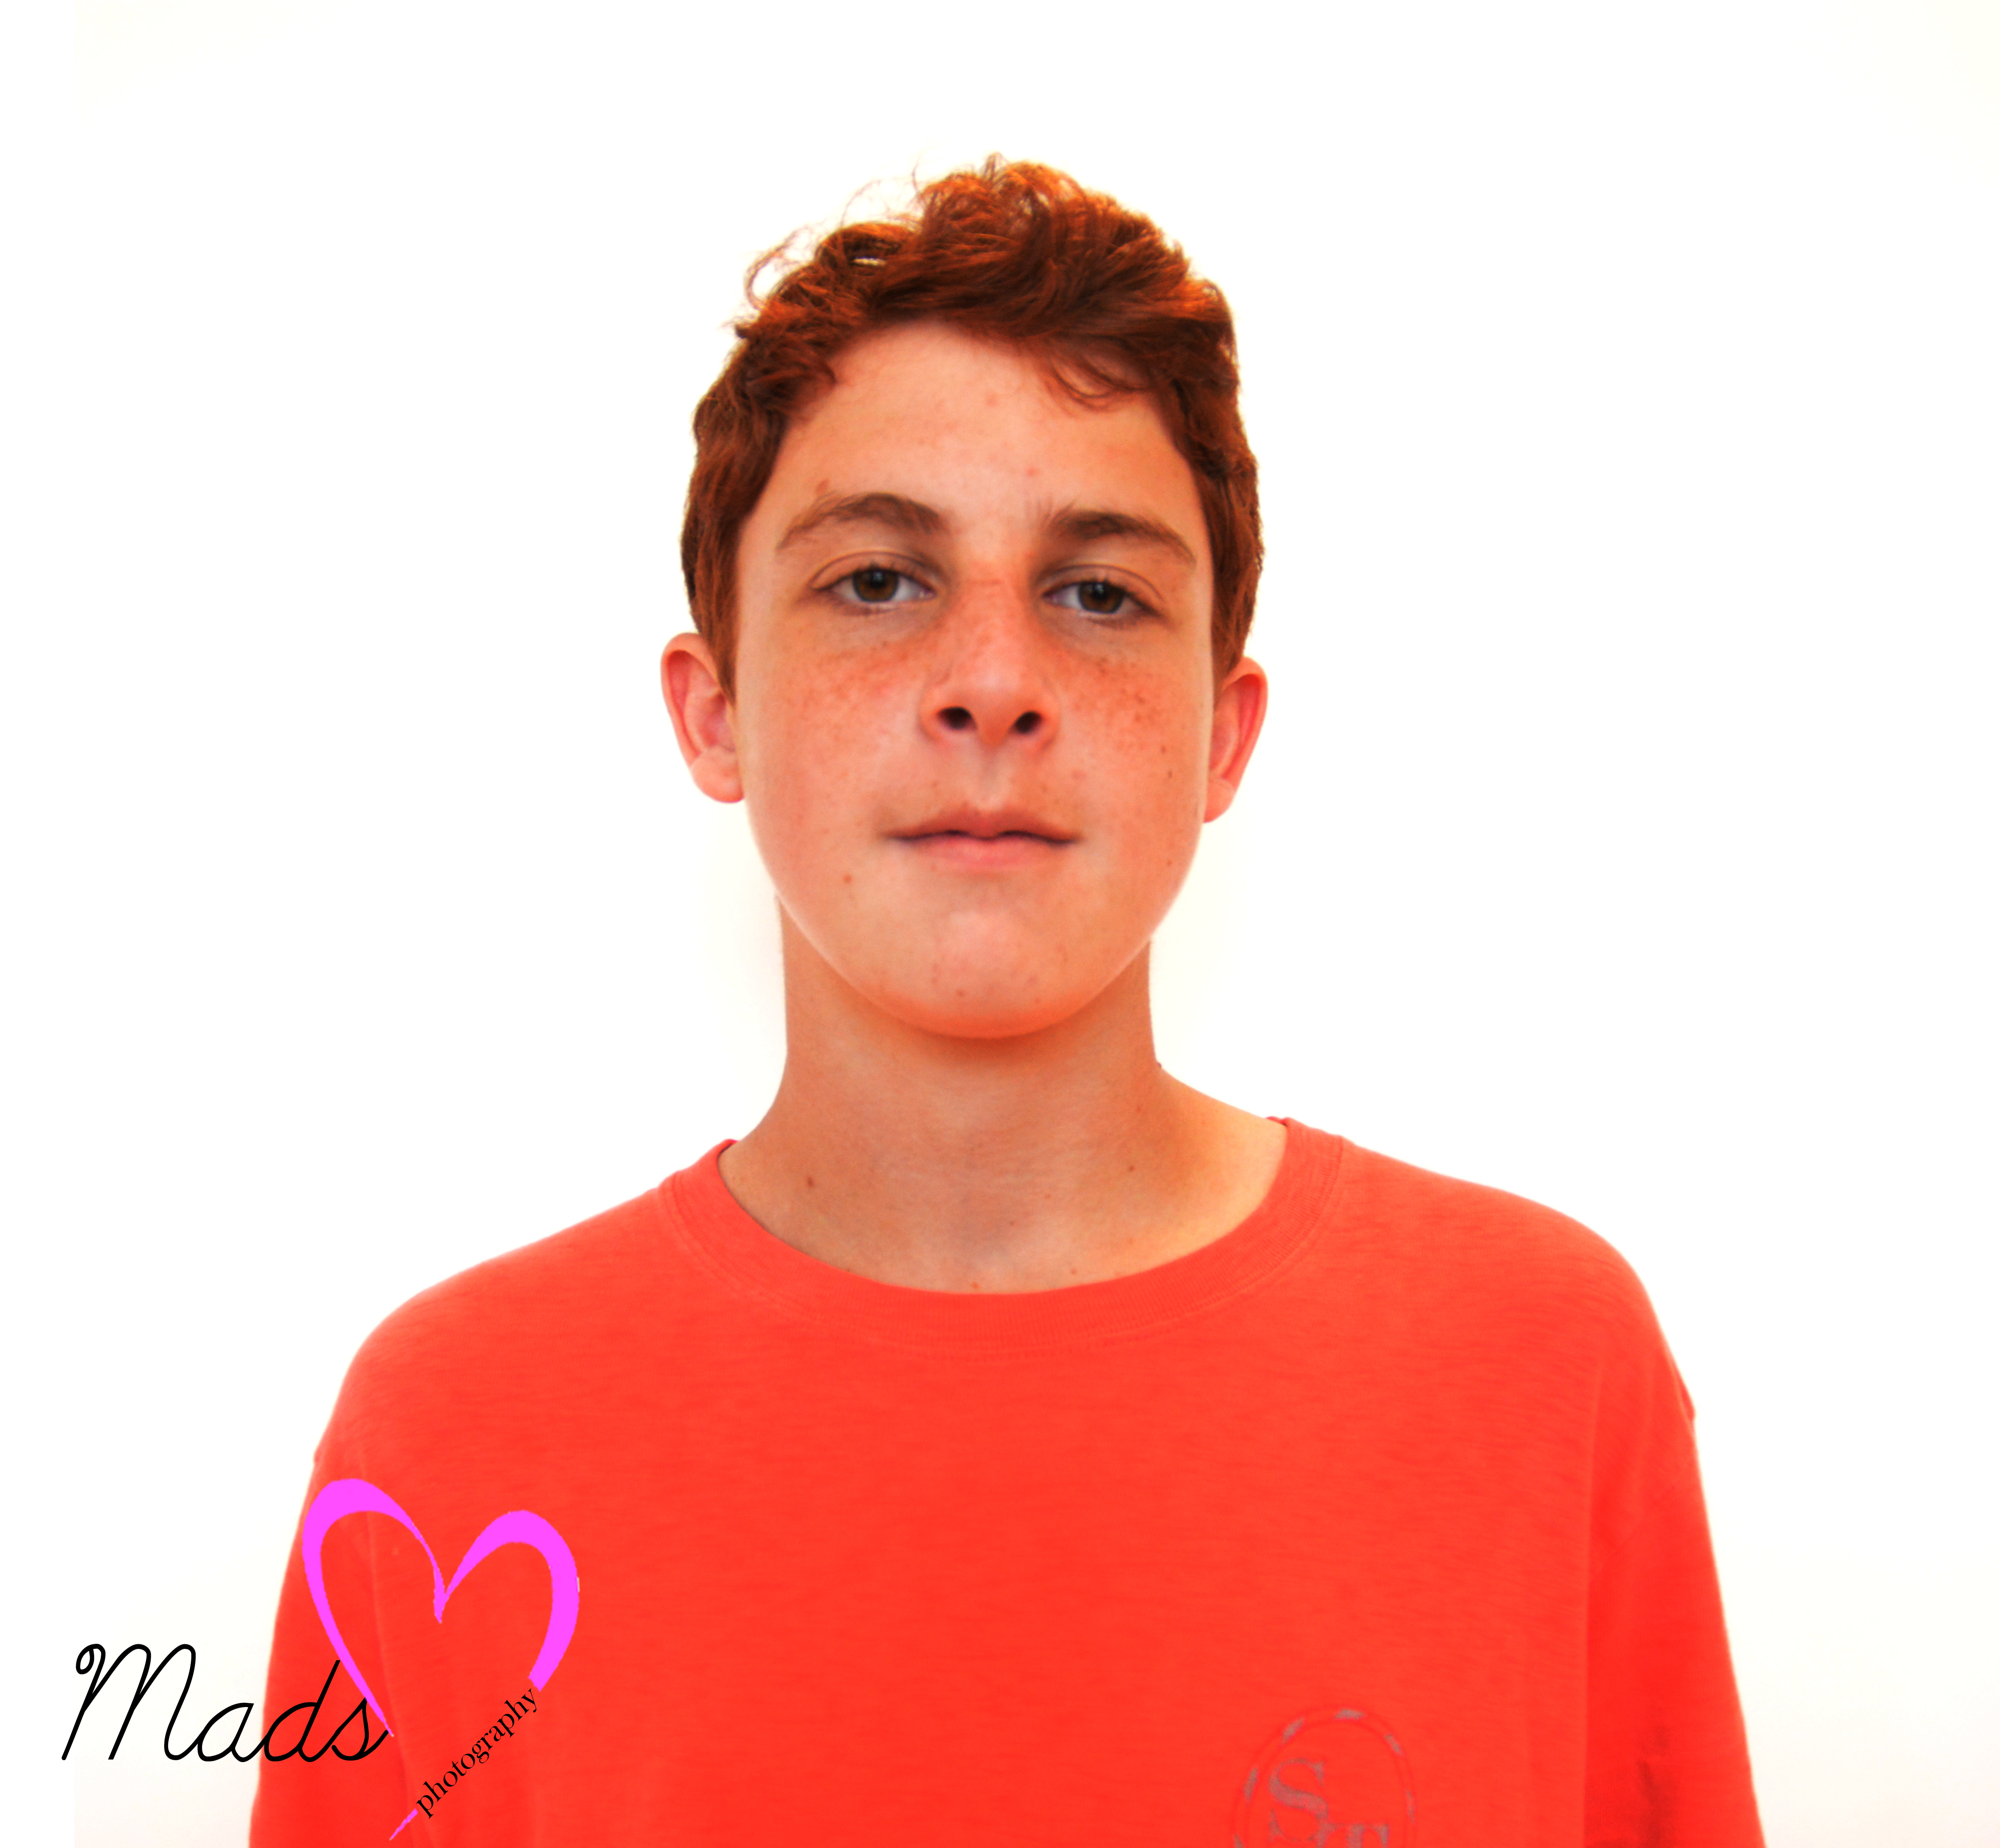
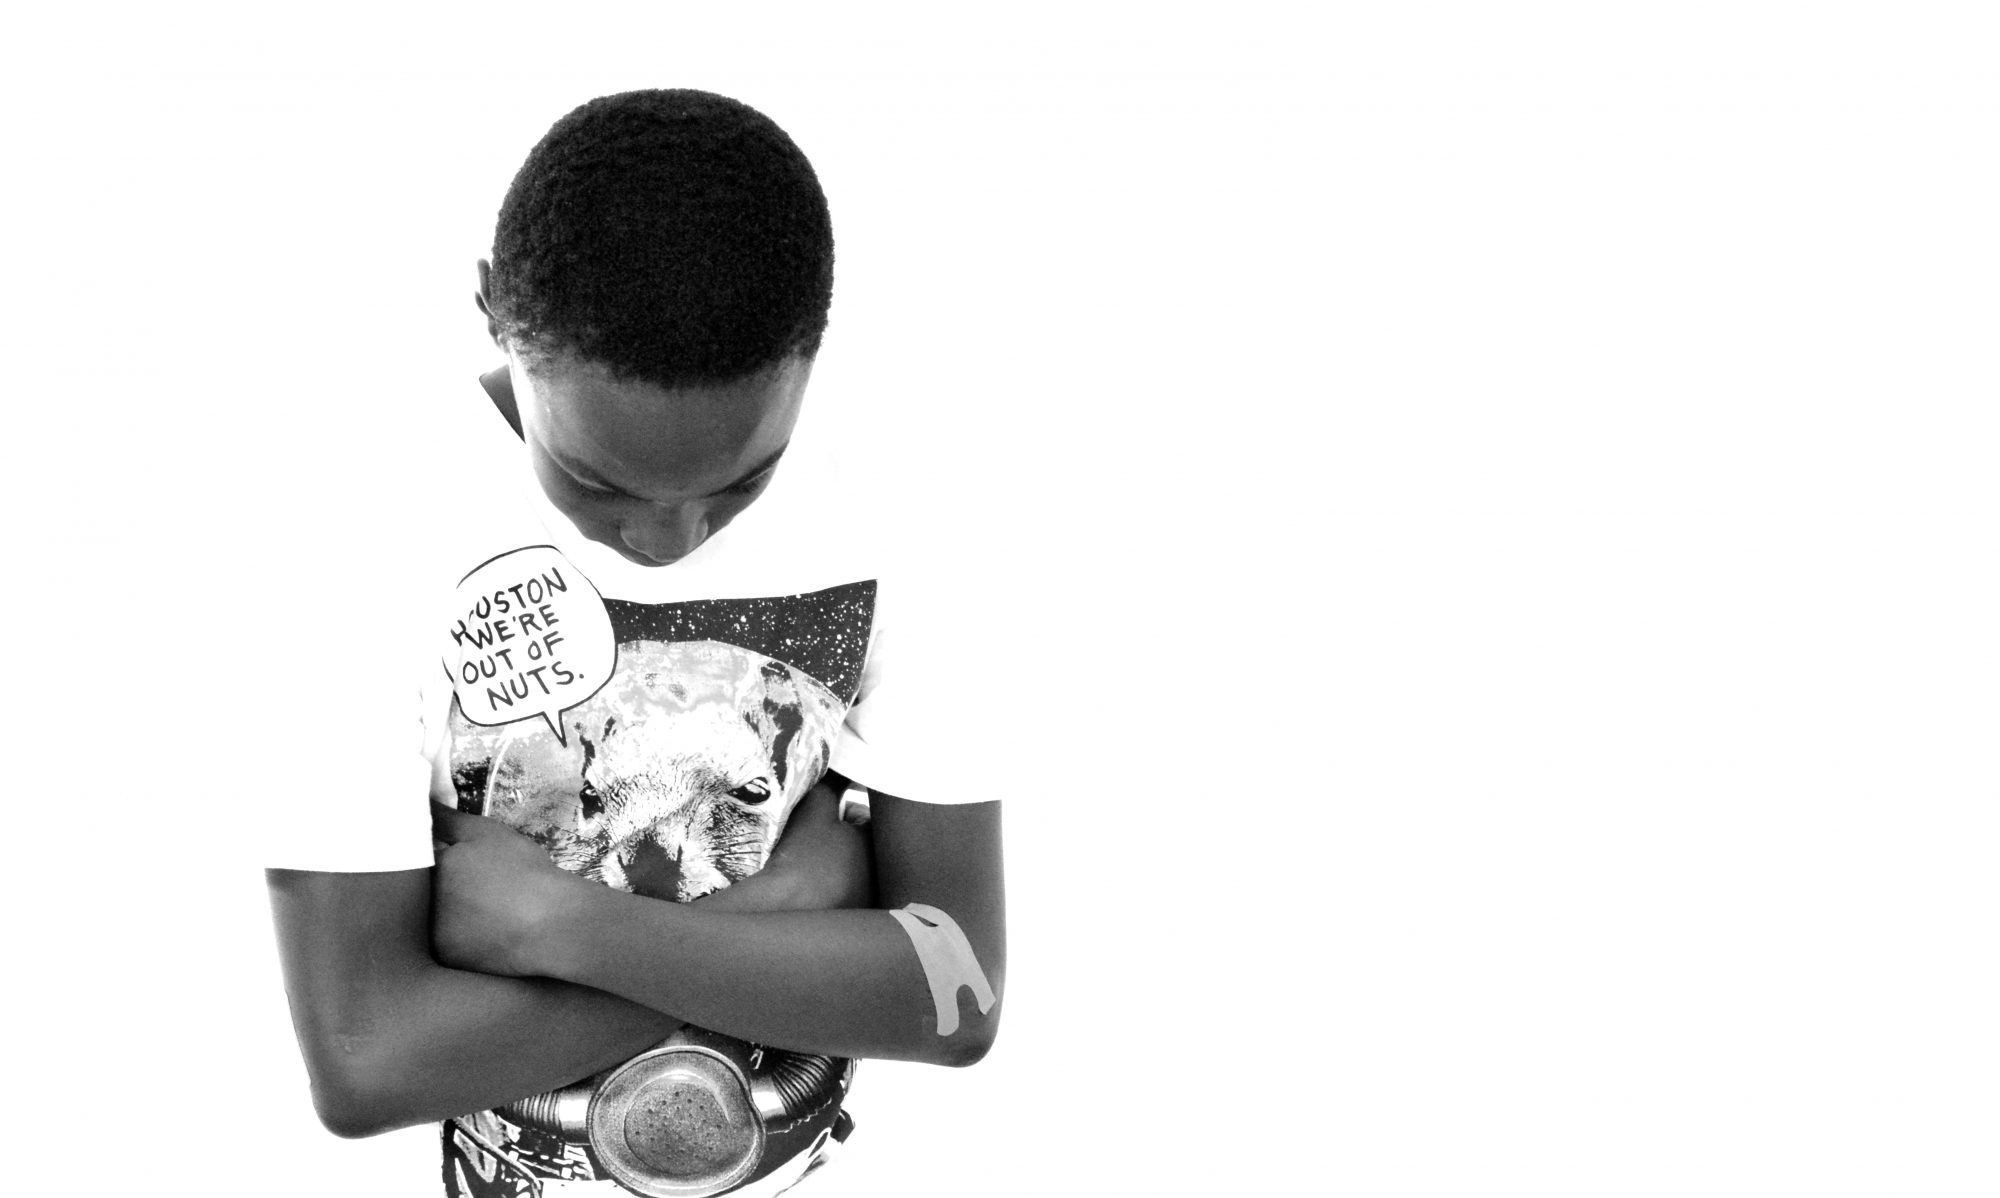
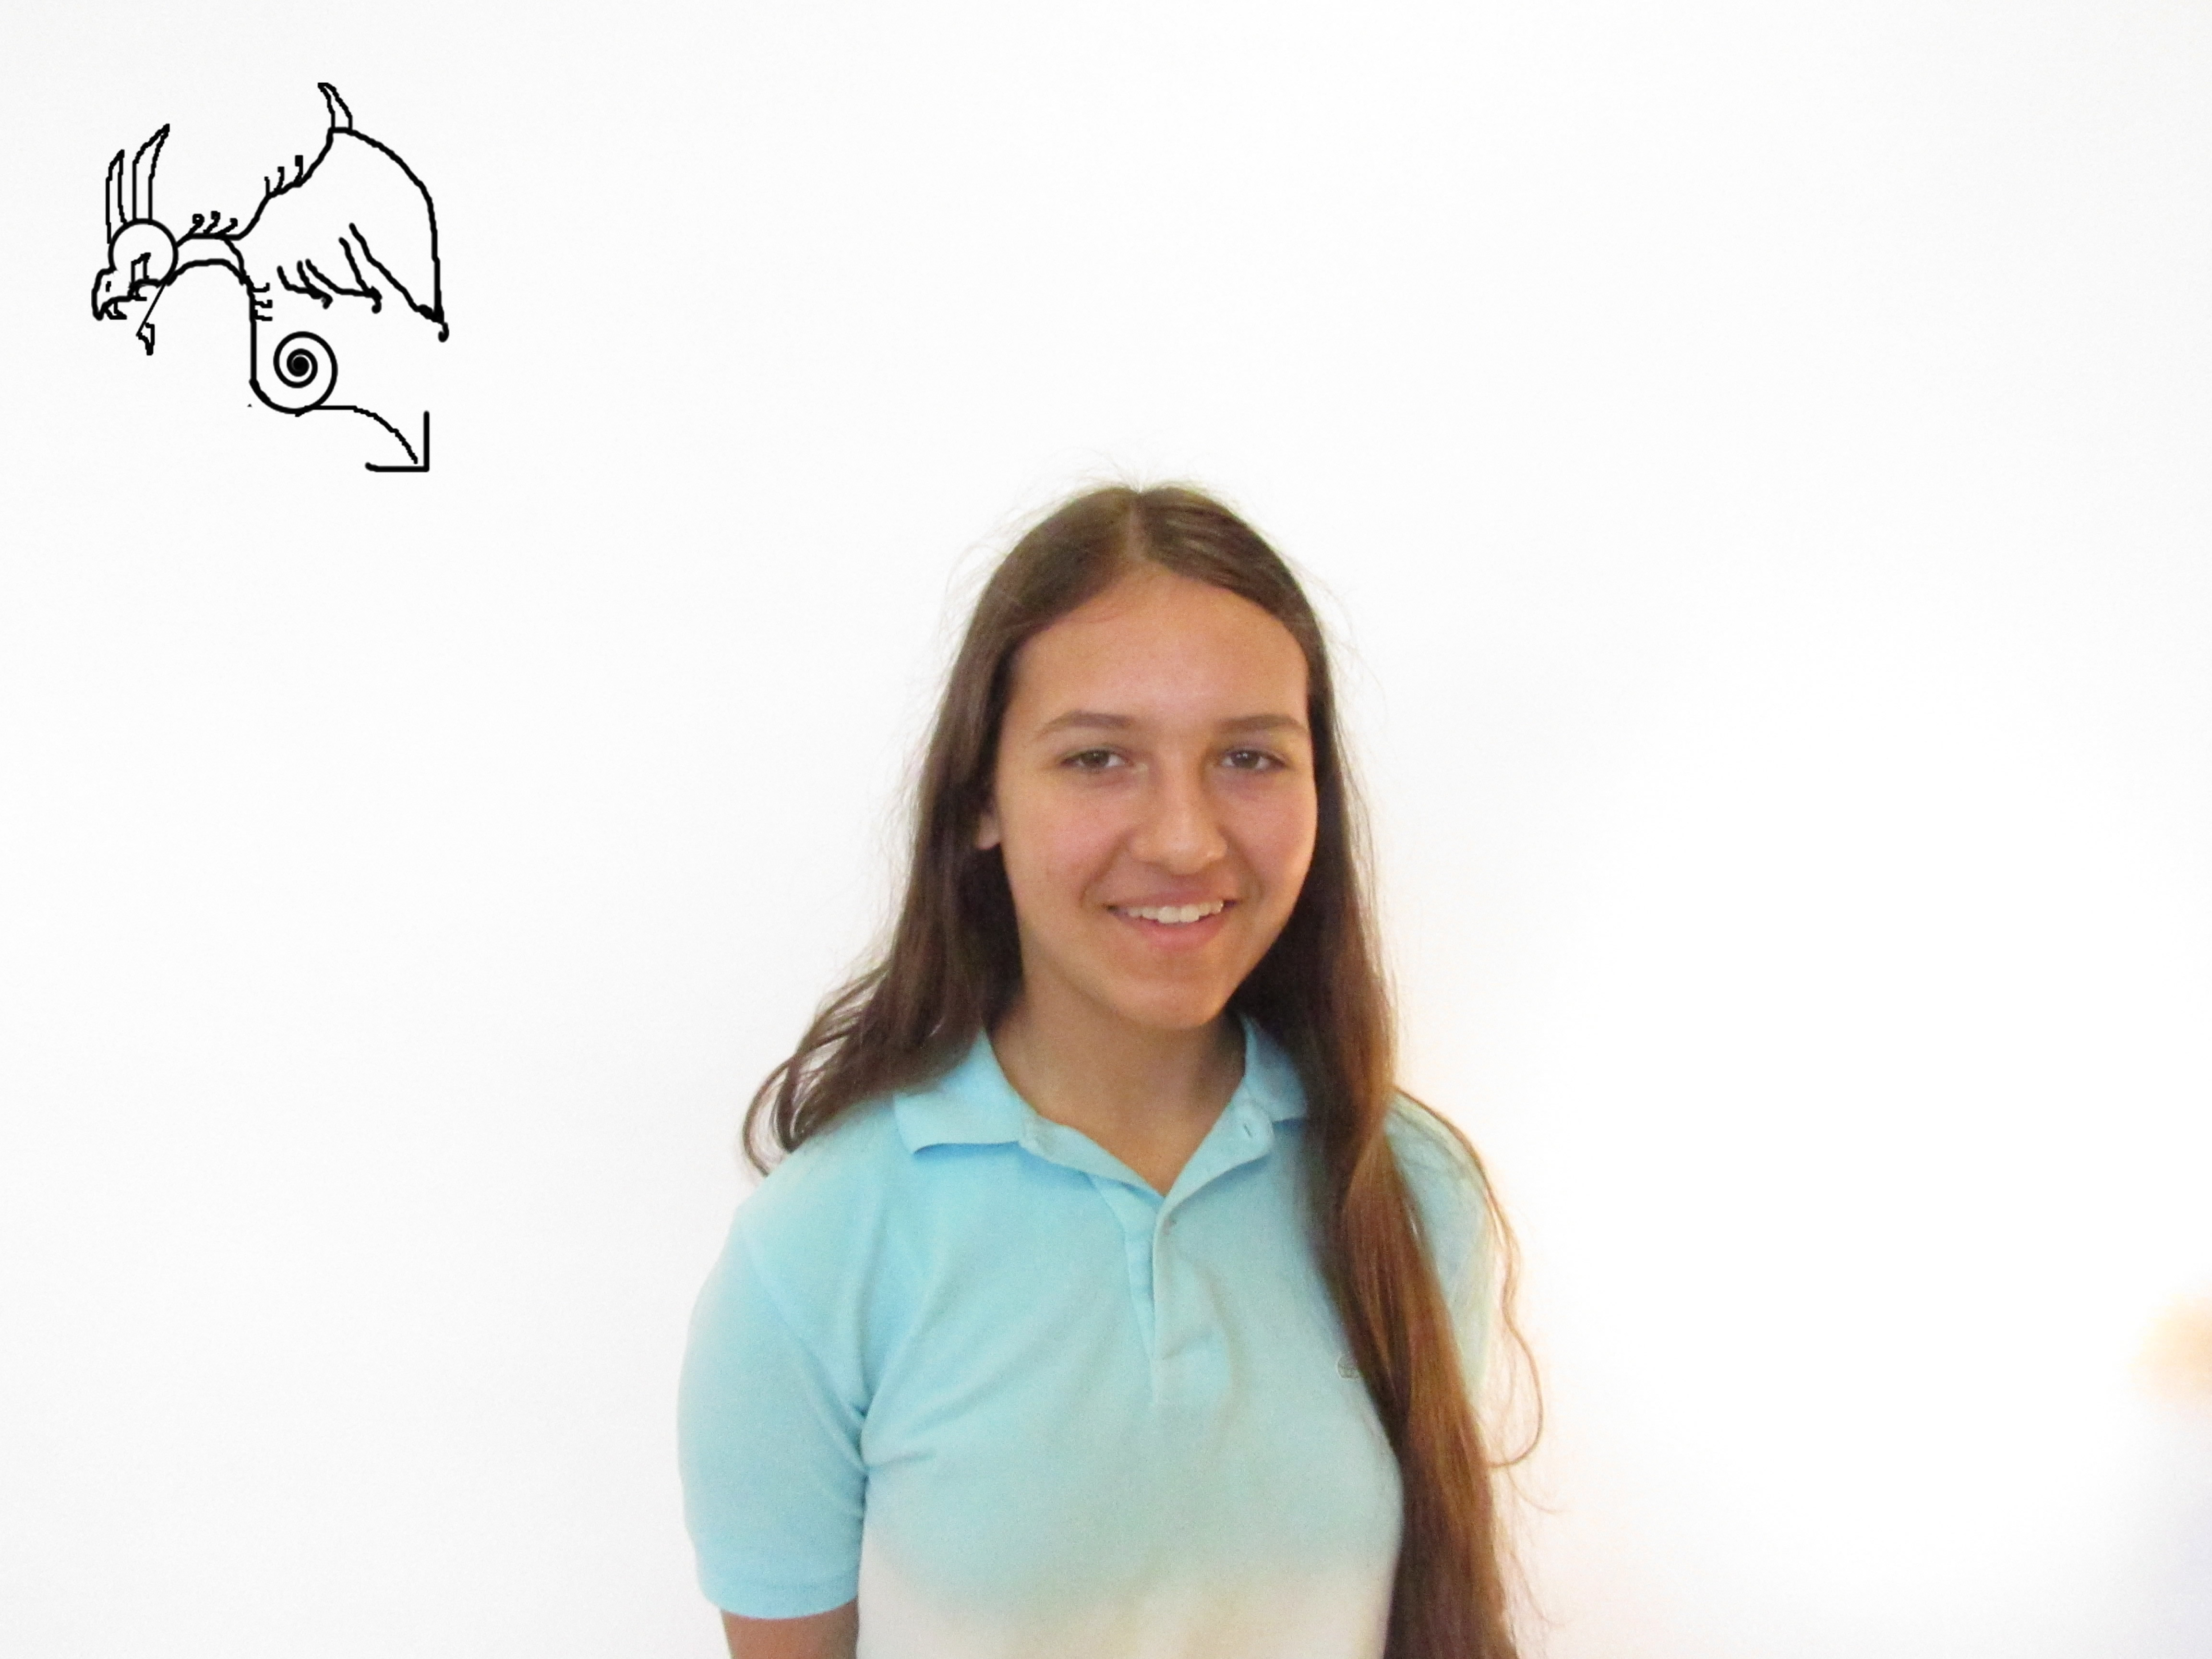
This assignment was pretty unique from the other projects. In this one, we had to take a picture of a person with a white background then edit the photo via photo shop. This makes the background look infinite or like there’s nothing there. To take a picture, we had to use the manual setting and take in the perfect amount of lighting and quality using ISO and shutter speed. Then we took the photo to photo shop, made the background lighter, the person a little darker, crop out the leftover shadows, and vola. The pictures turned out perfect and it worked really well. It took a while to edit all our photos however, and we needed to fix many mistakes along the way, but it’s all good now. 

Portraits with an Infinite Background

For this project I had to change the ISO, Shutter speed, and the F-stop of the camera to create a background that looks infinite. Also,we had to mess with the photo in Photoshop to make the background look more “Infinite”. What worked was placing the light source behind the object so it doesn’t create shadows. What didn’t work was when someone was behind the background and it created a shadow. See the rest of my portraits here

Portraits

To take the portraits we had to use a white background and I needed to use Photoshop to help make the background whiter. What worked was using good natural lighting and what didn’t work was using a lots of normal lighting. Link Here

Portraits with an Infinite Background

The process of taking these photos consist of taking a portrait using different camera settings in front of a white background. After we took our photos, we went to photo shop to edit them. In photo shop, we could change the colors of the photos, and we can change the lighting of the photos. Then, after I had the edited photos, I went to fireworks to add my logo.  The lighting worked for this assignment. We found out that natural lighting coming from outside, was the best lighting to use for this project. However, sometimes the settings wouldn’t work. We had to learn to adjust the camera settings everyday so that you could get the effect of having an infinite background. Click here to see the rest of our group photos, here.

Portraits

We took photos against the white screen so that we could edit them to be black and white easily. We were easily able to take the pictures(once my group finally agreed to participate) because we didn’t see any need for the light, because the settings we used for the camera made it just bright enough, which made it easier to take a picture without someone obstructing the view, trying to hold up a light. There wasn’t much that didn’t work, other than some technical difficulties with my computer.

See the photos here

5 Camera Angles

This project was about taking pictures of 5 different angles of an object. The project wasn’t that easy to accomplish. Some challenges I faced was finding the right angles of each object to make the pictures look good. I also struggled with finding the right object to take my pictures of. Although these two things were challenging, I found that taking pictures of object was easier that taking pictures of people. The most challenging thing that I had to take a picture of was of my sister. 

If you want to see more click on this.

1 Object, 5 Shots

For this assignment we had to find 2 objects and a person and take 5 pictures of each object from different angles. The challenges were finding a person i can take a picture. Also the person was the hardest because they had to stand still and it was hard for my person. This project helped me learn that you don’t have to use the same angle for every Picture. here

5 Shots

During this assignment, we had to take 5 pictures each of three, unmoved objects. It sounds pretty straight forward and simple, however the purpose of the lesson is for each photo to be at a different angle and camera position. This means that each photo has to show a different side or view of the object without moving it, but only moving the camera around. The challenging part of the project was to get the camera into a position so I could take a picture of (mostly the back) of the objects. It was very fun and interesting to see how the background, source of lighting, and position influenced each outcome of the photo. My favorite set of photos are the ones with my sister in it because she is the best person in my life. The assignment helped me know how to make pictures more eye-catching and interesting to look at. I really enjoyed this project and can’t wait to see what I’ll have to do next!                                                                                                             -Marie Valouiski

Here’s the link for my photos.

1 Object 5 Shots

For this assignment, we were told to take a picture of an object from 5 different angles. During this project, a problem I had was coming up with different ideas for angles and places to take the pictures from. The plant was the hardest because it was in a corner so I couldn’t move all the way around it. This project taught me a lot about taking good photos. If you want to see my photos, click here

24 Crayons

We were given an assignment to take a piture of 24 different crayons where the crayon matched the background. This project is challenging because its hard to fine colors for the backgrounds that match. NOTHING ABOUT THIS WAS EASY.