Rule of Thirds

My favorite photo with a person.
My favorite photo of an inanimate object.
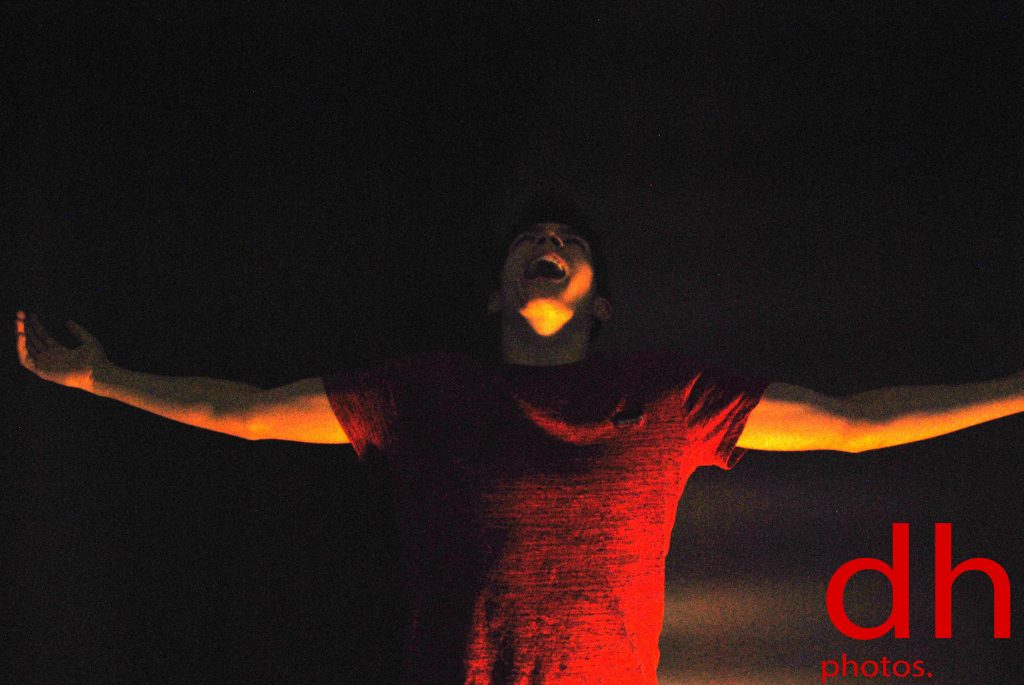
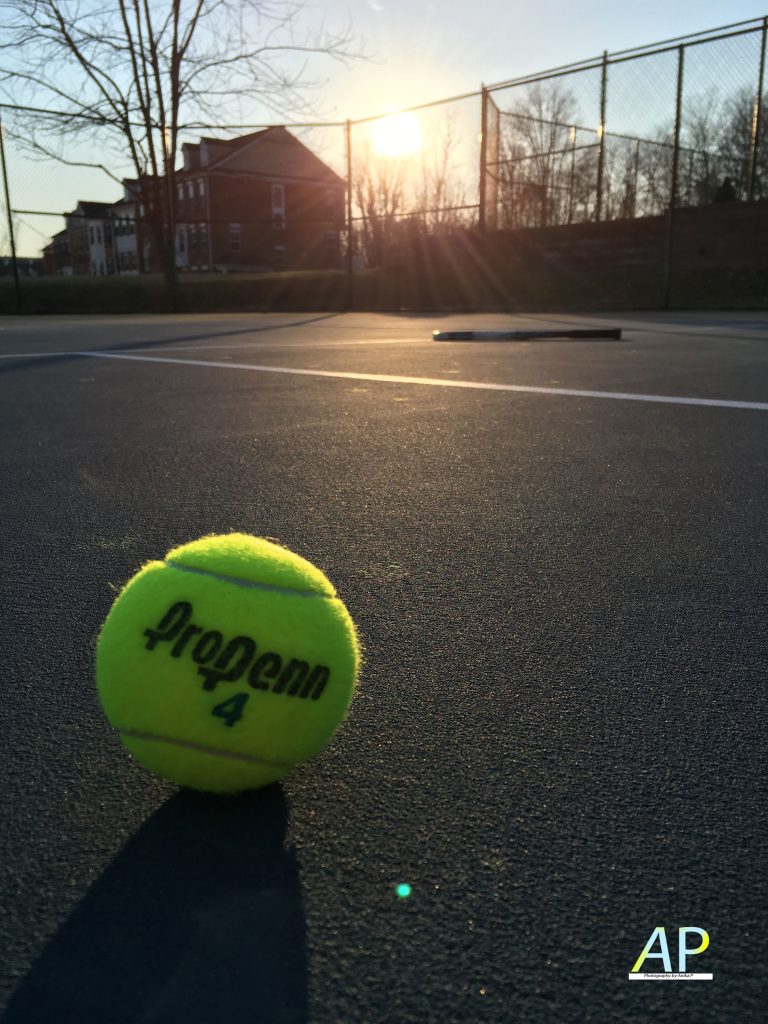
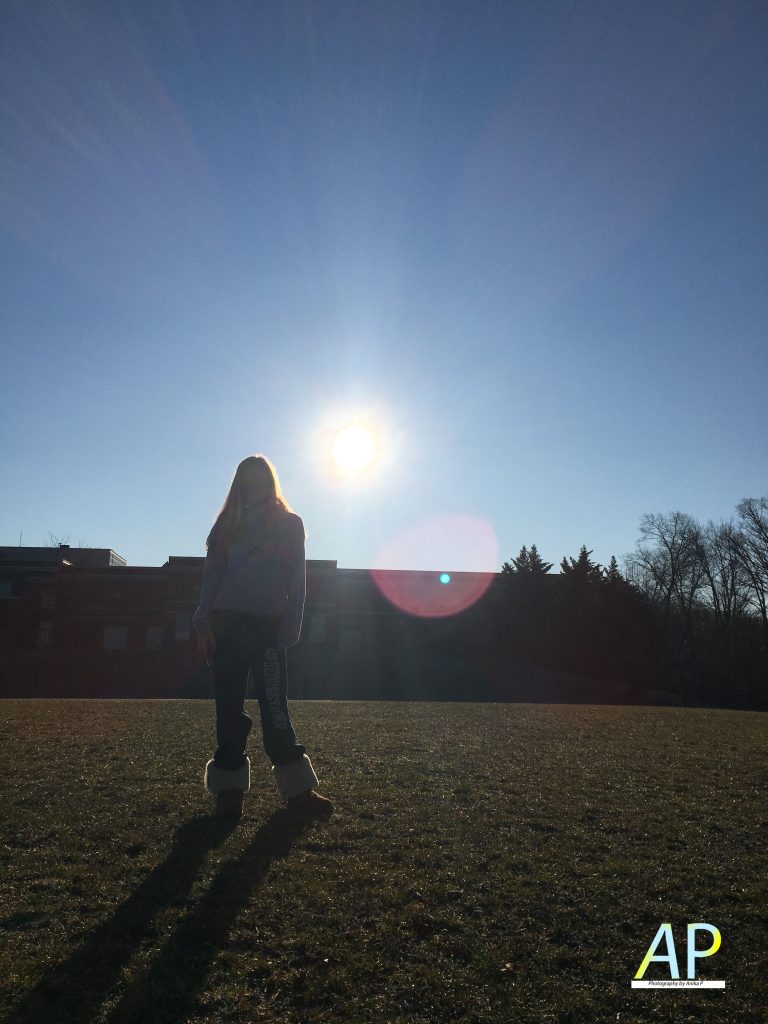
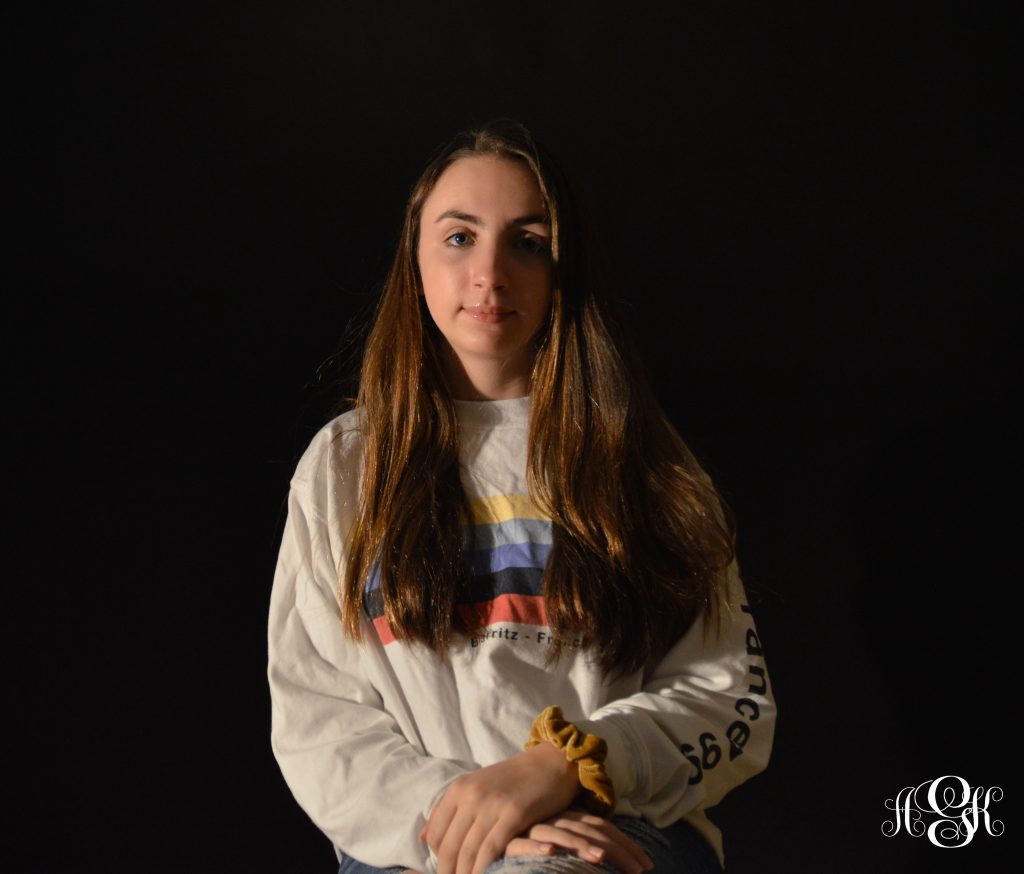
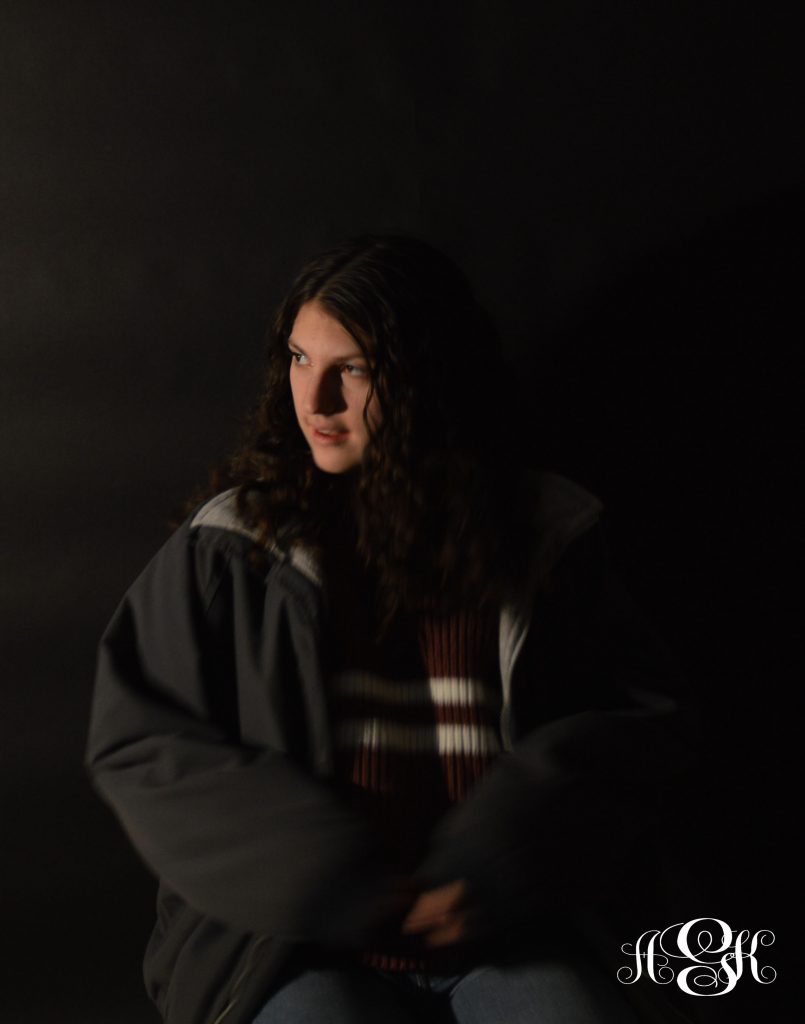
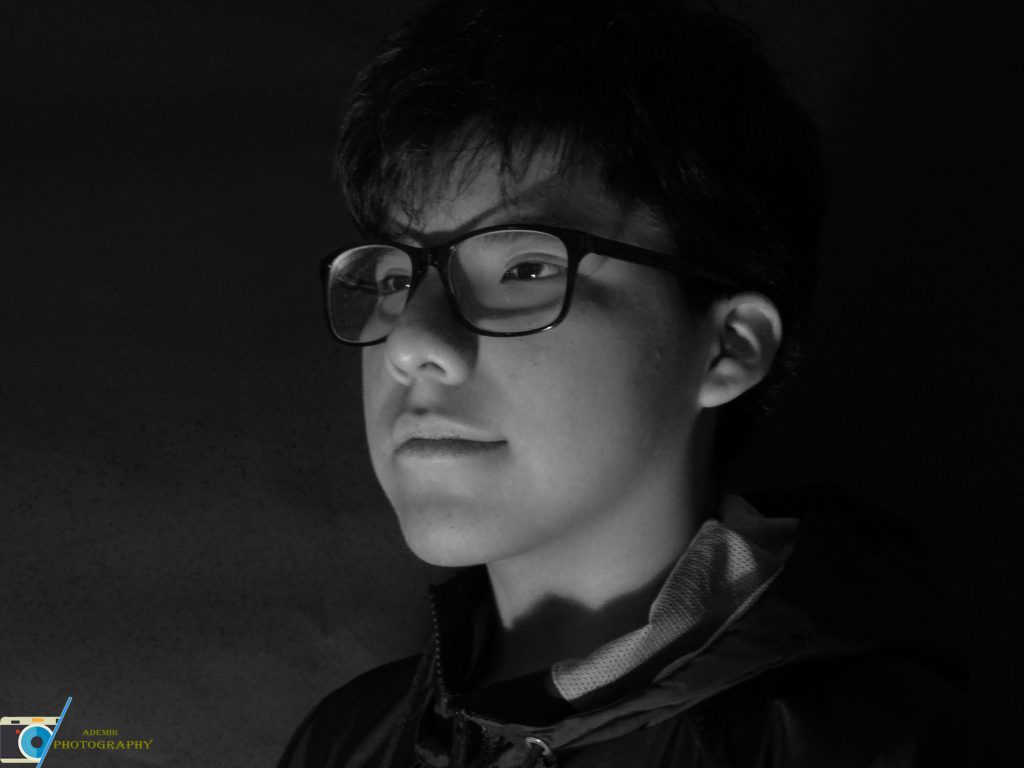
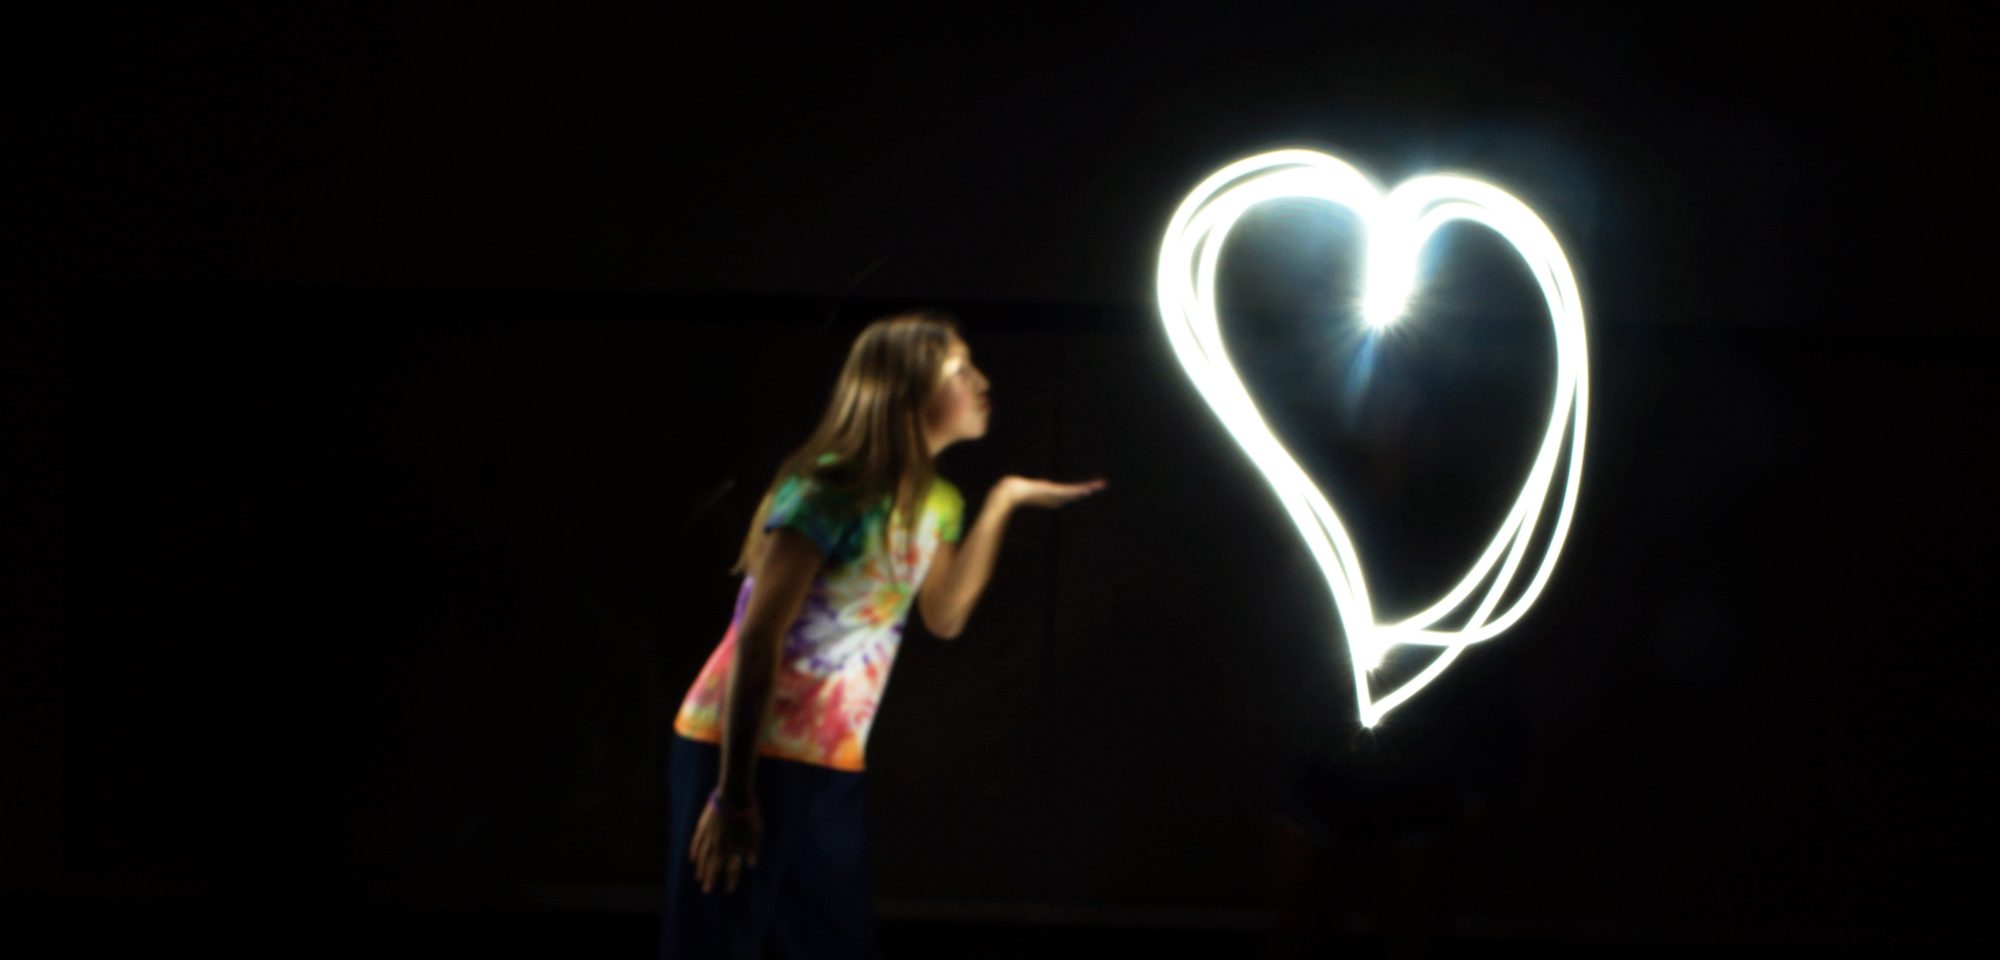
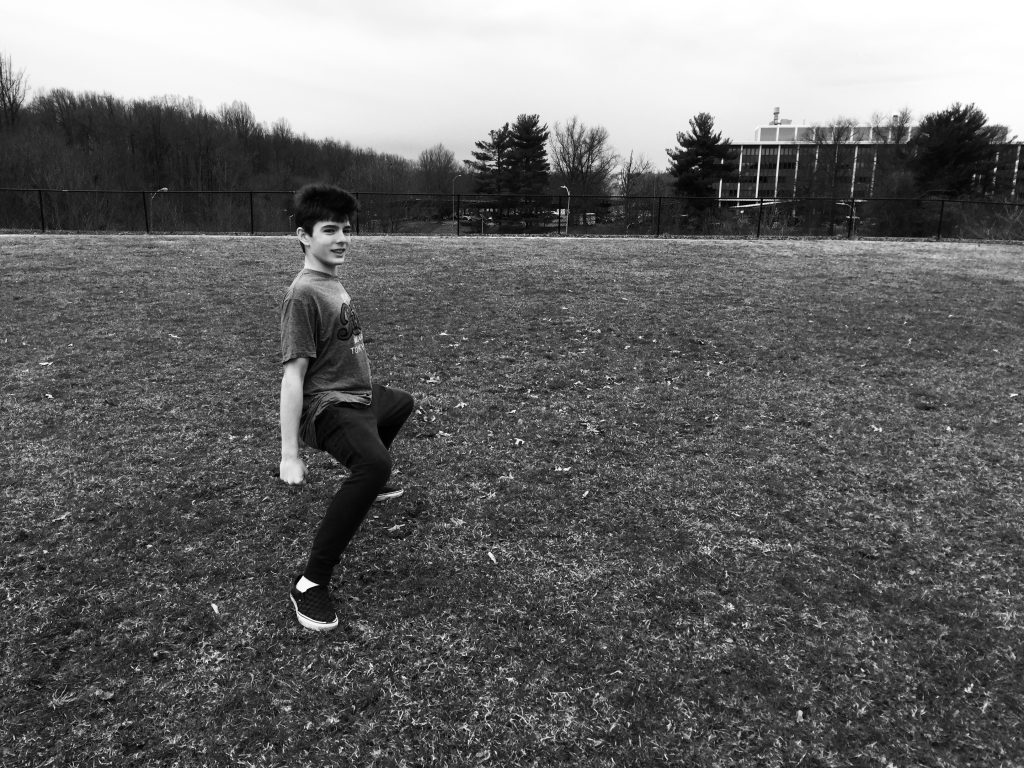
  • The angles that worked for me were the right line and the left line. I thought that this project was very interesting, and further along the line, i thought it was fun. I used the left line and the right line the most, these lines are imaginary lines that divide a picture into a tic-tac-toe board. If you line up what the focus is with those lines and points, the picture looks better.

Rule of Thirds photos.

Black and White Backgrounds

We were not give any post instructions. What I did with my photos is I didn’t actually make them ‘black and white’, I just messed with some curves.

What really worked was making sure that there was the right amount of light, and making sure it hits the person right. Not doing the light right really messed with the shot.

white backgrounds

black backgrounds

Rule of Thirds

This project was rule of thirds. Rule of thirds is when you take a photo, the object that first catches your eye is on one of the lines on the grid or one of the points. It is not supposed to be in the center! For me, it was easy to find the line for the object to be on, but hard to make sure everything in the background was straight and lined up. I really like this project and I learned how to make my photos more interesting. At the beginning of the project, I did not like it because it was so hard to make everything in the background straight. But I eventually got it down. In the photo above, I used the bottom horizontal line and in the one below, I used the two vertical lines. To conclude, I really liked this project and in the future I will use this more!

Click here to see the rest of my photos.

Rule of Thirds

For my Rule of Thirds project, I took pictures of people and things at a distance and on a grid in which they were lined up with the lines or at a point. Some things that worked were making sure that the objects were at a distance. The challenging part of this project was making sure that nobody else was in our shot, otherwise it would’ve taken away the most important part of the picture. I enjoyed the project from the beginning. It was really fun to take photos of landscapes and people. The grid lines were used to line up our main object with a point or with one of the lines on the grid. I set up my photos by lining up the object with the lines on the grid or placing it on a point on the grid.

Click here to see the rest of my photos!

Portraits with an Infinite Background

In this project we had to use a white background and we had to shine a spotlight on the background in order to prevent shadows. I think this project was very hard. We had to get the right angle in order to prevent having a shadow. Then when I was editing I liked the black and white pictures which is why I kept them all black and white. For some of the pictures I had to make their faces much less orange. For our pictures we had a much higher ISO and a much shorter shutter speed. Making sure the color wasn’t to blown out was more difficult because having a slower shutter speed would attract much more light to the photo.

Click here to see white background photos

In this project we had to shine all the light on the person in order to see the person since the main lights were off. In the project I found that using lower ISO and a slower shutter speed. I found that getting the light perfectly on the person was the most difficult.

Click here to see black background photos

Endless Background

To take the photos we had to turn the lights off (for the black one) and adjust the ISO. To edit the photos I cropped both black and white background and for the white background, I made the pictures black and white. When we used the light on the black background directly it would cause light spots. When we put a sheet of paper on the back of the light it lit up us and not the background. White background pictures here.
Black background pictures here.


Black Background

For this project, we had to use the camera on manual mode and mess around with the ISO. The ISO had to be low to create an infinite black background. What didn´t work was having a high ISO because it didn´t turn out well, but what did work were the angles the lights were placed. Click here to view more

Portraits with an Infinite Background

This project was the hardest for me so far. We had to change our camera settings to manual so we choose everything. For this project, we had to change the Shutter Speed and ISO. Shutter Speed is how long the camera is taking the picture. You will know how long it is because it will take that long for the camera to click. The shutter speed for the white photo was quick and for the black it was longer. ISO is how much light is taken into the photo. For the white photo, we had to use a much higher one than the black. After we took the photo, we had to Photoshop them. For the white we had to make it lighter, and for the black we had to make it darker. Some things that worked for this project was the shutter speed. The shutter speed was the perfect time every time. The ISO, however, was very difficult. We had to adjust it for every person because everyone had different skin tones. It was hard to find the right one every time.

Click here to see the rest of my photos.