The rule of thirds is a graph on a camera that helps you focus on an object which helps you create interesting pictures. What worked was putting the object/person where two lines crossed and what didn’t work was putting the object/person in the middle. I think that the rule of thirds is going to improve the way I take pictures of things.
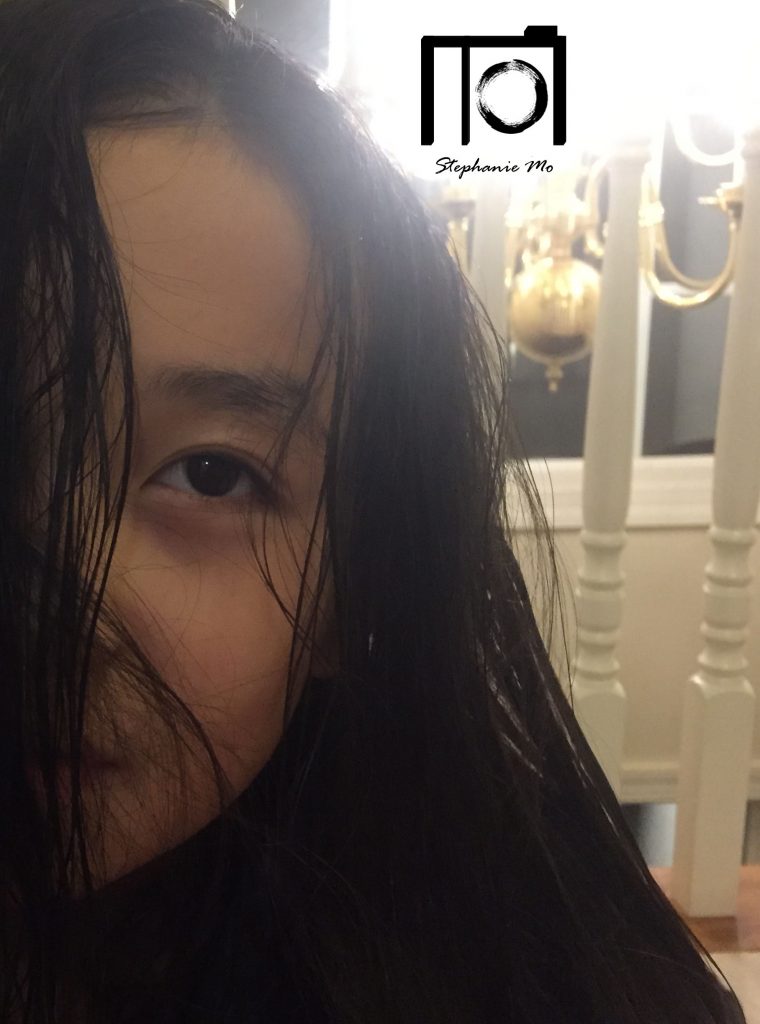
In this project, I had to take a picture of something from five different angles. It was hard to find a bunch of different pictures. I think the hardest subject to photograph was my sister because she kept moving and did not want to cooperate. This taught me that you can view many things from different perspectives. My favorite photo is the one down below. You can view the other photos here.
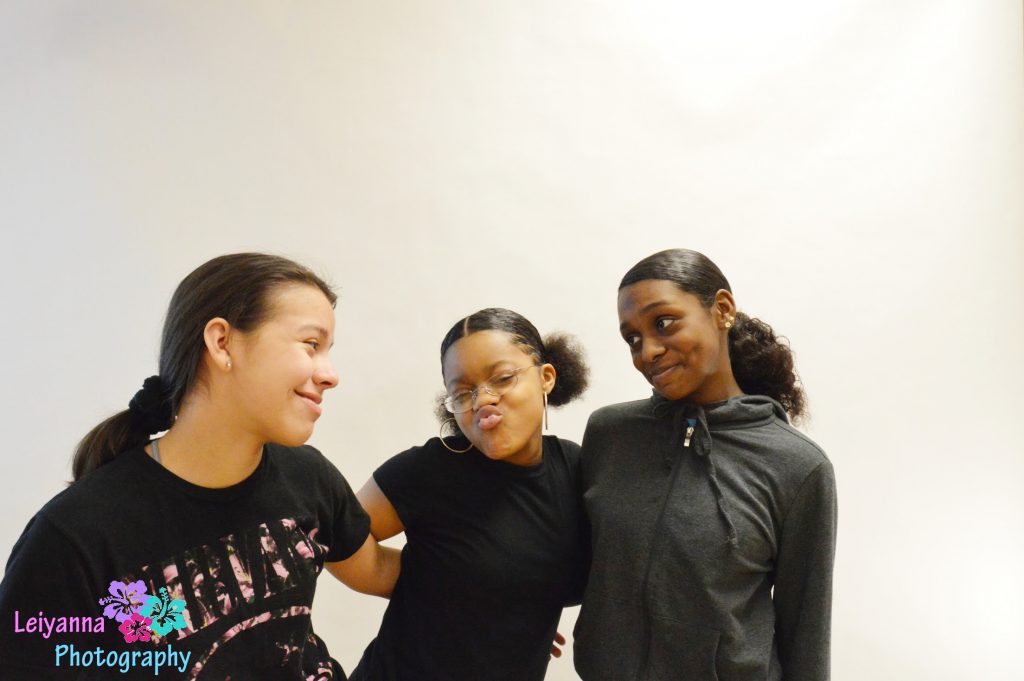
Cynthia, Kameran and Jordyn Mike MevoCynthia HernandezKameran Williams
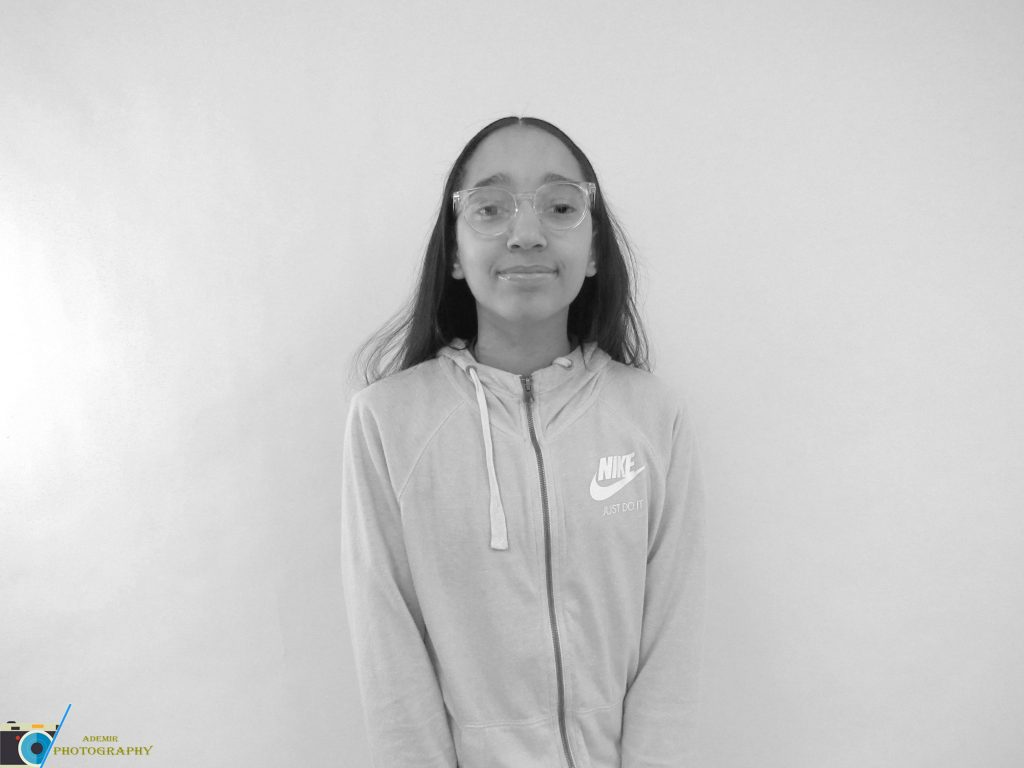
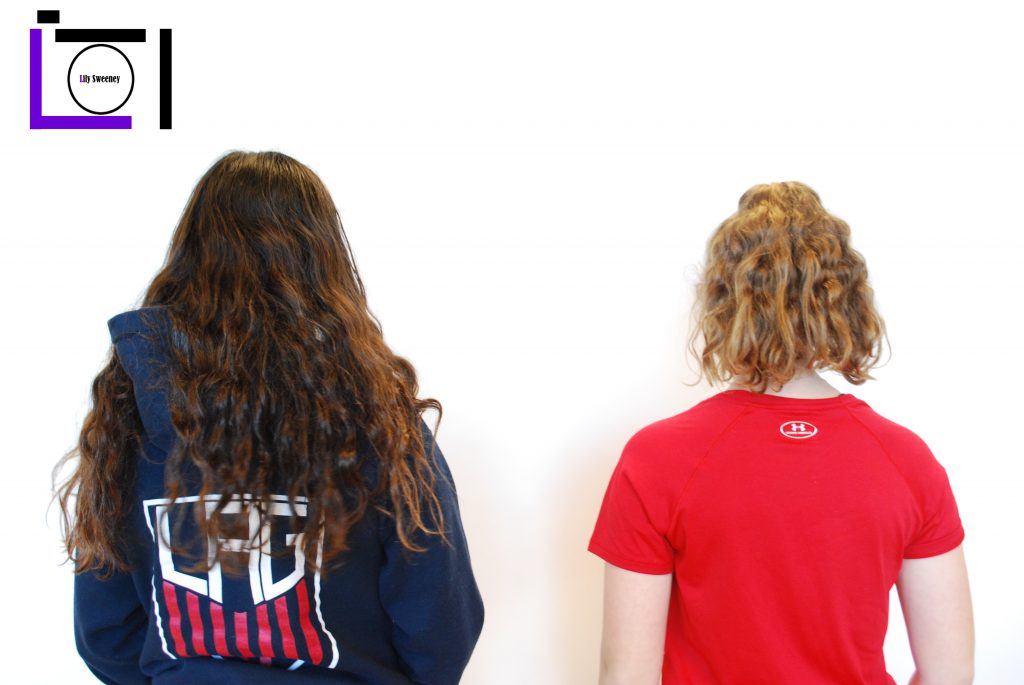
While taking the pictures with the white background, we stood in front of a bug white piece of paper and took our pictures. When we were done we used Photoshop to make the background infinite so that the shadows wont cast on the paper. Placing the light directly on the person caused the shadows to be more visible, but placing the light on the paper didn’t. We took many more pictures, to see them click here.
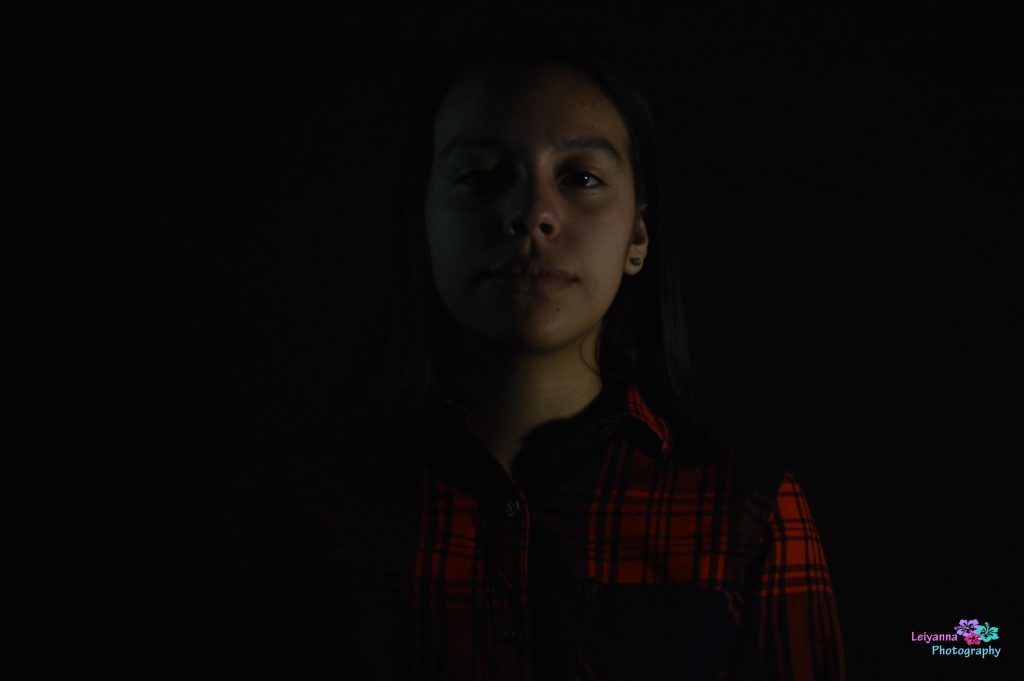
During this project, I used photo shop to edit my photos, including this one of course. The process of taking my photos was about 3-4 days at the most, and it took a lot of patience because of the limited amount of cameras available. One thing that worked for the black background was having the light facing closer to the back wall of the person, so that you could have more of the “infinite background” effect. One thing that didn’t work for the light background was when the light was too close to the right or the left of the wall, because you would be creating a shadow that you didn’t want. Click here to see the rest of my photos.
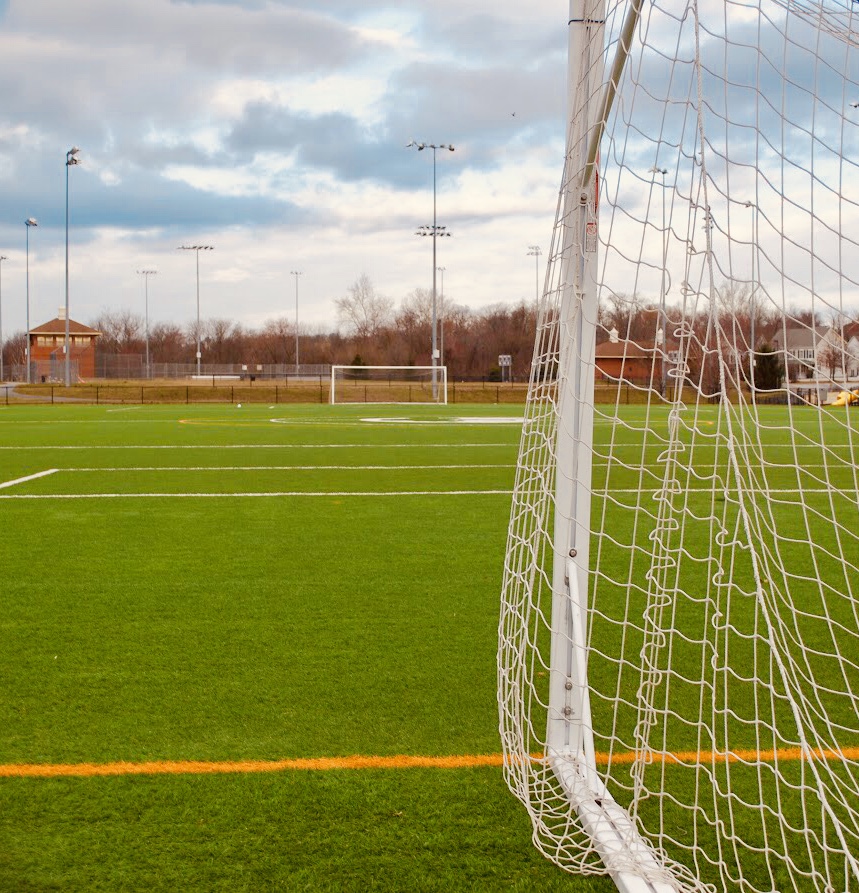
In this project, I took pictures of certain people and things using the grid on the camera, which are the lines that sometimes show up on phone cameras. I made sure that everything was composed so that the important subjects in the photo were in a third of the photo, whether it was horizontally in thirds or vertically in thirds. Something challenging in this project was that I needed to find interesting enough subjects to take pictures of. However, I think My favorite photo would probably be this one or another one with writing on it (you can click here to view the rest of the photos).
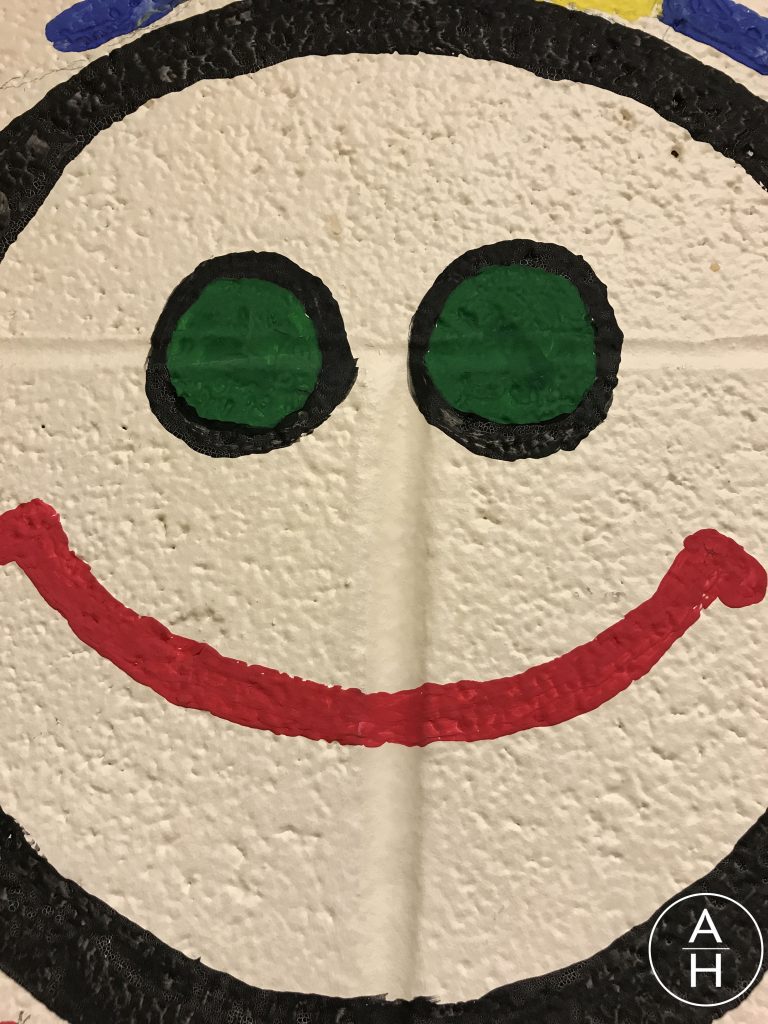
In this project, we took pictures using the rule of thirds. Rule of thirds is when there is a grid, and your subject is on a line or intersection of the grid. This causes the viewers eye to travel throughout the picture instead of looking at one place. Something that was difficult for me was figuring out what to take pictures of. It was easy to put the subject on line or intersection of the grid.
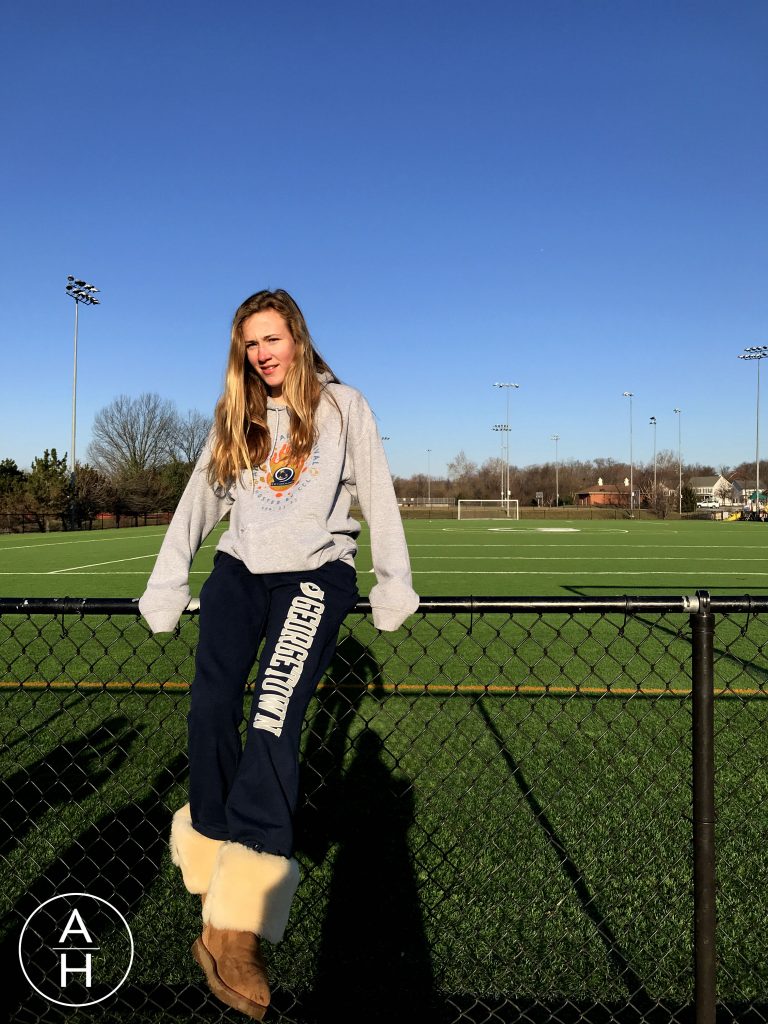
In this photo, I put the eyes of the smiley face on the intersections of the grid.In this photo, I put Madison on the left vertical line of the grid.
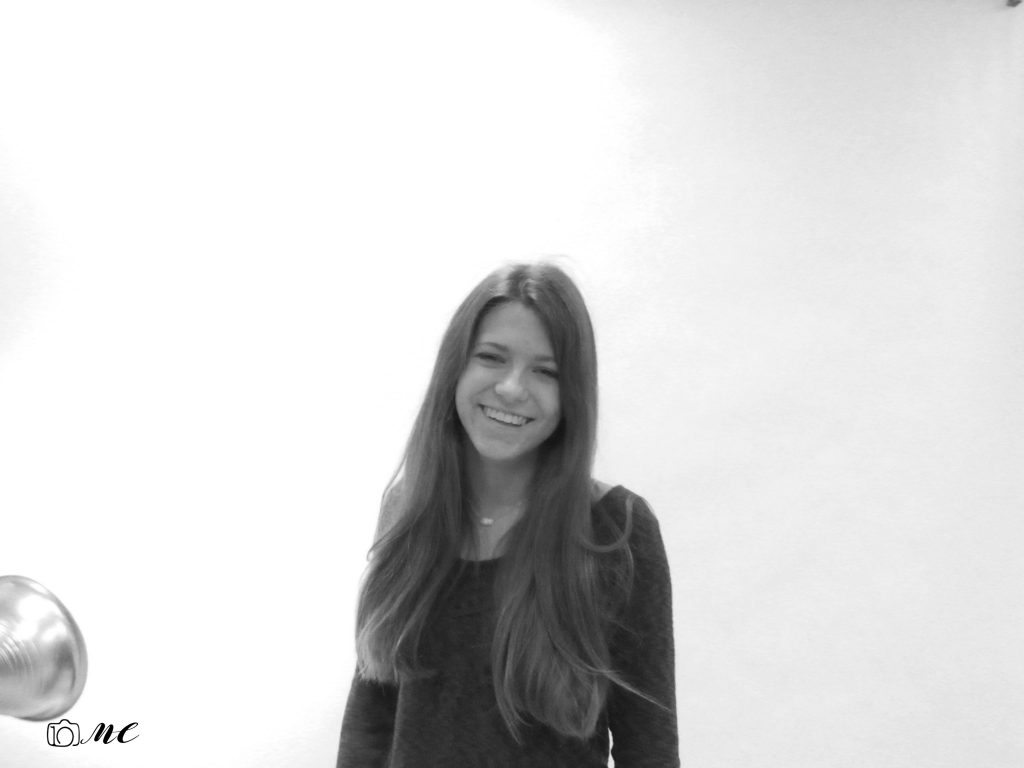
To create an Infinite white background, we had to have a high ISO. It’s about taking pictures in a white background. Something that was difficult finding the correct ISO, and finding a correct angle so the shadow disappears. What was easy was posing posing and using the ISO when we found the correct one.
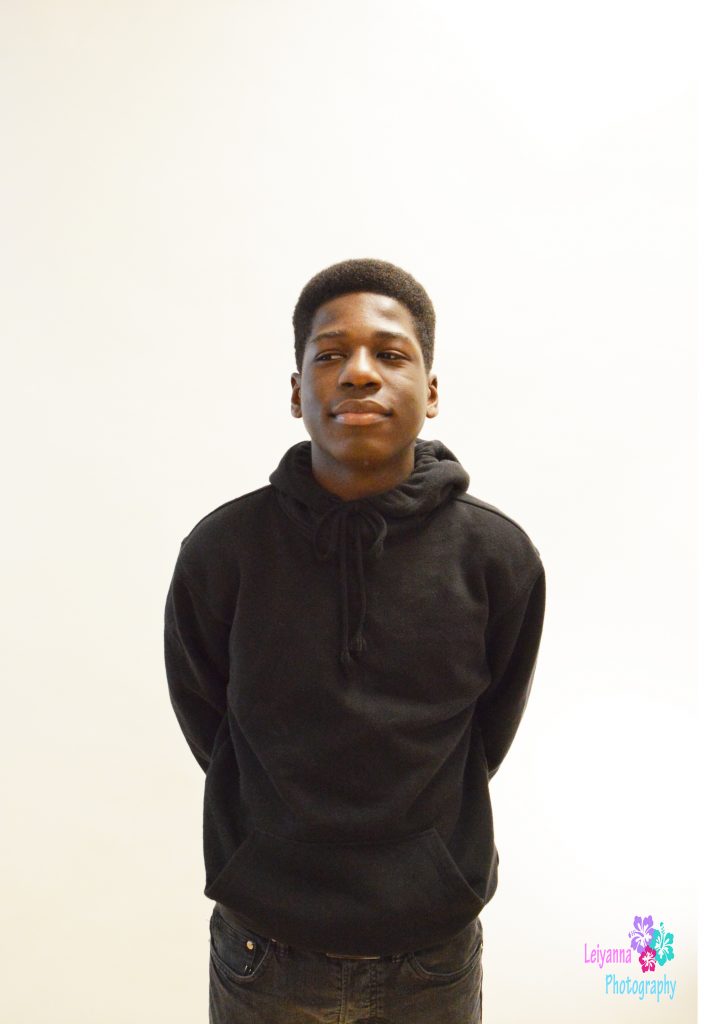
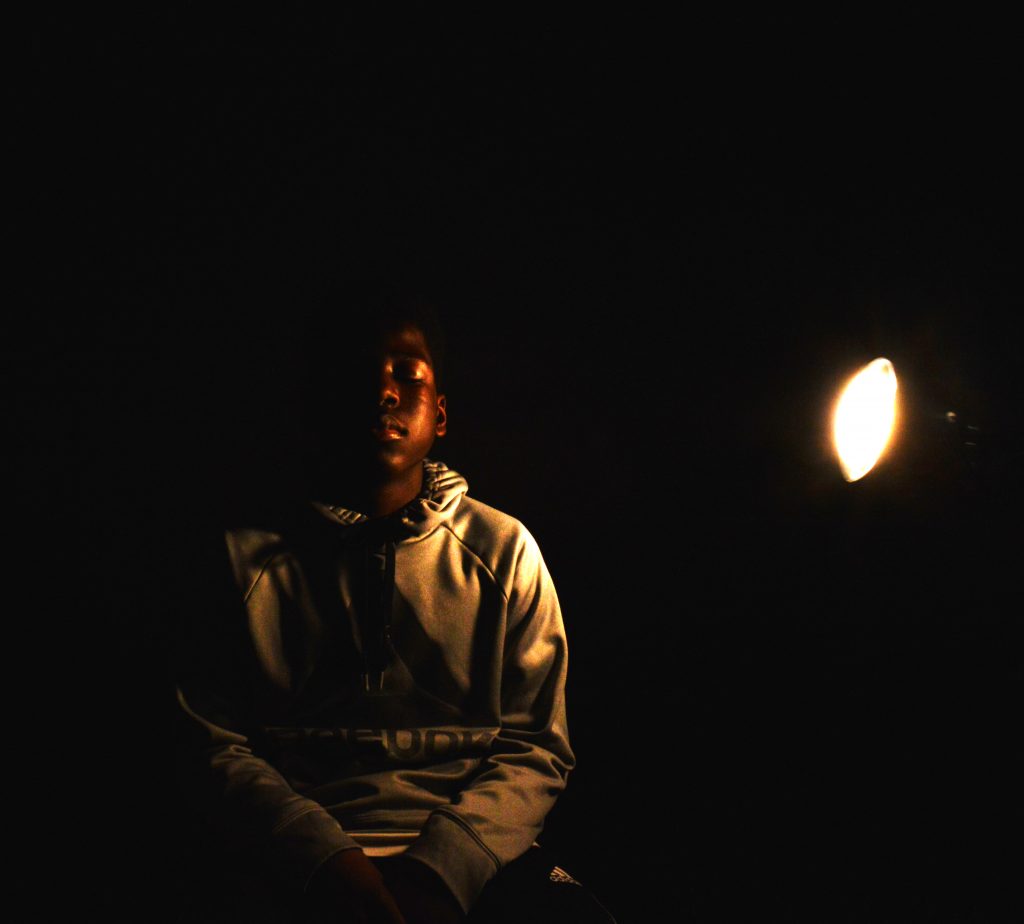
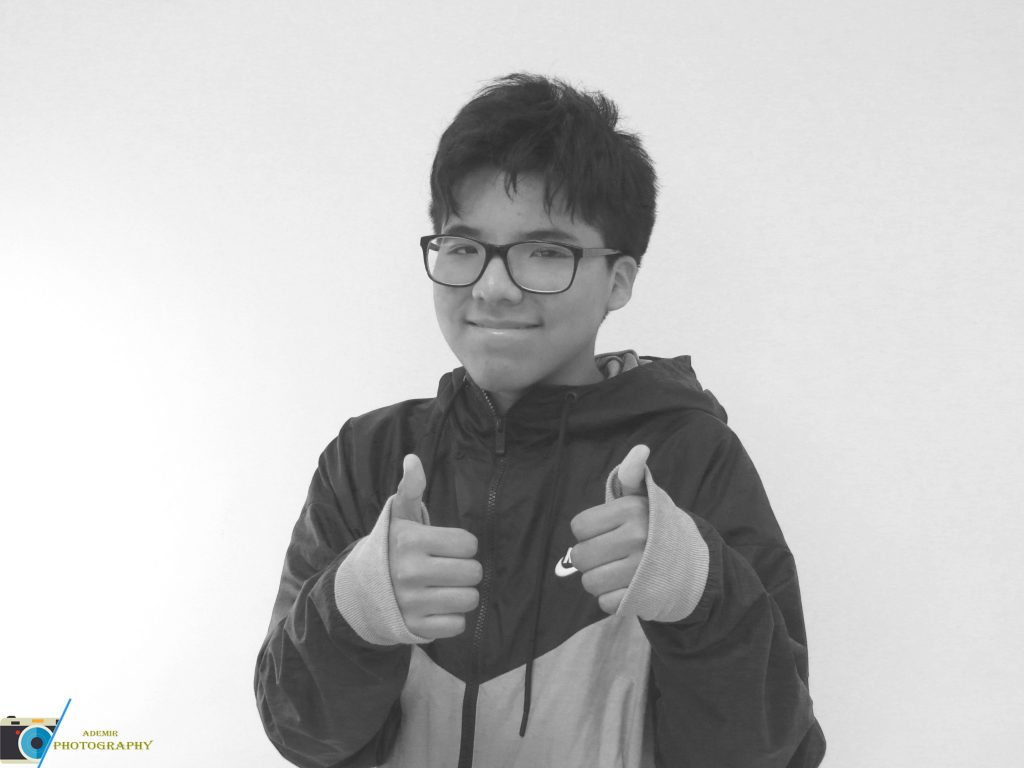
For this project I had to take photos of my classmates behind a white and black background. After I took my white photos I had to edit them in Photoshop to make them black & white and for my black photos I had to use the brightness and contrast settings to adjust the brightness in the pictures. What worked for this project was editing all of the photos. What didn’t really work for this project was finding the right lighting for everyone. It was difficult to not have anyone’s shadow behind them as we took the picture. The rest of my photos are here
In this project, we had to change the camera settings so that I could remove the shadows from the backgrounds and make an infinite background (light or dark). We had to change the ISO, Shutter Speed, and F-Stop on the camera. In the light pictures, It was hard to get rid of all of the shadows. The light that we could use didn’t work for us very well so we didn’t use it. In the dark pictures, it was hard to see the people so we had to position the lights so you could see peoples faces in the dark. For the dark pictures, we had to make the ISO lower to change the light sensitivity on the black background and the opposite for the white background.
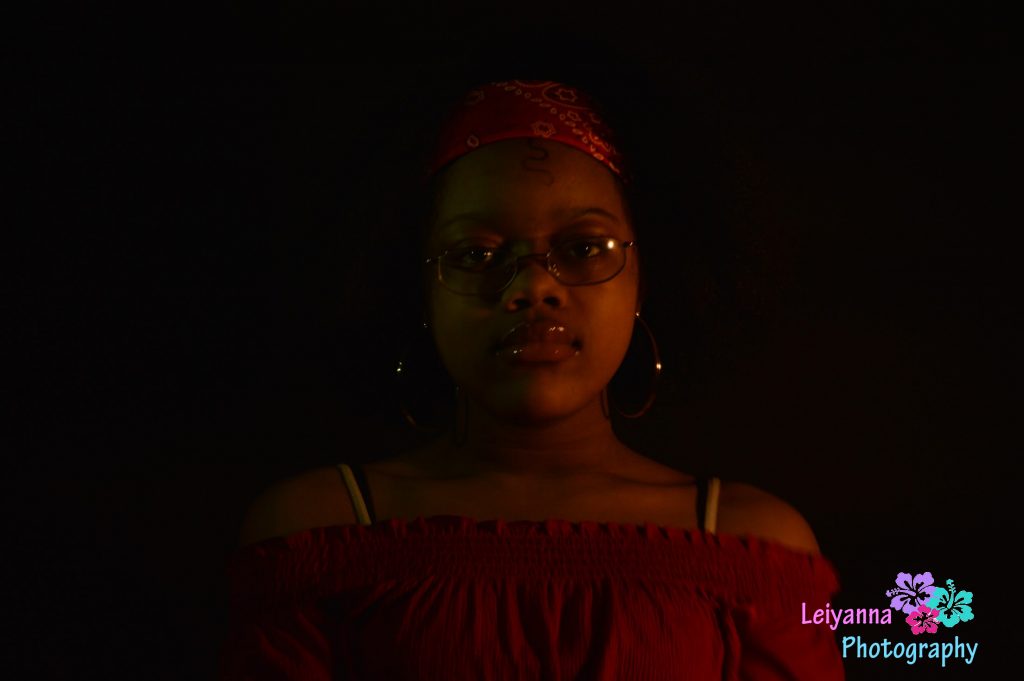
In this project, I took pictures of people with black and white backgrounds. Using a shutter speed of 1/13 which is how long the film was exposed to light. We had to use different ISO for both our black and white background pictures. In order to capture more light in the picture which we used for the black backgrounds, we had to use a higher ISO and to disregard the light we had to use a lower ISO which we used for the white backgrounds. At first, it took a while to get the right lighting for the photos and for there to be no shadows in the background. But after some trial and error, we ended up getting it. I also think we had a different variety of poses in the photos which really made the photo stand out more.
Click here to see more of the white background photos.
Click here to see more of the black background photos.