Framing your Subject

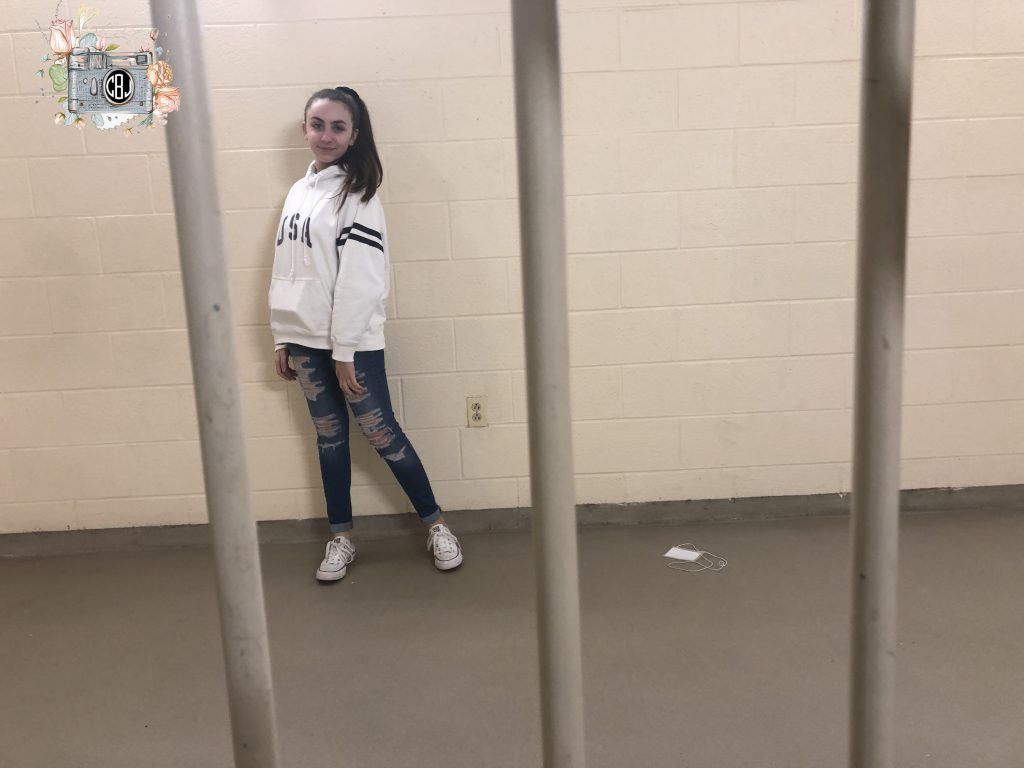
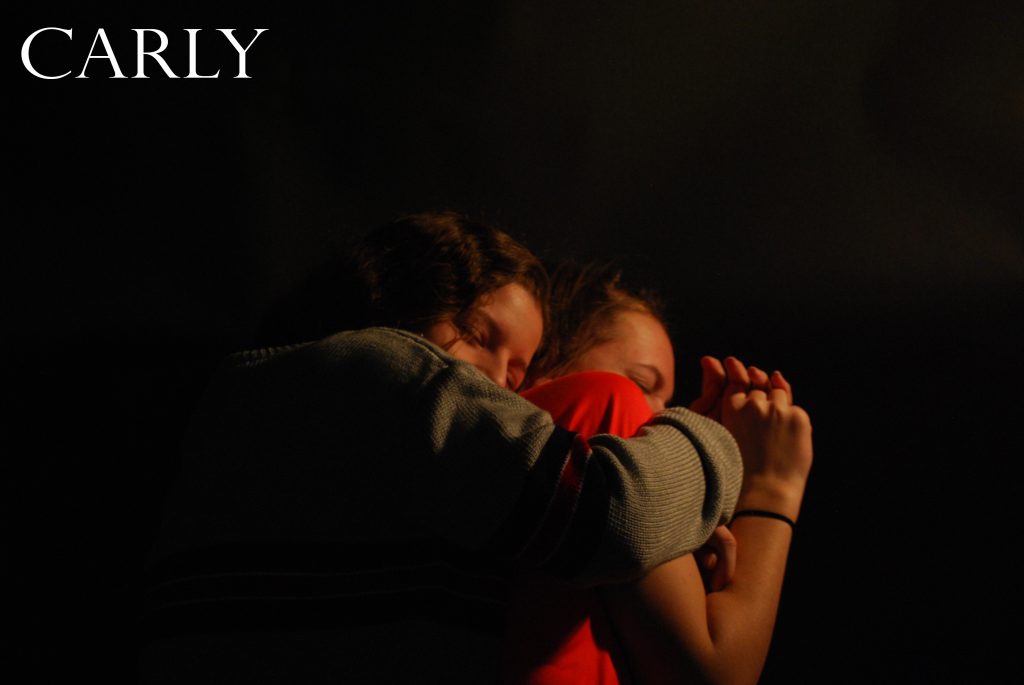
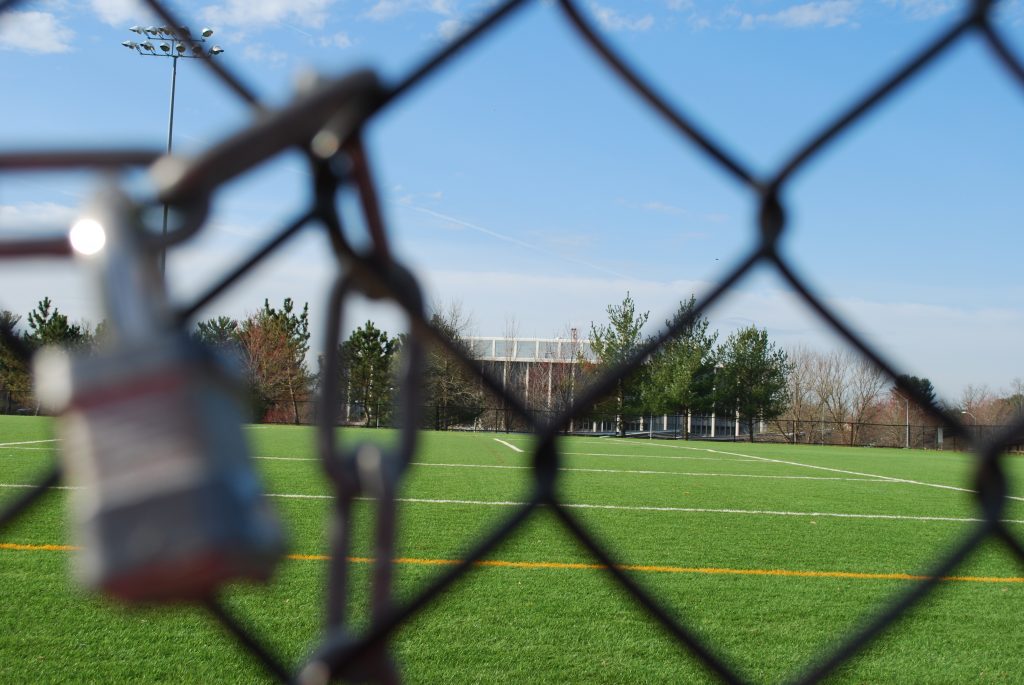
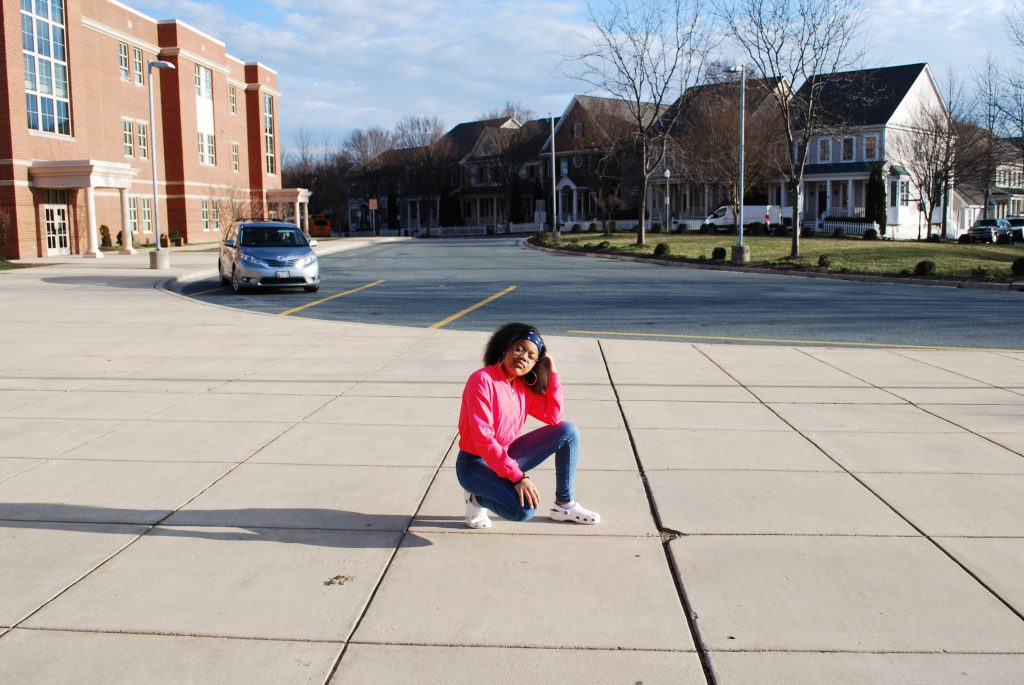
In this project we had to find a natural frame around the school and outside. We could use windows, doors, pillars, trees, etc. We had to take a picture of a subject in these frames. This project was similar to the Rule of Thirds project because both make your photos more interesting. They’re different because in the photos in Rule of Thirds, the subject isn’t in the middle of the shot. The hardest part was finding something interesting to frame my subject. Click here to see the rest of my photos.

This photo is my favorite because I liked taking photos with the railing as the frame.

Rule of Thirds

For this project we had to apply the “The Rule of Thirds” method in order to complete the assignment. The rule of thirds is a tic-tac-toe like array that takes up your whole camera view and the main object you are trying to capture should be along the focal points. What didn’t work was just capturing what we wanted top, the whole purpose of the project was to use that method. What worked was taking the pictures on the opposite side of the sun to create a sort of silhouette effect. I personally like to just take the picture instead of having to line the subject of the picture up with the lines. If you would like to see the other pictures I took using the rule of thirds click here.

Rule of Thirds

For this project, I had to use the rule of thirds using grids on the camera. What worked for this project was using other objects in the background to make sure that the main subject was in the rule of thirds. What didn’t work was just taking a picture without using grids on the camera. Before I did this project I thought this was going to be the easiest project yet but this project was hard but helpful. The grids were really helpful for this project because they helped to frame my subject on one side of the thirds in each photo. The rest of my photos are here

Black Background

During this project, when I took my pictures, I had to adjust the shutter speed and to edit, I had to increase the contrast. The difficult part was the editing and a part that didn’t work was when we took the pictures, the light was too close to the camera. It was very helpful, when the picture turned out well and we did not have to edit it. The picture turned out well when we had thew right shutter speed.

Click here to see the rest of my photos

Framing (r.o.t’s)

In this project, we had to take pictures while framing the main focus with objects in the environment. This project also includes the Rule of Thirds, because for you to get a good picture where the focus is obvious, you must use the Rule of Thirds. This picture is my favorite because it has my BEST FRIEND in it, and the lighting in this picture is very good, and I like how we used the bike rack as the frame. One challenge i faced when doing this was trying to find good objects to use as the frame because they were either too small, or too big, or just awkward looking in the photo. We had limited options. Click here to view the rest of my photos.

Infinite background (Black)

During this project, the main goal was to take a picture and make the background look like it disappeared. We made the ISO lower to make the black background even darker. As well as a lamp that someone in each group would hold. A challenge during this project was making sure we had the correct ISO. The easier part of this project was to hold the lamp at the correct angle. Below is a picture of me and a picture I took. Click here to view the rest of the black background portraits.

Framing Your Subject

For this project, we had to find things around us that could create a frame. It could have been people, shadows, etc. This project was different from the rule of thirds because in the rule of thirds, we had to use the grid to have an object the focus of the photo. However, for this project, we had to use the environment so the object in the picture is the focus. The only challenge of this project was probably the lighting. My favorite frame is the one of the dog because the people because I like how the people in the background helped frame the dog.

Click here to see more

Rule of Thirds

In this project, there were things that were hard, and things that were easy. One thing that worked was standing in the sunlight. It made the pictures more clear, and vibrant. One thing that was hard,and didn’t work was getting the camera to focus on a person or object that was far away from the camera. At the beginning, I thought that the Rule of Thirds was kind of stupid, and pointless, but as the project proceeded, I realized that the Rule of Thirds was very helpful to make all of your pictures look better, and more well put together. The lines we used to take pictures look like a grid of squares. We used them to line up the focus of the image along them so have an “even” picture. Click here to see the rest of my photos.

Five Shots

This assignment was lots of fun and some challenges. First reason why this assignment was fun was because I got to stand on tables and go upstairs to take a photo. A reason why it was challenging was because I had to actually find the angles. Finding good angles where hard but fun in the end. This assignment taught me how to take very good angles and that I shouldn’t just take a a picture at the same angle every time.

Click Here