Action Shots

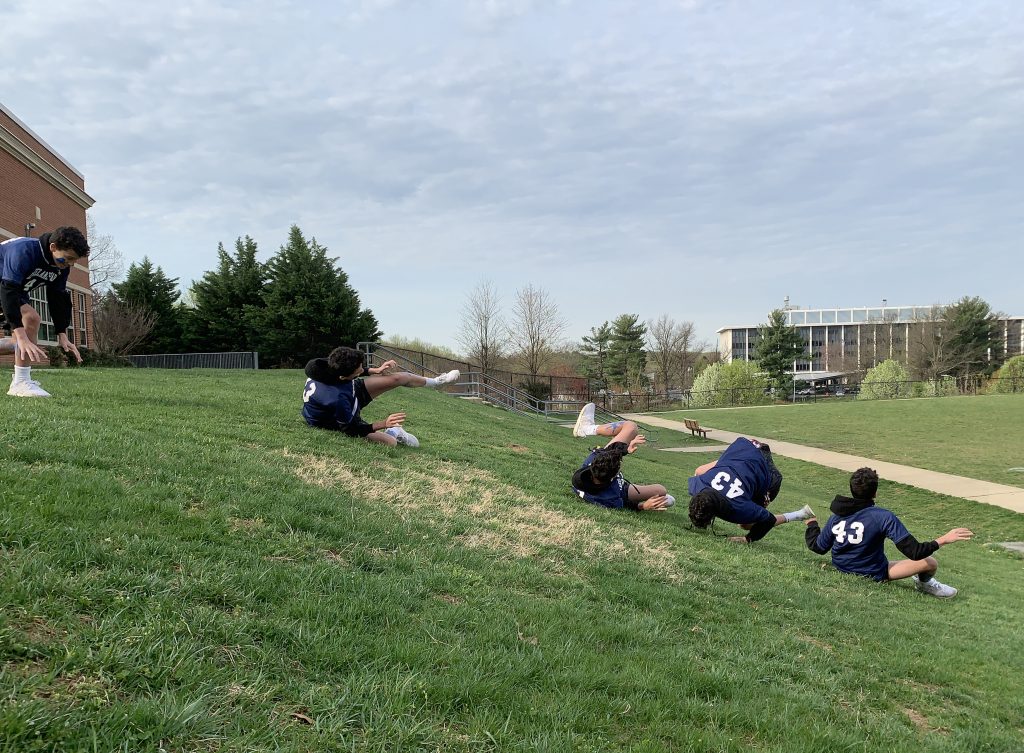
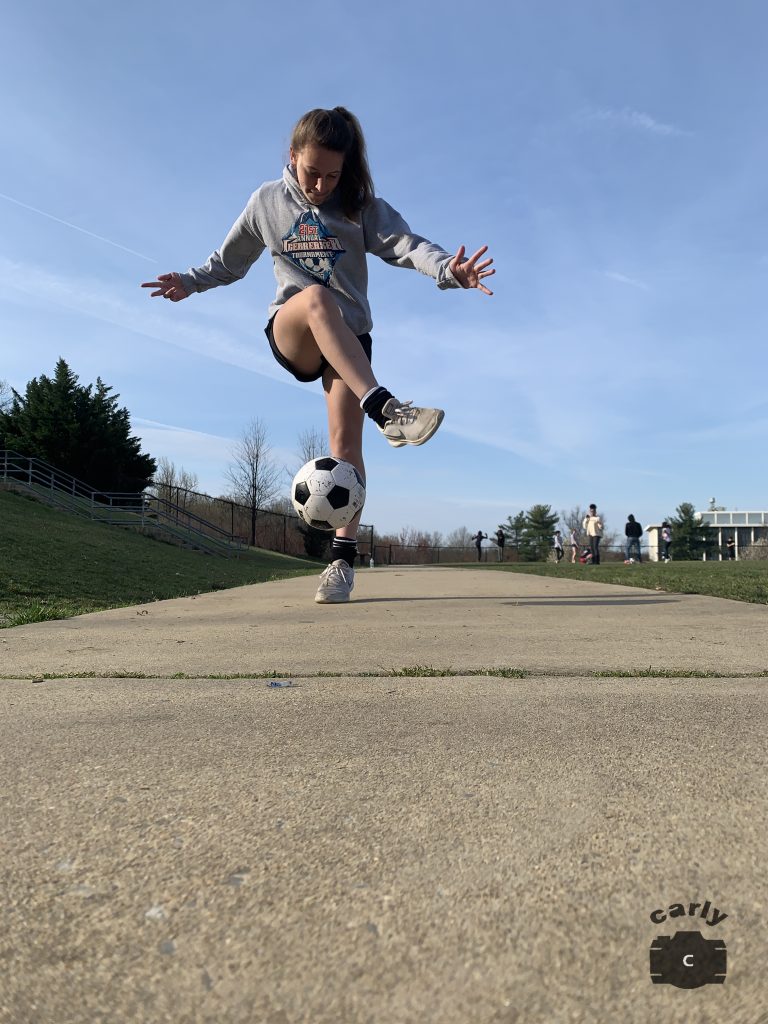
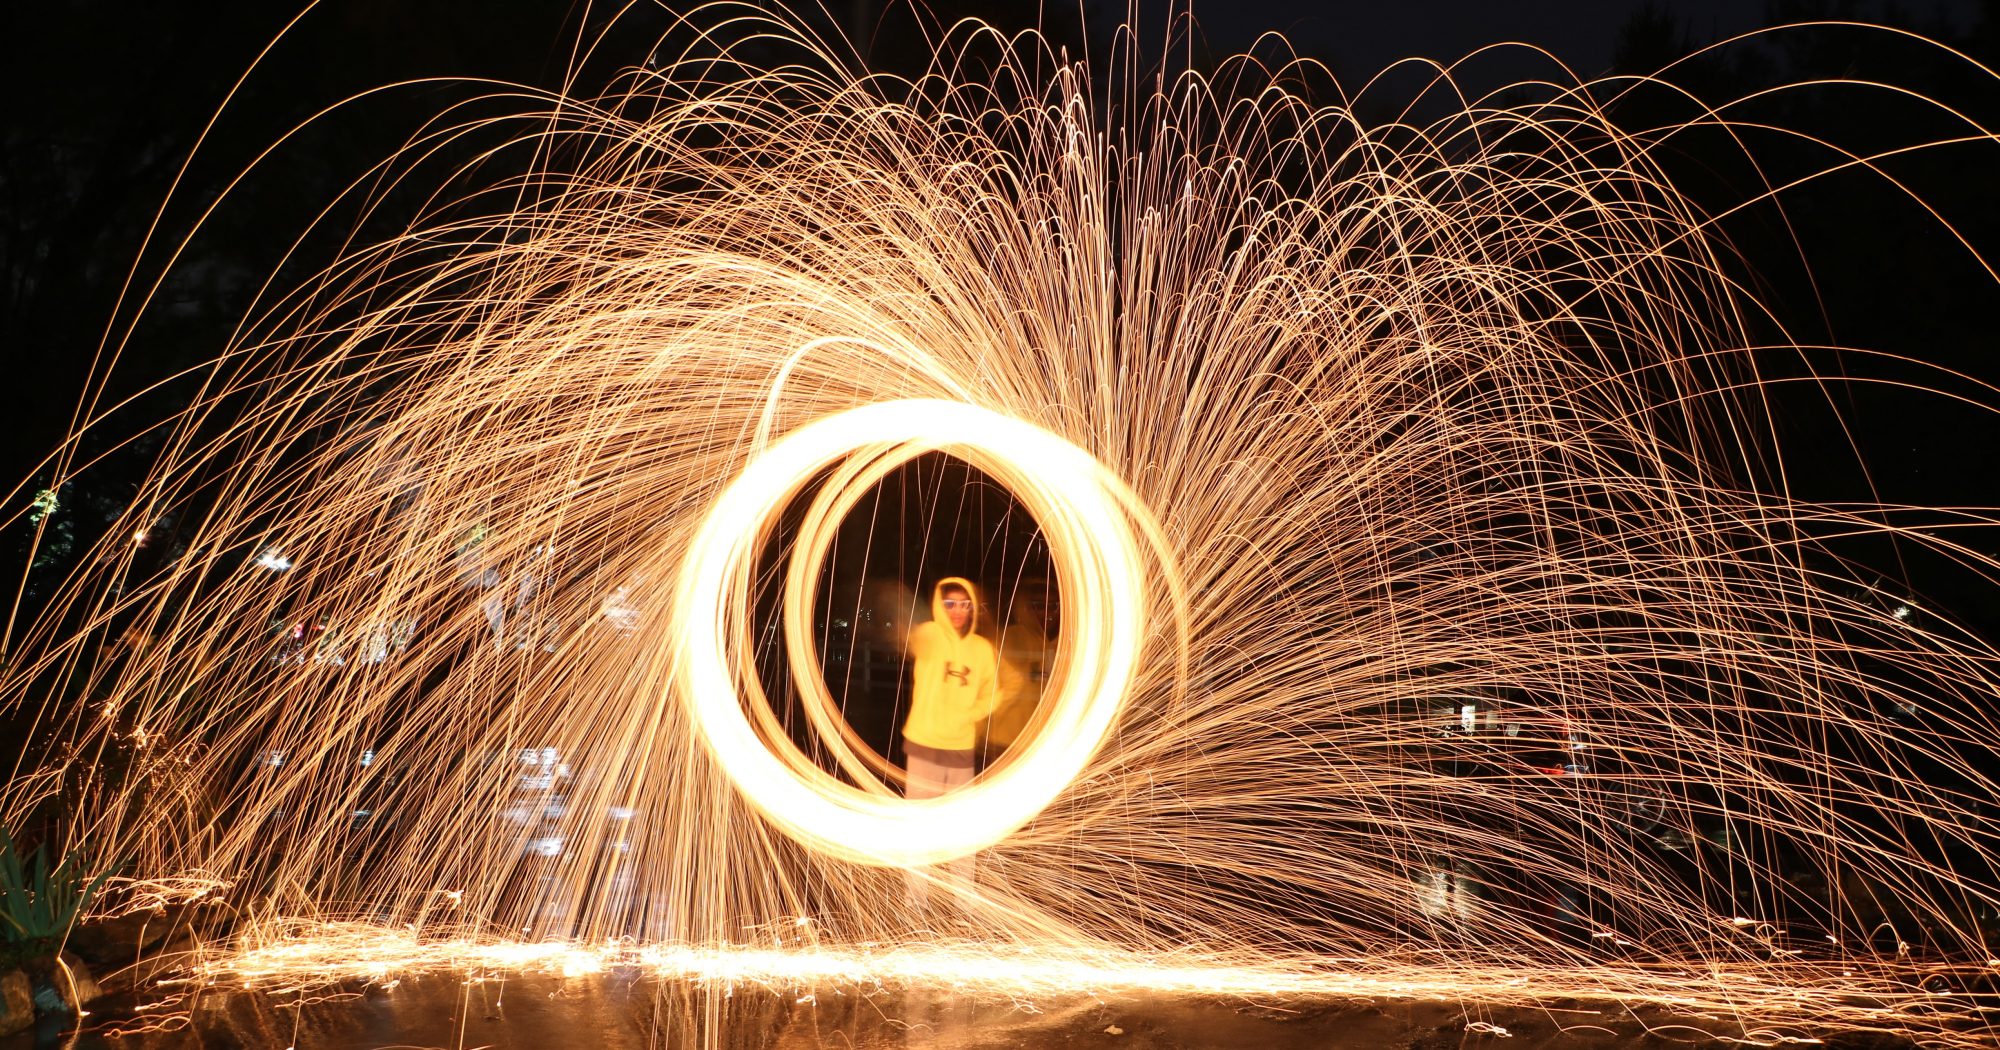
In this project we had to take photos with our object in motion. An easy way to do this was having a person jump and taking the photo while they are in the air. To take the photo, I used “Burst Mode” which means I held the photo button down so it takes about 10-20 photos, depending on how long you hold the button down. This method made it easier to catch the action. Some tips that I have if you are taking action photos is that if you are taking a photo of someone jumping, bring the camera closer to the ground so the person looks like they are jumping higher. Another tip that I have is to, press on your object(on the screen) before the photo so the camera focuses on that object. If I could, I would love to capture gymnastics. I think it would be amazing if I caught someone dismounting off a beam, bars, or vault. All in all, this has been my favorite project and I love taking photos of people in action.

Click here to see the rest of my photos.

Action Photos

During this project, we had to take photos of people and things in motion. It was a very difficult project. I had to be very patient. It took me many tries to get the right photos. It was hard to get the photo at the right timing. There are so many different ways to take theses pictures. It was very easy to find things and people to photograph in action. It may take a couple of tries to get it right, but once you do it looks so good. When taking photos on my phone I used burst mode to capture the right photos.

Click here to see the rest of my photos

Framing

MY FAVORITE<3

In this project we had to frame objects using windows, doorways, stairwells, and frame others by using ourselves. The difference between the rule of thirds project and this one is that, in the rule of thirds we had to use sort off a tick tac toe board to see where our main focus will stand out the most. In this project we had to use something that could make our object framed and when it’s framed you can really tell what the main focus. I feel like the most challenging part of this assignment was finding , in the school what my frame would be. The picture above is my favorite of all which you could see I found you click here

Framing Your Subject

In this project, we needed to find things indoor or outdoor that could frame your subject. In the project of Rule of Thirds, we had to use grid lines that were given to place your subject. In this project, we had to go out and find the frames. A challenge of using this type of composition is finding a “frame” that is big enough to fit the entire subject. The picture below is my favorite picture because I like the way the bike rack framed Aslyn. As well as the way the sunlight put together the entire picture. Click here to view the rest of the photos.

Framing

In this project we had to find a subject and a place to frame that subject. This project was challenging and fun. It was fun because I learned ways to make my pictures look cool and awesome. Some challenges was actually finding a subject and a frame for the subject. Overall this project was a fun learning experience that I would probably use when I take pictures anywhere.

Click Here

Framing

For this project we had to find places where if you take a picture there will be a box or shape surrounding the object or person.The rule of thirds were easier than this project and i liked rule of thirds better.The challenges we faced were trying to find good framing.My favorite picture is the 4th one because the frame is a box of nerds.Click here to see more.

Framing

In this project, we had to have an object around something that would frame it. Mirrors, cups, doorways etc. This was similar to the rule of thirds because the frame makes the photo interesting. Its different from the rule of the thirds because since in framing your object is your main focal point. Some challenges I had were finding what frames to put my subject in.

Click here more to see more of my photos

Framing Your Subject

In this project I used buildings and objects around the school grounds to frame my subject. This project was like the Rule of Thirds because I had to move my subject to make him the main focus of the picture. My favorite picture was the one shown right below. I think that the bushes created the perfect frame and created a good frame that surrounded my subject. The red bricks also created a very good background covering the whole picture. There was really nothing in this project I found too hard because all I had to basically do was find a frame, and put someone in the middle of it.

Click here for my other photos

Rule of Thirds

Instead of the main focal point being in the center. In Rule of Thirds, the focal point is off to the side. What worked for me is what the main focal point of the picture should be, but what was kind of difficult is where I should place it in the photo. When I first started this project I didn’t really understand the point of Rule of Thirds, but now I understand how it gives you different types of pictures without the object being your whole picture. In the pictures that I took, I made sure that everything wasn’t on the same line and the picture captured the background as well.

Click here to see more of my photos

Rule of thirds

Rule of Thirds is when you place everything in a photo on “lines” that help the viewer go from one part of the picture to the other. The “lines” are a group of lines on a camera that divides the image into nine even pieces. What worked was placing the subject wear the lines on the sides meet. What didn’t work was placing the subject directly in the center of the photo. At the beginning of the project, I thought this project would be really easy but then I realized I always center the subject of my photos. Below I put my favorite photo with a person and my favorite without a person. Click here to view the rest.