Up really Close!

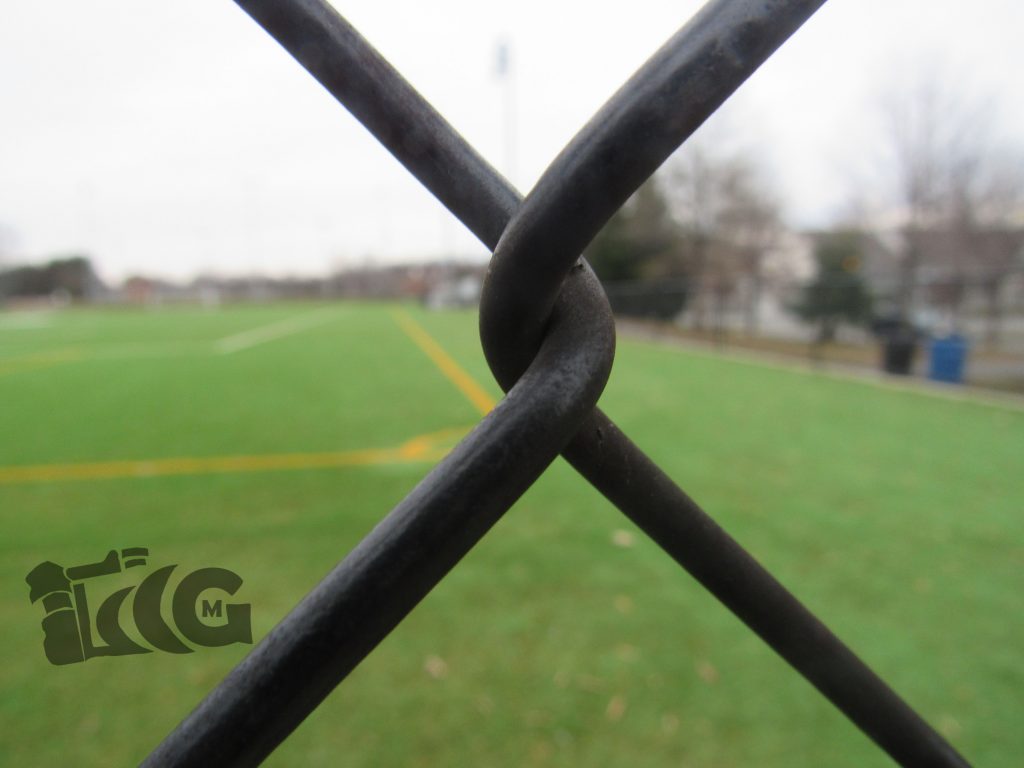
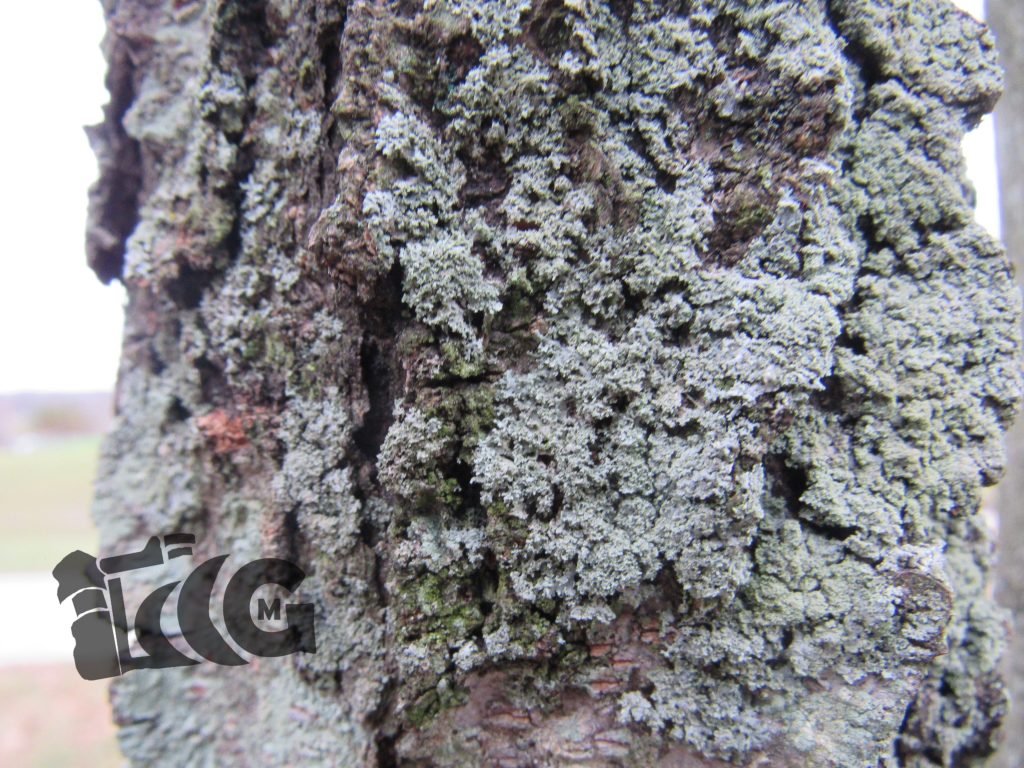
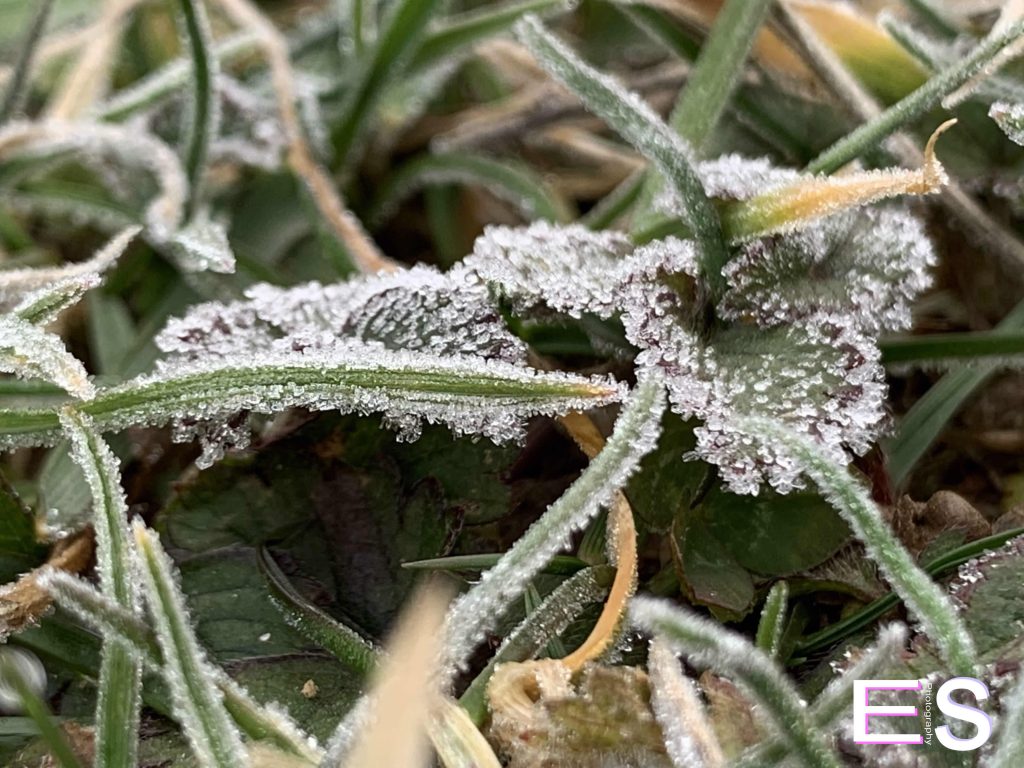
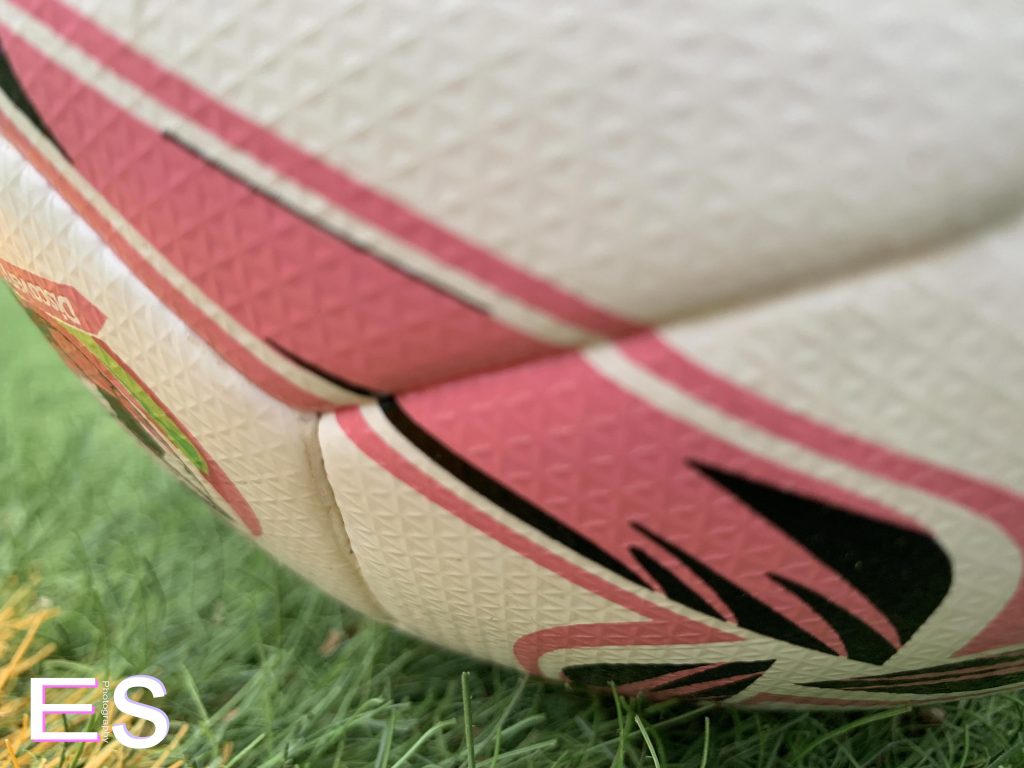
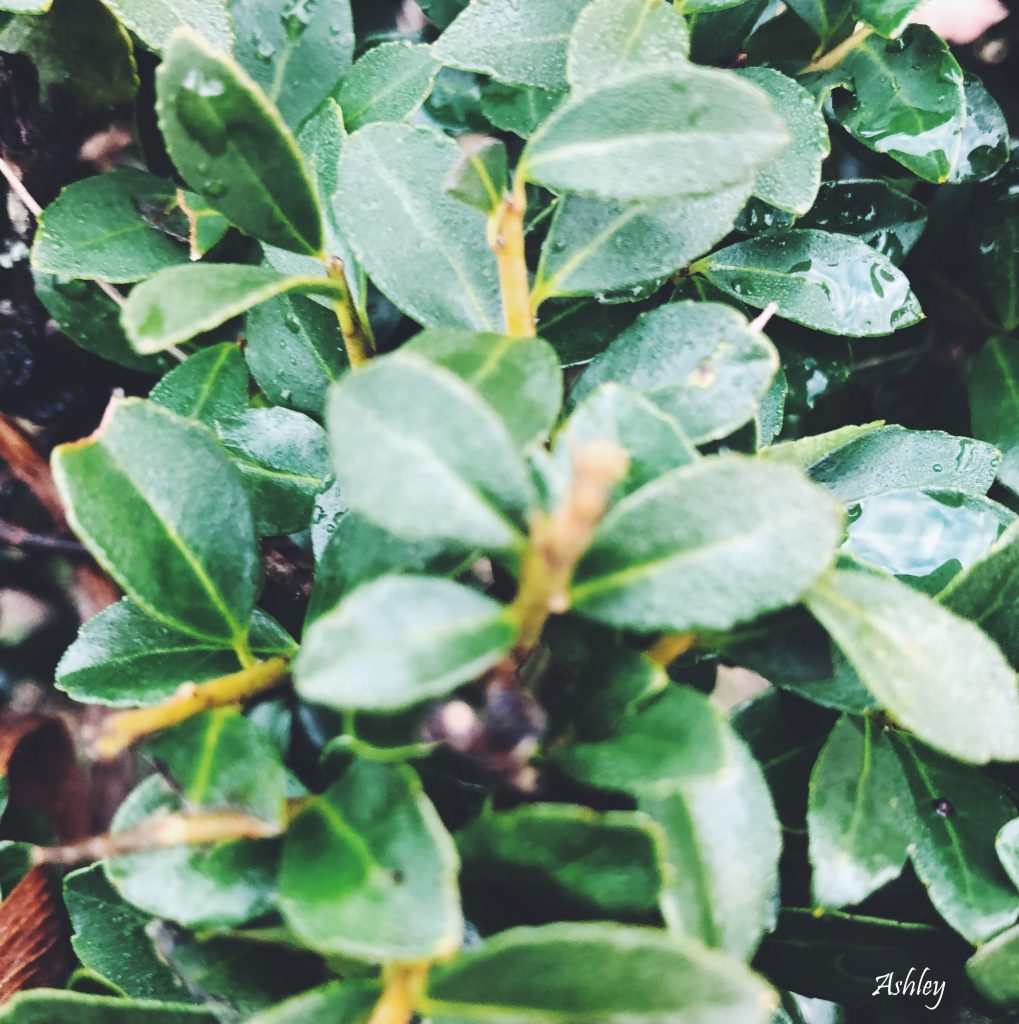
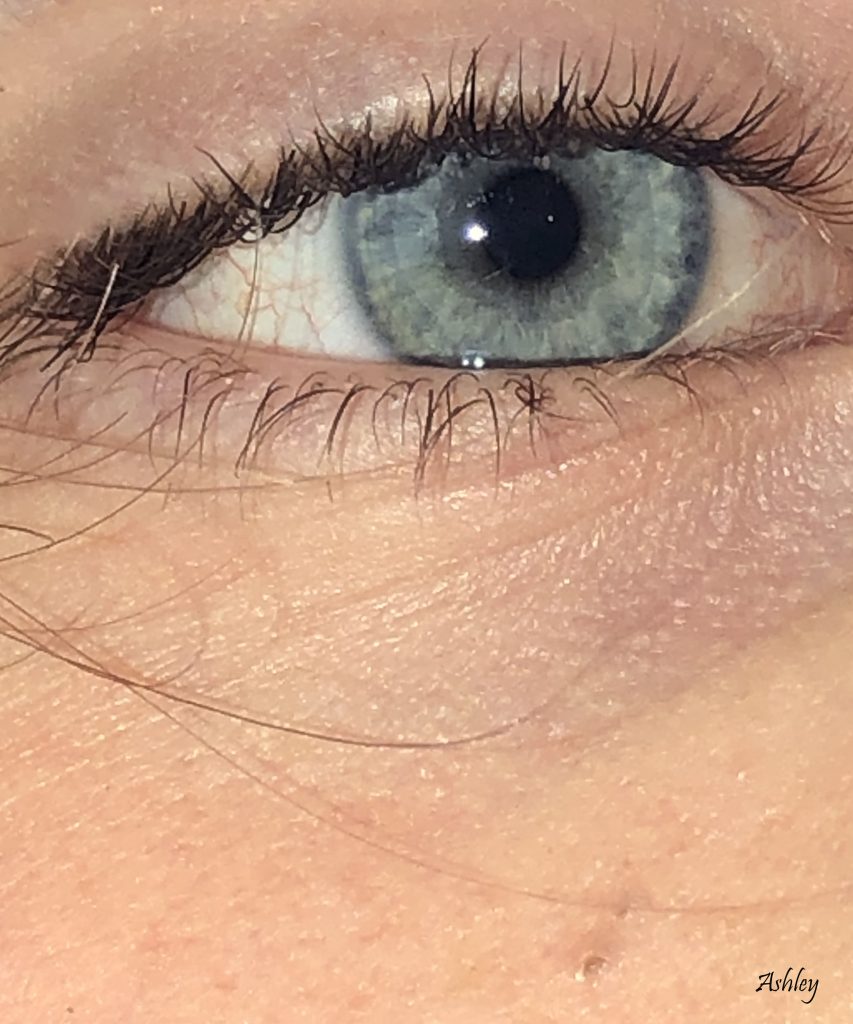
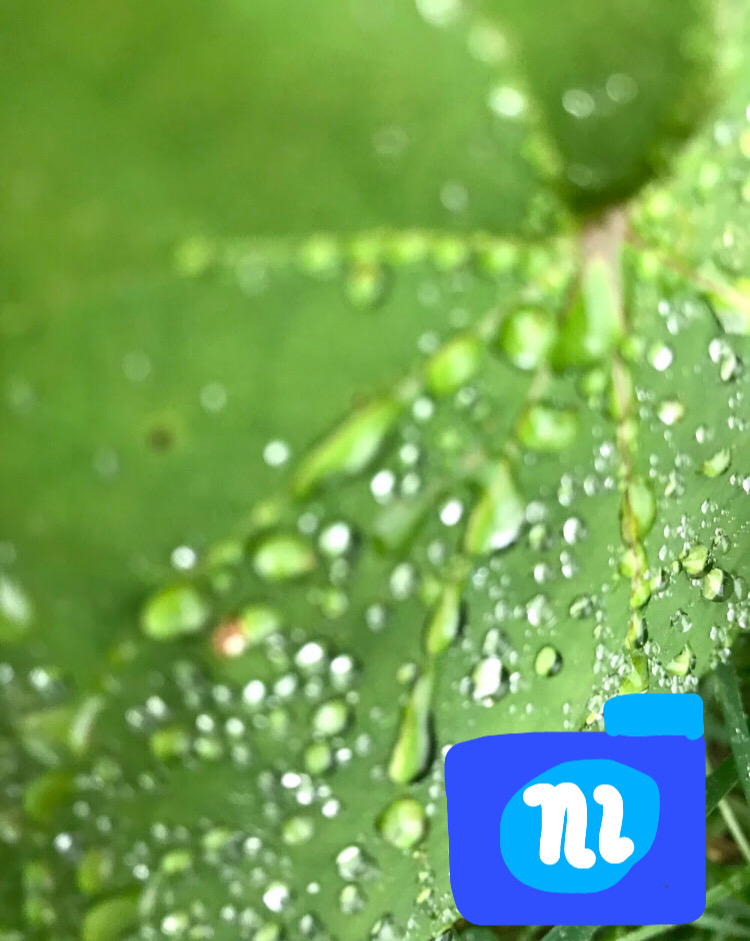
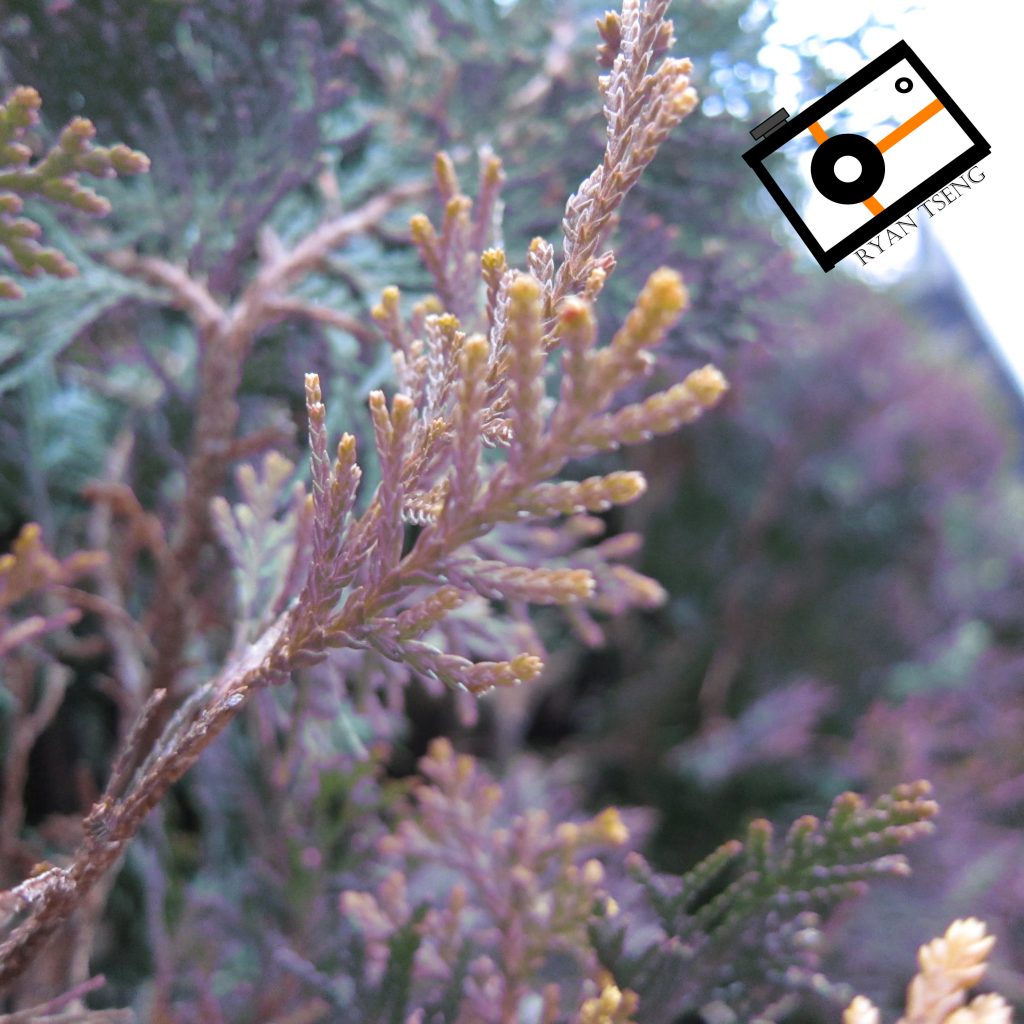
This project was based on zooming into things to create a beautiful and confusing picture. If people don’t know what the object is then that makes it better because they’ll have to figure it out. In order for this project to work I used Macro on cameras but on my phone I had to do something else because my phone of course doesn’t have Macro. On my phone I couldn’t use the zoom because the pictures would be blurry, so what I did was just bring my phone’s camera really close to the object and it made the pictures come out pretty neatly. Some challenges I had doing this project was to set the lighting on the devices I used, I didn’t know if it would be better with or without the flash, getting the cameras to focus was also another problem, and finding the objects to zoom into was also a big issue. If I had the equipment, time and the ability to get there I’d like photograph a droplet of water falling into a lake because that would be so beautiful to take a close up picture of. Down bellow are two of my favorite close up pictures. Click here to find the rest.

Getting Close

In this project we had to take photos of living and nonliving objects, but very close up. In this project we had to find an object and zoom in on the photo in order to get it very close up. I picked an object that I wanted to take a picture of, then I would place my phone at an angle. After that I would continue to zoom enough before the object would get blurry. I used different features of my phone such as zooming in while having my phone at an angle, etc. The biggest challenge for me was finding objects that I was interested and it still looking cool when I zoomed in. I would like to photo graph up close some type of marine life. If you would like to see the rest of my photos, click here.

Getting Close

The point of this project was to take a picture of an object really close, you couldn’t zoom in. You had to capture all the little details. What worked really well with this project was taking pictures of raindrops because it was cool and easy. I tried taking pictures of leaves which was new. What didn’t work was zooming in because the picture would become blurry and weird. It wasn’t really hard to find subjects but there were times where I couldn’t find what to take pictures of. There were no issues with the camera.  If I had the equipment, time, and ability to get there, I would take a picture of a butterfly’s wings. Down below are my favorite pictures I took. If you want to see the rest of my pictures click here.

Processed with VSCO with f2 preset

Getting Close

For this assignment we had to take macro pictures. This meant that we had to get really close to the object in order to capture tiny minuscule details that we normally don’t see with the naked eye. Taking macro pictures may require certain apps like VSCO if you want better pictures, but your phones and cameras may already have auto macro settings. For this project, taking pictures in the outdoors provide better lighting because when you put your camera really close to the object, it blocks some of the light so if you’re inside it really impacts the picture. Trying to get good pictures were difficult because we really had to find things that looked interesting really closely. It was also challenging with the lighting. We had to make sure the camera didn’t completely block the light. We also had trouble keeping the camera still. At such a close proximity, we had to keep our hands steady in order for the camera to adjust. If I had the time to get there I would go to the Amazon Rain forest to take pictures. The Amazon Rain forest is full of animals and plants that are very unique and special. Animals like parrots, leopards, and more can be great macro pictures. 2 of my favorite photos are shown below. The rest can be found here.

Getting Close

Click here for my other photos. For this project, we had to use VSCO to get the focus on close up pictures of 5 living and 5 nonliving objects. This project was easy because using the focus helped make the pictures focused more on the object. The challenge of this project was getting the focus just right so the picture works out. If I had the chance to take close up pictures with a real camera, I would because I like how the image focuses on one object.

Up Close

In this project, you are required to take pictures up close. You must set your camera settings to macro to take the best close up pictures. In total, you should have at least taken 10 pictures using macro or any other apps if your on your own mobile device. The one thing that did work was finding the best angle and the best distance. The only thing you will probably change is the subject, distance, and position. The hardest thing in this project would have been finding a subject. I wanted to make sure that if I were to take pictures, I would not take a picture of the same exact subject I just took. There were not problems with the camera or rearranging the settings. If I had better equipment and the time, I would attempt to find a living or nonliving bug and take as many pictures as I can with as many angles.

If you want to see all of my photos, Click HERE.

Set in the street

This project took place on a set that we made of a kitchen table. What we had to do was bring in props and think of ideas. to take photos to make it look like we were sitting at a kitchen table. The photographers in our group include Carrie Filler, Dominique Popa, Catalina Salazar, and myself. You can access their websites by clicking on their names. The tools I used from photoshop were the black and white tool and the vinigette. If I had to take these pictures to tell my families story, I would either take them in our car, or at our dining room table.

Set In The Street

For this project we had to take pictures that told a story around a kitchen table. Just like  Carrie Mae Weems did in her photos. However, we didn’t use just any old kitchen table. We built our own! In the middle of the school. This idea was inspired by Justin Bettman who took seemingly normal pictures, until you look at the zoomed out version. In order to edit our photos we used photoshop. We made our pictures black and white, then using the elliptical tool and a couple fancy settings we made it look like the light truly was shining on the table. If I were to tell a story about my family, I would take pictures in the car because we love to go on long road trips, and we spend a lot of time in the car. You can see the rest of my photos Here.

Set in the Street

For this project we took pictures using a combination of the styles used by Carrie Mae Weems and Justin Bettman. Each picture told a story within a kitchen background. All we had was a yellow wall, a kitchen table, a lamp, and some chairs which is Carrie Mae Weems’ style. We also took the picture in a public scene, inside the school which is Justin Bettman’s style. Carrie Mae Weems is a photographer that takes pictures in a kitchen which tells a story. Justin Bettman is a photographer that takes pictures in a public scene with only a background. This creates the illusion that the people in the picture is in a completely normal background but they may actually be in Times Square. For the pictures I took, I used Photoshop to edit them. In Photoshop I first turned the picture into black and white. Then I messed with the hues a little more to match the style of Carrie Mae Weems. After that I used the elliptical tool to highlight the area below the lamp. I then went to modify, feather, and then changed it to 200 pixels. I finally hit inverse to highlight the area where the elliptical did not cover. I changed the area to a darker hue so it made the darkness above the lamp more convincing. If I were to take a picture of my family to show a story, I would take it in the living room. This is because we mostly gather there and do most of our things there. At least at one point of the day, we are all in the living room. You would probably see us watching a movie, on our electronics, or doing other things. One of my edited photo and zoomed out photo is shown below. The rest can be found here.

Set in the Street

Kitchen Table.  We had to take different photos of us doing an action at a kitchen table.  The photographers that were used for this project were Carrie Mee Weems and Justin Bettman. If you want to see their websites click their name.   The tools I used was the contrast of black and white, I used the oval marquee tool, feather, and inverse.  If I had to choose a place to tell my family’s story I would take it on the front steps of my grandma’s steps in El Salvador.  You would see a blue house, trees, and a whole lot of trees.  Click here to see the rest of my photos.