In this project, we had to make the shutter speed bulb so we had time to draw with the torch. First, we painted the person with light. Then another person cam in and drew with the torch. The easy part was taking the picture because once you got the hang of it, it was easy. The hard part was drawing with the light because you can’t see what you are drawing. It was frustrating when you draw something and the final outcome was nowhere close to the idea. You can see the rest of my pictures here.
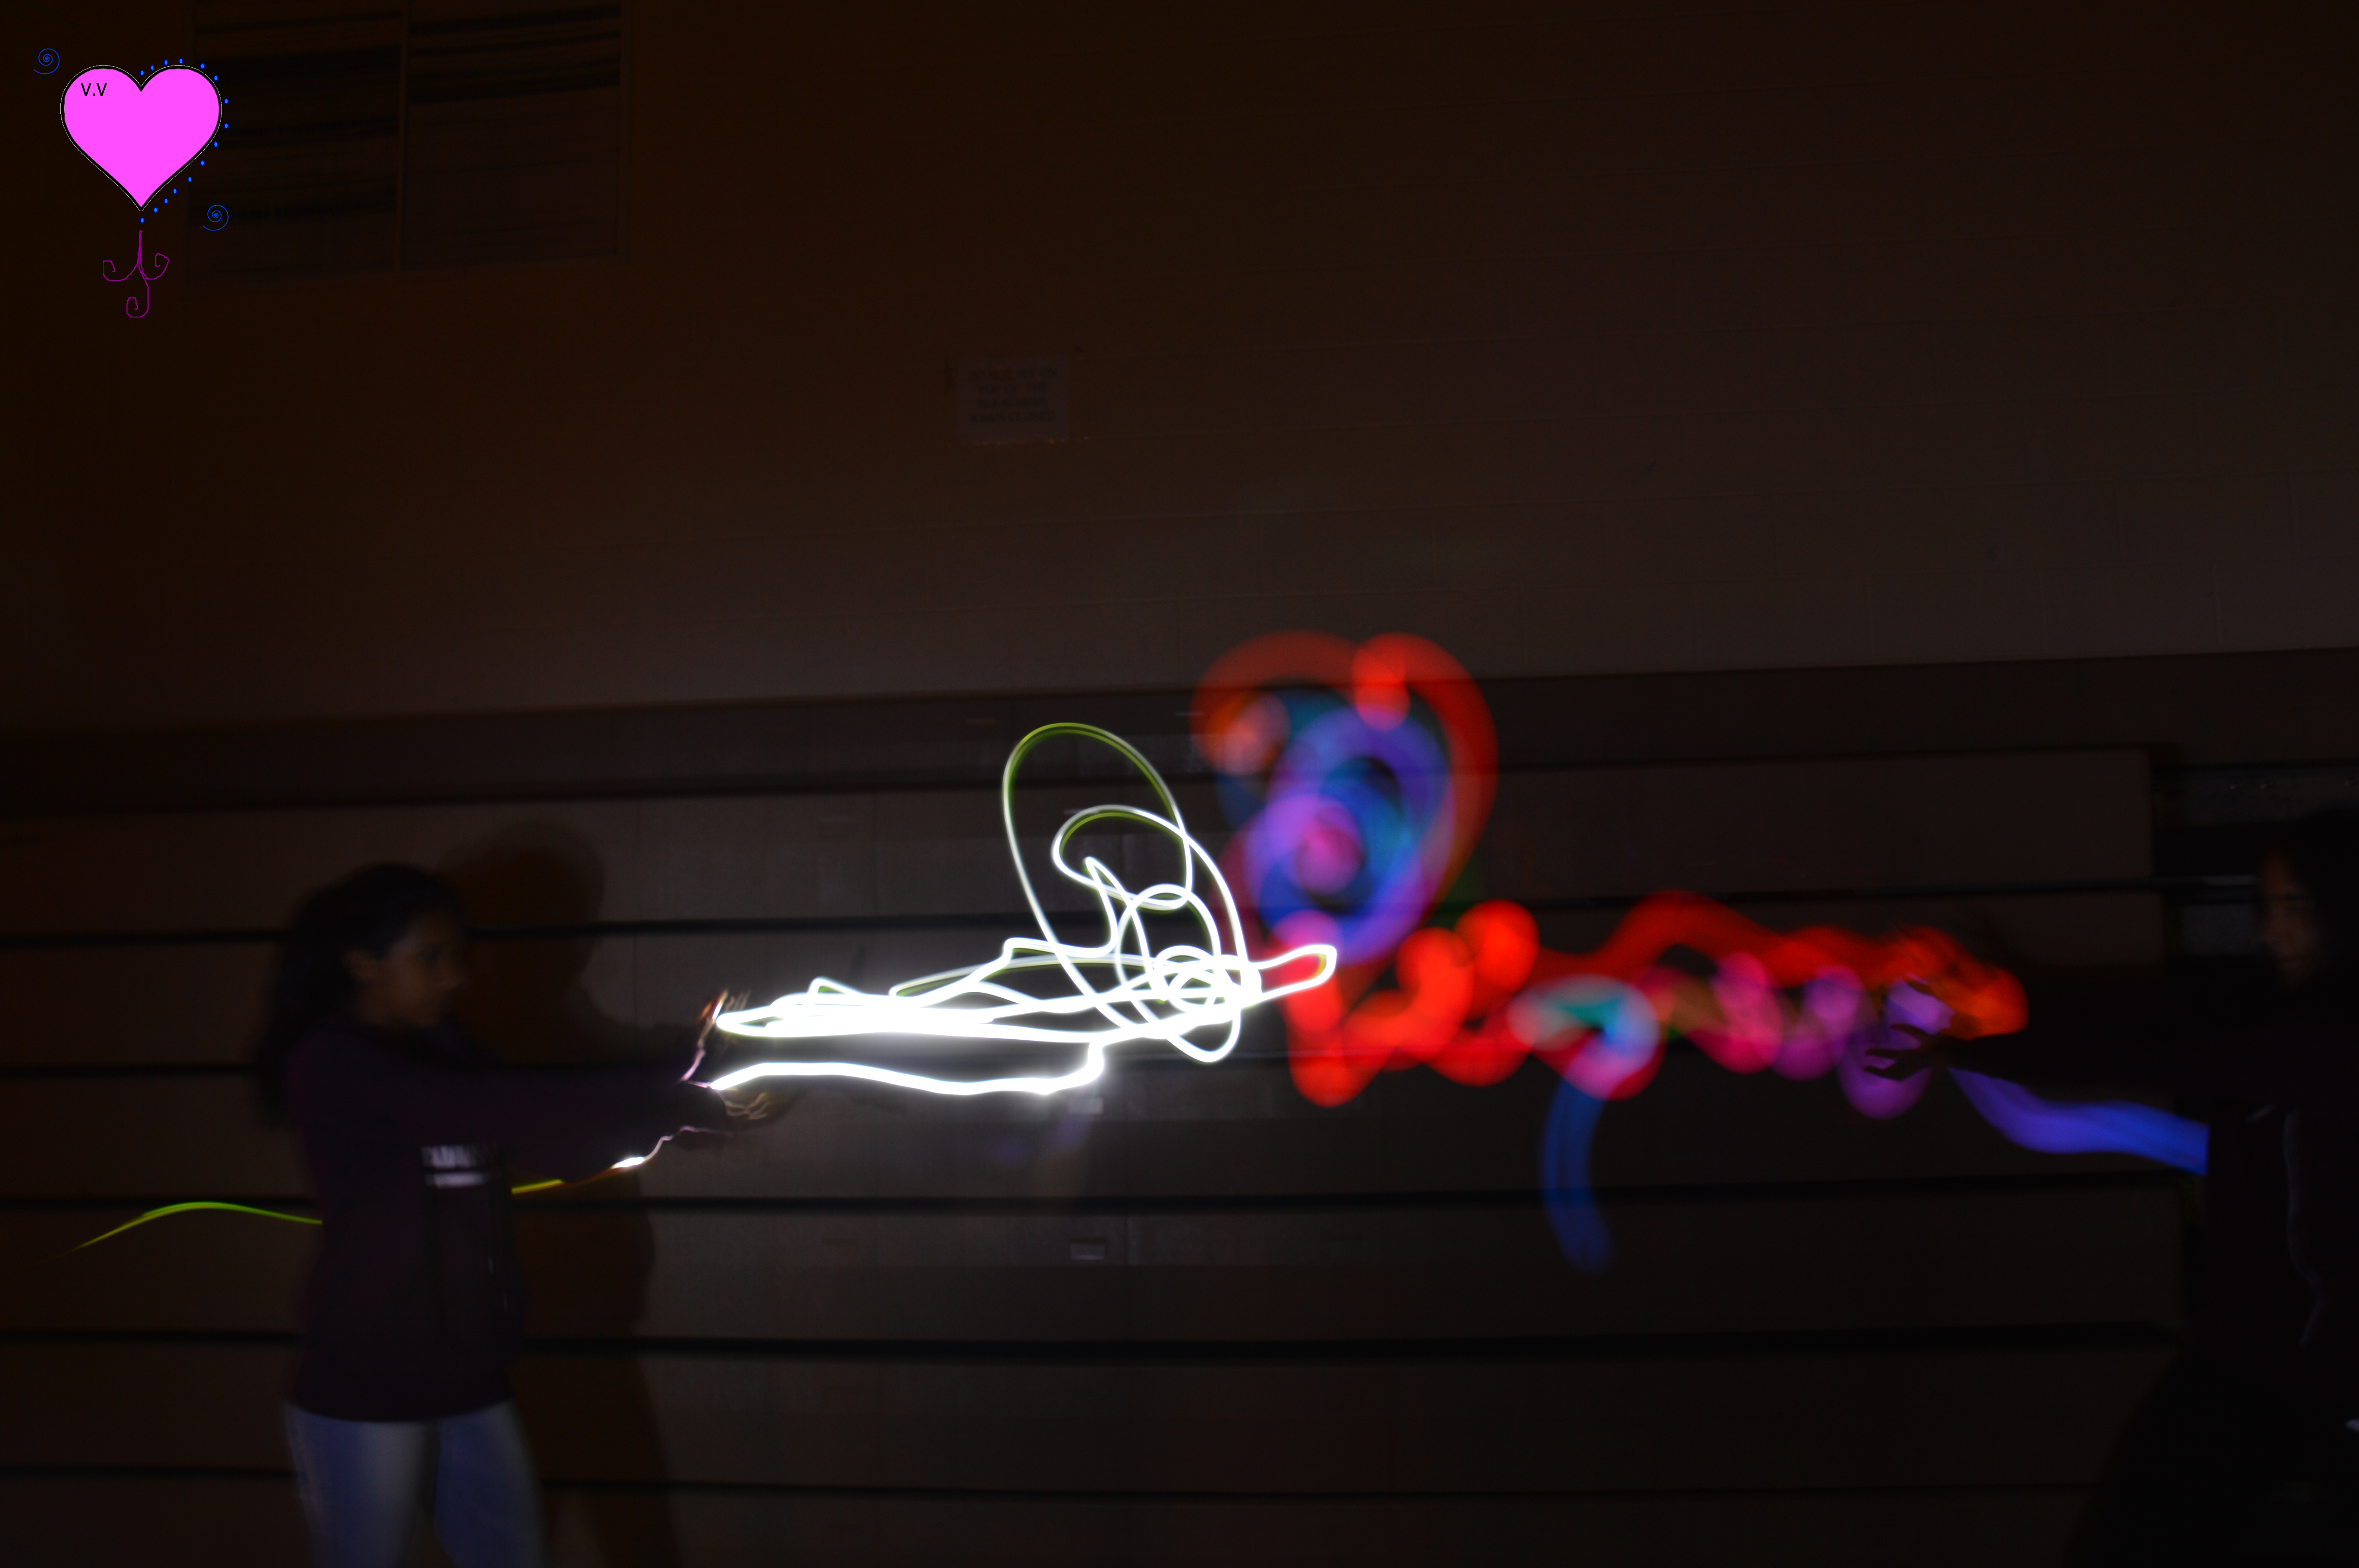
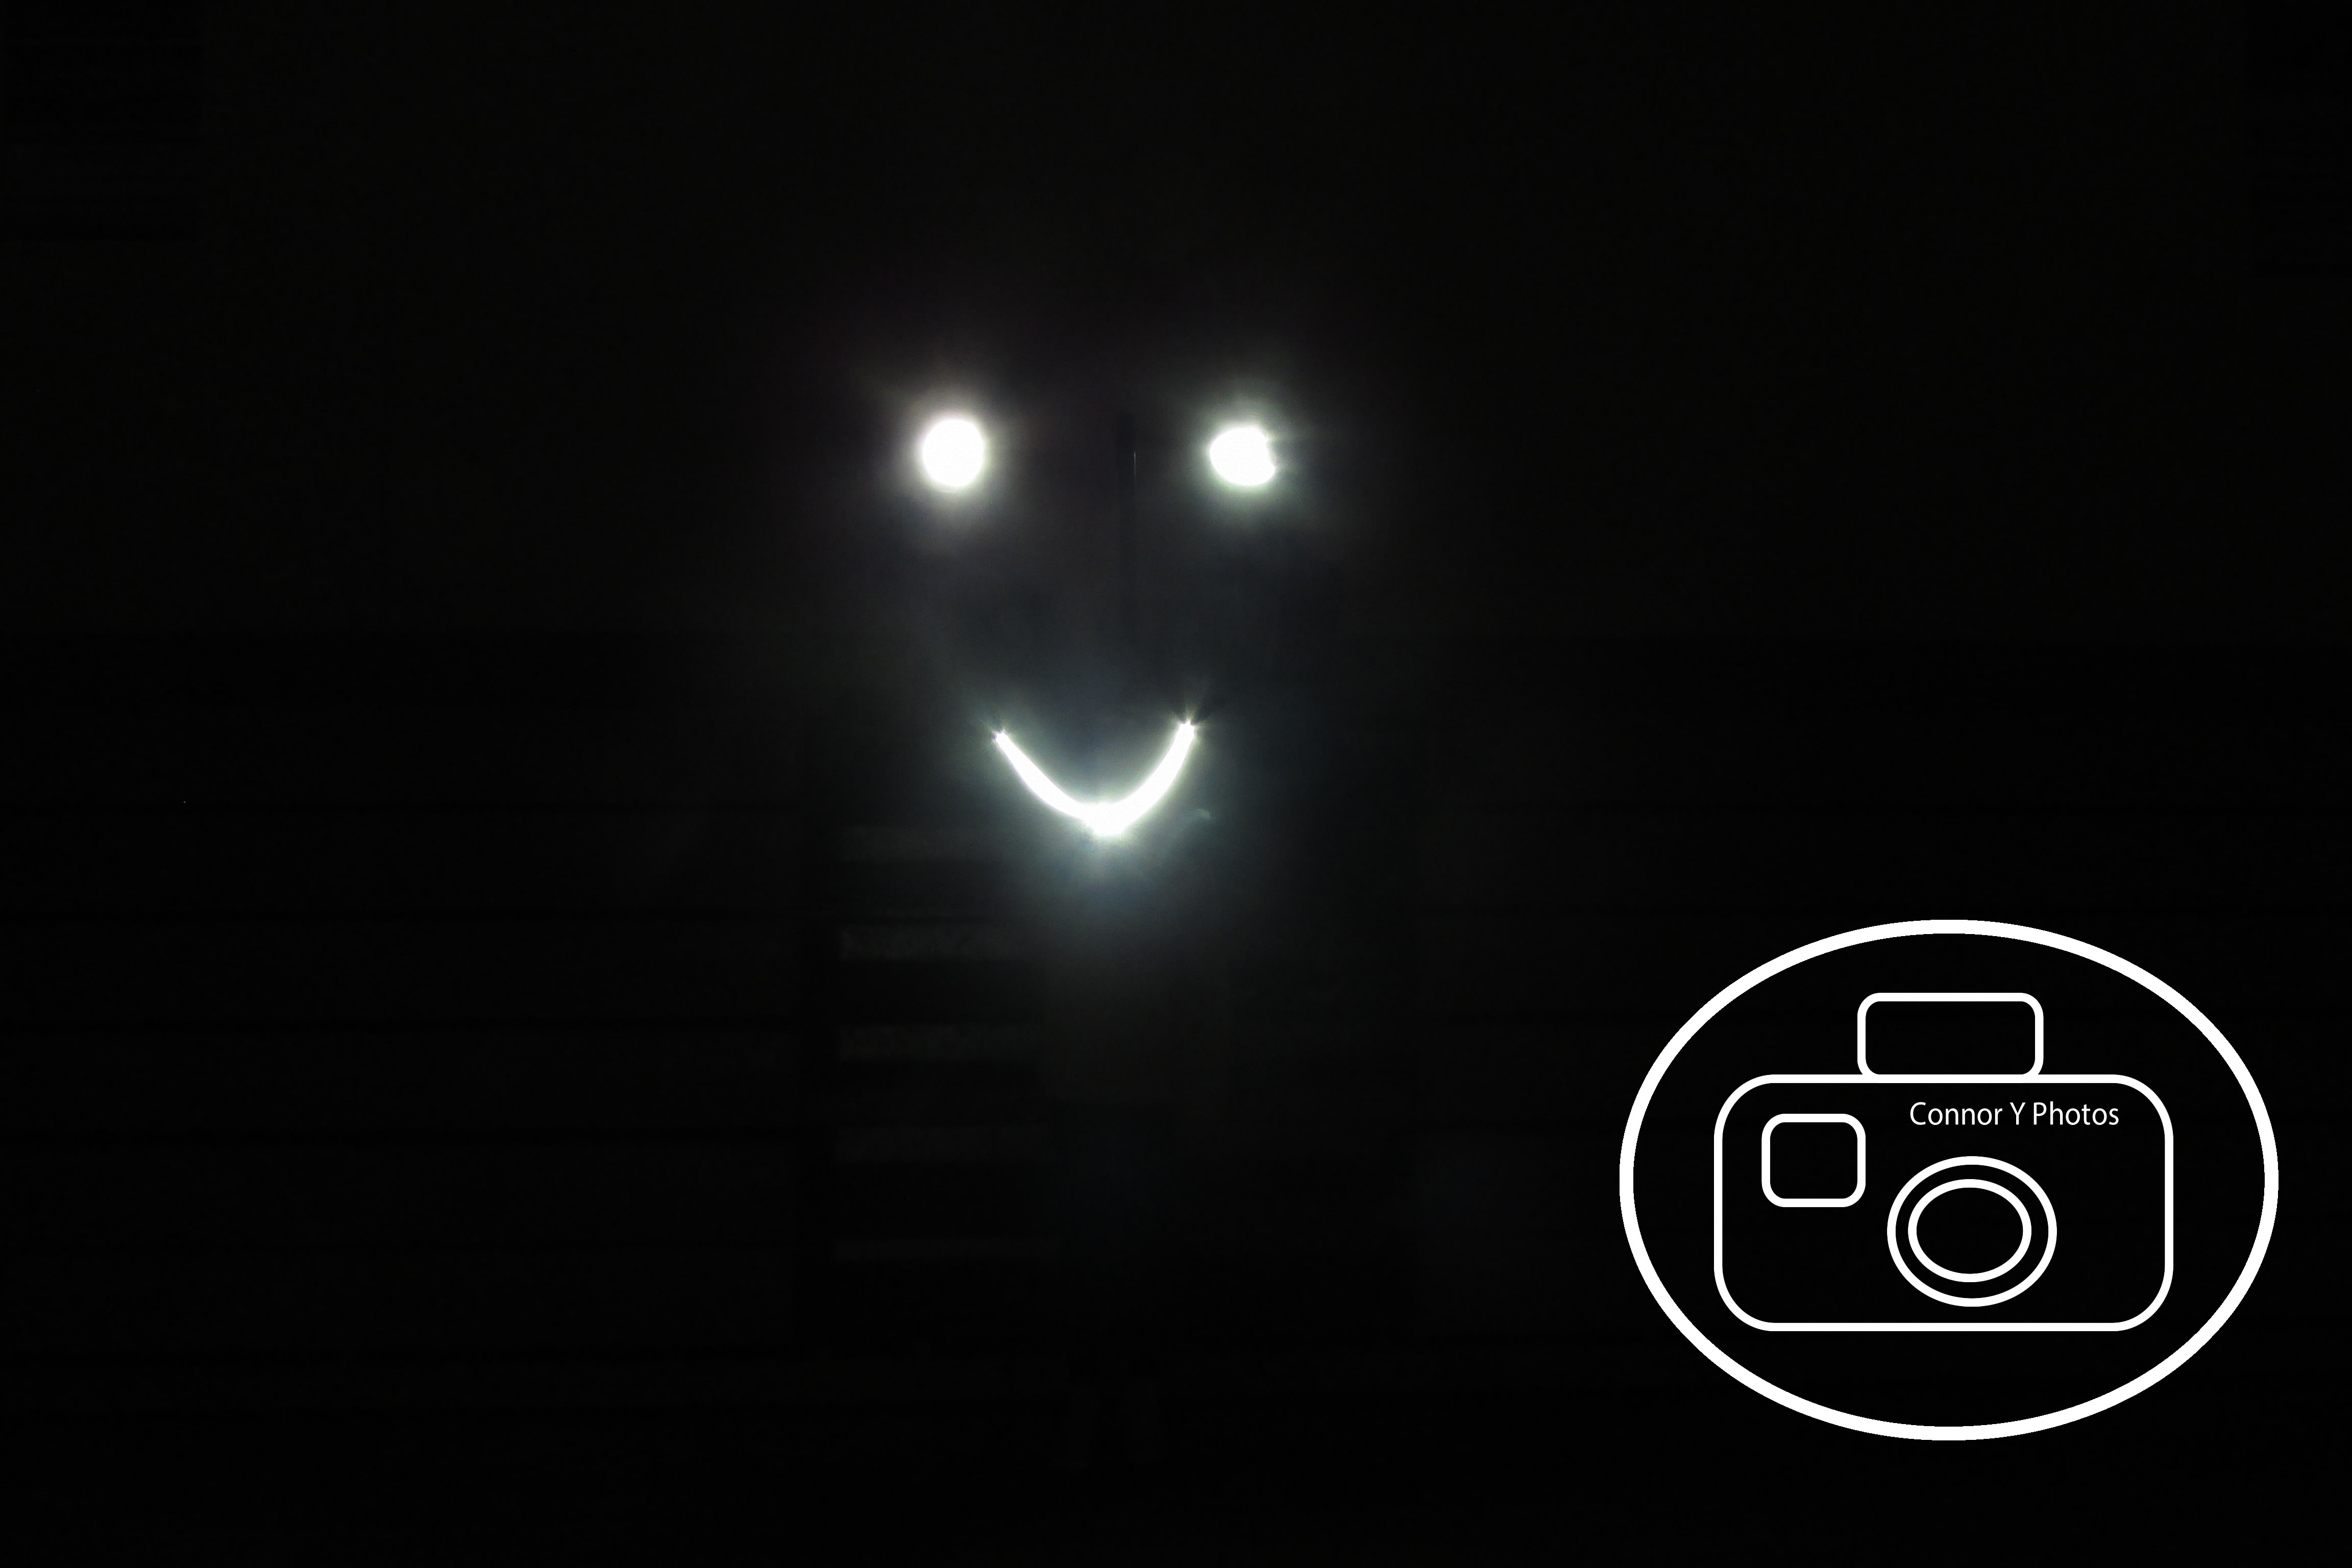
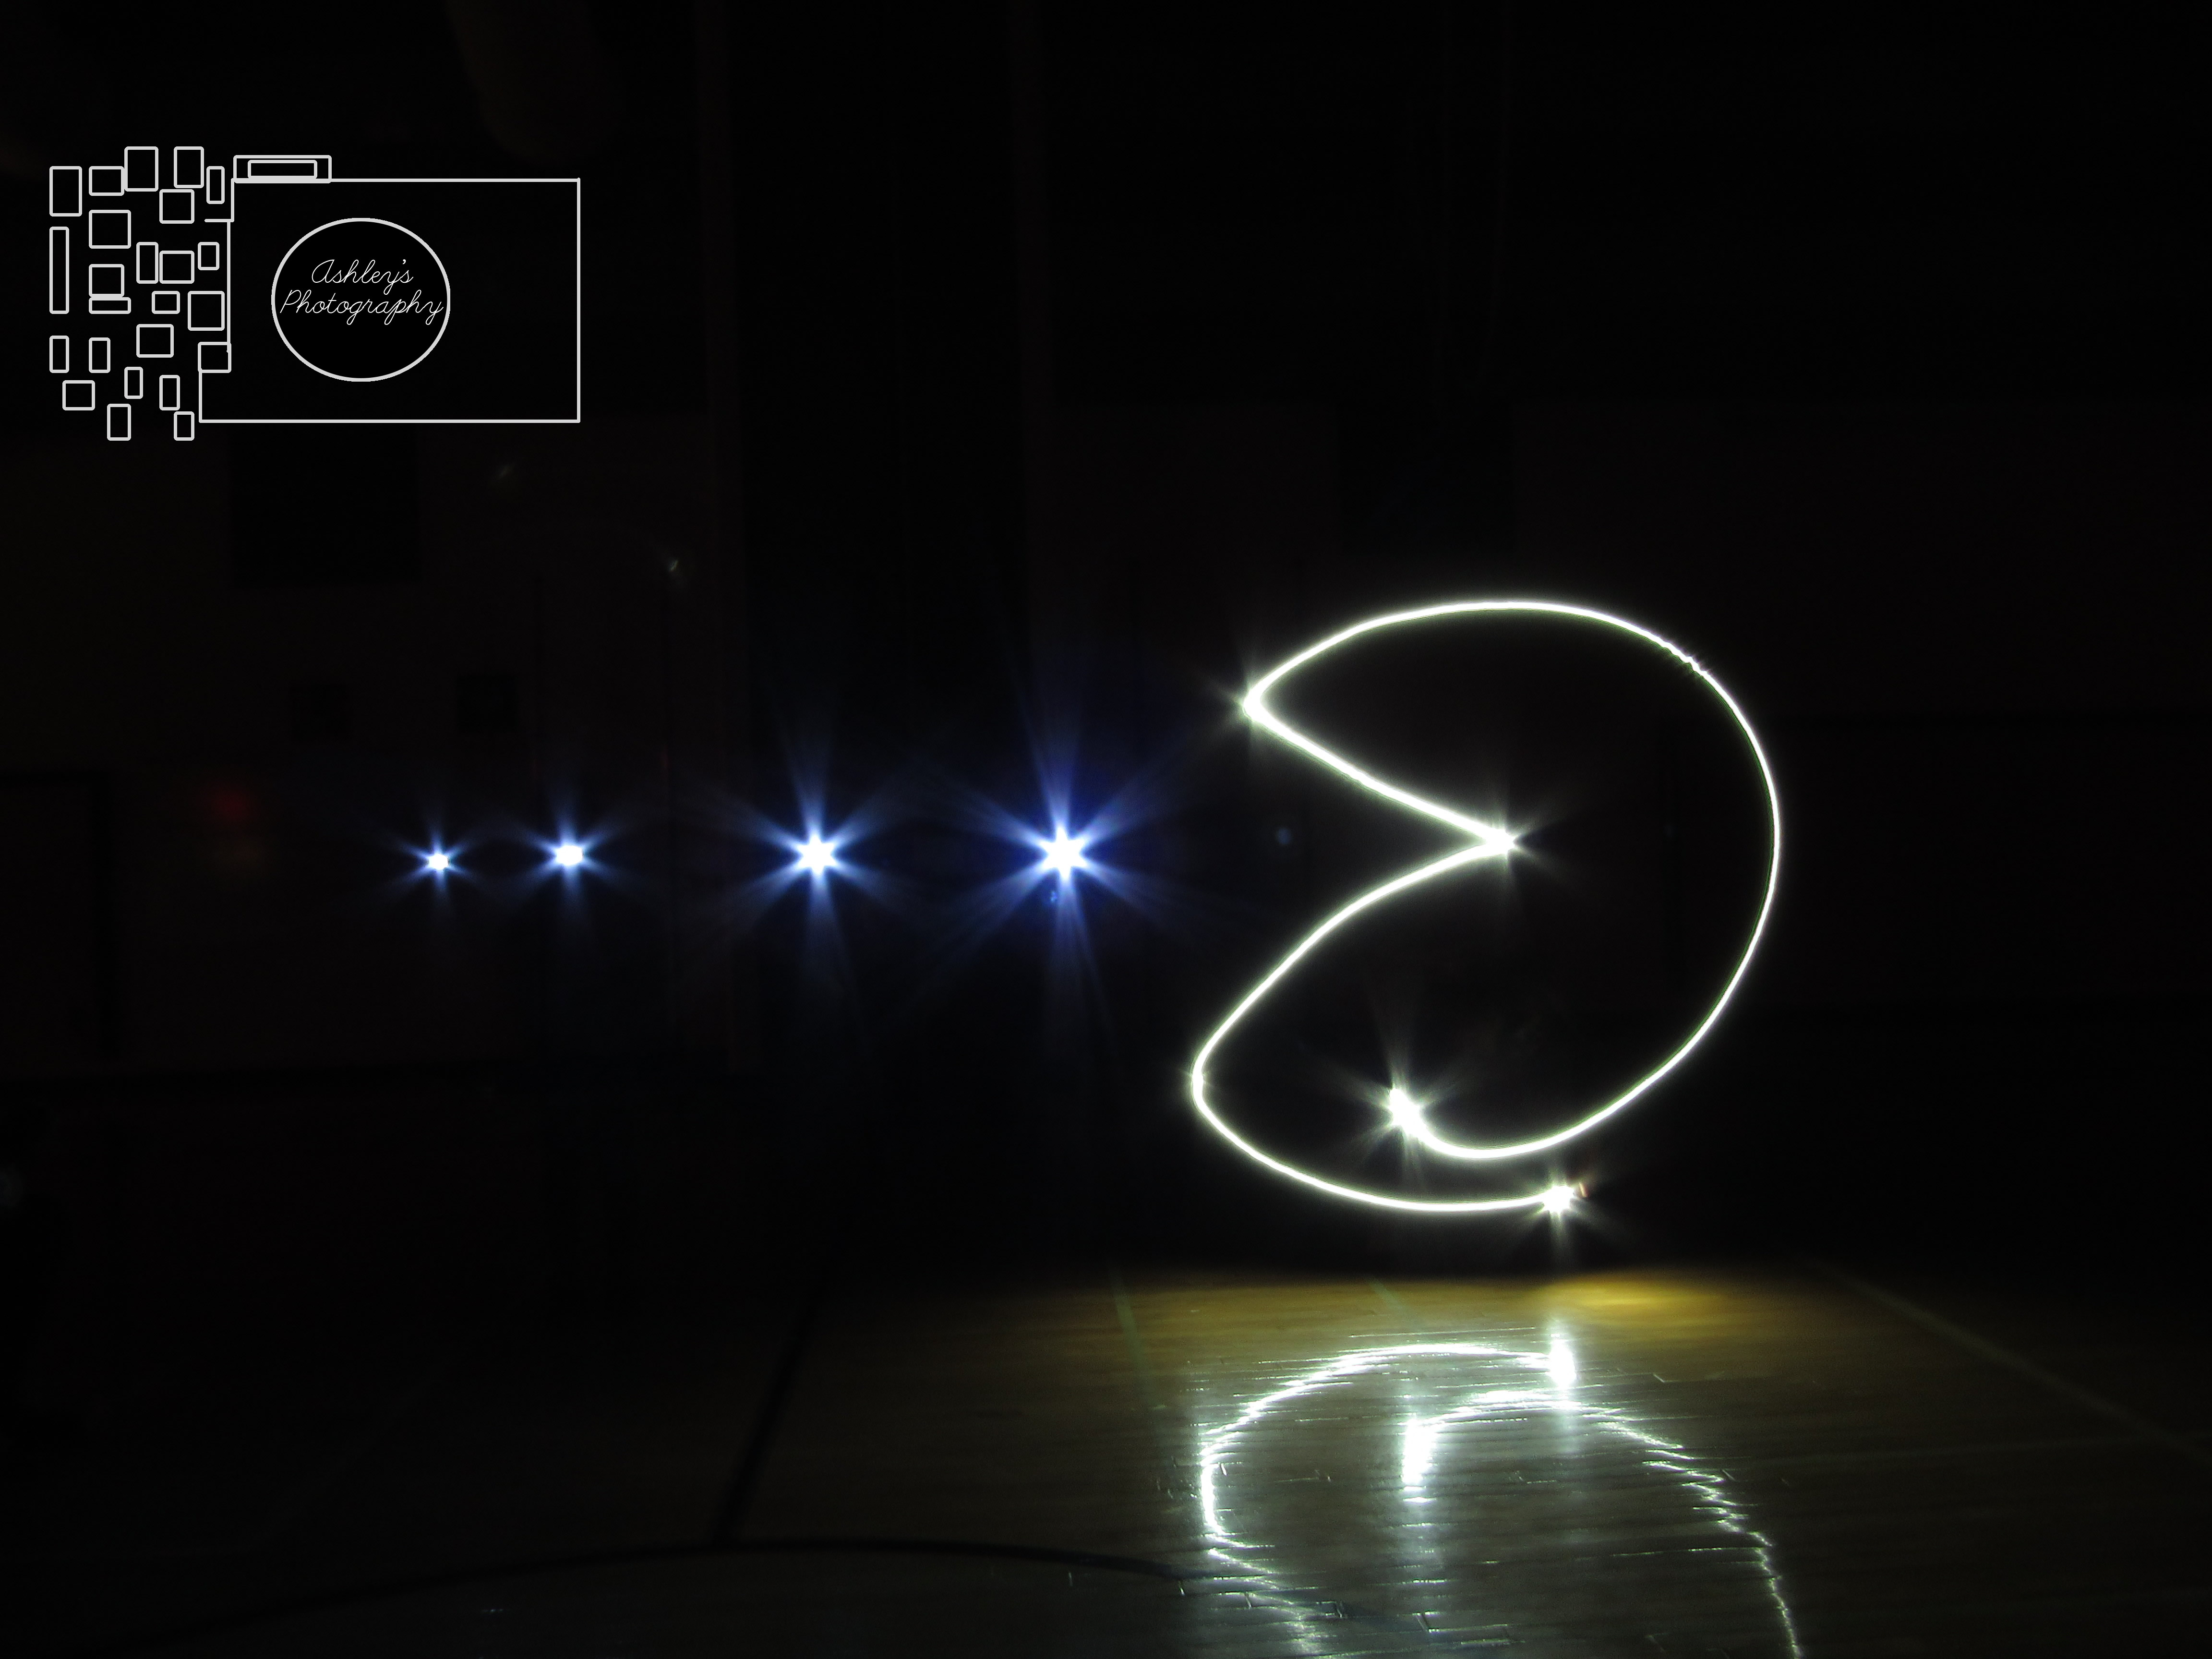
for this assignment I had to change the camera to Manuel and changed the shutter speed for 15 seconds. We also had to have a dark setting and we used a flash light or glow stick etc. we tried to draw a smiley face but because we are bad artist in did not turn out the way we wanted. a picture that would bring it to the next level would be something moving. too see the rest of the picture click here.
This assignment was very fun. We experimented with different types of lights and created beautiful images. In order to acheive this, our group increased the shutter speed to 15 seconds so we had enough time to draw what we wanted until the picture was finally taken. A few things we had trouble with was drawing the actual pictures because we had poor drawing abilities. This is one of my favorite photos, you can see the rest of them here.
To take the pictures, the shutter speed is very slow, so it can absorb the light, and it gives us time to work. The IOS is 100 so it isn’t light sensitive, and also so we can just capture the light we want to get. It worked when we traced over the drawing with the light a couple of times, and it also worked when we had more than one person working on the drawing. Some frustrations were when we would have a drawing that was good, but the time on the camera was to little, so it didn’t capture part of the drawing. Some ideas for this project is that we can draw with the light near the camera lens, and it could look like something was on the lens, like a bug, or the lens looked broken. You can see the rest of my pictures HERE.
This assignment was one of the funnest and coolest things I’ve ever done in my life. I was amazed the moment I realized drawing with light was possible with my trusty camera. To take pictures of light graffiti, you’ll need to setup some settings on your camera first. To start off, you’ll need to put the settings of your camera on manual. Then, set your ISO to its lowest value, which in my case is 100. This will make it very sensitive to any light, so make sure your atmosphere is as dark as possible. Next, set up how long you want your camera to be exposed for before taking a picture by choosing the quantity of seconds. After that, draw your way with flashlights, your phone, glow sticks, and more! I got control of the settings very quickly, but there were things that were not so easy. It was difficult to understand for me and my group to know when to start drawing (at the end we concluded that we needed to wait for 2 seconds after we press the camera button to start drawing). Also, since we didn’t know how the light would show itself at the end, most of our photos turned out to be sloppy and sometimes blurry. The next time I try something like this, I’ll probably go outside at night and set up the camera’s shudder speed for as long as possible to create an epic photo with more than one light! -Marie Valouiski
We took our pictures by having the shutter open for as long as possible. We turned on the flashlights while the shutter was open and started painting with the light. Having many attempts for one photo really worked because you could choose your best photo. Moving around while painting didn’t work because it made the picture blurry. It was really frustrating to figure out how you could paint your desired picture without messing it up. For taking this project to the next level, we could do a short stop motion video using light graffiti.
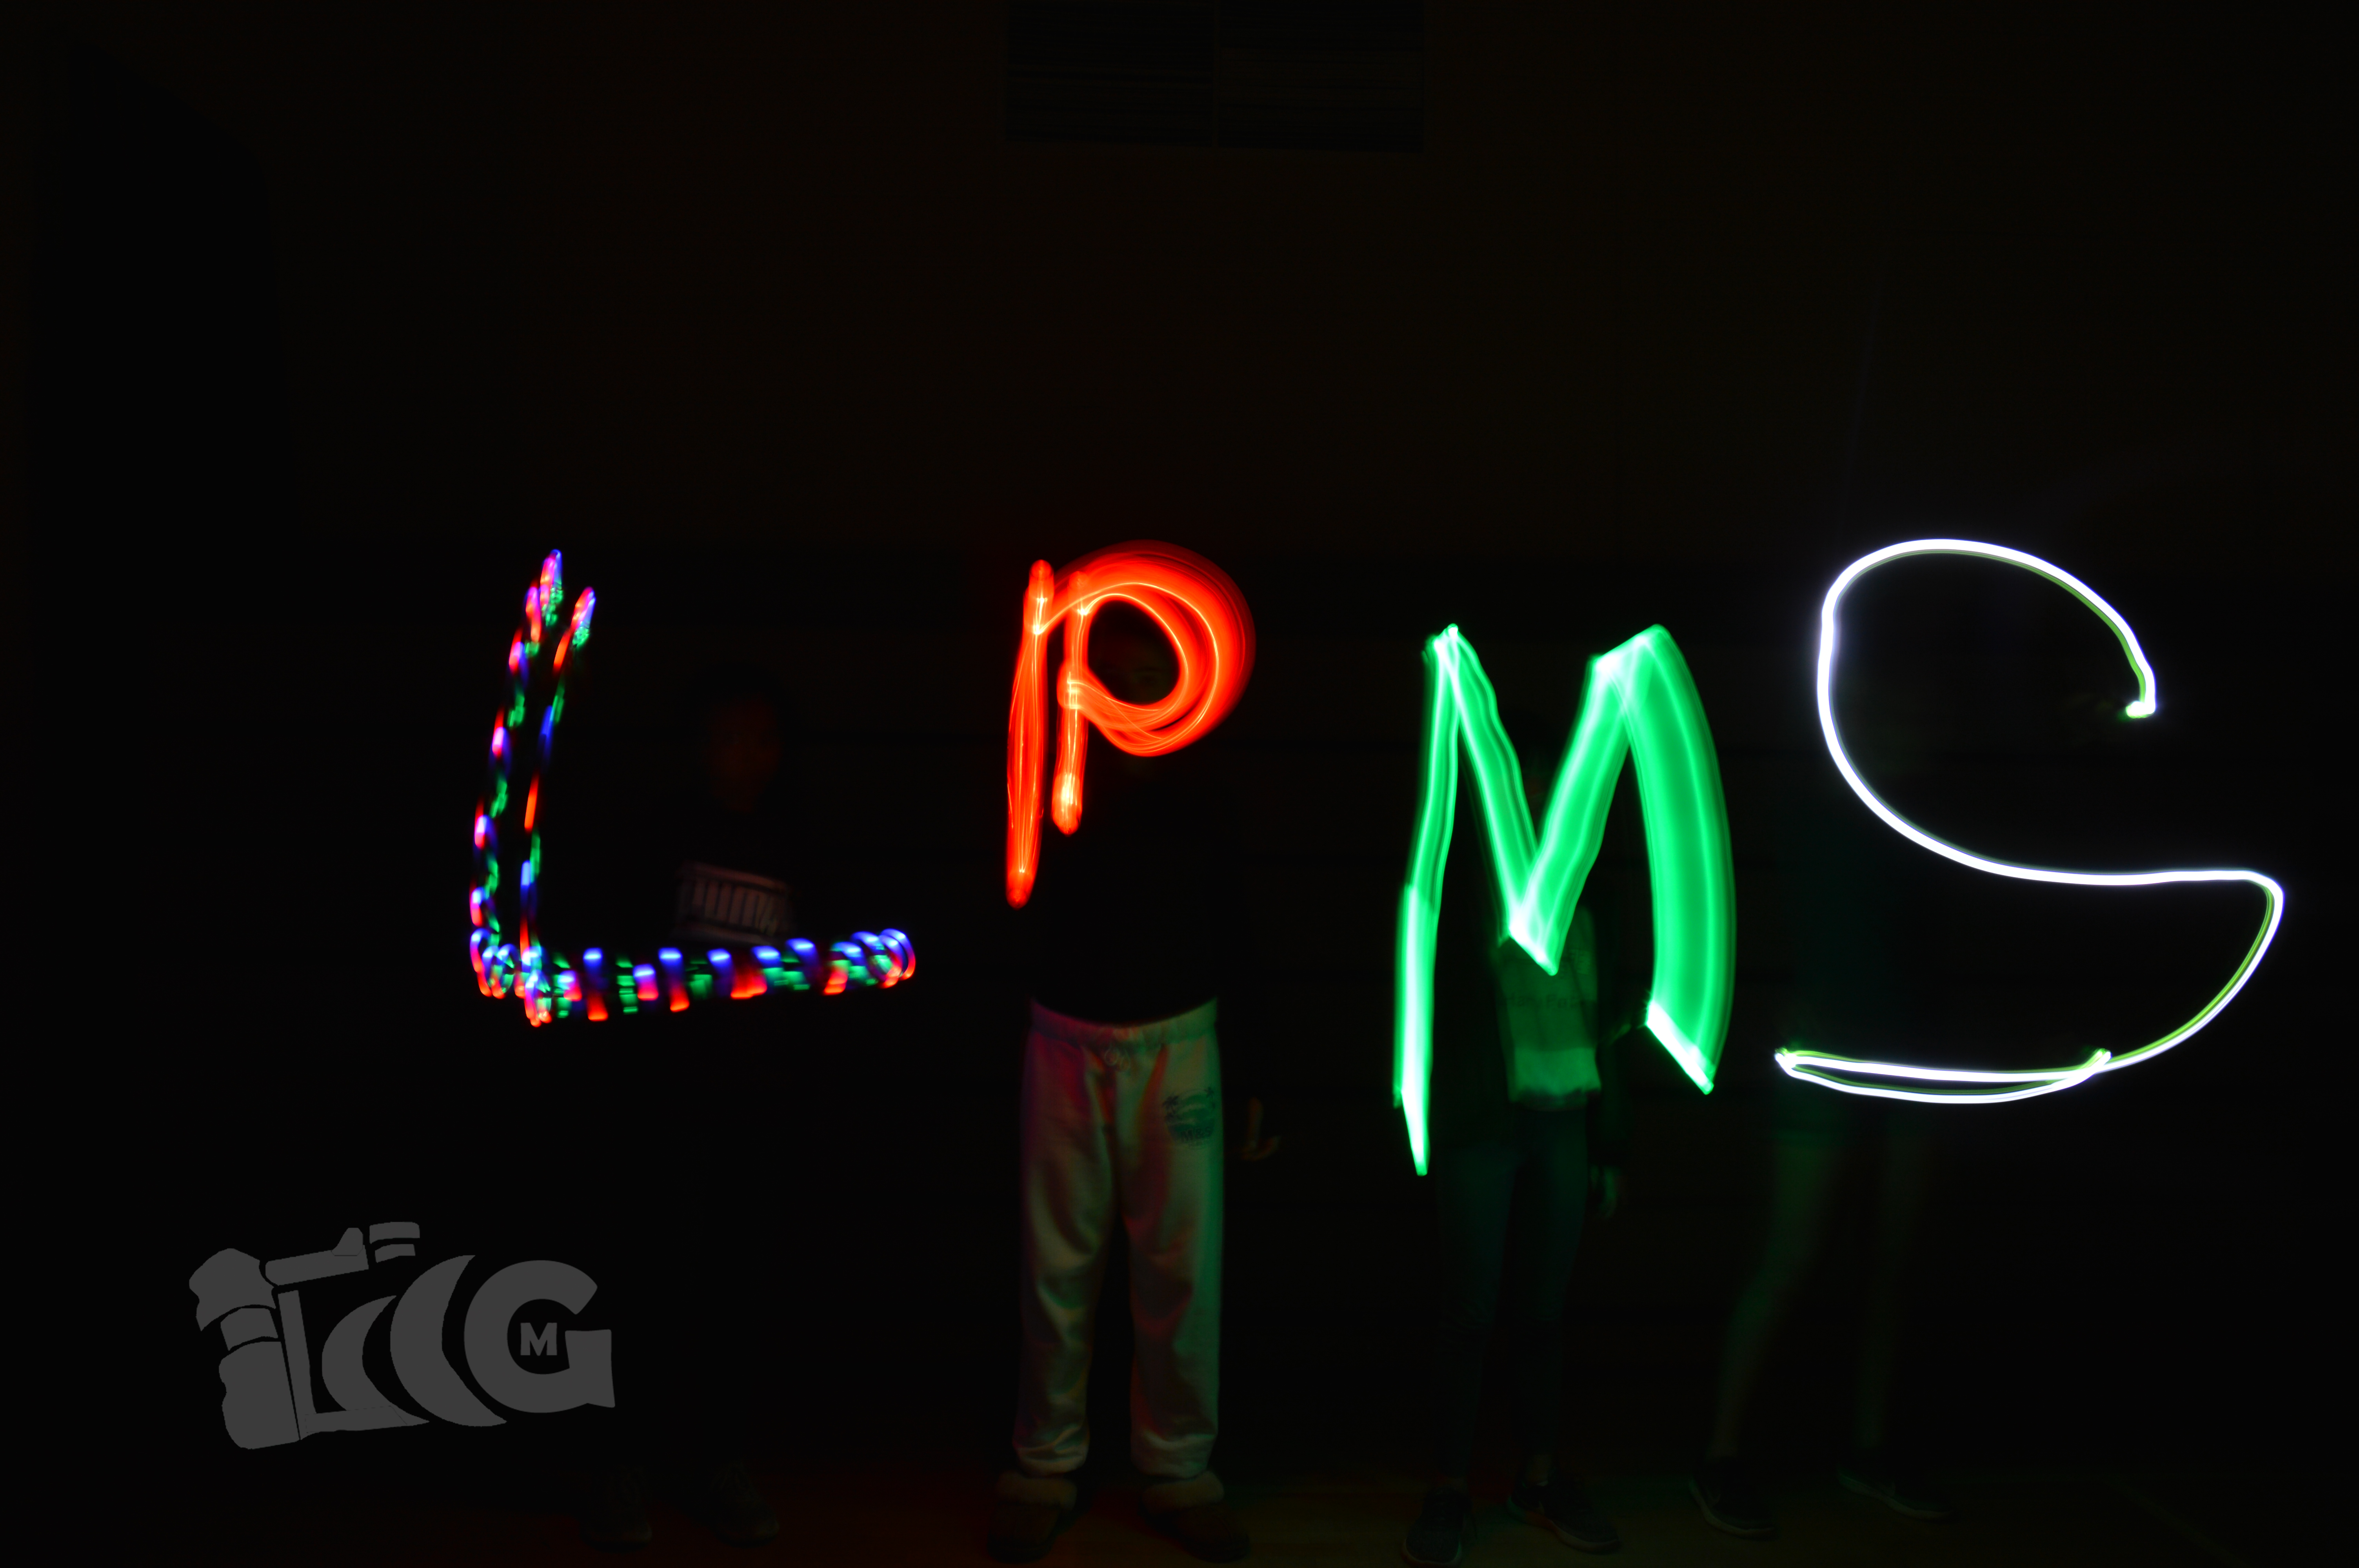
The settings we used to take the pictures were ISO 100, F stop 5.6, and 15 second long shutter speed (maximum). The steps we took were to have someone supervise the creation of the photos while the other two would draw the scene with their lights. This worked sometimes, but there was a fourth group member that was not very helpful during the process, ruining the pictures and kicking everyone else to mess up the pictures. Also, the shutter only stayed open for 15 seconds, so our pictures were rushed. My idea for taking this to the next level would be to draw picture for minutes at a time, adding a ton of detail.
We took our pictures by putting the camera to manual, used F-Stops ISO setting. We had to put the shutter speed to 10 seconds and during those 10 seconds we used our light to make a design. What worked was using a flashlight. What didn’t work was using the light from your phone. What frustrated me during the project was getting everybody to do their design on time and finding backgrounds to do. To look at the rest of my photos click here.
To take these pictures, we had to go into a dark room and keep the camera lens open for about 10-15 seconds. The part that worked was figuring out the settings but one difficulty we faced was doing the design correctly. It was frustrating when we ran out of time to finish the picture. To take this project to the next level, we can get more colorful lights and a better camera so we can leave the lens open longer. You can find my pictures here
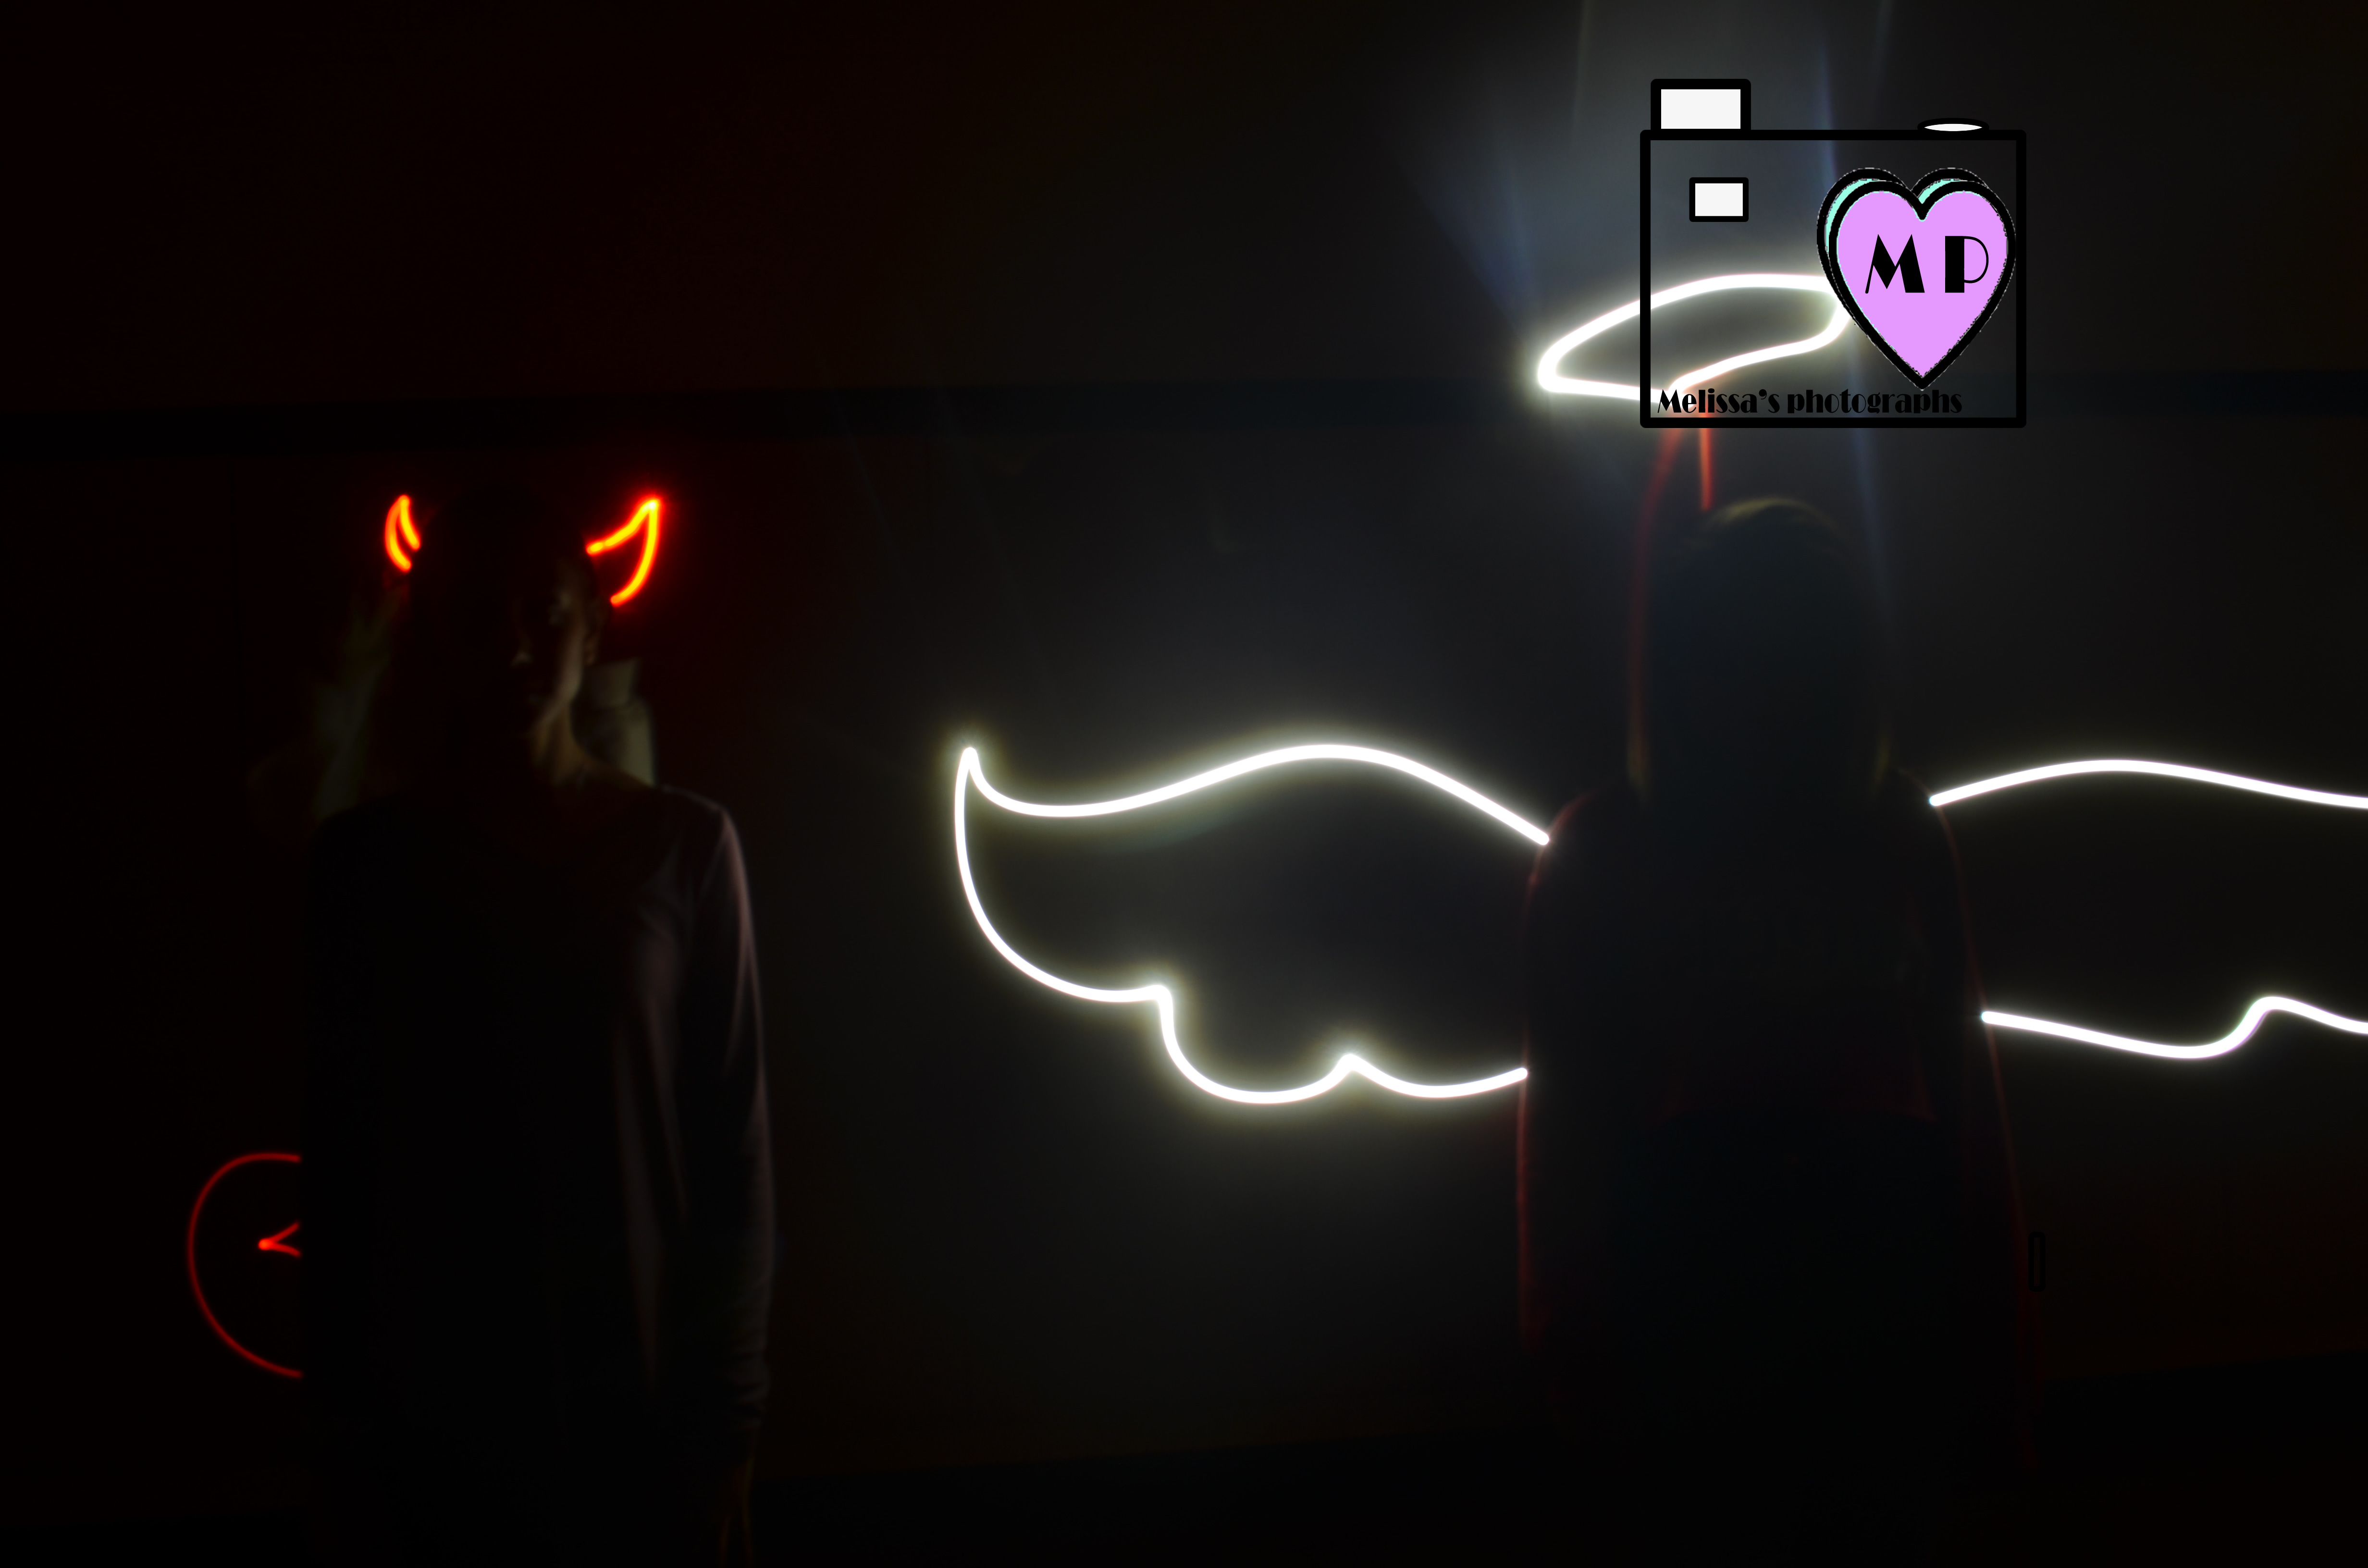
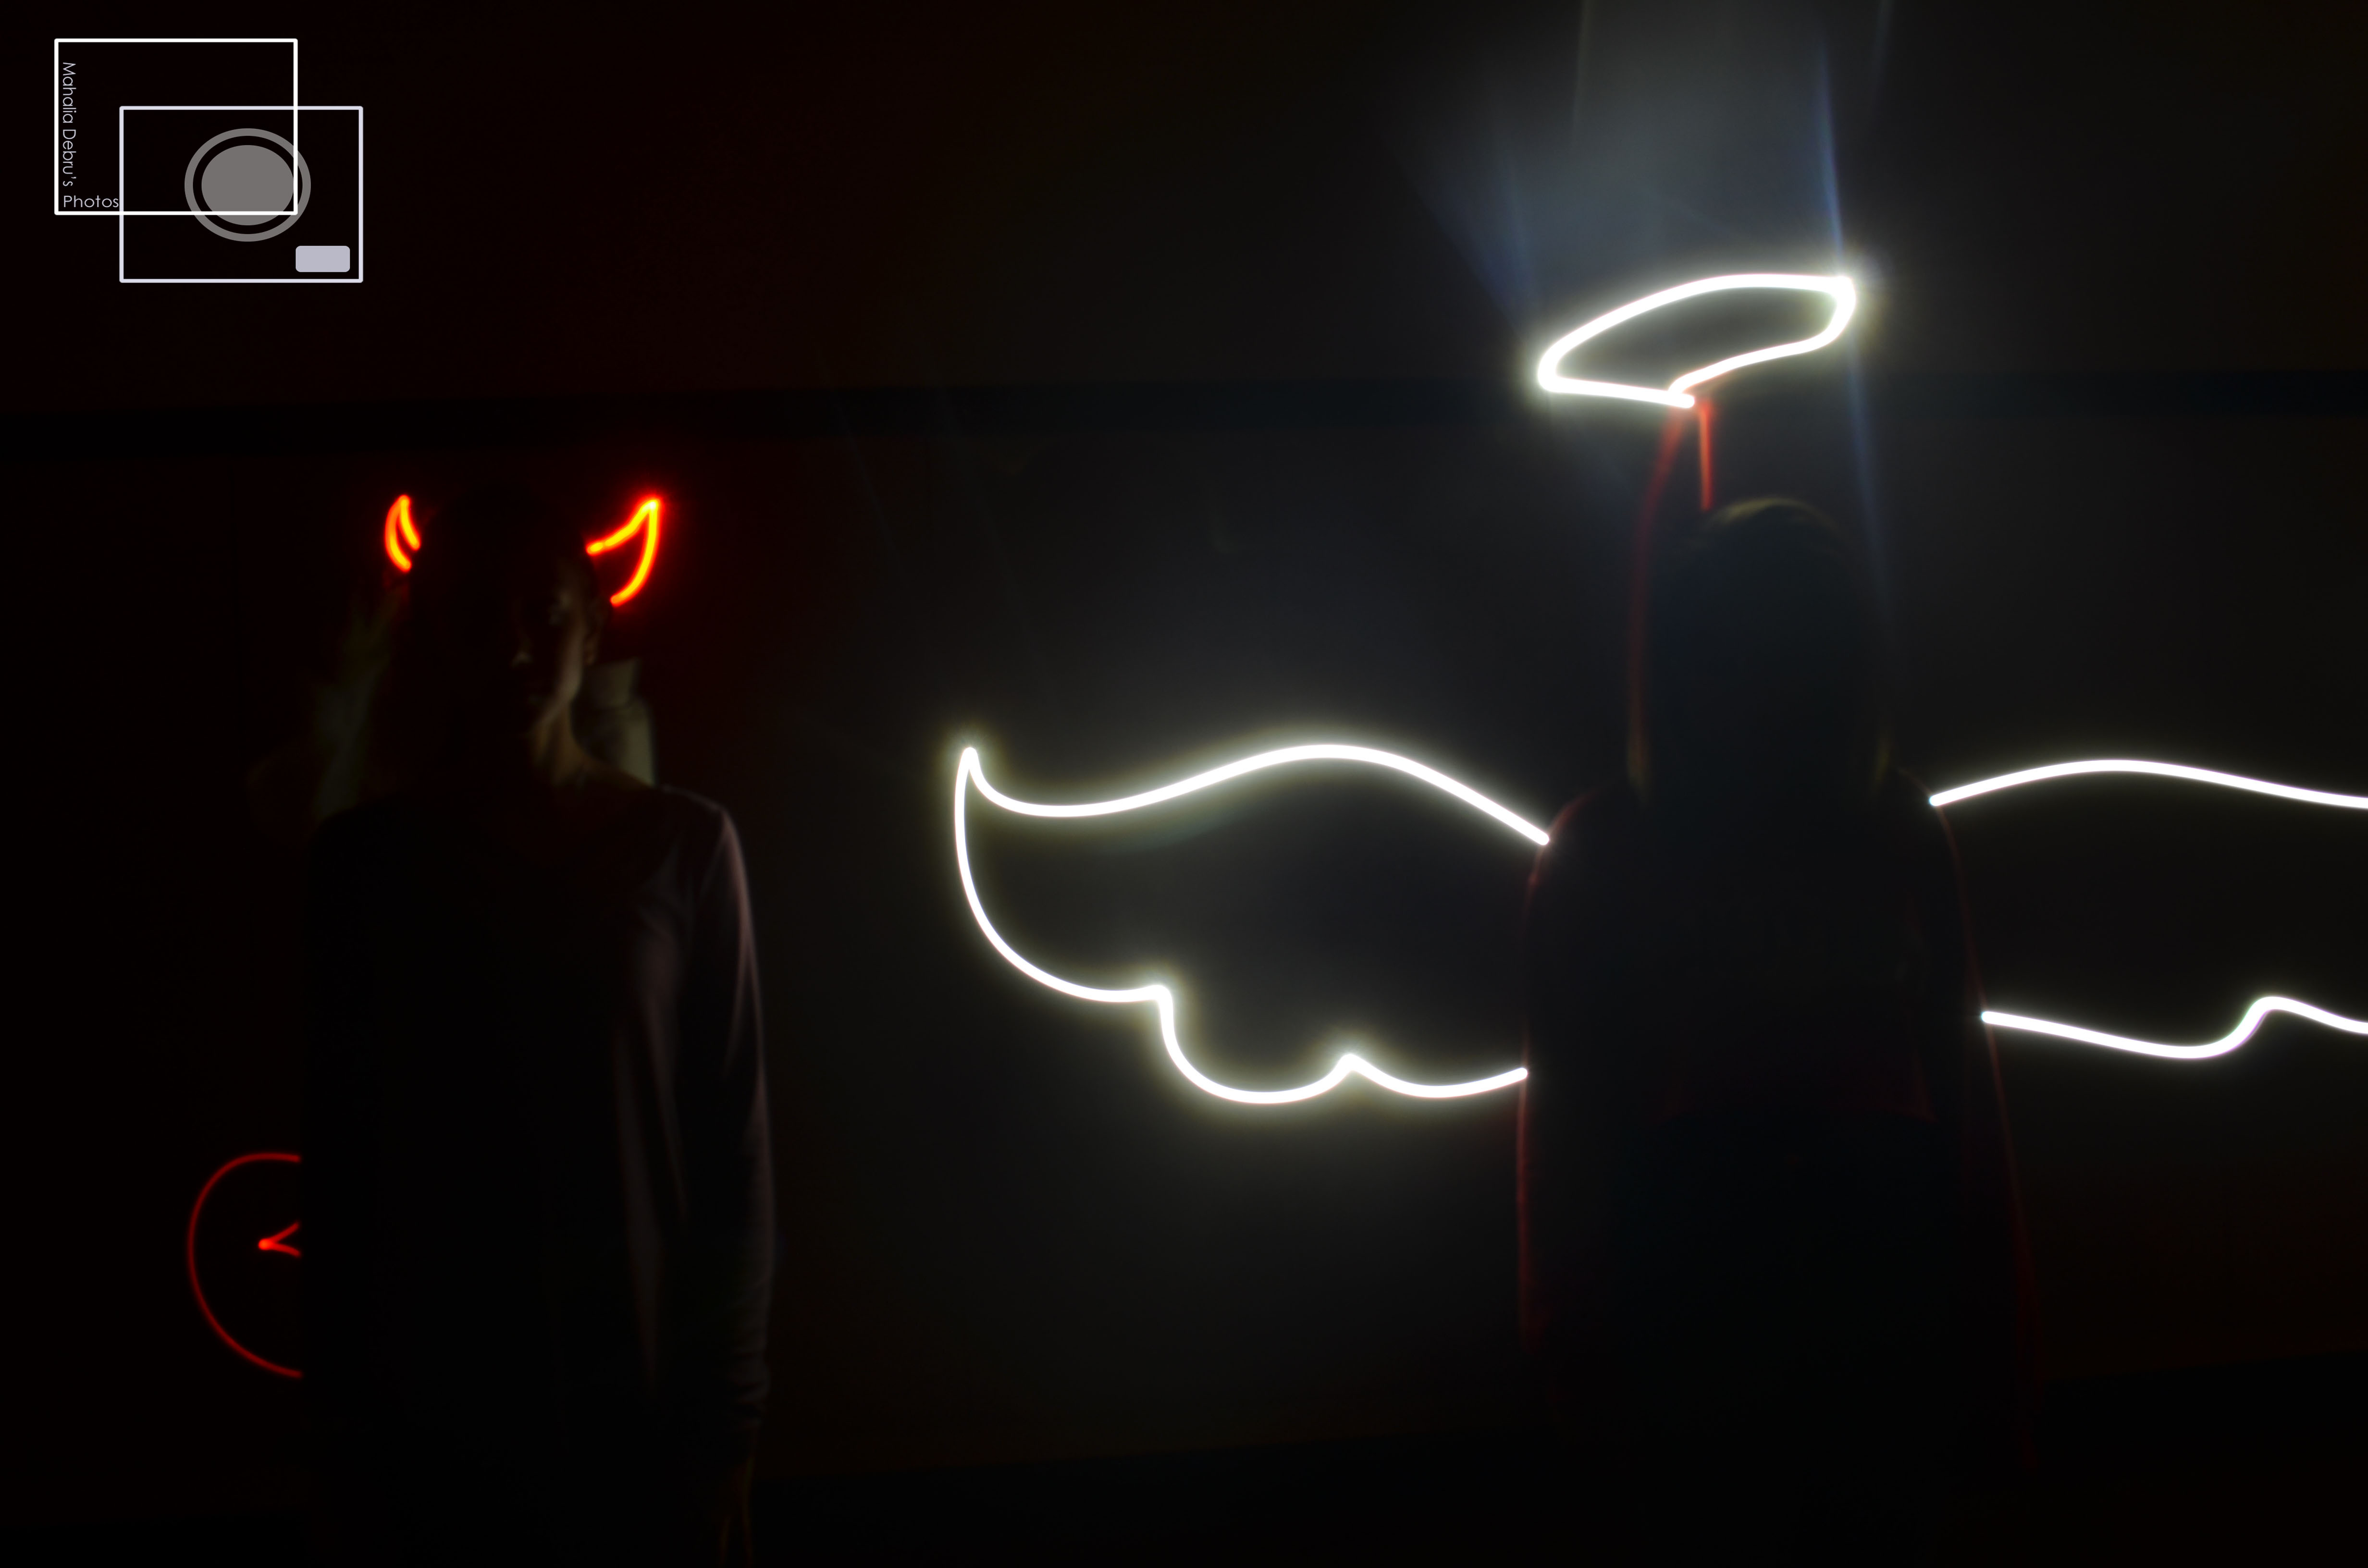
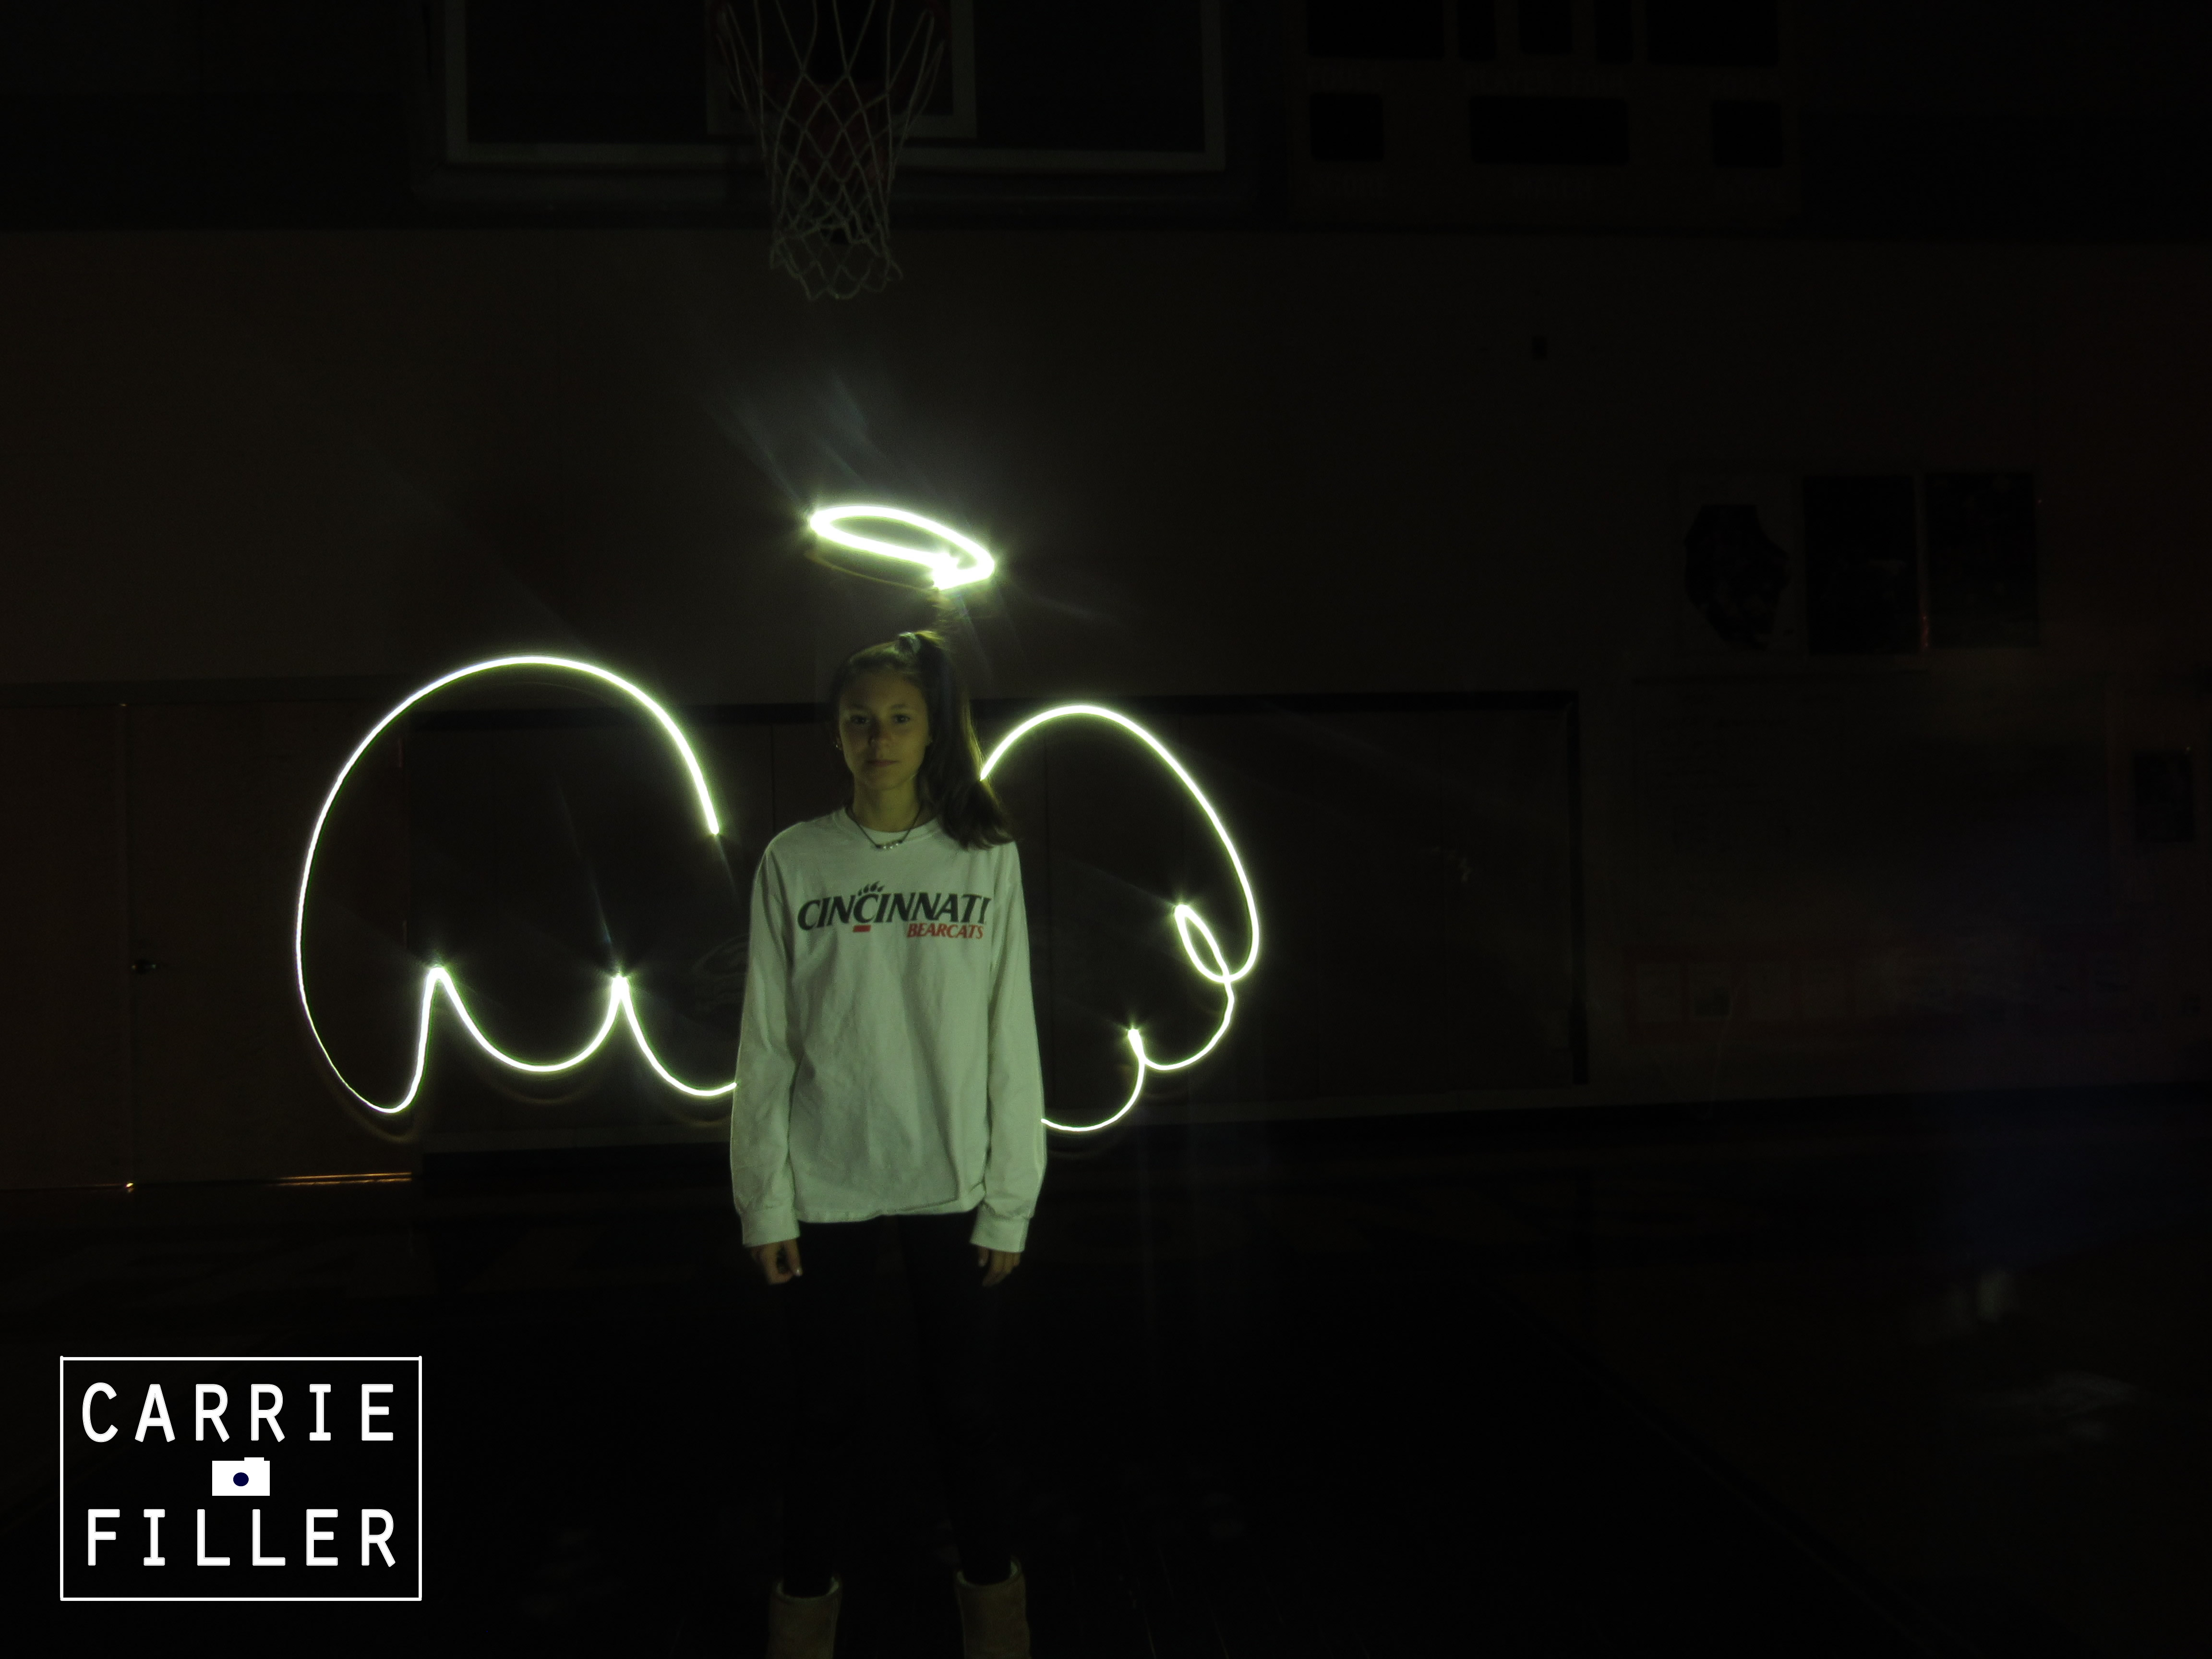
To be able to take my pictures I had to change the shutter speed to bulb so that we may be able to take the picture for the amount of time that we needed. The amount of time had to be enough because if it wasn’t then we would have to hurry up so that the timer doesn’t finish before we finish doing the graffiti. Something that worked was turning off all lights in the room and avoiding background lights as well. Something that didn’t work was if someone moved while we tried to take a shot of them then the picture would be blurry. Something that was very frustrating for me during this project was finding ideas as a team and being ready when it’s our turns to be taken a picture of. To take this project to the next level we could make harder and bigger scenes using light graffiti. Down below are two pictures my group took and if you want to check out the rest you welcome to click here.
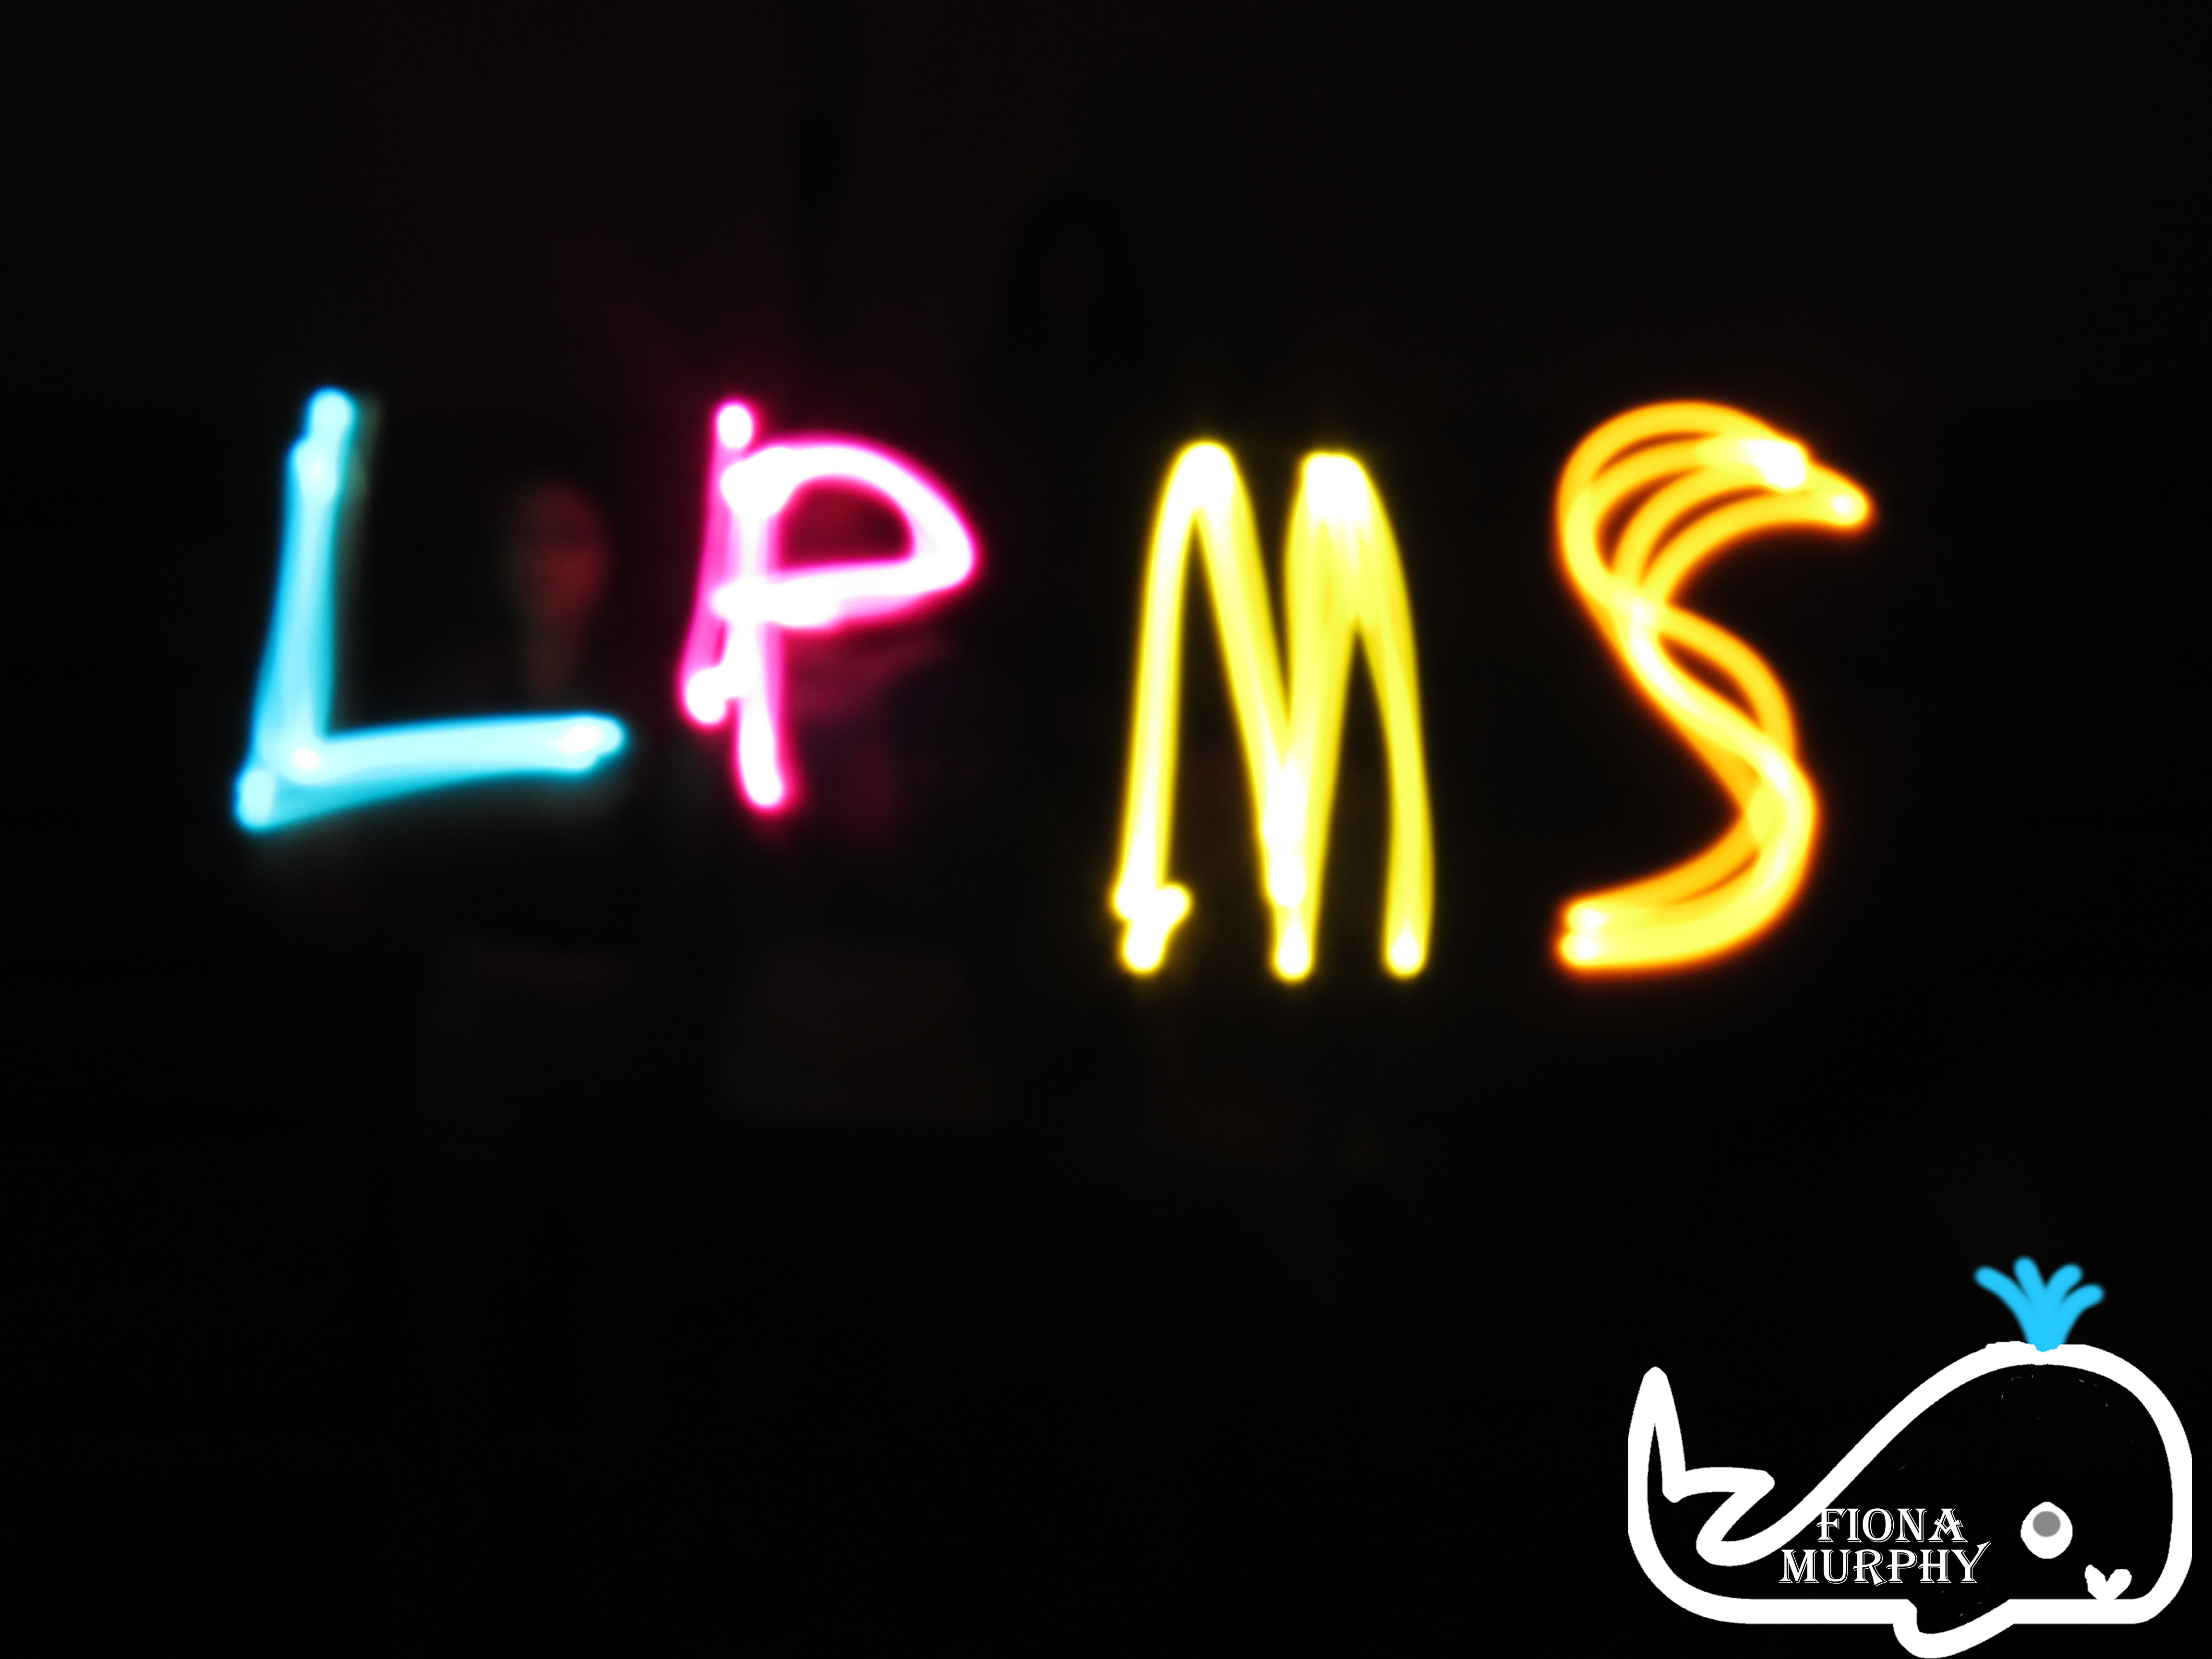
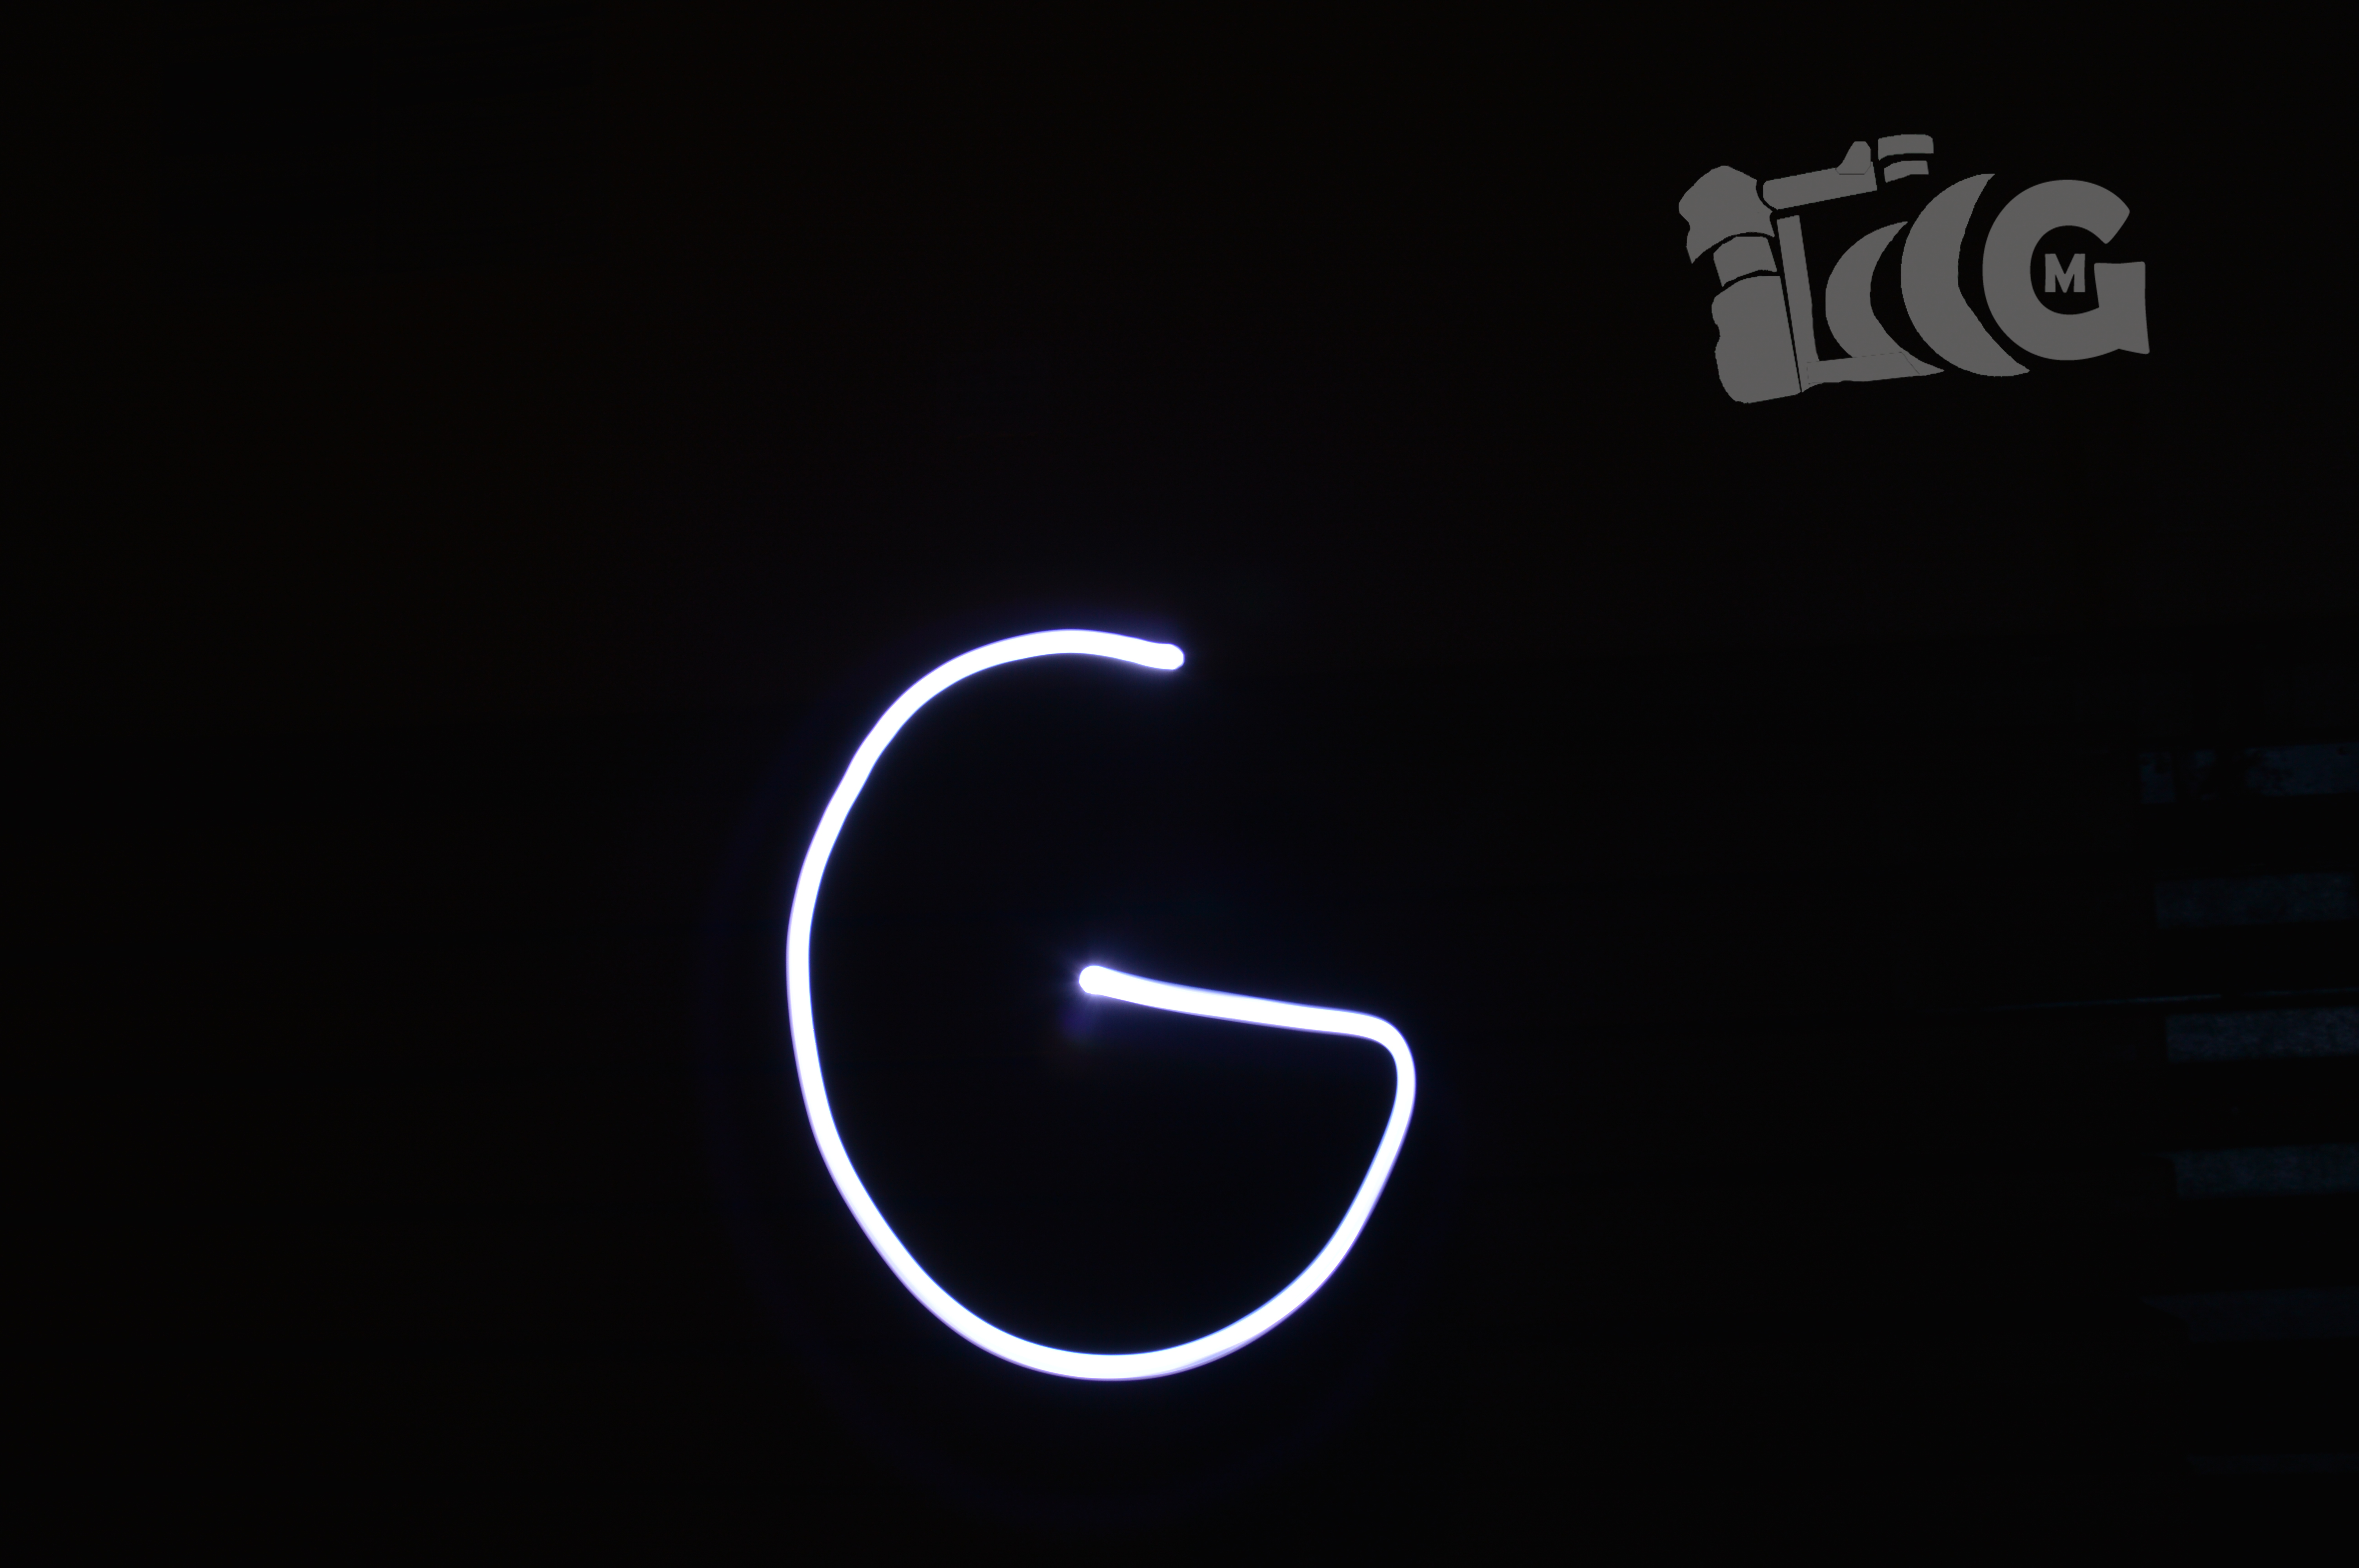
LPMS stands for Lakeland Park Middle School.G in this picture stands for my name which is Glory.