Last Project!

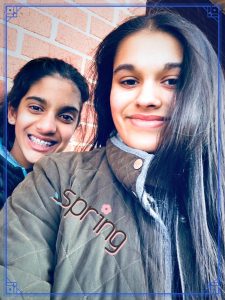
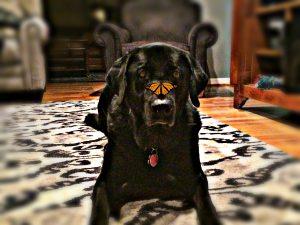
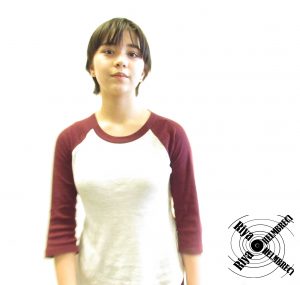
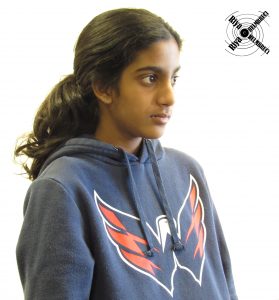
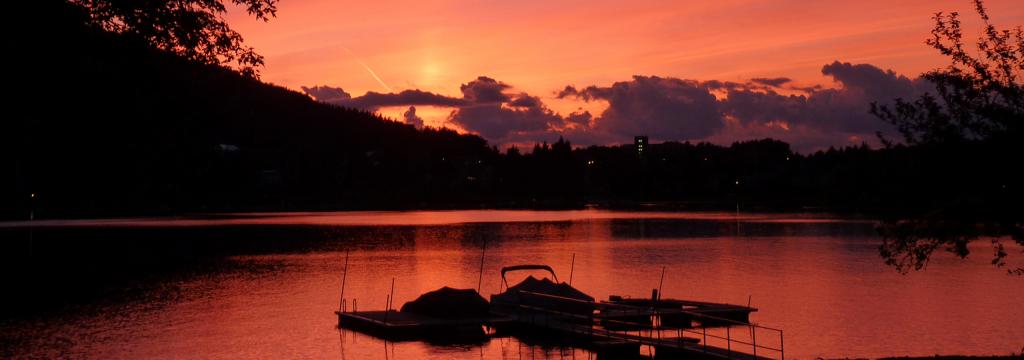
This whole semester has been very interesting. I have been able to grow as a photographer and enjoyed taking photos I never knew I could take. Overall this semester was very exciting and fun to take photos to make them look more artsy.  My thoughts have changed about photography. In the beginning of this class I kind of thought this would be easy and simple and anyone can take these pictures. Though I was wrong photographers take lots of time setting up the subject and getting good lighting and angles. My thoughts on photography  now more amazed and realize all the effort that goes into taking one single picture. I have changed the way I take photos. Instead of taking a photo with just one snap. I try to add the rule of thirds or get angles where you can see things from a different perceptive.  My favorite project was the Smile. I liked seeing the difference that you could see in a person with one quick expression change.  Photography interest me s a career. I think it would be a cool side job to make money but also to do photograph’s for people. I would like to continue learning photography in high school because then I would be able to continue to grow my knowledge of taking pictures.


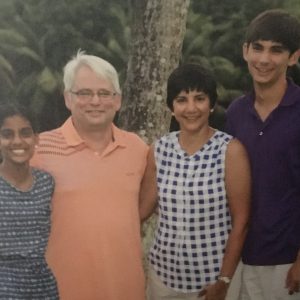
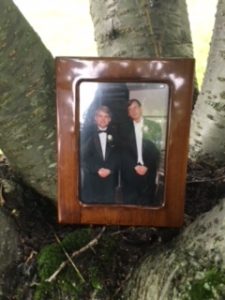
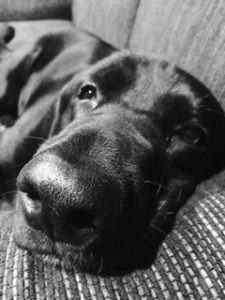
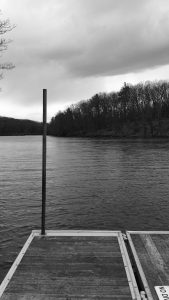
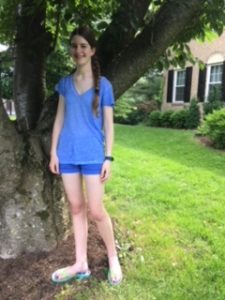
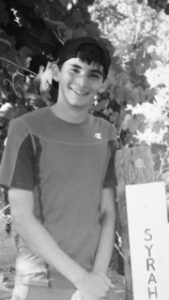
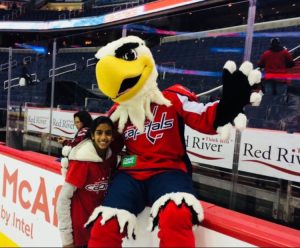
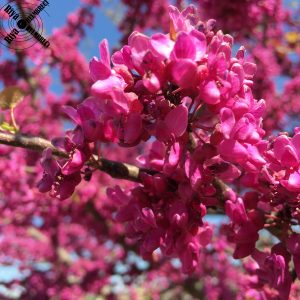
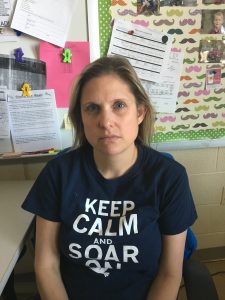
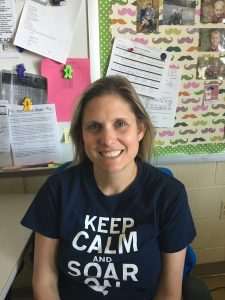
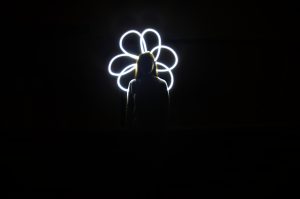
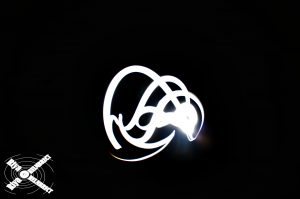
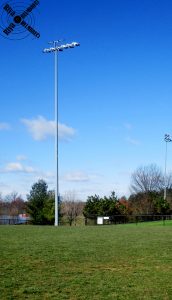
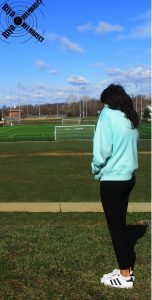
CHECK OUT THE PICTURES I TOOK DOWN BELOW

https://docs.google.com/presentation/d/1ttLpG0ixqy3Z9iIxHVRRyStXHwwUR1lzydq1hGL9xVw/edit?usp=sharing

7 Days


The first picture is a picture of my family.  I am thankful for my family because they have taught me so much and life and has always been there for me in every possible way. They have motivated me and always helped led me to the best path for me. They have done everything they can and taught me everything I need to know in life and continue to help teach me. They are always there to encourage my studies, sports and other activities I participate in.


The second photo is a picture of my uncle ( he is on the right). I am thankful for my uncle because he was always there for me and always found ways to make me laugh and smile. He was so kind and sweet, he always joked around with us and cracked jokes every chance he got. He would always try and turn a bad situation into a happy one. I always use to love driving up to his house on Friday to spend the weekend. The weekend would always consist of fun all day every day. My uncle always supported me and encouraged me.

The third photo is a picture of my dog. I am thankful for my dog Kody because he always gives me company when I am home alone. He also keeps me entertained when there is nothing to do. My dog is always by my heal and always makes me laugh with the silly things he does. My dog always keeps me smiling even when life is rough.

The fourth picture is a picture of deep creek. Deep Creek s a place where I have spent most of my summers. At the deep creek, I have created so many memories, from fishing, swimming, skiing, tubing, water skiing and much more. Deep Creek has allowed me to create and experience the amazing parts of nature and allow me to have an amazing fun time.

The fifth picture is a picture of my best friend. My best friend is my neighbor but does not go to the same school as me. Although during school we have not seen each other a lot we had made many memories and had lots of adventures. Throughout life, we hope to continue to make more memories and go on many adventures.

The sixth picture is a picture of my brother. I am thankful for my brother because he has taught me some much in life. He has gotten me more interested in sports and has taught me how to play them. He has encouraged me to be me and he always makes me laugh at him and with him.

The seventh picture is of the Washington Capitals. I am thankful for the Washington Capitals because they are an exciting team to watch on the ice and always are trying to bring home there first Stanley Cup. Also, they make most of my nights eventful allowing me to sit around and watch the Capitals win. LET’S GO CAPS C-A-P-S CAPS CAPS CAPS!


Action

During this project, we were required to take pictures of a moving object or someone moving or performing an action.  What I did to capture a good image was I used burst mode this way I could easily follow the object/person moving and capture their movement too.  Some tips I have for someone taking action photos is to be prepared. Know and be ready to take the picture and make sure to have good focus. If I could photograph any sport I would do hockey. I think it’s amazing how players can easily thrust their body’s to get to the puck or check their opponent. I think its amazing how fast they are able to move with all the equipment on


Here are some more pictures I took down below

https://photos.app.goo.gl/pSdP3bkPuNMQOagm2

Getting Closer


The project getting closer was required us to get closer to object so we would be able to see the objects smallest detail and so we could observe textures.  What worked well was holding to object up to a solid background like the sky. What I tried new was take photos of flower really close. On some you can see the flakes of pollen.  Some challenges was getting the right angles. You wanted to get the right angle so you would be able to see as much of the texture as possible. A difficult subjects were animals cause they would keep moving and your photo would turn out blurry.  If I had the equipment, time and the ability I would like to photograph a fish swimming in the water. I think it would be cool to see the textures of the fish and their scales.

Here are some of my photos I took. If you want to see more check out the link below!

https://photos.app.goo.gl/b886x8uQh568mSa46 


Smile

During this project, we were asked to take a picture of a person smiling and a picture of the person not smiling. I found it really difficult to do this project cause many people did not like having their photo taken.  Some changes I see are when people are not smiling they seemed rude and annoyed. They also seemed unwelcoming. Though when they smiled they seemed like the friendly warm welcoming person.  Being Bias can affect your job as a photographer because as a photographer you may be thinking is this okay or right to take a picture of this person. When you are talking to a client some questions I would ask is What’s your hobbies,? What your life like? and I would ask them to smile.

Here are the photos I took


To check out more of my photos check out the link down below!

https://docs.google.com/presentation/d/1e9Q0ToP5XmyZgMekIWGWcXtoZTvYAbx3dI7SjJ0Gix4/edit?usp=sharing

Light Graffiti

For this project we had to change the ISO to 100 and change the shutter speed to the right length that you need to draw the picture. Then you will have a person be the subject and depending on the drawling have 1-3  people drawling things with the flashlight. What worked with this project is having the shutter speed on bulb. This helped because it allowed the people drawling to have exactly enough time to draw what they needed to. What did not work was having the light turned away from the camera. This just made the background be completely lit up. What was frustrating was having very cool ideas but they were to complex to use them also was when we shinned to much light at the wall causing many shadows. If I were to take this to the next level I would go outside during night and use Christmas lights.


To check out more photo’s of y group visit the link below

https://photos.app.goo.gl/bl6luvR8J6ZqMt5m2

Newseum

Ebola Ravages West Africa, 2015, Daniel Berehulak

This picture is two in a protection suit carrying a young boy with Ebola.

My overall impression of this picture is this is very depressing and sad. Its sad to believe that anyone can be infected with Ebola.  What drew me to the picture was the boy. I just immediately felt bad for the boy. I was just really surprised that anyone of age and anyone so innocent can get effected.


Brutality in Bangkok, 1977, Neal Ulevich

This picture is of a boy hanging form a tree, and another boy has a chair and is hitting they boy hanging from the tree.

My overall impressions was What is making the boy hit the other boy? Was this just another form of bullying. What drew me to this photo was the boy hanging from the try. I was really confused on why someone would do this to someone. Also what drew me to the picture is everyone around the two boys are just standing there and not doing anything.

If I were taking the image, I would not be able to separate my job fro being a human.  I would just be the one trying to stop what is going on and help the people or in the 9/11 case run for my life. Some struggles of being a photo journalist is having to deal with the hate comments that you are most likely going to get because you stood there and took the picture instead of helping them. Another struggle is having that image in your head for the rest of your life. You saw the whole seen in person and know a lot more then what the picture can say. Some rewards of this job is being able to go to famous historical events. Such as the Olympics or cool concerts and sporting events. Other awards you can get are actually awards. You have a chance to get the best picture award or other awards.

2nd exhibit

Civil rights at 50

My Favorited artifact they had in the exhibit was the bar they had. I thought it was neat to have the old bar the black people use to have to go to. It fit into the overall Newseum because I believe Segregation was a important part of history and should be remembered. The segregation allows many people to come learn about all the rules for blacks and whites and where what color was welcome. In the exhibit something that I thought was really interesting was the black college students and how they launched their own protest. If you were to go to the Newsuem I recommend stopping by the Civil Rights at 50 exhibit.


App Review


My favorite website to use is Fotor. Fotor is a website that allows you to edit your photos. You can edit your photos very easily. With Fotor it allows you to crop and resize photos, change the color, change the brightness,  fix any imperfections of your skin and many more things. Fotor is really cool cause it allows you to get rid of wrinkles, and add blush,  weight loss, whiten your teeth, and much more. You can also add frames and different stickers.  This website is one of my favorite’s because I found it very simple and easy to use. Also, it is super easy to upload and save your photo.

Link to Fotor.  https://www.fotor.com/


The next website I used is BeFunky. BeFunky is a great website for editing. It allows you to add fun silly stickers, to touch-ups on you,  add frames, textures, photo effects and much more. This website is one of my favorite because it is simple to use, free and I found it very helpful by offering lots of stuff to turn an ordinary picture into something more personal and unique.

Link for BeFunky. https://www.befunky.com/


Rule Of Thirds

This week we have been required to take photos using the rule of thirds method. The rule of thirds method is when you have a grid of 3 by 3 and you line up a subject near the lines or at intercepts where the lines would meet. This helped because the natural eye would move to that point usually. You could have also You could also have two-thirds of the picture one scene and the third something else.  For example, two thirds could be the sky and one third could be the ground.   What worked was having the grid on. This made it easier to line the people up exactly. What didn’t work was not having the grid. Without the grid, it was much harder to have the thirds line up well and it just seemed to be a normal photo. One thought I had on the rule of thirds is it seemed really easy and simple. Though now as I look back it was more complex then I thought it would be.


For this photo, I used the line method. I lined the light pole up with the verticle 1/3 line to the left.


This photo. I used the line method as well. I lined the Briana with the verticle right 1/3 line.


More photos I took with the rule of thirds are in the link below.

https://photos.app.goo.gl/QZSbHAmzl30dwLso2

White Background

The process I used to take the photos and edit was fairly simple. All you have to do is have the light shine on the background, the person close to the camera. The settings on the camera have to on manual. Then you need to change the ISO to about 800. This will help allow how much light will be let in. Then you need to change the shutter speed witch will determine the amount of time it will take the photo. What worked was having the light shine at the background so there was no extra light on the person. What did not work was having the person to close to the wall/paper cause then a shadow would appear. The difference between the white background and the black background was the settings of the camera and the angle of the light. The camera setting where different cause for the white background the goal was to let in more light so we had to change the ISO to a higher setting for the white background . For the black background we had to turn the ISO down to a lower number this will let less light in. Another thing that was different was the position of the light. The position of the light for the black background was shinning on the person so the only light would come from the light shinning on the person. For the white background you have to have the light pointing at the background to help eliminate shadows. I preferred doing the back black ground because it was easier to find the right position of the light.

Photo credits got to Briana.

Here are more pictures of my group.

https://photos.app.goo.gl/ktXRky9nyOtNy8g93