
The process I used to take the photos and edit was fairly simple. All you have to do is have the light shine on the background, the person close to the camera. The settings on the camera have to on manual. Then you need to change the ISO to about 800. This will help allow how much light will be let in. Then you need to change the shutter speed witch will determine the amount of time it will take the photo. What worked was having the light shine at the background so there was no extra light on the person. What did not work was having the person to close to the wall/paper cause then a shadow would appear. The difference between the white background and the black background was the settings of the camera and the angle of the light. The camera setting where different cause for the white background the goal was to let in more light so we had to change the ISO to a higher setting for the white background . For the black background we had to turn the ISO down to a lower number this will let less light in. Another thing that was different was the position of the light. The position of the light for the black background was shinning on the person so the only light would come from the light shinning on the person. For the white background you have to have the light pointing at the background to help eliminate shadows. I preferred doing the back black ground because it was easier to find the right position of the light.
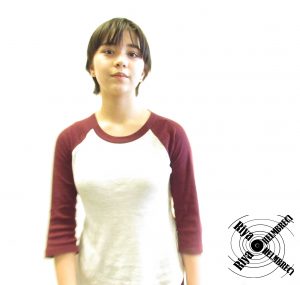
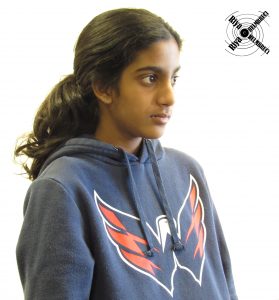
Photo credits got to Briana.
Here are more pictures of my group.