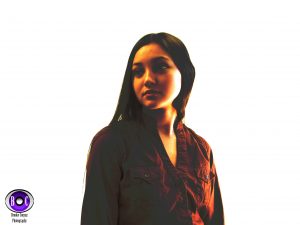
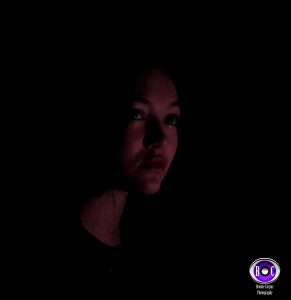
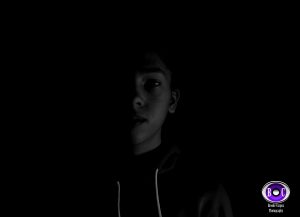
In this portrait, the picture had to look like it had an infinitely white background. If done correctly, the photo should look as if someone was Photoshopped into the image. To achieve this we had to go through a few steps. First, we had to change to manual settings. This was to change the ISO’s up and have a slower shutter speed to allow more light into the camera. This process is completely different from the black background photos. For those pictures we had to change the ISO’s down and hasten the shutter speed to let in less light. Once this was done, we needed three people to take the photo. One person to be in the photo, another to light the white background behind the subject, and a photographer. The subject had to be close to the camera so it would focus on them instead of the background behind them, blurring any imperfections on the white background. It was challenging to get the position quite right and focus the camera, but when we did the pictures looked really cool. One thing that worked well for my group was having the subject show 3/4 of their face, looking of into the distance. We all really liked that pose. All in all, I think the white background was harder to do than the black background. The settings were more delicate and it was much more difficult to keep shadows out of the shot.
Here’s a link to all our photos!https://photos.app.goo.gl/Ti7HWF1b0hHdryEv2


