App Review


My favorite website to use is Fotor. Fotor is a website that allows you to edit your photos. You can edit your photos very easily. With Fotor it allows you to crop and resize photos, change the color, change the brightness,  fix any imperfections of your skin and many more things. Fotor is really cool cause it allows you to get rid of wrinkles, and add blush,  weight loss, whiten your teeth, and much more. You can also add frames and different stickers.  This website is one of my favorite’s because I found it very simple and easy to use. Also, it is super easy to upload and save your photo.

Link to Fotor.  https://www.fotor.com/
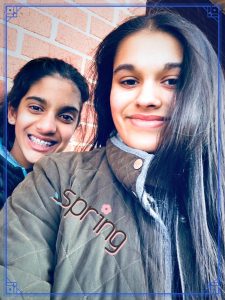
 

The next website I used is BeFunky. BeFunky is a great website for editing. It allows you to add fun silly stickers, to touch-ups on you,  add frames, textures, photo effects and much more. This website is one of my favorite because it is simple to use, free and I found it very helpful by offering lots of stuff to turn an ordinary picture into something more personal and unique.

Link for BeFunky. https://www.befunky.com/
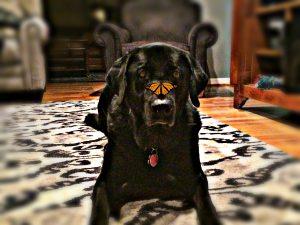


Rule Of Thirds

This week we have been required to take photos using the rule of thirds method. The rule of thirds method is when you have a grid of 3 by 3 and you line up a subject near the lines or at intercepts where the lines would meet. This helped because the natural eye would move to that point usually. You could have also You could also have two-thirds of the picture one scene and the third something else.  For example, two thirds could be the sky and one third could be the ground.   What worked was having the grid on. This made it easier to line the people up exactly. What didn’t work was not having the grid. Without the grid, it was much harder to have the thirds line up well and it just seemed to be a normal photo. One thought I had on the rule of thirds is it seemed really easy and simple. Though now as I look back it was more complex then I thought it would be.


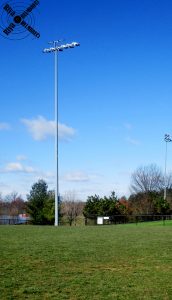
For this photo, I used the line method. I lined the light pole up with the verticle 1/3 line to the left.


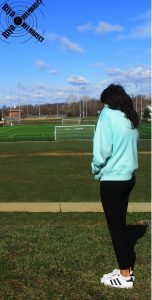
This photo. I used the line method as well. I lined the Briana with the verticle right 1/3 line.


More photos I took with the rule of thirds are in the link below.

https://photos.app.goo.gl/QZSbHAmzl30dwLso2

White Background

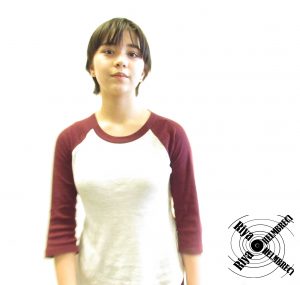
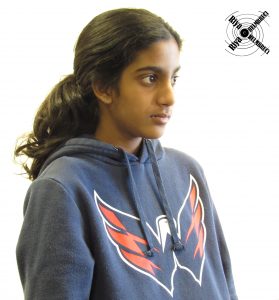
The process I used to take the photos and edit was fairly simple. All you have to do is have the light shine on the background, the person close to the camera. The settings on the camera have to on manual. Then you need to change the ISO to about 800. This will help allow how much light will be let in. Then you need to change the shutter speed witch will determine the amount of time it will take the photo. What worked was having the light shine at the background so there was no extra light on the person. What did not work was having the person to close to the wall/paper cause then a shadow would appear. The difference between the white background and the black background was the settings of the camera and the angle of the light. The camera setting where different cause for the white background the goal was to let in more light so we had to change the ISO to a higher setting for the white background . For the black background we had to turn the ISO down to a lower number this will let less light in. Another thing that was different was the position of the light. The position of the light for the black background was shinning on the person so the only light would come from the light shinning on the person. For the white background you have to have the light pointing at the background to help eliminate shadows. I preferred doing the back black ground because it was easier to find the right position of the light.

Photo credits got to Briana.

Here are more pictures of my group.

https://photos.app.goo.gl/ktXRky9nyOtNy8g93