App Review

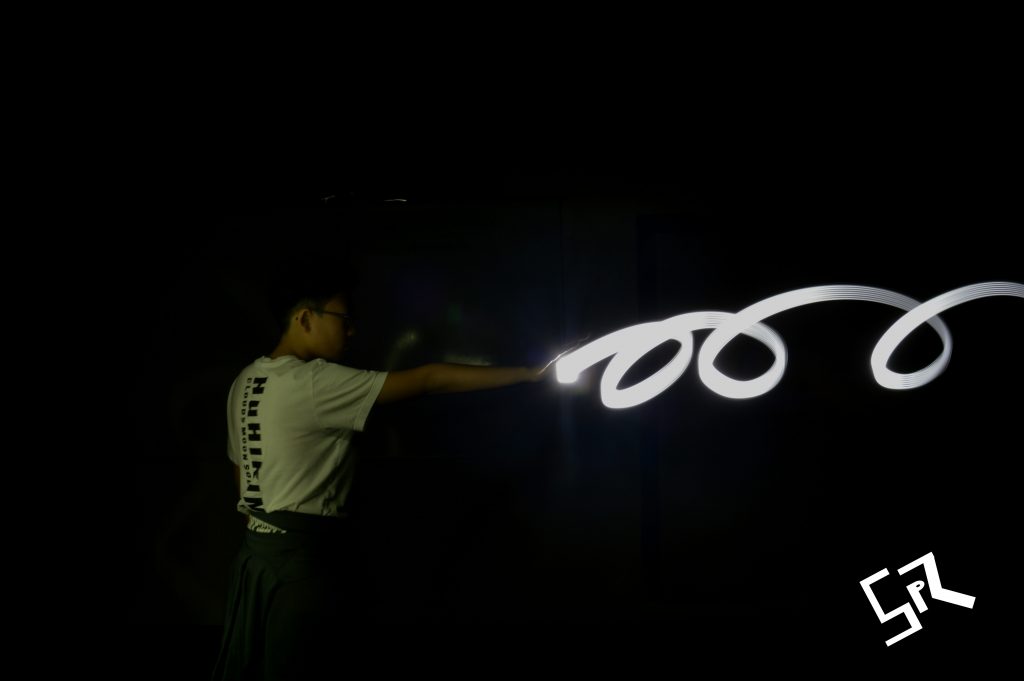
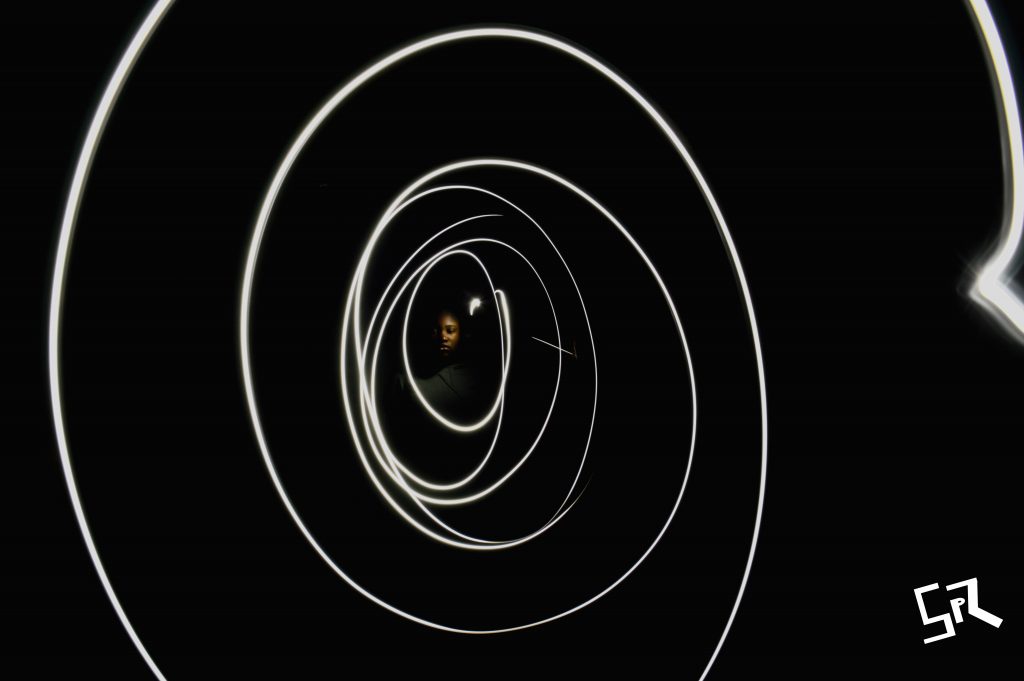
The two sites I reviewed are VSCO and google photos. Google photos is a site that google whas uploaded for use and is free! You can upload any photos that you have taken on any device to google photos, and they give you an option to edit them, crop them, and create full albums online! I enjoy google photos because it is easy to use and accessible, and something that we always use in this class. Below are two photos I edited in google photos.

   Link to google photos; https://photos.google.com/

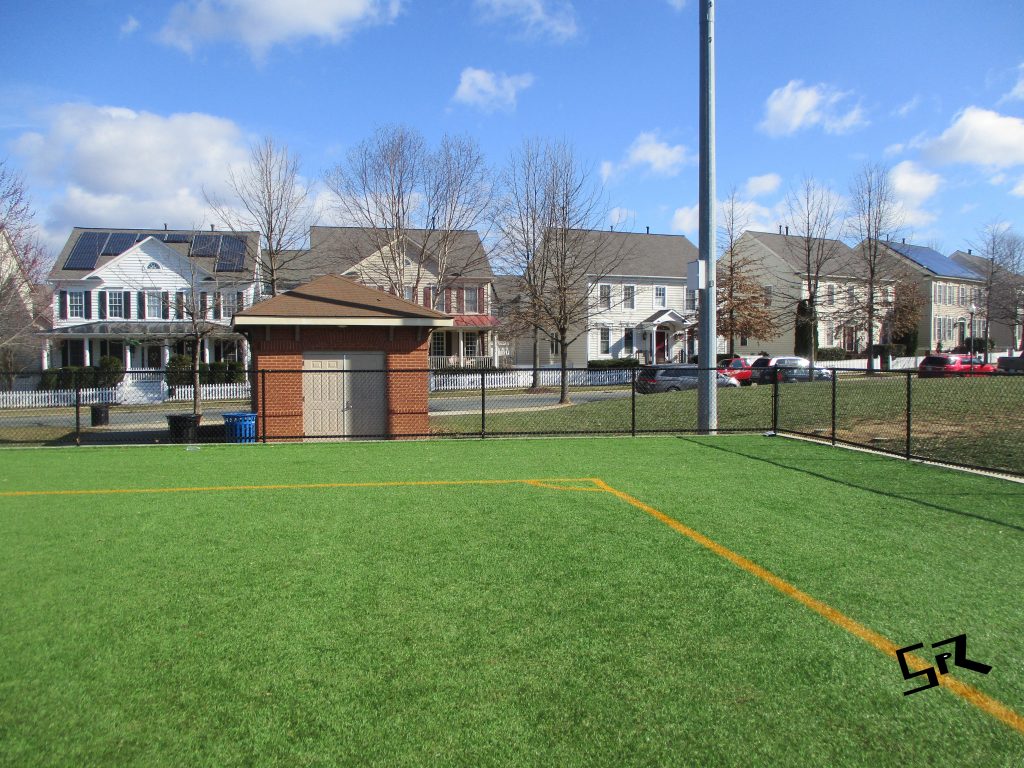
I also like to use VSCO, an online app where you can take photos and edit them directly after. VSCO is free to download and allows you to take photos and change filters with a click of a button. It is incredibly easy to upload these photos from VSCO with a quick click on the website. You can also browse your friends profiles with VSCO, and images or videos that they have uploaded.  Here is a link to the VSCO website. These are my photos I edited on VSCO; 

http://shop.vsco.co/store/vsco/en_US/pd/productID.5168103900

Smile Vs No Smile

In this project, I went out to the field and throughout the school building in order to take photos of a person both smiling and not smiling. It was a little difficult to get people to smile, as some decided to be silly instead. There was definitely a noticeable change between a smiling and frowning person. It gives off a very different impression to the person who looks at the photo, shifting from happiness to seriousness. If I were a photographer, and perhaps took a photo of someone frowning instead of smiling, it could give off a worse impression of the man; Either being too serious or grumpy. I suppose if I was hired I would first ask the person how they were feeling at the moment, so that my photo would capture their true feelings at the moment.


Here is the link to my photos;

https://docs.google.com/presentation/d/1AA0dvC_x82cvVvyhEa51wm_7br9iOzsoKiqrHhxmv4k/edit?usp=sharing


Light Graffiti

In this project, we went into the main gym with a camera, atop a tripod. We turned off all the lights, and, changed the camera’s settings to bulb. When you switch a camera to bulb, you can start the photo, and it will capture all the light it sees until you press the button again. In the darkness, there was no light to capture, so, we used camera phones and flashlights (Facing towards the camera) and drew patterns in the light. We’d either simply create patterns or put ourselves in the photo, painting ourselves in light so that we’d also show up. We had to keep still, so the camera didn’t sense our movement.

We tried to make stars by turning the lights on and off, but that only turned into spots all along us. Afterwards, we simply drew the stars, and it worked much better.


I was frustrated with having to keep still for so long, as some positions are hard to keep. If we were to take this project to the next level, i think it would be cool to add stronger lights and maybe use some props.

Here is the link to my album; https://photos.app.goo.gl/x9DcgQiB2UWPPTmw1

Below are two examples of my work;

Rule of Thirds

In this project, I used the rule of thirds in all of our photos. The rule of thirds is three imaginary lines, and you want to put the subject of the photo on one of these lines- this is to bring the eyes to this image. Then, the eyes glaze over the rest of the background, and along the next imaginary lines. The following two pictures are both photos that I took with the Rule of Thirds, and both are resting on the first line. 


Here is also the link to my album; https://photos.google.com/album/AF1QipMYiIDbHxBFll7D5y3YU-op73HqFUK29C73IG3Y

Five Shots

In this project, I went around LPMS and took photos of different objects from five different angles, in order to see the difference with perspective of each angle on a shot. I took photos of both a blue paper bin, and a water bottle, the former being in Mrs. Phillips’ class, and the latter in Mrs. Larue’s.  I made sure to keep the lighting the same, and had to get different angles on some of the objects because of the saturation of the light. Here are two of my photos.  

Below is the link to the album;

https://photos.app.goo.gl/7uzQyqzCBUGQQKrg1

My Logo


I find them online and copy and paste them No, I’ve never contacted the owner of the photo. Yes, I link the link in the bibliography. That they give me credit for the photo and not tamper with it. It has my initials with my middle name in between the S and the Z, but it is made up of purely rectangles and no curves, so it is creative.I had to think about what I needed.