Light Graffiti

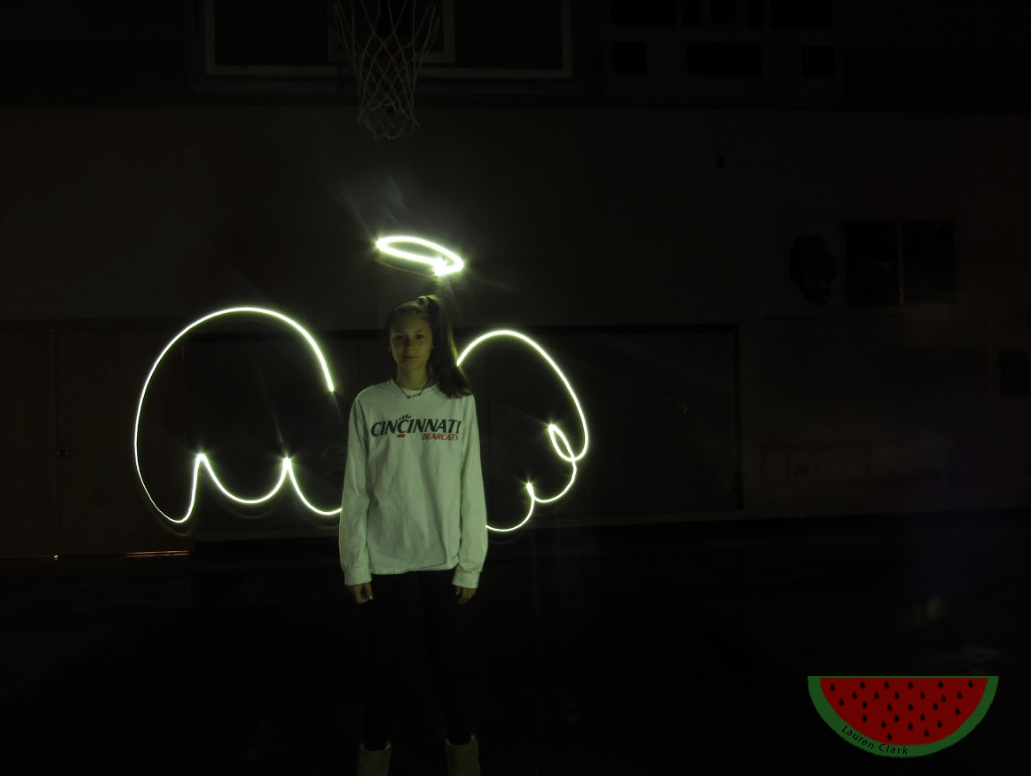
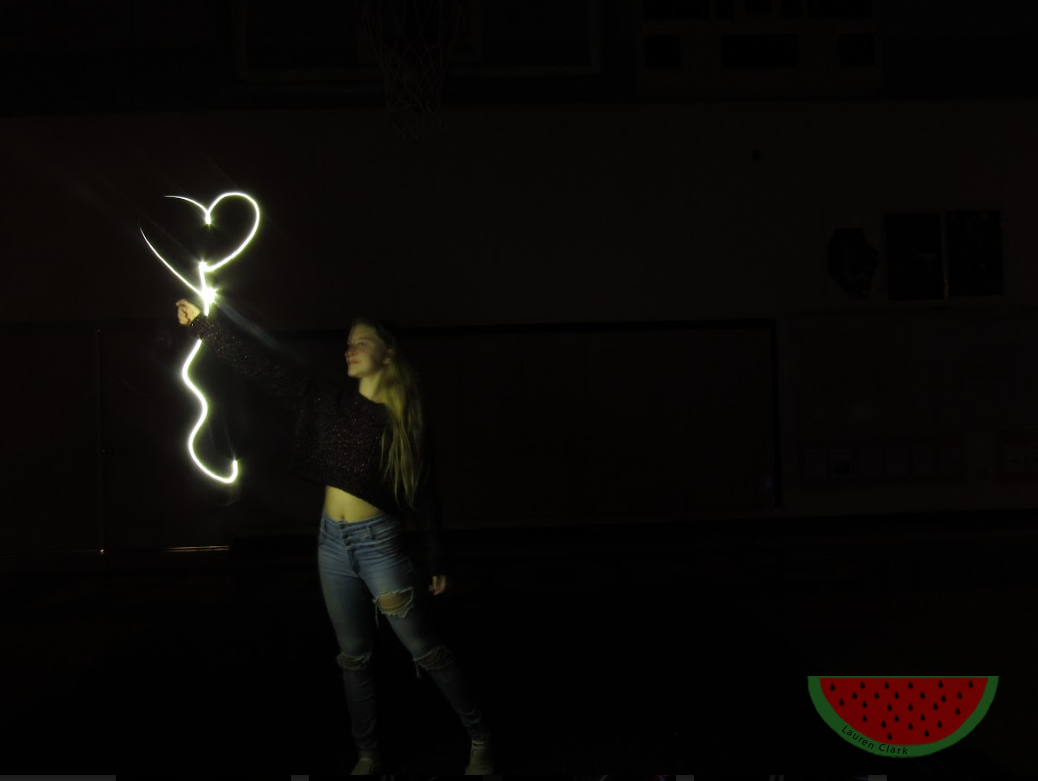
For taking these light graffiti photos we had to follow a set of tedious steps. First, we had to turn off ALL the lights in the gym. Following that, we would adjust the settings on the camera such as shutter speed and ISO. After that we would “draw” with out flashlights. After we “drew” the camera would process all the lights and give us our final photo. I found that the longer the shutter speed, the better. Even though we had to wait longer for the photos to process, it allowed us to have enough time to draw. One thing that didn’t work was over complicated pictures. My group tried to draw a beach scene with a boat, clouds, birds, the sun, and of course water. This proved too difficult and after spending a whole class period trying we gave up. One frustration we had was other groups shining their lights toward us. This would mess up our whole photo and force us to start over. Below are 2 photos our group took, click here to see the rest of our photos. 
Rule of Thirds

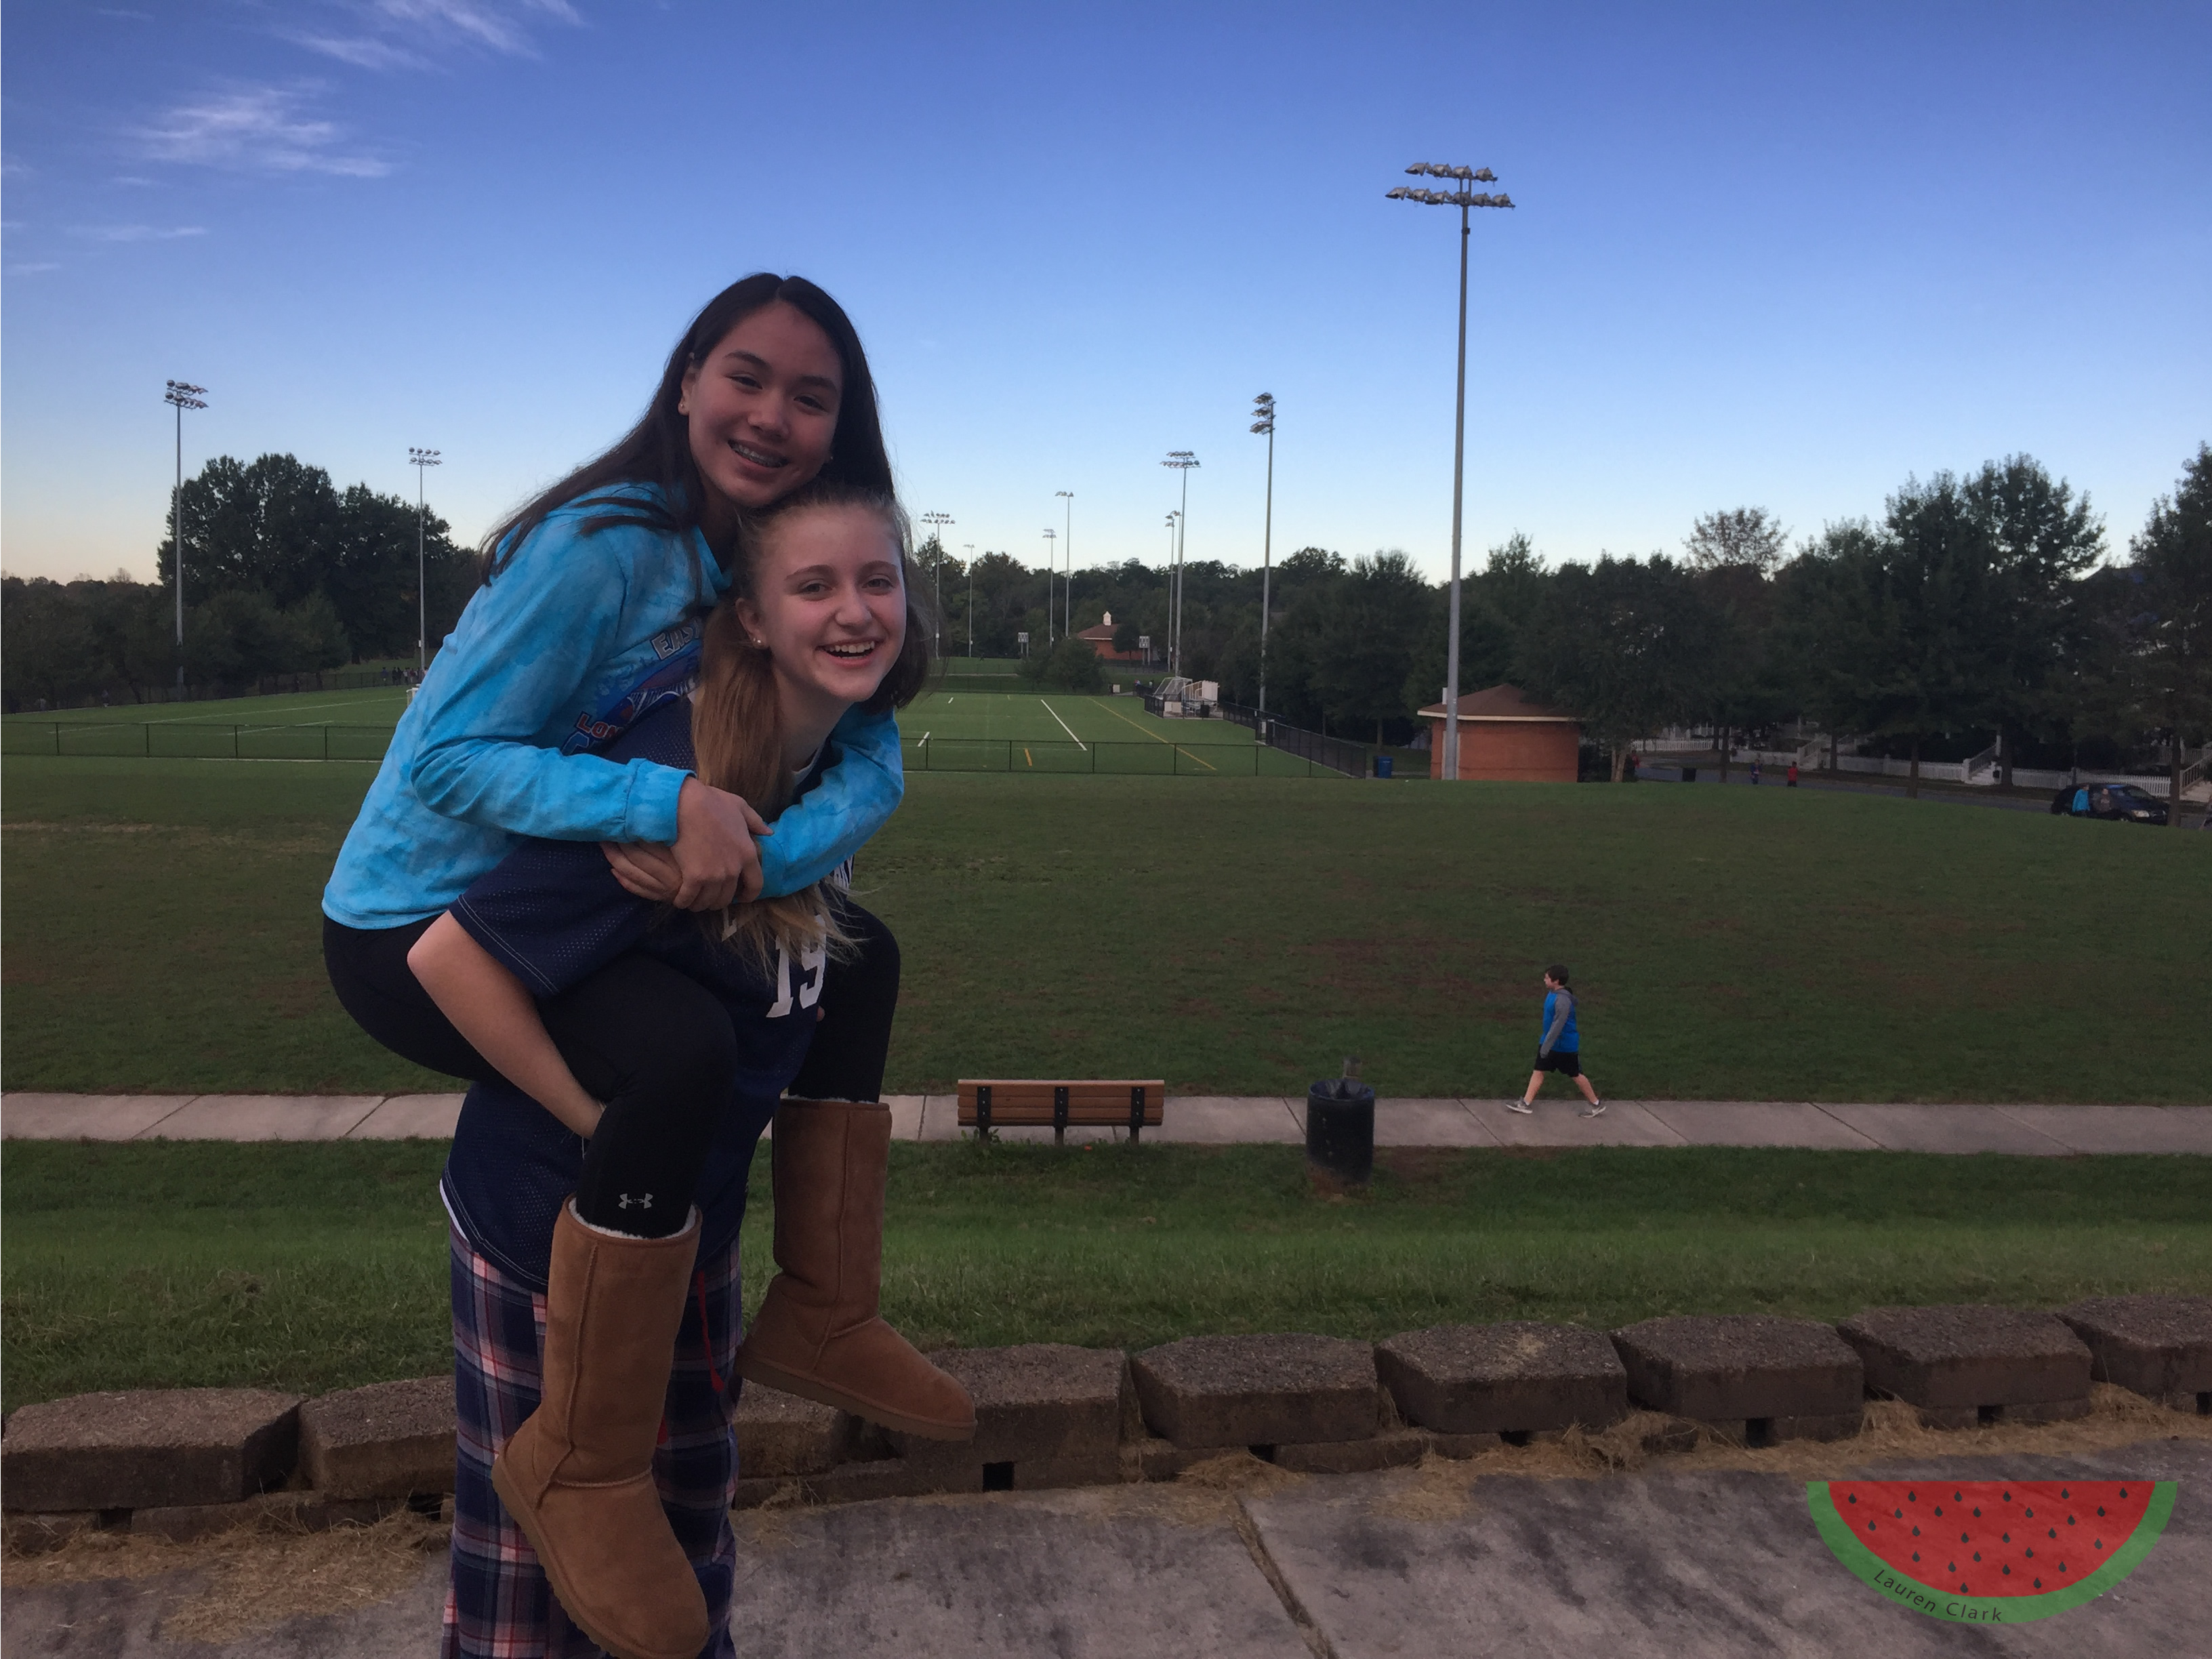
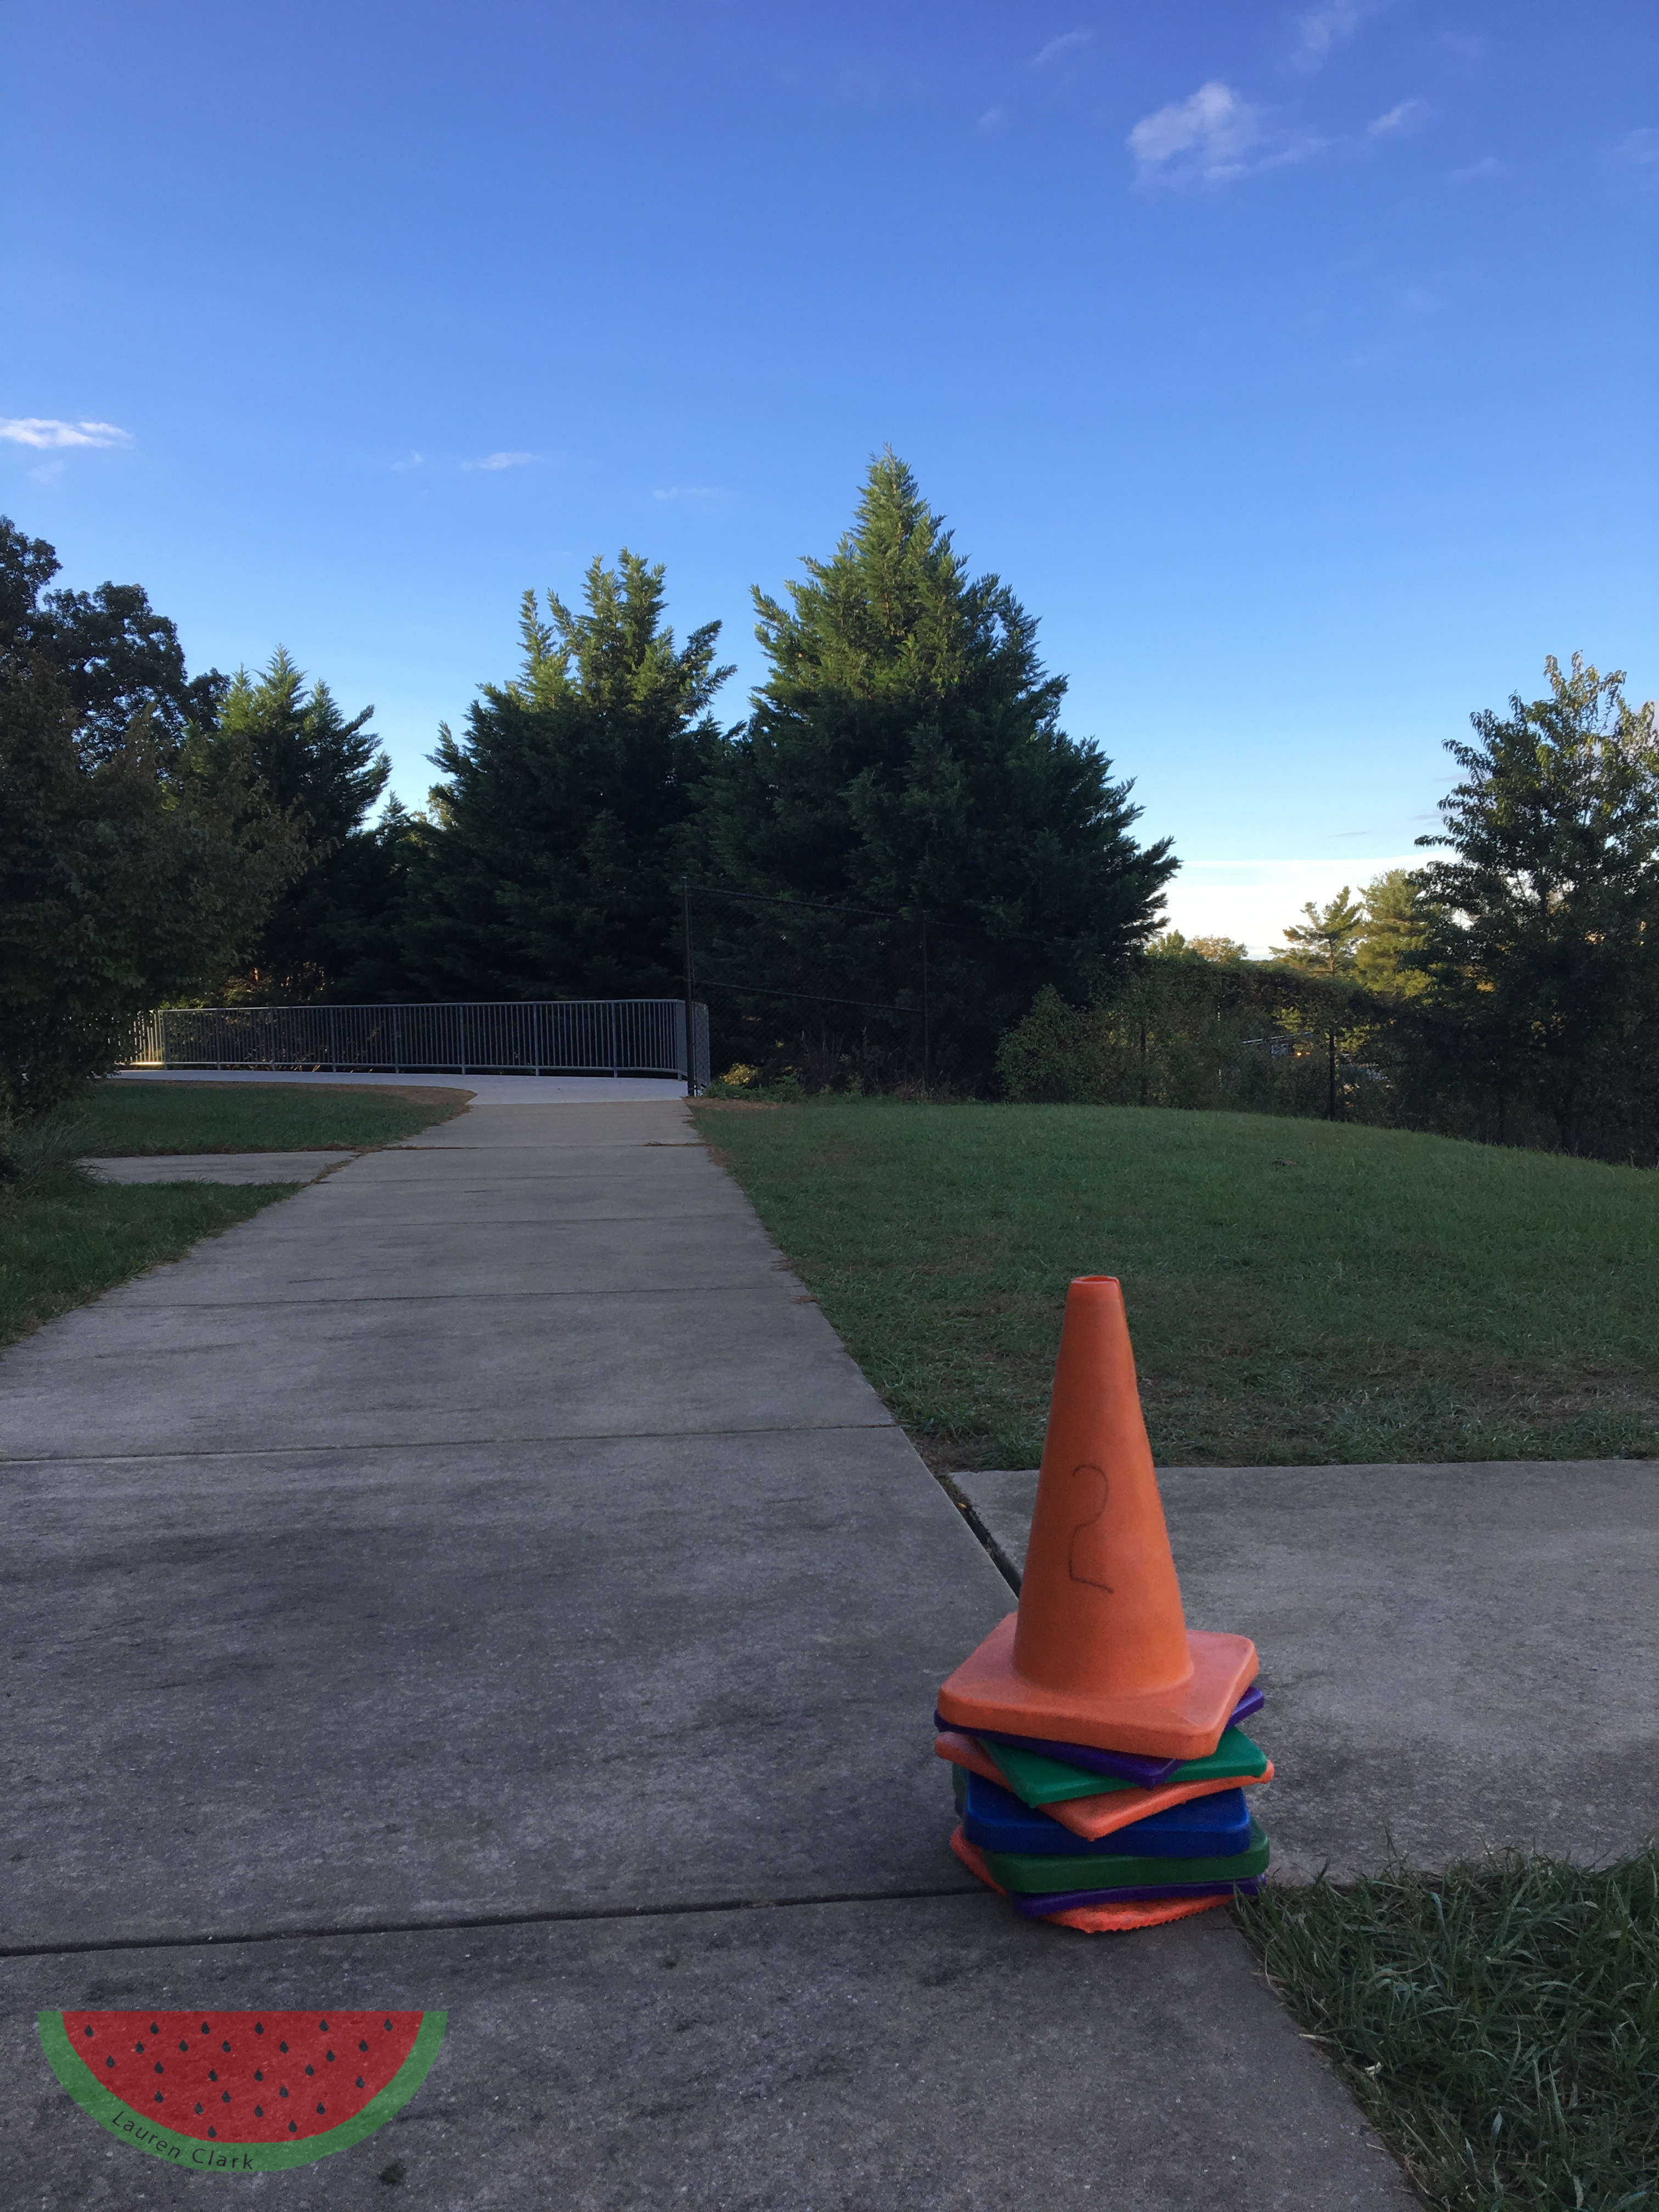
This project was a lot more difficult then I thought it would be. At the beginning I thought all we had to do was take random pictures, but that was not the case. Some things that worked was having the people stay completely still. That was very easy, especially if it wasn’t a person but an object. However, one thing that proved difficult was trying to get the right angle, the thing/ people in the right position, and on top of all of that get them on the line or on a cross. One thing that I found didn’t work was getting the object/ people on the very bottom line. It is possible, but it was very difficult and I couldn’t really do it. The lines, also known as the grid, is used to help position an object or person in a photo so your eyes are drawn to it. You do this by getting the object or person on a line or cross. Below are 2 of my favorite photos. One is of my friend Valerie and I, and the other is some cones outside. To see the rest of my photos click here.

Portraits With an Infinite Background

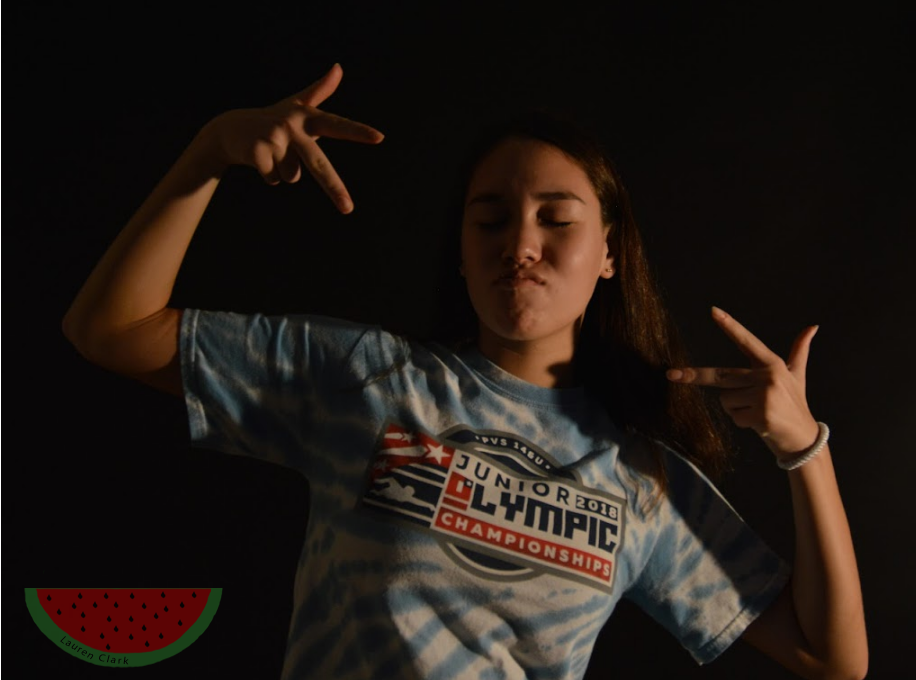
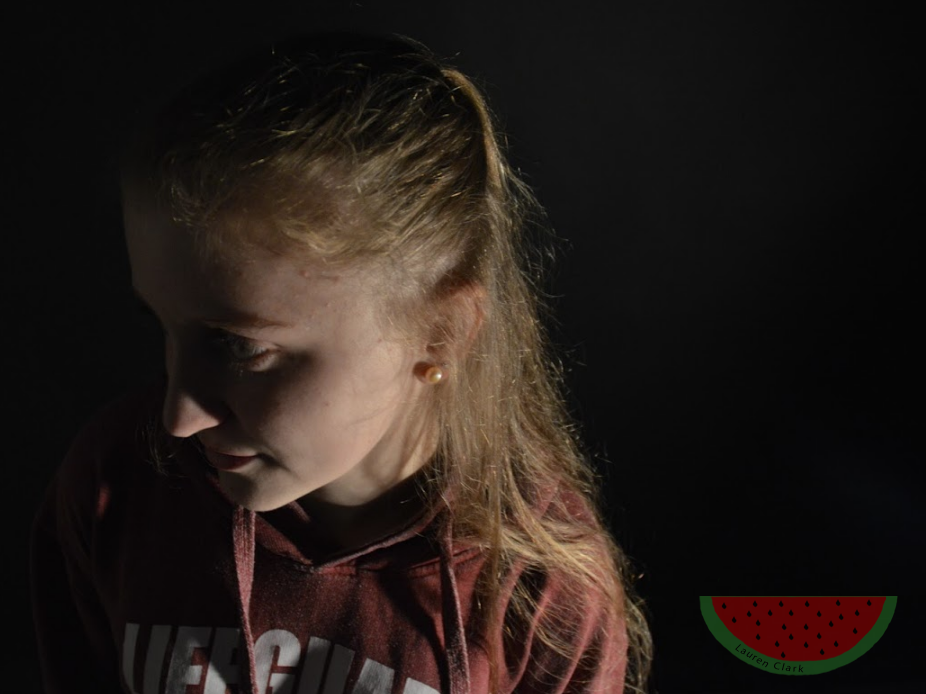
For this project, we had to adjust the lighting and person multiple times during the shoot. We also had to adjust the settings on the camera as well so the photo would turn out correct. For the white background, we found that the light had to be shining on the background while for the black background the light must be shining on the person. Also, for the black background the person had to stand farther in front of the backdrop while in the white background you had to stand closer. After adjusting the settings on the camera, like shutter speed, we took the photo. After the photo was uploaded, we took it over to photoshop to adjust the lighting of the person and background. One thing that we found worked was shining the light at an upward angle for both projects. However, one thing that didn’t work was shining the light too close to the person with the black background because that would cause the light to be shown in the photo.  Below is one photo of me and one photo I took. Click here to see the rest of my groups photos.