This project is of lights in a dark room. The problem was we needed to have very little light pollution to complete this project well. In order to do this project, I needed to set the ISO on my camera as low as possible and change the shutter speed to bulb mode. Another challenge to this project was if the person wanted to be in the photo than they would have to stand very still if they wanted to come out clearly. One thing that worked well was the flashes of light, as seen below. Also I did not like having the other groups working on this project near us because it contributed top the light pollution. If I were to do this project again I would love to create a Christmas tree using light graffiti.
Up Close
In this assignment, we had to take photos of parts of objects instead of the whole object. It worked well to take a photo of larger objects because I did not have to get as close to the object and it was easier to focus on it. Before I had always taken large photos of objects and never photos of small parts of objects, so this was new for me. It was difficult to focus on objects if I was really close to them or I zoomed in to much, but then I realized my camera was on the wrong setting. If I had the ability to take any close up photo, would take a photo of the scales of a snake. It would have texture, a different colors throughout its scale – making for a great photo.
Playing with Legos
In this project, our goal was to create realistic photos that tell a story. However, we had use legos as the subject in each photo. The challenge was to try to make the legos look like a realistic human size. This project required skills that I developed from previous projects such as changing the angle of the camera. Sometimes in this project, I would have trouble focusing the camera on the lego. If I had to take 5 more photos, I would definitely choose to do a place. It was easy to find places to take pictures of the legos, but it was much more difficult to take pictures of the acual legos. I think it would be very interesting and ironic if I could take photos of a trickle of water or something small like that, but the source is much larger – like a waterfall.
This photo is of a boy is proposing to the girl.
This photo shows a boy is reading.
This photo is of a boy rock climbing.
Catch the Action
In this project, we took photos of objects or people in action. While taking these photos I tried to keep the camera low to the ground, in order to, make sure the image gives the impression of someone or something in motion. Also I tried to have have less motion in the background of the photo. This makes the photo easier to edit, along with, allowing the subject to be the main focus. If you are taking an action photo I recommend keeping the camera still. Shaking the camera will increase the difficulty of editing and, if you are creating a stacked photo, it will make it look better. If I could I would want to photograph an action shot of a gymnast. A gymnast would be constantly moving in a photo and performing interesting skills.
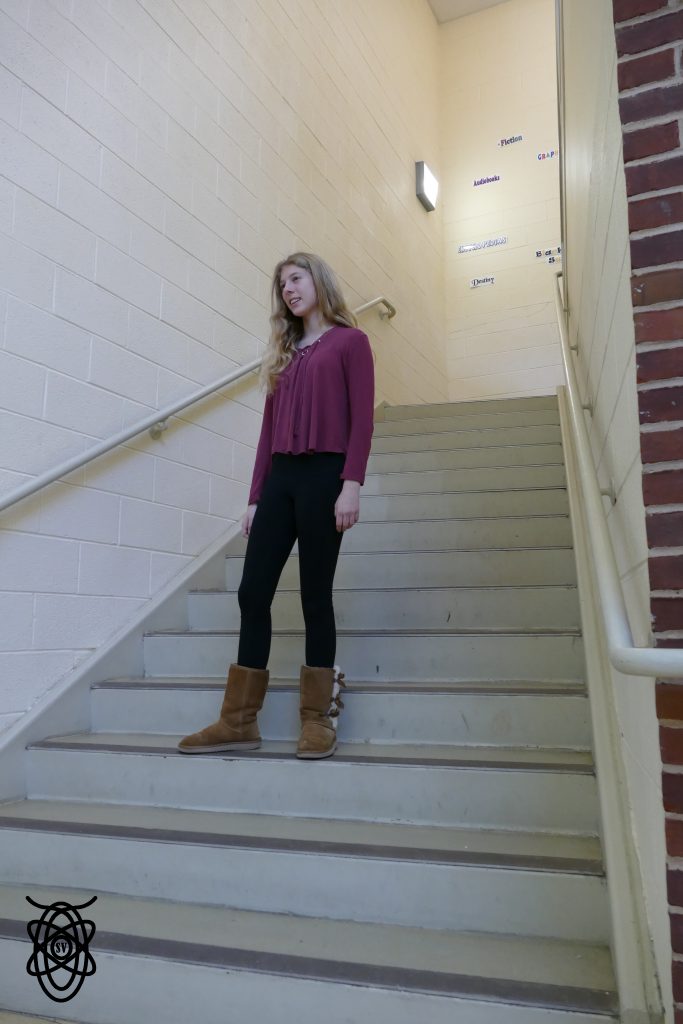
Framing Your Subject
In this project, we had to find object that we could use to frame the subject and draw the eye to the subject. This project is very similar to the Rule of Thirds project because the goal is to try to draw the eye to the subject. I found it hard to find something to frame. But it was easy to find things to use to frame my subject outside, not as much inside.
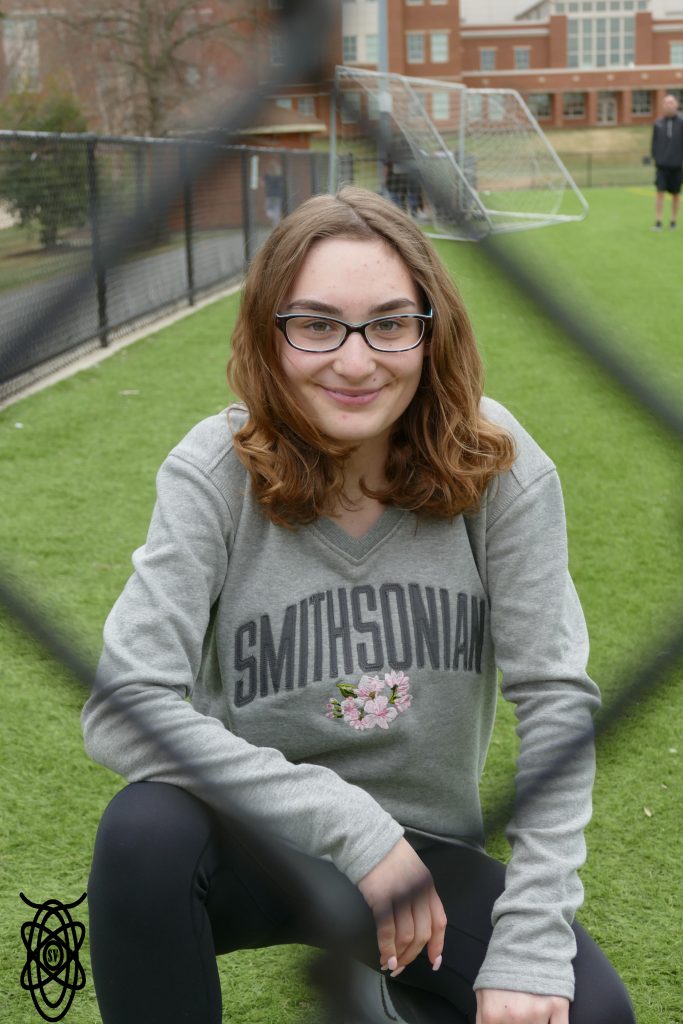
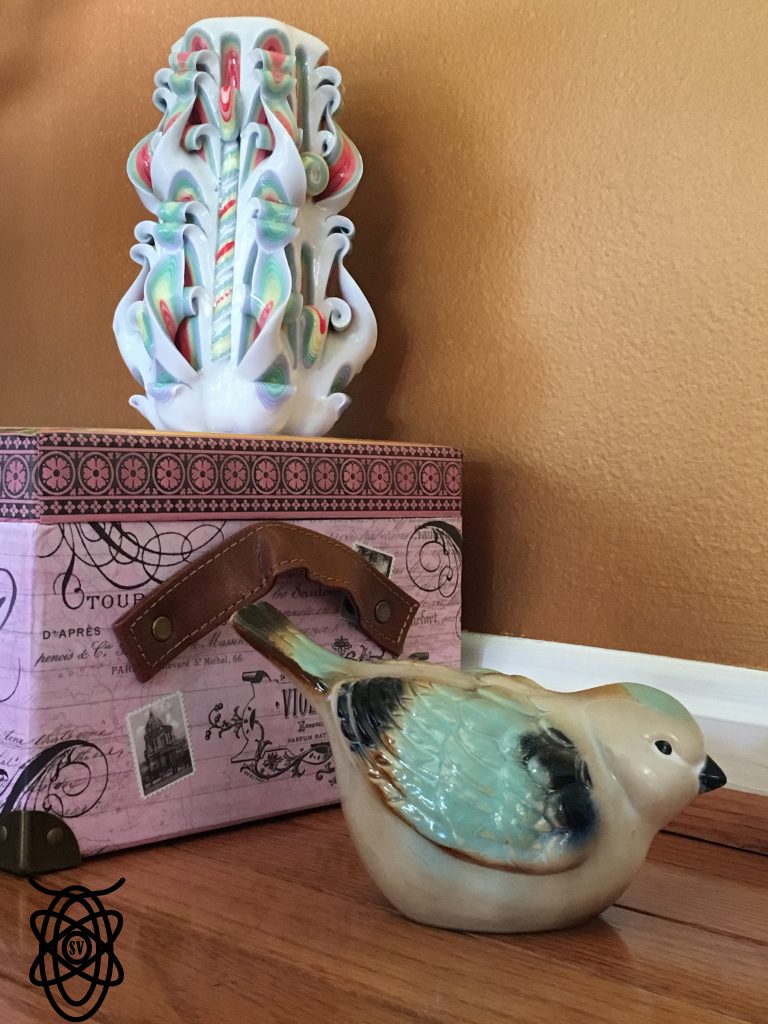
Rule of Thirds
Our goal in this project was to take interesting photos using the rule of thirds. I found it very difficult to take pictures of objects because, often, the objects wouldn’t form an interesting composition. However, I found it easy to take photos of people. In the beginning of the project, I thought all you had to do to have a rule of thirds photo was to put something on an intersection of the lines. Now, I have realized that that is not always the case. You need something to capture your attention. I also learned that when taking a straight forward portrait photo, you should line up the eyes of the person. In the portrait below, I tried to line up Hannah’s eye with the camera. In the objects photo, I wanted to have a different object on each intersection. One intersection is on the eye of the bird statue; another is on the wall, and the other two intersections are focused on objects.

Black Infinite Background
As I said in my previous post, to create an infinite background photo you must change the setting of your camera to manual, this can’t be done with every camera. After doing this you should adjust the shutter speed and ISO. By adjusting the shutter speed, the camera can take in more or less light. This allows the photo you take to be brighter or darker. The ISO will change the sensibility of the camera. It worked very well to stand far away from the background. This created no shadow on the background which would ruin the photo. However, it was difficult to create a photo where we could clearly see our faces due to the darkness of the photo.
White Infinite Background
To create an infinite background photo you must change the setting of your camera to manual, this can’t be done with every camera. After doing this you should adjust the shutter speed and ISO. By adjusting the shutter speed, the camera can take in more or less light. This allows the photo you take to be brighter or darker. The ISO will change the sensibility of the camera. It worked very well to stand far away from the background. This created no shadow on the background which would ruin the photo. However, it was difficult to create a photo without shadows. The brightness of the photo when being taken allowed for many shadows.
5 Shots
For the 5 Shots project, our class was told to take 15 photos, 5 of each subject. One of the subjects had to be a person, while the other 2 had to be objects. Each photo must be of a different angle of the person or object. That doesn’t mean moving the camera to the left or right some and keeping it the same height. It means moving it up and down as well. This was by far the most challenging part of the project, along with finding objects that you would want to take photos of. I think it was hardest to photograph the fake plant because I took photos one day, but the next day I realized that I did not have enough photos. This meant that I had to continue the photos and drag the heavy plant back to the same spot that it was on the previous day. This project allowed me to broaden my idea of the perspectives and angels that photos can be taken.
If you want to see my photos click here.
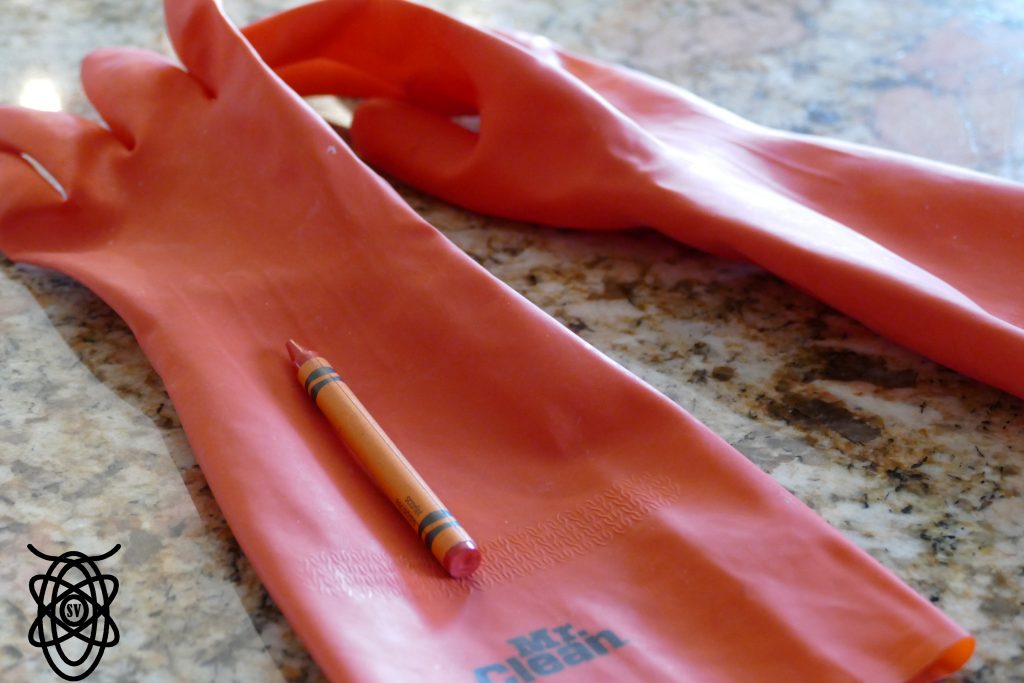
24 Colors
For the 24 Colors project, our class was supposed to take pictures of a box of 24 crayons. Each crayon had to match the background. I found it difficult to find very similar or the same colors as some of the crayons. Also each day, we were only able to get a certain amount of crayons done, some days I could only get a few done. However, I found taking the photo easy once I found the background for the crayon.