Light Graffiti

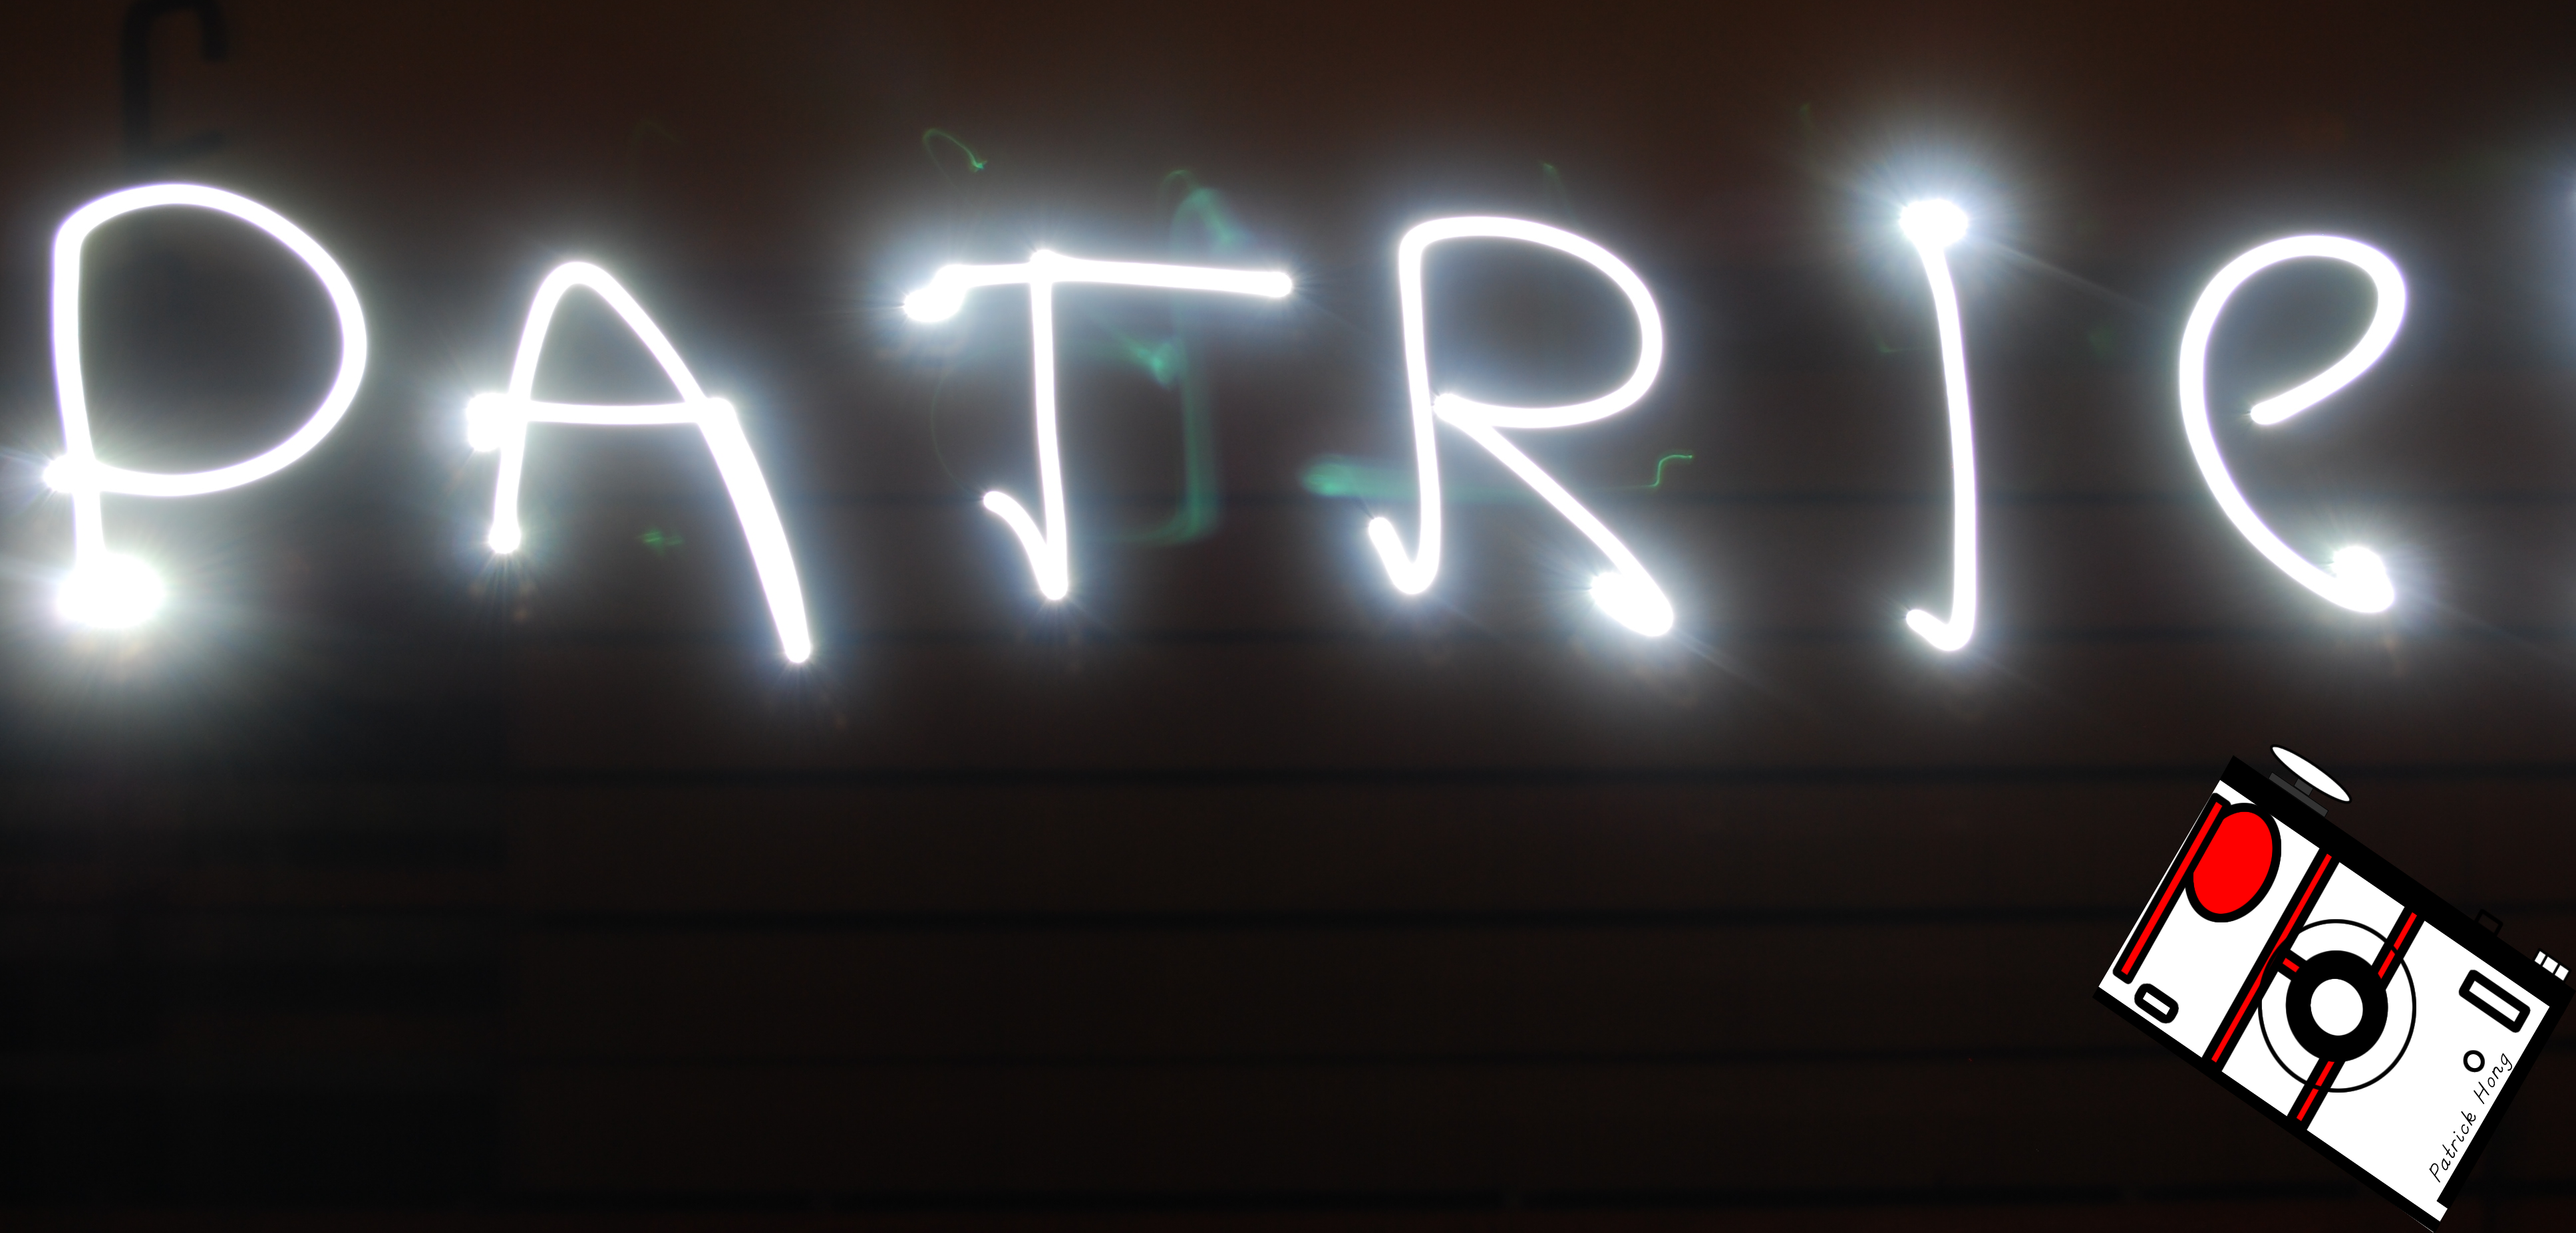
For this project we went to the gym to create light graffiti in the dark. We first had to turn off all the lights and set up the camera. To take these types of photos we had to change the shutter speed so that the camera would stay open for a long time to take in the light while we draw the image we wanted to create using light from our phones or other light producing object. The camera we used had the bulb setting which allows us to keep the camera open for as long as we wanted to which allows us an infinite amount of time to draw our images. All we had to do was hold the button that takes pictures until we finished, then the light graffiti image will be created. If we wanted light to show up we would shine the light towards the camera. If we wanted to highlight an object we would shine it away from the camera, while “highlighting” the object. What didn’t work for this project was drawing “perfectly”. It was difficult to remember where we already shined the camera at and how big the camera’s range was. What was easy was that we had the bulb setting which allowed us to draw as long as we wanted, unlike other cameras that only gave you several seconds. I was frustrated at my group sometimes because they would fool around or they couldn’t draw very well. Also at some times the camera would act weird and if we didn’t draw the picture fast enough, the light in one area would be much brighter than the rest of the picture. I think that this project would be even better if we had several people drawing at the same time with many different lights. We could draw a forest or a city which would be cool. One of my favorite pictures is shown below. It is a picture of my name, but the k was cut off due to the lack of room. The rest can be found here.

Rule of Thirds

For this project we had to take photos that followed the Rule of Thirds. The Rule of Thirds is where there are 2 lines going across the screen vertically and horizontally, creating 9 boxes. For the camera we turned on the Rule of Thirds mode to help us take the pictures more easily. To follow the Rule of Thirds we centered the object along one of the lines so all our photos (if not most) follow the Rule of Thirds. In the beginning I always thought that you had to place the object in the center of the picture but now I know that that’s wrong. The Rule of Thirds creates a very focused and more developed picture rather than placing the object in the dead center. For this project we were not able to place one of the Rule of Thirds line on a thin object. We tried to place one of the lines on a goal post but it didn’t work very well because it was too small. What worked for this project was lining the Rule of Thirds lines along the edges of the object if it was too big for the screen. As showed below, I took a picture of the school building and lined the edges of the building on the Rule of Thirds lines. My favorite image with a person and without a person is shown below. The rest can be found here.

Portraits: White Background

In this project we had to work together to create an infinite background with white backgrounds on manual mode. To take the pictures we had to adjust the camera settings such as, ISO, Shutter Speed, and F-Stop. These settings allowed the camera to take in more light or less light. This would create backgrounds with no shadows and the illusion of an “infinite” background. For the white backgrounds we adjusted the ISO to be around either 3200 or 1600. Then we changed the shutter speed to adjust the light setting of our photos. For most of them we put them at 1/40 or 1/30. To edit our photos we went to Photoshop and changed the light settings even more. If we still had problems we would crop the photo. For this project, taking multiple pictures with different camera settings really made things easier because it gave us many options to choose from. However, if we took photos that were too bright or too dark, we wouldn’t even be able to edit them in Photoshop. This project required us to handle the camera without it being on auto. Below is a picture that I took and a picture of me. You can find my group’s white background photos here.

Portraits: Black Background

In this project we had to work together to create an infinite background with black backgrounds on manual mode. To take the pictures we had to adjust the camera settings such as, ISO, Shutter Speed, and F-Stop. These settings allowed the camera to take in more light or less light. This would create backgrounds with no shadows and the illusion of an “infinite” background. For the black backgrounds we adjusted the ISO to be around either 800 or 400, sometimes even as low as 200. We also changed the shutter speed to adjust the light setting of our photos. For the shutter speed we adjusted it based on our clothing and if there were shadows or not. The shutter settings ranged from as low as 1/30 to 1/60 (since we already adjusted the ISO). To edit our photos we went to Photoshop and changed the light settings even more. If we still had problems we would crop the photo. For the black backgrounds we would have problems with the lighting so we had to move the light to be in front of the camera. However, if we took photos that had too much or too little light, we wouldn’t even be able to edit them in Photoshop. This project required us to handle the camera without it being on auto. Below is a picture that I took and a picture of me. You can find my group’s black background photos here.