#ProLevel

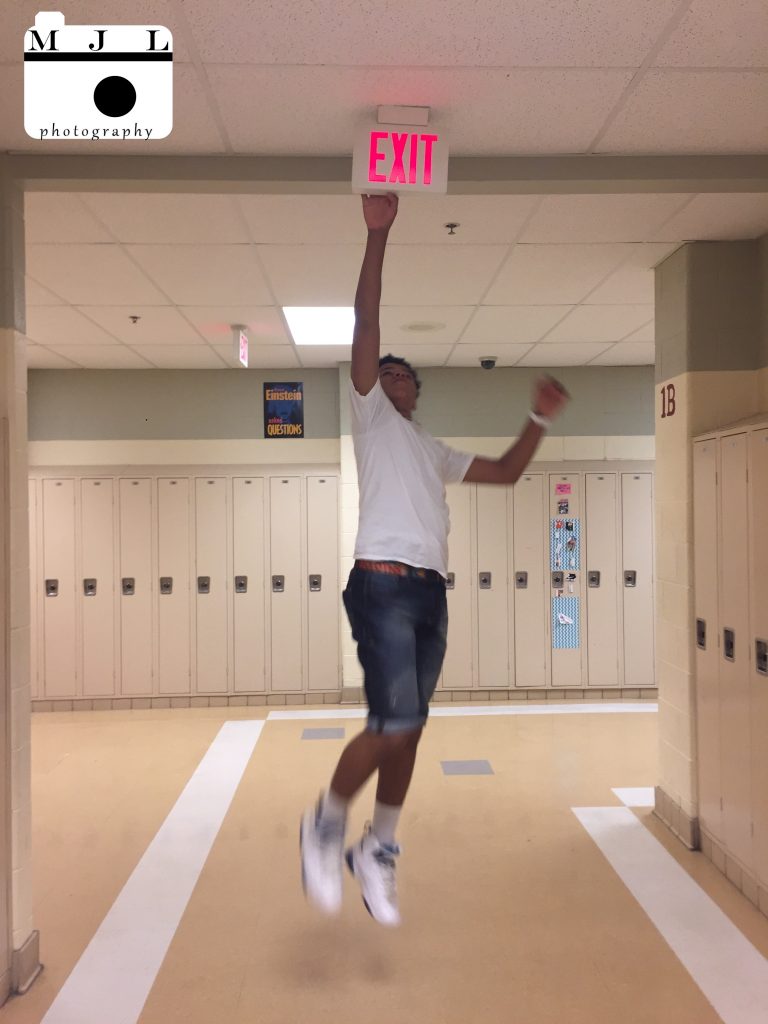
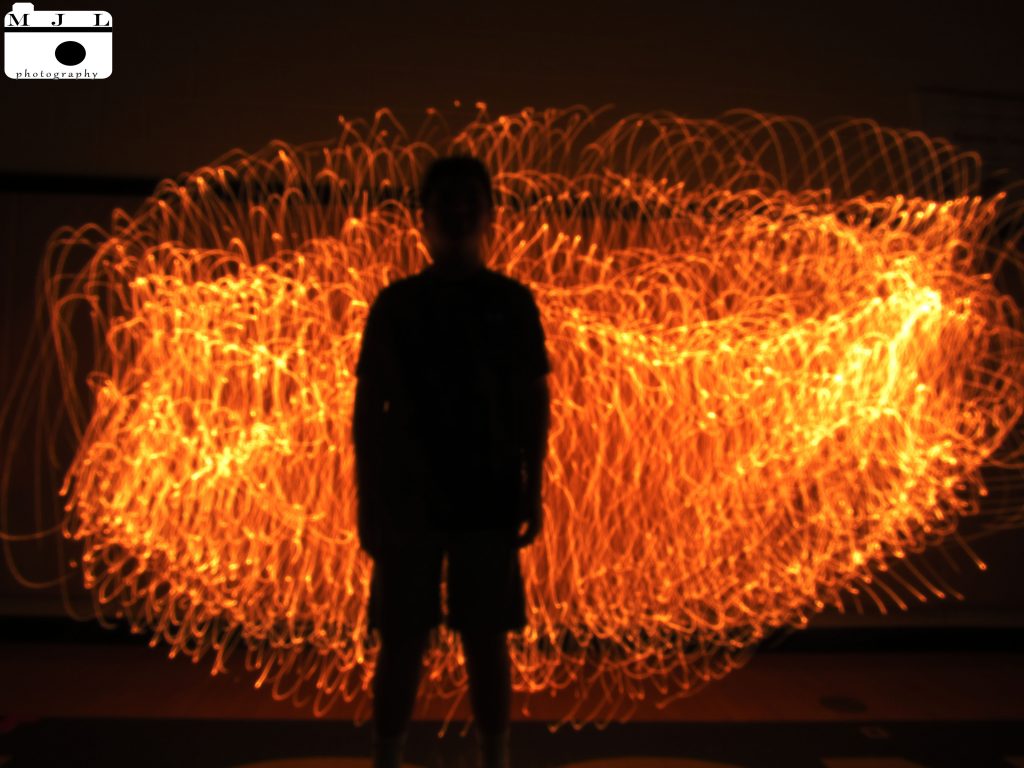
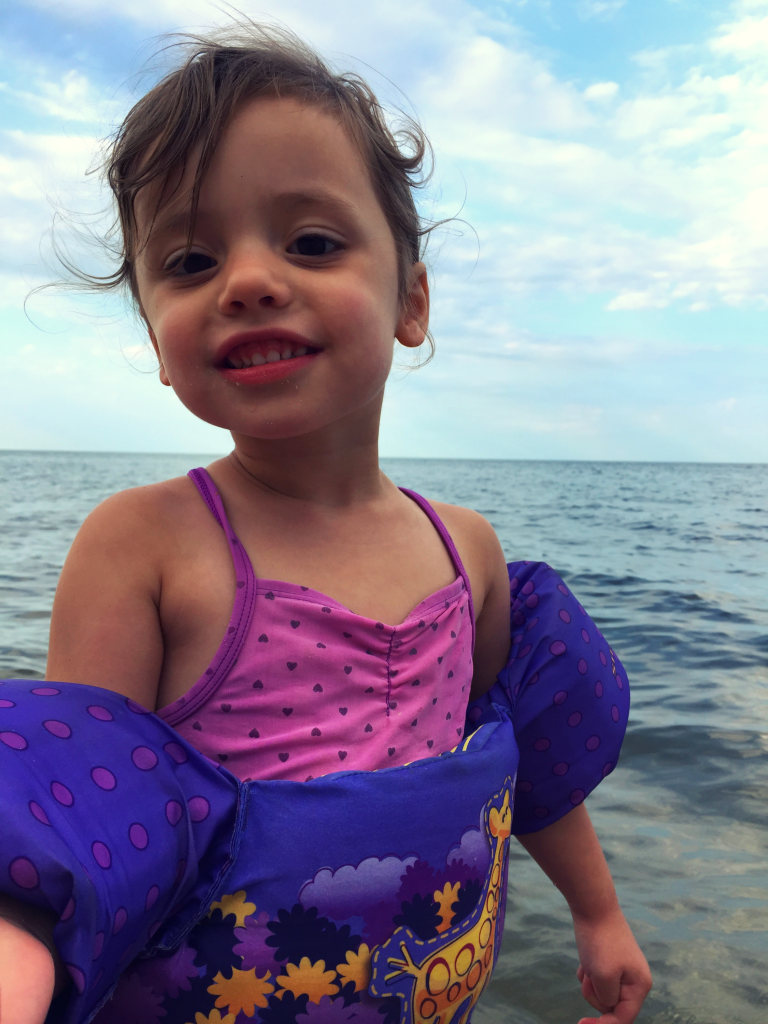
This semester, I learned a lot about photography. I am glad that I chose this class as one of my arts rotation options because I had a good time. I learned about different types of photos, ex: rule of thirds, action photos, close up, and more. I liked learning about new types of photos because I can use them in the real world. At first, I thought photography was stupid and boring but it has taught me that is not stupid and boring. I have had several opportunities to take photos outside of class and my photos have turned out good and almost professional-like. My favorite project was the light graffiti because I could use different objects and create art in a photo. Also, it was easier than I thought and fun to make. Photography doesn’t really interest me for a career but I hope to take photos for fun sometimes. In high school, I might take photography for fun but I don’t think that is what I want to do with my life. My favorite photo from this semester would be this one below and the rest of my pictures are in the google slides link below.

https://docs.google.com/presentation/d/1mh8WKPOIKwa19wWqEhlLJQ22xhiZ2eR6DYwOx4u6cGE/edit?usp=sharing

Action

In this project, we had to take clear photos of people in action. We had to time the picture and set the camera up so the photo looked good. I used my iPhone 6 and held down burst and select my favorite photo. Next, I added my logo and put my two favorite photos on this website. I did good selecting my actions and setting up the picture. A tip for taking action photos would be holding the camera as still as possible. I would photograph someone falling or a surfer. Here are my 2 favorite photos and the rest are in the link below:


Up Close

For this project, we took pictures of objects super close up (or super macro). Everything in this project worked out well and it was cool to see the detail of some of the objects. We had to take different types of pictures and not just flowers or plants. If I had the equipment, time, and ability to get a really good picture, I would take one of sand or the ocean waves crashing. Here are my two favorite photos, and the rest are in my Google album:

https://photos.app.goo.gl/1ue7o3pwz6shuEp47

Processed with VSCO with b1 preset


Smile

For this project, we went up to people and asked them to smile for one photo and make a straight face. Some difficult things with this project were asking people to smile and them saying no. I understand why people don’t want their photos taken,  but it was quite awkward. It was interesting and cool to see the difference of people before and after they smile because it helps people not judge.  Bias could affect my job as a photographer because I might think people look mean at first so I won’t ask them, but they are really nice. When hired, I would say, “Hi, can I take a picture of you? One picture will be you when you’re smiling, and the other one could be you looking mad.”

Here is my link-

https://docs.google.com/presentation/d/1VJKZhhnqrjMYcmeaueaFrghxTMC8Y3dYJaL6DHaQGiI/edit?usp=sharing

Light Graffiti

For this project, we had to change the shutter speed to different lengths in order to add more time to the photo and change the ISO to 100. Then, we had to draw or write whatever we wanted with flashlights and the light came up in the photo. The cameras were really easy to use and they worked well. The other lights kept coming into our picture in the gym which was a frustration and we had to edit them out. To take the project to the next level, maybe backgrounds would be cool. Here are my two favorite photos and the link is to the rest of the pics!!!

link to the photos– https://photos.app.goo.gl/hmn7xrCXZprkpHqm2


APP REVIEW

My favorite photo app is VSCO. VSCO is my favorite because you can do a lot of different things such as change the filter, saturation, brightness, ISO, and more. I also really like VSCO because it is a great way for people to express themselves without people judging. Also people often post about their opinions on VSCO. Here is a picture that I took on VSCO.


I also used a great website called canva. With canva, I could edit the filters on my photo, change the brightness, saturation, and more. It was really easy to use and fun to edit my photos with. Here is my photo.

Newseum

I used the “Camera Captures Horror” photo taken by Charles Porter IV. In this photo, you can see a fireman holding a baby who was trapped in a building after a bombing. The photo was taken in 1995 and it was really touching and sad.  What drew me to the photo was the child covered in ashes and it was so sad.


I also used the “Babe Ruth’s Final Goodbye” photo was taken in 1948 by Nat Fein. The photo was interesting because everybody was standing in honor of him and the crowds all crazy because of the legend. It was sad and a cool picture because of all of the respect he earned.

I would not be able to take the first photo because it was so sad and I would have to be a normal human and help the people, not photograph. The second photo would be much easier to take because it isn’t as emotional.

The exhibit that I visited was the FBI exhibit. It was really cool and I could see the actual artifacts including 911 parts, bombing stuff, and more. There was a lot of stuff on terrorist attacks which was scary and even the Unibomber’s cabin.

Here’s the like to the Pulitzer Prize photos: http://www.pulitzer.org/prize-winners-by-category/219

rule of thirds!!!!!!!

For this project, we took pictures and you align an object or person on a line the grid. We had to take 4 pictures with people and 4 without. It was easy to align the photos but more difficult to find where to take it. My thoughts didn’t really change because it was easy. We learned that placing a person on one of the lines will create a more interesting photo and show definition. If you put the subject of the photo on one of the grid lines,the persons eye will travel to that subject first. This photo was on the 2nd vertical line and on the 1st horizontal line.

Here’s my 2 favorite photos and a link to the rest.

https://photos.app.goo.gl/3X7oOgsCdXPY8e6z1


white background

In this project, we took photos in front of the white paper and stood about a foot away from it so the camera would focus on the person. The shutter speed was much longer so more light can go in. This was easier than the black background because we didn’t have to do as much editing and we just had to turn the ISO up. Everything worked but it was a lot easier with a smaller group. Here is a picture of me and the one I took, and the link to the rest of my group is here.

https://photos.app.goo.gl/2gFkEezCFfpx1ac02