Light Graffiti

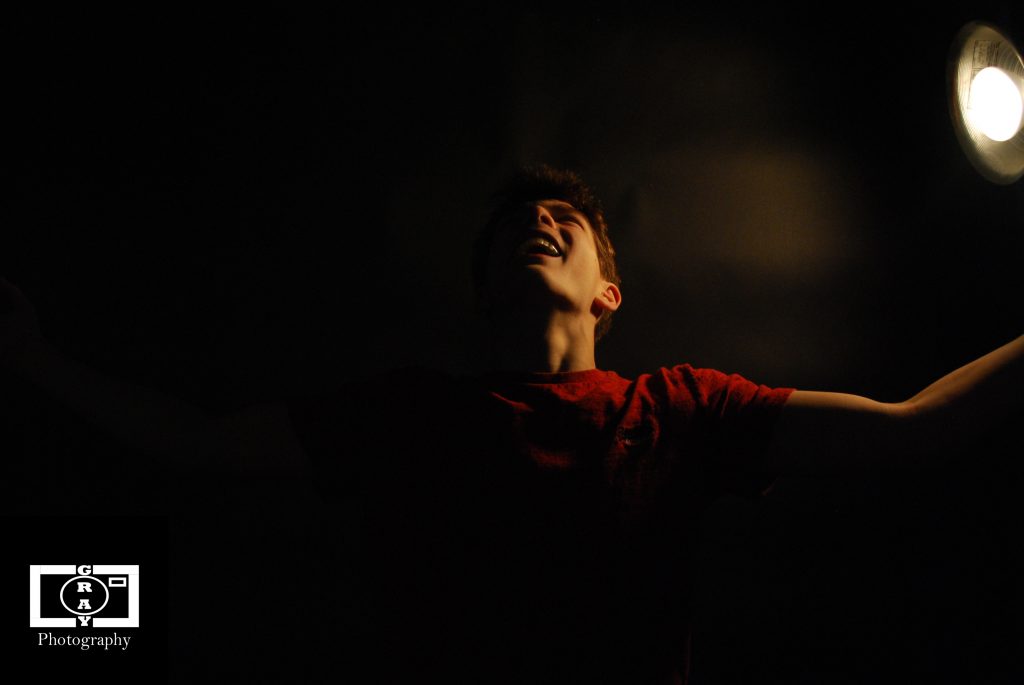
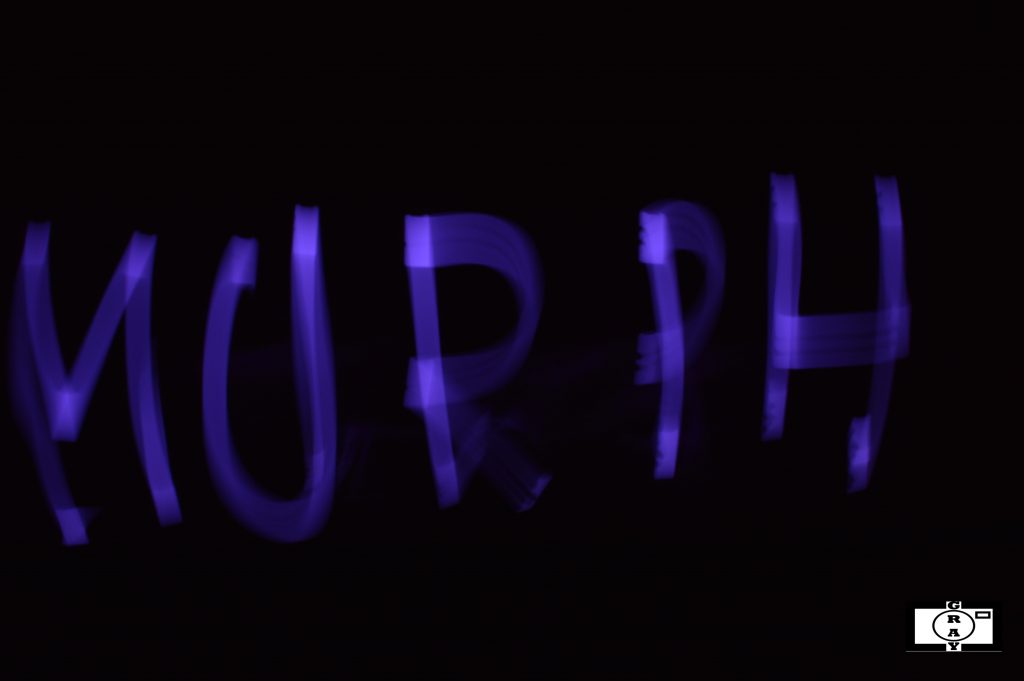
for this project, I decided to turn off the lights, and draw a variety of things, with nothing but a nice camera and a purple rectangle on my phone, turned on to the brightest setting. Using the high brightness phones turned out to work really well. We would take a screenshot of a blue, green, or purple rectangle, and then we used that to trace over different people and images. What didn’t work well was the 15 second time limit set on our first day from the camera, and it was difficult to finish the picture on time. It was also hard to get creative ideas and not drain the person we were tracing in too much light. I did well when it came to directing the group and just having fun. I think in the end though, this particular attempt was a failure. To bring it to the next level, I would need more time, proper light sticks, and a pre-prepared set of ideas to try.

For more of my AMAZING light graffiti, click here.

Day 1 is Canon 3, and Days 2 and 3 are Fitz 1

Macro photos (with LEGOS)

For this project, I used Lego Mini-figures to create a scene that would parallel what they would be like if they were our size. In essence, this isn’t small people in a big world, its big people in a big world. I used the skills of lighting and rule of thirds from my previous projects to take the unique pictures, and I used legos from my own house to make each scene look all that more authentic. The biggest challenge I faced actually came in one scene specifically, the one I have watermarked below. The Lego pirate ship I used had holes in the bottom, and it would tip over and split apart within ten seconds of floating in the pool water. I counteracted this by placing a lot of towels underneath the ship, and just gave the appearance that it was floating on it’s own. If I could take 5 more photos, I would experiment with my Death Star lego, the Disney castle, and the Super star Destroyer. I’d also like to set up creative photos like a man jumping on a lego tree to escape crocodiles, and a fireman saving a woman from a burning bank.

A dogged pirate casually sailing…as a sea monster stalks in the background

For more LEGO photography, click here

Up Close

For this project, I decided to take pictures of things up close, to discover new details and patterns, along with the color and symmetry that can exist beyond the normal appearance. It took only a few days, and I was very satisfied with the results. Personally, I would suggest this to anyone trying to get creative with their camera. While doing this project, I found it difficult to get my camera to focus on the object in question up close, but when I did, the pics were beautifully intricate. Taking pictures in daylight worked a lot better in the dark, and it was better when the object I was trying to focus on had the same general color, which gave the camera just one thing to focus on. If I had better equipment and more time, the pictures would appear even better, but I worked with what I had, and I’d say it turned out pretty well.

for more of my up close photos, click here.

Action Photos

The purpose of this project is to try to capture an action on camera, whether that be a guy running to catch an incoming football, or a pen falling off a high table. The hardest part of this is being able to take a crisp and clear photo, as opposed to a blurry one. I was able to get my shots by putting on the burst and trying to get as close to the subject as possible, to avoid blur from the distance. If there’s any better tip for you, it’s patience. If you have time, take as many photos of the same action as possible for maximum possibility of taking a decent photograph. If I had more time myself, I’d take pictures of high jumps, bike races, and diving board flips.

For more, click here.

Rule of Thirds

For this project, Charles and I decided to focus on the rule of thirds principle, where certain objects you want more focus on will catch the eyes of the viewer if you position them on 3 horizontal and 3 vertical lines. I was very interested in this project and I would certainly say that it has been my favorite so far. I found it easy to position Charles, and other inanimate objects, in ways to create a clever and intriguing image, but I found it difficult to find the specific locations necessary to take the photo. Before now, I hadn’t thought much about how I could revolutionize my photos by simply matching something with a camera line, but now that I know how, I think I will use this method many, many more times.

For the rest of my photography in this subject, click here.

Framing my Subject

For this project, Charles and I went around the inside and outside of the school, and positioned ourselves so the natural and man-made surroundings almost created a picture frame. This was the idea of framing, to direct focus to your subject, using the things around you. In my last post, I said the Rule of Thirds project was my favorite activity of the quarter. But now, without a shadow of a doubt, this is even better. I took my several great photos, both inside and out, to make this entry very successful. Although it was tough to come up with new framing ideas, it seems to have worked out nicely and I would do this project again, a million times.

For my complete portfolio of framing images, click here

This photograph is my favorite because it is in an interesting location and the bus benches have a nice silver tint that makes the image one of the best I’ve taken.

Infinite Backgrounds

The process I used for this project was to take a picture with someone in a unique pose, set against a completely black or white background, and slightly twerk it in Photoshop to make the person stand out from the image. The pictures originally looked pretty good, and the poses we thought up were new and bold. But many problems came up. The ISO in the photos was either too high or low at times, order for each of the member’s photos was unknown, and the Photoshop turned out to be harder than it appeared.

Click here for my white background photos

Click here for my black background photos.

1 object, 5 shots

for this project, I decided to push my creative photography skills by taking 5 completely different angles of a single motionless object. The challenge of course was trying to decide which angles to take and coming up with a new set of angles for each of the objects. The hardest object of the three to photograph was the chair because I struggled to find a suitable 5th angle that would be appealing to the audience. Although it was difficult, the project did help me explore multiple ways to take a picture of something and made me intrigued for using this practice in the future.

Click here to see the rest of my photos

24 Crayons

For this post, I’ve decided to walk around my school and try to blend a simple box of 24 crayons with the many colors around the area. Since the walls of the school are nothing but a boring beige, I had to get creative and search the terrain for any unlikely spots of color. The most challenging thing for me was to not get my hand in the picture itself. This meant that to take a good picture in a place where a hand was needed, we had to get resourceful. I’d hang them on edges, place them very carefully on the leaves of large plants, and let them sit precariously on books and lamps. The easiest part of this was taking the photos in unique angles, because I excelled at the thought process that went behind that. Of the 24 crayons I captured, the Salmon Crayon set against the 1000 piece old candies puzzle was my clear favorite.

Click here for more of my photography