White Backgrounds

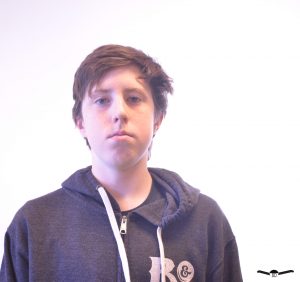
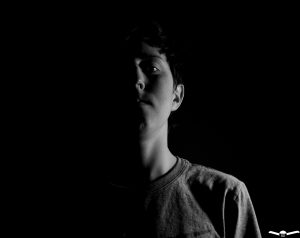
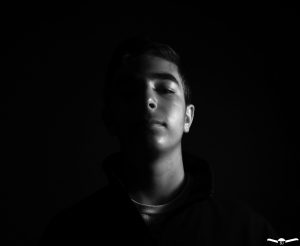
First we set the ISO to 640. We set the F stop to 5 which controls how big the lens gets to let light in.  We changed the shutter speed to 1/20 of a second. This was much easier than the black background because I didn’t have to do as much editing and we could get more pictures taken in less time. These pictures were the exact opposite of the black background portraits.We had to make the shutter speed so more light was let in instead. When we did the black background we had to let in as little light as possible and for this we need as much light as we can.  What worked was the lighting of the background because we didn’t have to be as concerned about it. What was hard was that we had such a big group to take pictures of.

Here’s where you can find the rest of my group: https://photos.app.goo.gl/QKOSHp6RG2Ih1Qq02


Black Background

Taking these photos was a lengthy process. First, we needed to go to a place that was dark enough that the background wouldn’t be lit. To help with that  I had to set the ISO, Shutter speed, and F-stop so my camera wouldn’t let in too much light but enough for me to see the object. I had to have someone hold the light so that it lit the object as evenly as possible. Then, I had to take them into Photoshop to mess with the lights and dark so it was a full portrait.  It was pretty hard to light the object enough so that he would be clearly seen in the image. Also, it was hard getting the settings just right for the picture. The last thing that was hard was that we had to shoot most of our photos on the green background. What was easy was when we moved to the black background.

See the rest of my photos here!: https://photos.app.goo.gl/0V3sjwAOedbTffxz2