For this project we had to position the camera in a specific way and had to turn off all of the lights. We used our phones or flashlights in order to provide the light we needed for the graffiti. We had to hold down the camera button and draw the design with the light to capture the graffiti. the light showed up in the picture but it was hard to make sure the lines were smooth. it was also frustrating to cover the light every time we made a new line. To take this to the next level i would make a stop motion design using the graffiti. Here are my photos.
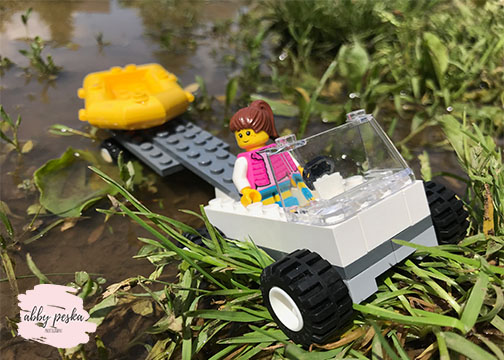
Macro Portraits
for this project we had to take a photo of a Lego doing an everyday activity at Lego level. I used black and white portraits for lighting, macro to get up close, and rule of thirds to get in frame. Getting on Lego level challenged me because it was hard to get t he perfect angle. If I had to take 5 more pictures I would go underwater, at a ski resort, in a tree, surfing, and a Lego guy fishing.

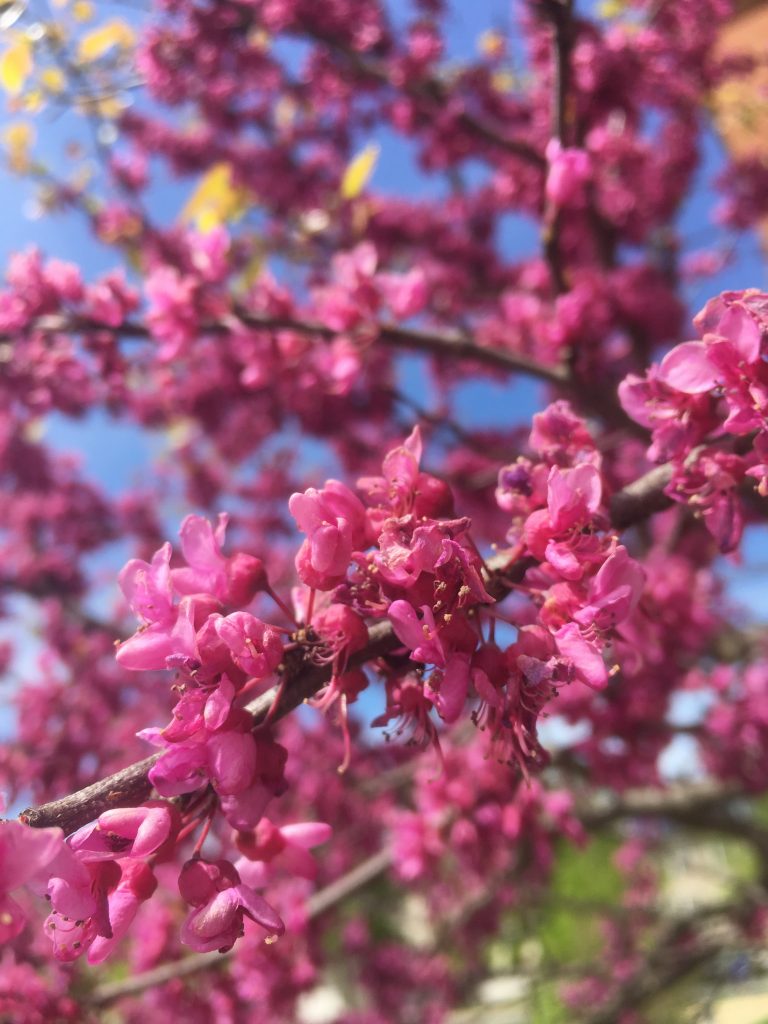
Getting Close
For this assignment, we were told to get close to an object sand see it’s detail and texture. For most projects in this class we need to see the big picture and overall view but this project we had to find the detail. It was simple for me to find objects that I wanted a close up of being that everything has texture. One challenge was getting close to the object but also allowing the camera to focus. I used the app VSCO to help me with this which was new to me. If I had the right devices I would get a close up of a fish because I think the color and texture would be very interesting. This is my favorite image that I took. Here is the link to all of the photos I took.
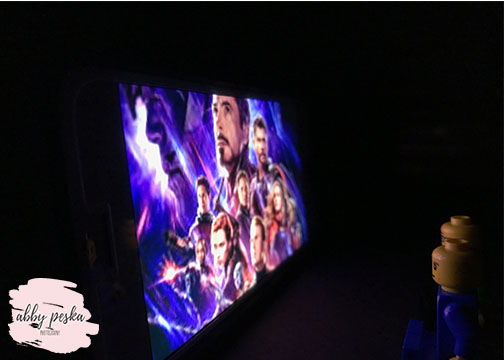
Catch the Action
For this project we had to capture a moment where there was action and we couldn’t pose for that specific action. I made sure to set up my camera in a position that is a little bit unique and will give an interesting perspective on the action. One tip is to make sure you don’t move your camera because it will really mess up the quality of the image in the end. If I would photograph any action I would photograph someone skydiving because it seems like such a surreal moment. Here is a link to my photos: https://drive.google.com/open?id=1-C96Z_qGfV9lINvSQcWzJ3xxAiyTipAv
Rule of Thirds
For this project I had to take photos using the rule of thirds. Finding objects to take photos of worked for me, and the lines helped me figure out where to align everything. It was hard to get the angle just right and ensure that the object you wanted to be the center of attention, was the main focus of the image. I thought this project would be fairly simple but it was a lot trickery than I expected. Everything in the image had to be just right or you photo would not be successful. I used the grid on my camera to align everything up and it helped me a lot when it came to positioning everything in the photo. I put the object I wanted the most attention to be on, on the actual lines of the grid. Here are the rest of my photos.
Portraits
For this assignment we had to take photos with a white and black background. The process of taking the photos was a bit tricky being that we that we had to make sure that when using the light, there was no shadow. If there was a slight shadow we needed to make sure that while editing we could eliminate that, but we couldn’t paint on a background. We were able to take successful photos but some photos with the black background had a glare of light in the background, and that was hard to eliminate without making the person un-detectable. Link to the photos.
5 Shots
For this assignment I was told to find 3 objects, one of which had to be a person, and take 5 different angles or shots of each object. the most challenging part of this project was making sure that each shot was different and unique in it’s own way. The air pods was the most difficult object to photograph because it was hard to position them and take pictures of them in a way the have’t been photographed before.This project helped me look at everyday objects in a new way and really embrace my creativity. Here is a link to my photos.

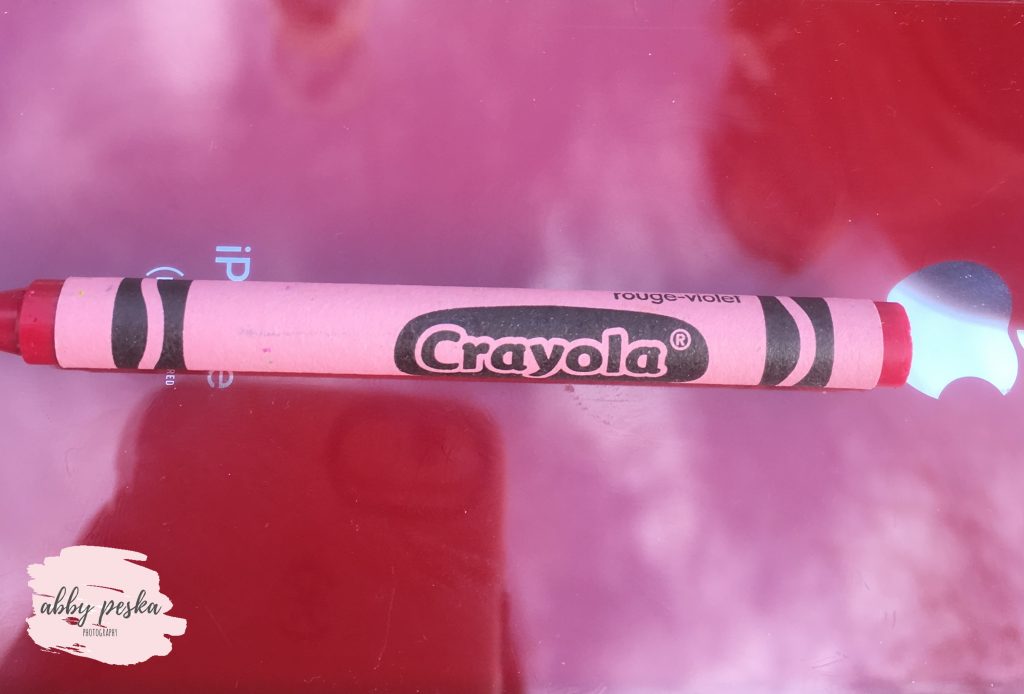
24 Colors
For my first project I had to take 24 pictures using the 24 crayons provided in my crayon box. I walked around the school including the outside and the inside and tried to find different colors that matched the crayons in my box. During this project, I noticed more color all around me and all of the textures and patterns they may have. One challenge was making sure to find an object or place that matched all of the 24 colors which got really difficult towards the end. Being sure that I could find objects that the crayon can actually rest up against was also difficult. What I found easy was finding colors that matched the crayons that are in the rainbow such as red, orange, yellow, and so on. Click here to see the photos
My Logo
I get most of my photos from google photos and I don’t ever contact the owner of the image and I rarely give them credit. If someone were using my photos I would expect them to give me credit because of how much hard work I put into it. I used the app Canva to create my logo. I have a pink brush stroke background with my name in calligraphy in the center. To finish off my logo, I added ”photography” below my name. One easy thing for me when creating my logo was knowing what app to use, I have used Canva in the past and I love it. One challenging thing was getting the brushstroke background just right. Having a logo is crucial in ensuring that your work won’t be stolen.