Light Graffiti

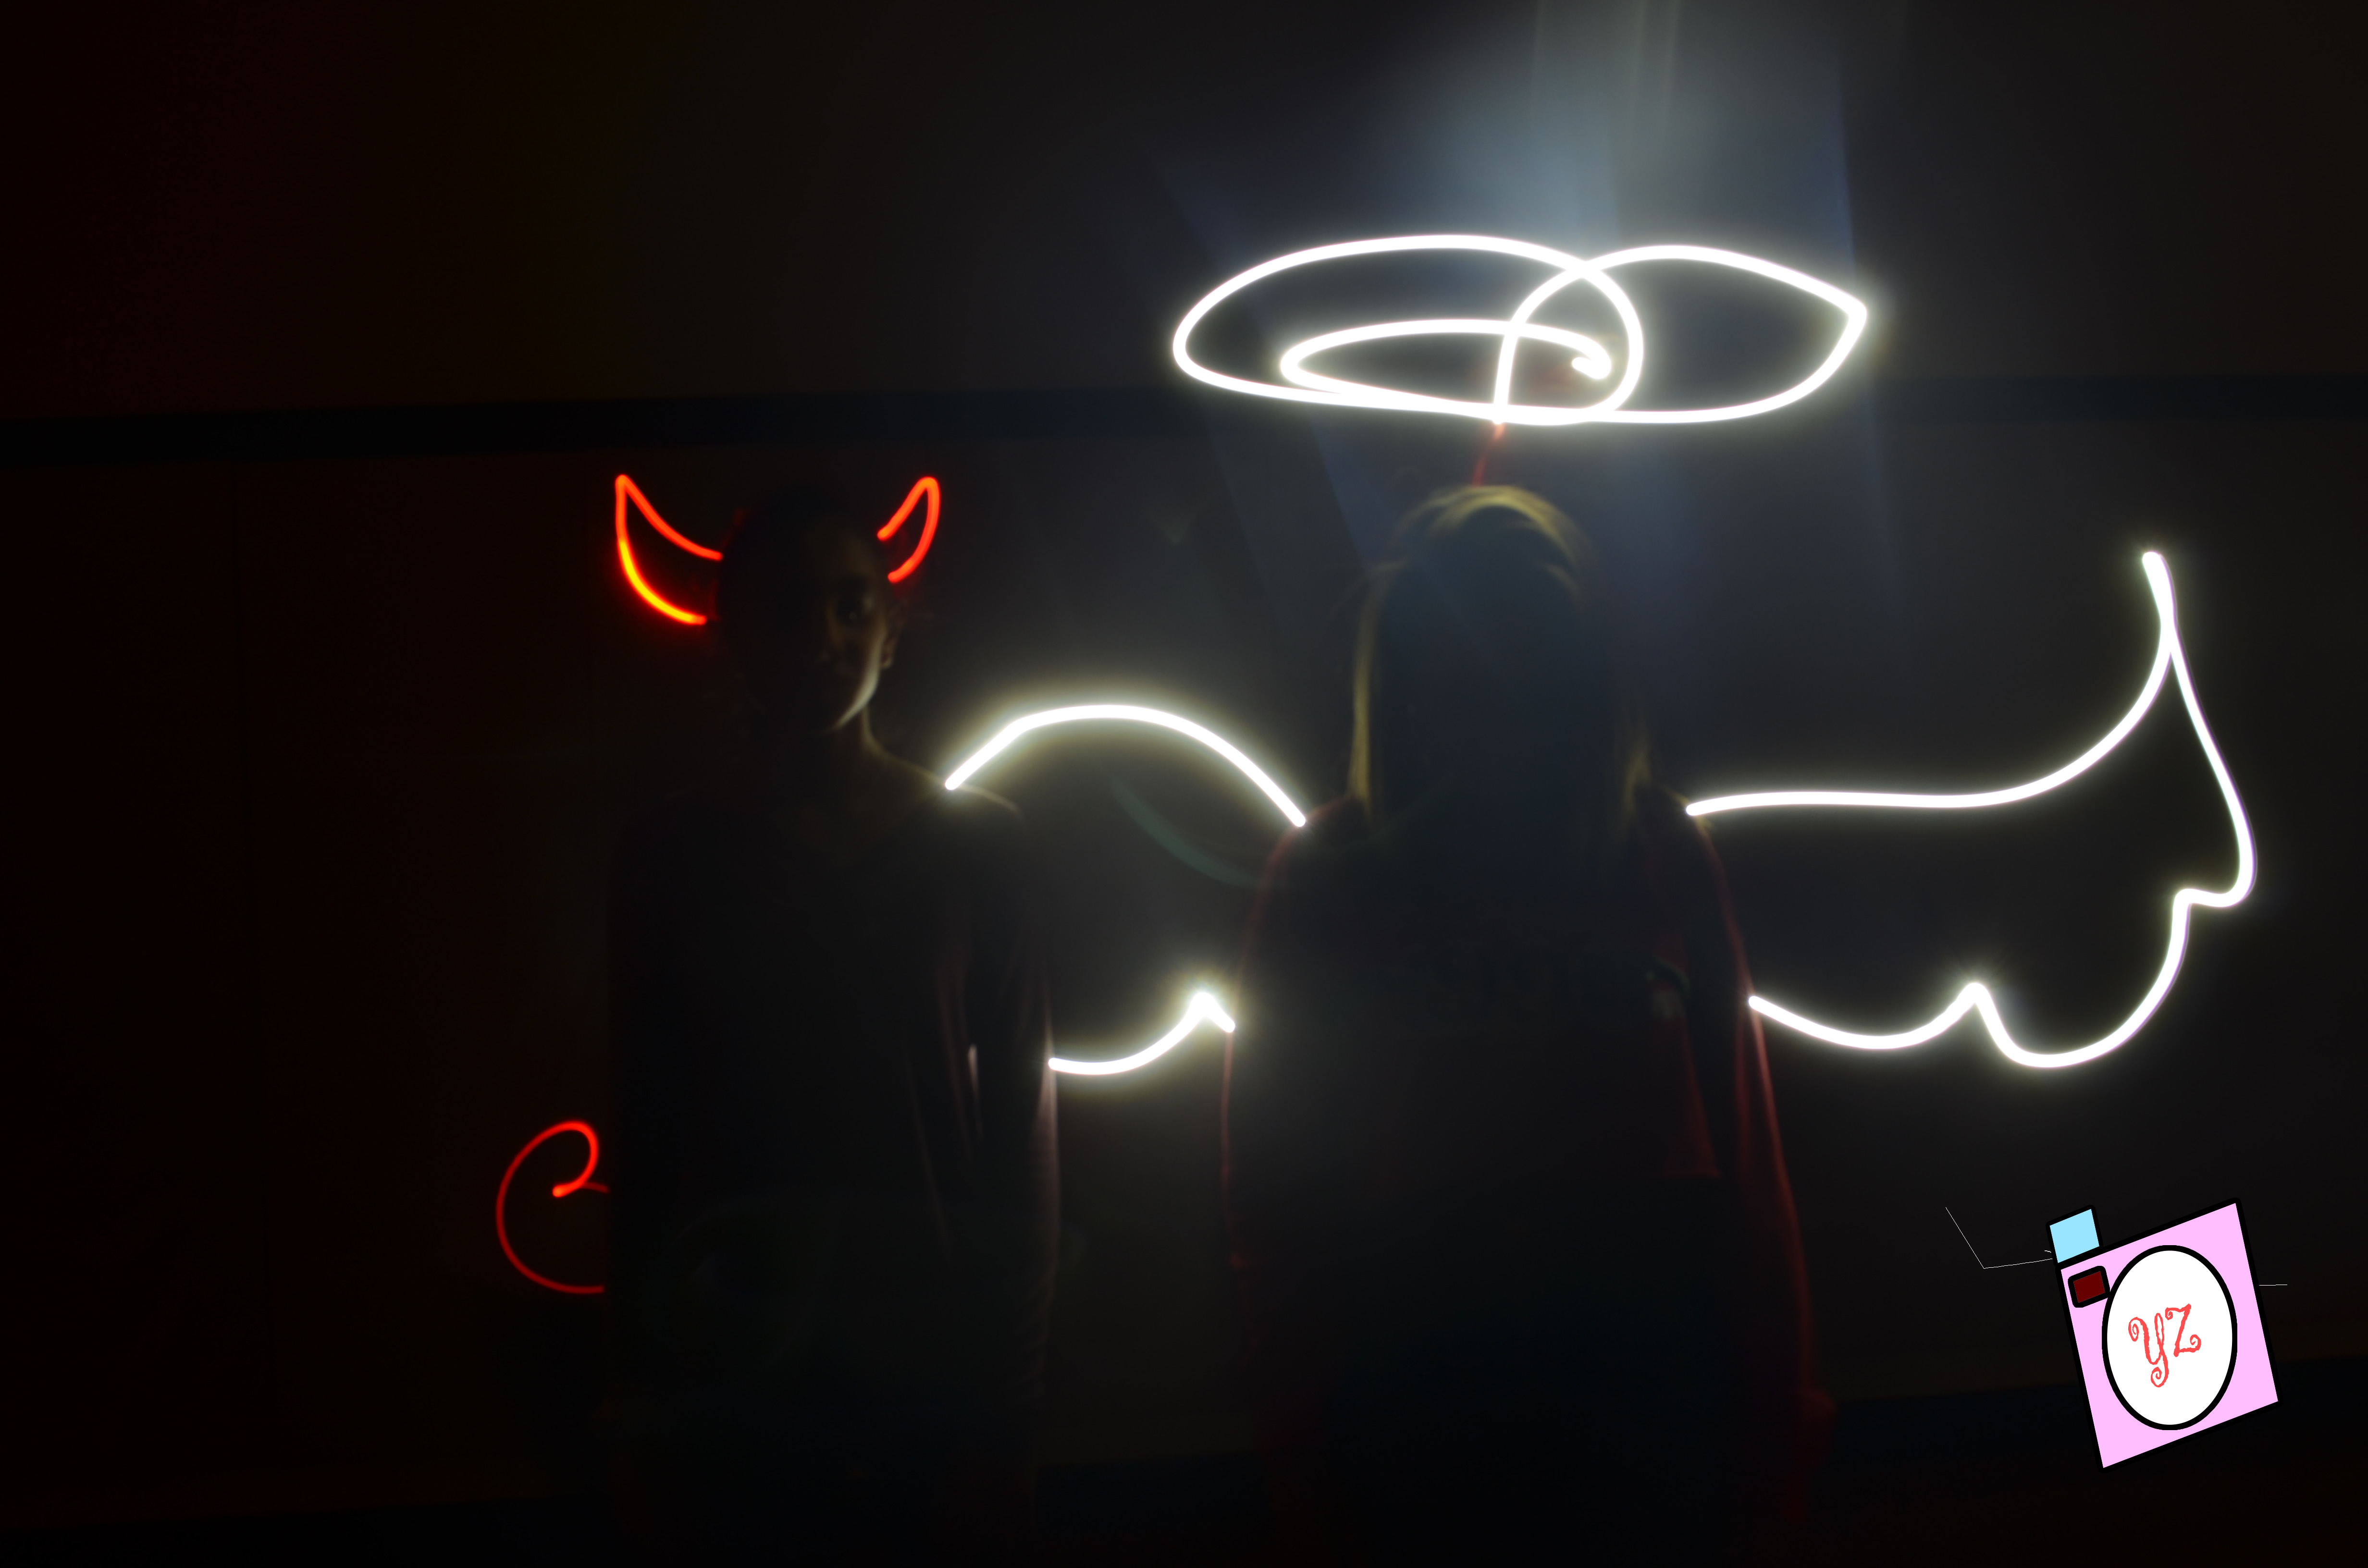
We took our photos using bulb settings. We took the pictures in the gym. The steps we used was shinning the light on the person first if they wanted to be shown in the photos. Next we drew the whatever art they wanted and ended the photo. Putting the camera on bulb mode worked because we can open and close the shutter whenever we wanted to. It was frustrating when the drawing turned out bad or when there was a trail of light in the corner of the photo. I think to take this project to the next level you can become better at making drawings. You can see the rest of my photos here.

Rule of Thirds

What worked for this project was moving the object closer to the left or to the right because that will meet the criteria for Rule of Thirds. What didn’t work was placing the object or person in the center because it wouldn’t be Rule of Thirds. I used the lines because they helped me determine where the object should be through my camera lens. I either put the camera closer to the right or to the left depending on where I want the object to be. You can find my photos here. Below are my two favorite photos.   

Black Background

The process my group used was to shine the light not too high or low but closer to their face. For editing my photos I made the image darker and the light a little brighter. I cropped the image near the edges and sides. This made my photos have a better quality because there was no natural light coming from the corners. Shinning the light closer to their face worked especially if they had darker hair. This made their hair blend in with the black background and made the picture look darker. Shinning it away from their face didn’t work as much because the middle of their body would be bright while their face was dark. See the rest of my photos here.


Portraits

During this project, we had to take photos with a white background and no shadows. The process we used was shinning the light in the correct position. When editing the photos, I cropped the photos and adjusted the white background using the curves button. Shinning the bright higher  up worked more and created less shadows. Shinning the bright lower didn’t work because you could see the shadows but you would have to crop the image a lot more. Click here to see the rest of my photos.